1971 Cali Import Deluxe Bay Microbus 'River'

Early Bay Forum

Help Support Early Bay Forum:

This site may earn a commission from merchant affiliate links, including eBay, Amazon, and others.

rlepecha

Well-known member
Supporting Member
Joined
Jun 11, 2013
Messages
636
Reaction score
4
Location
Leeds
Year of Your Van(s)
1971
Van Type
Microbus
M-codes
095 508 697 A01
So I now own a second aircooled VW!
This is a Bay Window Microbus with camping interior.
The engine is a 1641, it has the Red9 Coilover kit on the front suspension and some original Fuch's wheels.

She is called 'River', because she is blue and I also own a turquoise Beetle I call 'Ocean'! They have to match.

These pictures are from the sellers ad.
I will post updated photos soon.


More photos when I find my USB for the camera!
 
First of all I stripped all of the interior out apart from the R&R Bed, which is an original Westfalia unit.
This is to make way for my own custom interior once the mechanical work is done.
The interior will be hardwood ply coated with danish oil. I will hopefully be fitting a removable hob/grill, sink and possibly a fridge.
The roof and side panels will also be hardwood ply!

Stripping the interior also gave me chance to double check for anywhere that might require a repair panel!
I didn't find anywhere, so all that needs replacing are the two cab floor areas.


After that I went around the body work with a wire wheel on an angle grinder. I removed the paint where it was bubbling.
This uncovered some pin holes in the bodywork and some slightly larger holes too. But nothing I believe requires any panels, just filling with weld.
I dont have pictures yet but I will take some later and upload them.

I tried to tune the engine last weekend, only to find its overheating fairly badly. This I assume is down to a piece of metal floating around in the bottom of the chrome 36hp fanshroud over the 3/4 cylinders.
It may have warped barrels on that side now, however, I have not planned to replace these at the moment as in the future I will probably build up a new engine.
Hopefully the barrels are ok though, I didn't run it for very long. I will be taking the fanshorud apart when I remove the engine to fix it!
I have to remove the engine to replace the flywheel crank seal as it is leaking.

A few other changes I will be making in the future to the engine is fitting SVDA dizzy(its got a 009) and probably an original carb/dual carbs to replace the EMPI 34 pict 3 one.
Whilst on the engine, I have also re-hosed up the brake servo to the small outlet on the manifold. I have done this with a very short piece of small vacuum hose and then an adapter to 1/2". I believe this has worked and the brake servo is now operational, the brakes seem better anyway. I had read some people think the small outlet doesn't give enough vacuum, I don't believe it because once the vacuum is created the flow through that port would be very minimal every time you press the brake and it re-charges, given you hose it up with only a tiny length of small tube and the rest the 1/2 tube there is plenty of volume to hold enough vacuum!

I have already replaced the alternator pulley because it was loose and had pretty much eaten away at itself due to that.
Again, pictures later.

So I had decided before I bought the bus it was too low for my liking, about 4/4.5". I contacted Red9 regarding new shocks with no reply, so did some research and calculations instead. I ended up with some 15inch GAZ coilovers with 10" 250lbs springs to replace the old, tired and too short Spax units. I fitted these on an evening through the week and they have lifted the bus 1.5" or so with another 1/2" left of adjustment on the spring(avoiding coil binding). I think if I were to buy these again I would have got 270 or 300lbs springs, so that I wouldn't need to wind the adjuster up as far.
I will see when I drive the bus whether or not I believe the front end to be too soft or not.
Again, pictures later.

This left the back end to be adjusted, I did one side of the bus last night, 1 outer spline. Which is about 2.25" lift I believe.
This should be sufficient, I have measured the height of the sill at the front and the back. The front is about 13" and the rear is about 14.5", So a 1.5" drop to the front end, this will decrease when the rear is loaded up with the interior I will be fitting.

Throughout the week I have also been trying to sort the wiring(which was fairly messy).
I have now wired up the horn correctly to the steering wheel rather than a switch on the dash.
I fixed the headlights/relay as I weren't getting full beam correctly.
With the bus being a early bay and American it has the parking lights at the rear corners and reflectors on the cab doors.
So I purchased some more bulb holders and amber covers, wiring up all these sidemarkers/parking lights as indicators. I've not seen this on any other bays, so hopefully its unique to this bus and stays that way! It made use of something I thought to be pointless if not wired up anyway!

I have already got the cab floors from JK, and I ordered the indicator covers from VWH so I bought the top quality £16 elring crank seal and the oring to go with it from them too.
Over the coming days I plan to adjust the other side rear suspension and fix the offside rear brake which wont adjust from the backing plate(built wrong I assume?), meaning the pads are miles away from the drums and not working properly!

So that's it for now, I will be updating this thread as regular as possible(If I remember!)
I have set myself about 2 months to get the bus mechanically sound and MOT'd for a year.

Stay tuned for more!
 
New photos.
All the holes in the bodywork are filled with brown silicone for the mean time unitil I get the welder out to do the cab floors.
Hopefully the silicone is stopping water ingress and rust increasing.


This is my modification for the brake servo take off.


Some pictures of the underneath, as you can see it all needs hitting with the wire wheel on a grinder, and I will be applying NVP Omnicote ontop. I used omnicote on my beetle and I have been happy with the results.


under the cab floors which will be replaced.


I took the rear brake drums off yesterday, I solved the offside stuck adjuster nut and adjusted the handbrake.

I did however find the nearside cylinder leaking fluid, so I have ordered a replacement from JK after realising the ones the I got with the bus were incorrect.

I have also ordered some new high tensile bolts for the upper shock mounts at the front, as I believe one of the bolts isnt high tensile.
 
Not updated this in a while, Ive been keeping my Volkzone thread up to date though. Heres it copied across:

21st August 2013 -
Taken me a while to re-update this thread.
I have lots of stuff to do and stuff to fit/fix.

Over the past few weeks I have been tidying up the wiring, sorting out gauges etc, minor little things, I have however built a carport with my dad for working on the bus in the winter.
this week I cut out and welded in a new passenger side cab floor from JK, still needs some more welding but my welder went into thermal overload last night(does this quite often).


7th September 2013 -
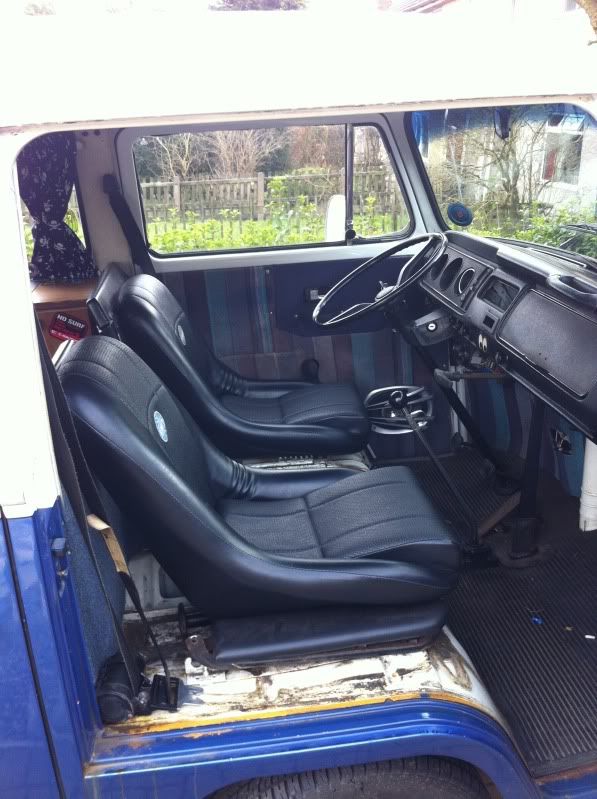
In the last week I fitted the drivers seat down onto rails so it can be adjusted(Not like I will ever move it, its just for the MOT requirements).
Hopefully today I'll finish of the same set up on the passenger side, to keep it symmetric.

Then through next week I should be marking up all the wiring to the engine and fitting an 8 way connection block to some 8 core trailer cable so if I remove the engine again I just unplug the connector and I don't have to worry about where it all goes back.
8 connections should be sufficient, since it only really needs the ignition wire, a tacho, oil pressure light/gauge, possibly in the future an electric fuel pump.
I do plan to wire the CHT gauge back up with when I can find a suitable thermocouple(K type I believe)

26th November 2013 -
Long time with no update.

I've got quite a lot done. The engine is back in, running well with twin Weber 34 ICT's.

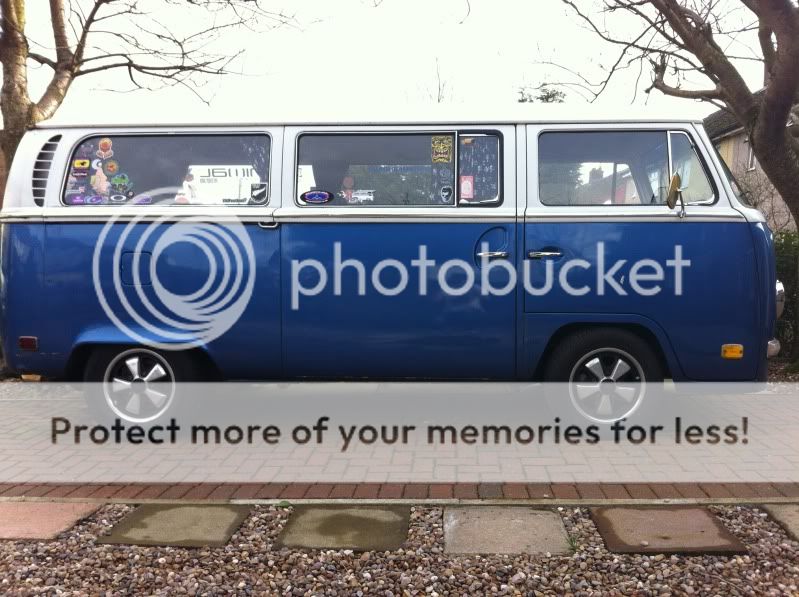
I'm now starting to strip the bus ready for paint, I have bought VW Atlantic Blue Metallic for the lower half and some L90D for the top.

When I took the front windscreen out(new seal needed) I found that there was about 1/4" of filler on the bottom lip that was hiding lots of rust. So I have bought a replacement piece from Schofield's which I will be welding in.

I have also started painting the chassis with omnicote, I have decided that I will waxoil over the omnicote under the wheel arches for extra protection.

IMG_20131112_204149_zps595bea41.jpg


IMG_20131114_194547_zps6ae363ce.jpg


22nd January 2014 -
Again. A while without an update.

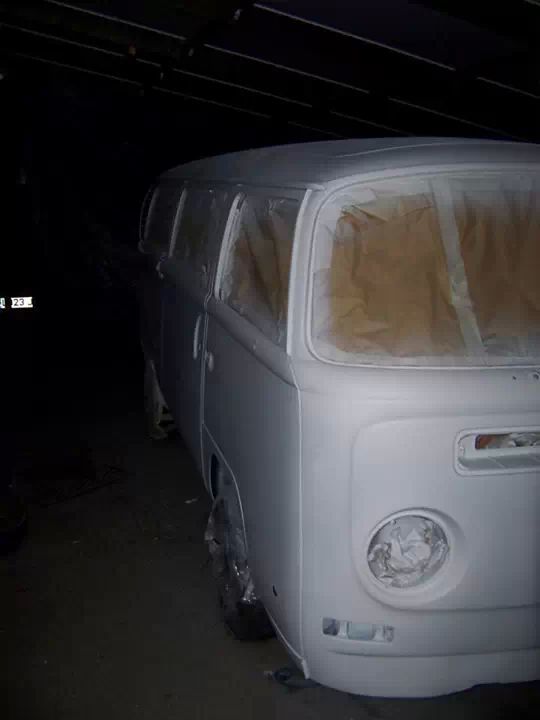
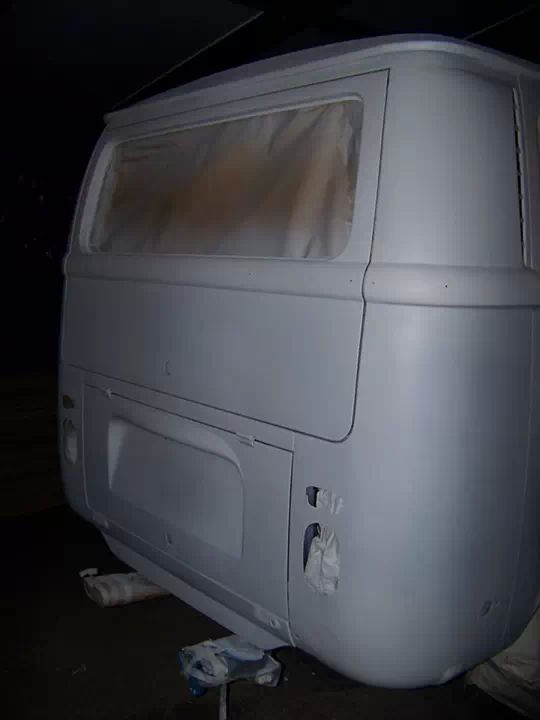
Got quite a lot done, I finished off painting underneath the van and have started painting the body.

Primer


First few coats of L90D in the door shuts and window sealing areas.


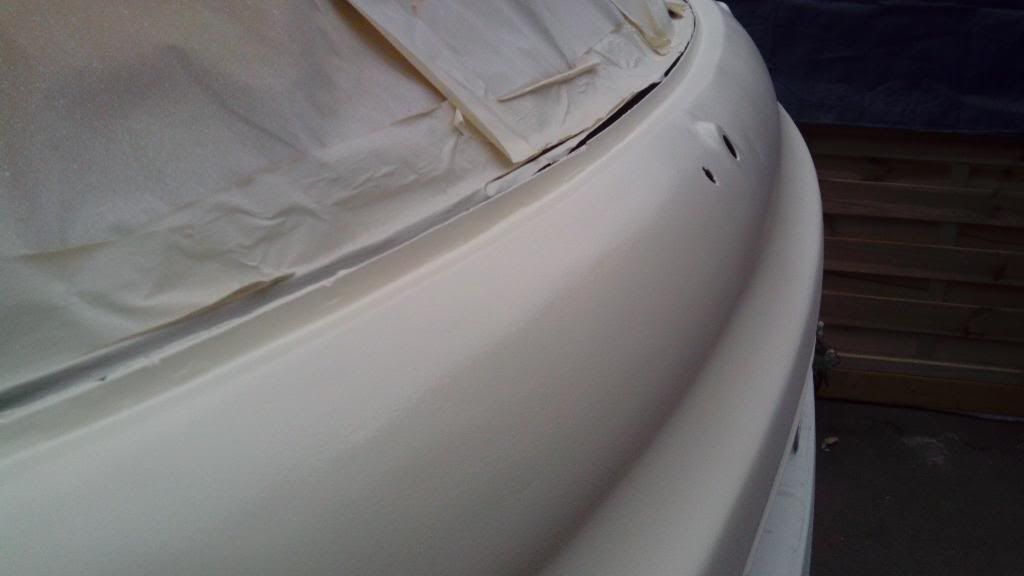
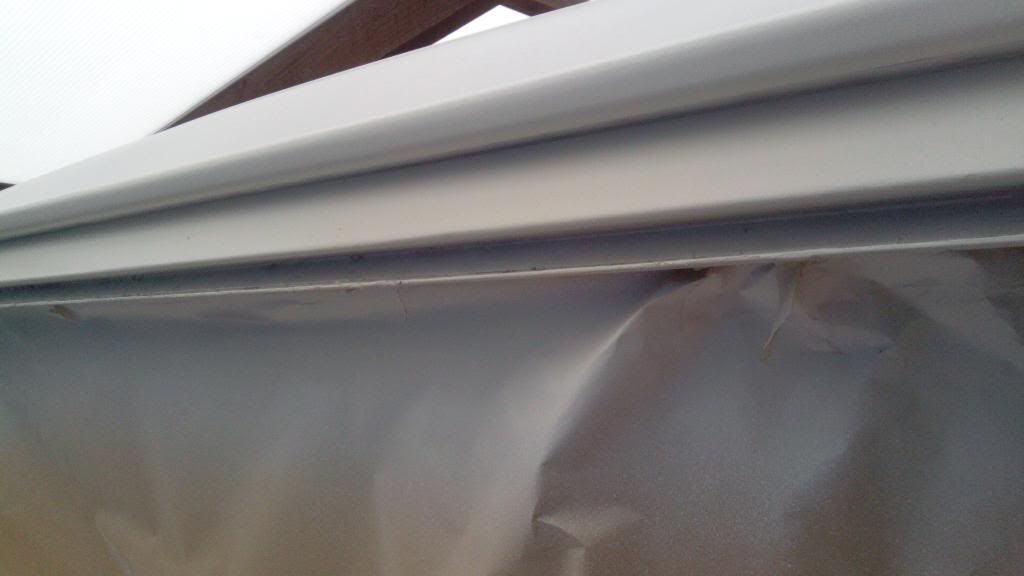
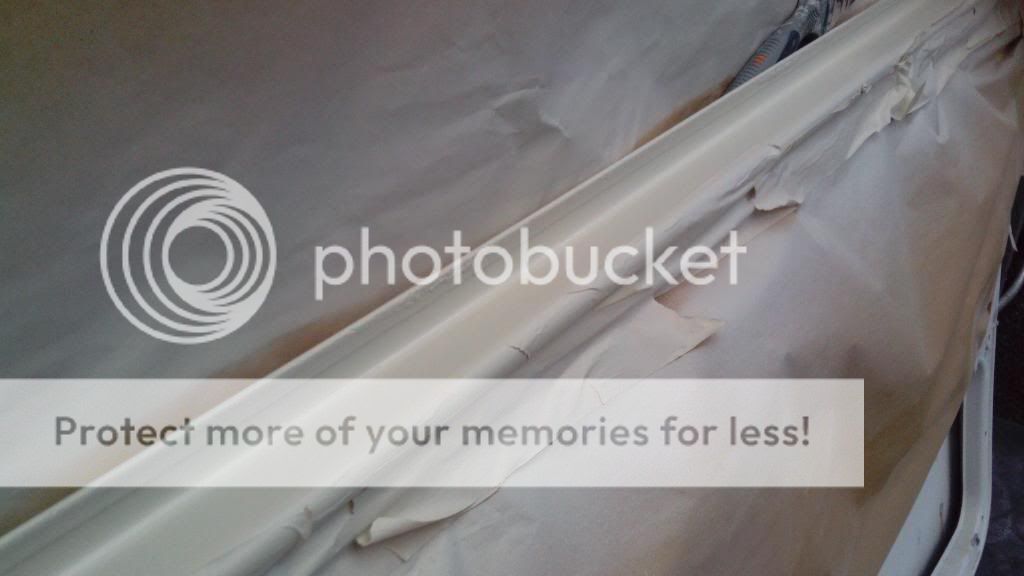
The interior will be painted gloss white rather than L90D, so any untidy lines from masking will be sorted out with a different colour.

My phone camera is pretty poor and barely shows the L90D colour It's quite a dark almost greeny cream colour, I presume this is how it should be.

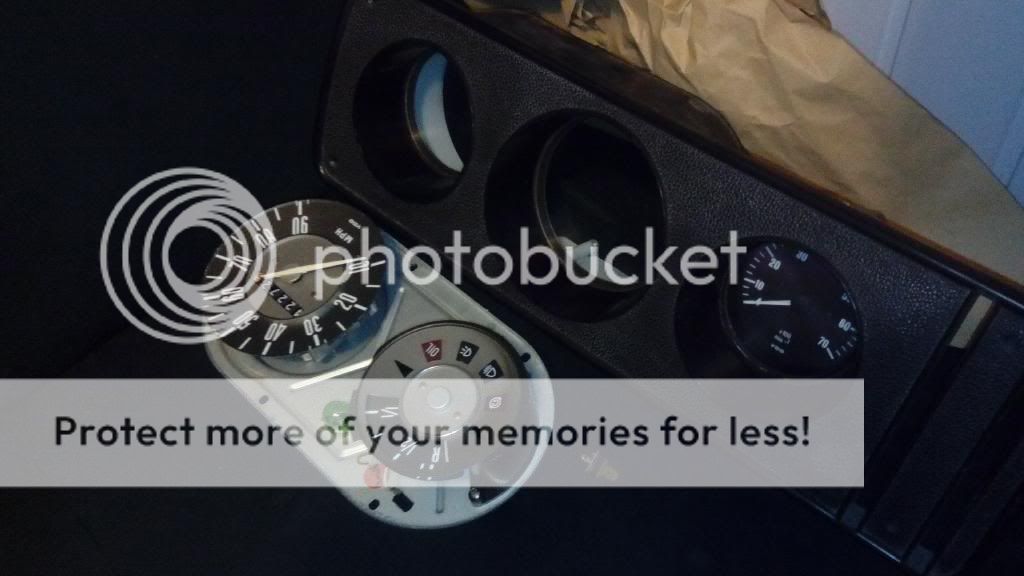
This week has been a bit slow to start, the cold weather has pretty much stopped all painting. So I have taken the dash cluster out to fix the fuel gauge which worked some times and not others.

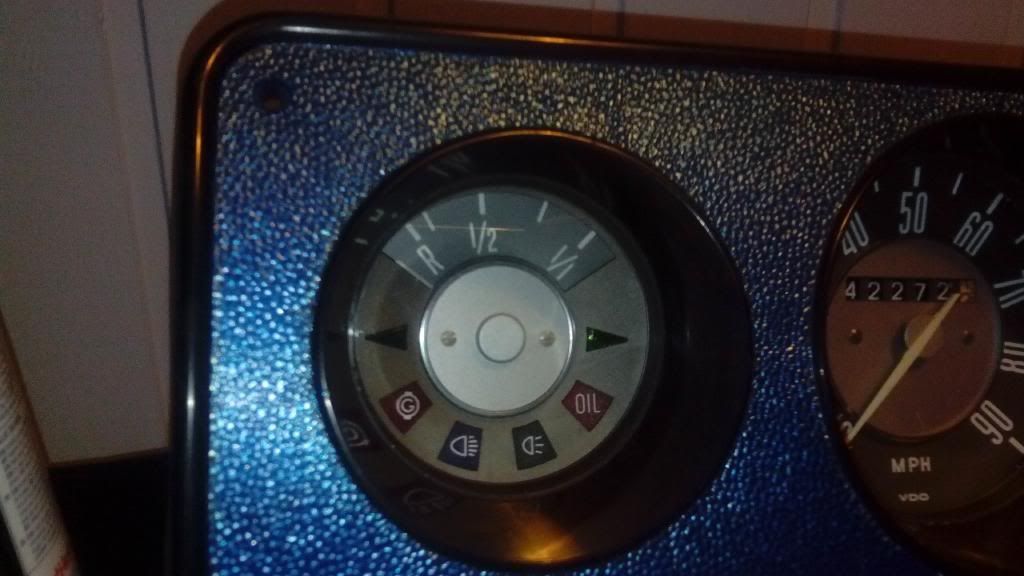
I will also be masking around the dials etc as I am painting the cluster metallic blue.


I have got a picture somewhere of the glovebox lid that I have also painted metallic blue. But I can't find it.

On top of that lot, I've ordered a stainless grill from ChillGrills, I decided to stick with the standard design as its probably the best for air flow and water drainage.
I weighed up the costs and £40 for stainless or £30 + sand for a sandblaster to clean the original one up. Seemed like stainless was the way to go, I can always paint it later if I don't like the look.

I am changing most of the fasteners on the bus with stainless pieces because I hate rust, stainless also looks neater when there's lots of chrome elsewhere.


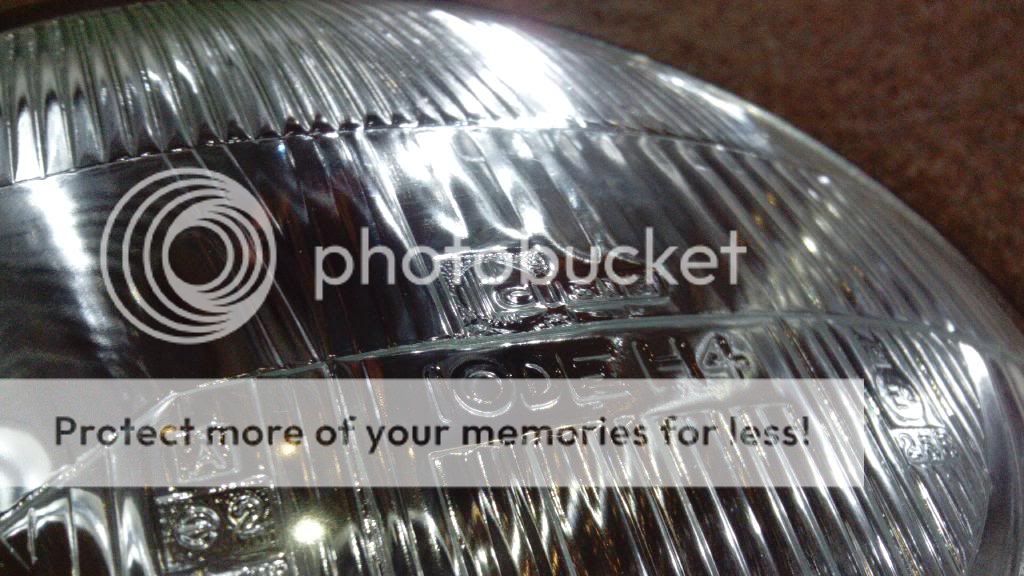
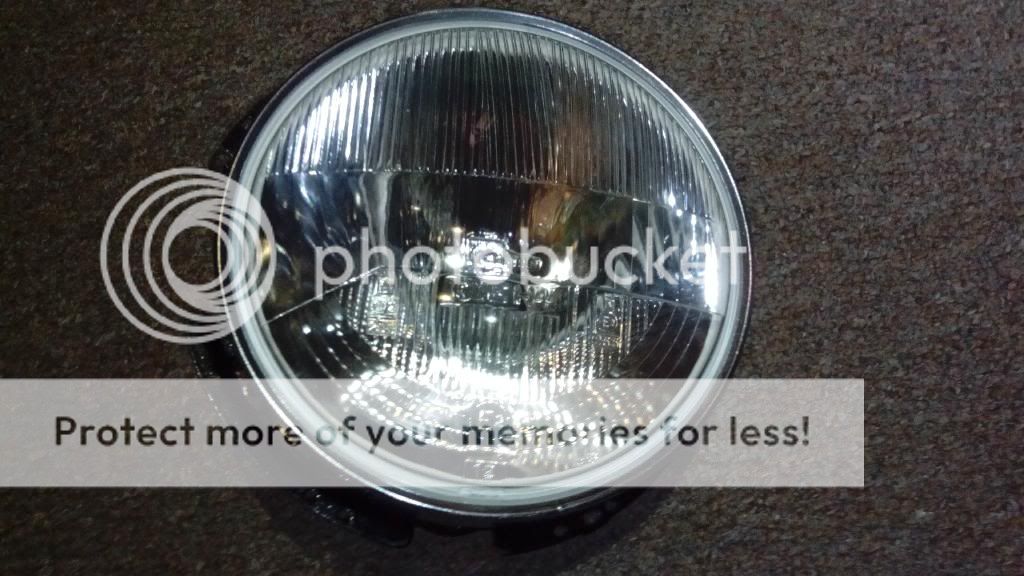
I have purchased new headlights to replace the sealed beam units, these are Cibie IODE H4's. According to Candlepower forums etc, are some of the best you can get. Better beam patterns and light output than Hella's.

To go with these I have bought some Philips Extreme Vision H4's. I will be cleaning up every connection to switches, relays etc to reduce voltage drop to the lights.


I have also purchased new (Best quality) clear indicator lenses for the front.

I hope to get the best light output I can out of all the lights, to increase peoples visibility of me!

I got some vintage Lucas FogRanger to put on the bumper.

Over the next few days I hope to be putting in a very large order at Just Kampers for a new heated rear screen, all new seals apart from the windows I haven't taken out, a new sliding door lock/handle and other little bits like a new rivet for one of the quarter lights.

Updates - I have painted the dash Pod.


2nd February 2014 - 
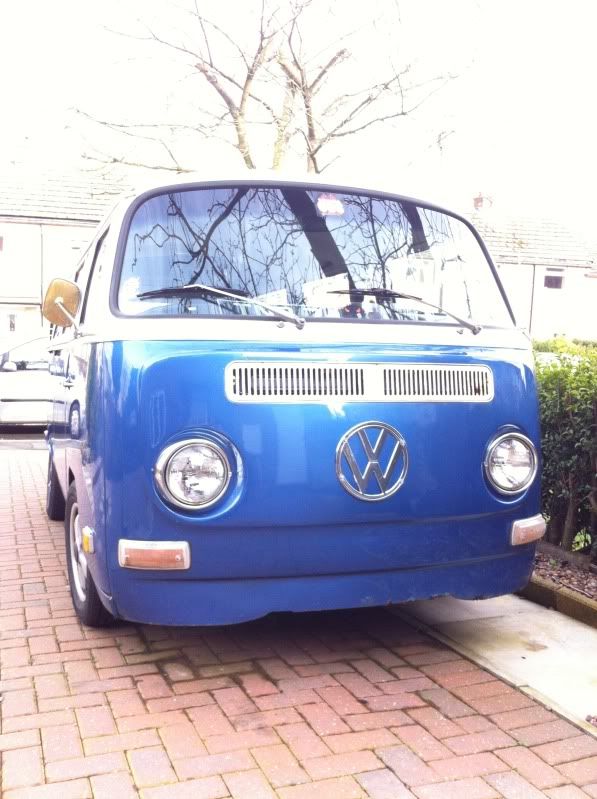
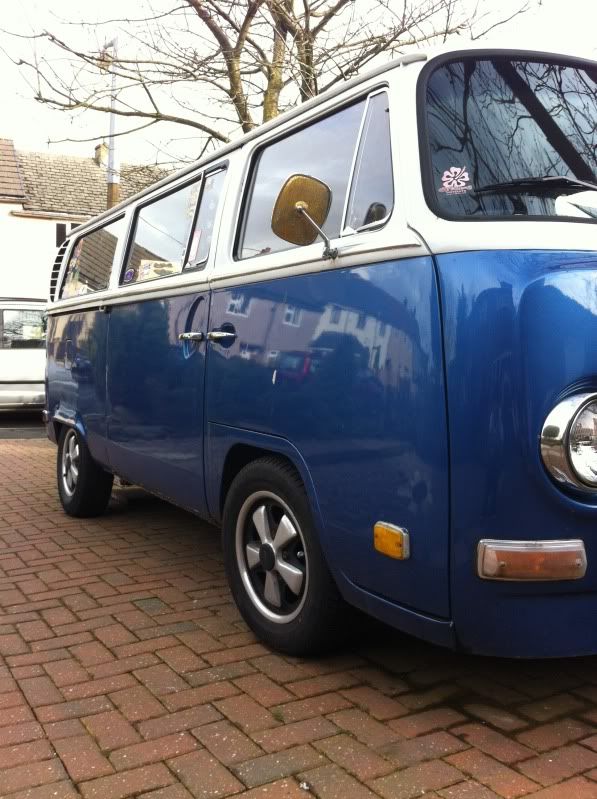
Managed to get the bottom half of the bus masked off and painted blue.

I didn't really know what colour l98y was, I couldn't find a picture of a car in that colour.
However, its like a dark blue with a slight green tint.


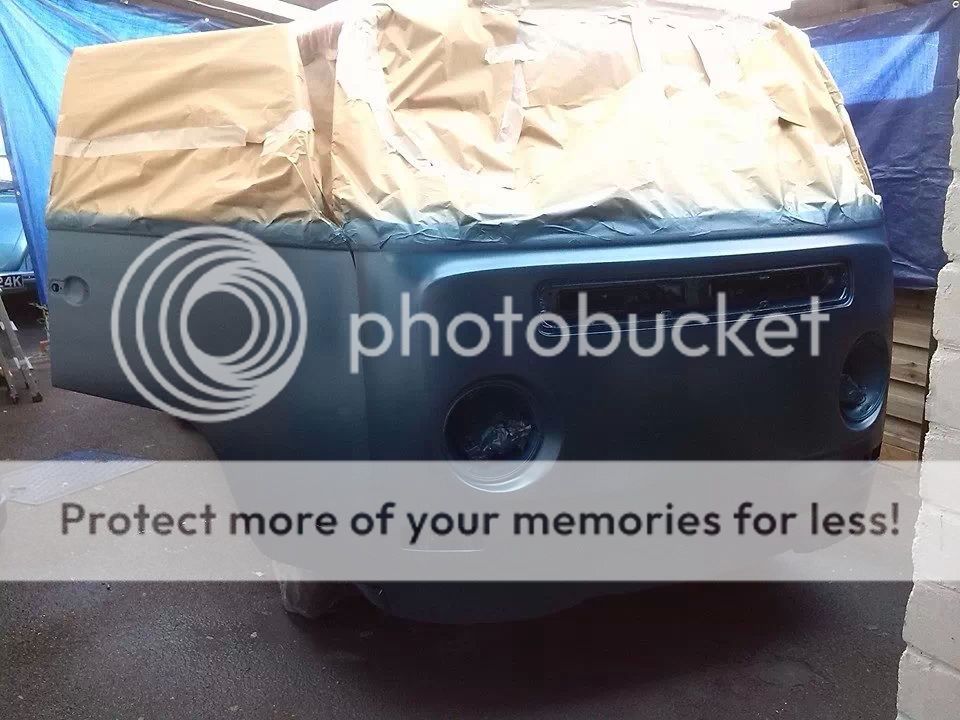
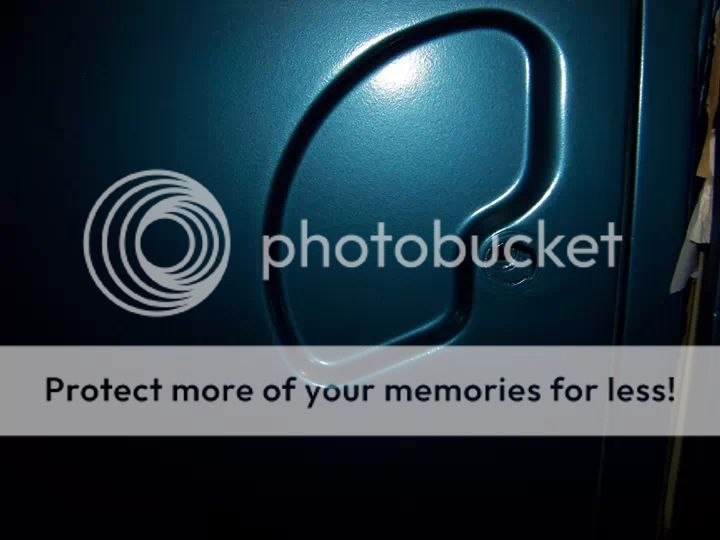
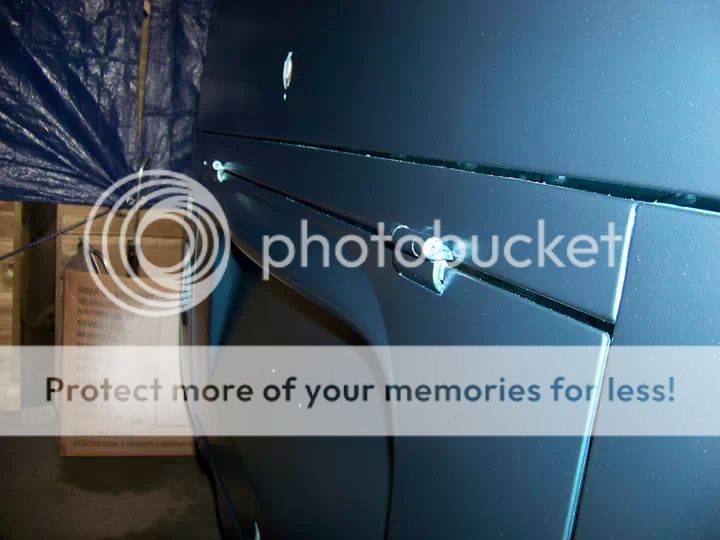
Pictures don't really do the colour any justice.


Sent from my 02_jbla668 using Tapatalk
 
This evening I repainted the dash top satin black


Sent from my 02_jbla668 using Tapatalk
 
Last weekend I got 5-6 coats of lacquer on the bus, I'm leaving it a week and hopefully this weekend I will be able to start wet sanding and polishing to a decent shine/depth of colour.

I have already tested a few areas to check there is enough lacquer to sand/polish back but 2000 grit wet and dry barely touches it, so I've ordered some 1000 grit wet and dry.

I'll start with 1000, then 2000, then poorboys ssr3 and after that ssr1. That should leave me with a pretty decent finish.


Last night I started putting the dash back together, refitted the wiper motor etc.

Sent from my 02_jbla668 using Tapatalk
 
Lots of great work going on here!!! You'll have arms like Popeye when you finished all that wet & dry etc... Keep the pics coming... BTW What paint did you use of the dash pod!?
 
Bay-low71 said:
Lots of great work going on here!!! You'll have arms like Popeye when you finished all that wet & dry etc... Keep the pics coming... BTW What paint did you use of the dash pod!?

The paint I used on the dash was Plastikote Project Paint metallic blue.

Who needs a gym when there's a van to polish!

Sent from my 02_jbla668 using Tapatalk
 
Updates, I started to polish the paint back and it appeared that there weren't enough lacquer on the paint and it kept sanding through before it was smooth.

So I did the best I could before putting 3 more thicker(but more thinned down paint) coats of lacquer back on to reduce the amount of polishing required. I've decided I'm just going to give that finish a quick wet sand with 2500 grit before polishing. I had initially started with 1000 grit to remove the orange peel.

The only panel I didn't re-lacquer was the front panel as that has extra coats of paint already due to the abuse it gets from stones etc.

The top half in pastel white I am going to leave slightly satin because I quite like it that way.

I have also fitted the rear window.


Sent from my 02_jbla668 using Tapatalk
 
Updates: 2 new tyres, front window fitted, most of the lights fitted, a bit of wiring done and some polishing.


Sent from my 02_jbla668 using Tapatalk
 
Updates. Started sorting out the interior a bit. I modified the mounting for the westy bed because I didn't like the poor mounting and thought better of drilling into the fuel tank area.

I have also been working on the leisure battery/audio set up.


You can see in this photo one of the bed modifications. I welded some flat bar to the bed and fabricated it so I could bolt it to the sheet below where the fuel tank enclosure is.
The bolt is where you see a few ground cables and its welded next to where the fuse box and split charge relay is.


On this picture you can see the other modification, similar idea again. The bed is now very solid and I would be comfortable sat on it myself when traveling.


Last evening I spent an hour or two polishing the passenger cab door and sliding door.


I'm still a bit pissed off with the way the paint has come out, its not quite how I expected it but it will do for now. Its given me a bit of experience and it cost me less than £400 to do, I know if I were to do it again I would double the coats of colour, and probably more than double the amount of lacquer.
It was always going to be a compromise painting outside with dust and wind.


Sent from my 02_jbla668 using Tapatalk
 
Updates,

Went in for MOT yesterday and failed on rear brake balance and efficiency.

Stripped both sides and found pads to be contaminated on one side so new pads and cleaned up drums job done. Took it back today and passed not a single advisory.

MOT bloke seemed very surprised by how solid the bus is and how good the underside looks. They even said they didn't really want to fail it first time round on the brakes because the rest of the bus was so good!


I have ordered a blue cab mat and walk through from Harrison's trim supplies/toe rags truck mats. I also picked up 4m of easy liner in smoke while there.
So today after getting back from the MOT I started fitting some 2mm neoprene onto the cargo floor, roof and over the engine bay to absorb some sound. On top of this in the roof is some of that bubble loft insulation. The above engine bay area will be carpeted with the easy liner. I will also be putting more neoprene onto the front wheel arches and then covering them with easy liner.


Sent from my 02_jbla668 using Tapatalk
 
Updates,

Audio set up pretty much finished.


[photobucket]http://s1298.photobucket.com/user/rlepecha/media/River/VID_20140407_172615_zpsrm6wzcrq.mp4.html[/photobucket]

And thermo-mats arrived so fitted them.


Took my first drive out in the bus on Sunday, I really like how it drives so have been using it to go to work this week! Can't wait to finish it now.


Sent from my 02_jbla668 using Tapatalk
 

Latest posts

Top