MetPeter
Well-known member
Hi!
After a long time of reading nice stories and watching cool pics on Earlybay.com, it’s time to start my own thread!
I’ve driven for years in a ’72 crossover baywindow, but sold it because of a (simple) resto of a ’65 Bug. In 2011 I’ve sold the Bug to search serious for a nice earlybay. December 2011 I’ve found a ’69 Deluxe in California. . .
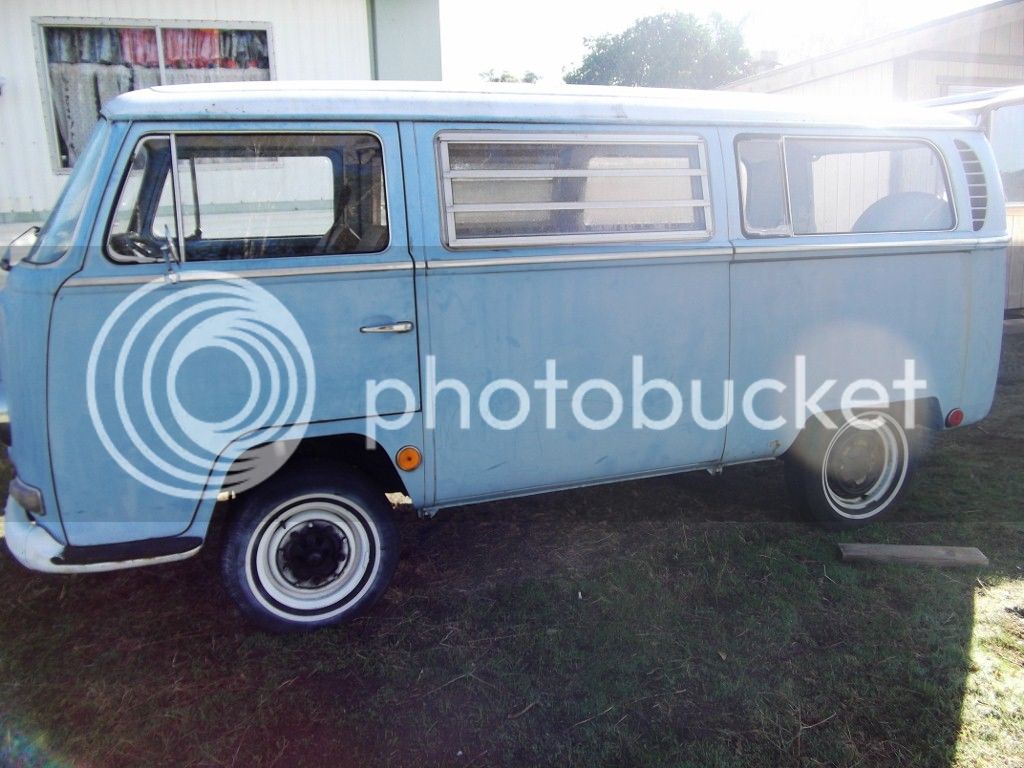

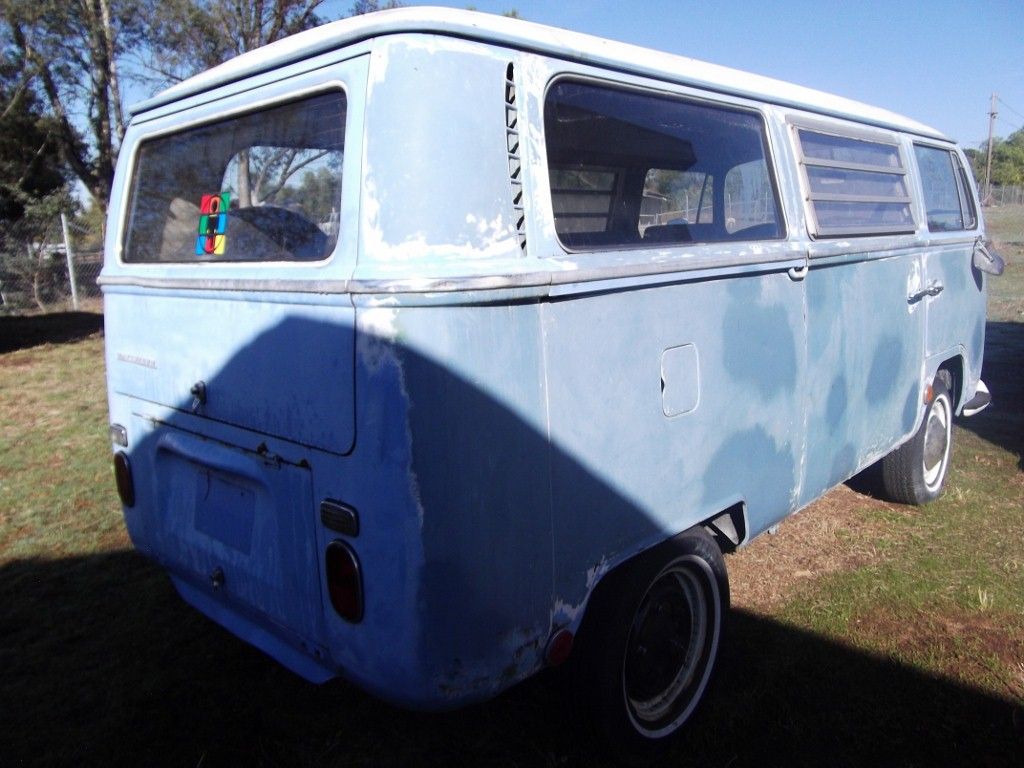
I’ve bought the bus, with the knowledge of some welding and without an engine. The engine isn’t the problem because I already have an 1835cc waiting Before I decide to buy it, the seller send me several pics of the bodywork: it seems ‘do-able’.
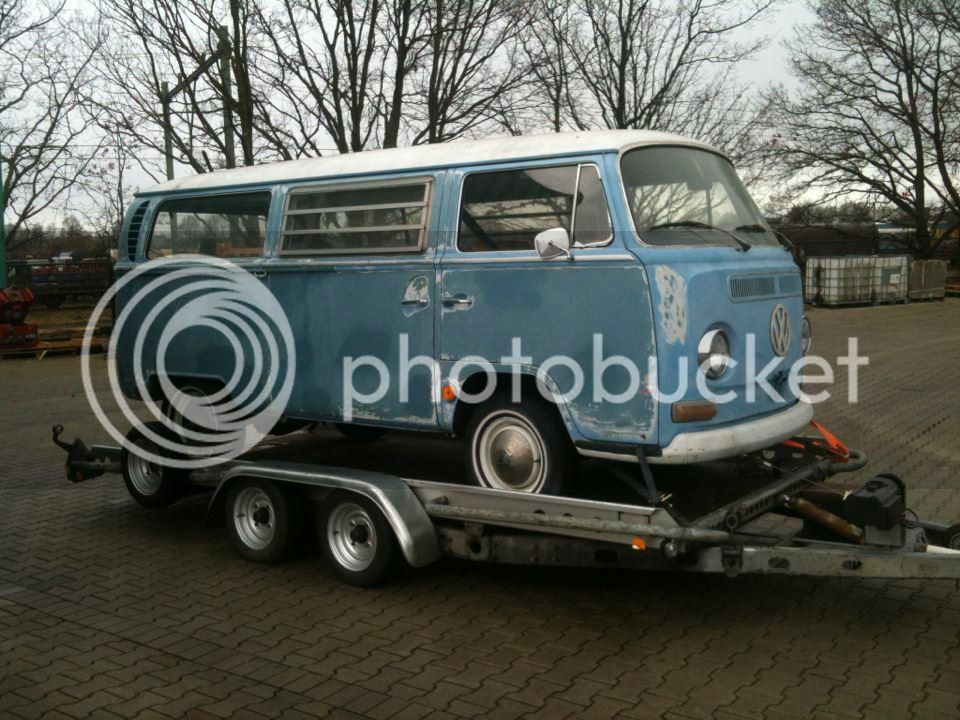
End of January 2012 the bay arrived in Holland . . . then the real project starts ;-) We had to take a look at the body and underside. As I already know, it needed some welding at several points. The batterytray was gone and the outside rockers had some rust.

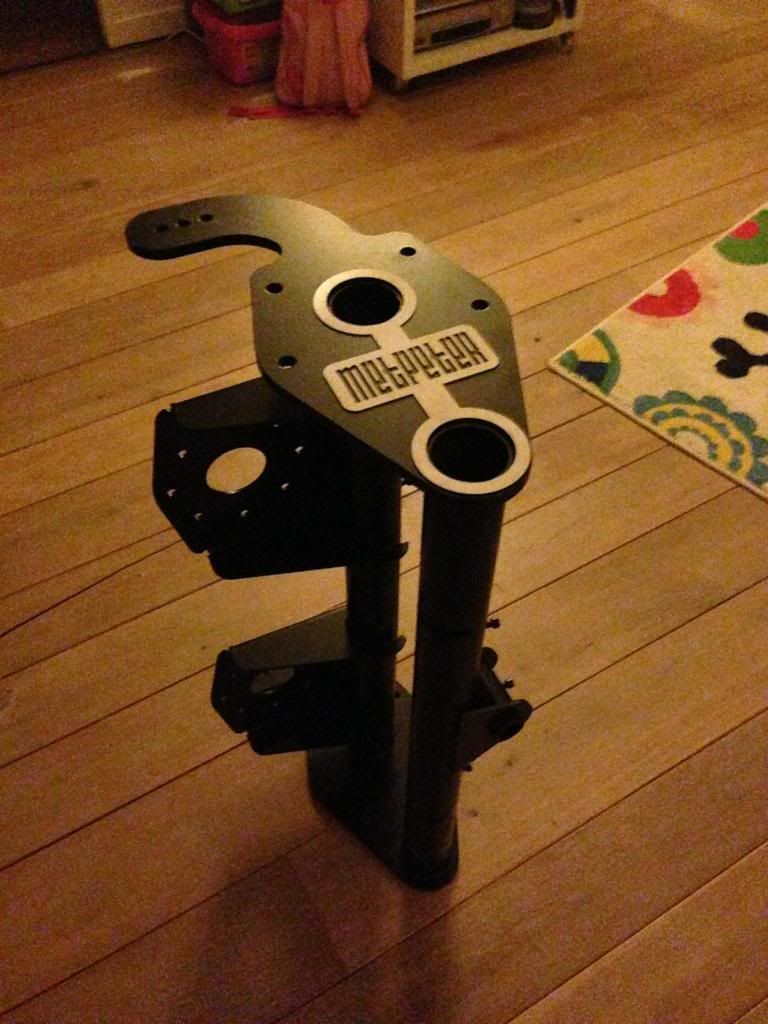
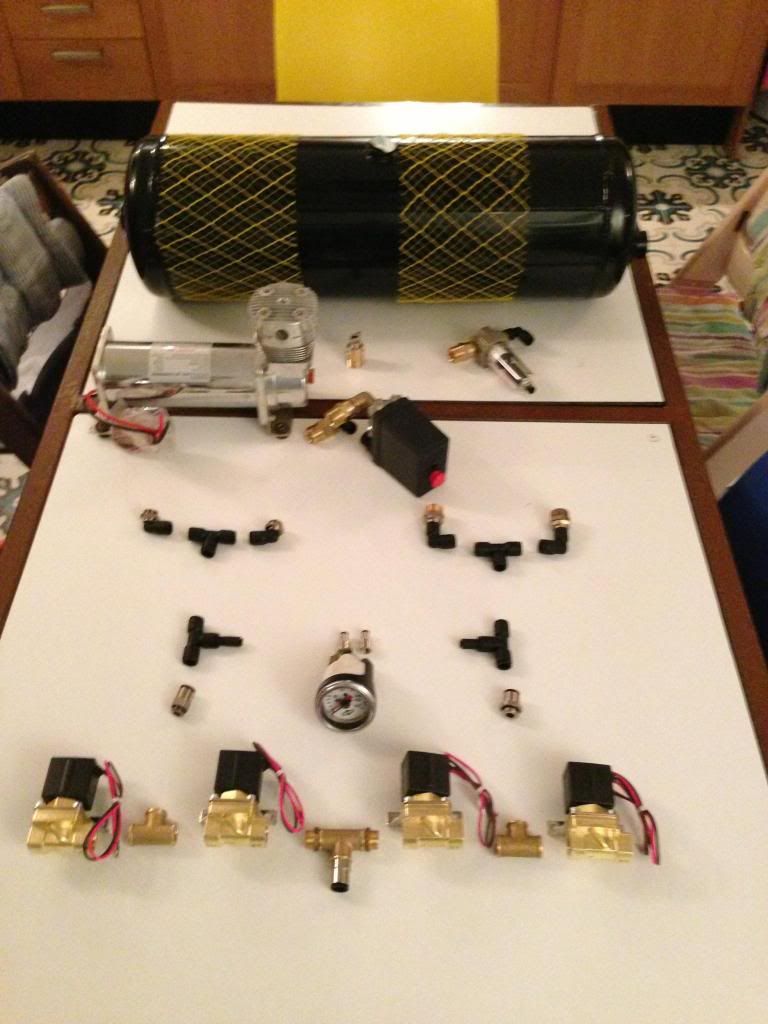
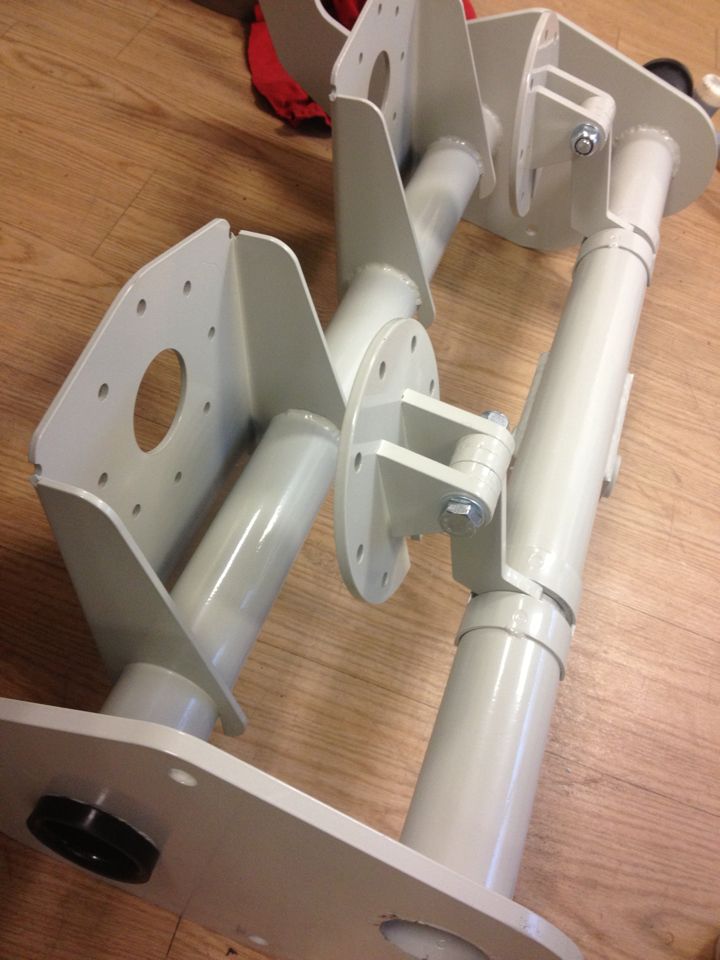
The first months the bay was standing somewhere else so they can weld the bad parts. In the meanwhile I’ve searched for some nice slamming stuff ;-) I’m going to install an air-ride beam from Qustoms at the front. For the back I’ve ordered a nice set of Slamwerk springplates and some airshocks from Gabriel.
When the bus getting back from the welder, I finally can start with some work myself . . .
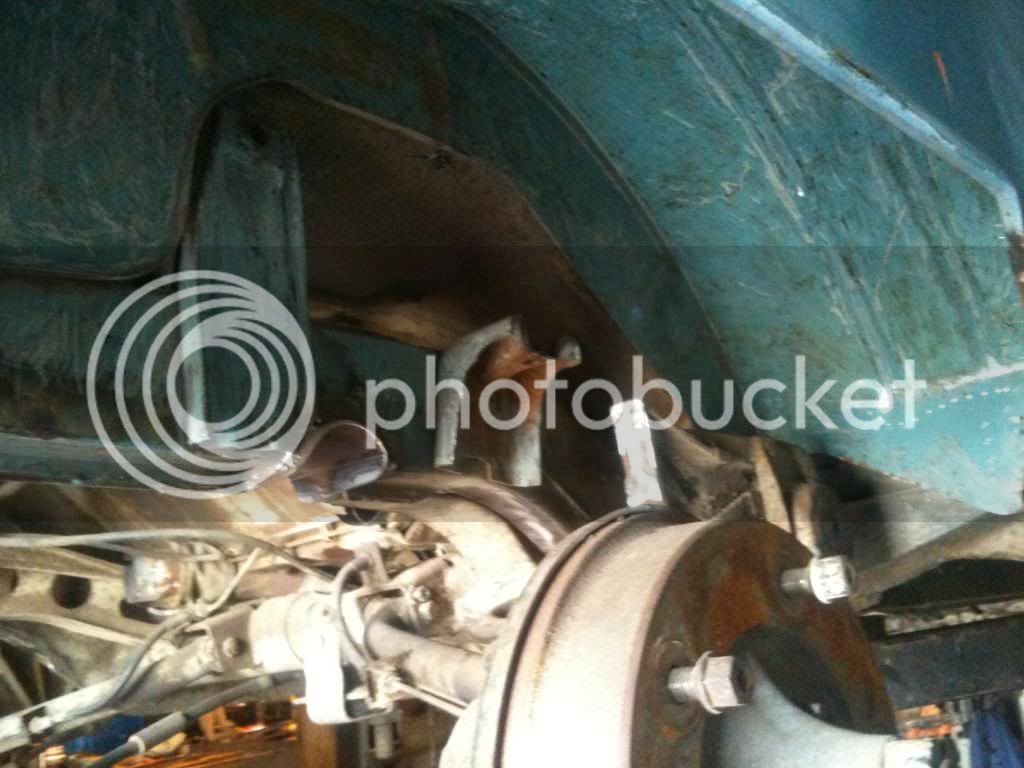
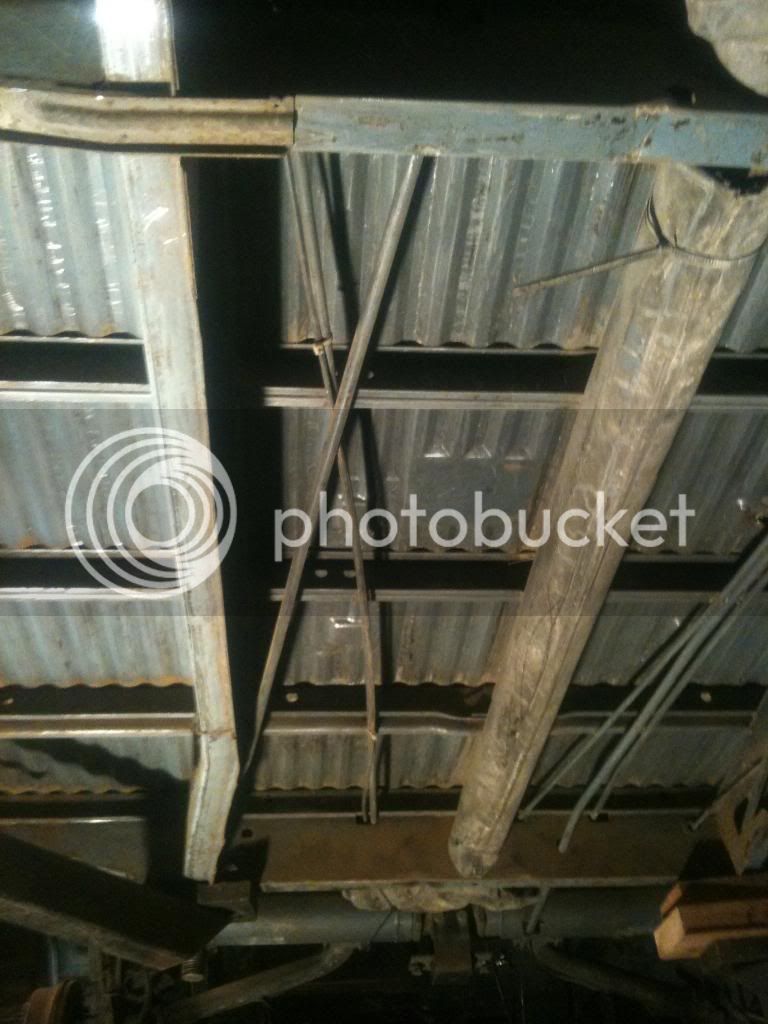
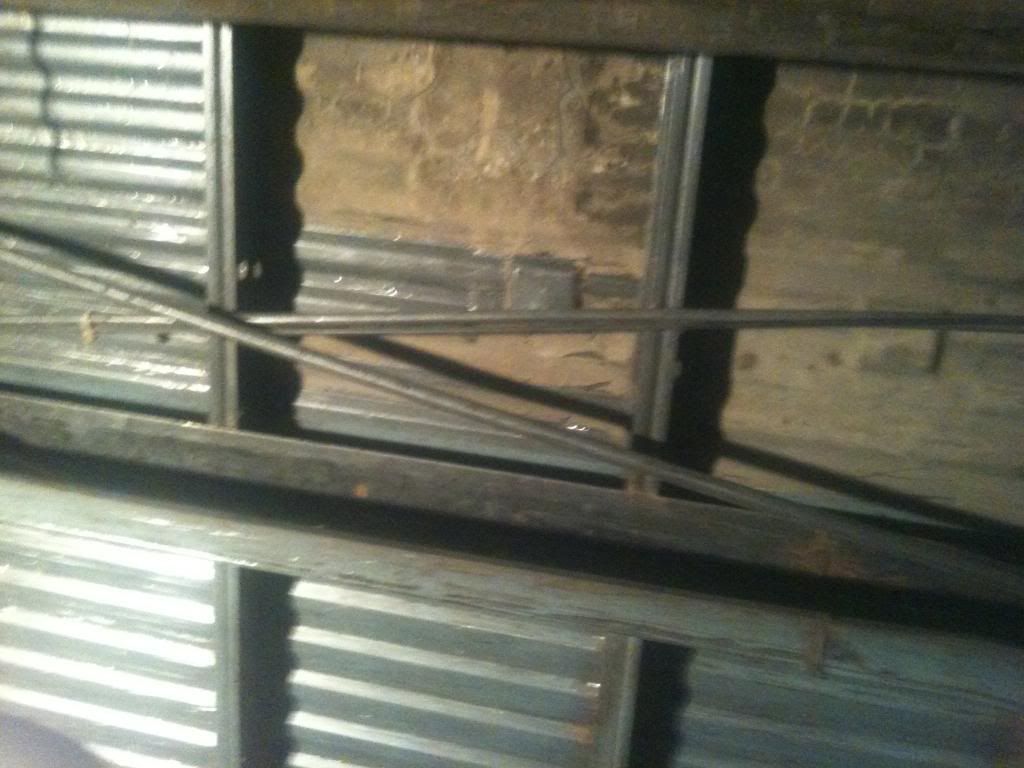
First make some little cut-outs to notch the back.
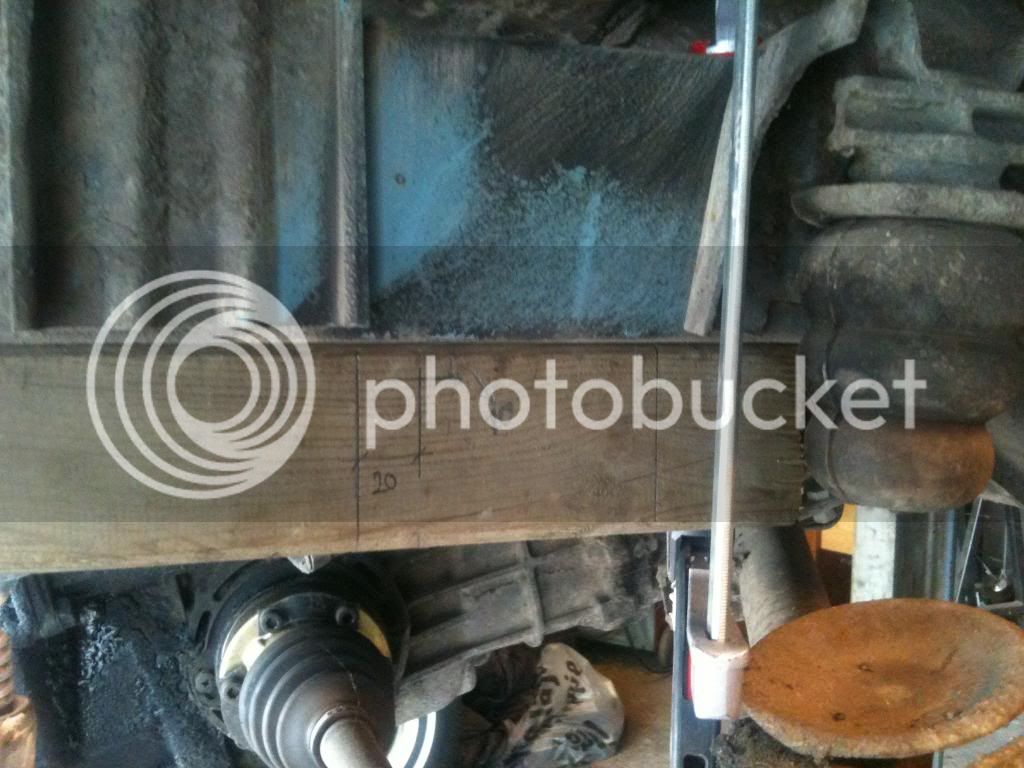
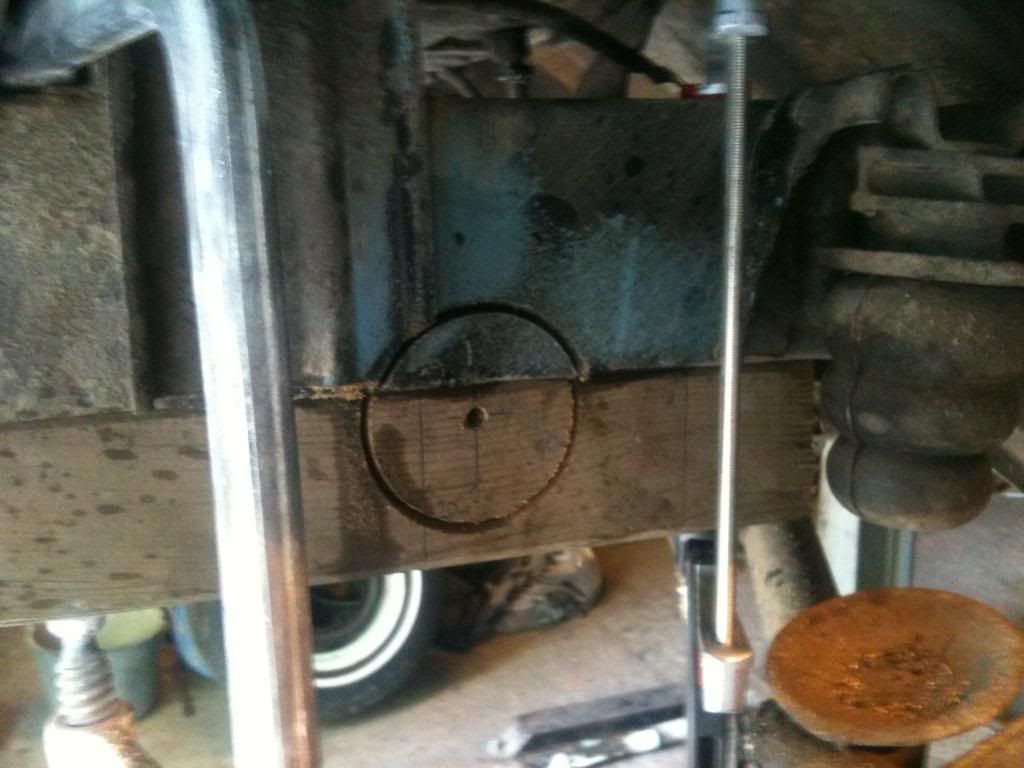
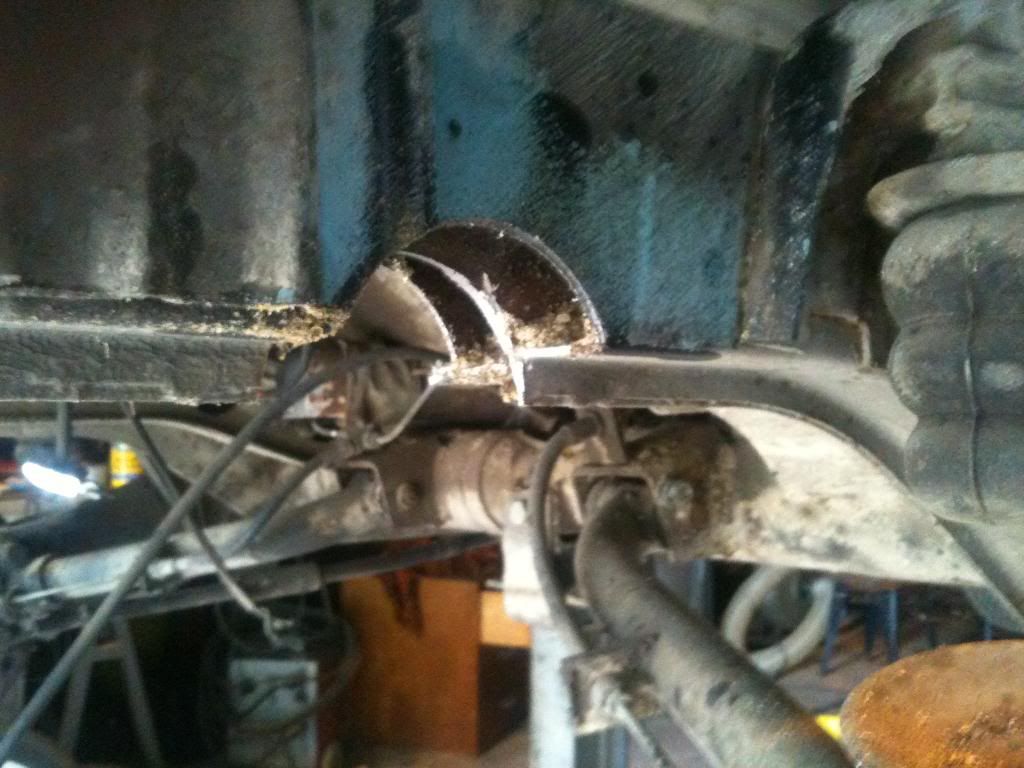
And after some welding . . .
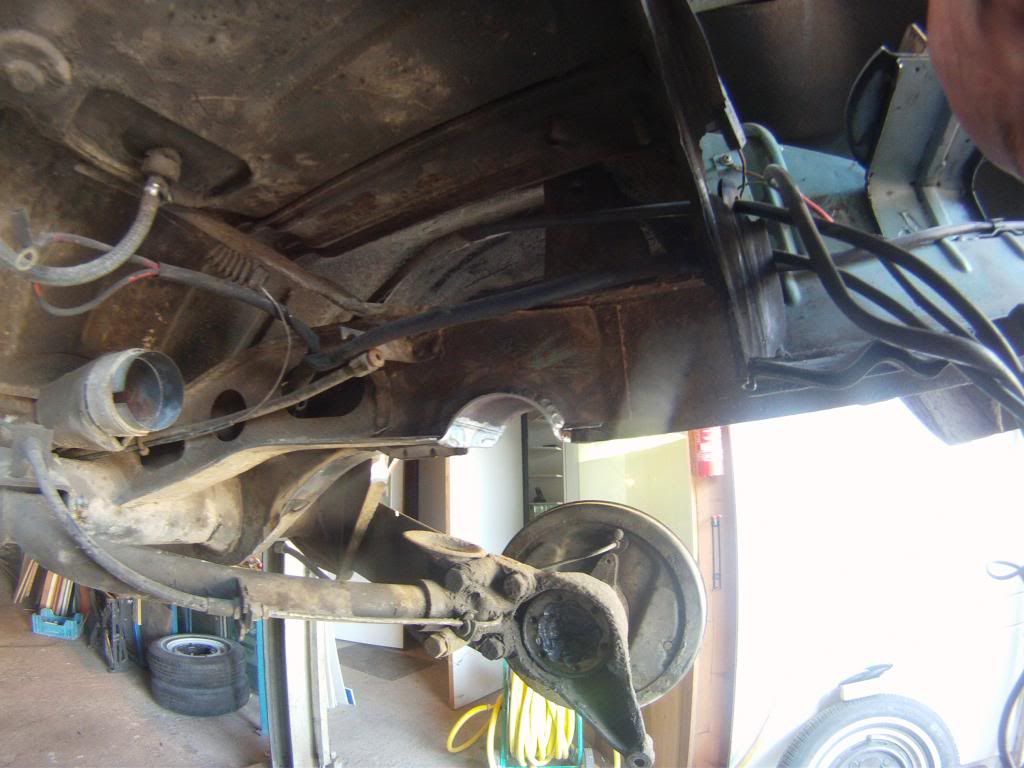
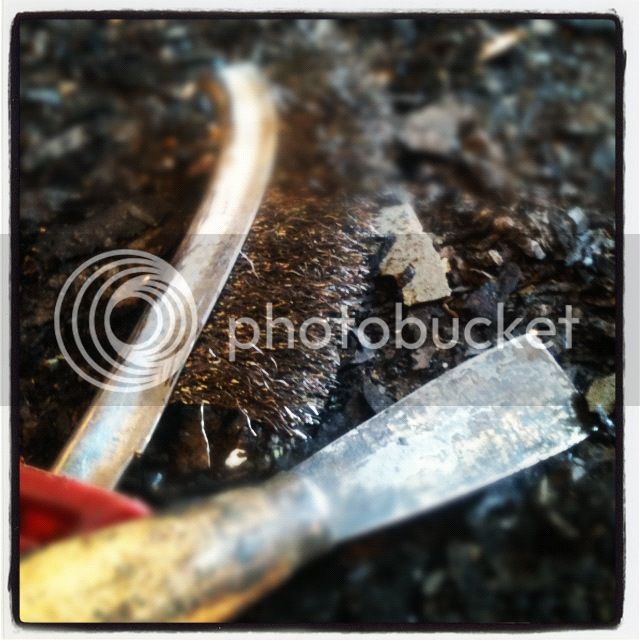
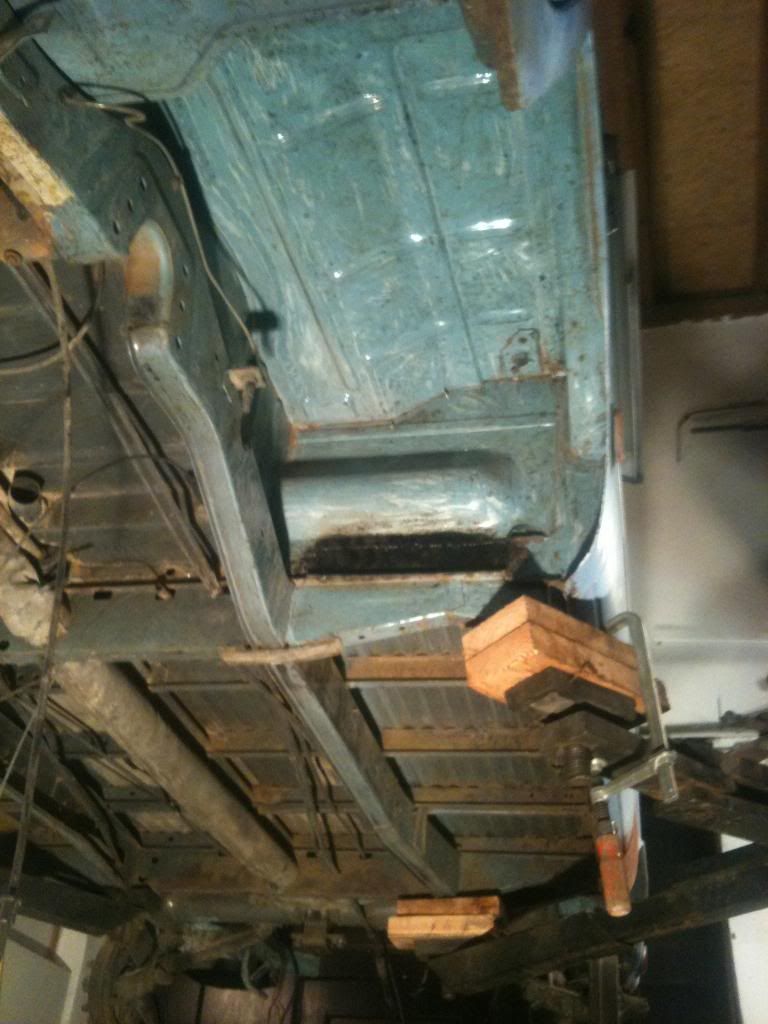
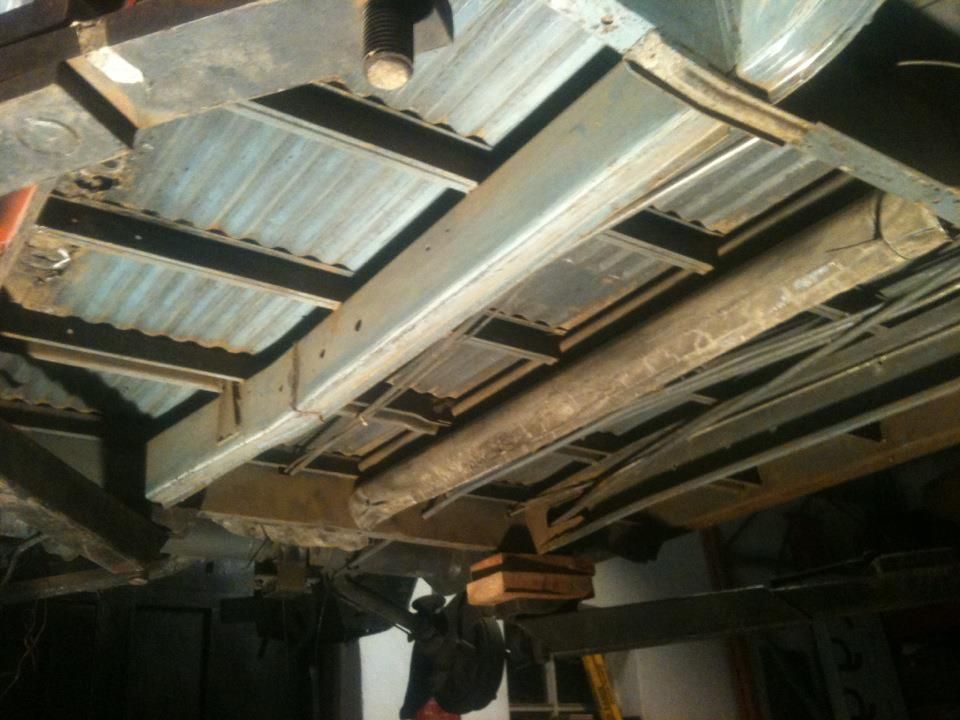
After notching the long and dirty jobs starts: make the full bottom clean, damn what a hell of a job!
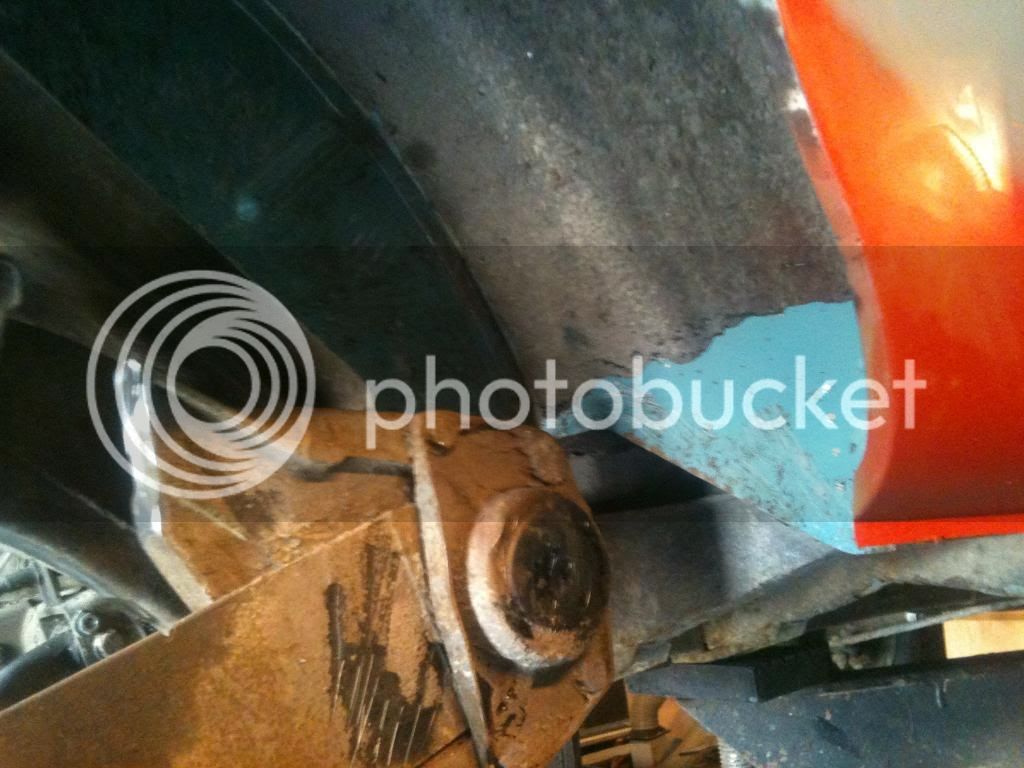
Underneath the old dirty tarmac surface is a shiny blue colour hidden, me happy!
After months of dirty faces (once a week) the bottom’s ready for the next step!
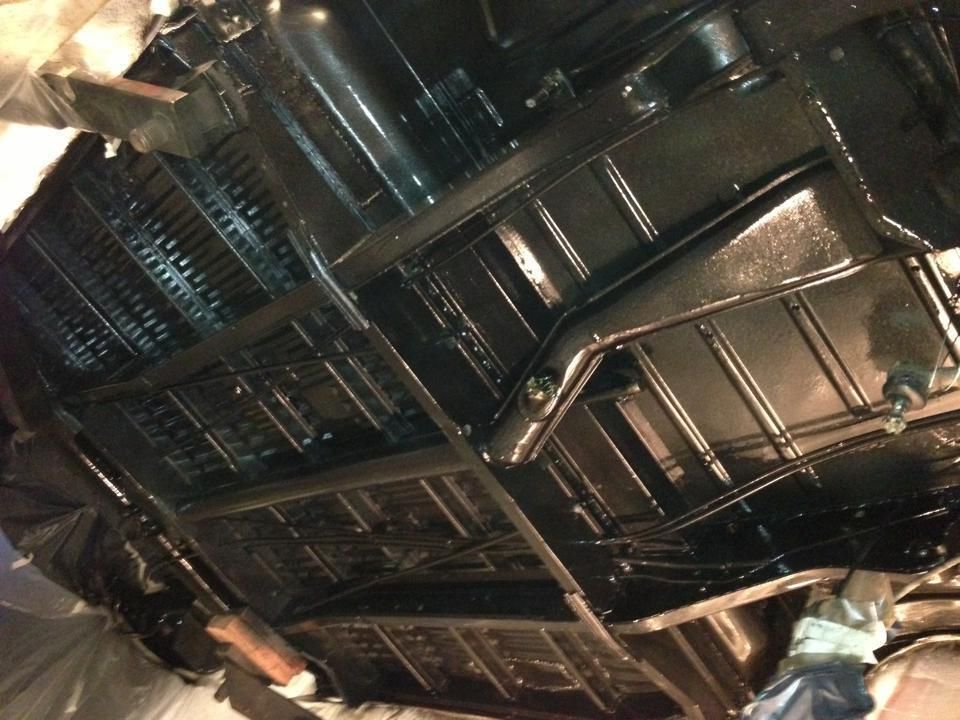
First degreased every part and piece, then sprayed an anti-rust layer RX5. After that painted it black with RX10.
At some time, finally the new beam arrived . . . but damn! This one don’t fit my bay. The bolt holes for fitting underneath the chassis aren’t good. Also the color is wrong . . .
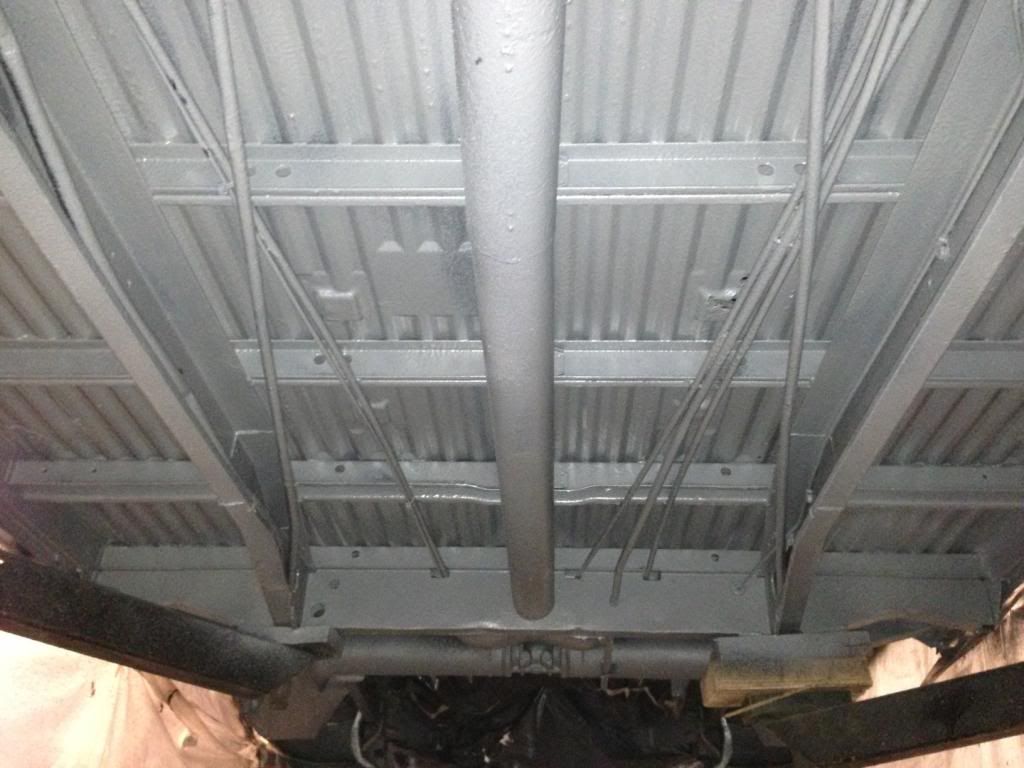
Mr. Qustoms is making a new one . . . I canb go further on with the bottom. I’ve sprayed the third layer with overspayable stone chip from Motip. Looks already good . . .
Three weeks ago I’ve sprayed the last layer: L53h (Brilliant blue)!! It turned out very wel (for a bottom). But then an accident happen! I began building up the backside with the new Slamwerks springplates. The bus is about 1.60 meters above the ground on the bridge. I want to let it down and then BANG! The baywindow collapsed between the bridge! One of the spindles in the bridge arms broked and fell to the floor . . .
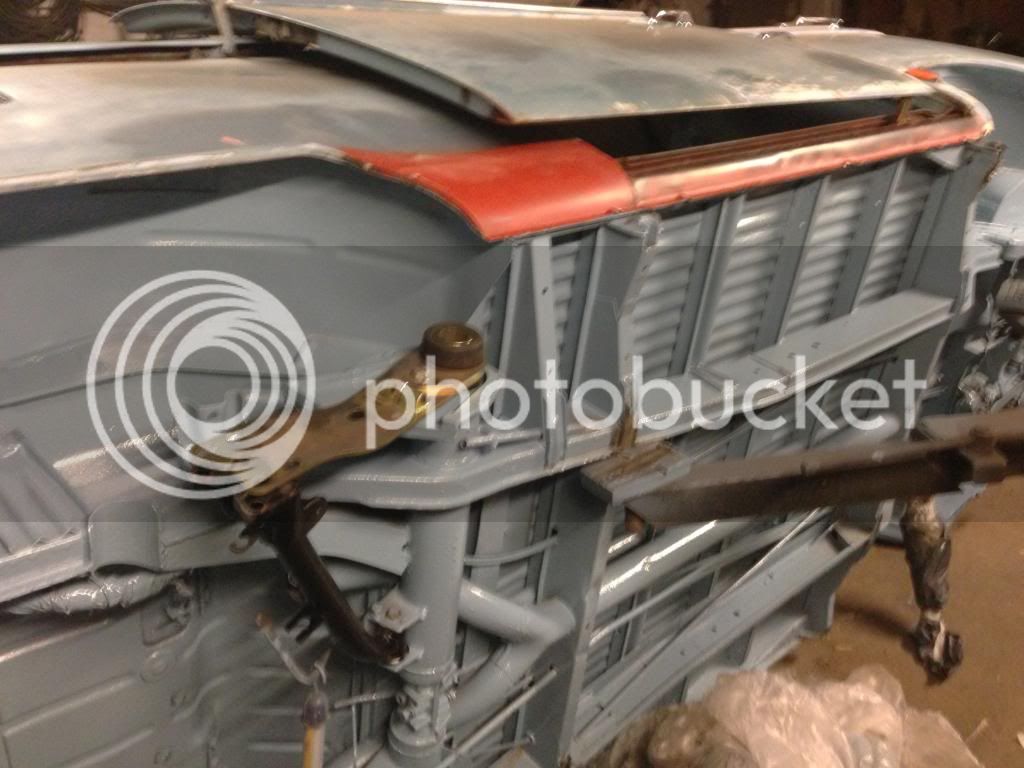
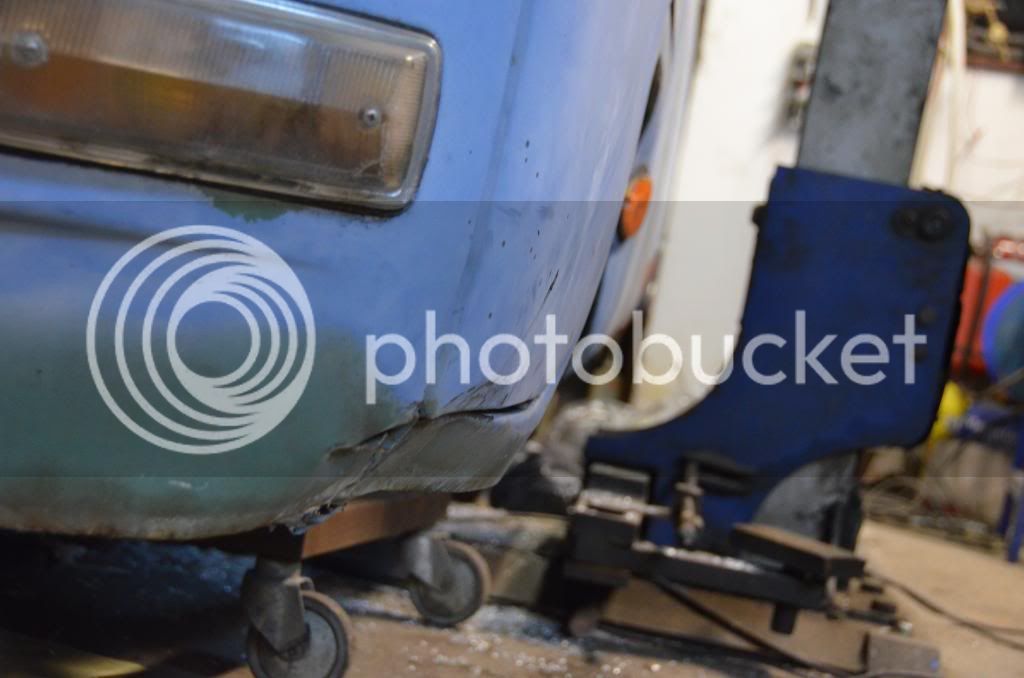
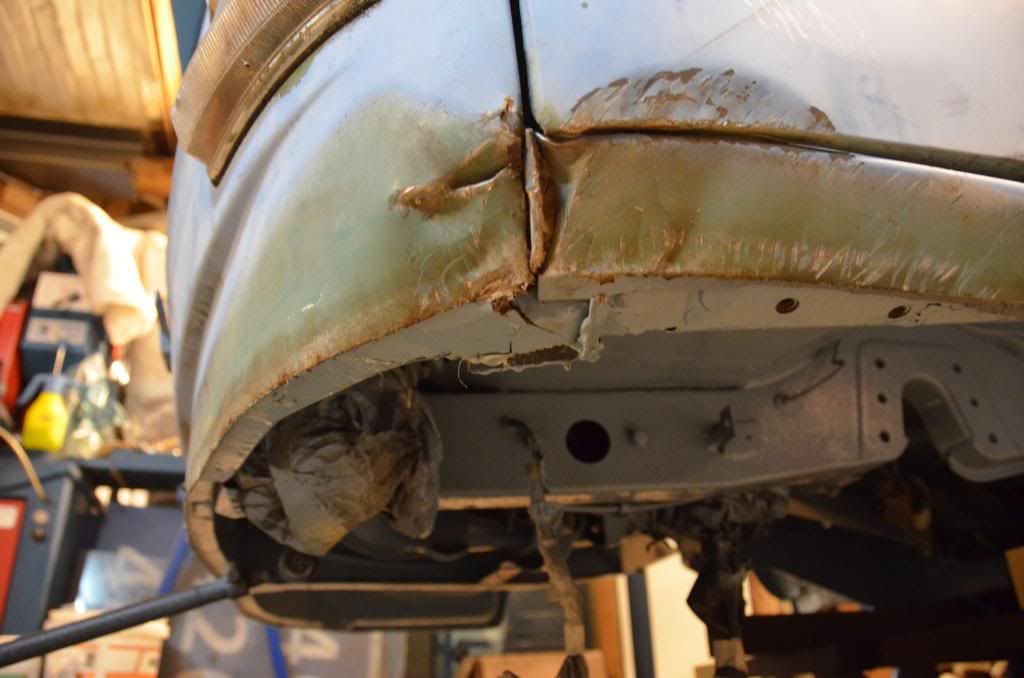
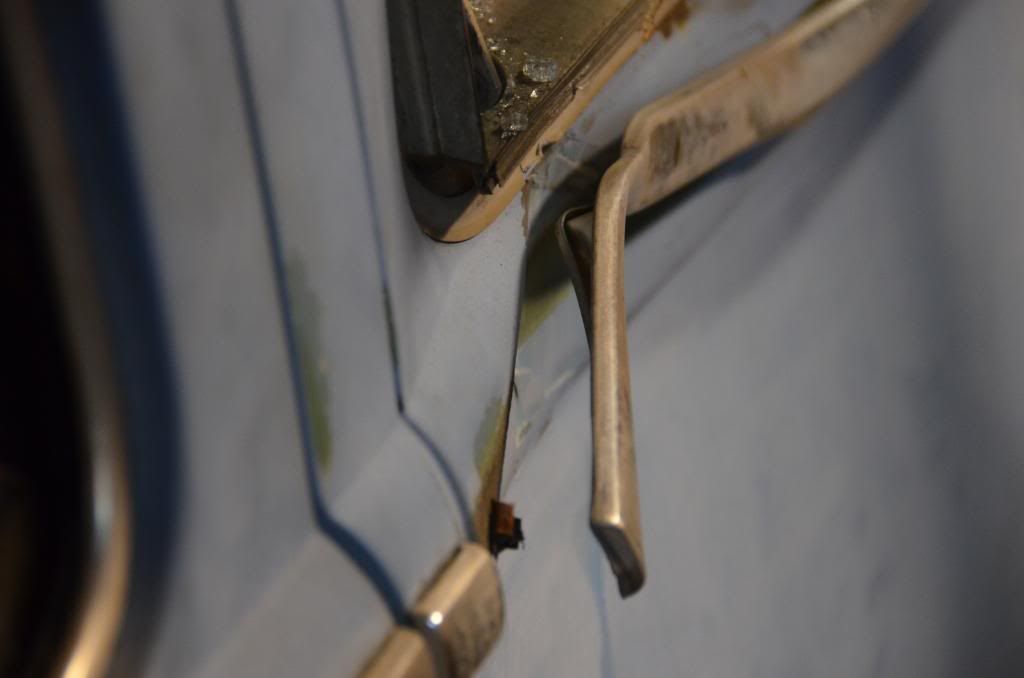
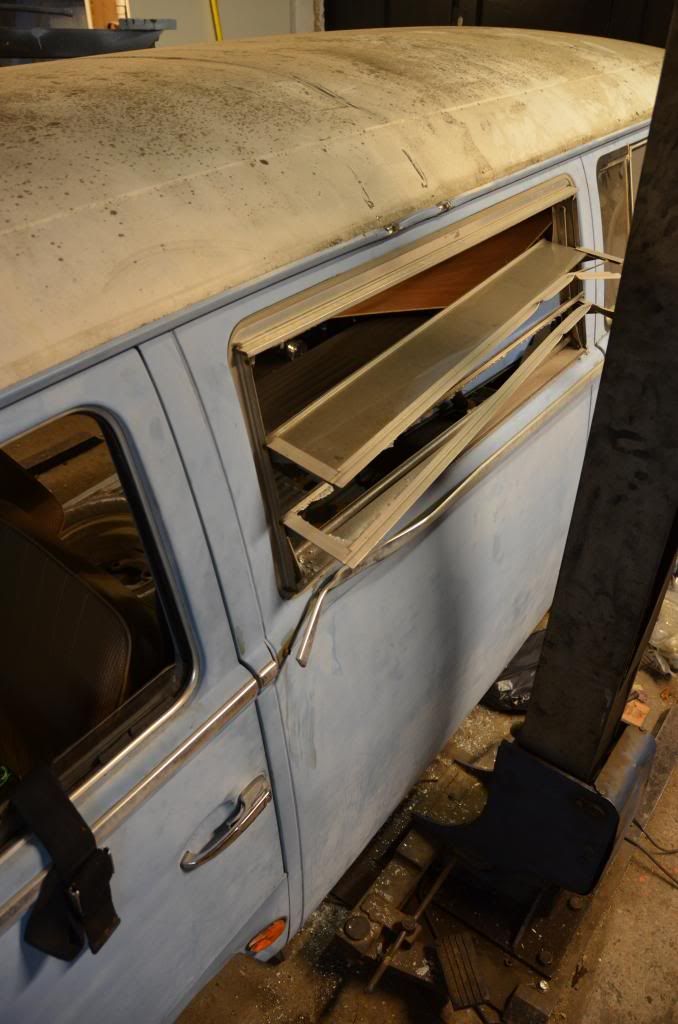
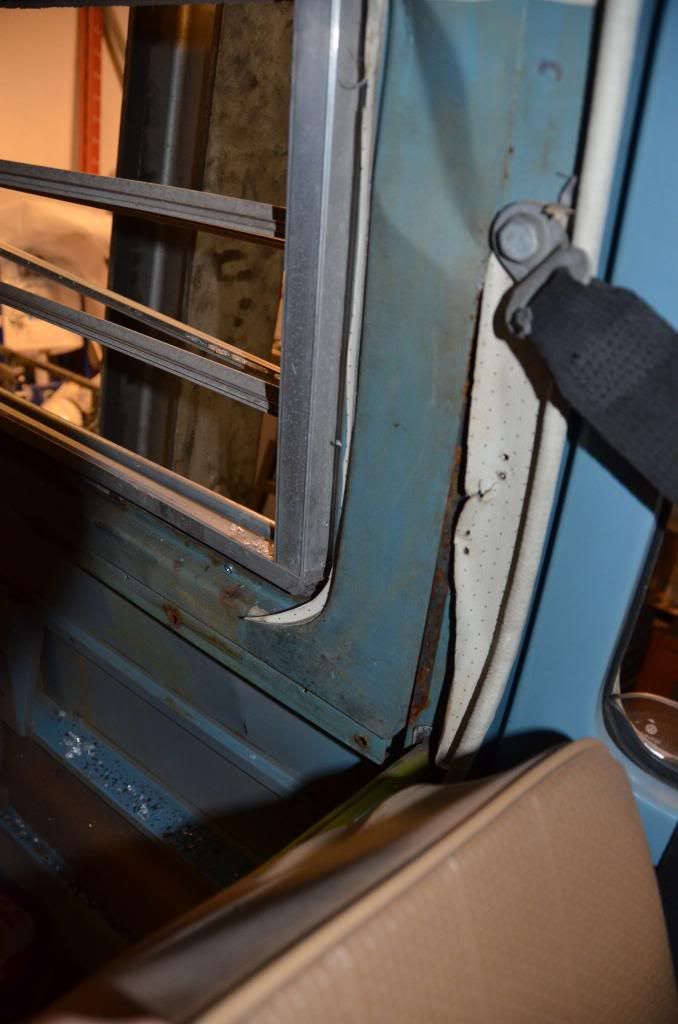
With a few guys we’ve placed it on a few ‘doggywheels’ . . . then we could examine the damage of the leftside. The bay has first touched the floor at the front corner. The door only opens a few inches. Then the louvred window is waisted, underneath it there is nice dent, also the deluxe trim is damaged. In the roof a little dents, the roofrails is folded. The outside rocker has to be replaced . . .
Damn . . . . that’s gonna hurt my wallet I’m thinking ;-) My friends (MychaType3) already named the bay Lefty . . . called this thread the same :lol:


Well, that’s it for today ;-)
Posting updates soon!
Peter
After a long time of reading nice stories and watching cool pics on Earlybay.com, it’s time to start my own thread!
I’ve driven for years in a ’72 crossover baywindow, but sold it because of a (simple) resto of a ’65 Bug. In 2011 I’ve sold the Bug to search serious for a nice earlybay. December 2011 I’ve found a ’69 Deluxe in California. . .
I’ve bought the bus, with the knowledge of some welding and without an engine. The engine isn’t the problem because I already have an 1835cc waiting
Before I decide to buy it, the seller send me several pics of the bodywork: it seems ‘do-able’.
End of January 2012 the bay arrived in Holland . . . then the real project starts ;-) We had to take a look at the body and underside. As I already know, it needed some welding at several points. The batterytray was gone and the outside rockers had some rust.
The first months the bay was standing somewhere else so they can weld the bad parts. In the meanwhile I’ve searched for some nice slamming stuff ;-) I’m going to install an air-ride beam from Qustoms at the front. For the back I’ve ordered a nice set of Slamwerk springplates and some airshocks from Gabriel.
When the bus getting back from the welder, I finally can start with some work myself . . .
First make some little cut-outs to notch the back.
And after some welding . . .
After notching the long and dirty jobs starts: make the full bottom clean, damn what a hell of a job!
Underneath the old dirty tarmac surface is a shiny blue colour hidden, me happy!
After months of dirty faces (once a week) the bottom’s ready for the next step!
First degreased every part and piece, then sprayed an anti-rust layer RX5. After that painted it black with RX10.
At some time, finally the new beam arrived . . . but damn! This one don’t fit my bay. The bolt holes for fitting underneath the chassis aren’t good. Also the color is wrong . . .
Mr. Qustoms is making a new one . . . I canb go further on with the bottom. I’ve sprayed the third layer with overspayable stone chip from Motip. Looks already good . . .
Three weeks ago I’ve sprayed the last layer: L53h (Brilliant blue)!! It turned out very wel (for a bottom). But then an accident happen! I began building up the backside with the new Slamwerks springplates. The bus is about 1.60 meters above the ground on the bridge. I want to let it down and then BANG! The baywindow collapsed between the bridge! One of the spindles in the bridge arms broked and fell to the floor . . .
With a few guys we’ve placed it on a few ‘doggywheels’ . . . then we could examine the damage of the leftside. The bay has first touched the floor at the front corner. The door only opens a few inches. Then the louvred window is waisted, underneath it there is nice dent, also the deluxe trim is damaged. In the roof a little dents, the roofrails is folded. The outside rocker has to be replaced . . .
Damn . . . . that’s gonna hurt my wallet I’m thinking ;-) My friends (MychaType3) already named the bay Lefty . . . called this thread the same :lol:
Well, that’s it for today ;-)
Posting updates soon!
Peter