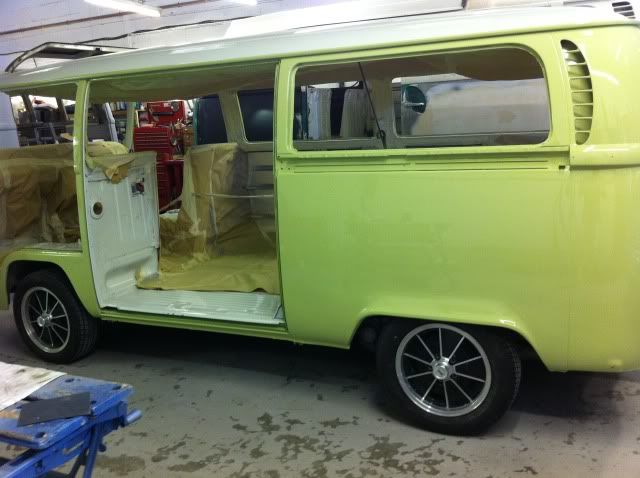
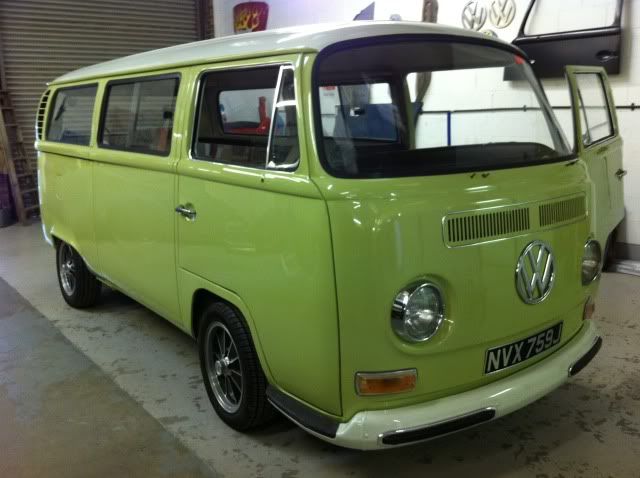
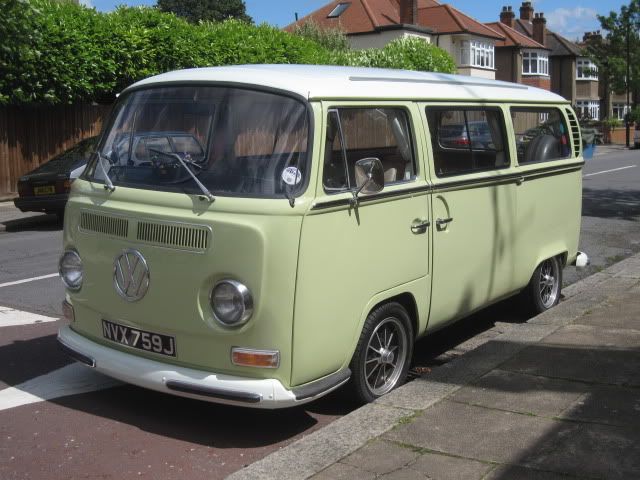
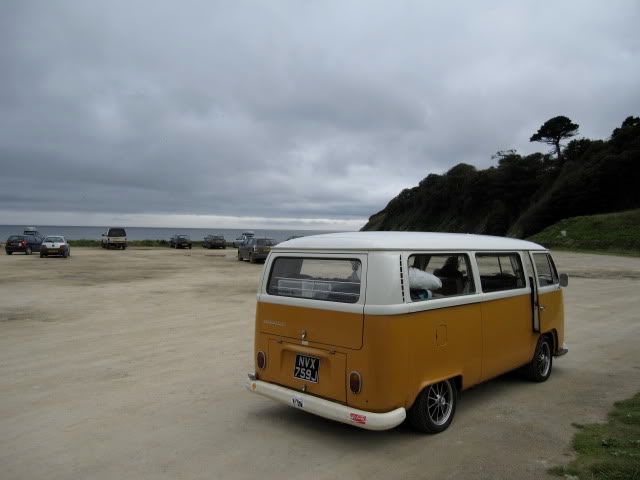
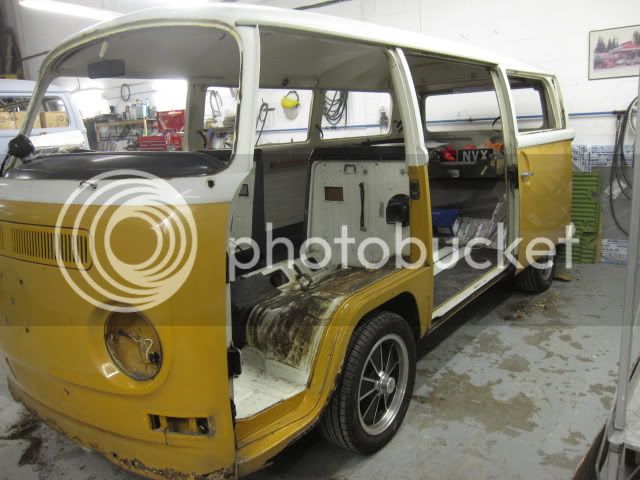
this is the sierra yellow/white van in the EB banner pic above taken at the EB lineup at Volksworld show 4 (?) years ago
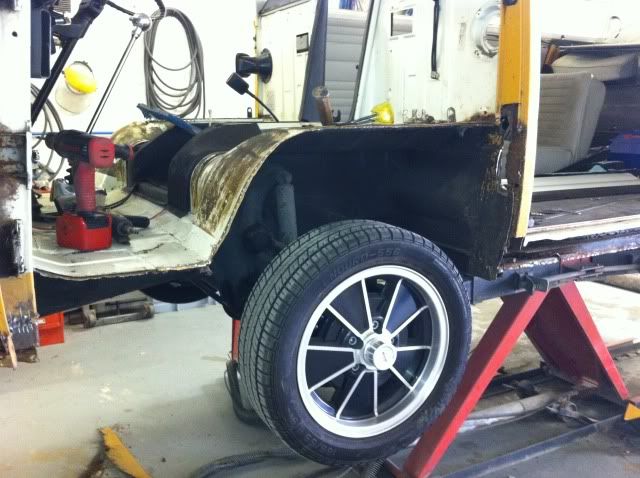
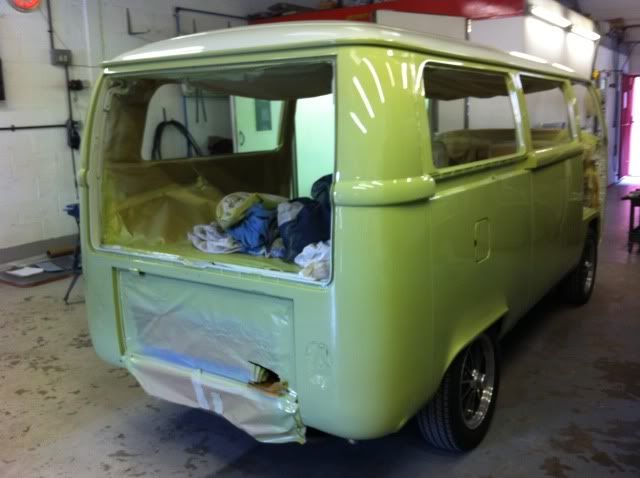
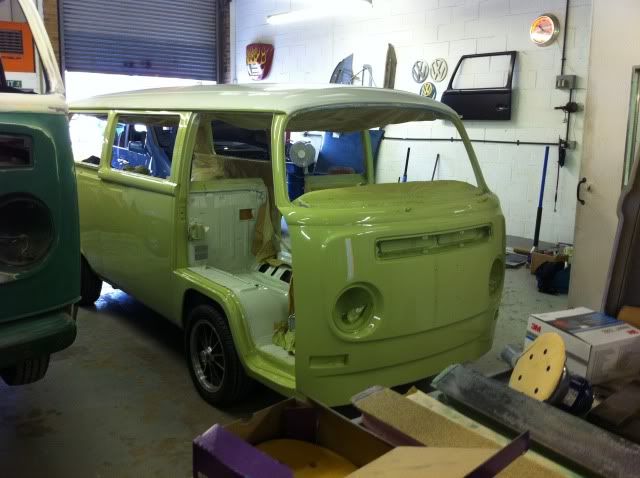
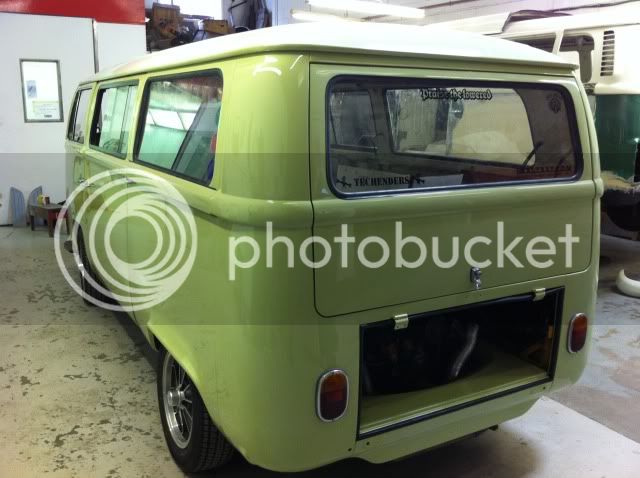
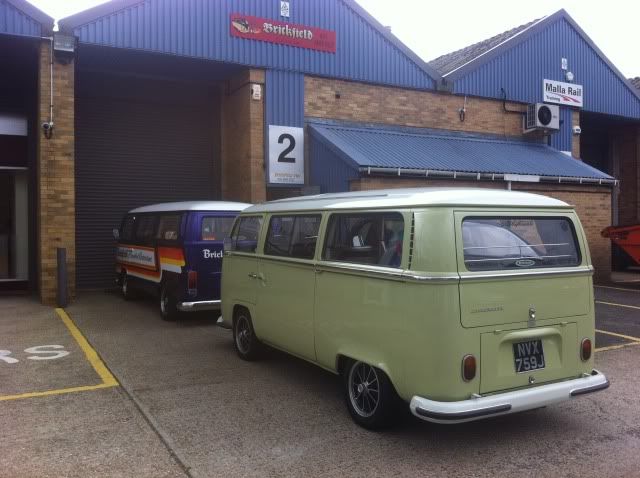
now in local VW bodyshop
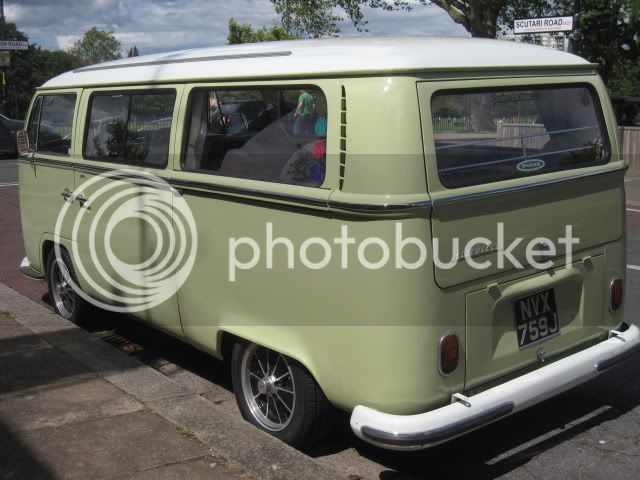
on the 'road'
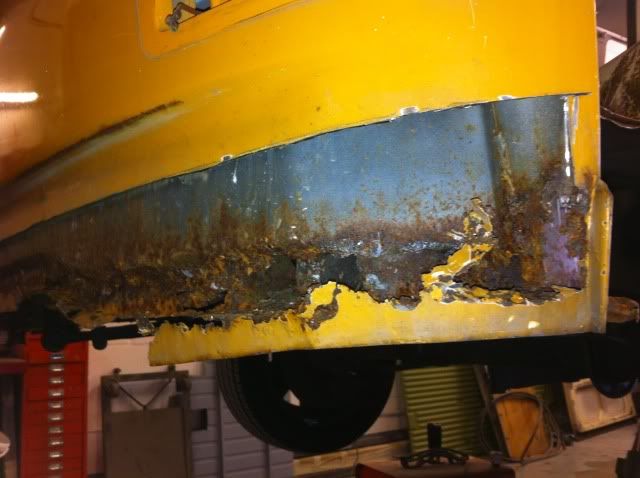
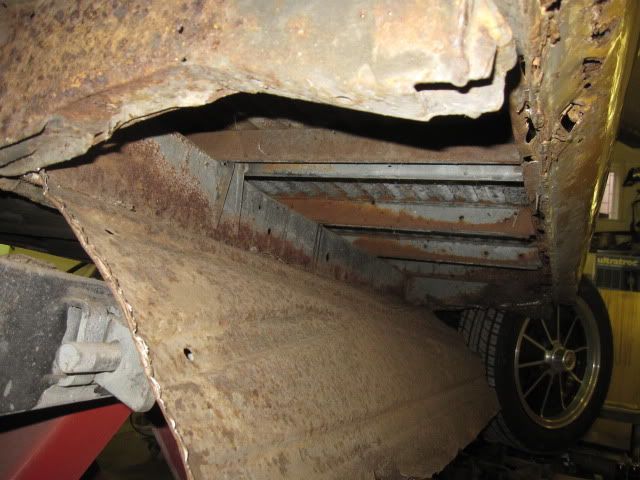
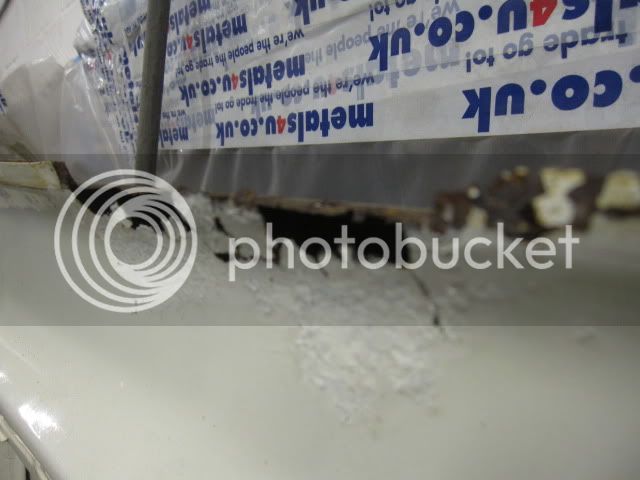
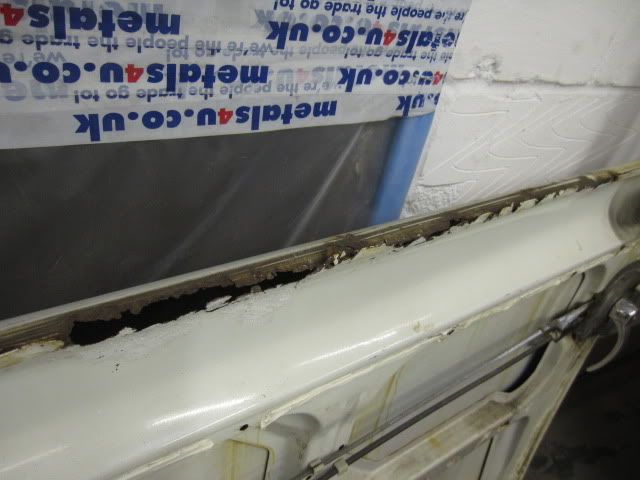
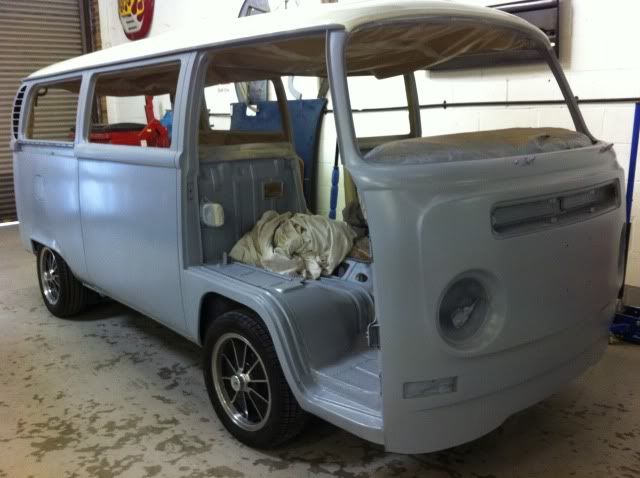
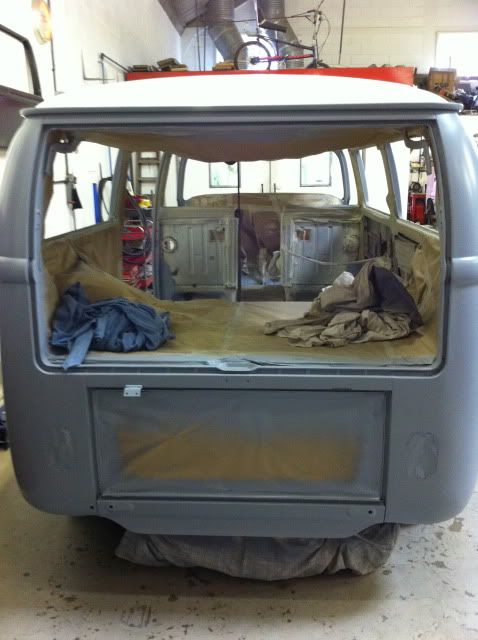
stripped and the usual rust revealed
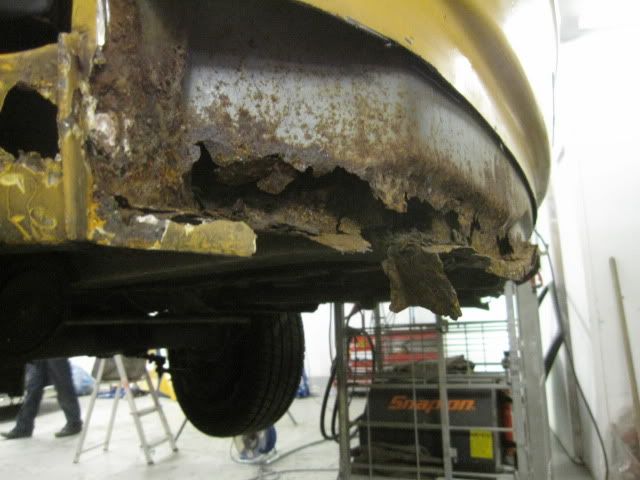
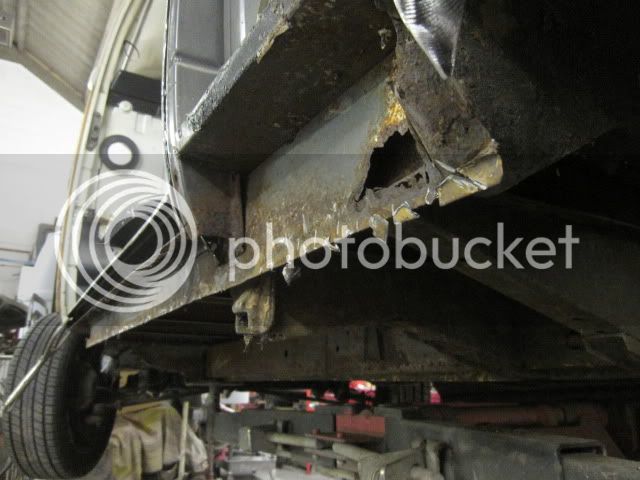
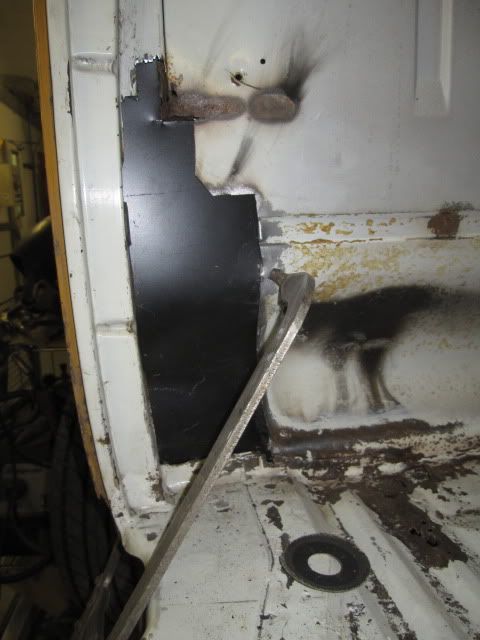
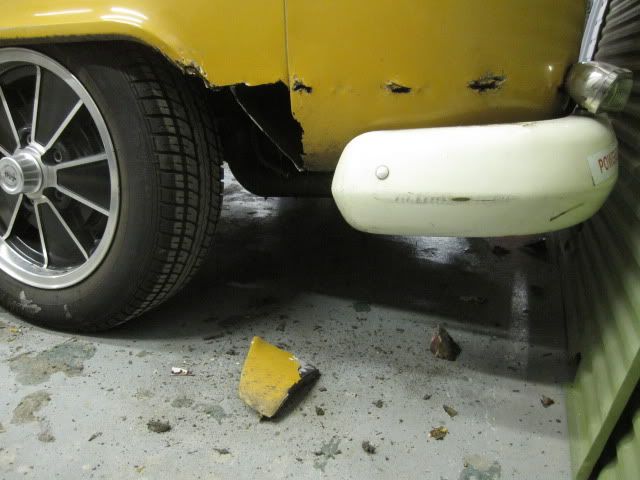
lurking behind the front bumper

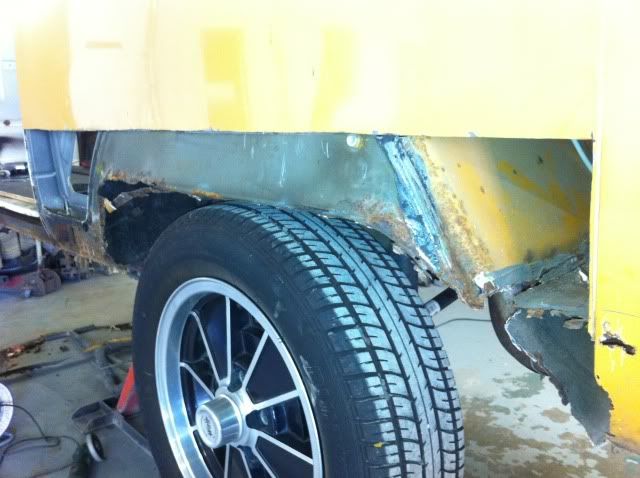
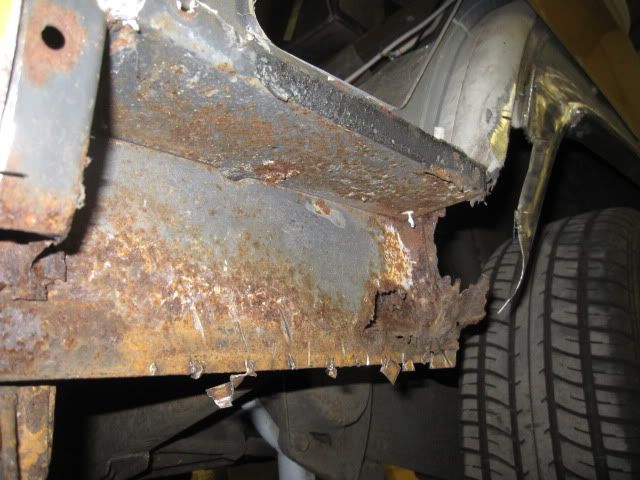
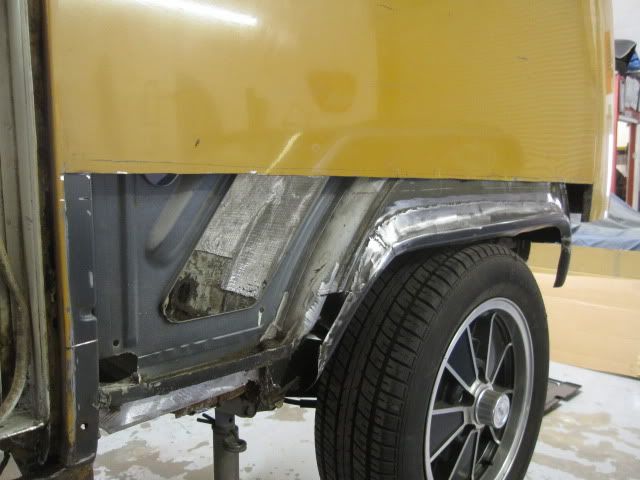
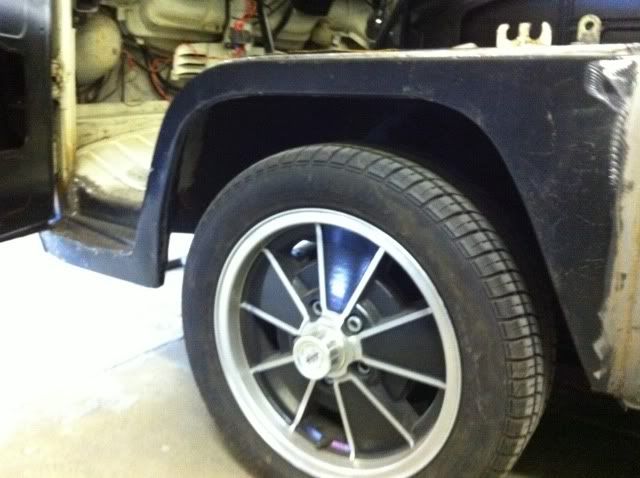
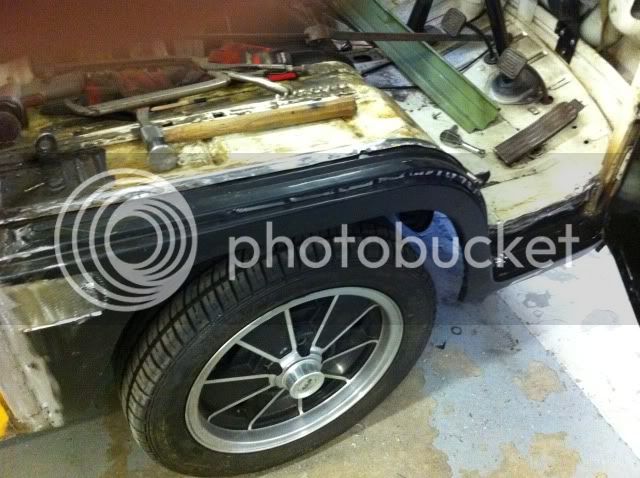
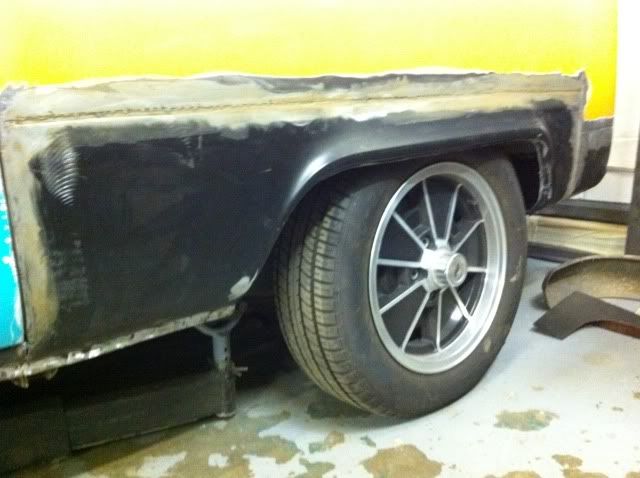
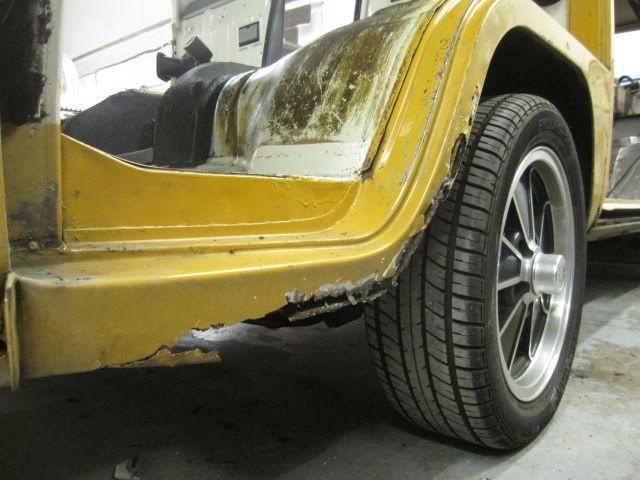
front arch
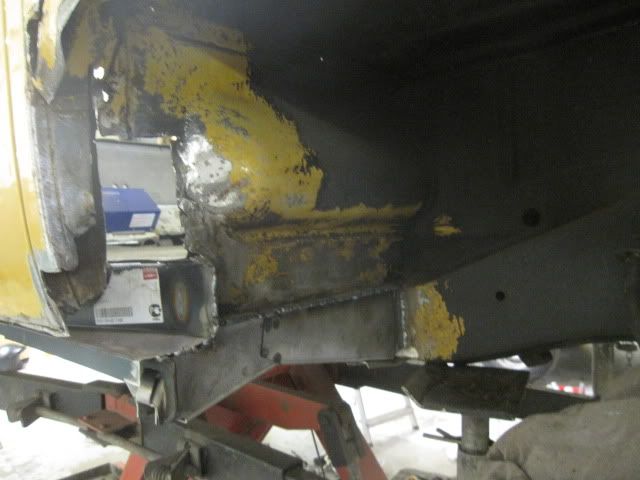
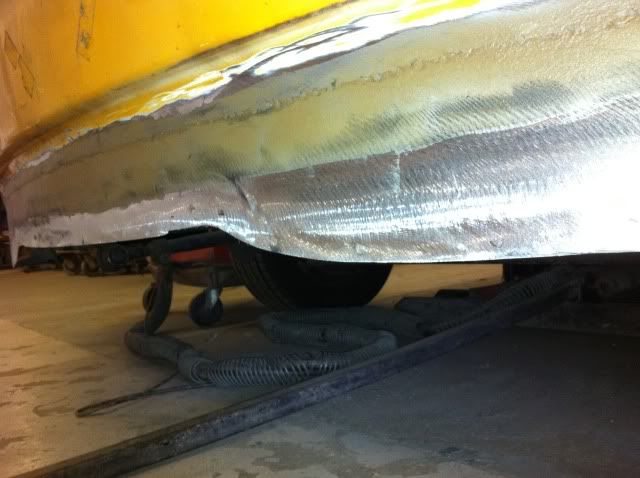
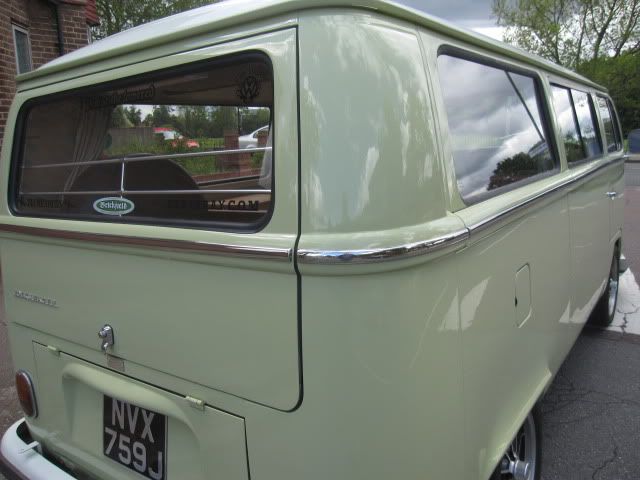
rear arch

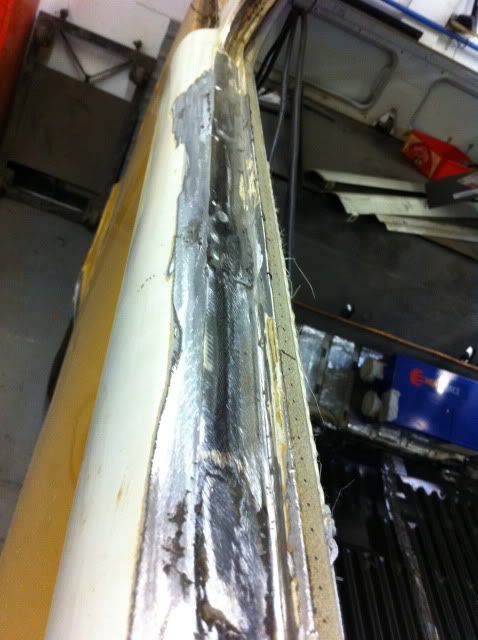
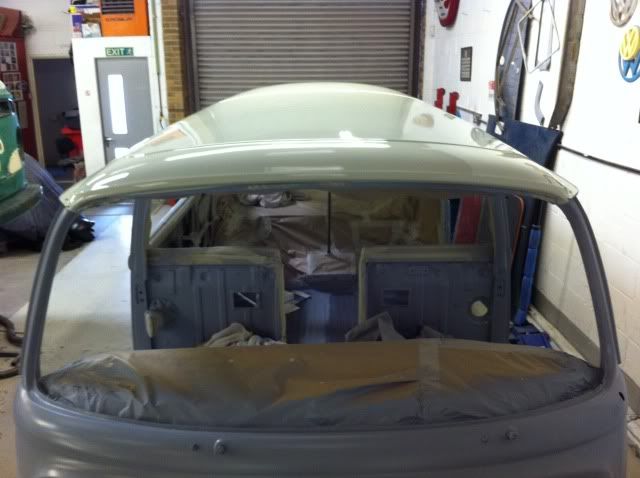
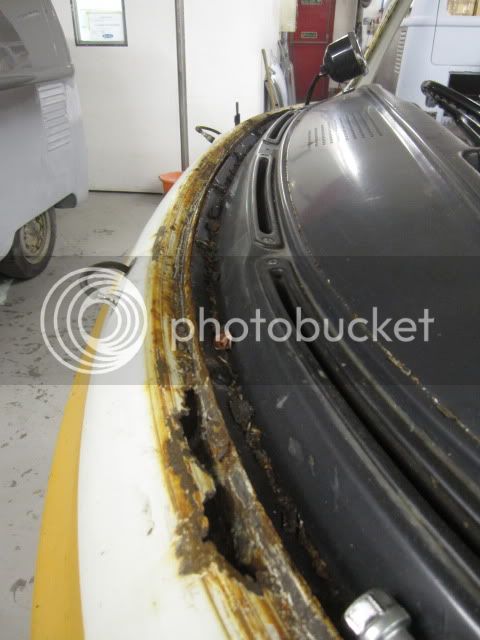
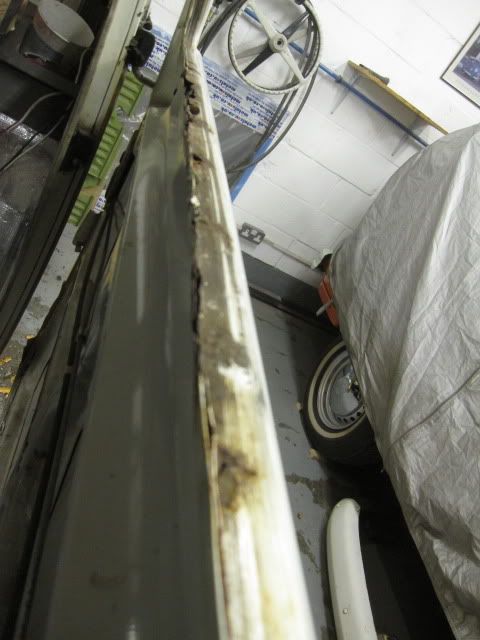
windscreen
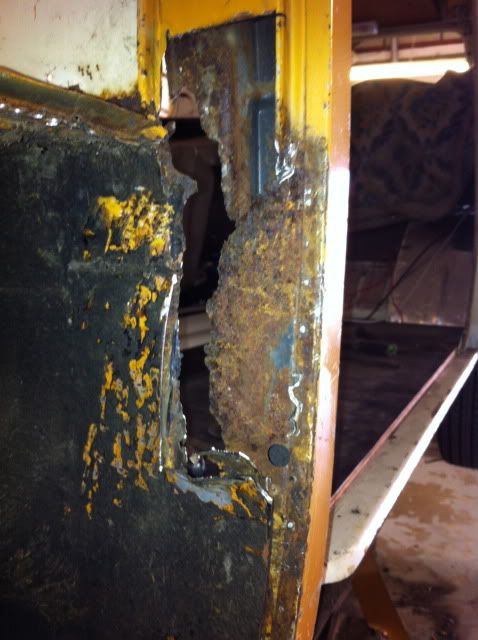
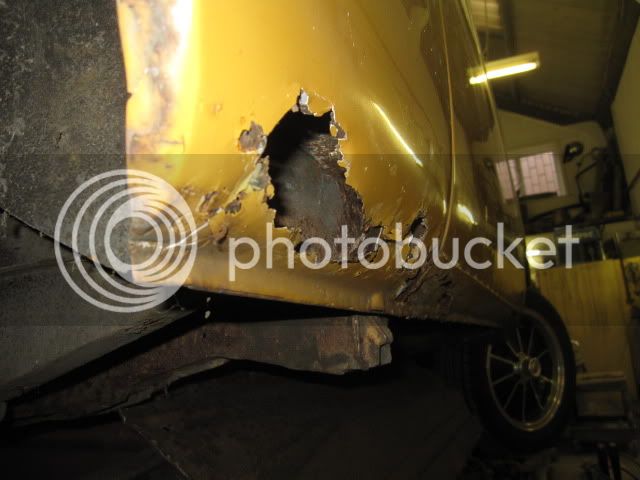
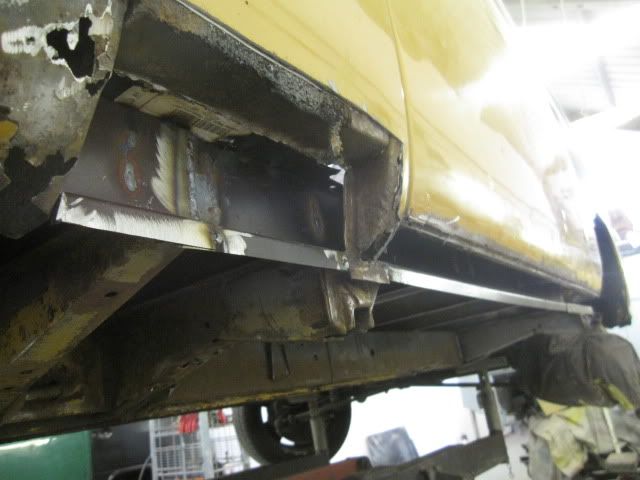
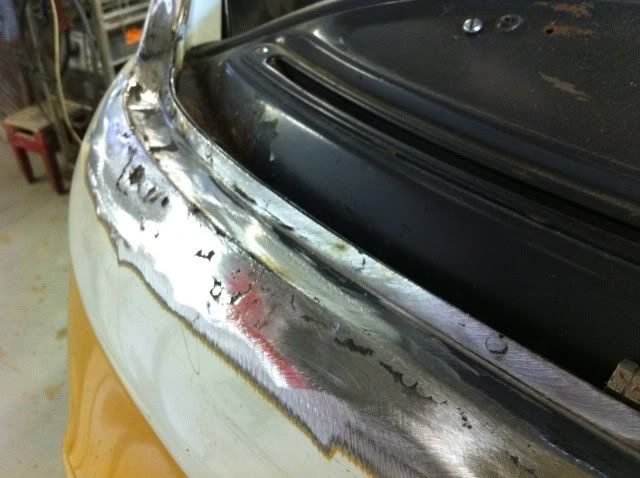
rear corners
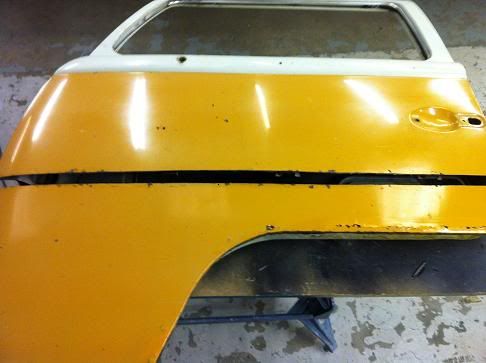
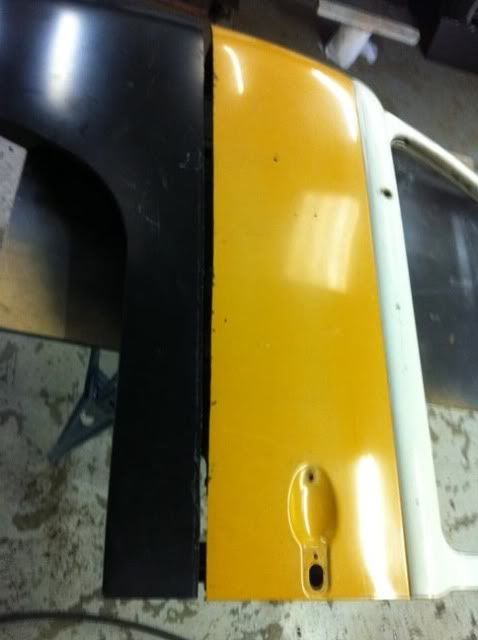
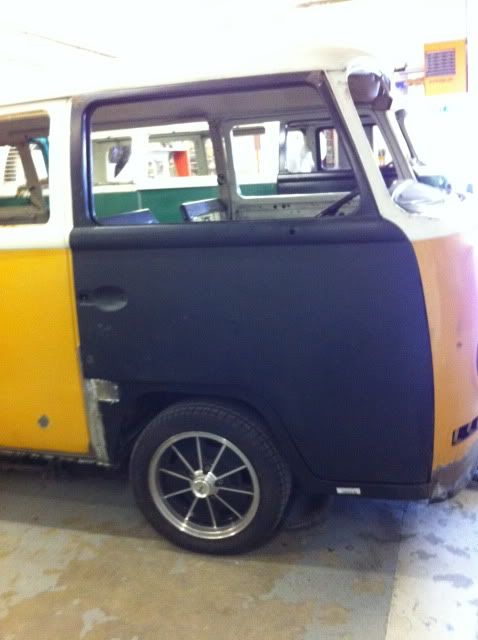
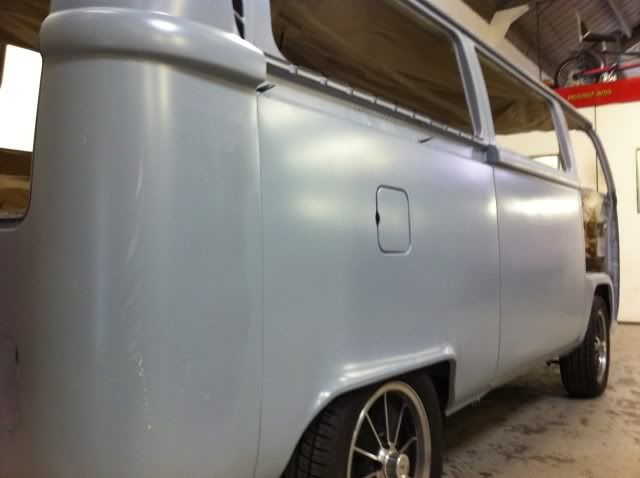
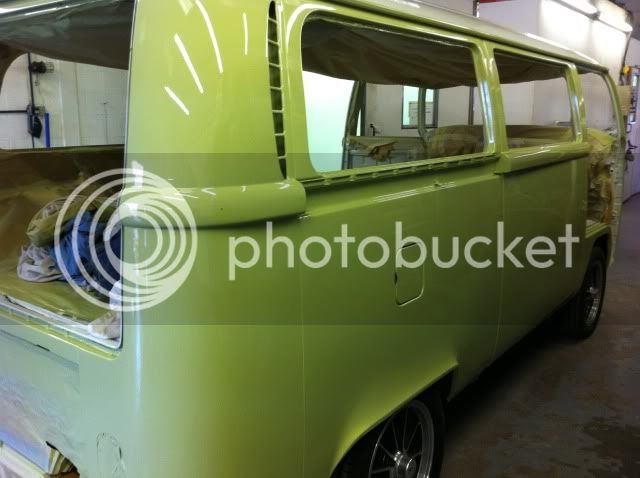
sliding door
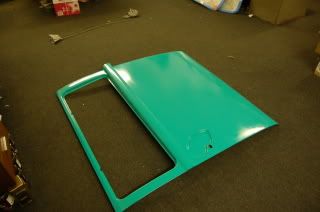
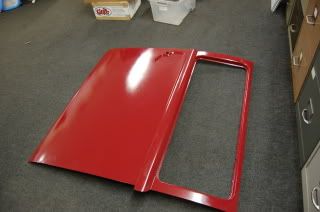
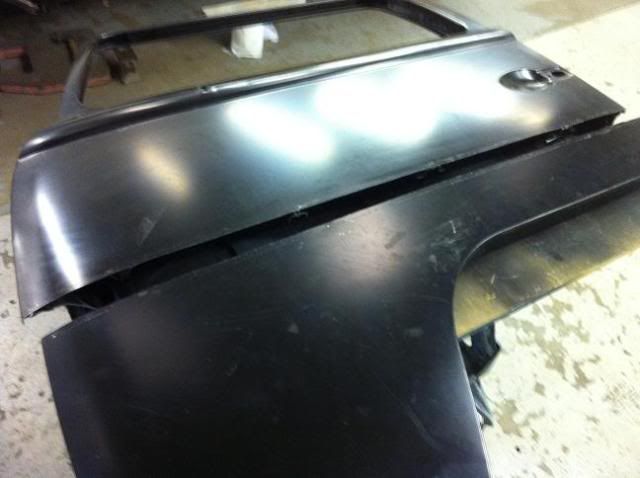
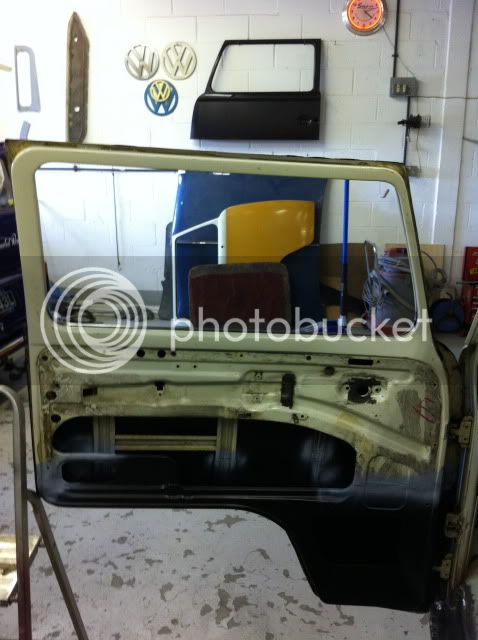
the bottoms of the cab doors and tailgate are shot and so are being replaced
the sliding door is borderline; prefer to find a rustfree replacement but may have to repair; if anybody has one stashed away......
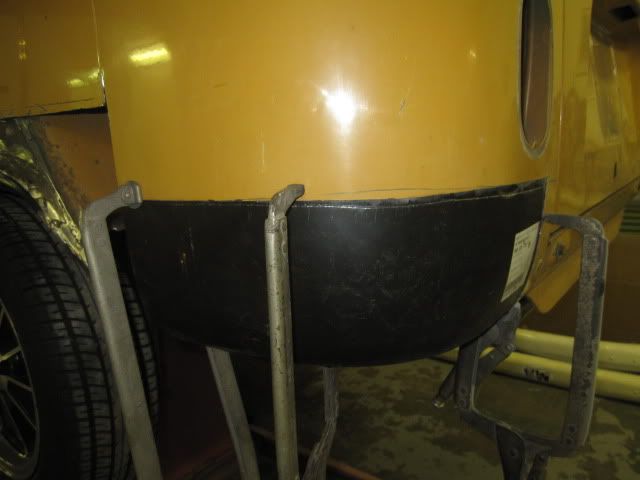
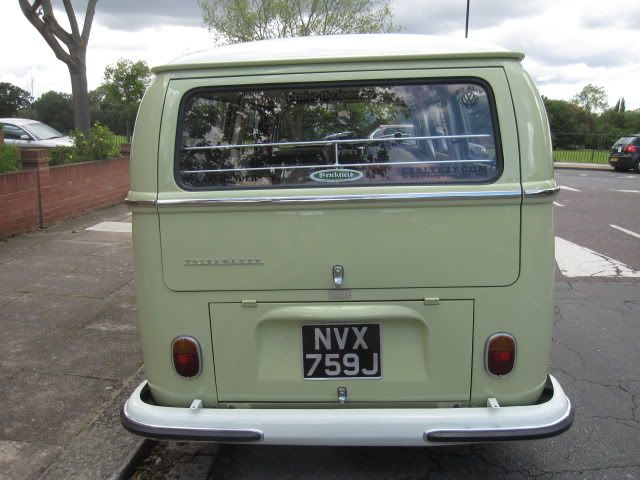
the rear bumper has taken a knock, reversed into a lamp post obscured by rear qtr, and may need replacing
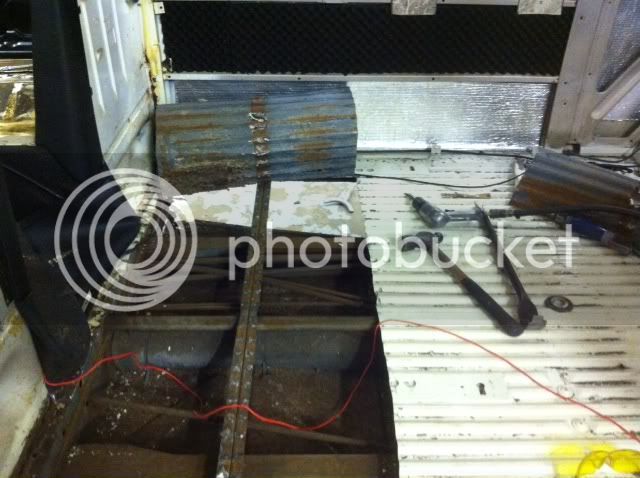
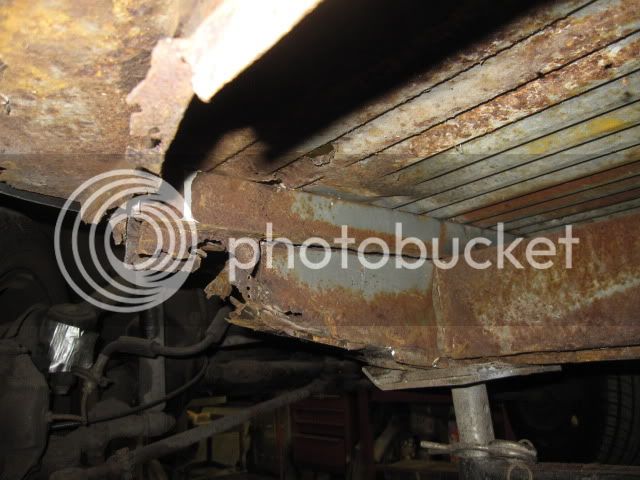
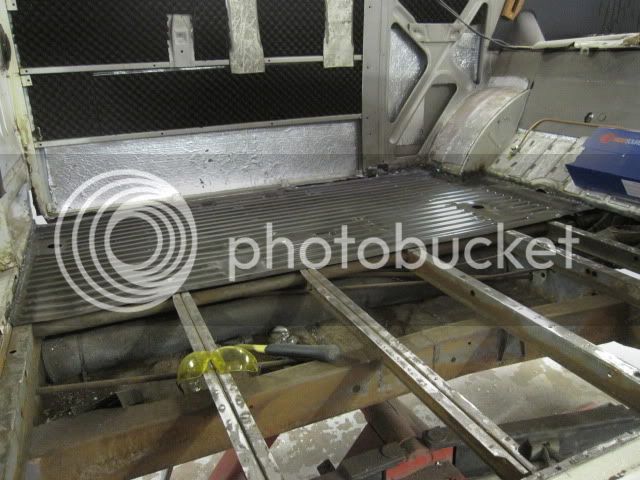
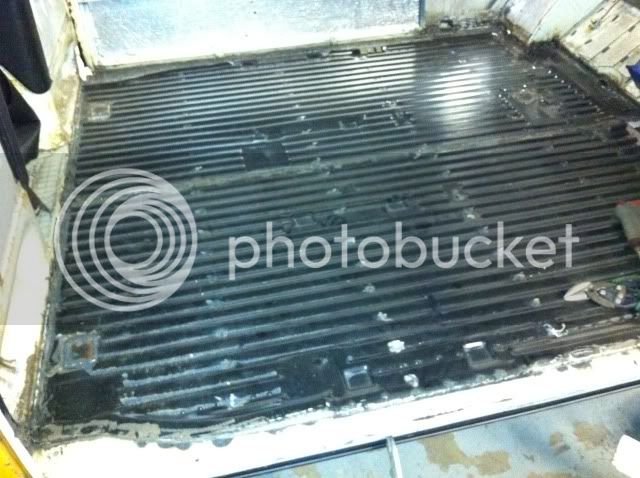
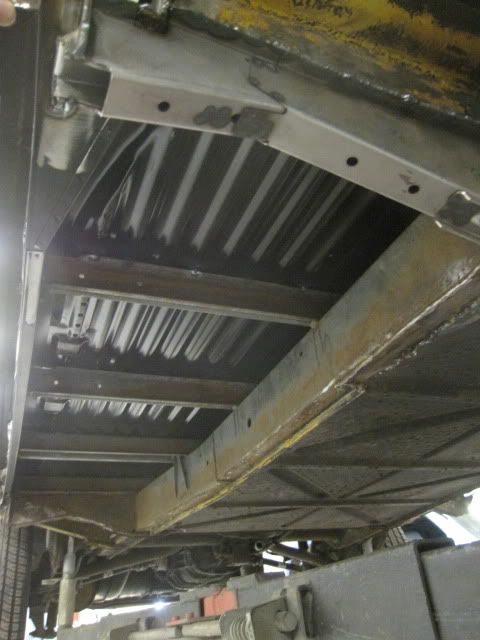
cab and cargo floors are pretty solid
the door cards need replacing but I'm hoping to be able to peel off the original grey/black vinyl and reuse as the interior is 90% stock danbury
haven't decided on colour yet
will post new pics as/when I get chance to pop over to Brickfields
cheers
gerry
now in local VW bodyshop
on the 'road'
stripped and the usual rust revealed
lurking behind the front bumper
front arch
rear arch
windscreen
rear corners
sliding door
the bottoms of the cab doors and tailgate are shot and so are being replaced
the sliding door is borderline; prefer to find a rustfree replacement but may have to repair; if anybody has one stashed away......
the rear bumper has taken a knock, reversed into a lamp post obscured by rear qtr, and may need replacing
cab and cargo floors are pretty solid
the door cards need replacing but I'm hoping to be able to peel off the original grey/black vinyl and reuse as the interior is 90% stock danbury
haven't decided on colour yet
will post new pics as/when I get chance to pop over to Brickfields
cheers
gerry
") :lol:
:lol: