71 delux driveway resto

Early Bay Forum

Help Support Early Bay Forum:

This site may earn a commission from merchant affiliate links, including eBay, Amazon, and others.

dub boy

Well-known member
Joined
Jan 17, 2012
Messages
880
Reaction score
0
Location
kent
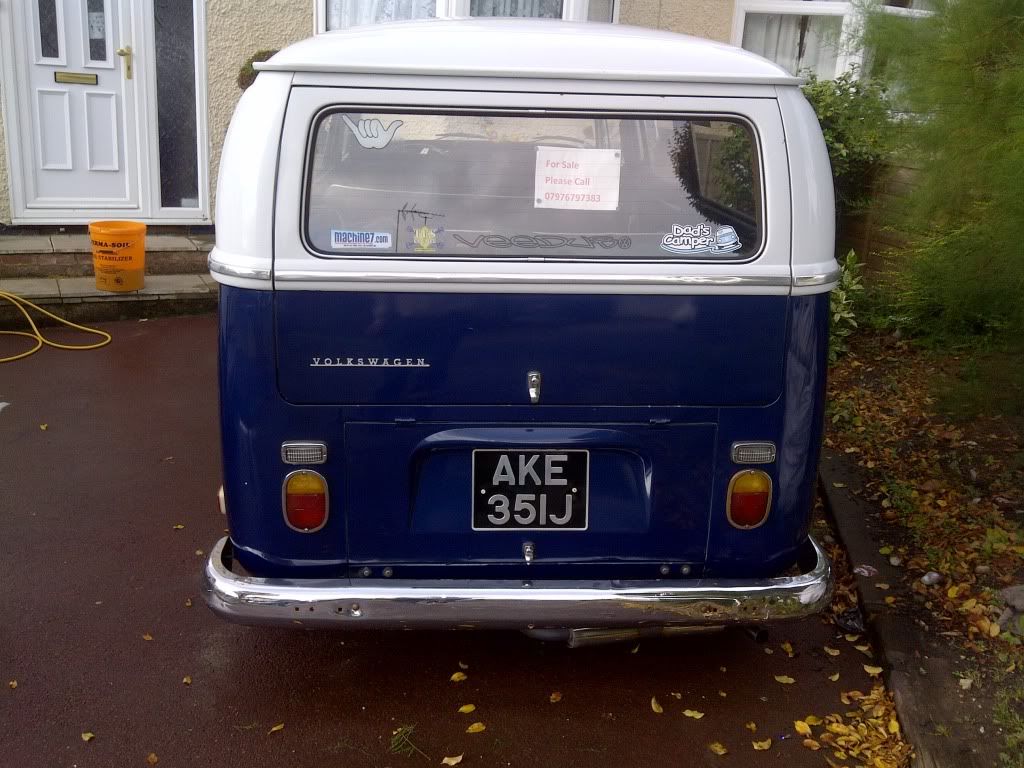
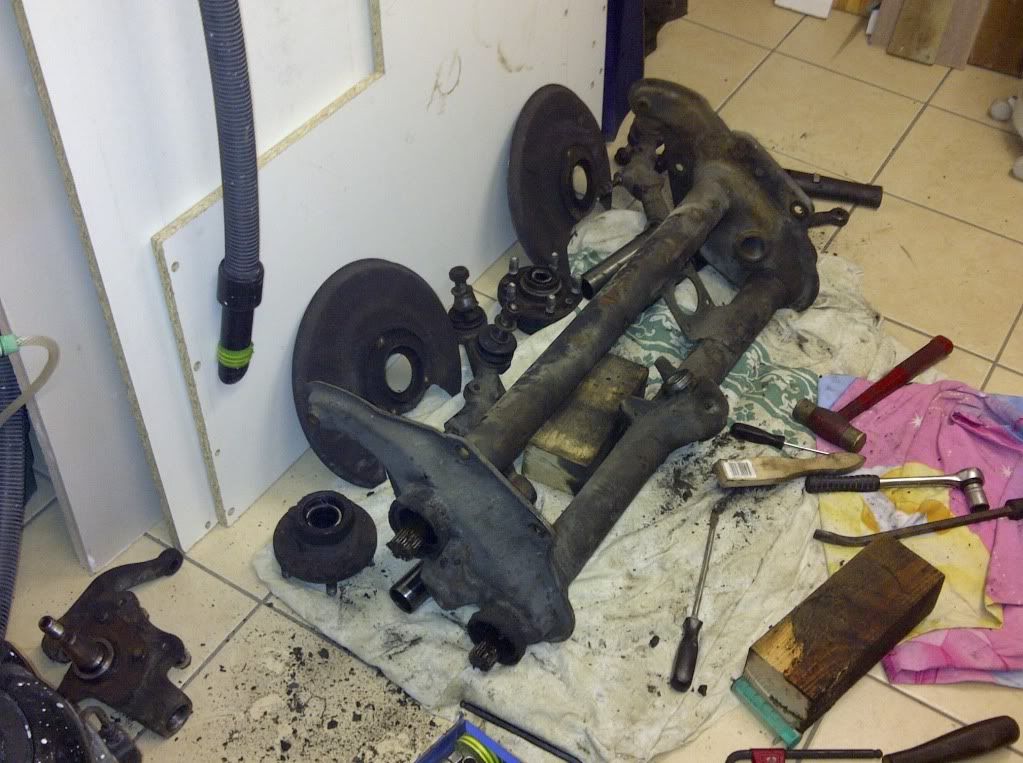
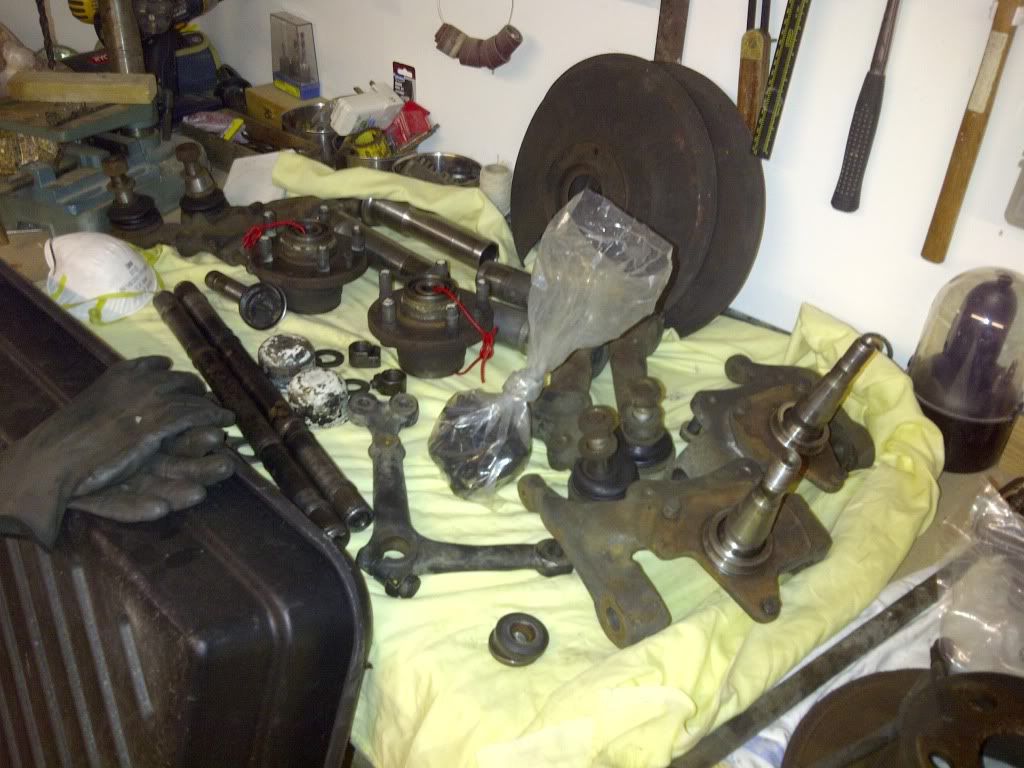
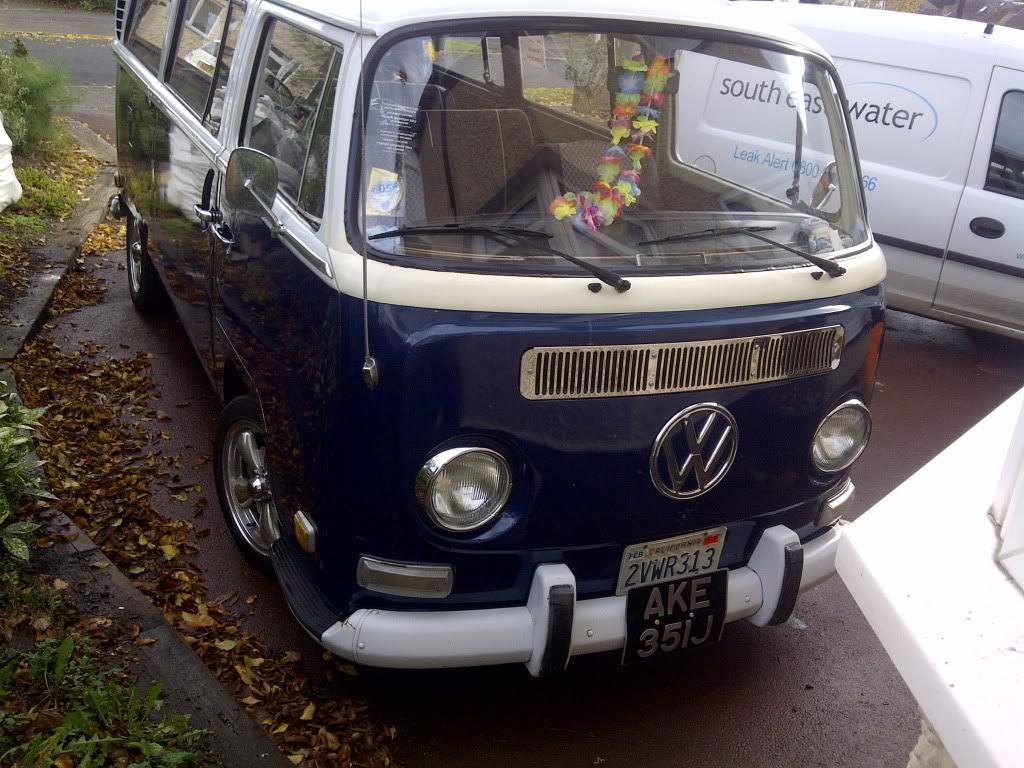
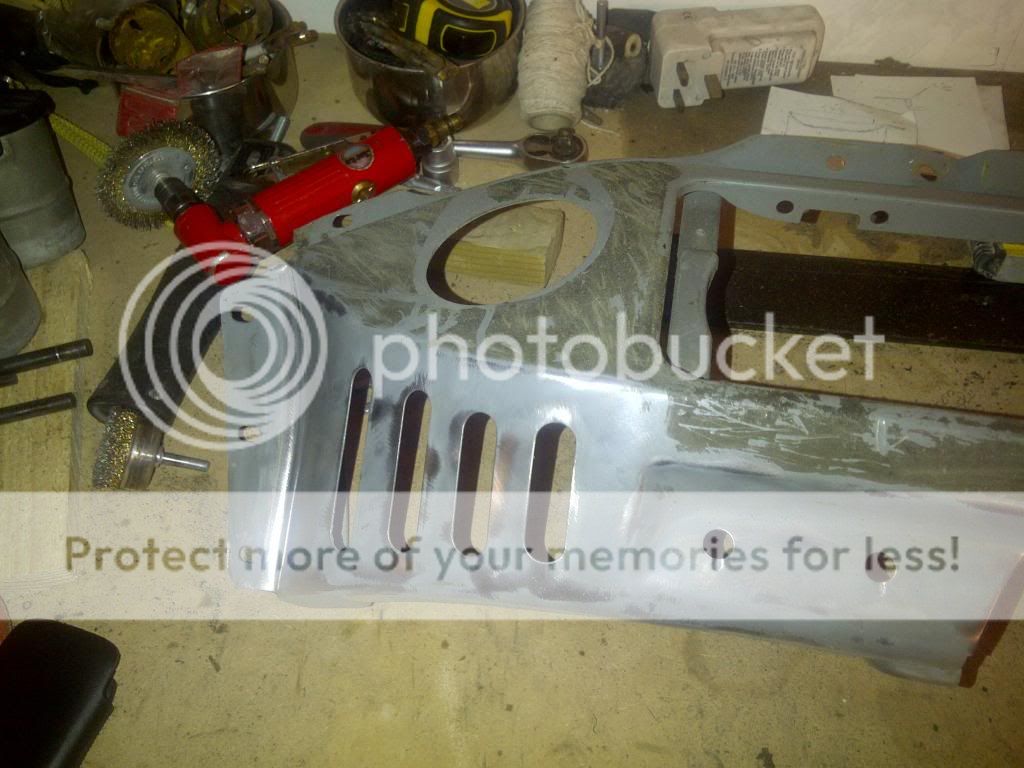
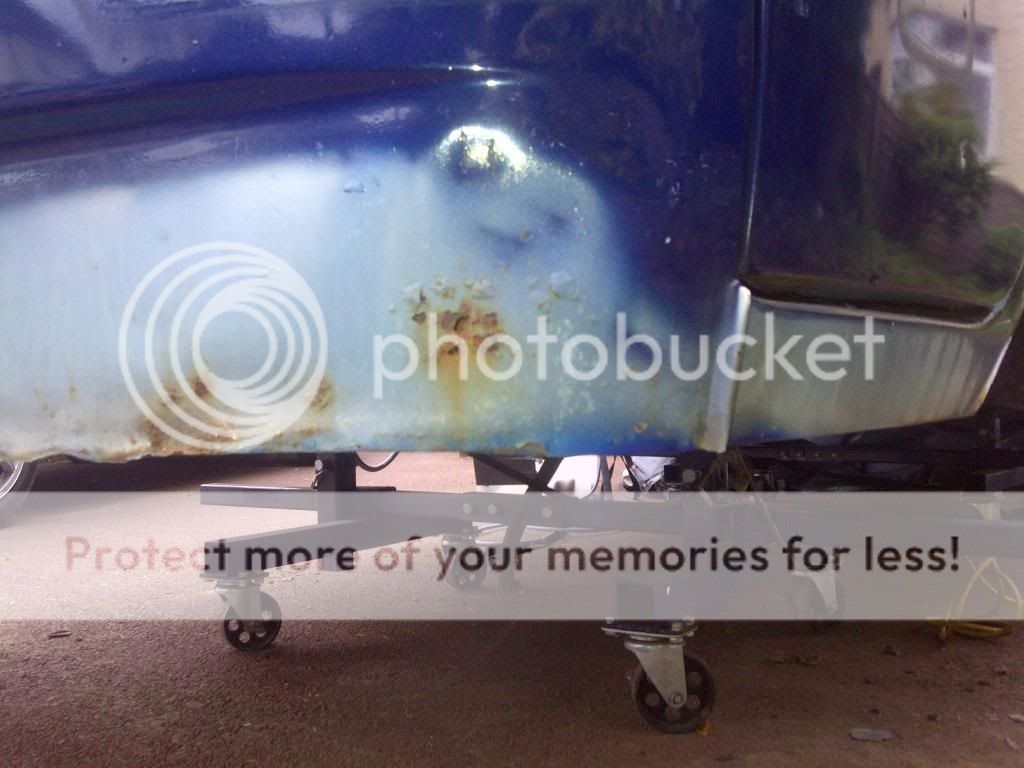
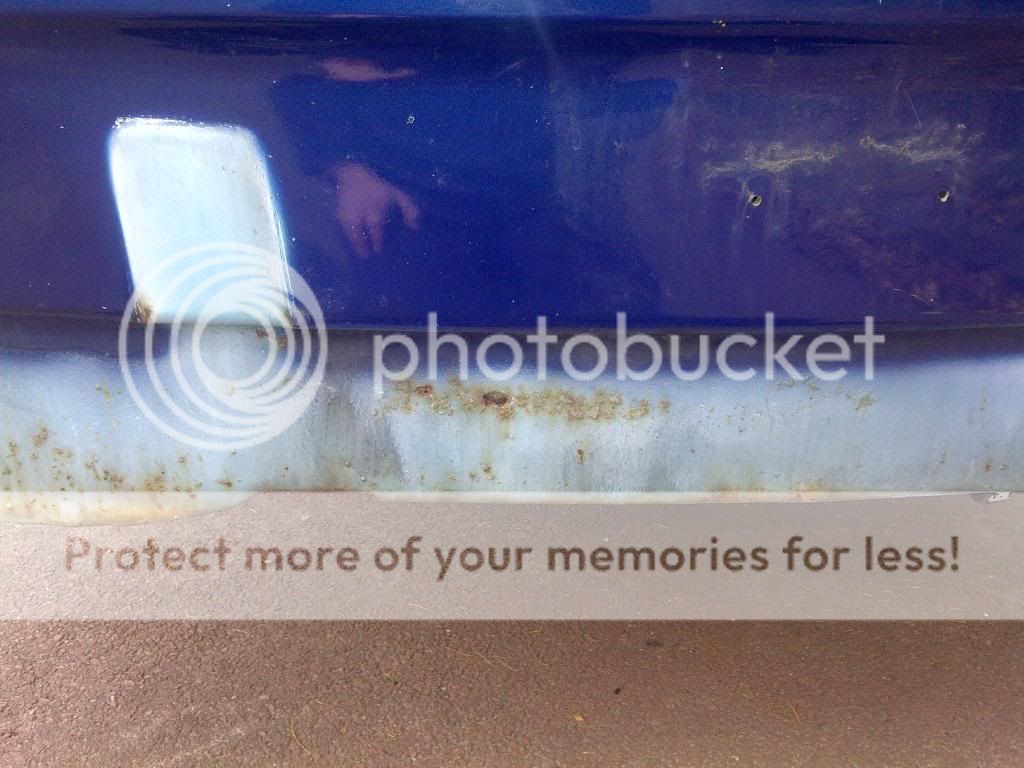
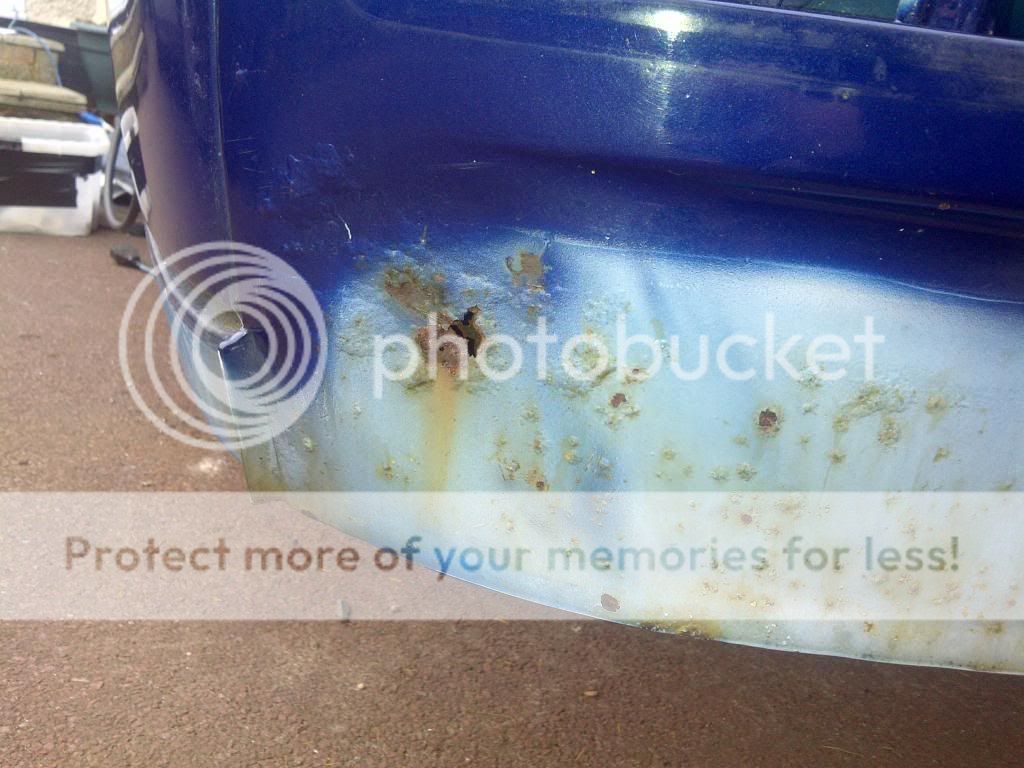
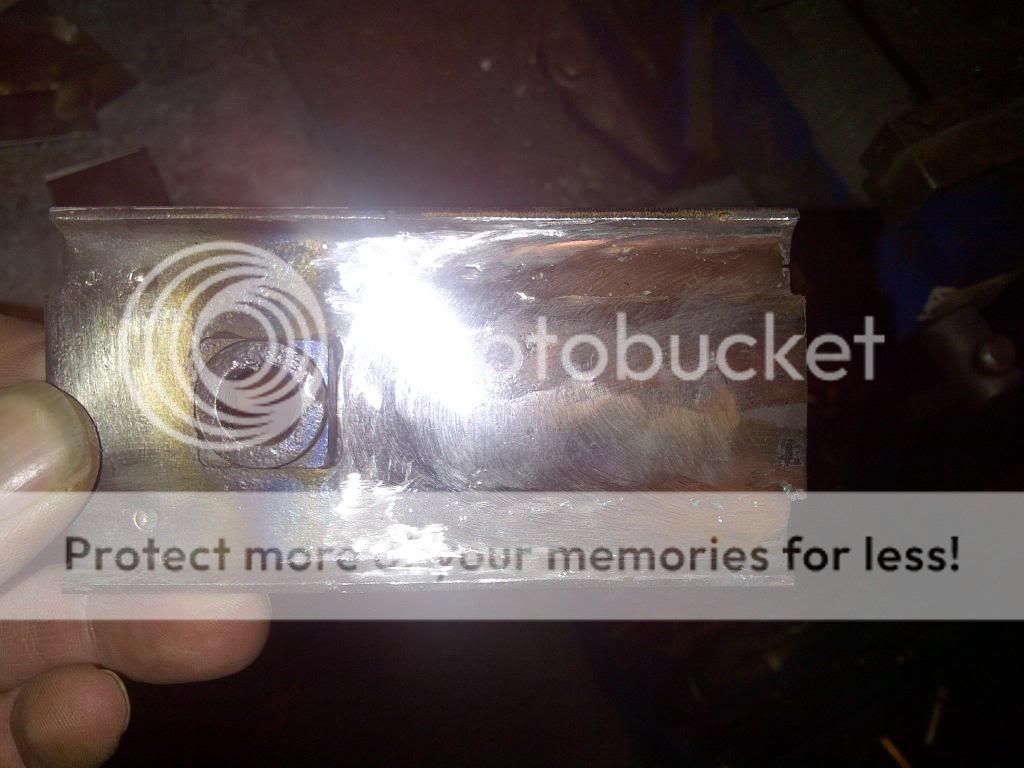
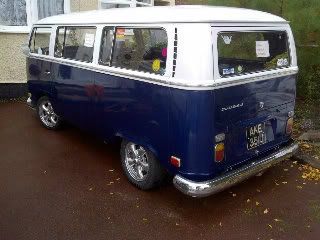
well i hope this works .i am not very good with computers. ive had the bus three and half years, the weather is starting to take its toll on the cheap amarican paintwork .i have stripped the underneath of the bus of everything but brake pipes at the mo ,this was done through the winter and yes it was bluddy freezing ,infact its the only time the wife had told me to stop working but it was snowing :lol: .so i will put some pics up (i hope) of what i have done so far and try and keep it updated as i go :D [photobucket][/photobucket]
busresto003-1.jpg
fa
 
busresto008.jpg

well i think its working ,this is her arse end if the pic comes up :) by the way its not for sale anymore , the kids talked me into keeping her.
 
busresto015.jpg

first job i had to do was make a blast cabinet ,its so much quicker than wire wheeling and cleaner to .
busresto001-1.jpg

was well pleased with how it worked , cost me £15 for the gun ,i did buy some blast media from machine mart as i had heard some horror stories about health issues from useing silica sand :shock:
 
busresto013.jpg

not happy with beam ,i never really had a chance to look at this after t2d lowered my bus ,i couldnt work on the bus outside my old house ,i was under the impression that it had adjusters fitted front and rear :roll: but this is what i have so may be on the look out for a lhd beam.
busresto011.jpg

beam out ,not easy on your own but then again its my first resto :D .
busresto012.jpg


beam stripped and ready for blasting.
busresto014.jpg
 
pulled gearbox apart ,this has got to be replaced .had trouble with bus jumping out of fourth gear and it was getting noisy so may push the boat out and get a flyer box.
busresto009.jpg

Maidstone-20111029-001441.jpg

should of put this at the start really ,but basicly when i got the bus it had no engine ,wheels ect so the engine came from the engine shop and has never let me down ,ive lost count of the times its taken us to cornwall :D
 
busresto005.jpg

pic of the front before i pulled her apart ,sorry for the order of pics but like i said i am not very good with a keyboard :lol:
busresto007.jpg

busresto007.jpg

sides are pretty straight ,was thinking of black as the colour as its pretty good nick body wise but as i am painting on the drive i will have to think on it.
 
had loads of problems with wireing when i got the bus so i ran a temp loam to the rear but when i got the box and engine out i found this tucked away
busresto018.jpg

at some point there has been an engine fire so i spose it was repaired then but do peeps not know what a soldering iron is for ,anyway the fuel ,oil ,gen, warning lights had all pulled apart so thats another job on the list.
 
well as the weather has been pants the last week i have allmost finished primeing all the under body parts (thank god ) most will be gloss black ,but some parts silver . shed looks like i have vw xmas decs up :lol:
busresto003-2.jpg

busresto002-1.jpg

will update when i get some more time to crack on .
 
Some good work going on their and good to see the underside getting the same treatment/care as the top.

Loving the side on corner unit blast cabinet ingenius :lol:
 
Nugsy said:
Some good work going on their and good to see the underside getting the same treatment/care as the top.

Loving the side on corner unit blast cabinet ingenius :lol:
cheers ,it works great ,i was going to buy one the same size but they are over £600 :shock: and thats money spent better on the bus :D . the wife was getting the hump the other day as the front disk backing plates had some dents in so i asked her to hold them and took me dolly hammers to them :lol: she said you have got to be jokeing ,then when she saw me spray them and flat them off she just walked of in disgust :lol: :lol: but if going to do a job do it once and do it rite :D
 
rite no updates for some time as i am trying to renovate our house at the same time .will put some more pics up soon ,only thing left in bus is the dash ,front seats and the glass .i cant make my mind up as to wich interior to put in .i would like to go with retro so if any of you have some pics of interiors of wich would have been fitted in a 70 s bus i would be most gratefull ,even more so if anyone has some plans that i can copy.
some great buses at the breeze sat by the way well done to the lads that done the line up.
 
rite as its rained all day i couldnt get the welder out so ,pulled out the dash and got the padding off ,what a nightmare .the wife hated it and i have to say the cally sun had made a mess of it so i am hopeing to paint it but have found some holes that i havnt seen on a bay dash before ,they are under the air vents ?????.
busresto001_zpsc3485972.jpg

then got the whole wireing loom out ,behind the dash was a rite mess ,its been cut so many times and allso melted in several places ,was hopeing to save some of it but think it may be a new one added to the ever groweing list.
would like to find out what this hole is for ,its factory drilled ?????
busresto002_zpscdf356b2.jpg


dash cluster is in a bad way ,i am begining to wonder if the custom route may have been a better option as the list of original parts i need to find is getting bigger.
busresto003_zps8da321be.jpg
 
Nice bus and nice colour ;) nice to see the work going into the running gear 8)


Might have to borrow your blast cabinet idea, will save a few pennies building rather than buying :)
 
68_early_bay said:
Nice bus and nice colour ;) nice to see the work going into the running gear 8)

only cost me £50 to make all in :) thats the old colour ,really crap blow done in the states ,door pillars ect not even been blon in ,bus is just a shell at the mo .i will put some more pics up soon .hopefully be flipping it over in the next cupple of weeks :)


Might have to borrow your blast cabinet idea, will save a few pennies building rather than buying :)
 
busresto008-1.jpg

weather has been pants so been sorting through the piles of bits that need cleaning ,spent ages trying to clean over spray from fuse board but not happy with it so a freind is going to clean it in his ultrasonic bath :D dont ask me what one of those is but he said it will look like new when done.
 
[IM
busresto006-1.jpg
G]http://i1259.photobucket.com/albums/ii554/dubboy1/busresto007-1.jpg[/IMG]
busresto007-1.jpg

before and after shot of wiper ass ,the wife thinks i am mad doing loads of worl on bits you dont see :lol: but told her it was gunna be a total nut and bolt.

busresto015-1.jpg

even bare metaled the horn for paint :lol:

busresto014-1.jpg

blast cabinet set back up for some more parts
 
lost some pics somehow ??? but just finished blasting fuel filler neck and some dash parts ,waiting for my batt tray to come from autocraft ,will post pics of that being cut in .
not sure what to do up the front end ,i found some holes behind the bumper ,i was thinking of patching them but the metal is so thin :shock: i think i may have to cut the first panel in this bus :(
busresto011-1.jpg

busresto010.jpg

busresto009-1.jpg

what do you think gents ,i can see some rust behind ,do i cut it out and treat behind ???
 
seat belt mounts ready to go back on ,i found some sml rot around them so cut them out ,cleaned up .patched the holes and welded them back in .
busresto016-1.jpg

i am not very good at keeping pics in order :lol: next time the cover is of the bus i will take some pics of repairs to be done.
 
Great detailed work done there..!! 8) I'm looking at making a blasting cabinet to and just wonder what the black pipe coming out from top right was for? Hoover extraction? I know you need a light and access for air pipe to come in but would be greatful for info. Cheers :D
 

Latest posts

Top