froggy
Well-known member
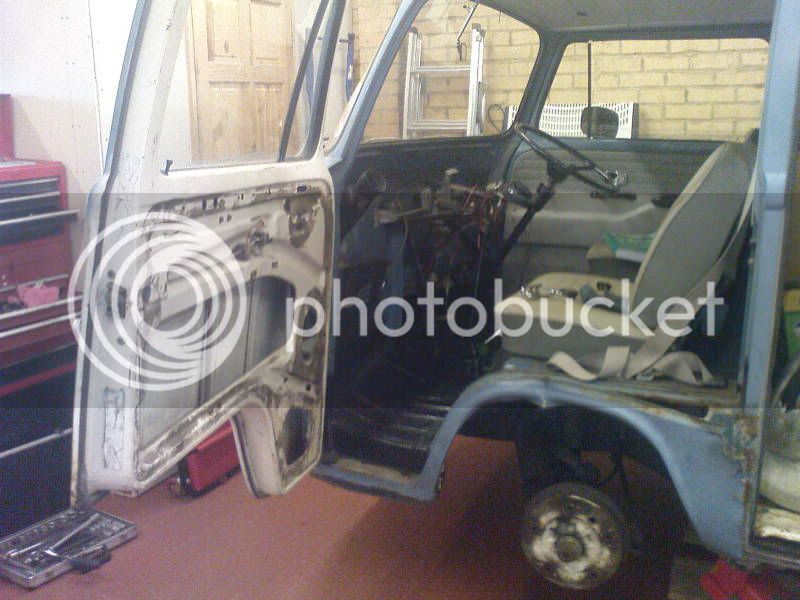
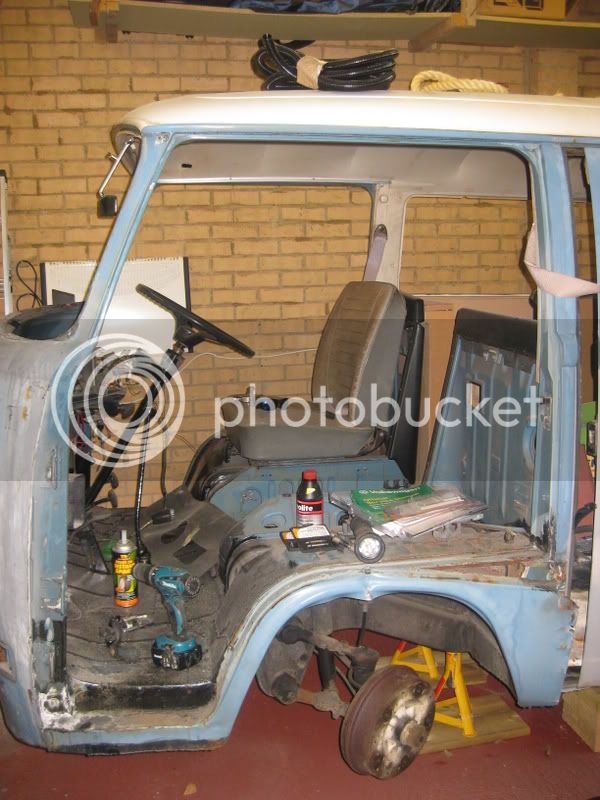
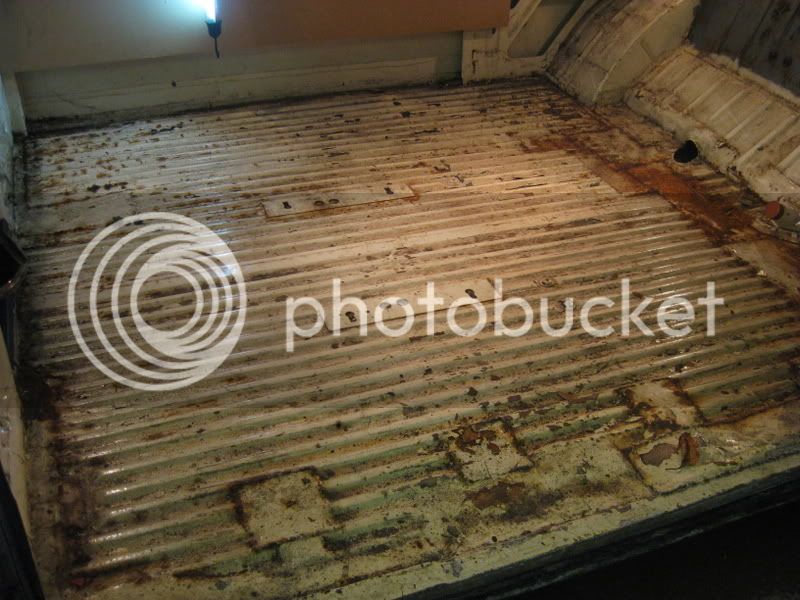
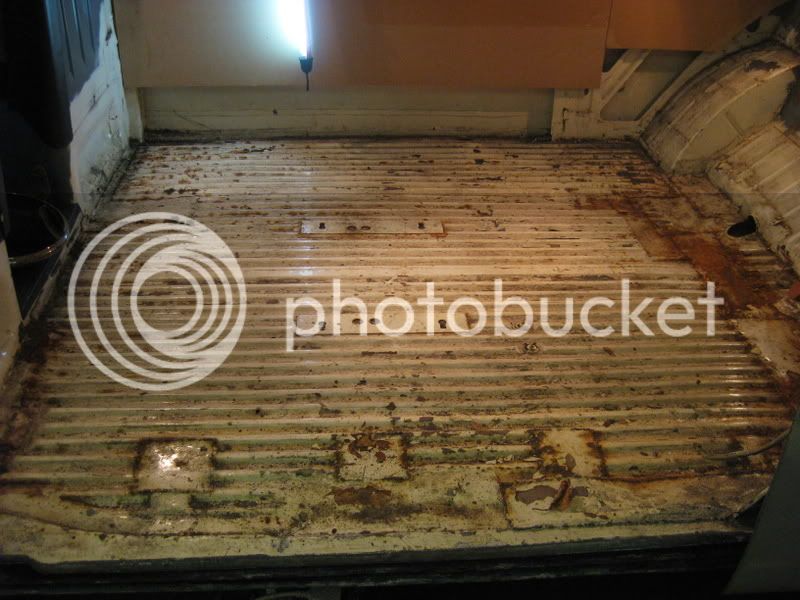
How did i miss the interior, its 100 times better than mine, damn alwys in the wrong place at the wrong time 
froggy said:How did i miss the interior, its 100 times better than mine, damn alwys in the wrong place at the wrong time
Checked out the ebay address you posted, well guttedcunning plan said:froggy said:How did i miss the interior, its 100 times better than mine, damn alwys in the wrong place at the wrong time
You will kick yourself even more if I tell you how much it sold for! :shock:
:x 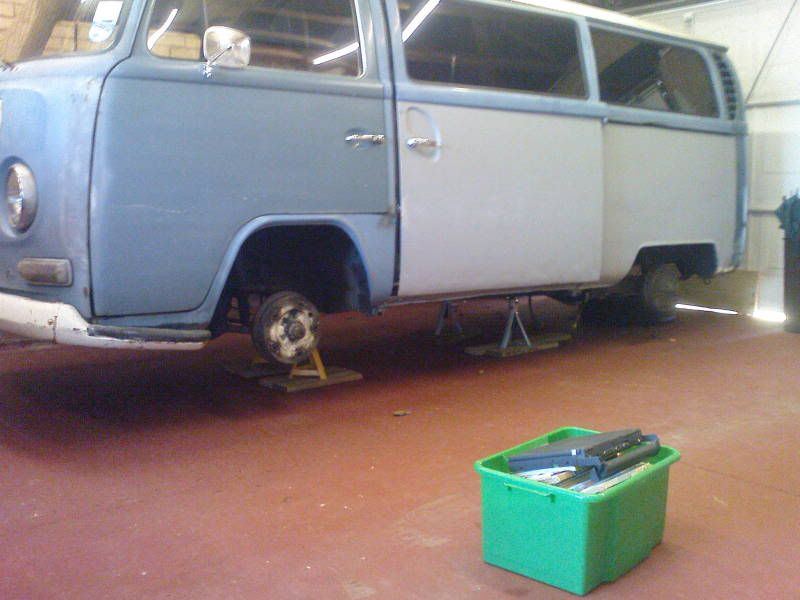


Slammed said:Do you have shares in POR 15?! :lol:
Danbury Doug said:Good to see progress, particularly on another Danbury!
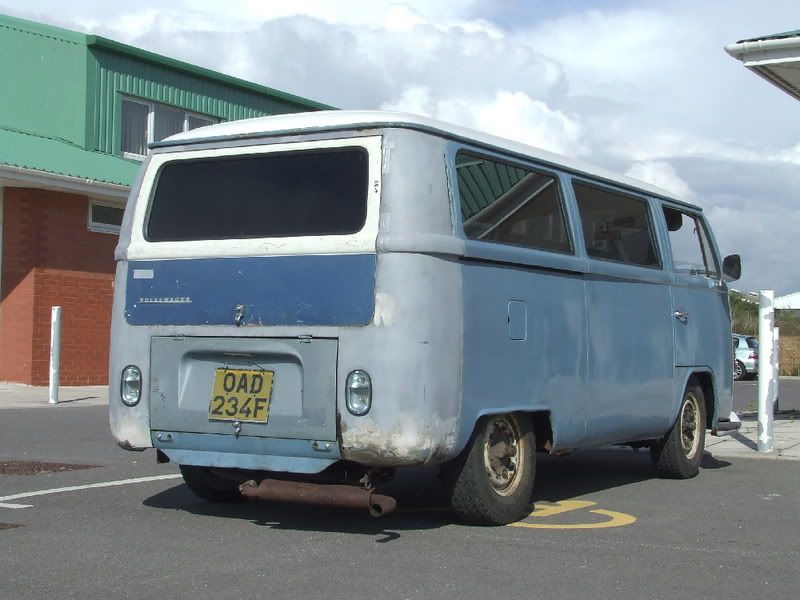
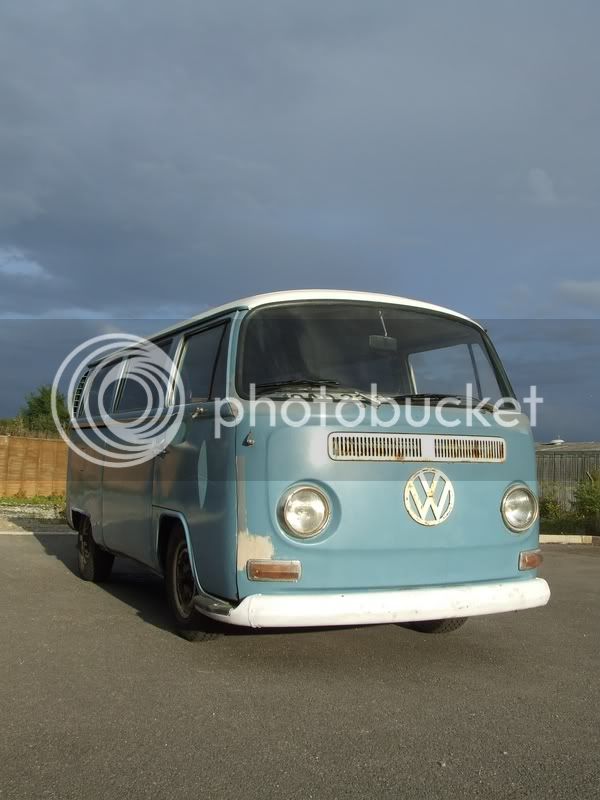
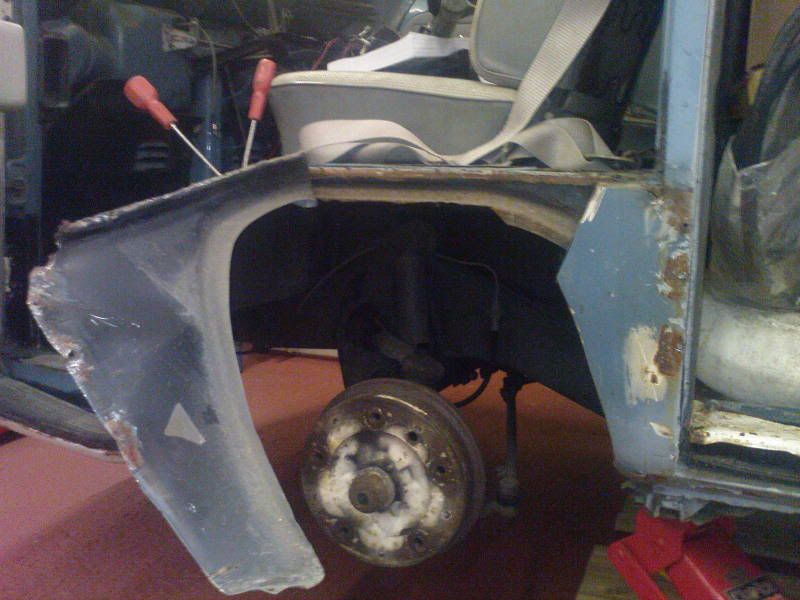
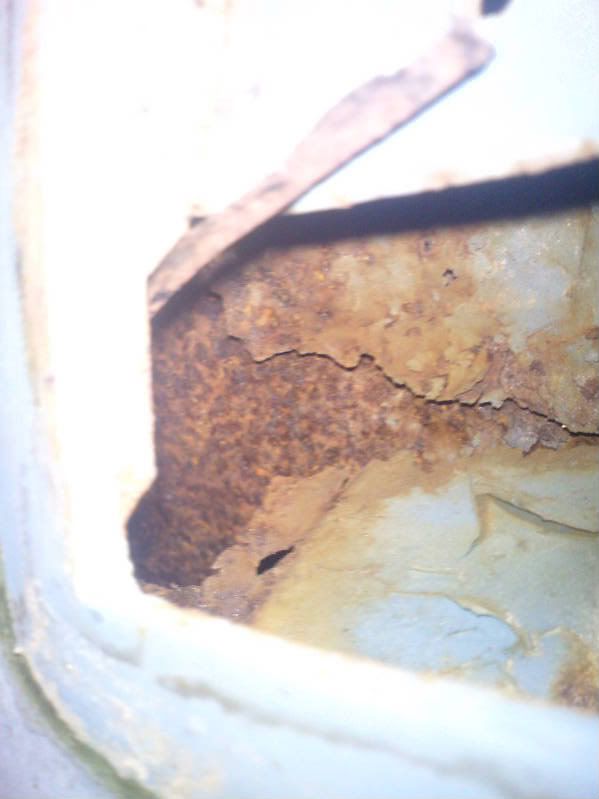
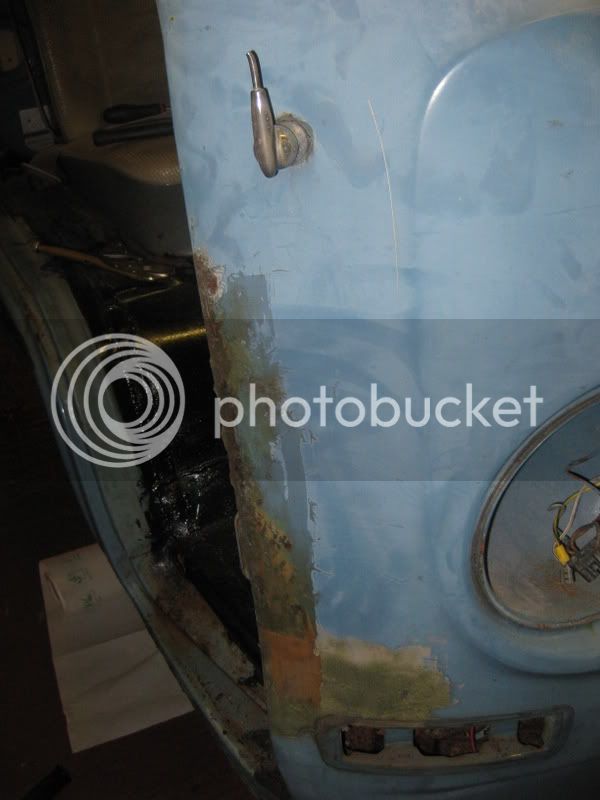
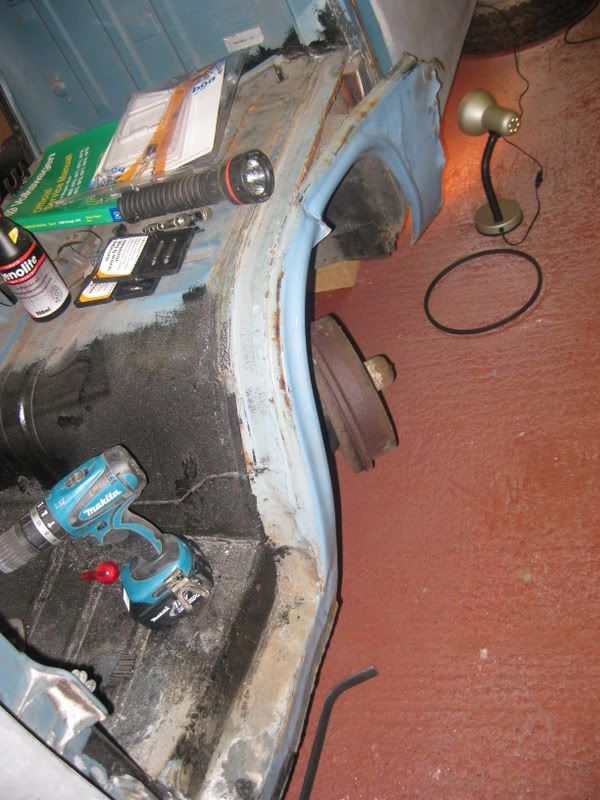
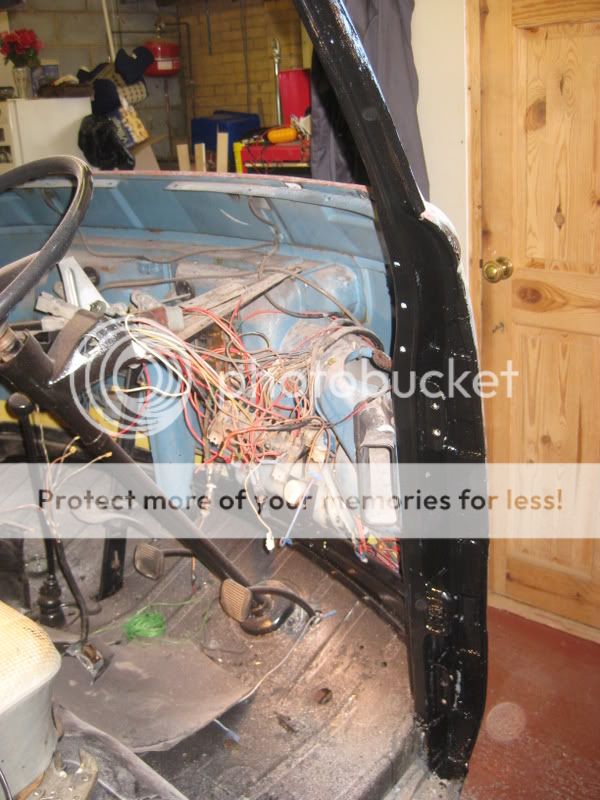
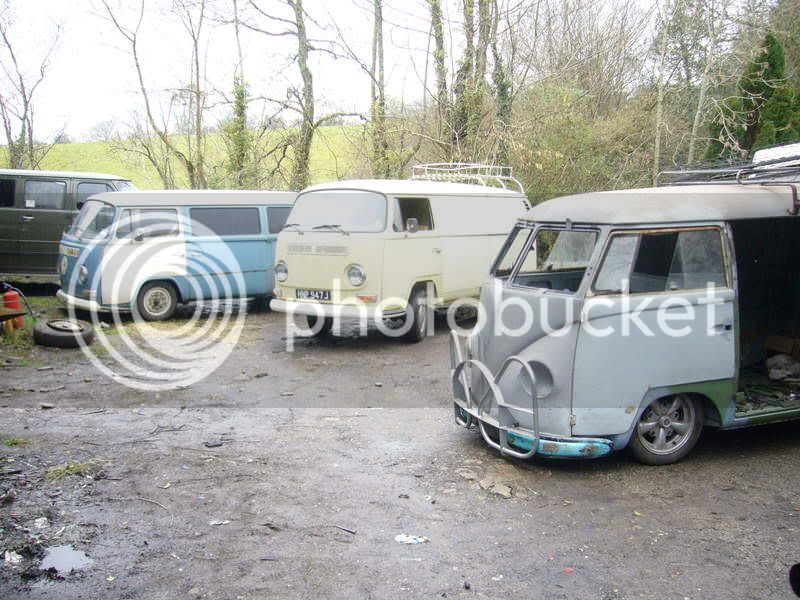
barny said:thats my old bus i owned it a few years ago found it in a garage near me the guy had stripped all the doors interior etc out and left it sat there for a few years i bought it for next to nothing throw what ever doors etc i had lying around on it repaired a bit of the windscreen surrond done a few plates underneith stuck my engine in it and got it through an mot with the intention of going back through the van when i had more time ( as you do i will just patch this for the mot cause i need this car on the road now) drove it for a month and someone wanted to swap it for my split i own now so i bit there hand of
i was never happy with the suspension my poor dog used to get bounced of the seat
the origanal danbury int was knacked so i just stuck a micro bus seat in the back
glad to see it being sorted now nice work
cunning plan said:How can you tell that its a Danbury?
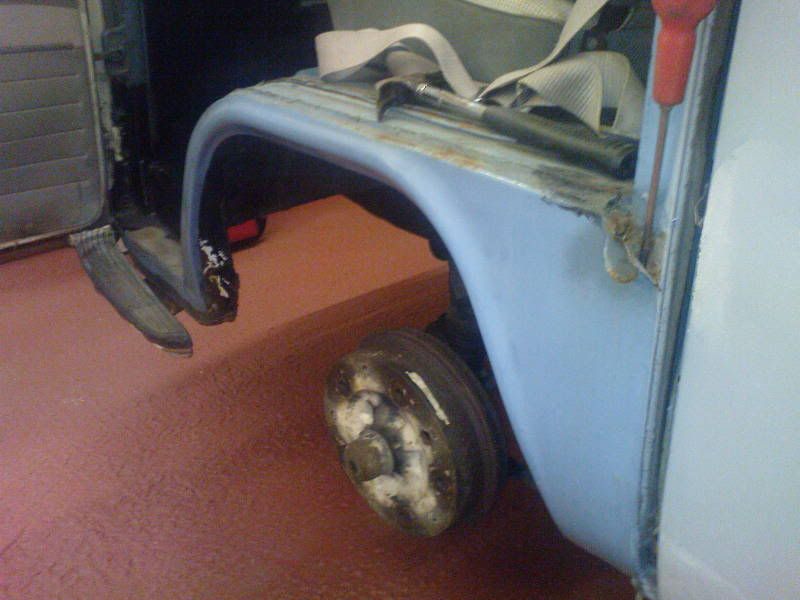
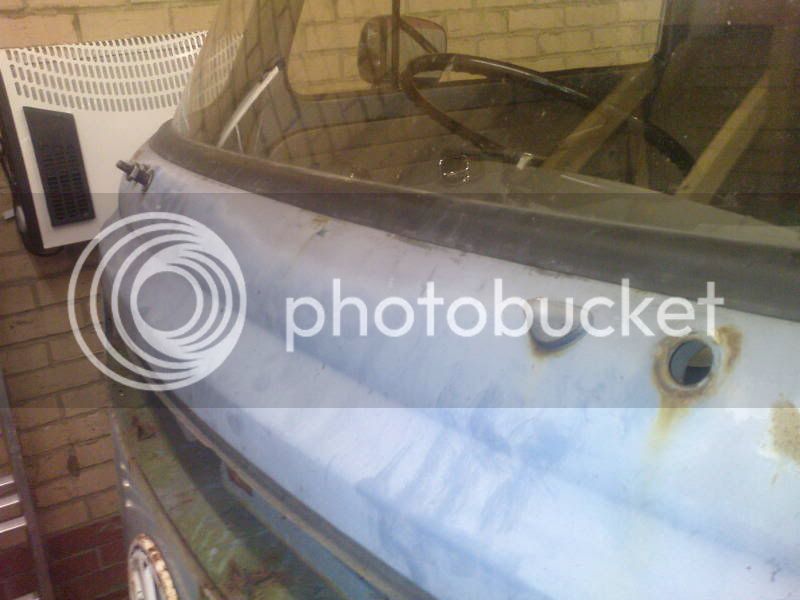
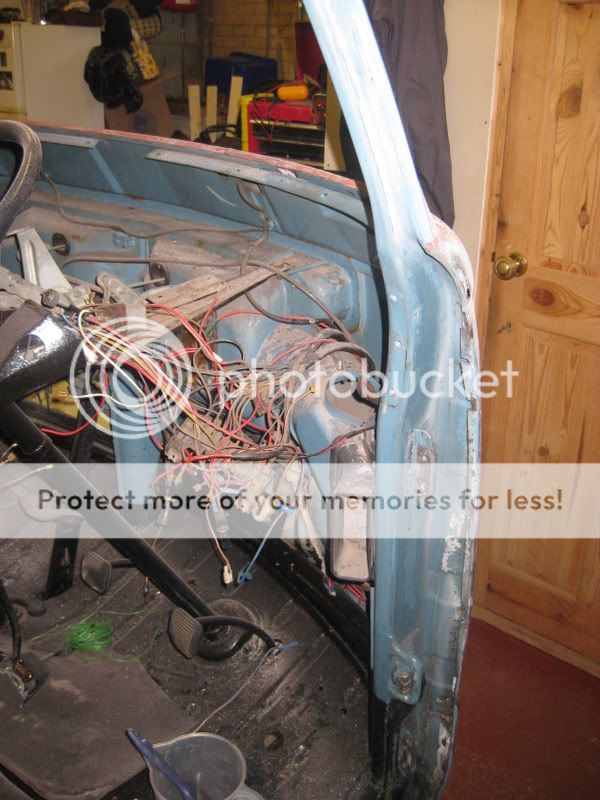
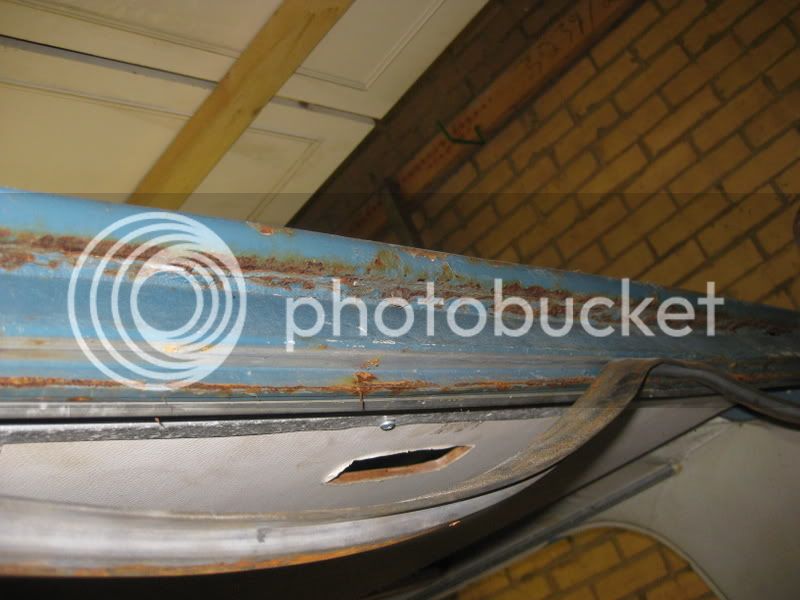
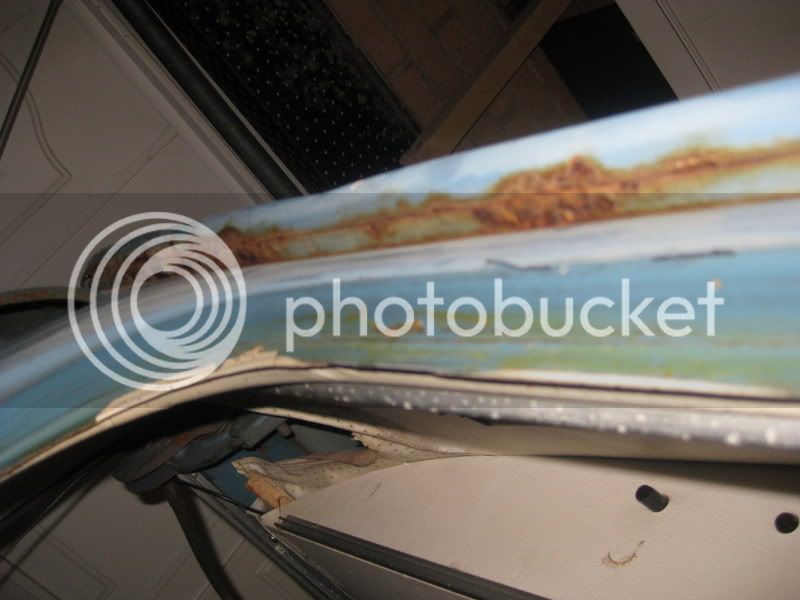
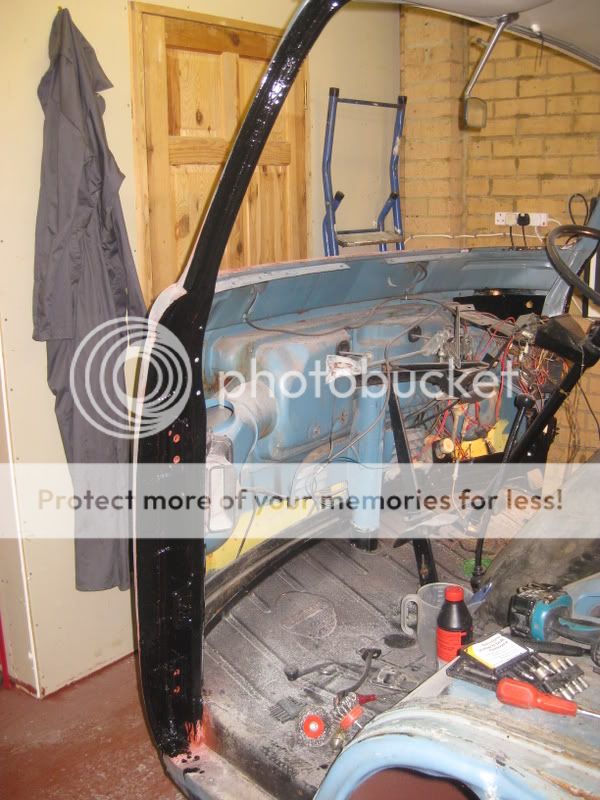
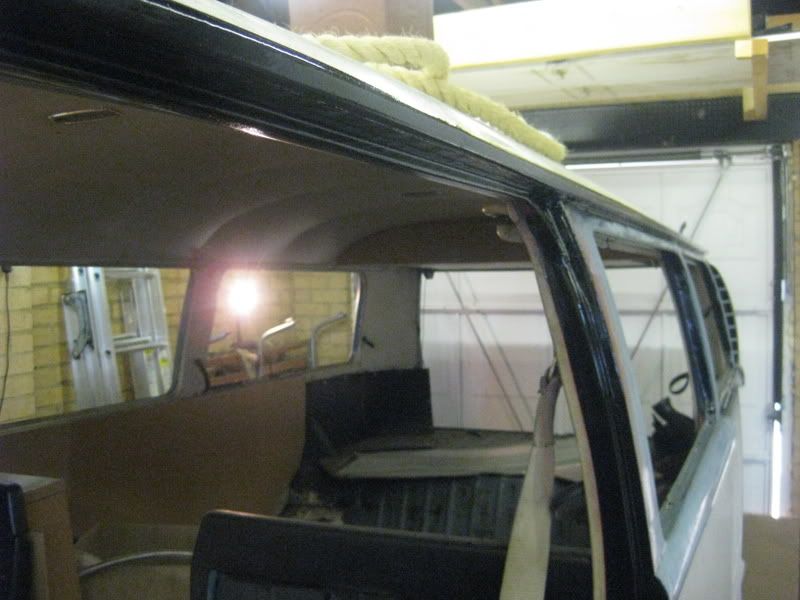
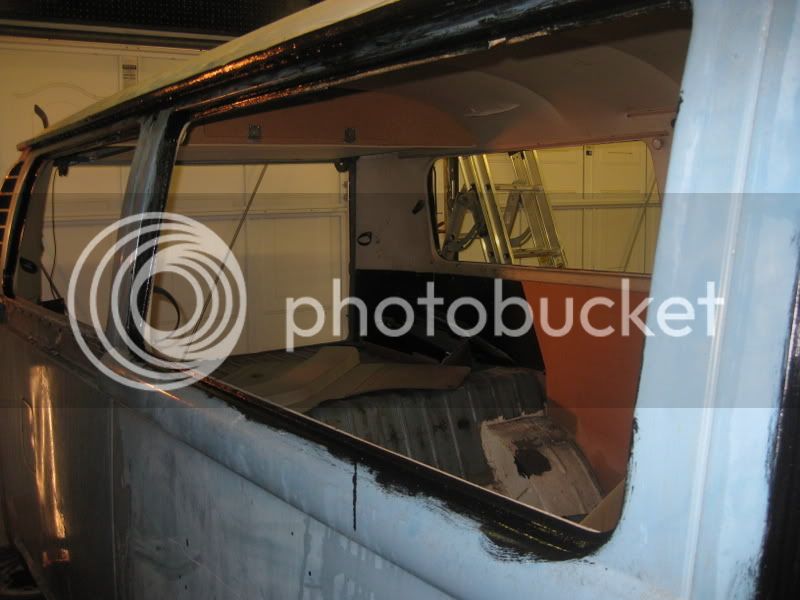
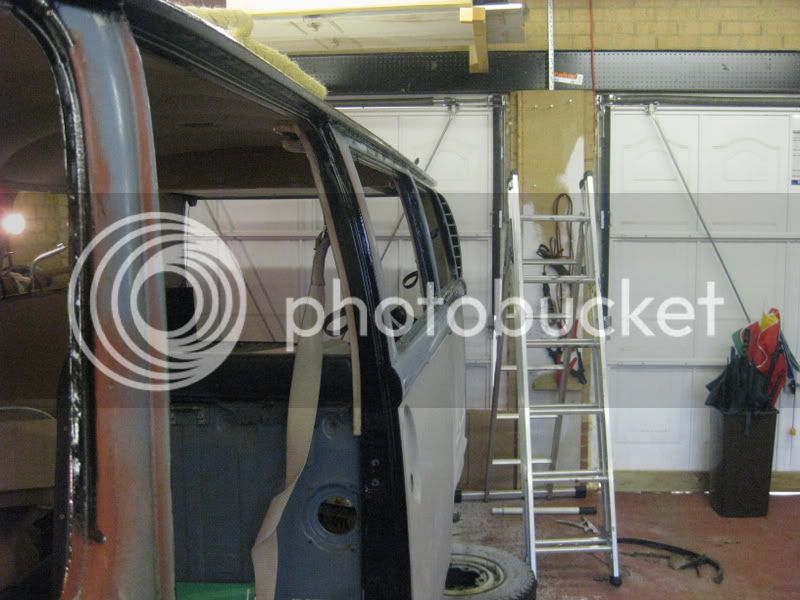
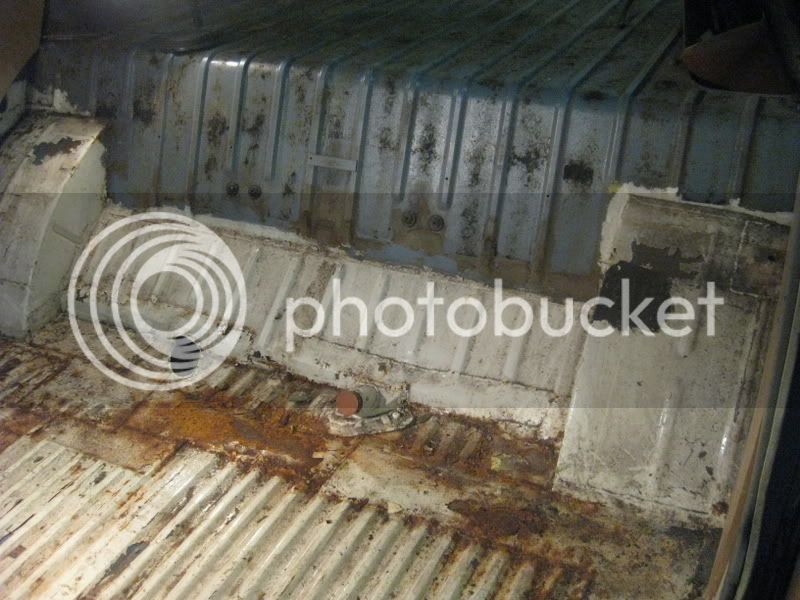
I could tell from the black plastic Danbury curtain tie-backs visible in your bus, and also Danbury curtain rails are positioned directly above (ie just about touching) the window rubbers (as opposed to an inch or so above on nearly all other conversions). On your latest pics I also spotted an aperture for an interior light cut into the base of your roof locker, just by the rear hatch. The very early Danburys had a light here, I have noticed. Danbury Doug said:cunning plan said:How can you tell that its a Danbury?
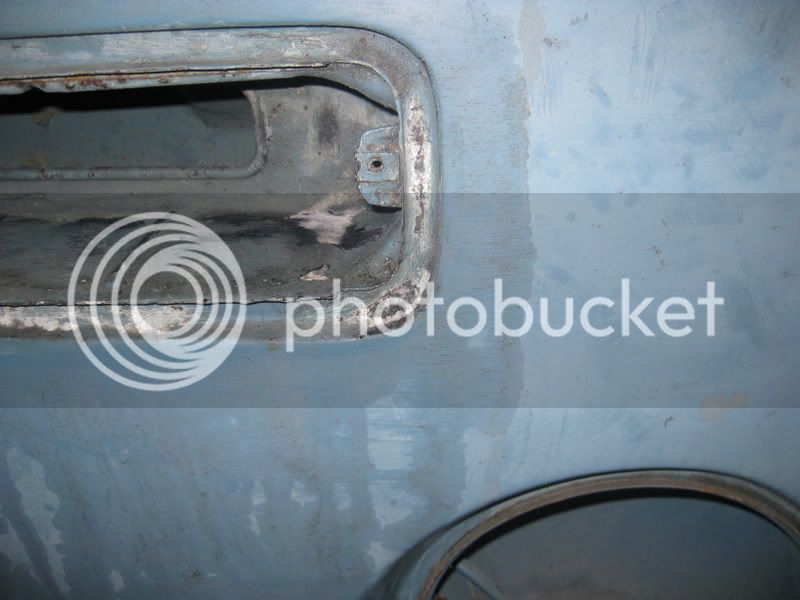
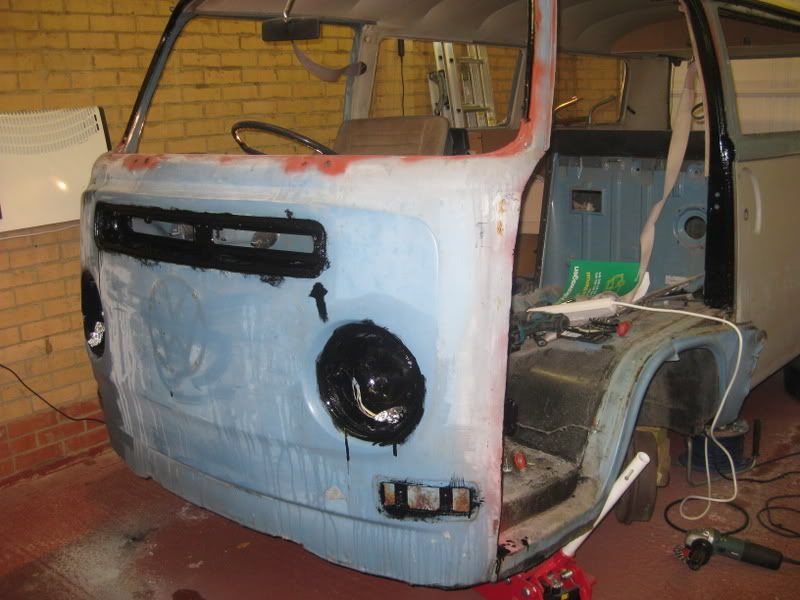
The very first bay window Danburys had their 'Danbury Conversions' badge mounted on the bulge of the engine lid, as opposed to the usual position being in the centre of the crossmember between the engine lid and rear hatch. You may be able to just detect the filled holes where the two rivits would have attached the badge, in one or other of the areas I've mentioned above.
Oooh, just re-read and noticed Barny confirms it was a Danbury.
Doug
cunning plan said:8) Great information! Ill have a look for the covered badge next time Im working on the bus.. I wondered about the curtian tracks, but figured that a PO had installed them, along with the overhead locker - had no idea that was all original equipment! Have you got any more general informaiton about Danburys? Be interesting to know what they came with as standard etc? :?:
Am I right in thinking that my bus must be pretty rare being an original UK RHD January 1968?
Enter your email address to join: