busdiver
Well-known member
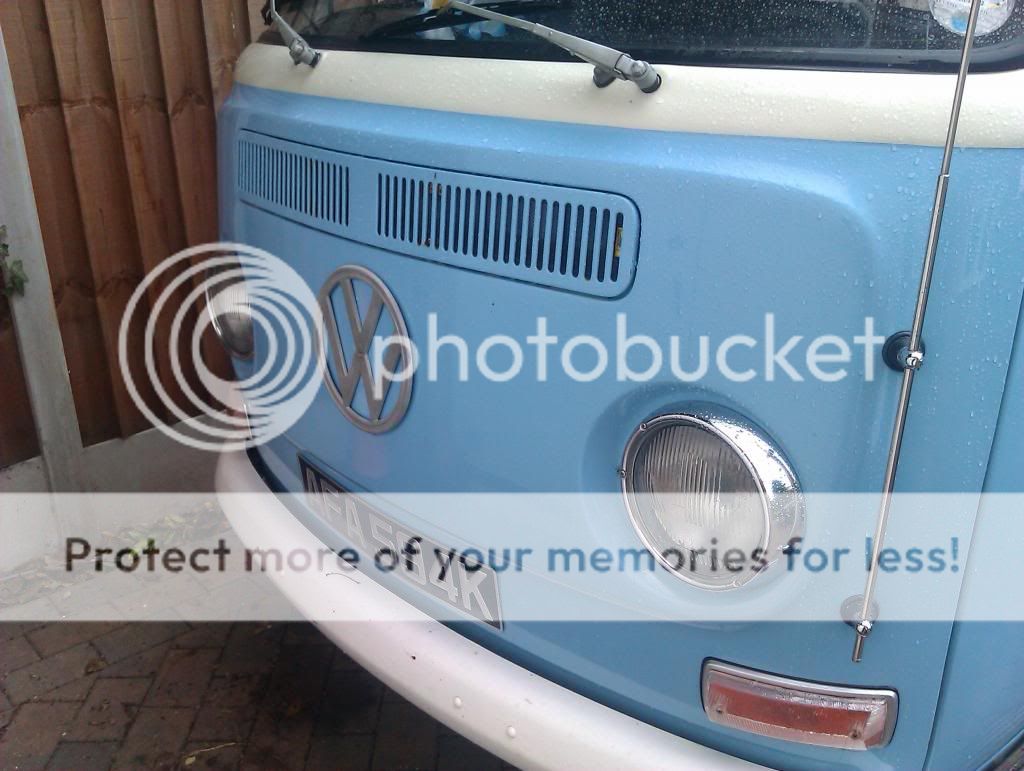
thought i would start a thread for my endeavours to give our crossover bay a bit of a face lift, we've had her about six years and not really done much body wise to her. built an interior as she was bare when we got her, had to do the windscreen bulge repair on both sides and i think some of the rot in the lower front panel came from before that was done
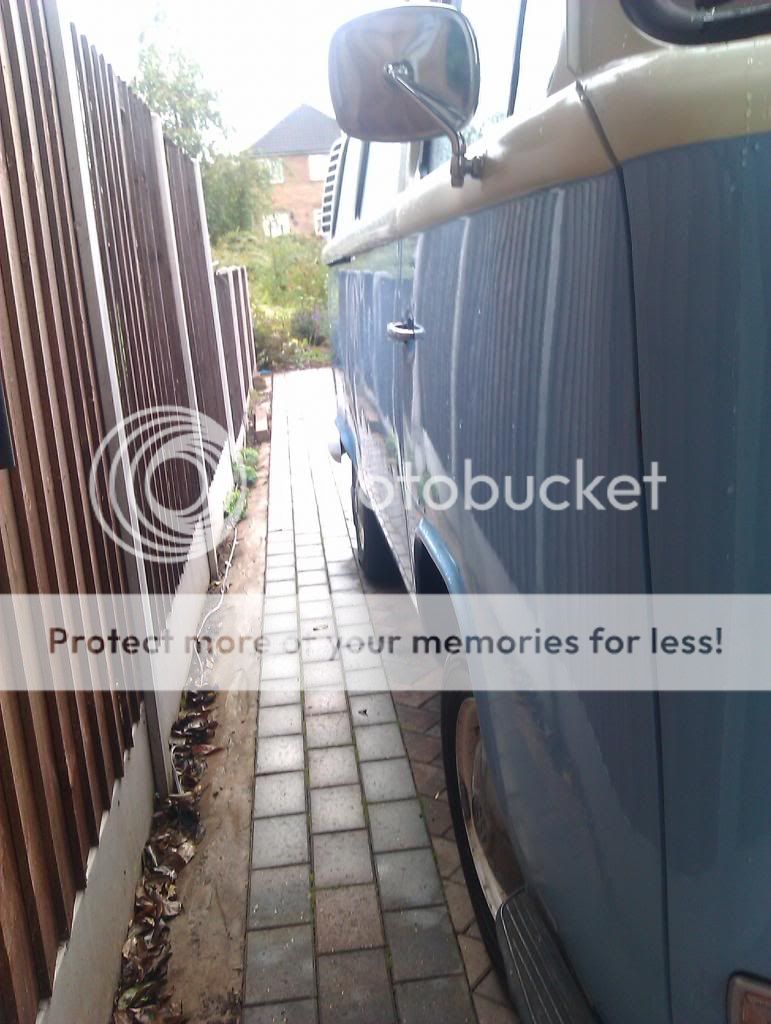
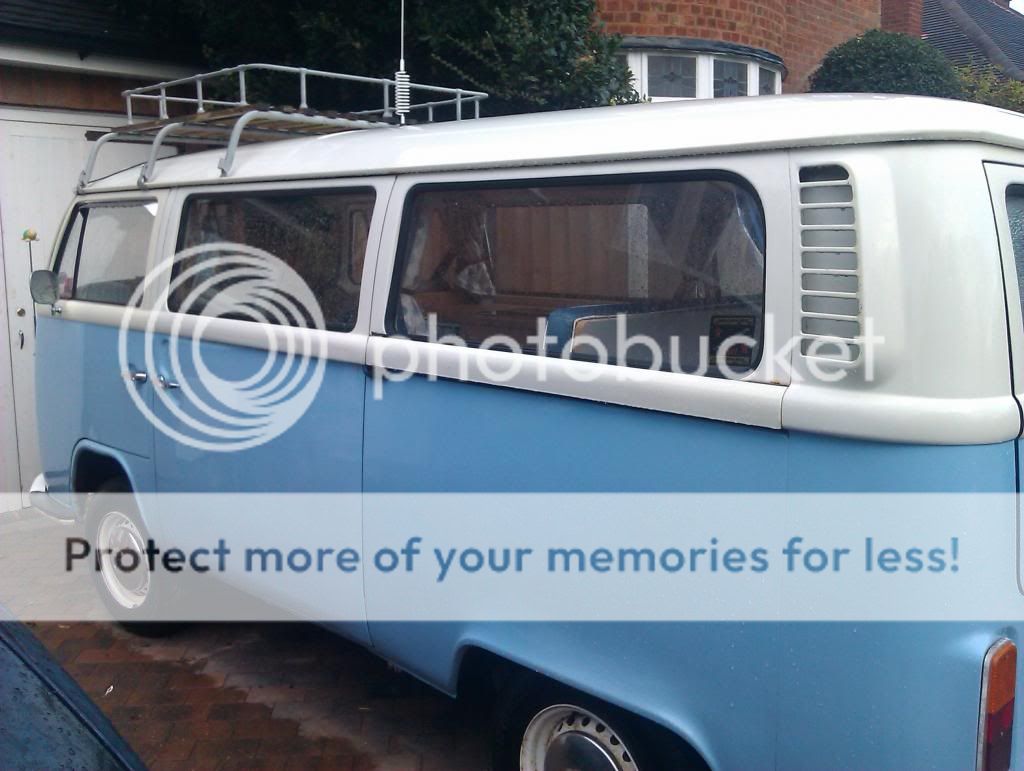
As she was pics i took for assured value
[photobucket]
 [/photobucket]
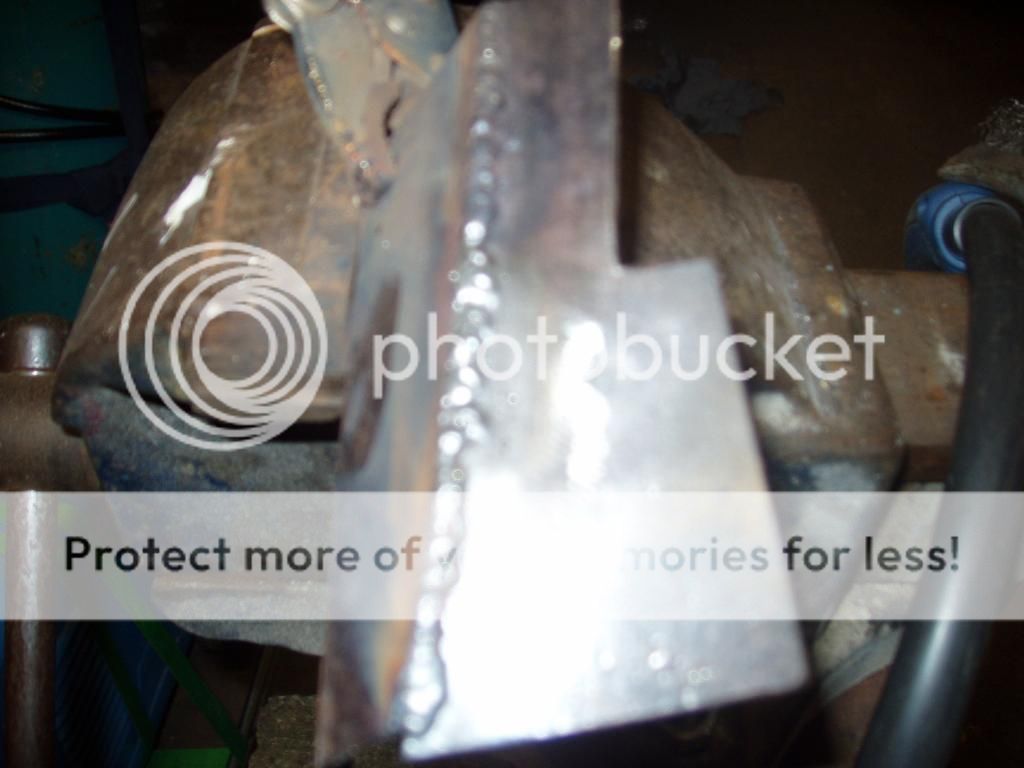
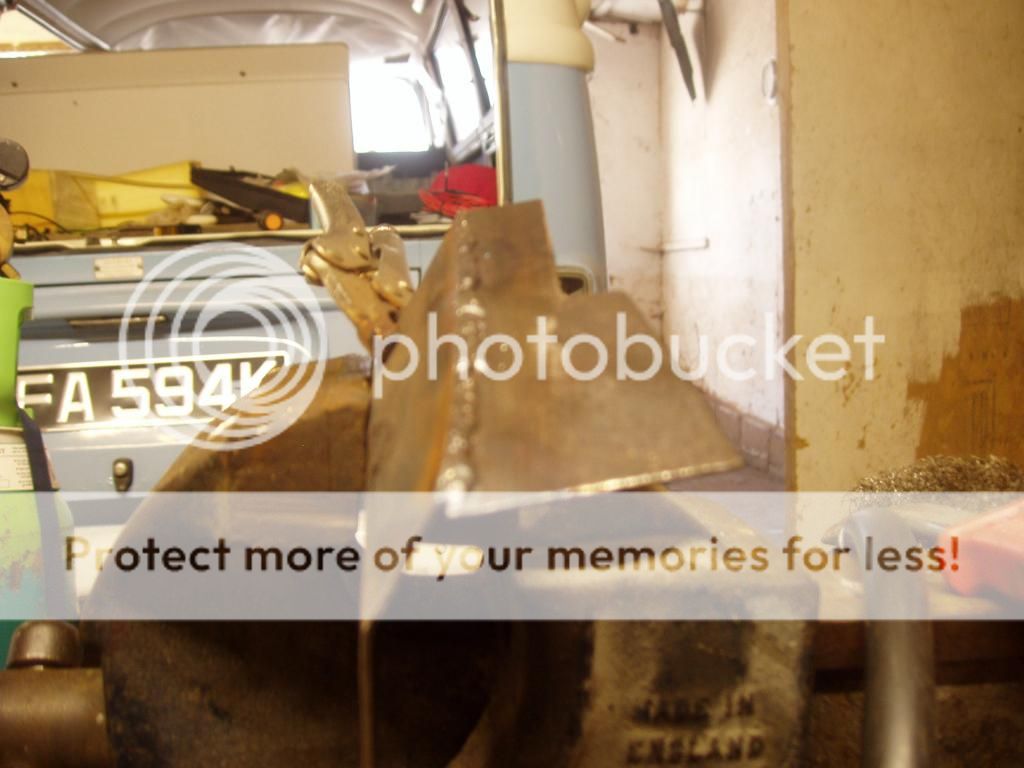
i did both windscreen corners a few years ago
[photobucket]
 [/photobucket]
[photobucket]
 [/photobucket]
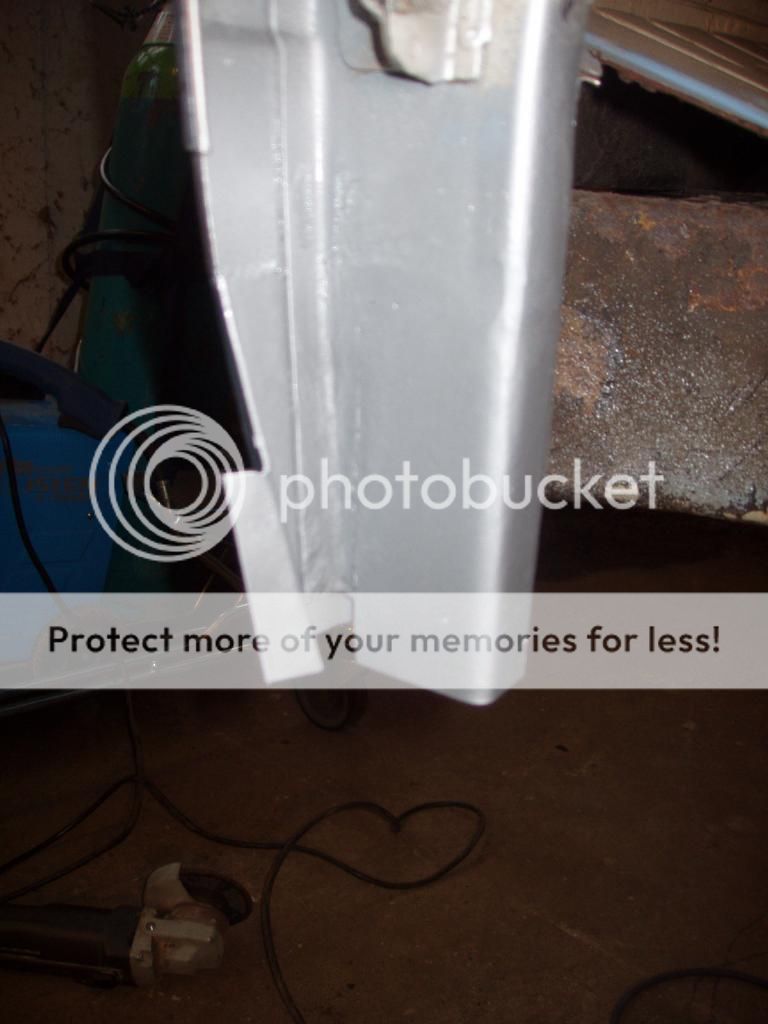
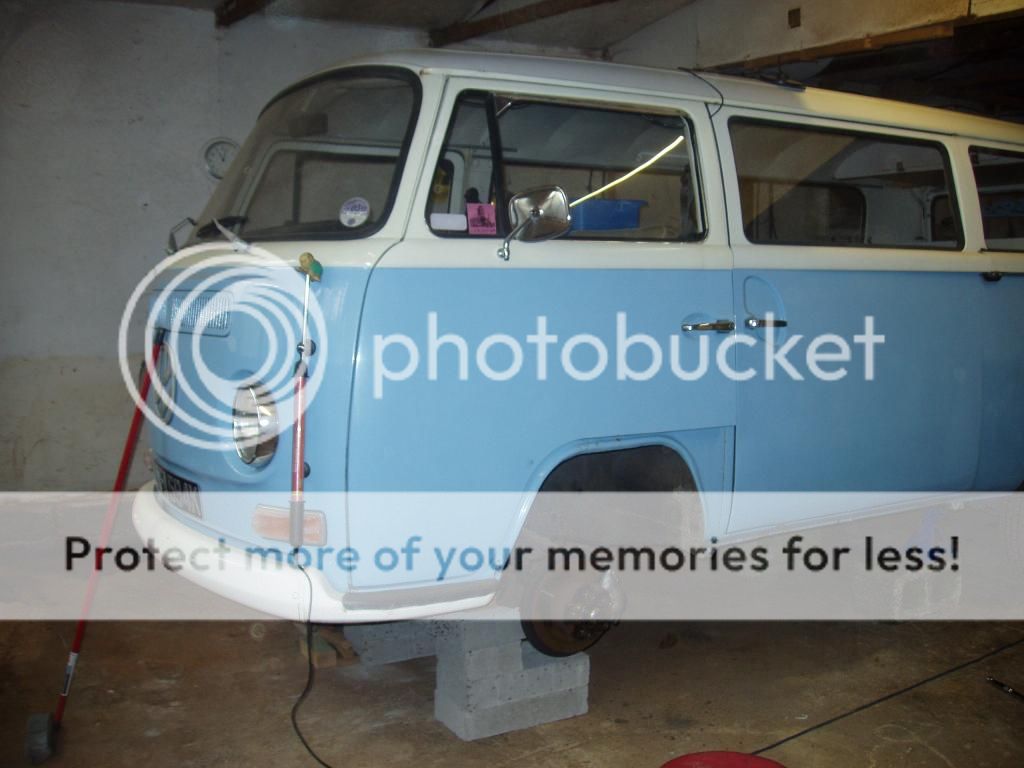
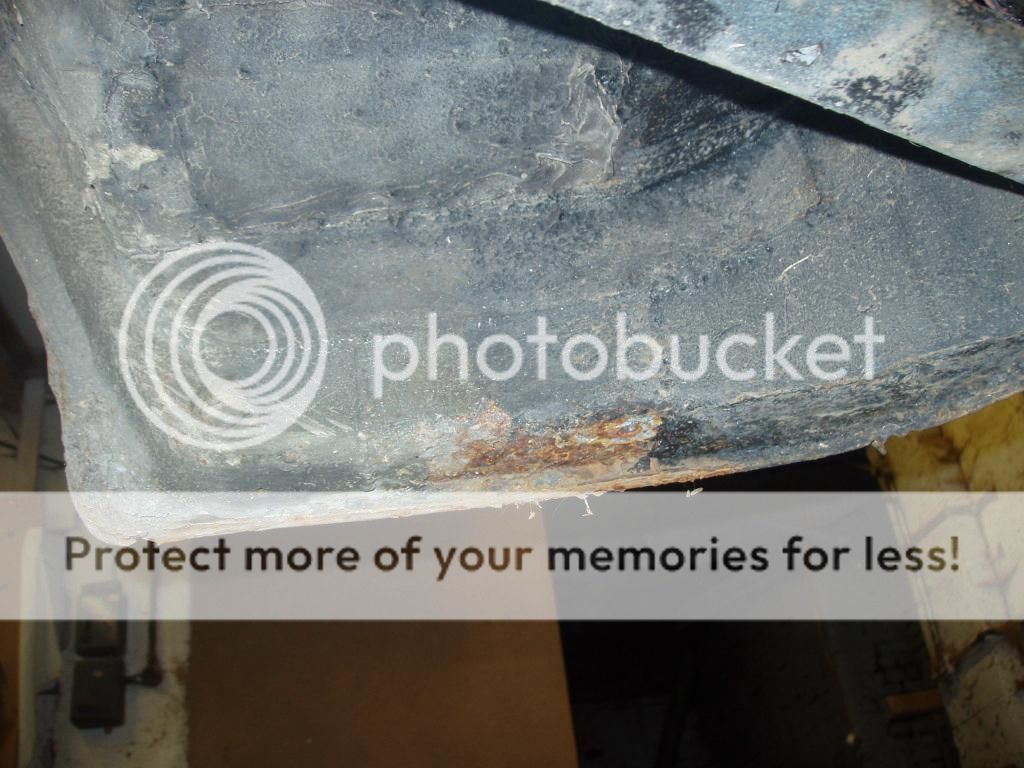
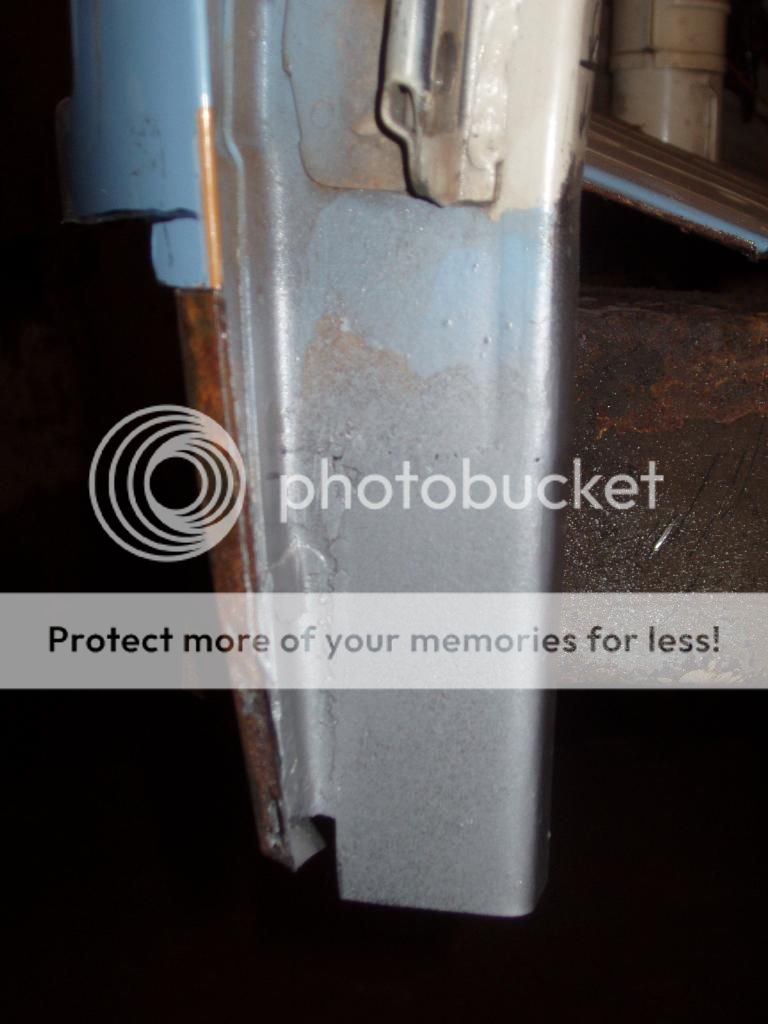
does,nt look to bad
[photobucket]
 [/photobucket]
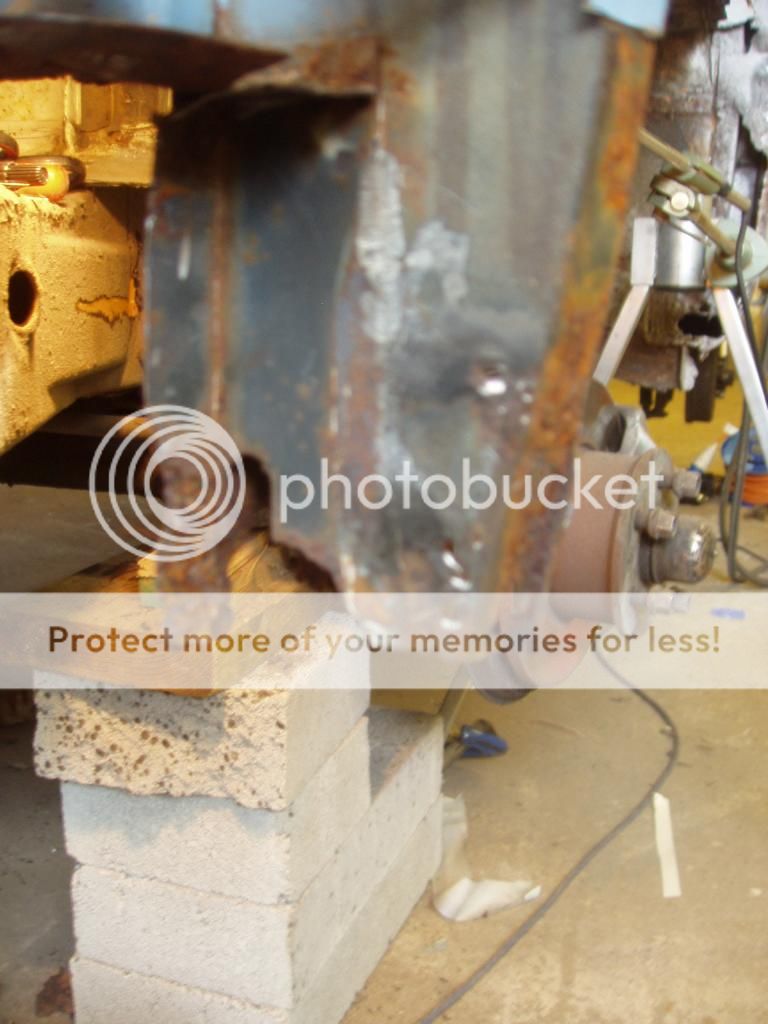
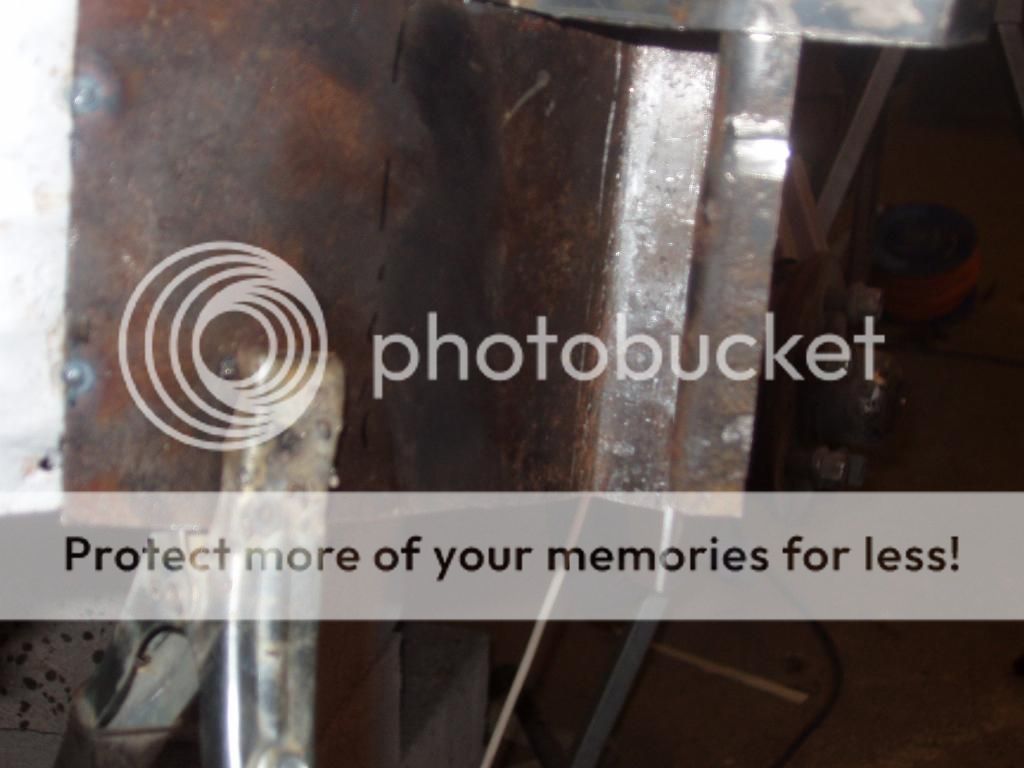
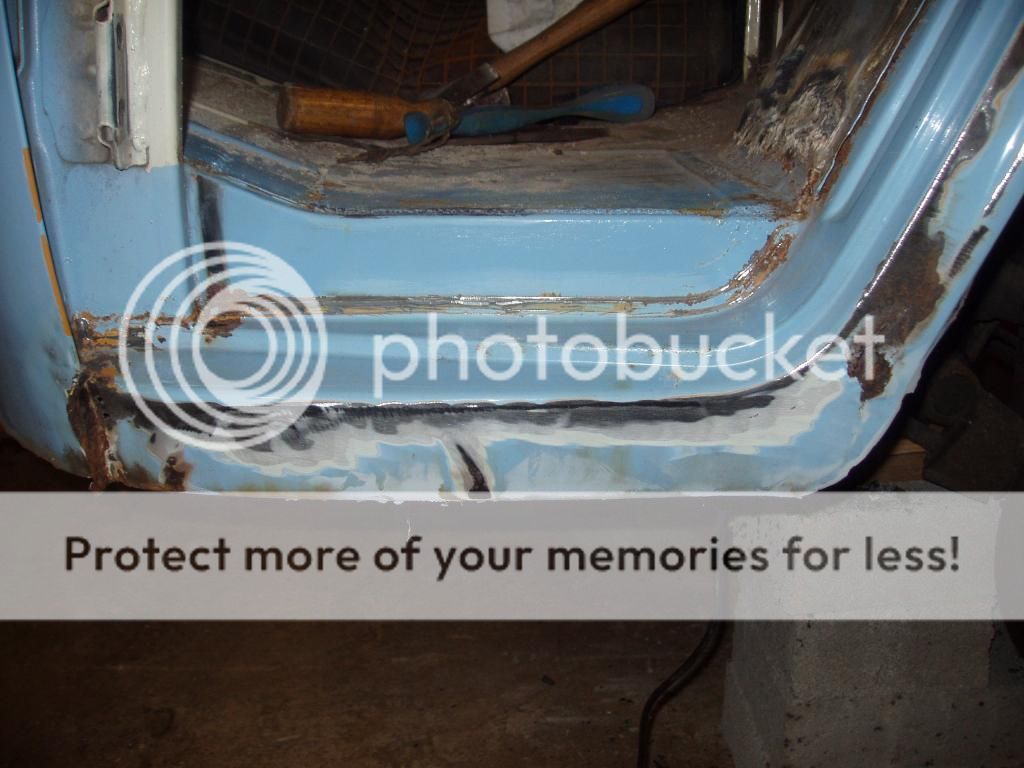
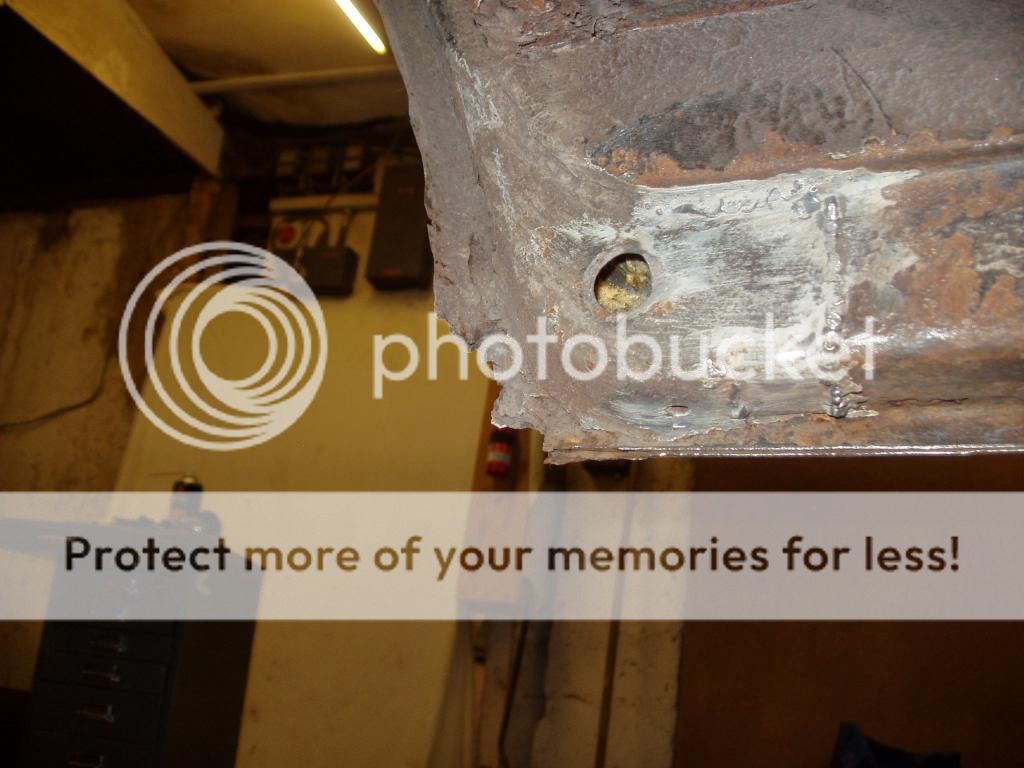
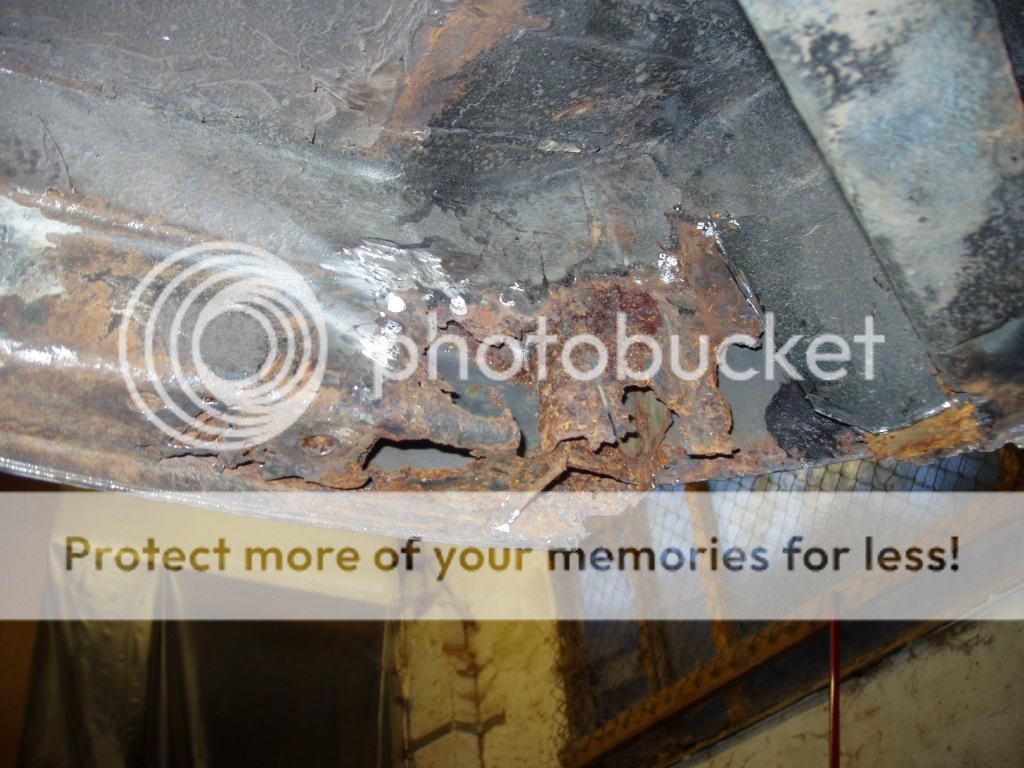
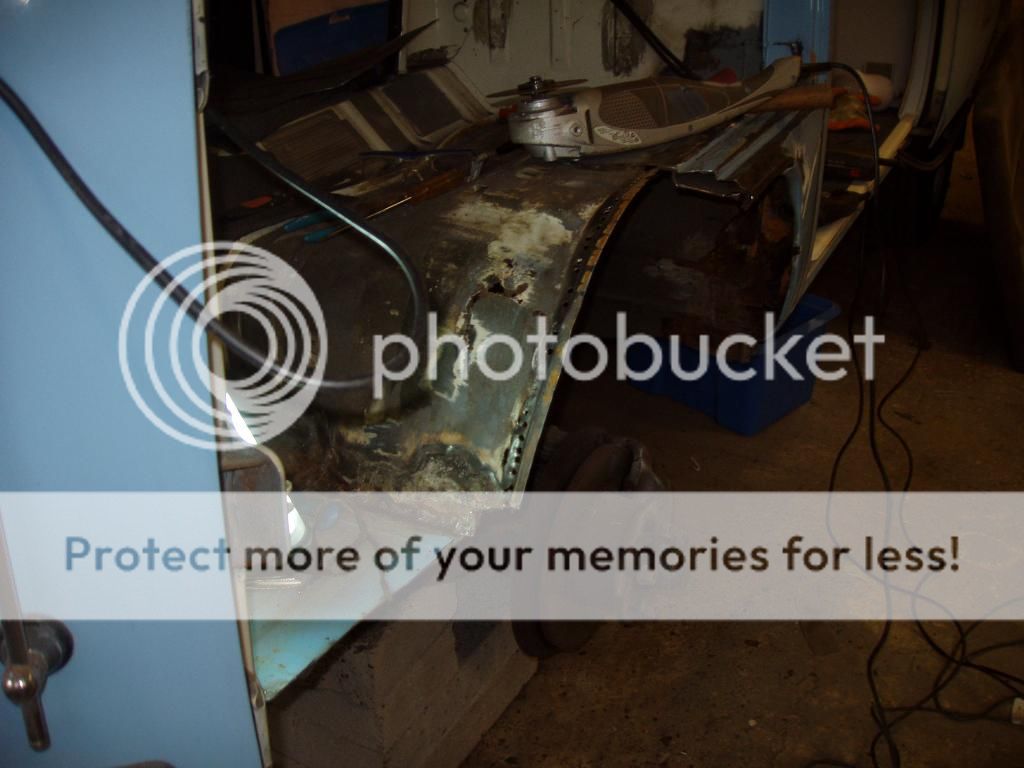
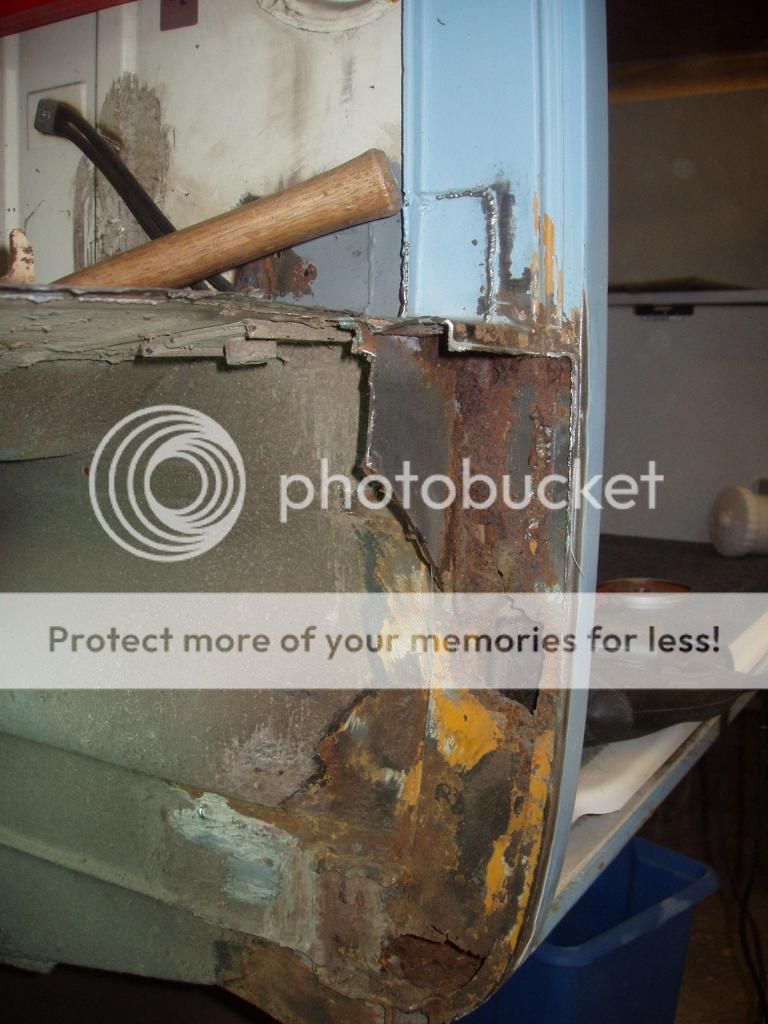
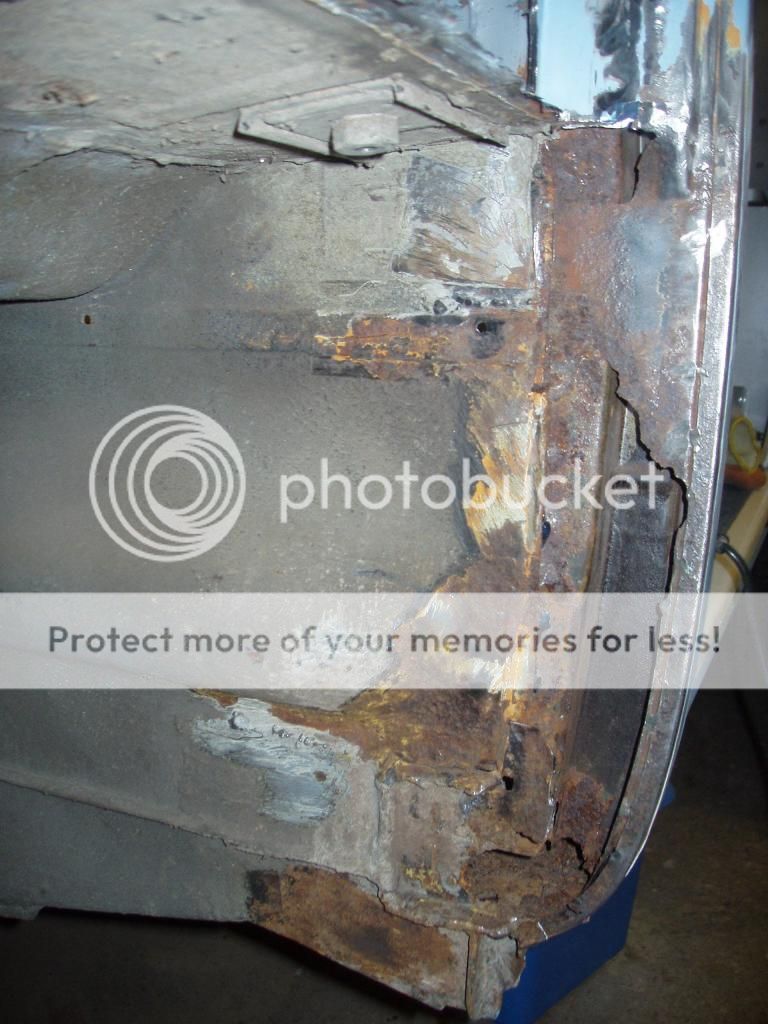
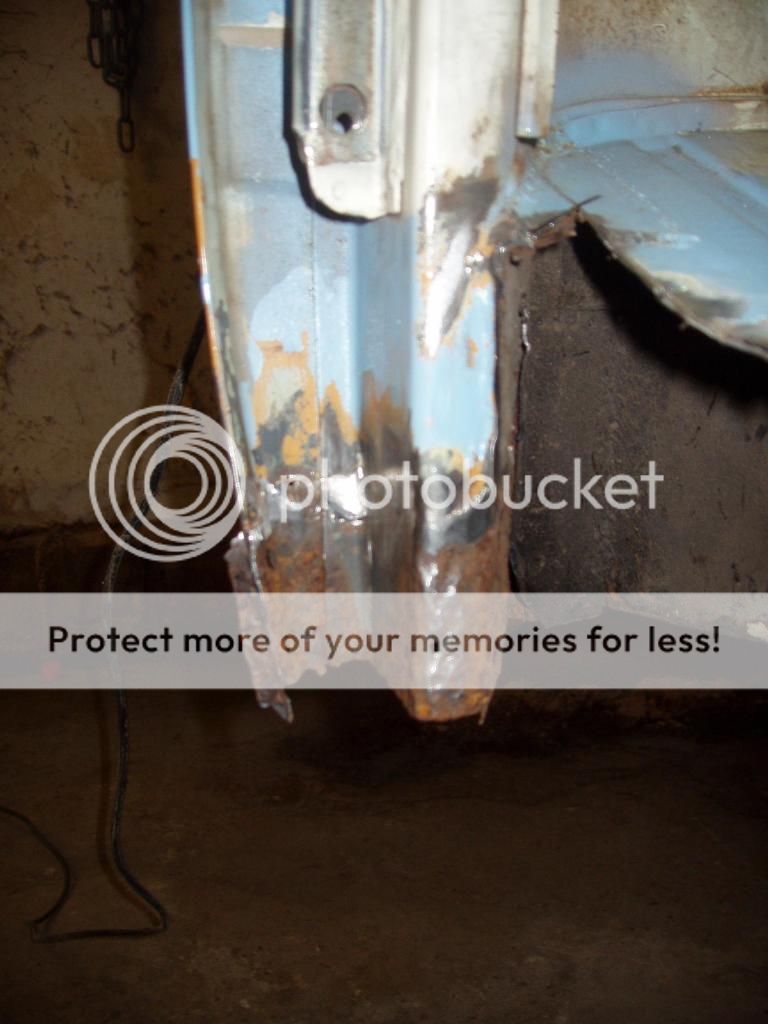
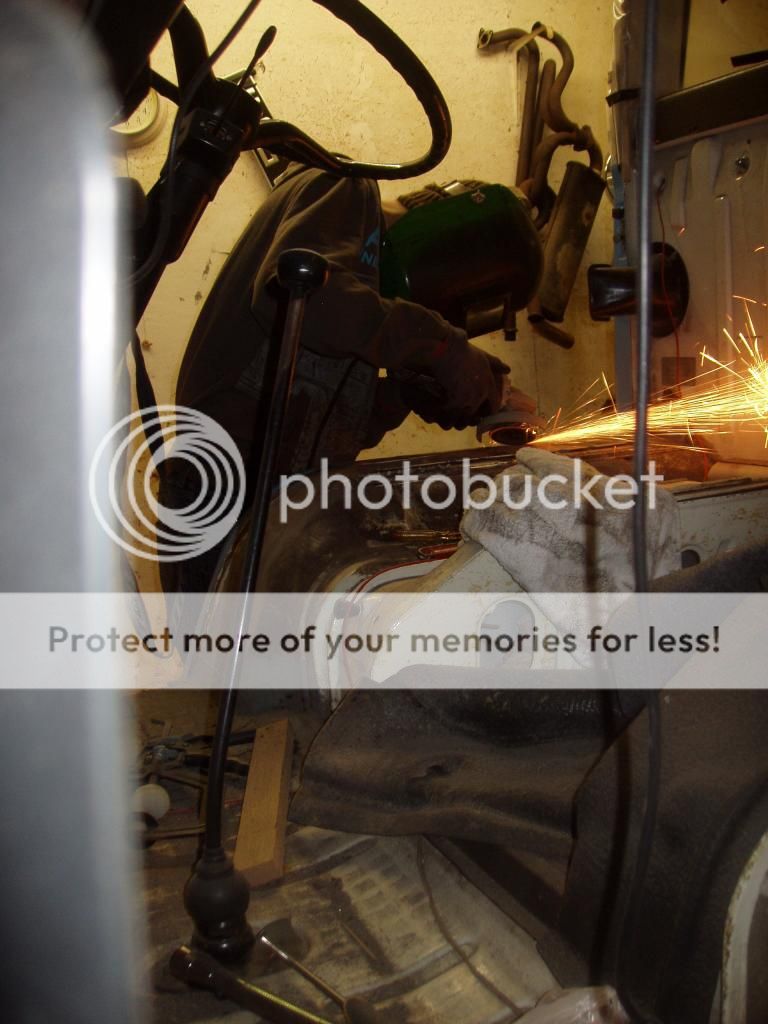
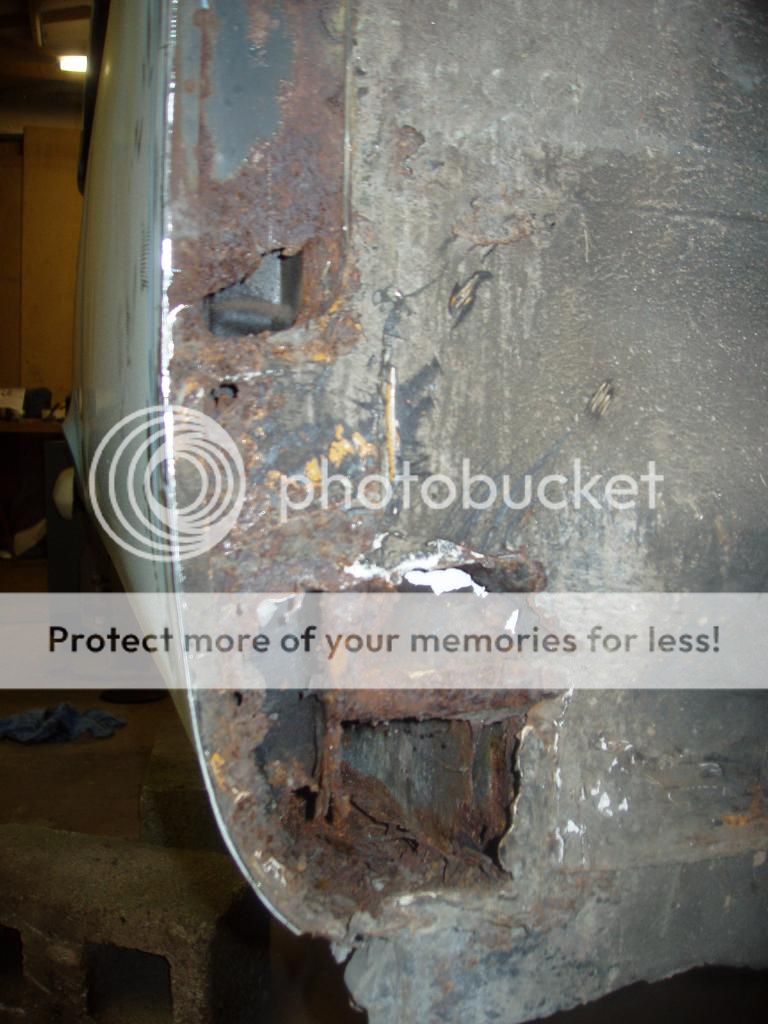
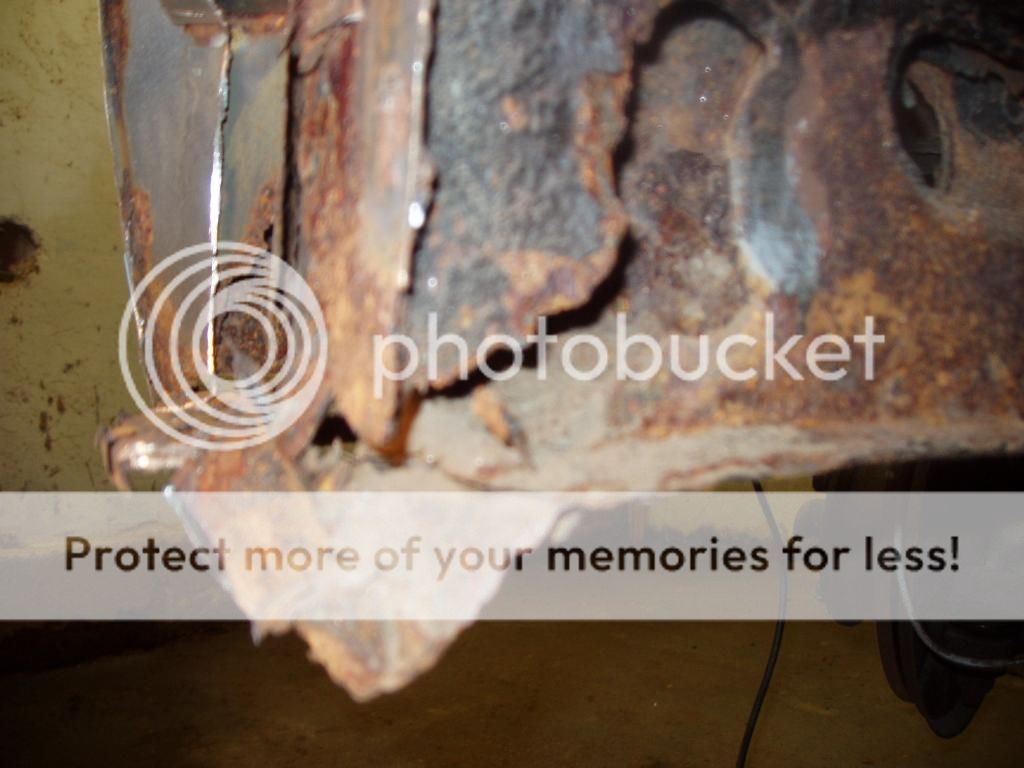
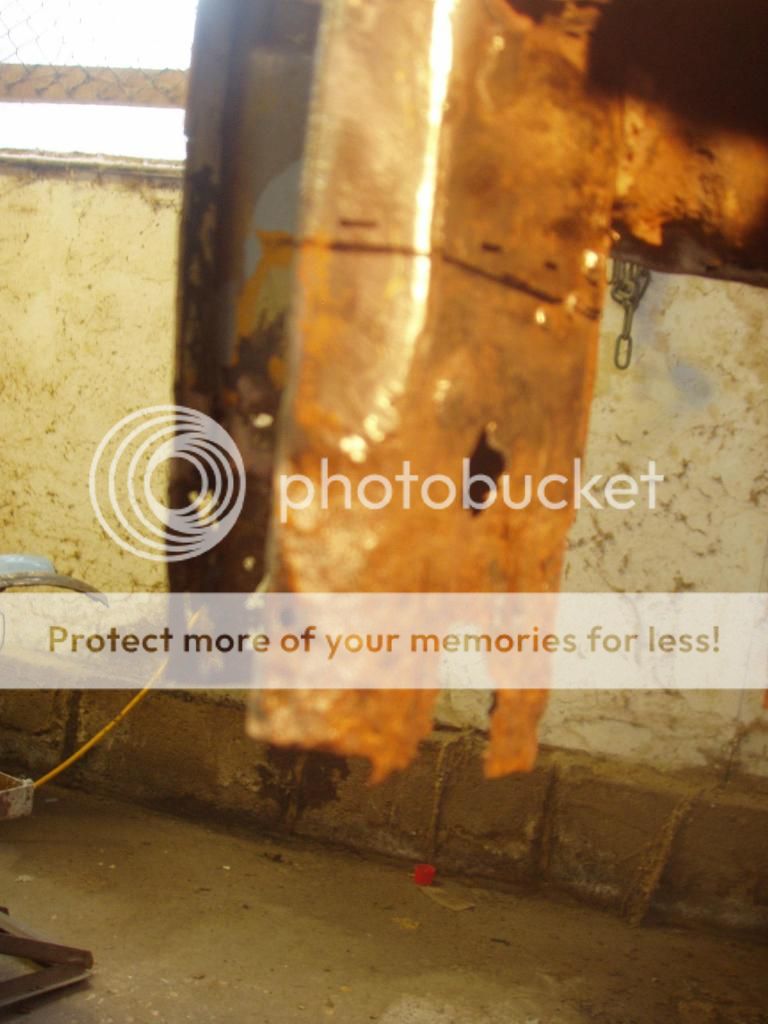
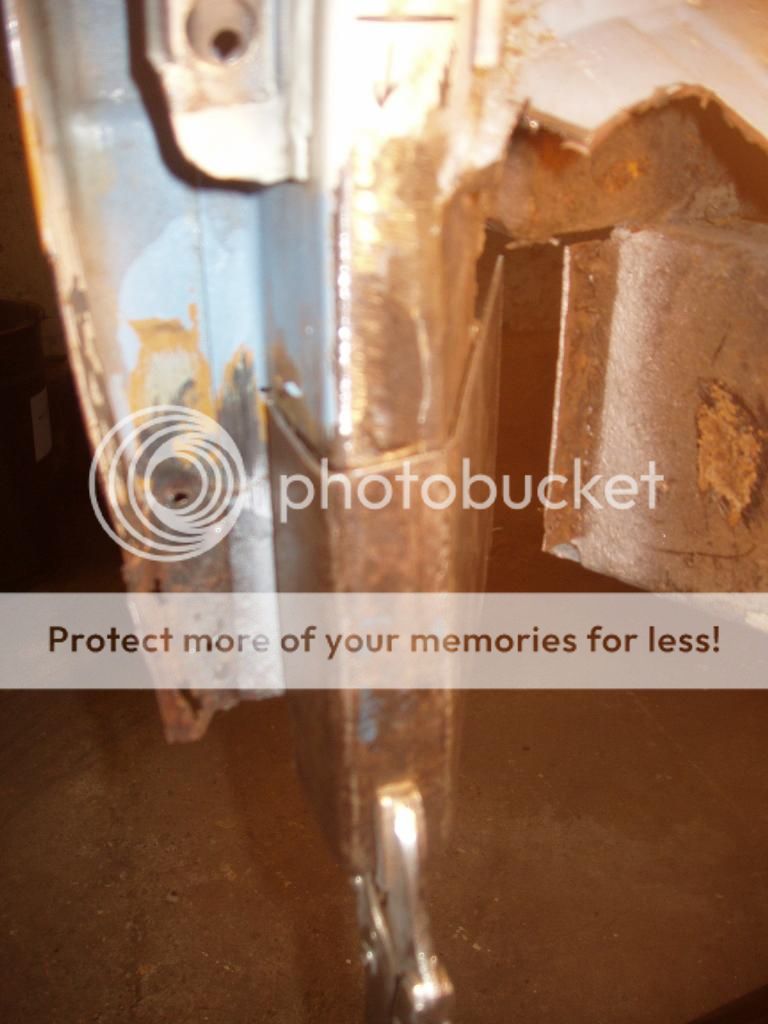
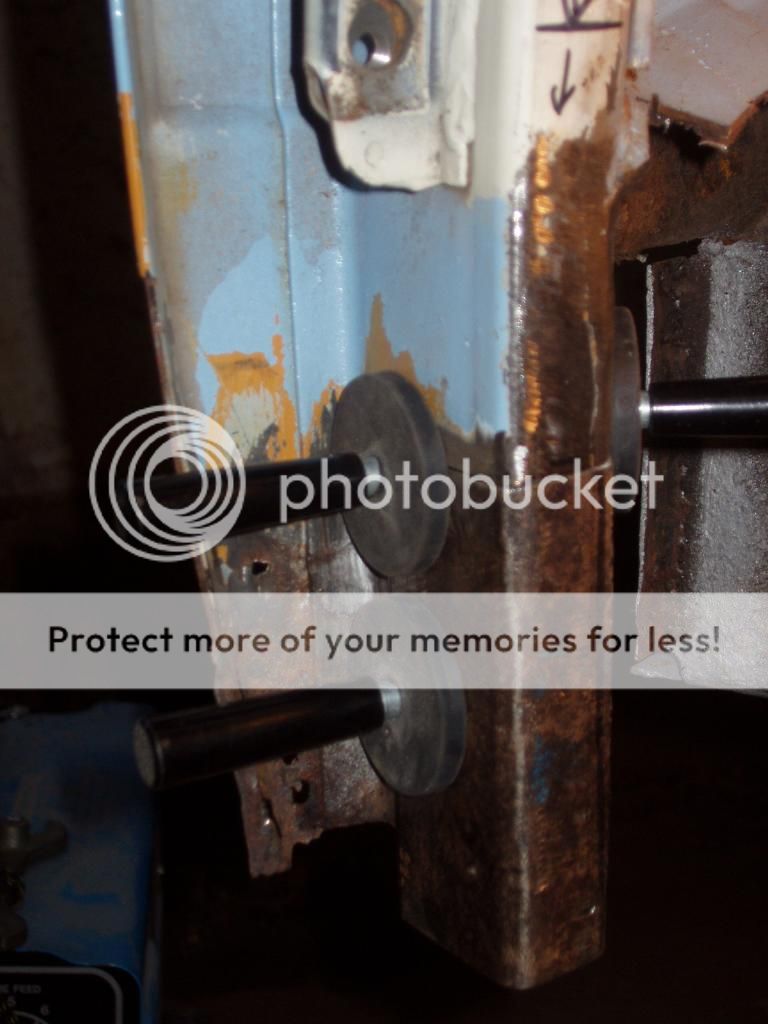
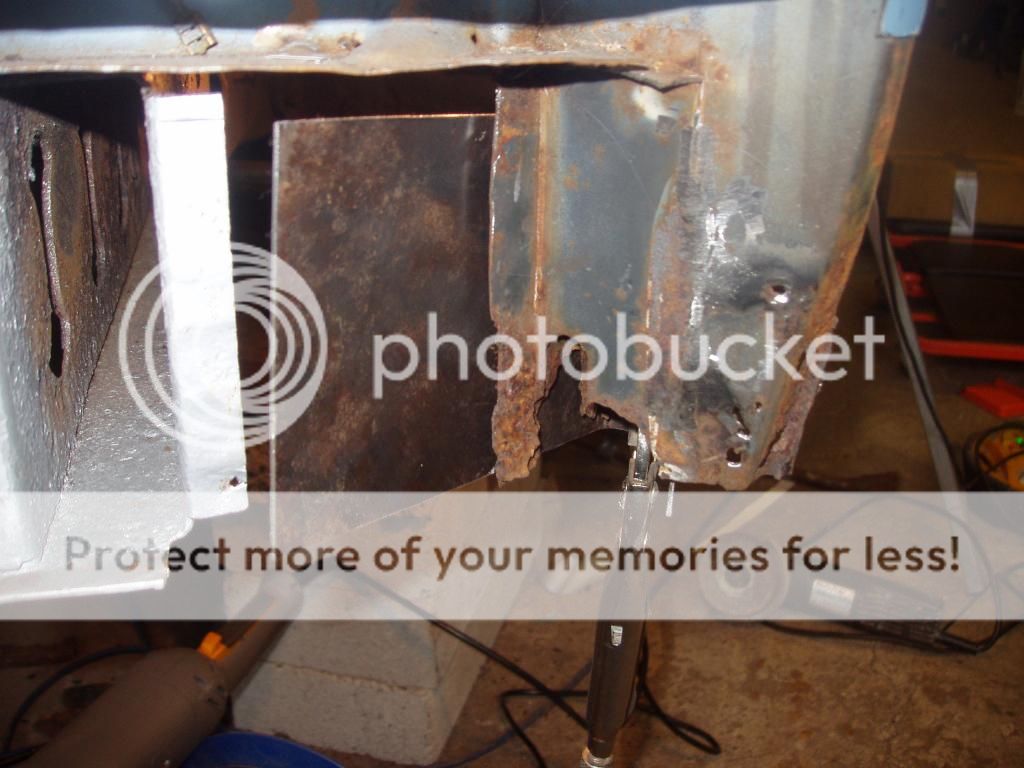
then you start taking bits off
[photobucket]
 [/photobucket]
[photobucket]
 [/photobucket]
[photobucket]
 [/photobucket]
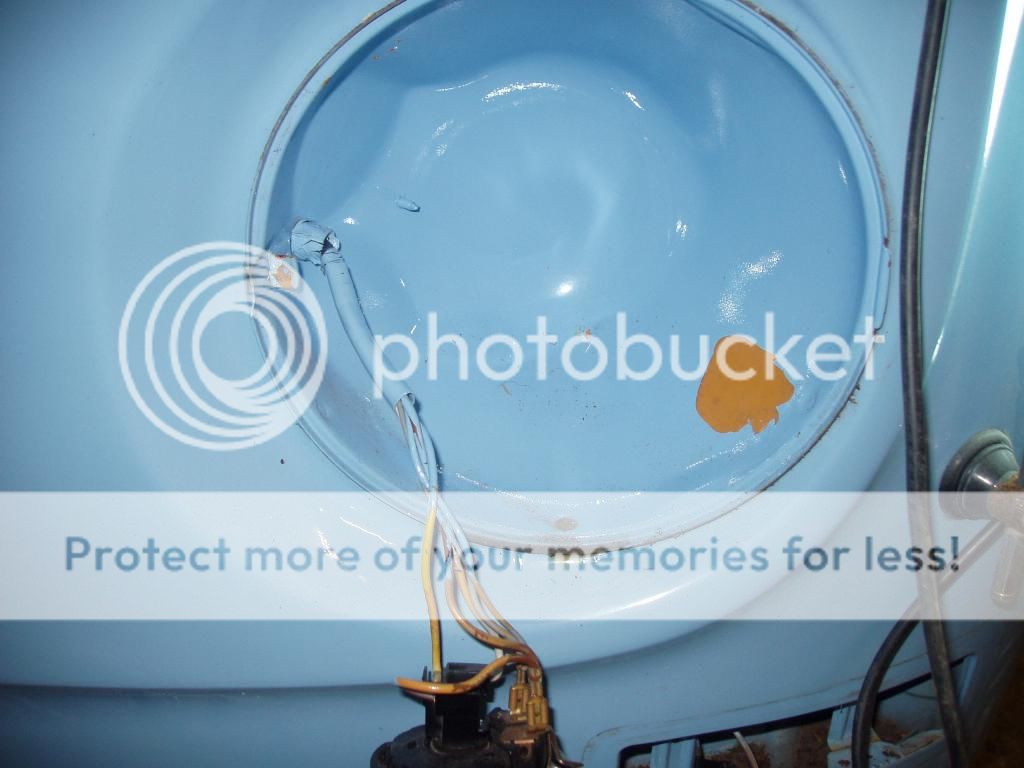
a random 10p that got lost down the dash and found it's way here
[photobucket]
 [/photobucket]
more soon,but thought i would make a start.
As she was pics i took for assured value
[photobucket]
i did both windscreen corners a few years ago
[photobucket]
[photobucket]
does,nt look to bad
[photobucket]
then you start taking bits off
[photobucket]
[photobucket]
[photobucket]
a random 10p that got lost down the dash and found it's way here
[photobucket]
more soon,but thought i would make a start.


")