snowman
Active member
Hi everybody.
I'm Kalle finnish guy who lives in french. I like a lot cars and aircooled ones. This is my first renovation for bus.
This project is for reparing our 1972 westy for having a new life.
- 1972 westfalia
- ordered in french
- oem interrior
- last owner had it ~20 years
coming:
- typ 4 engine
- 17" bbs rims
- lower
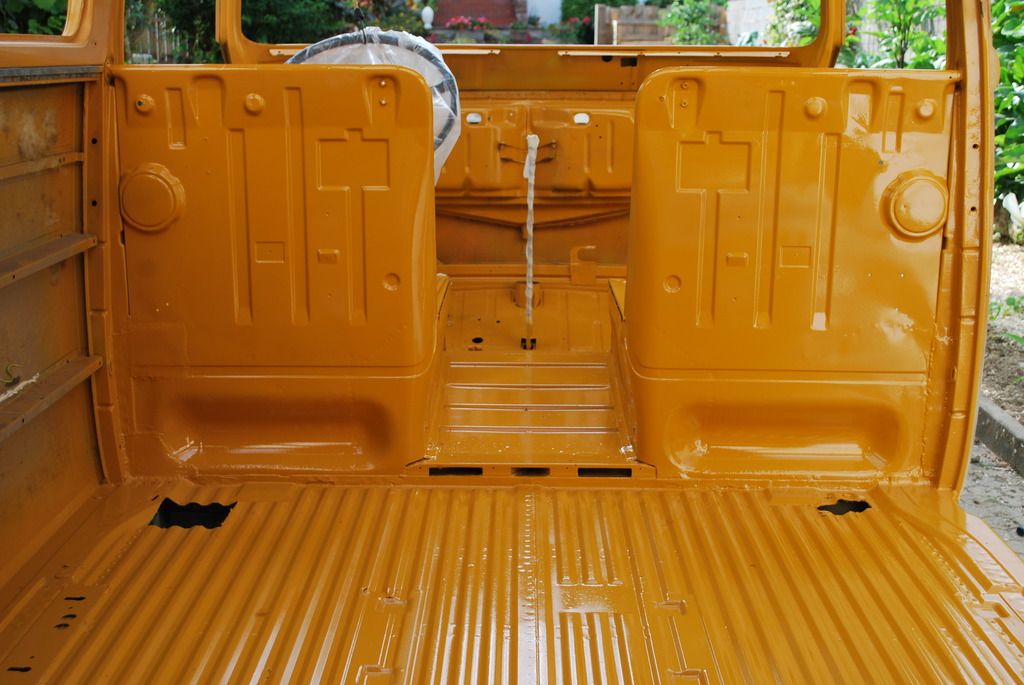
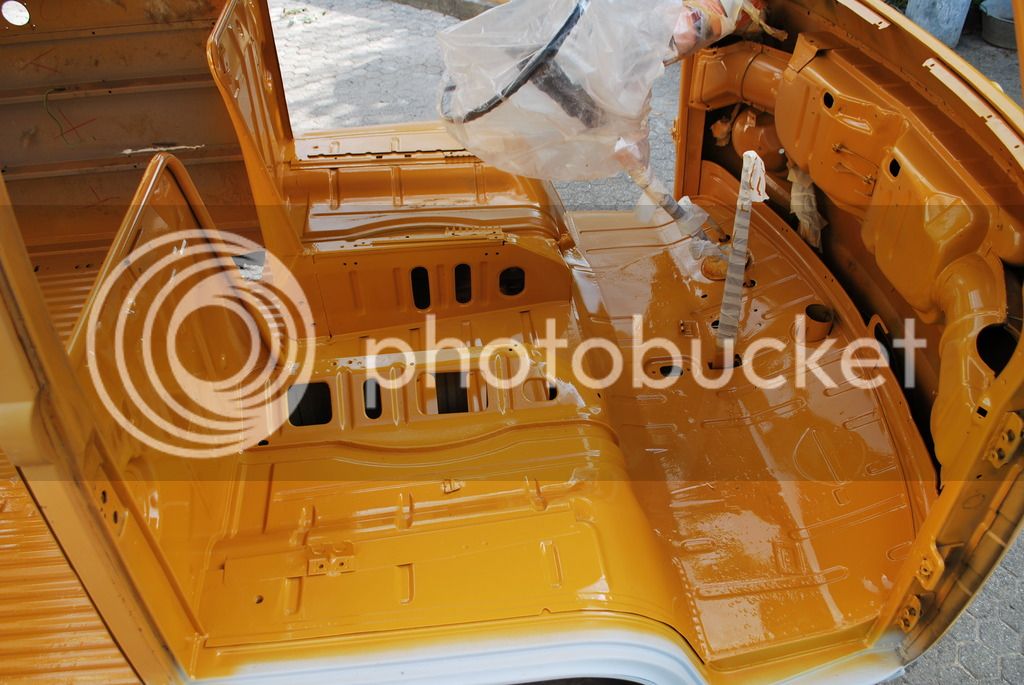
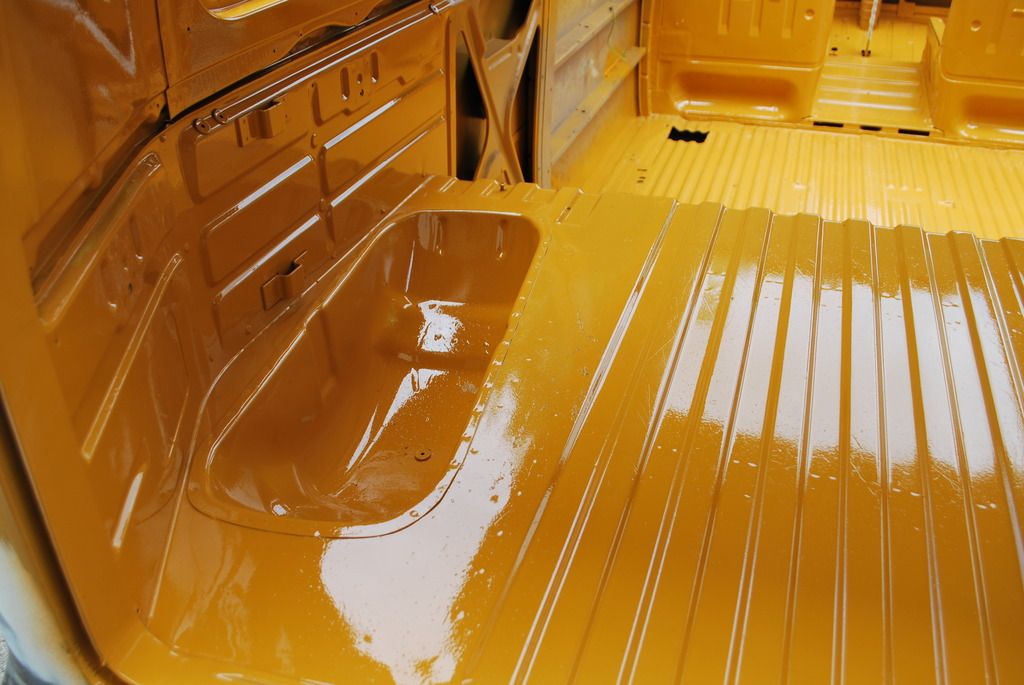
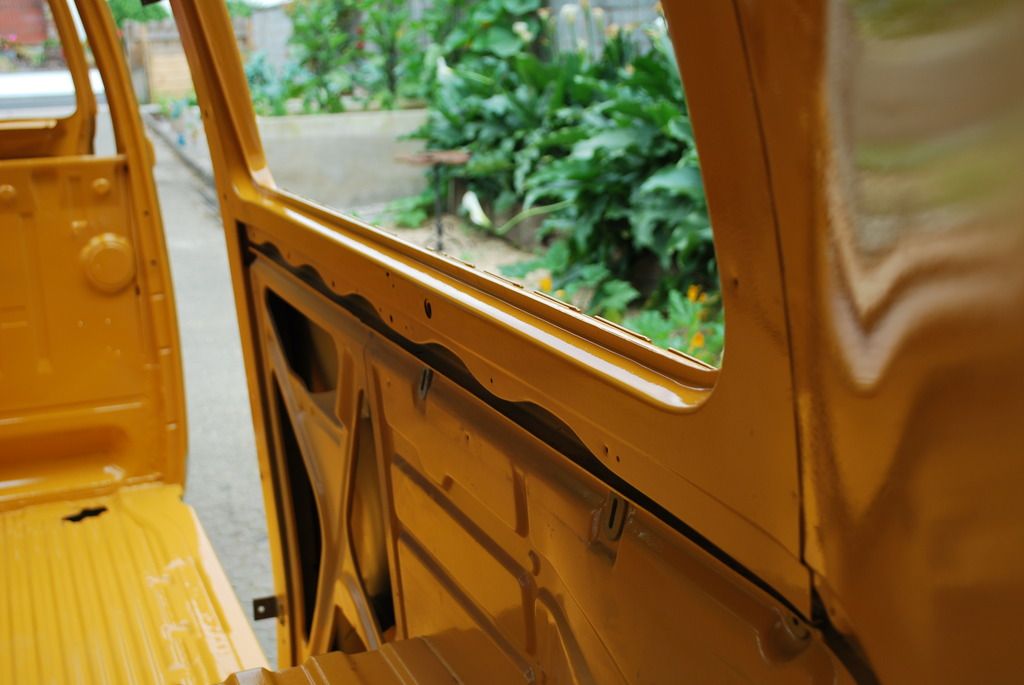
- new paint
Little history... We bought this car with my girlfriend ( now wife ) 2011 for making some trips and join aircooled culture here is french and europe. I have already one other aircooled vw, -71 vw 181 military.
Westy was quite sad looking because previous owner had fixed already around year 2000. Not so well... buying conditions:


He told that car had some aftermarker furnitures but after buying I looked little better and it is fully original westfalia and ordered from factory to French!! Previous owner had car about 20 years long and it had sleeped winters inside!
Same year we made trip to Finland and swiss with westy and I made also some small reparations that year, like : fixing rusts inside floor, sandplasting body under, paint bumber in white, little light inside, lower front little, change fabrics for curtains and seats...


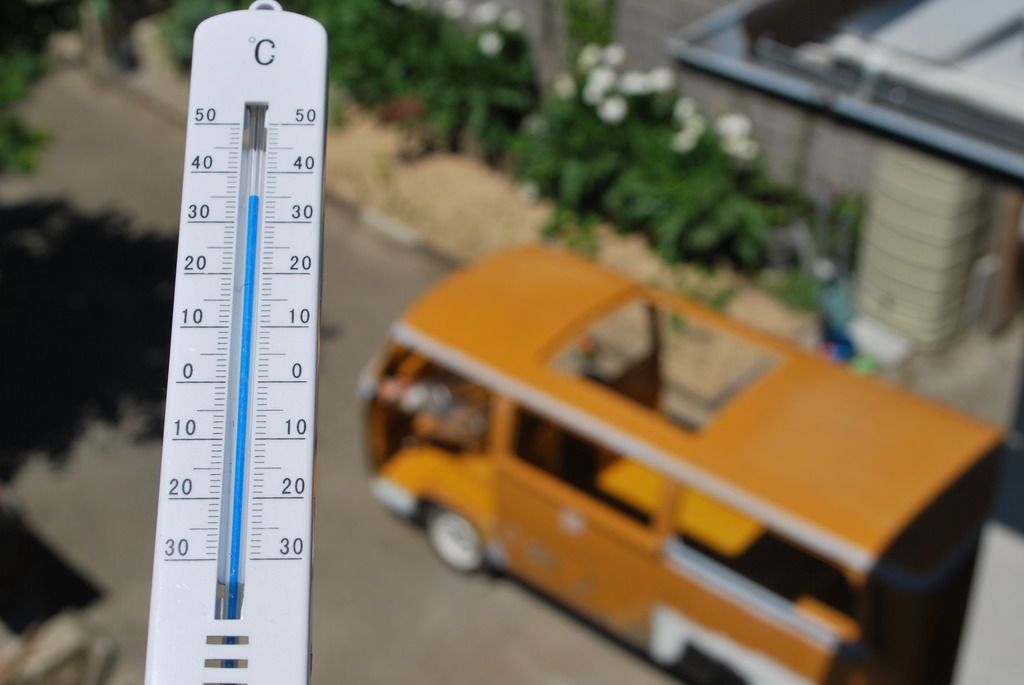
2012 little drifting in snow


2013 I deside to build one engine to westy and I got from my friend typ4 engine block and after I build engine with little bigger parts... It is now 2056cc with double 44mm carburators")
It was nice to built that engine with my father. Every parts are new or painted and tin-metals are smoothed for extra holes.


Now to come to year 2015:
It was the moment to start renovation when I got finally garage where to built cars here in french. Previous years westy didn't got lot of kilometer, just few trips in summer and new breaks in front. When we bought car our first child was almost born, and now we are 5 in family
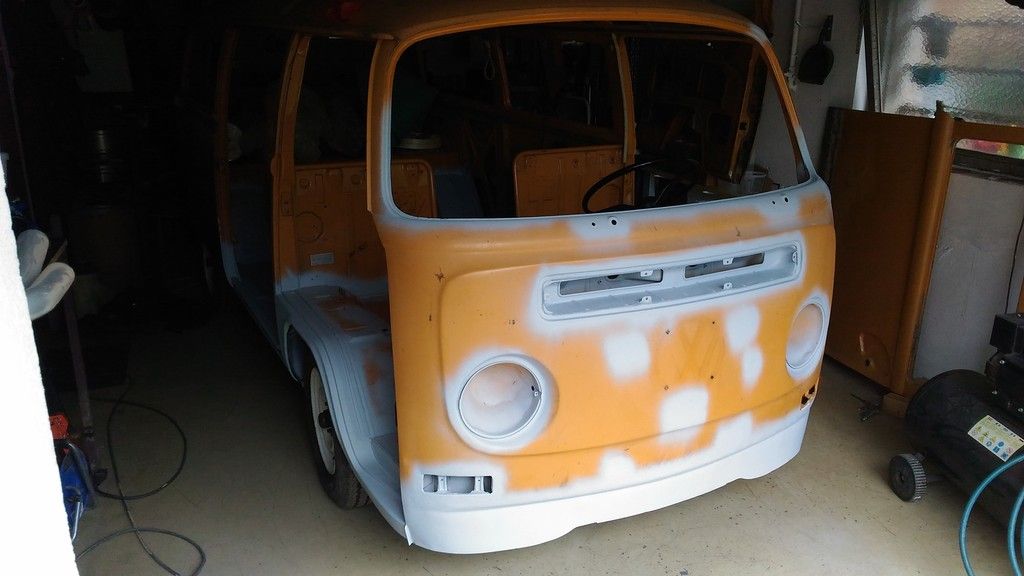
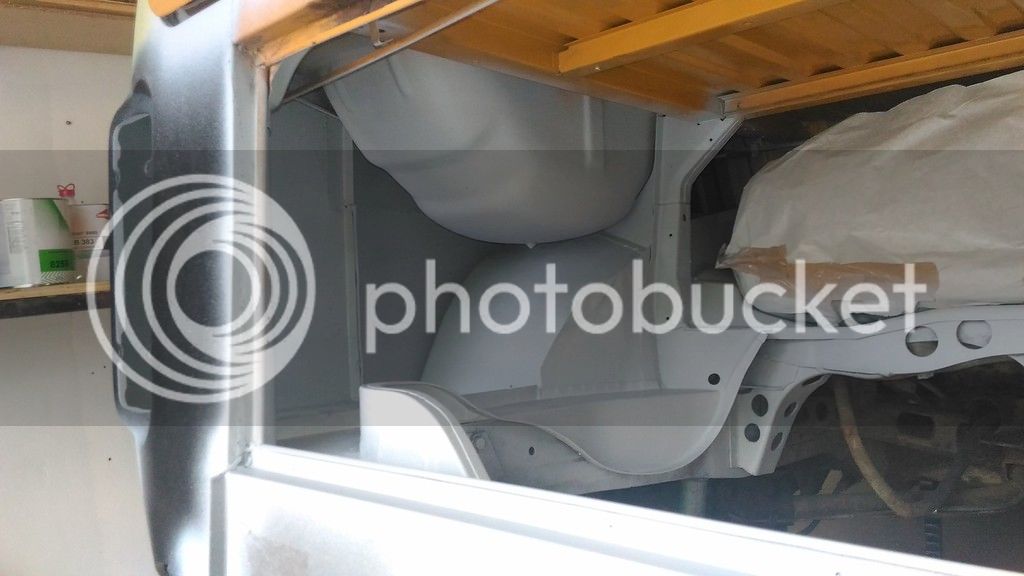
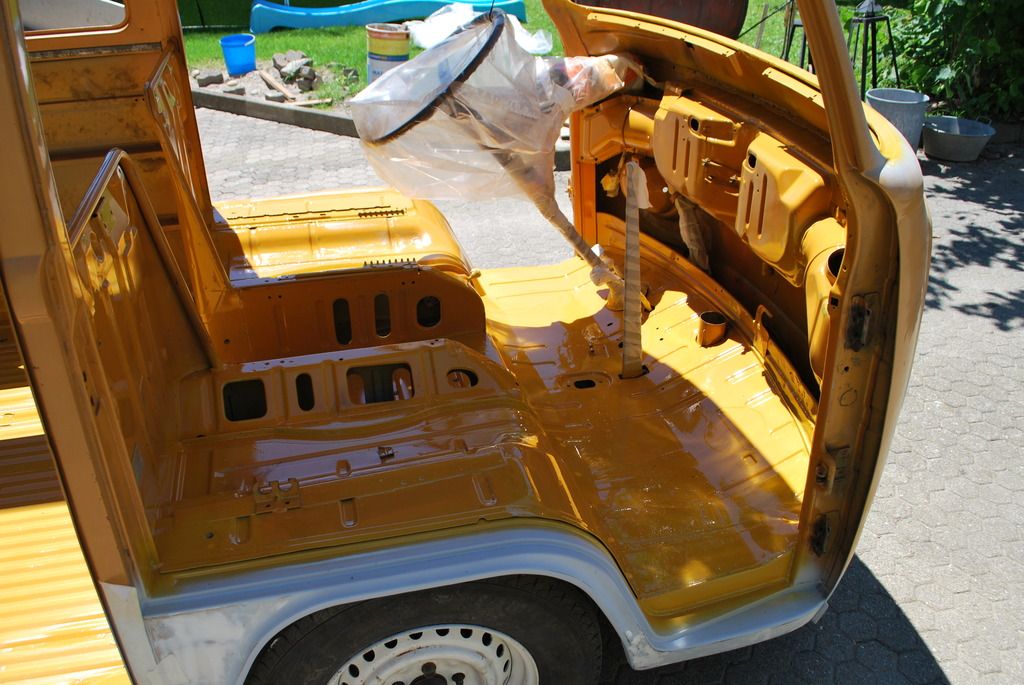
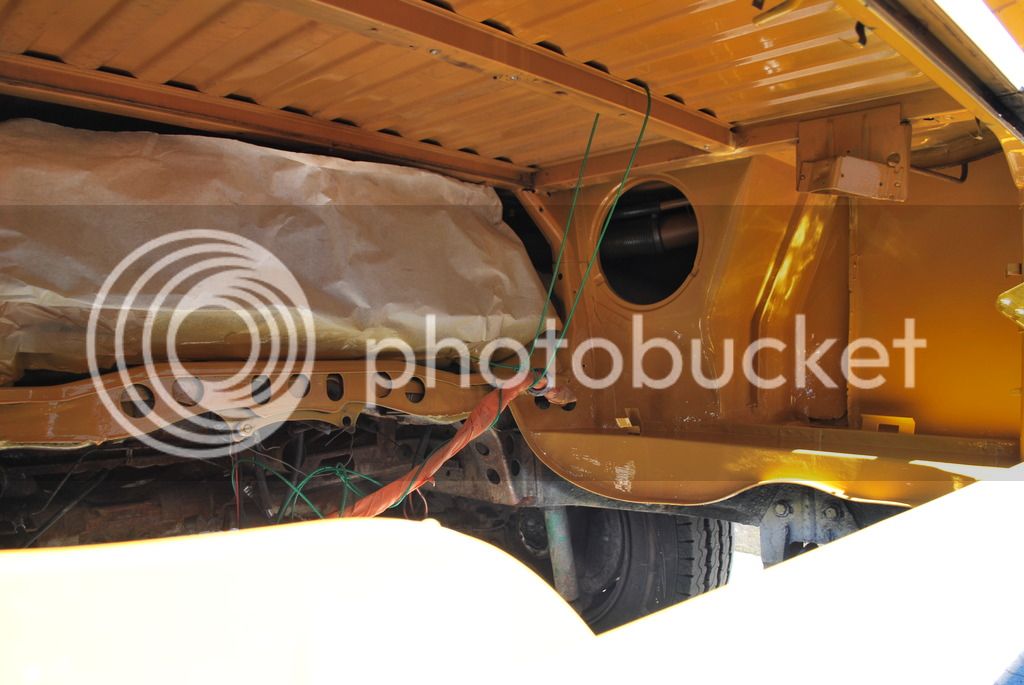
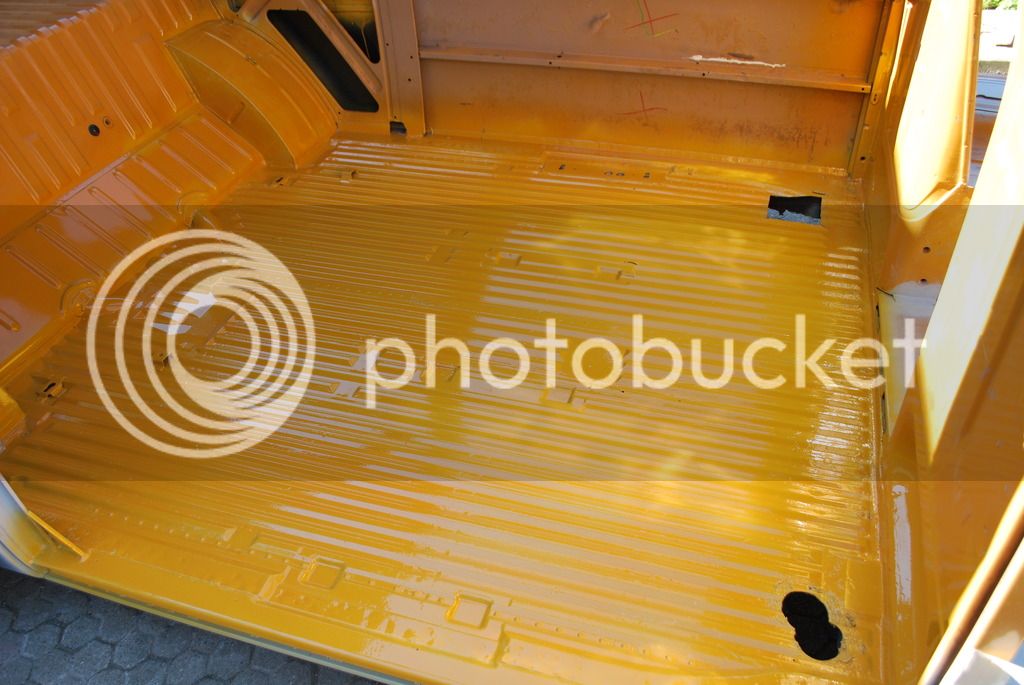
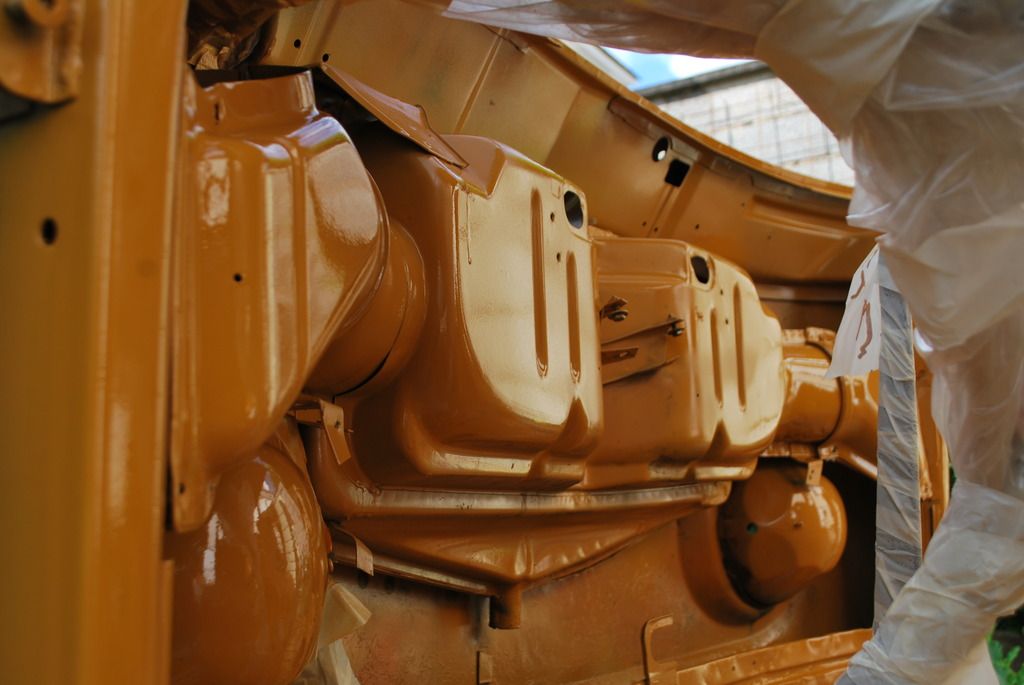
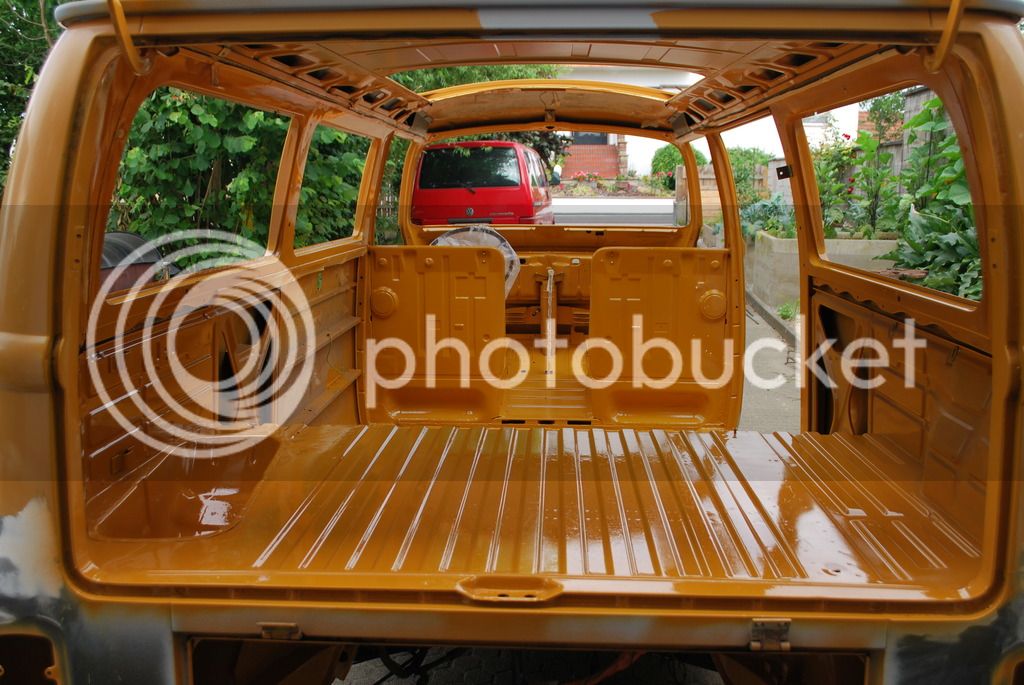
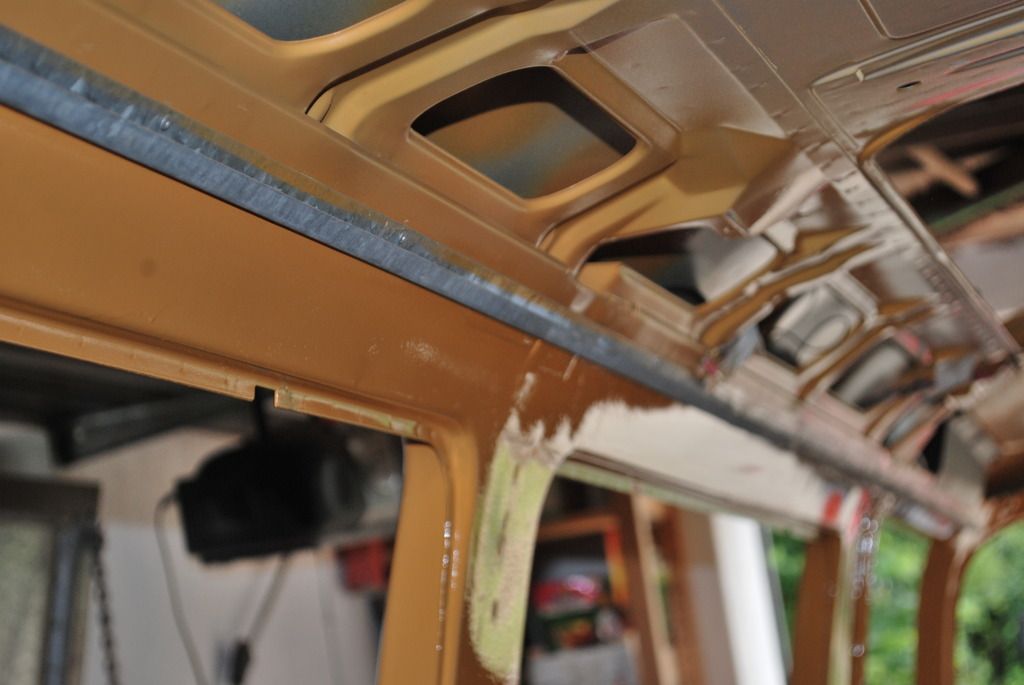
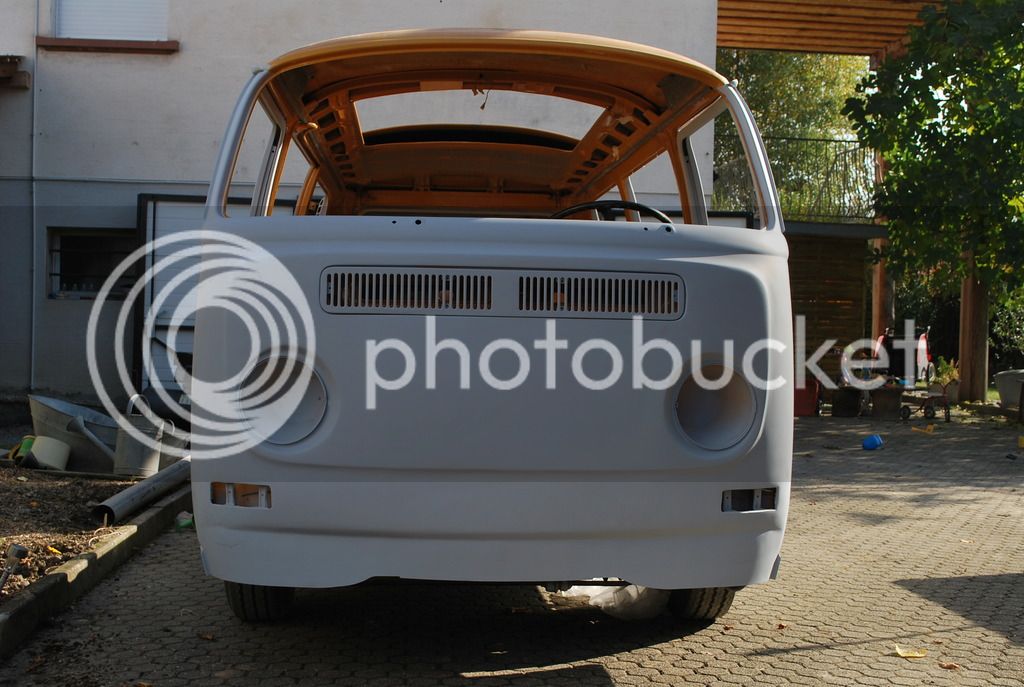
Car in and unbuilding everything and discovering rust and suprises:


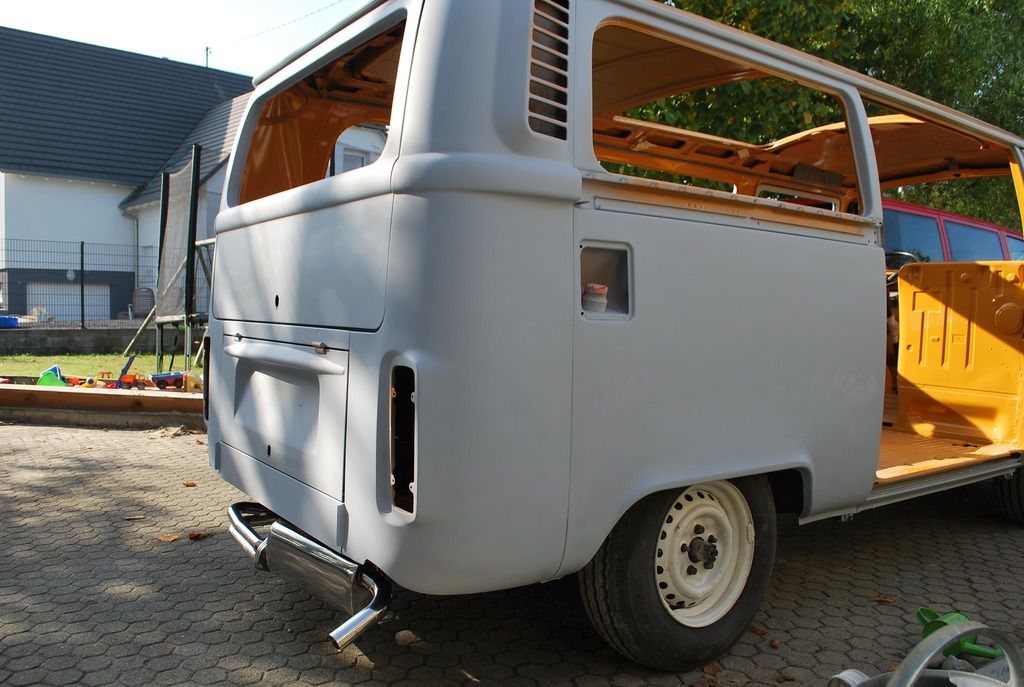
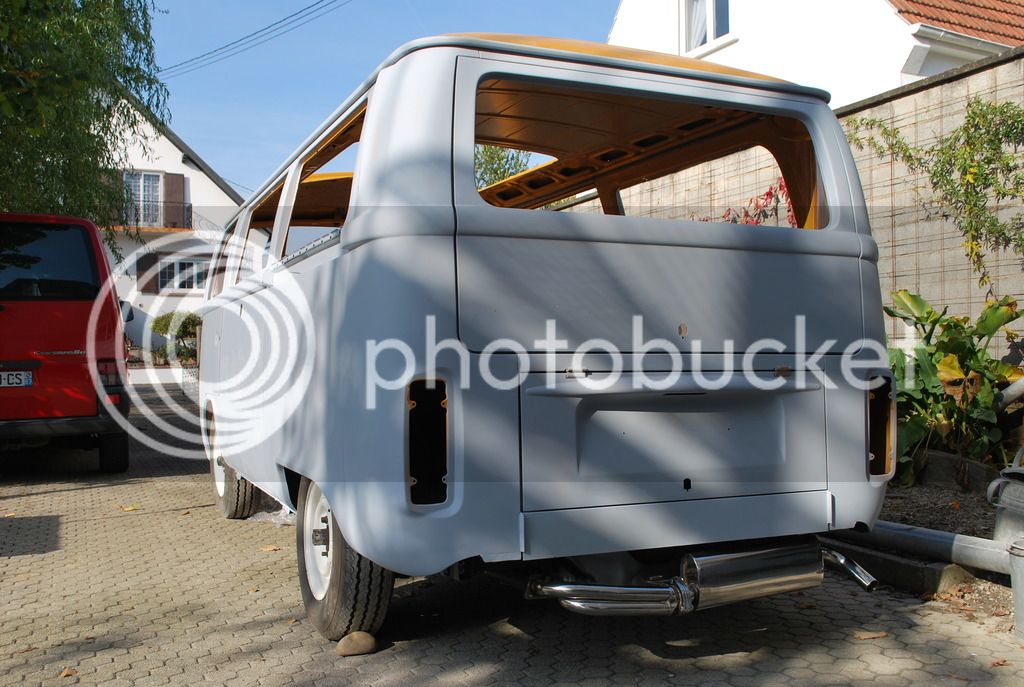
I have replace some body panels like back corners, under battery, sideskirts, low parts from front... basic places for old bay
I will continue here later when I have something to show.
Almost I forget the tell it going to look when it finished!
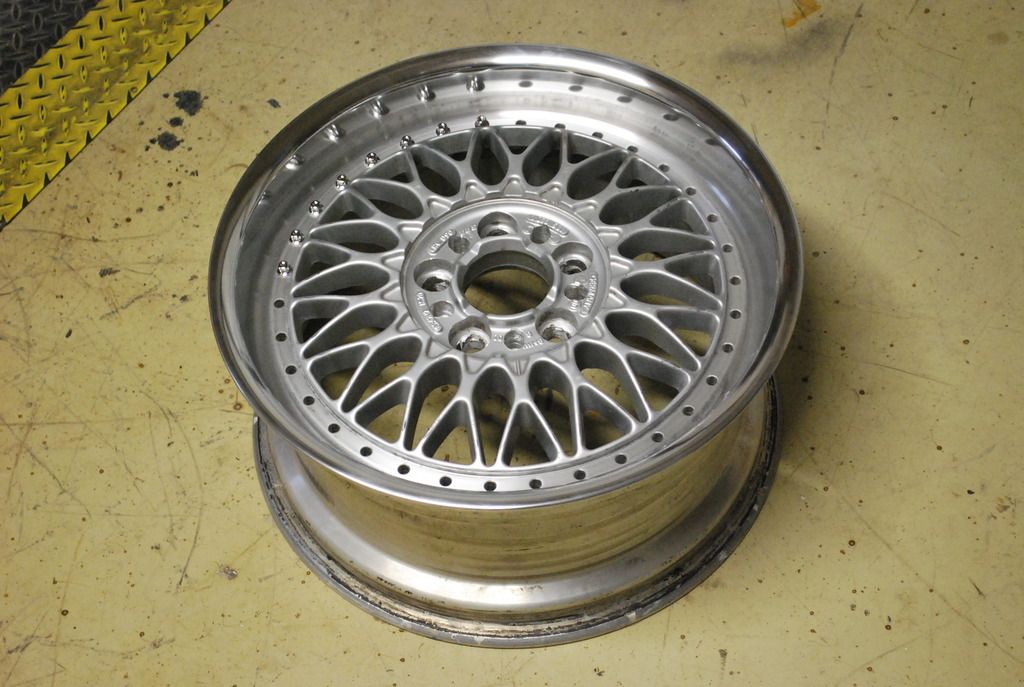
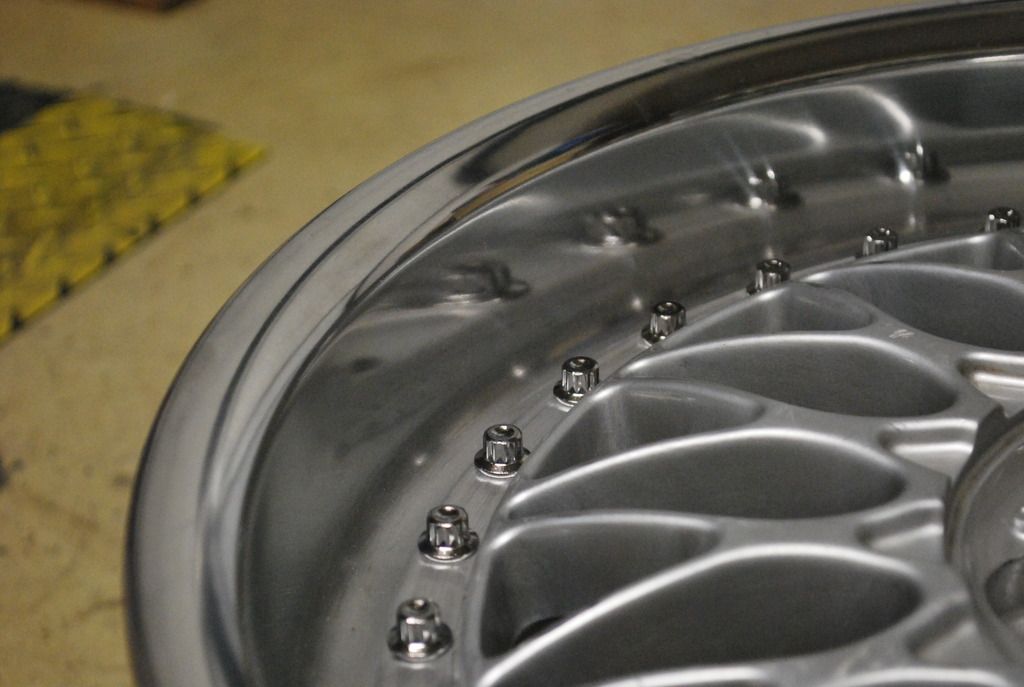
Same original colour will stay and I have one set of 17" bbs rims, but it's not sure if I put them. Back I lowered already 2 bores and front is also lowered more. I want to put air shocks to make max low in parking but make some confortable for driving.
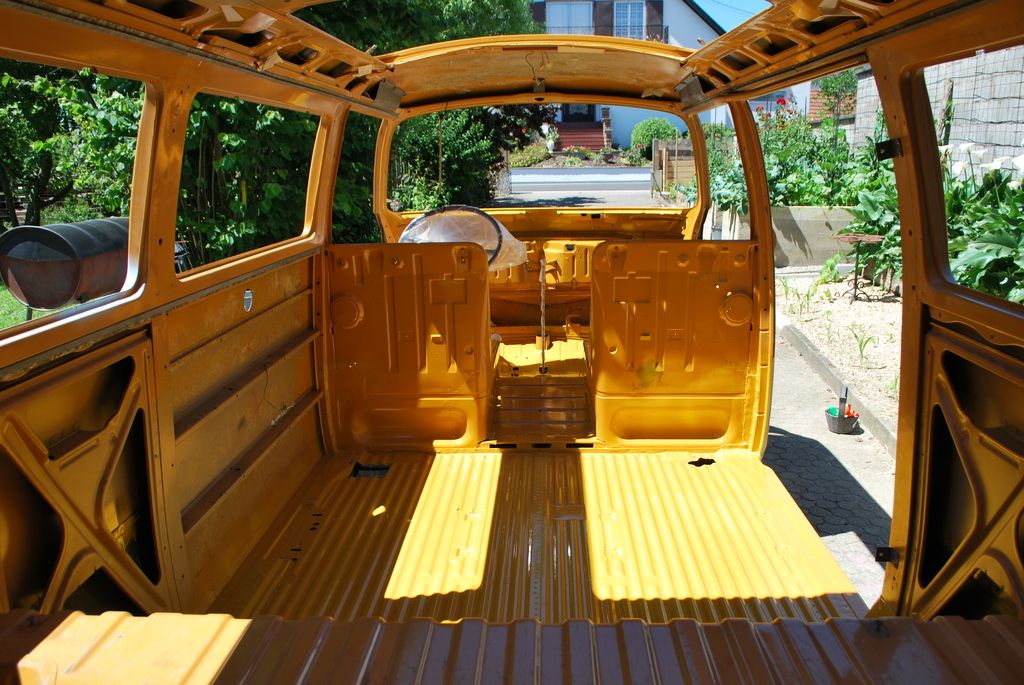
Indside we remove high furnitures and replace it with one seat. ( we are 5 person ).
** And I'm looking trailer hitch to pull ours combicamp.
I adding pictures here: http://s85.photobucket.com/user/snowman-scf/library/T2a westfalia?sort=3&page=1 where you find more pictures.
Comments are welcome
and one more picture: -72 and -71

Have a nice weekend!
I'm Kalle finnish guy who lives in french. I like a lot cars and aircooled ones. This is my first renovation for bus.
This project is for reparing our 1972 westy for having a new life.
- 1972 westfalia
- ordered in french
- oem interrior
- last owner had it ~20 years
coming:
- typ 4 engine
- 17" bbs rims
- lower
- new paint
Little history... We bought this car with my girlfriend ( now wife ) 2011 for making some trips and join aircooled culture here is french and europe. I have already one other aircooled vw, -71 vw 181 military.
Westy was quite sad looking because previous owner had fixed already around year 2000. Not so well... buying conditions:
He told that car had some aftermarker furnitures but after buying I looked little better and it is fully original westfalia and ordered from factory to French!! Previous owner had car about 20 years long and it had sleeped winters inside!
Same year we made trip to Finland and swiss with westy and I made also some small reparations that year, like : fixing rusts inside floor, sandplasting body under, paint bumber in white, little light inside, lower front little, change fabrics for curtains and seats...
2012 little drifting in snow
2013 I deside to build one engine to westy and I got from my friend typ4 engine block and after I build engine with little bigger parts... It is now 2056cc with double 44mm carburators
It was nice to built that engine with my father. Every parts are new or painted and tin-metals are smoothed for extra holes.
Now to come to year 2015:
It was the moment to start renovation when I got finally garage where to built cars here in french. Previous years westy didn't got lot of kilometer, just few trips in summer and new breaks in front. When we bought car our first child was almost born, and now we are 5 in family
Car in and unbuilding everything and discovering rust and suprises:
I have replace some body panels like back corners, under battery, sideskirts, low parts from front... basic places for old bay
I will continue here later when I have something to show.
Almost I forget the tell it going to look when it finished!
Same original colour will stay and I have one set of 17" bbs rims, but it's not sure if I put them. Back I lowered already 2 bores and front is also lowered more. I want to put air shocks to make max low in parking but make some confortable for driving.
Indside we remove high furnitures and replace it with one seat. ( we are 5 person ).
** And I'm looking trailer hitch to pull ours combicamp.
I adding pictures here: http://s85.photobucket.com/user/snowman-scf/library/T2a westfalia?sort=3&page=1 where you find more pictures.
Comments are welcome
and one more picture: -72 and -71
Have a nice weekend!