G
Guest
Guest
Pics and words taken from StuF's thread here: http://forum.earlybay.com/viewtopic.php?f=2&t=44243
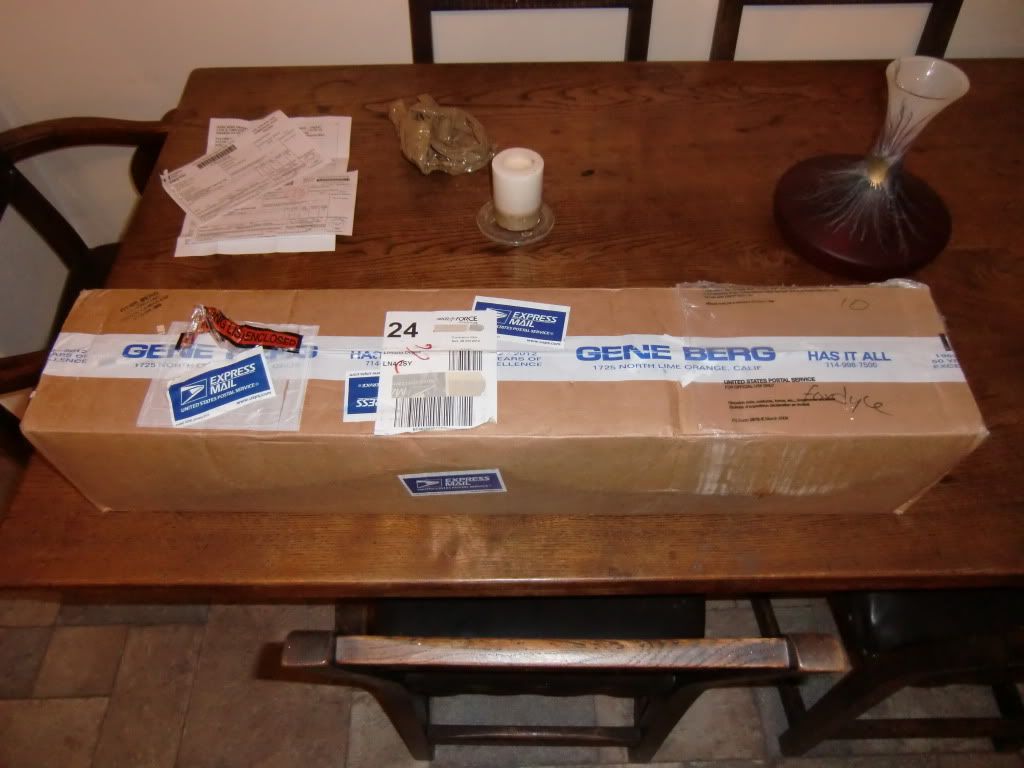

Xmas has come a little early!
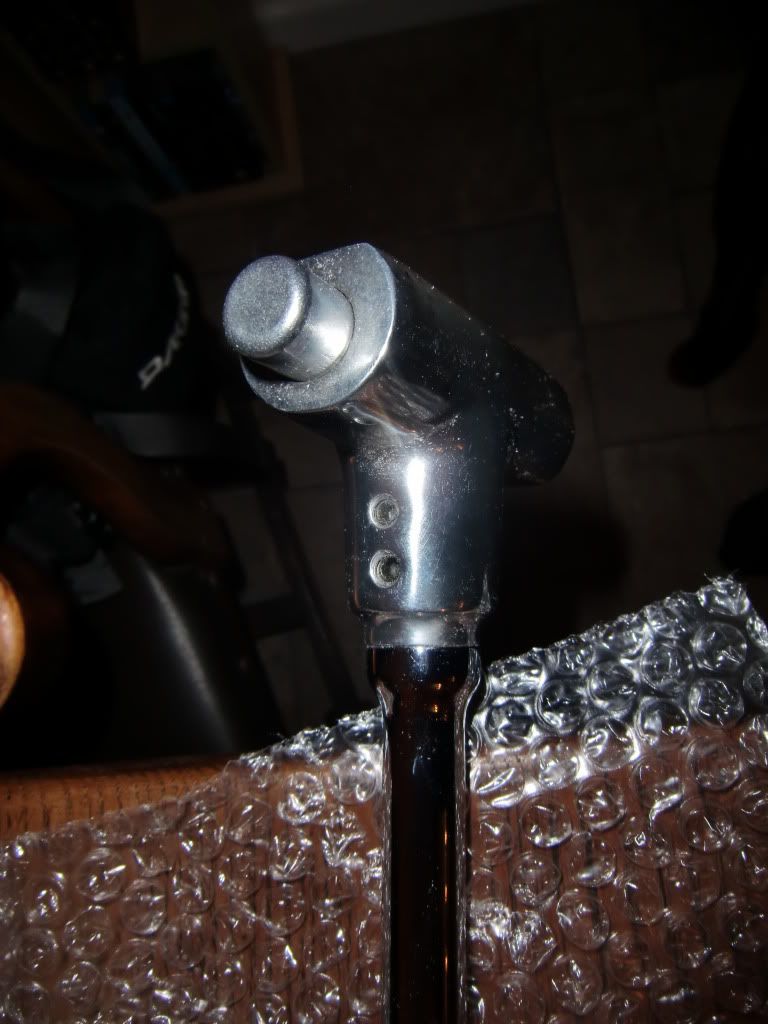
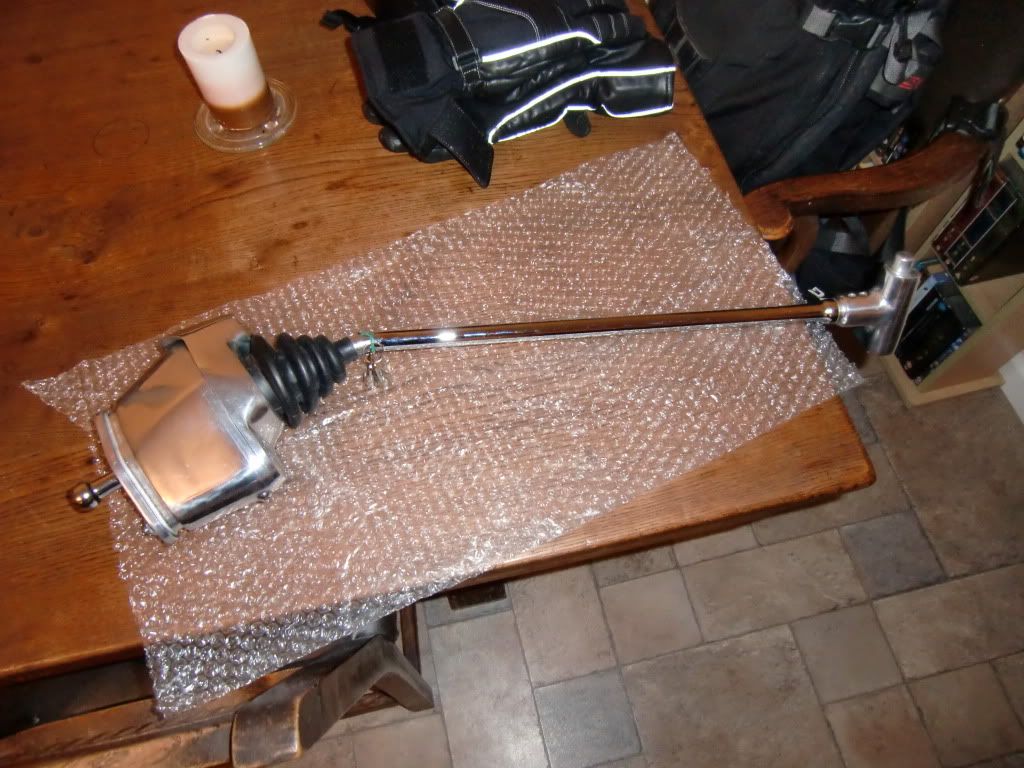
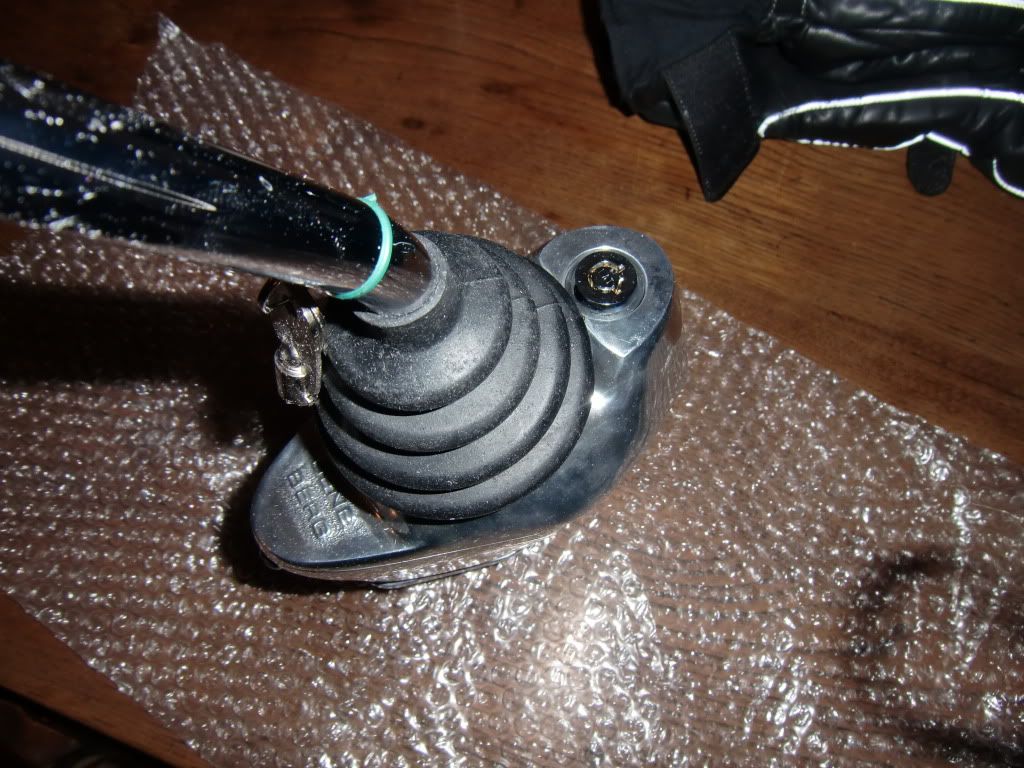
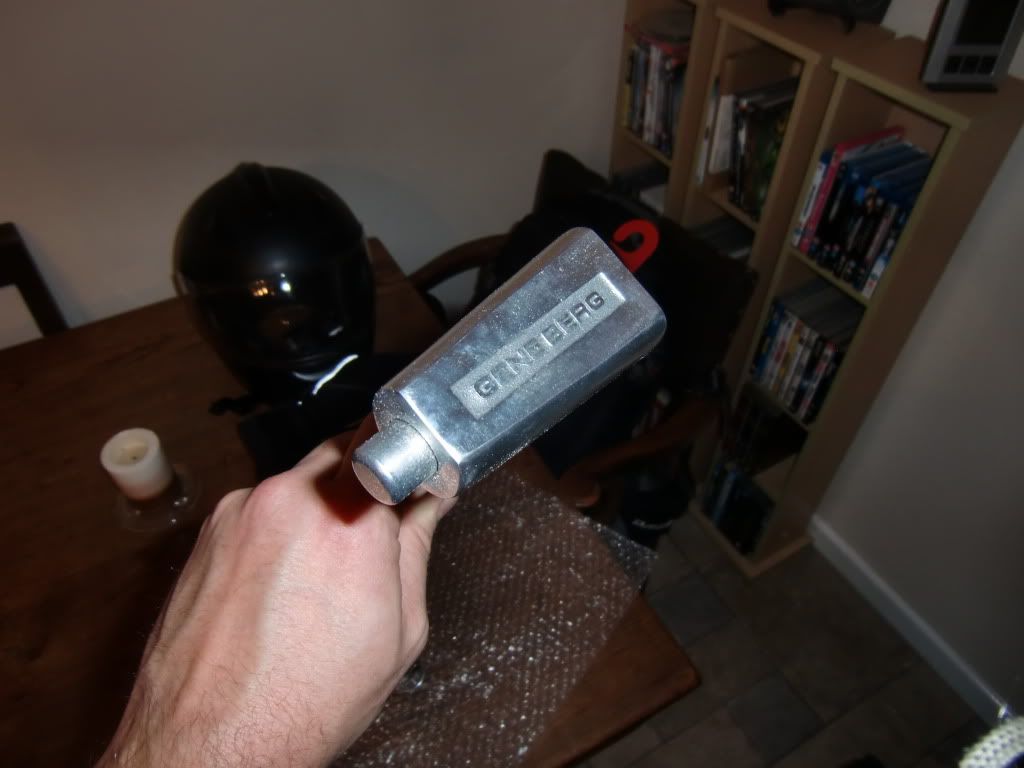
Evening all - well with Dubfreeze approaching Sunday and with Clare and I having every intention of going camping beforehand I wanted to get my nice shiny new shifter installed before the 2 or so hour journey.
The job from start to finish, test drive included took all of 2 hours 15 mins and I have never ever changed one of these before - it wasnt difficult at all or tricky.
So here goes - pics and all!
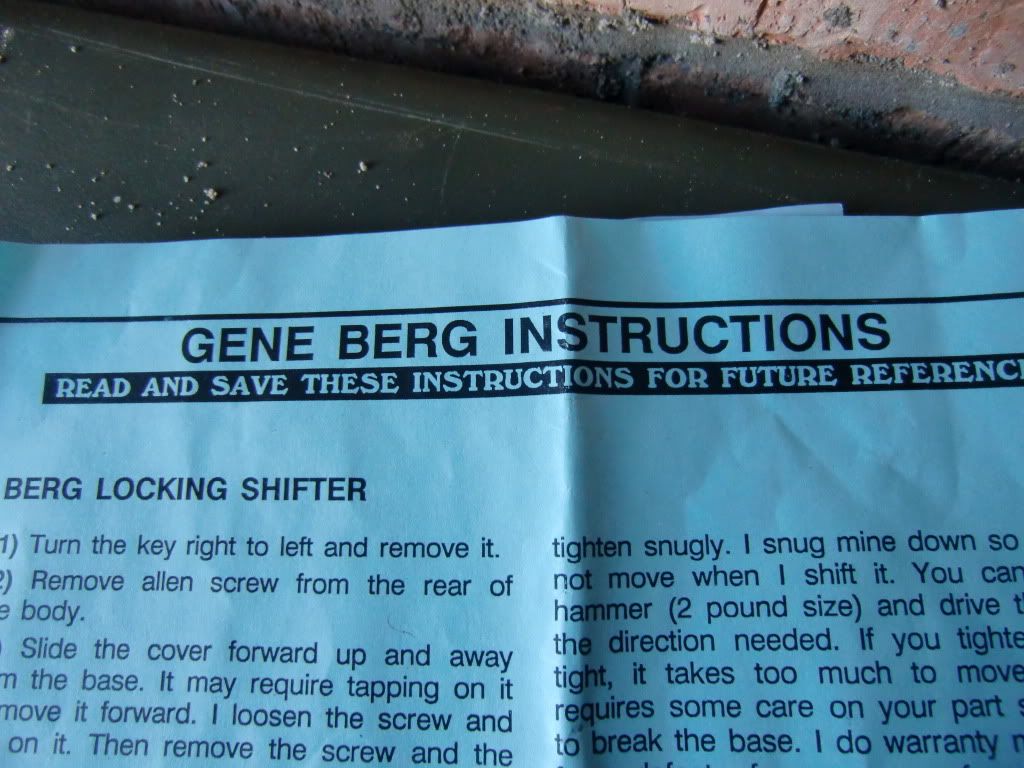
The comprehensive instructions from Gene Berg helpfully suggest removing the old shifter before attempting to fit the new one so thats what I did.
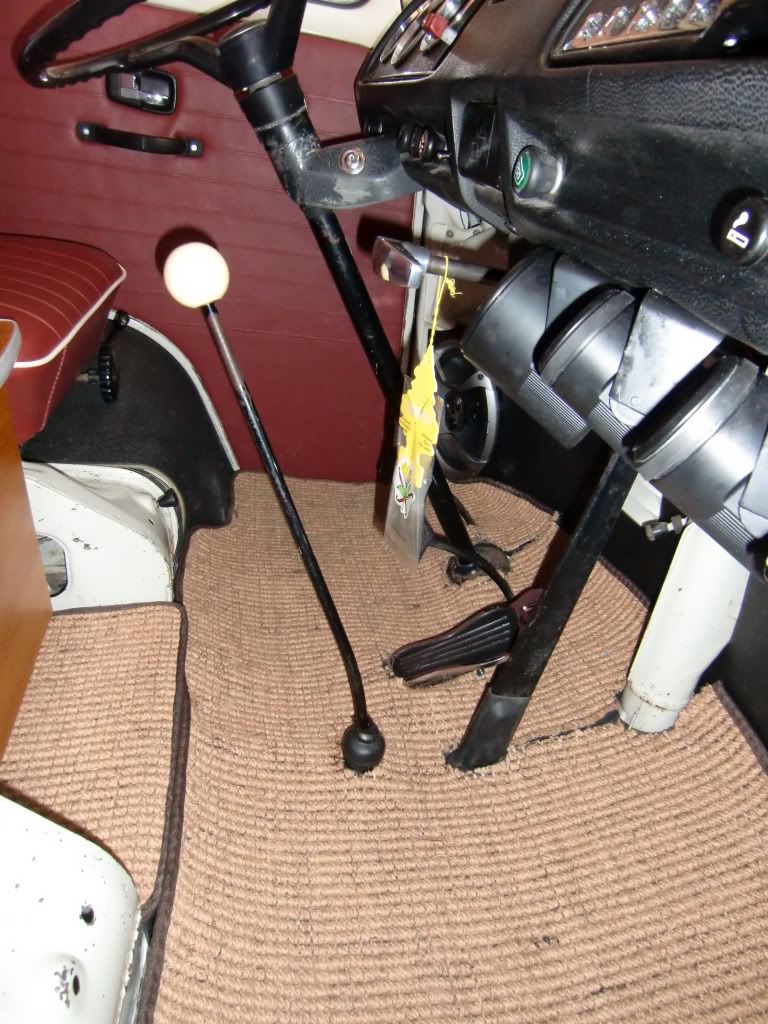
Standard setup
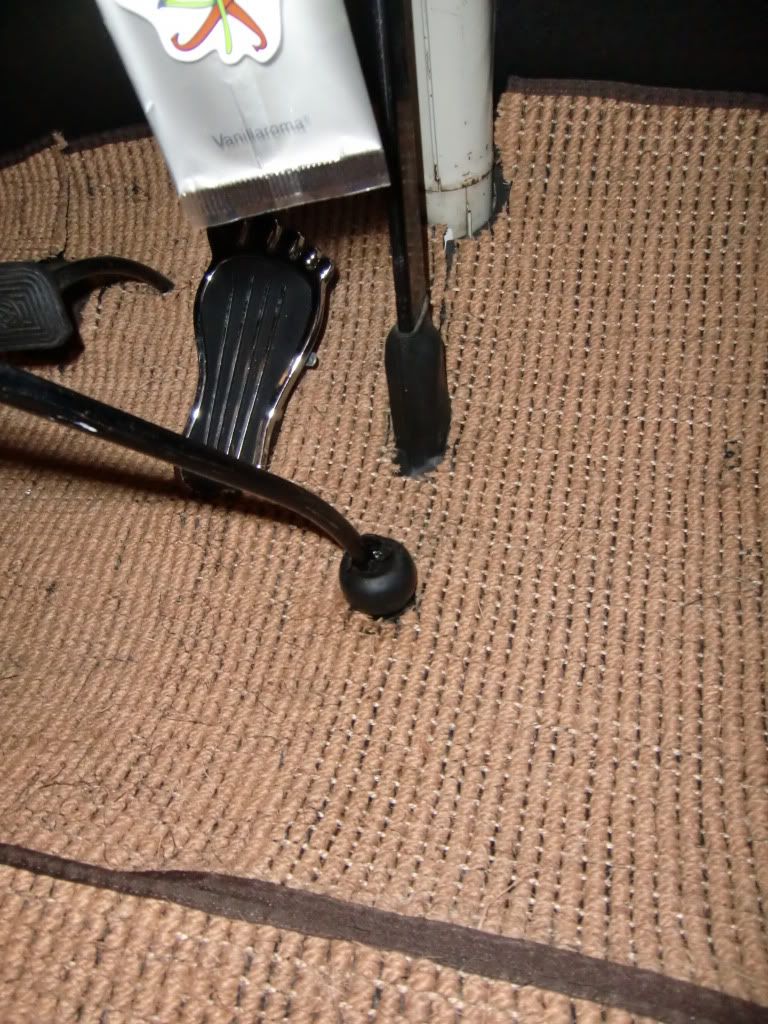
I had the roll back the madmatz to get to the og rubber one
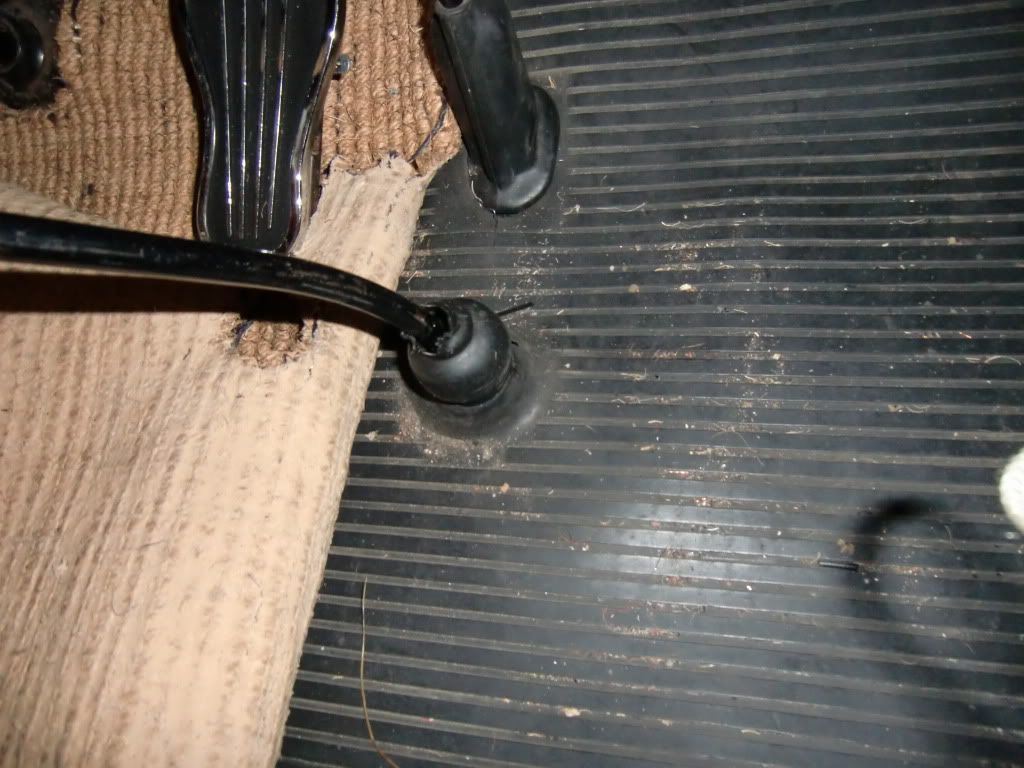
Then to the bare floor
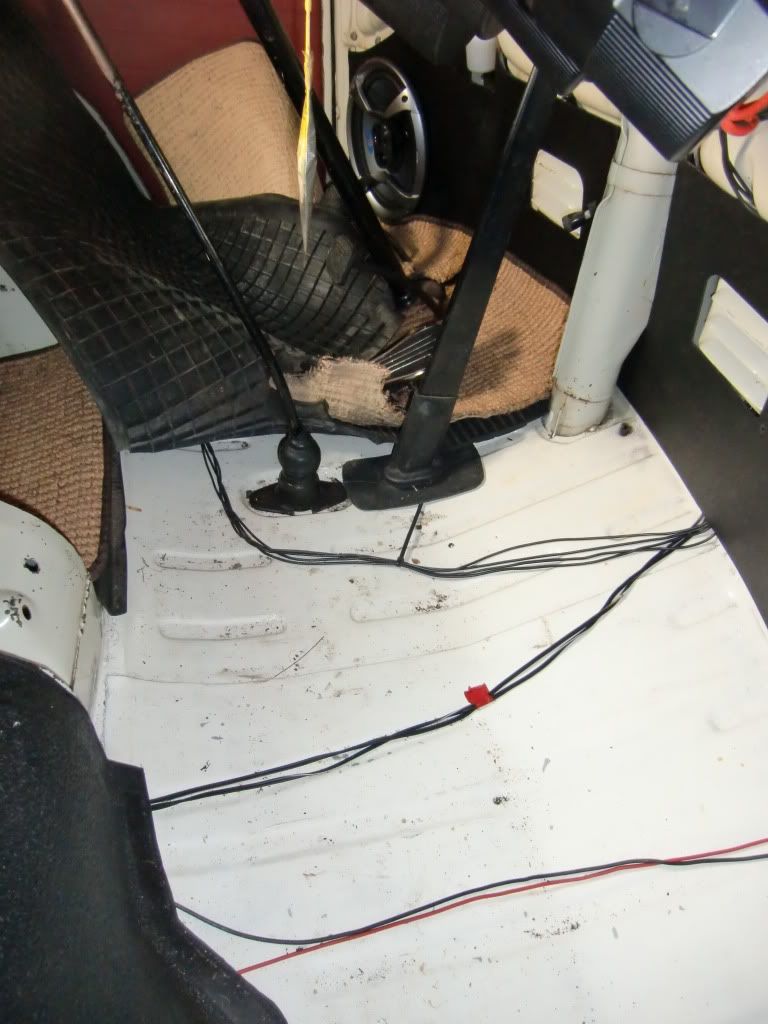
The shifter is only held in with 2 bolts!
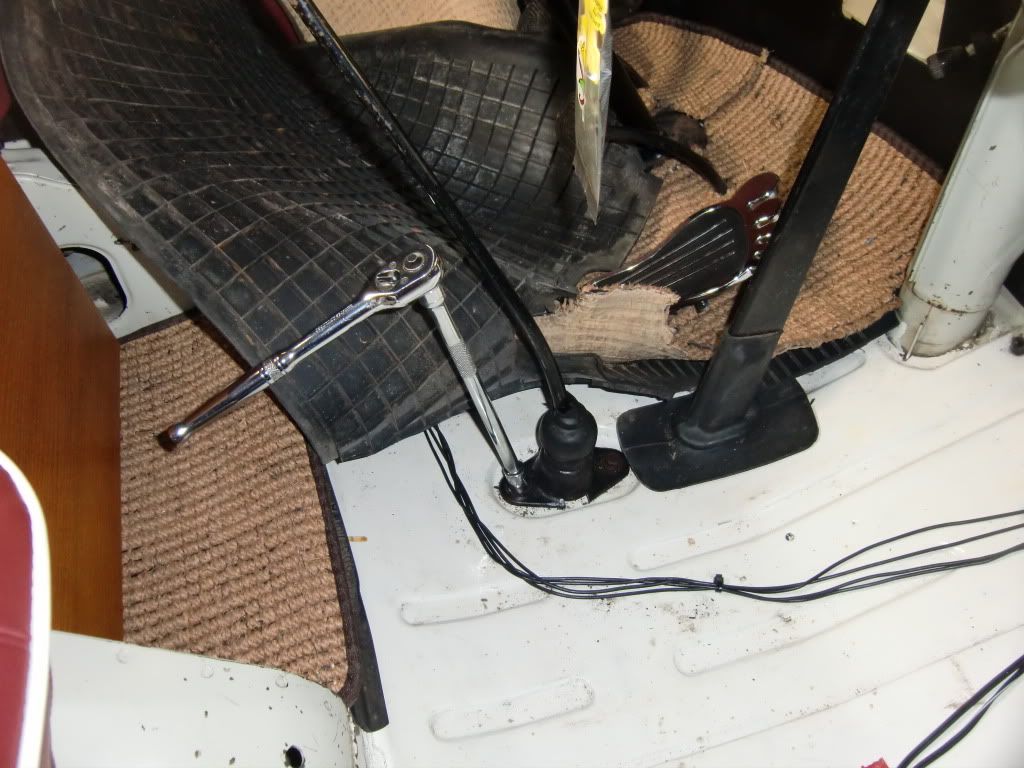
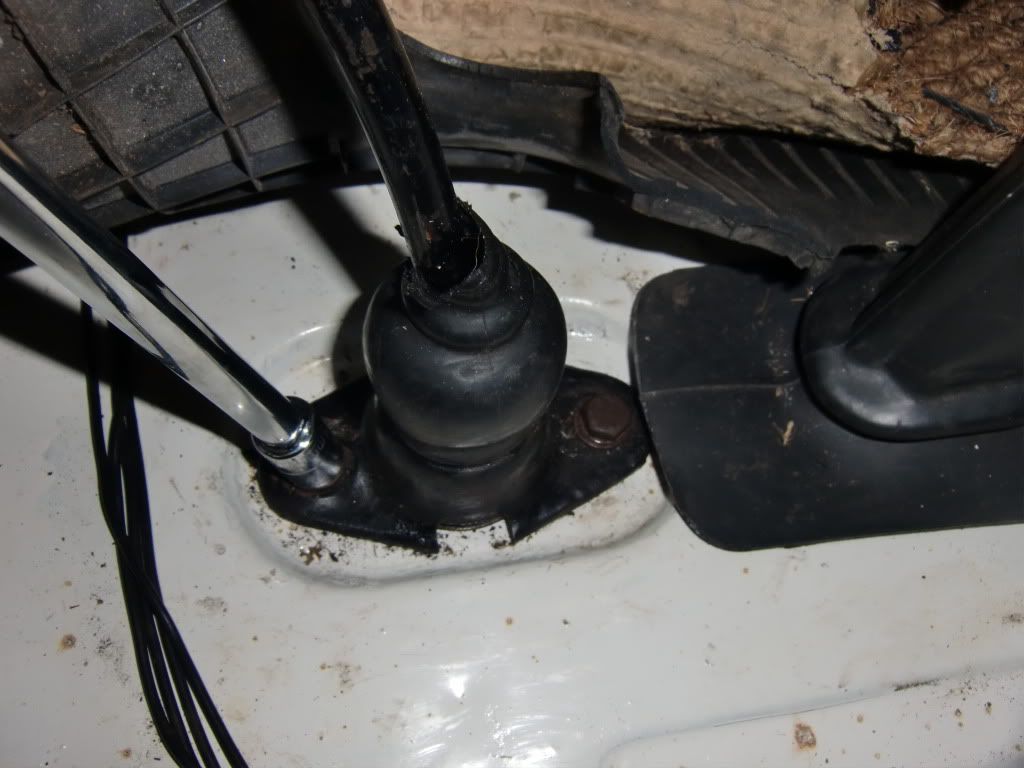
Out they came along with this
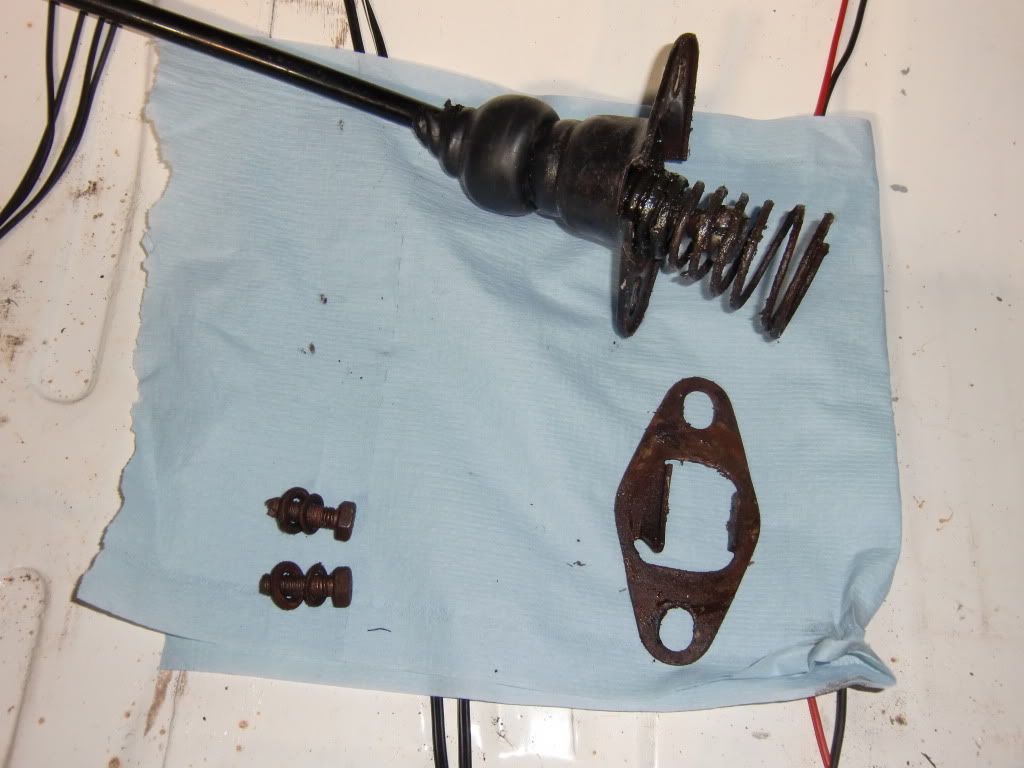
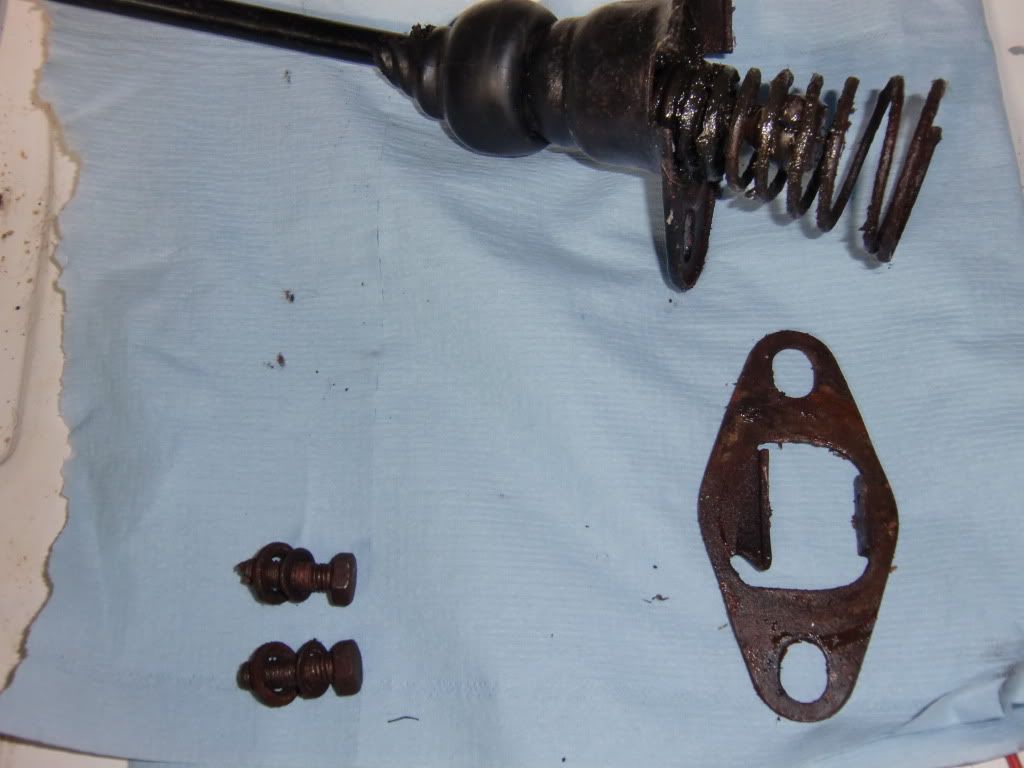
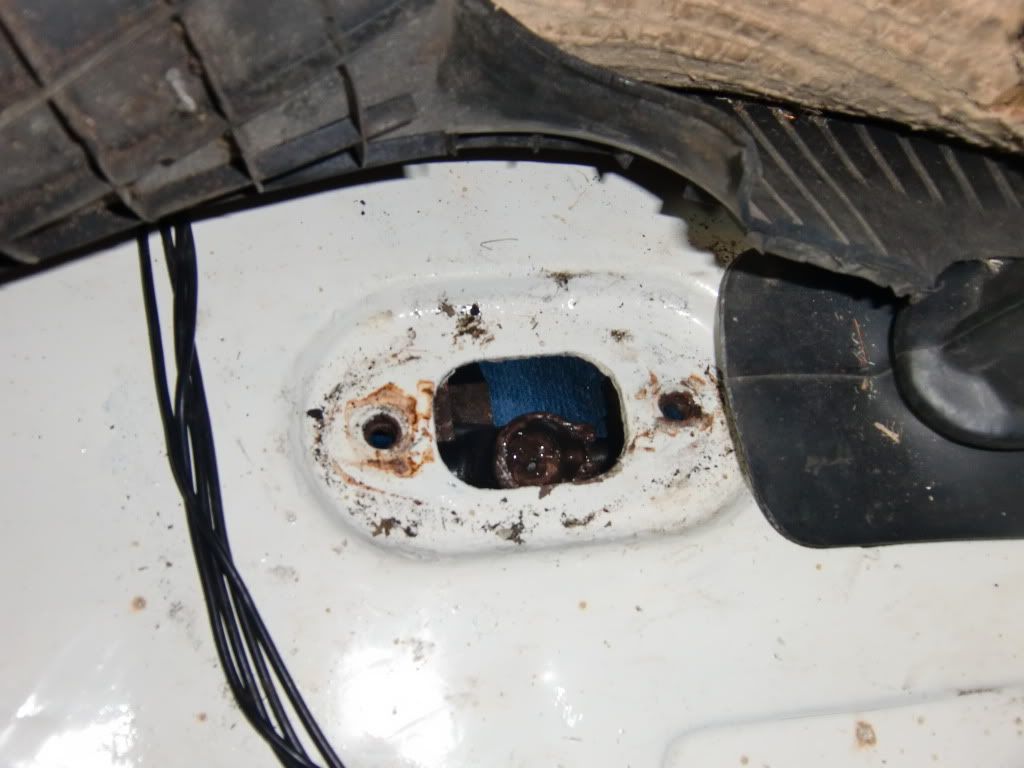
I gave the aperture a quick clean and ensured there was ample grease in the linkage
Old vs New
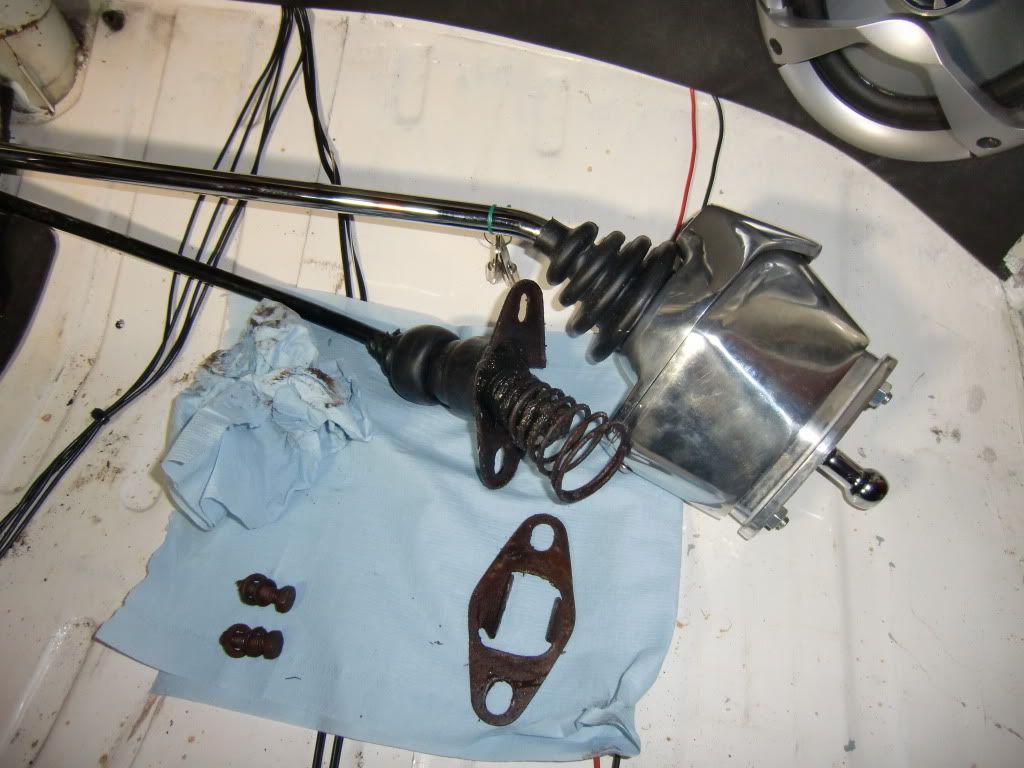
Then to install the locking base you basically have to disassemble the unit until you are left with the base plate alone
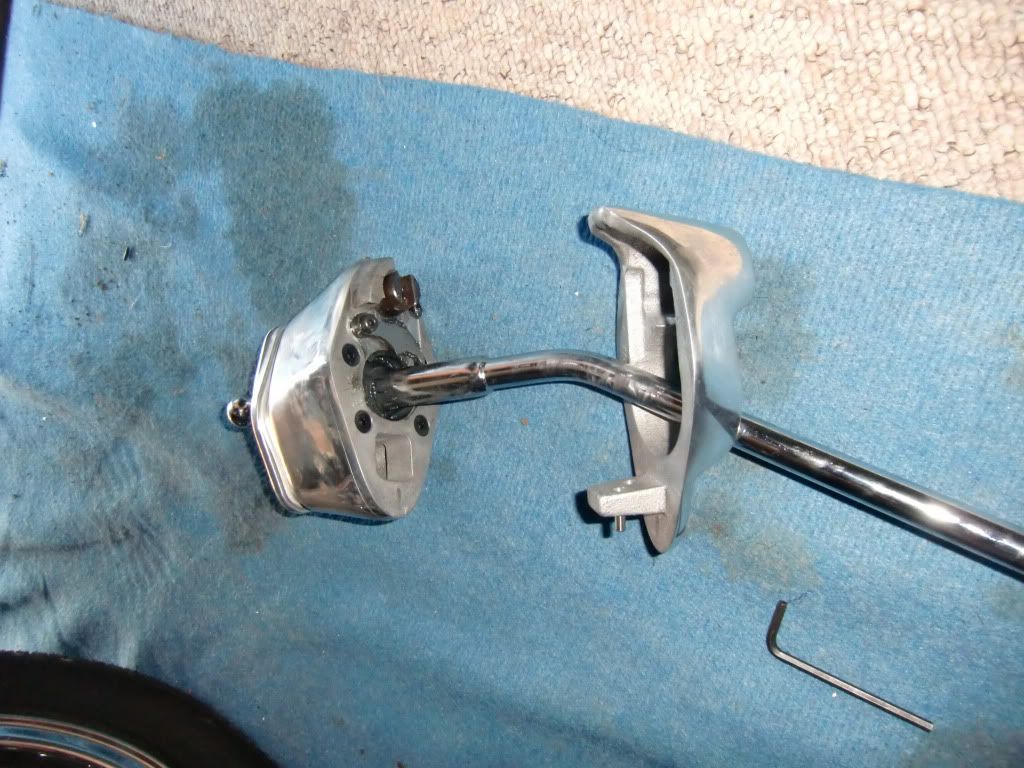
Two bolts in and a slight tweak up before fitting the intermediate section
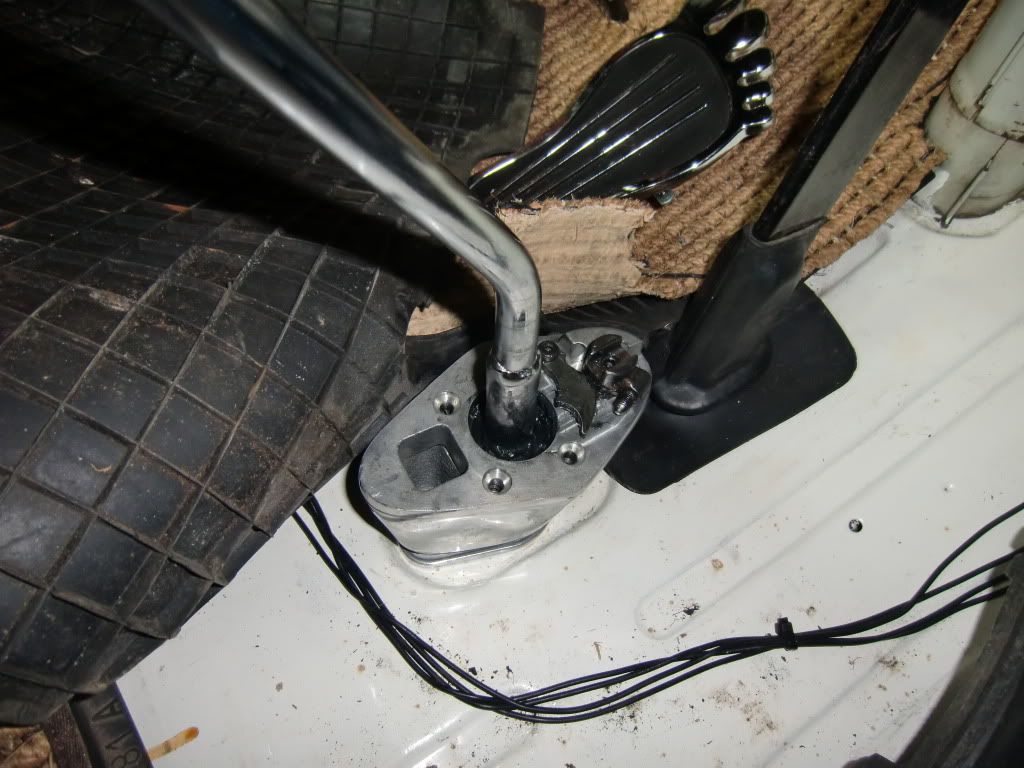
With that held in with 2 of the supplied hex head bolts I had to make sure I had all gears and reverse was only selectable with the button depressed, after a few adjustments all was feeling nice and selectable.
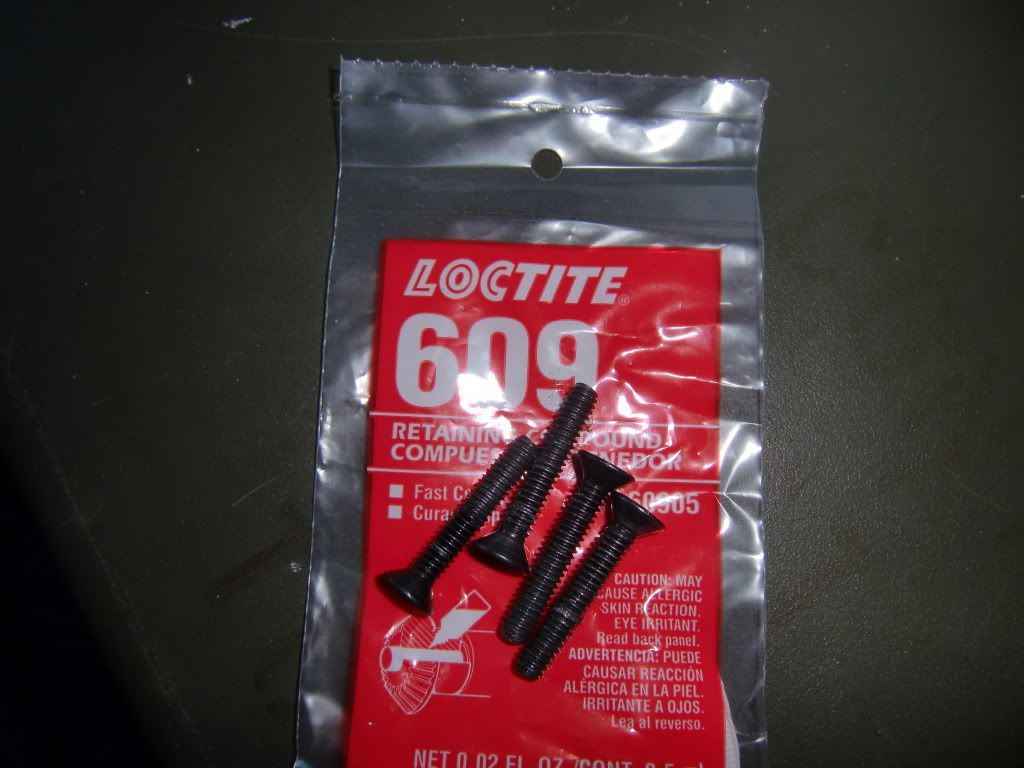
With the gears all available the four hex bolts have a little locktite applied and tighten them badboys up
Then it is a simple case of adjusting and locktighting the actual locking mech so it only engages when in reverse and all done.
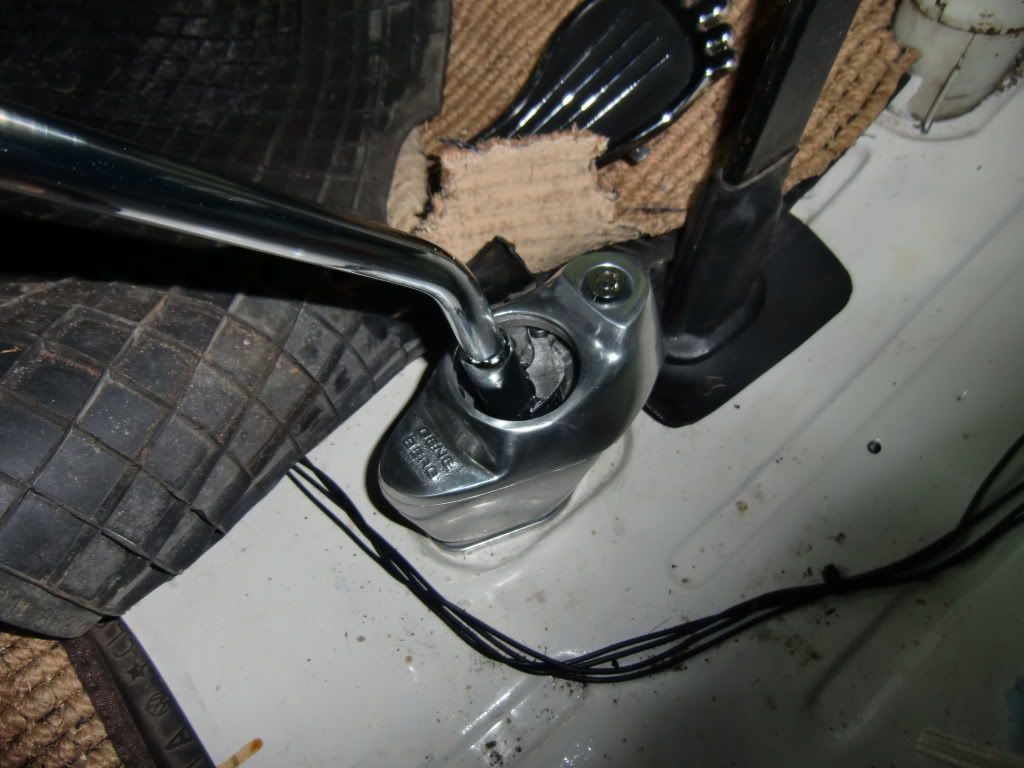
Bit of og and matmatz mat trimming to ensure the carpets now fit around the larger base.
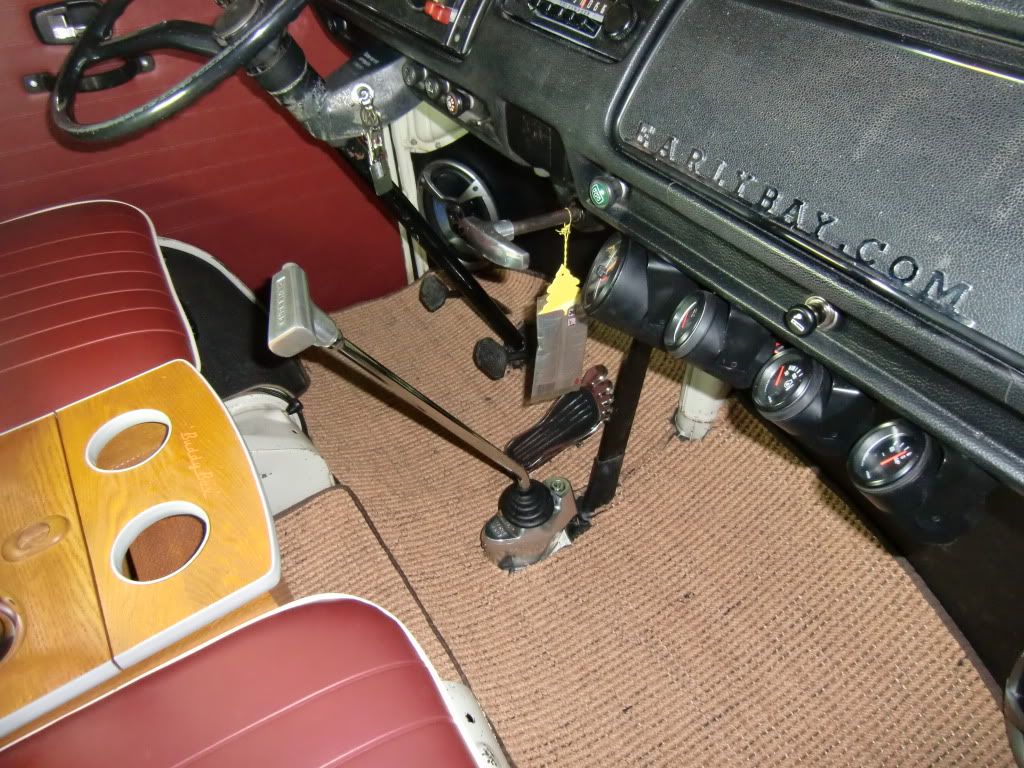
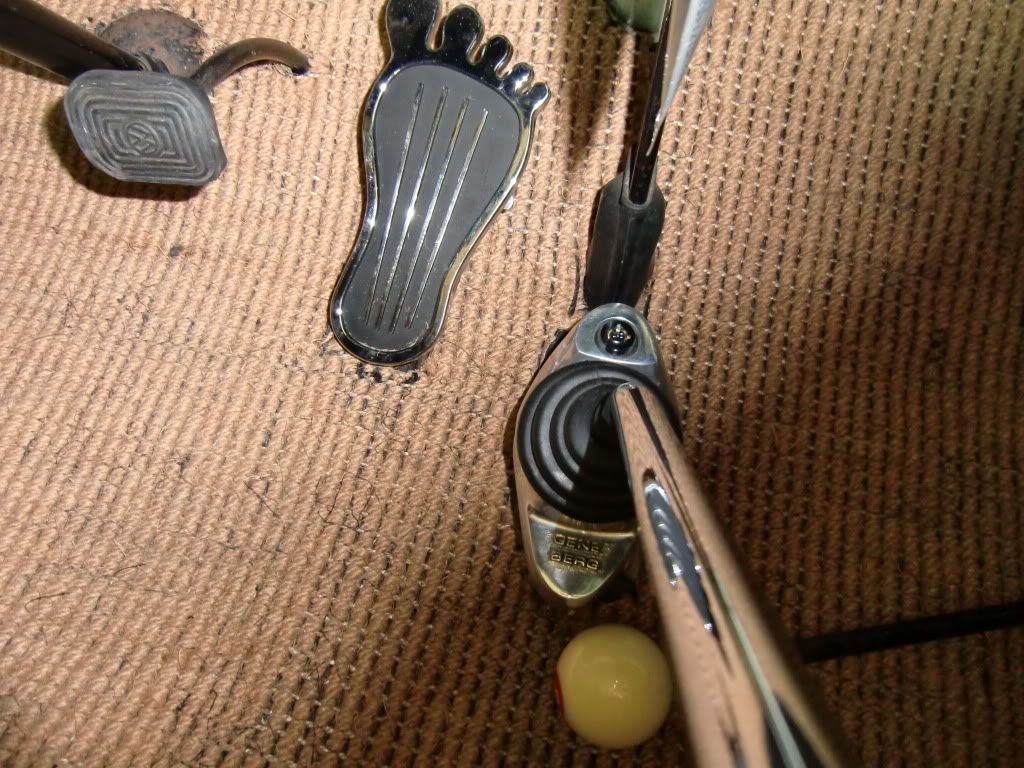
Then took Murphy out for a test drive to see how the new shifter faired on the road.
Here are some of those shots.
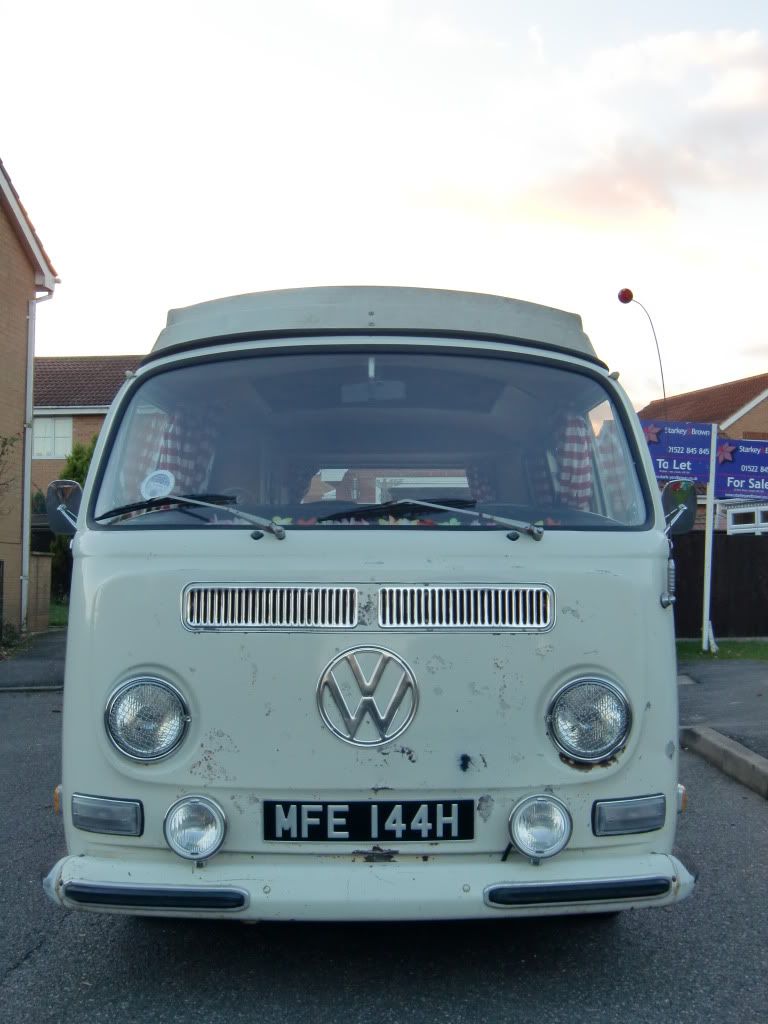
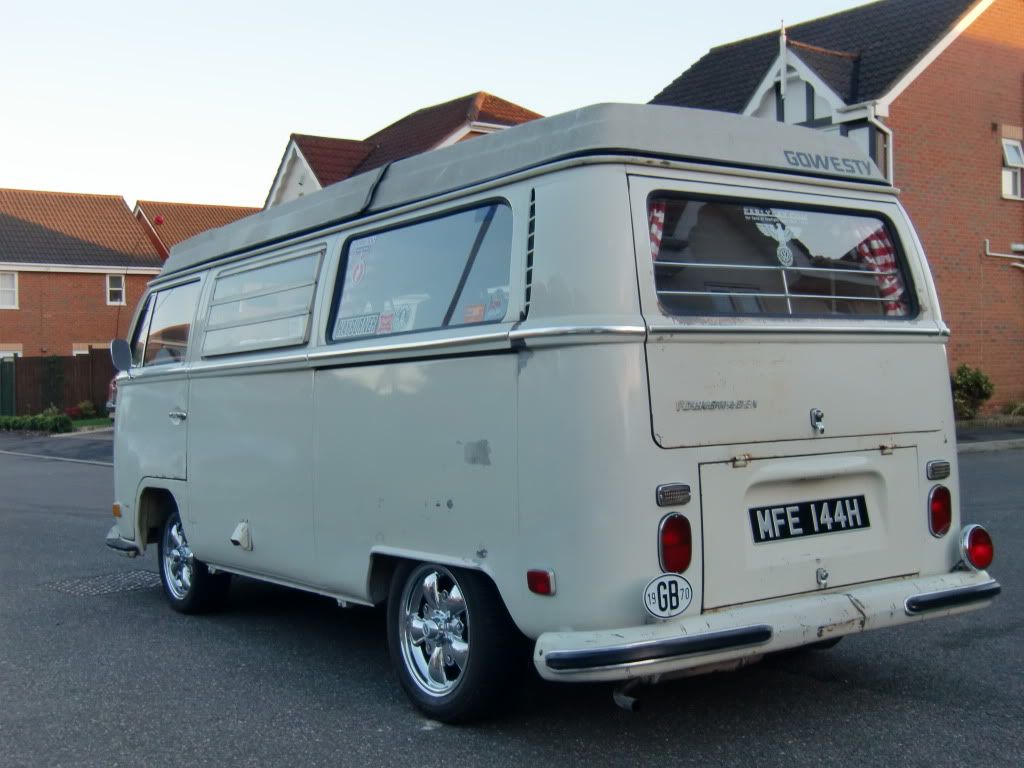
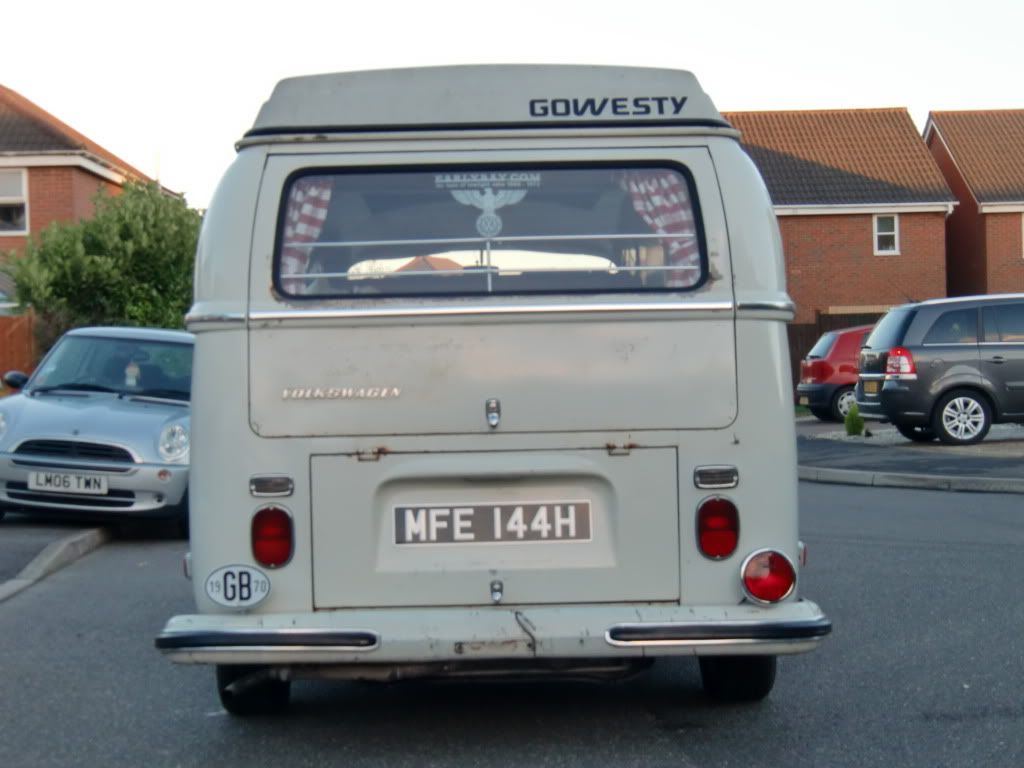
My first impressions of the shifter are positive - actually to be totally honest its a revelation. It has absolutely changed the way I can drive the bus, short accurate shifting without the risk of going into reverse or trying to pull away in 3rd.
I am gobsmacked by the improvement and cannot reccommend fitting one of these enough. I never thought the shifting would be so much like a modern vehicle but it is - I can now compare it to my old MK5 GTI!


Xmas has come a little early!


Evening all - well with Dubfreeze approaching Sunday and with Clare and I having every intention of going camping beforehand I wanted to get my nice shiny new shifter installed before the 2 or so hour journey.
The job from start to finish, test drive included took all of 2 hours 15 mins and I have never ever changed one of these before - it wasnt difficult at all or tricky.
So here goes - pics and all!
The comprehensive instructions from Gene Berg helpfully suggest removing the old shifter before attempting to fit the new one so thats what I did.

Standard setup


I had the roll back the madmatz to get to the og rubber one

Then to the bare floor

The shifter is only held in with 2 bolts!


Out they came along with this


I gave the aperture a quick clean and ensured there was ample grease in the linkage

Old vs New

Then to install the locking base you basically have to disassemble the unit until you are left with the base plate alone

Two bolts in and a slight tweak up before fitting the intermediate section

With that held in with 2 of the supplied hex head bolts I had to make sure I had all gears and reverse was only selectable with the button depressed, after a few adjustments all was feeling nice and selectable.
With the gears all available the four hex bolts have a little locktite applied and tighten them badboys up

Then it is a simple case of adjusting and locktighting the actual locking mech so it only engages when in reverse and all done.

Bit of og and matmatz mat trimming to ensure the carpets now fit around the larger base.


Then took Murphy out for a test drive to see how the new shifter faired on the road.
Here are some of those shots.


My first impressions of the shifter are positive - actually to be totally honest its a revelation. It has absolutely changed the way I can drive the bus, short accurate shifting without the risk of going into reverse or trying to pull away in 3rd.
I am gobsmacked by the improvement and cannot reccommend fitting one of these enough. I never thought the shifting would be so much like a modern vehicle but it is - I can now compare it to my old MK5 GTI!


