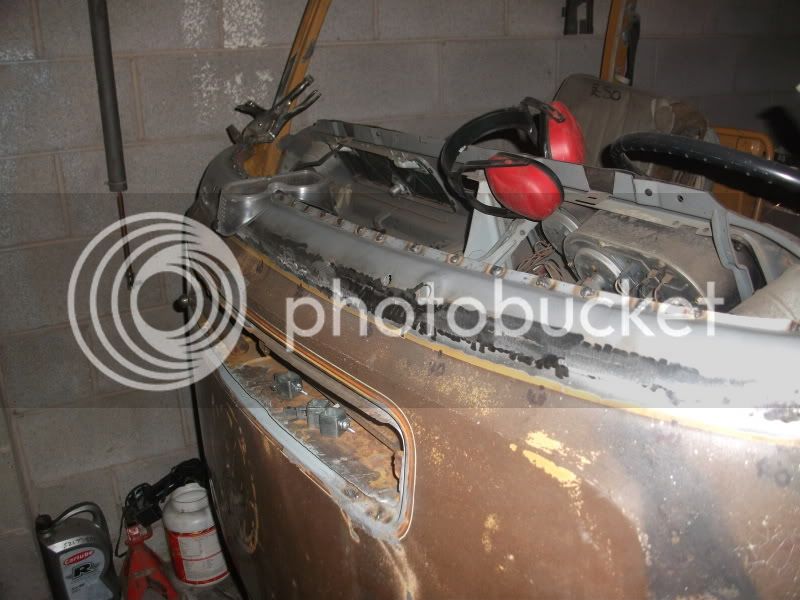
My first bay. My biggest project yet.

Early Bay Forum

Help Support Early Bay Forum:

This site may earn a commission from merchant affiliate links, including eBay, Amazon, and others.
Good neat work there dude just a little tip where you have sandblasted try an cover it with some etch ASAP other wise it will need blasting again


Rob we just brush it on
 
Thanks for all you great comments! Makes me feel better as I think my repairs could be better some times. I hopeing to have it on the road to go to volksworld show. Just sent fall all the remaing parts I need to finsh it.

Il put some pics up of my bulge repair pics what a pig of a job as the repo front panel was so far out.
 
was all going so well today til my welder started playing up think the overheat is cutting in for some reason?
 
Welder didnt like the new size wire so gone back to .6 again and its behaving again for now. Cheers rob b I only havnt painted the blasted areas as I am going to be cutting them out this week. I have been using galvafroid on all the bare metal has worked well in the past when I used it.
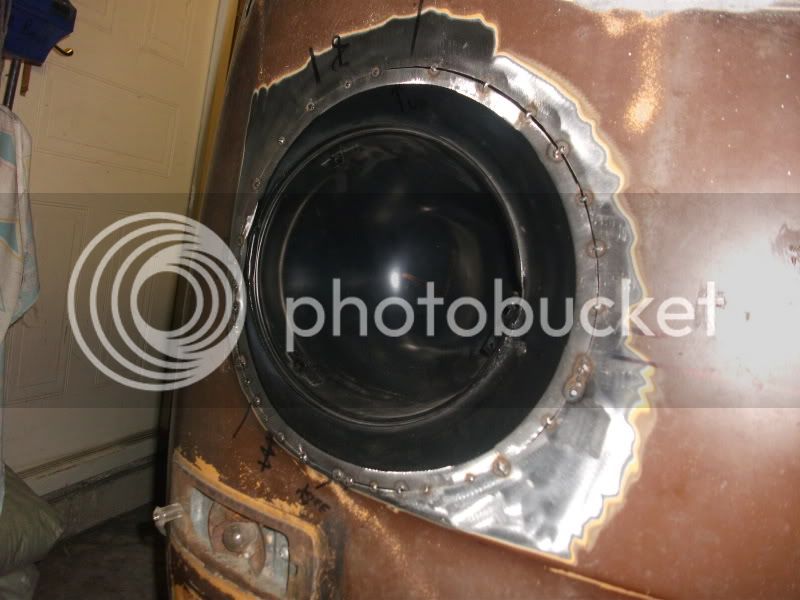
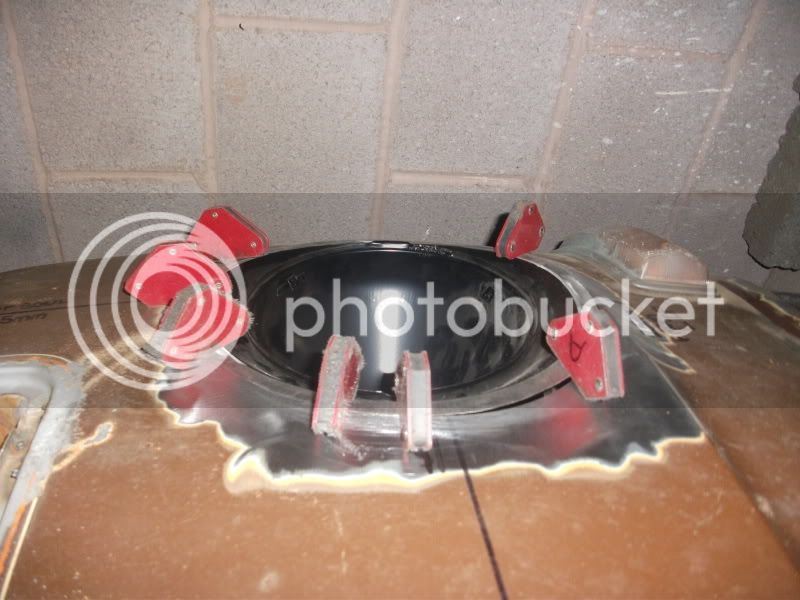
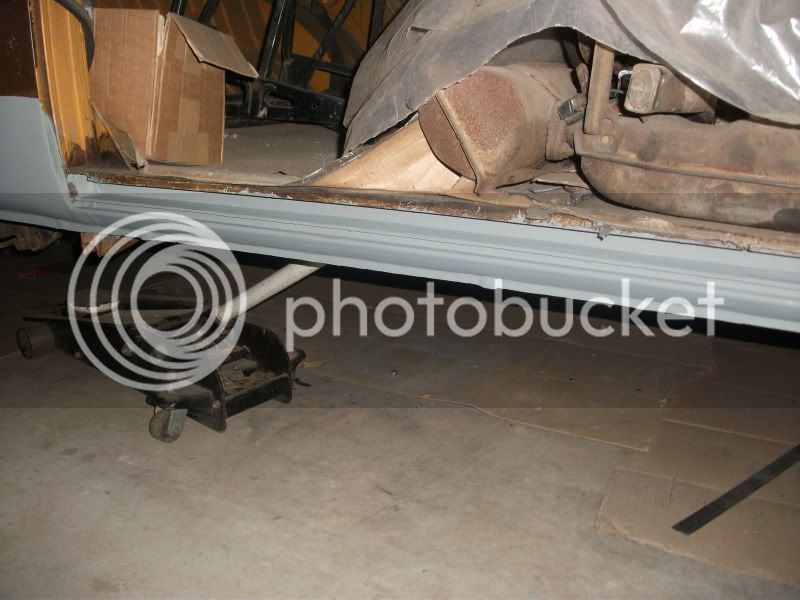
As for repo panels the people who make them must be laughing as we attempt to fit them I had about 30 mole grips on it, lots of welding magnets and a rachet strap. To worst jobs to go now, Centre sill where the slidding door runner is and gutters.
 
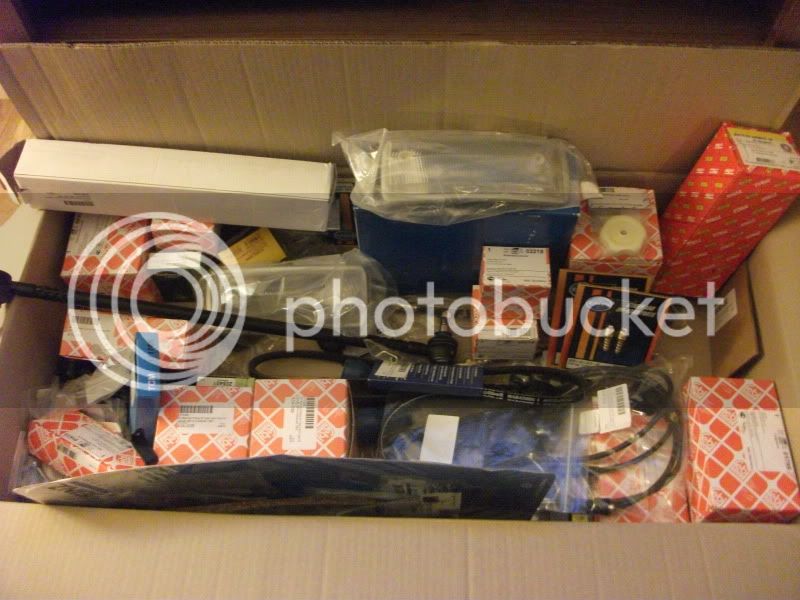
few goodies came yesterday for me. Doesnt look much but there is most steering and brake parts. I own shares in justkampers now.
camperfeb12007.jpg
.


Buldge repair is getting there.
camperfeb12002.jpg


The new fabric for the rock & roll bed and buddy seat.
camperfeb12006.jpg
 
It isnt quite the same as when you get a bargin though. You wouldnt belive how much that box cost me :(
 
A few updates.

camper005.jpg

camper008.jpg

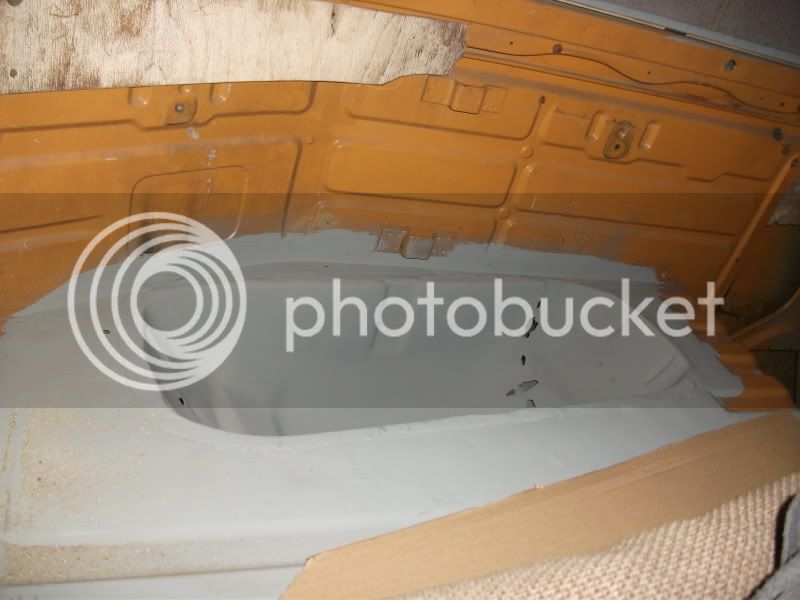
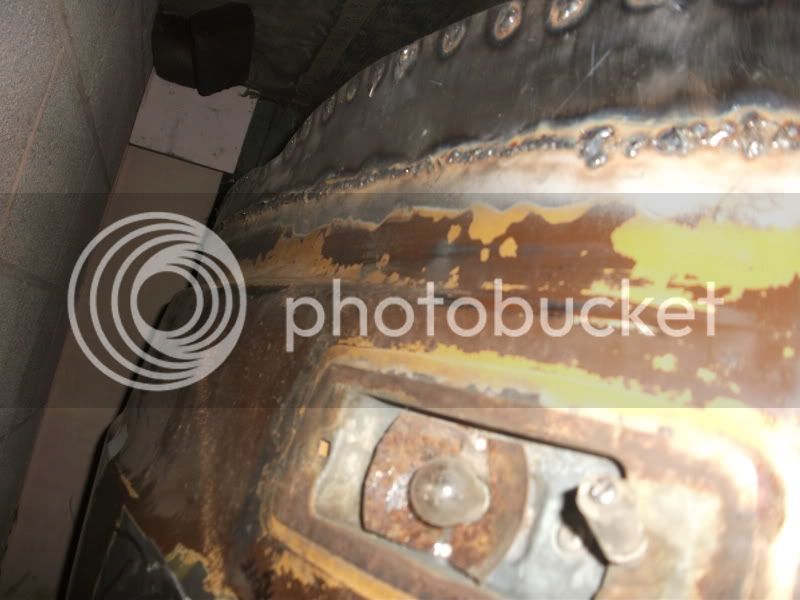
Repaired the lower corners but left a small section of the flange to allow the front panel to drain if it ever gets wet and will help when I come to rust proofing all the box sections.

camper006.jpg

camper007.jpg


My new headlamp sections let in, had to take lots of measurements to make sure they went back in the same place, one tacked in just the other side to mount, having welding magnets made this job so much easyier but took some time getting the repo part to match the profile of the original front panel.

Here is the area I replaced under the screen just got to tidy it up now, again was so hard getting the repo panel to match the shape of the van, Couldnt imagen the mess it would of caused if I had fitted it all.

Cant wait til all the welding is done! Sick and fed up of it only 3 areas left to do now so hoping to be fully welded by the 19th of feb.
 
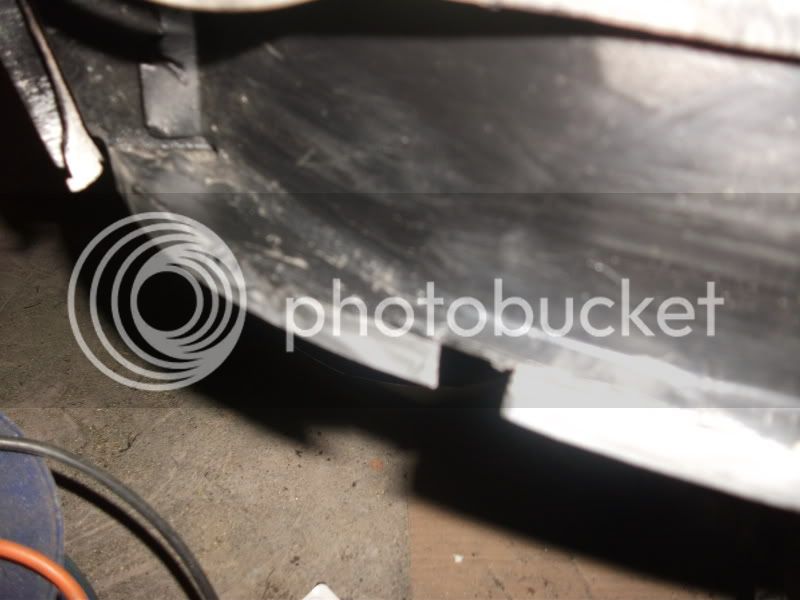
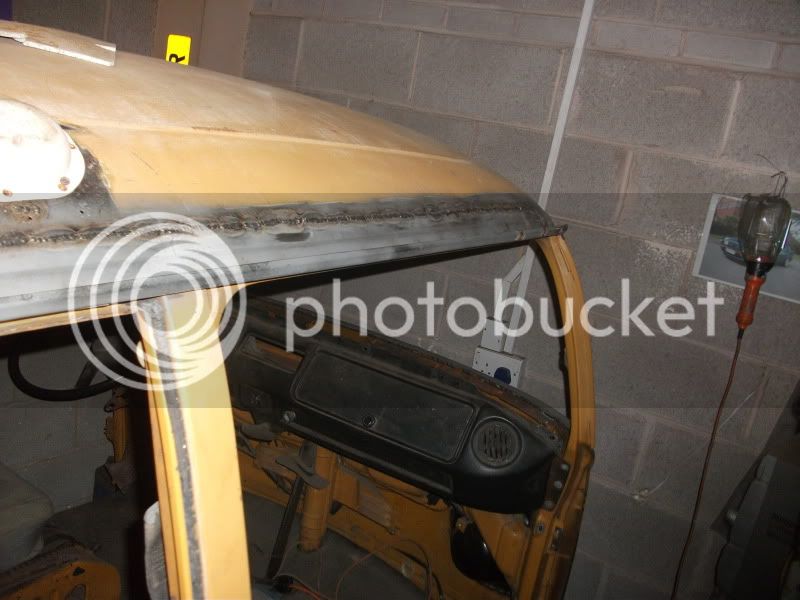
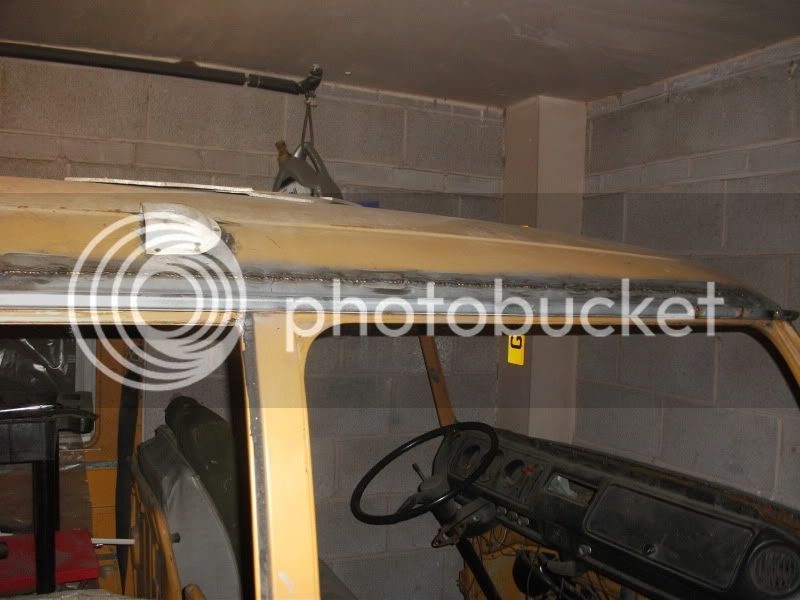
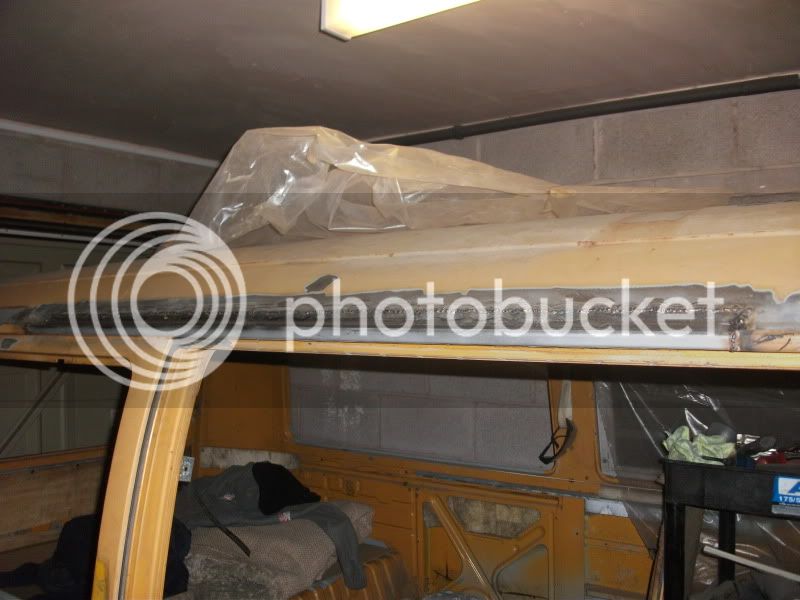
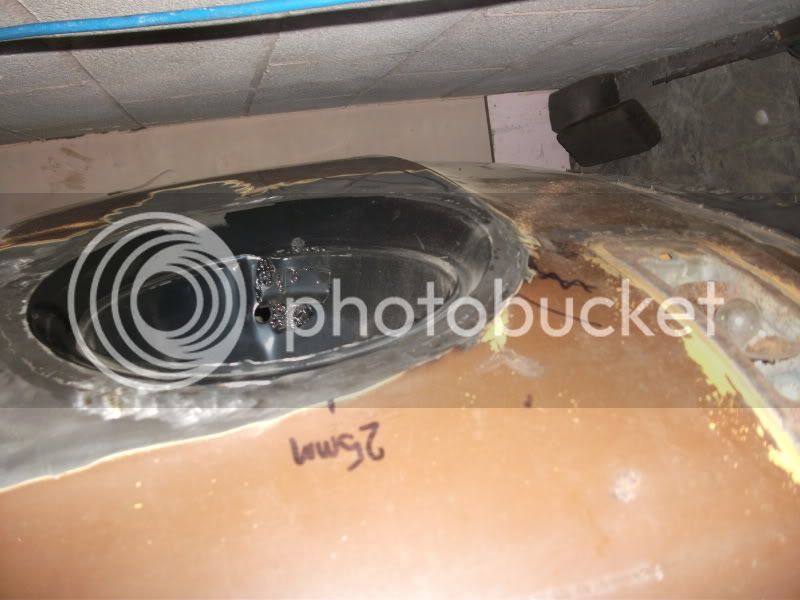
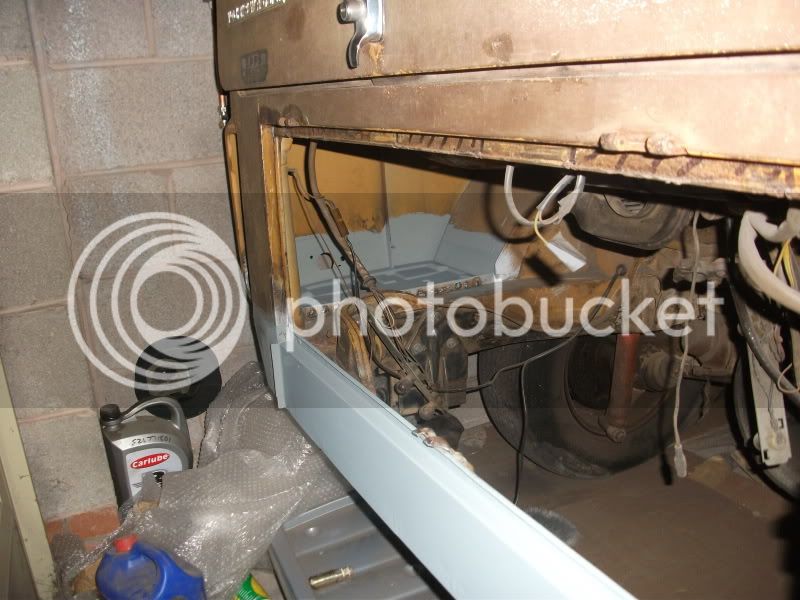
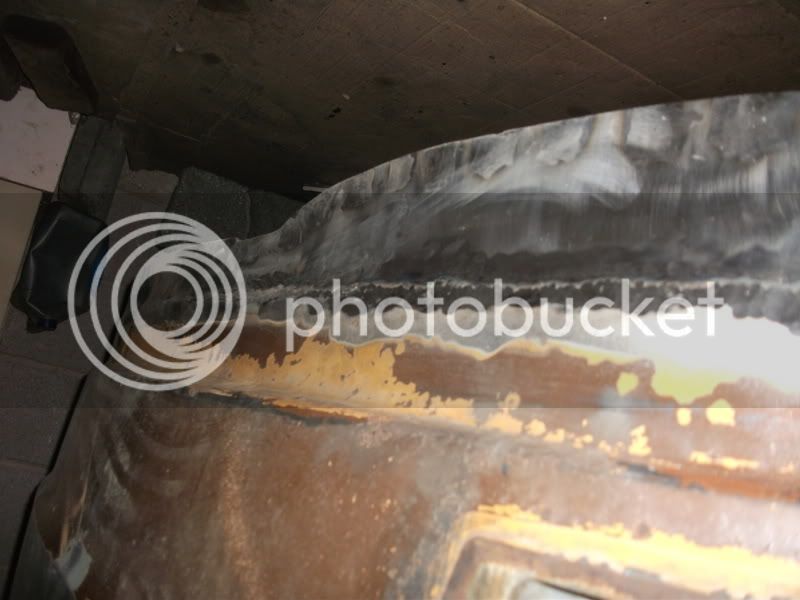
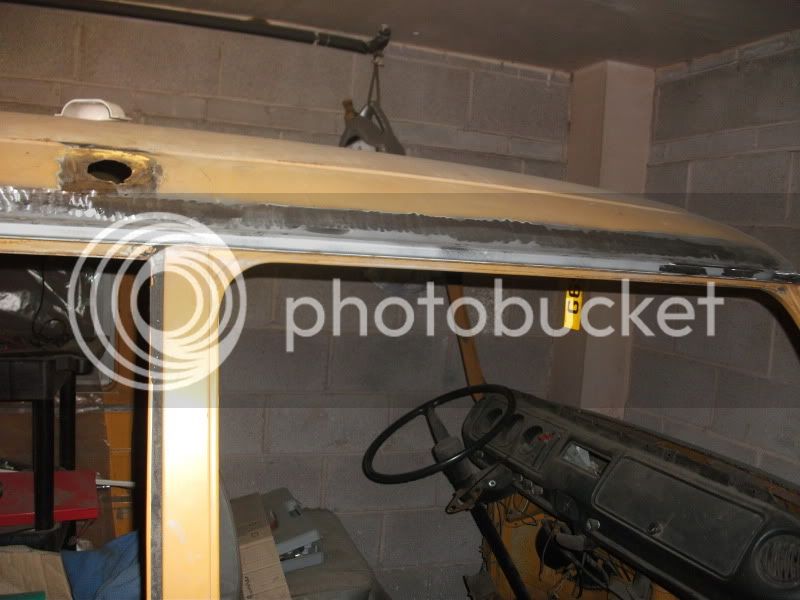
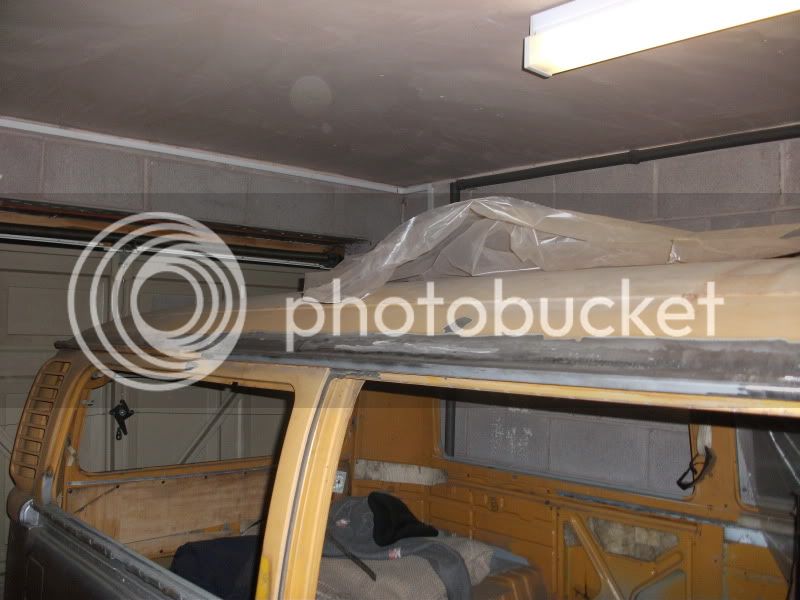
Here is a few updates of my project. All major welding is now finshed just a few odds and ends to finsh. The front beam is coming off this weekend for a rebuild and to fit my adjusters. Gutter repairs went well and metal under was as new.
camper013.jpg


camper011.jpg


camper007-1.jpg


camper005-1.jpg


camper004.jpg


camper009.jpg


camper008-1.jpg


camper012.jpg
 
camperpics005.jpg


camperpics003.jpg
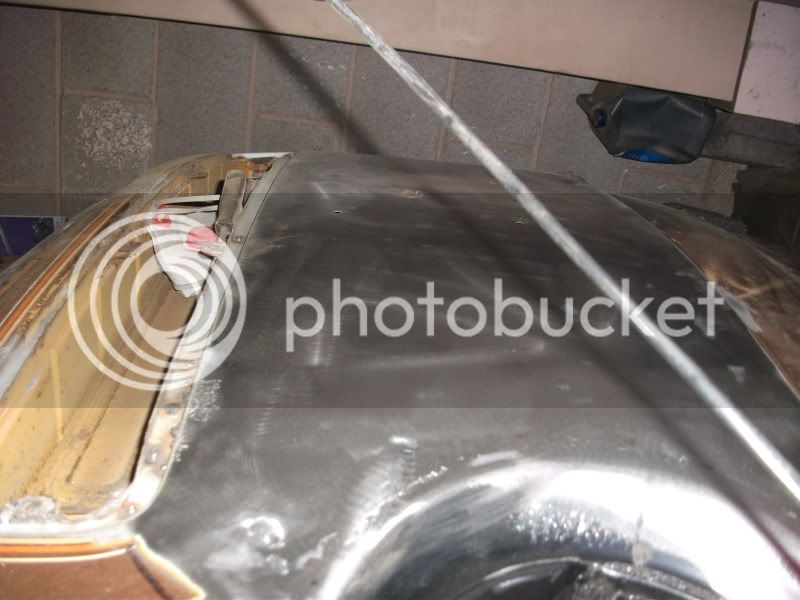
Started bare metaling the front end ready for a coat of epoxy.

camperpics002.jpg
Gutters all ground back just hope the rest of the gutters last after a good sandblasting.

camperpics001.jpg


Thanks leon but will I be driving it to volksworld show?
 
Good work there Alex. Keep it up.
Stuart/Drew
http://www.midlandpaintwerks.co.uk" onclick="window.open(this.href);return false;
 
Thanks fellas! My mrs now says I have too put our names on my tread now and all couples should like you.
 
Thanks gadget. Roof and front now in expoxy primer now so lots of flatting to be done :( all by hand.
 

Latest posts

Top