Mr1ncognit0
Well-known member
Hi Guys,
I have been sporadically posting a few Q's in the technical section and browsing the forums and thought it would be good to get a build thread going to keep a log of progress and jobs done.... I have done a very small amount of mechanical work growing up but nothing major, and not on this scale.... I am fortunately quite practical and willing to have an educated go at things.... so let see how this build progresses!
So first photos from pickup (Sep 13) to Engine out and block split... present day (Feb 14).... I will be posting more regularly but I realised I am a fair weather mechanic and did sweet FA during the winter months.... back on it now.
Note to readers: Sorry about my overuse of "......" and "!!!!" ..... Bad habit and I can't stop myself..... <-- see!!! <--- and again.
Also this OP is a little on the lengthy side but wanted to document it all to date.
Where I have a trip to forum's if you check out my other posts you can see the problem solving in action.... and...
Action!
The day of collection!!

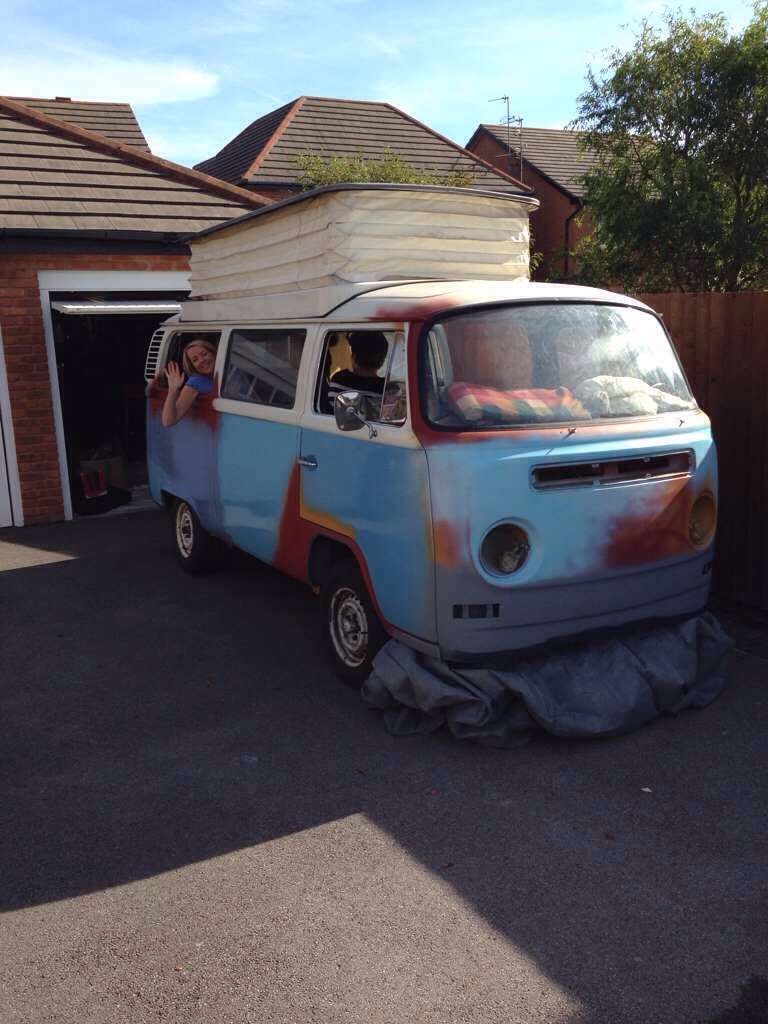
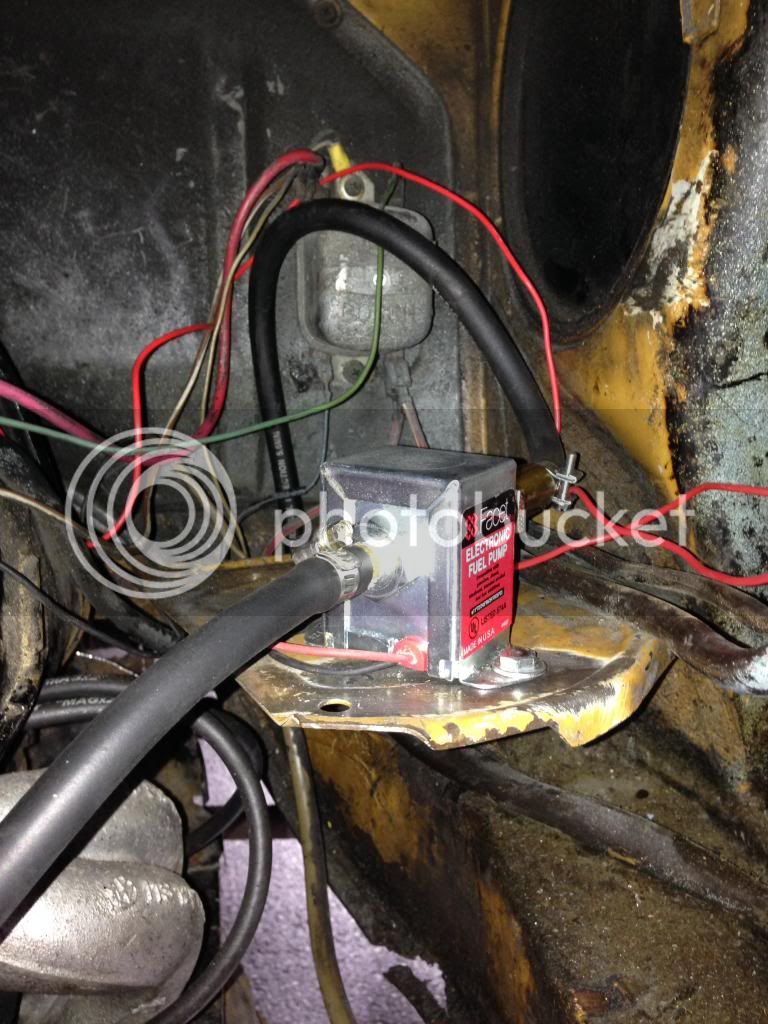
Apparently it's a runner... all it needs is a new fuel pump.... done! regulator fitted shortly after... oh and head lights.... and windows.... and seats that don't move around.... and..... well it's a long list..... so not quite a runner.
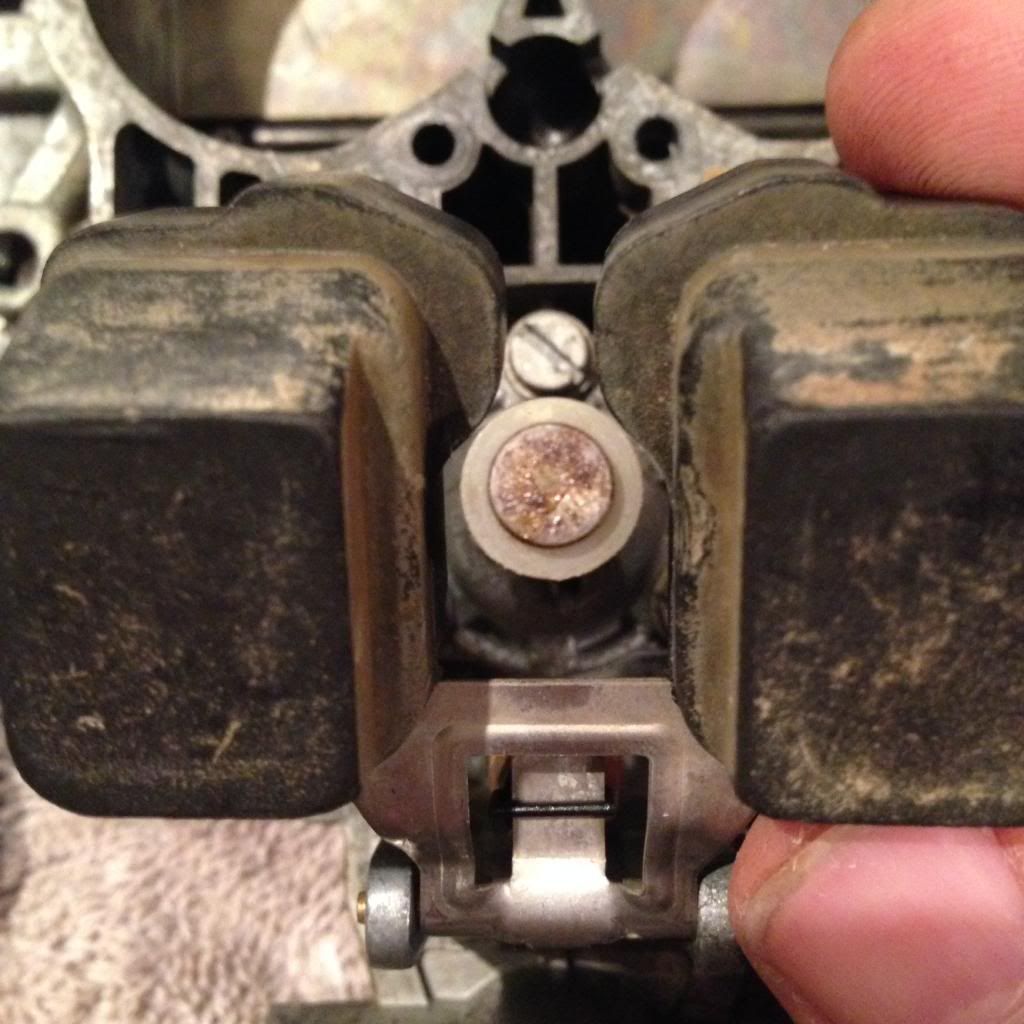
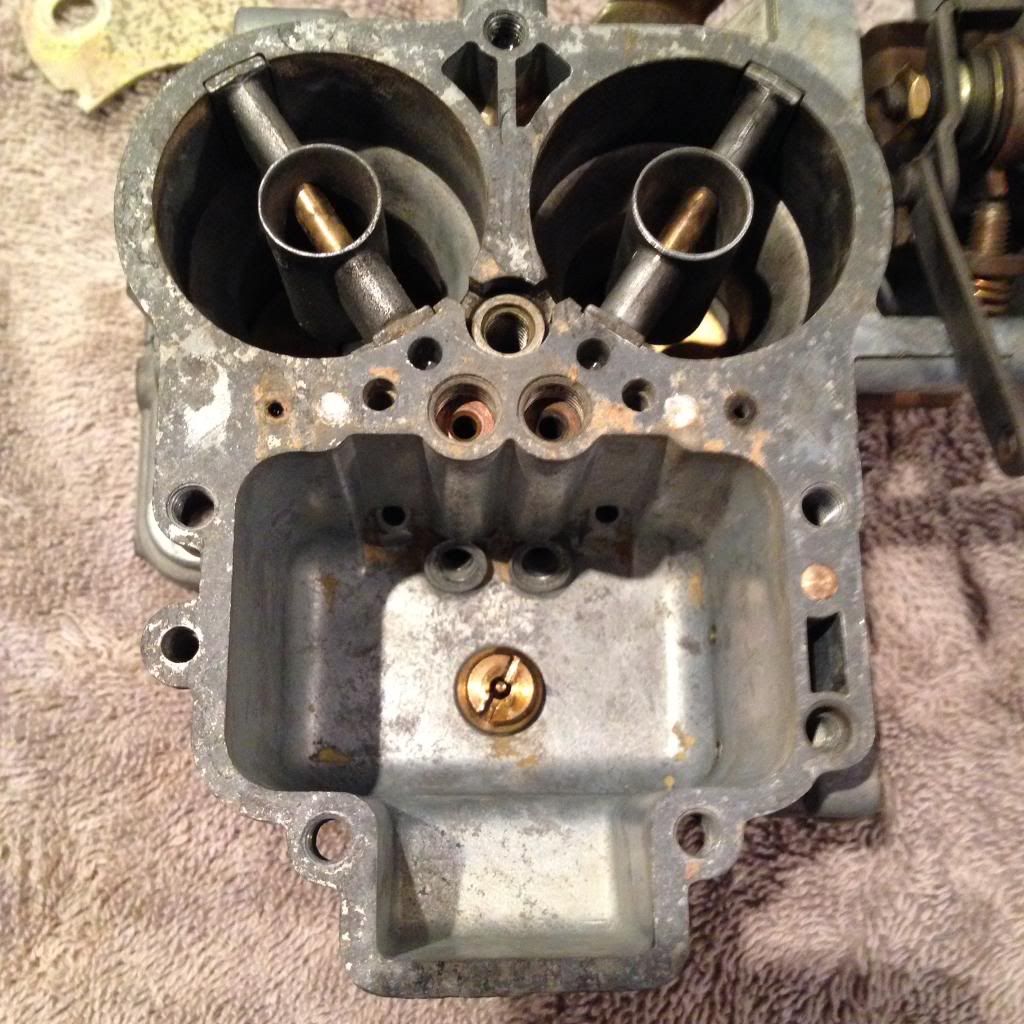
Hmmmm .... but wait.... battery charged... pump working.... still not working.... Quick trip to the forums resulted in a full carb strip and rebuild.... it was certainly gunked up and the floats were bent...
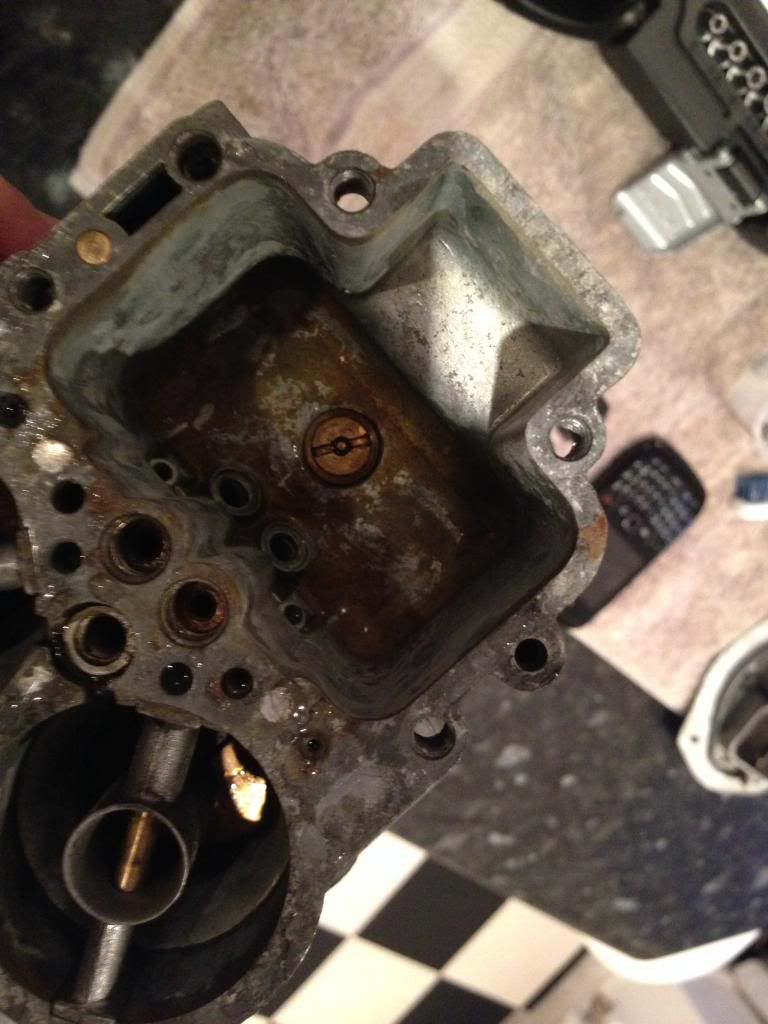
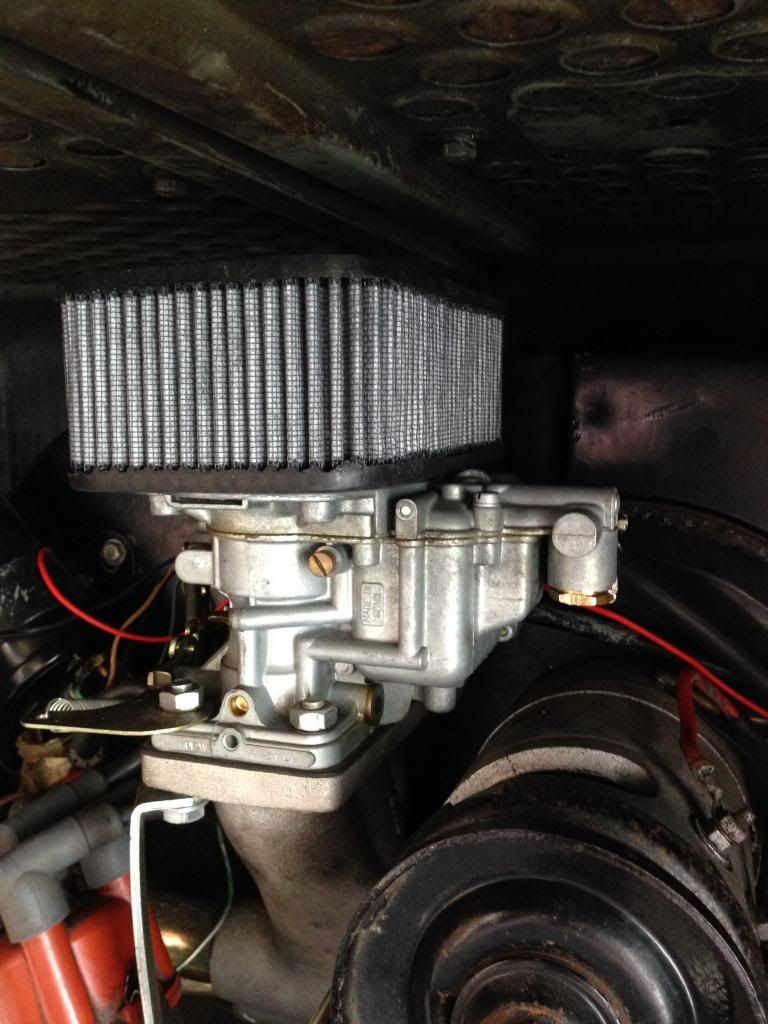
Ahhh... that's better... nice and clean!
and refitted.
.... Turned it over and wooomp.. it started! .... Made a funny noise after a few minutes and stopped....... UH OH!!! Trip to forum once again.... Took no chances and decided to drop the engine out... there is a first for everything...
Flattering photo... cheers Dad!
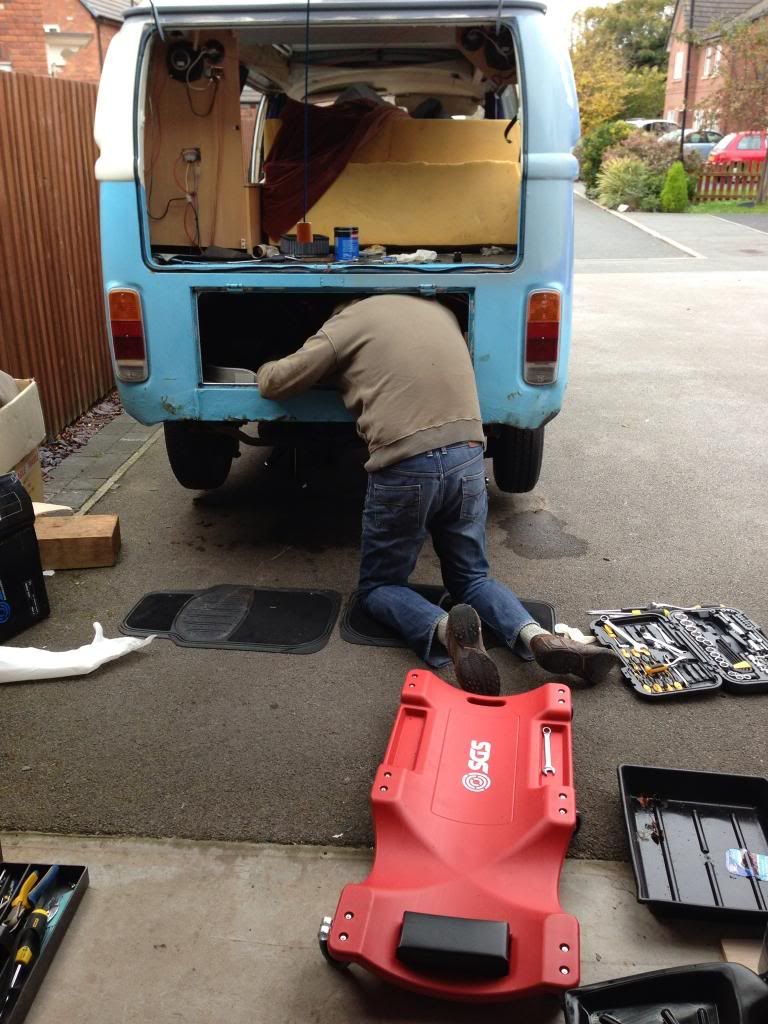
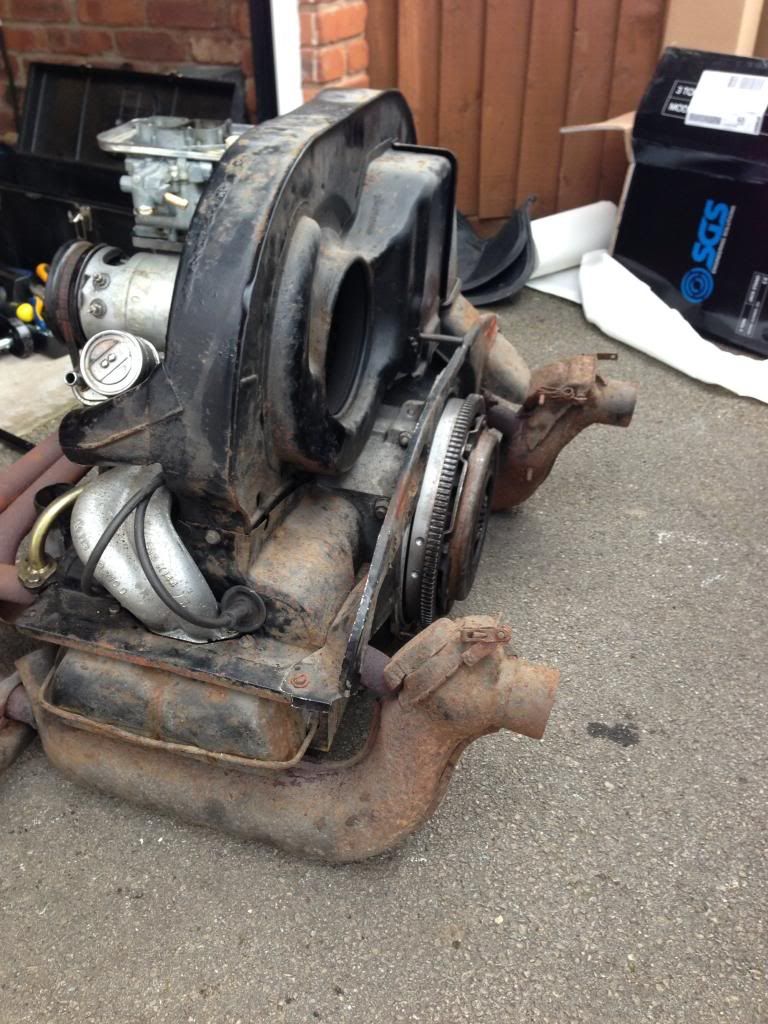
Engine out.... In need of TLC...
The strip down commences.
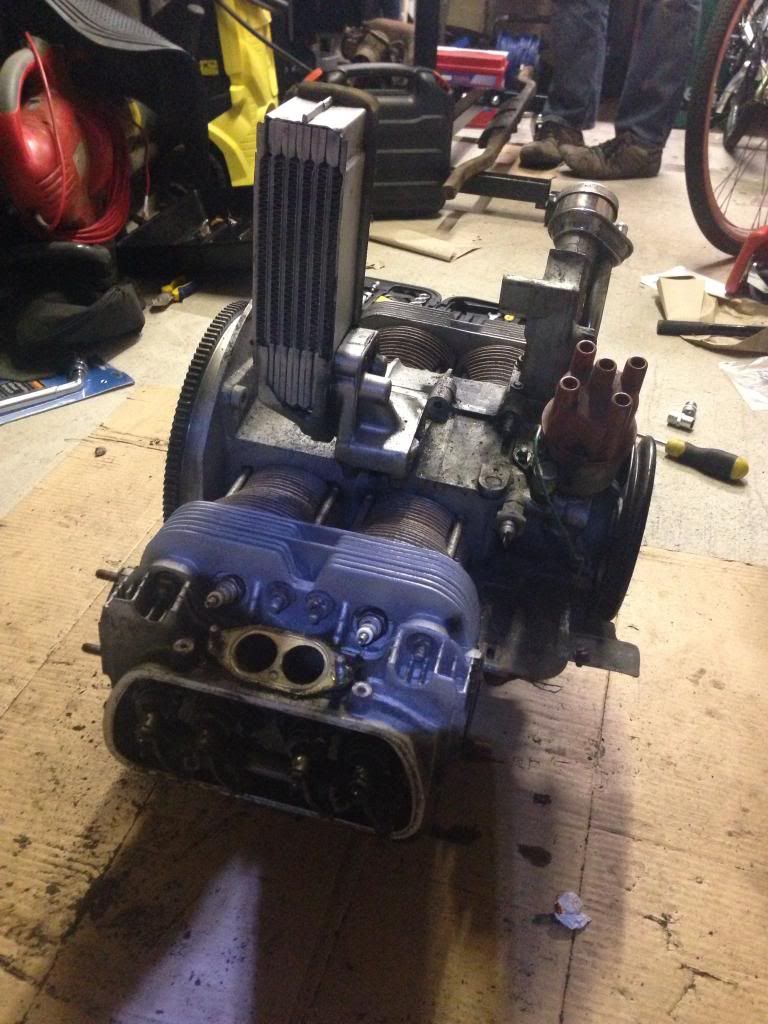
We will have you shiny in no time!!
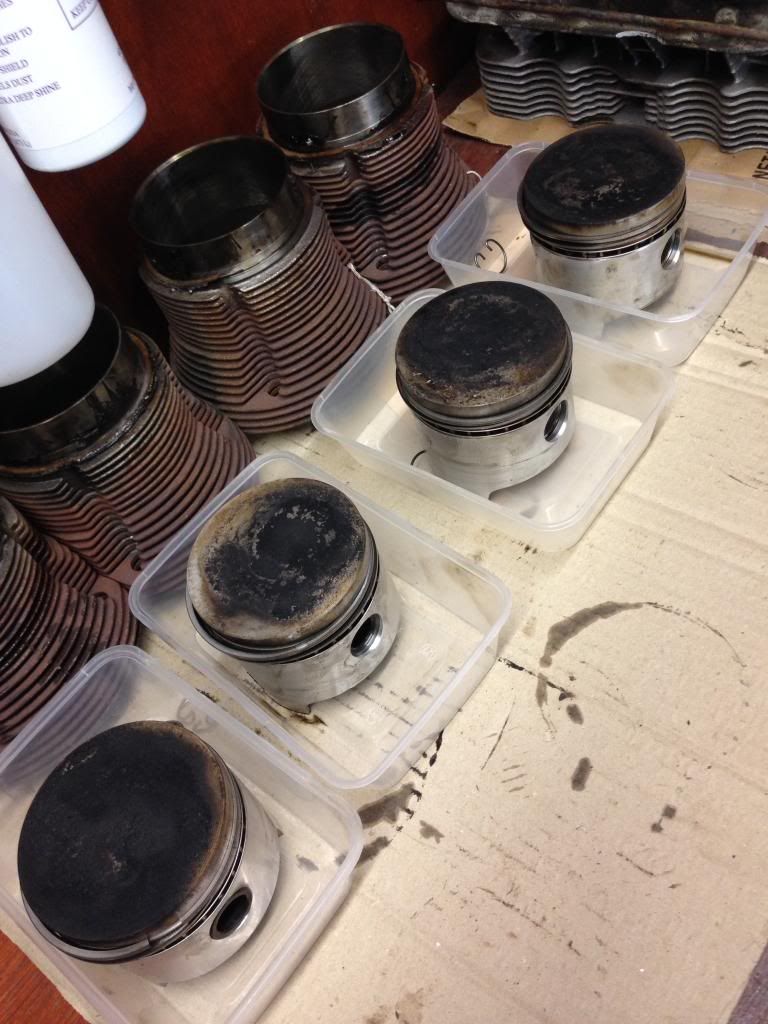
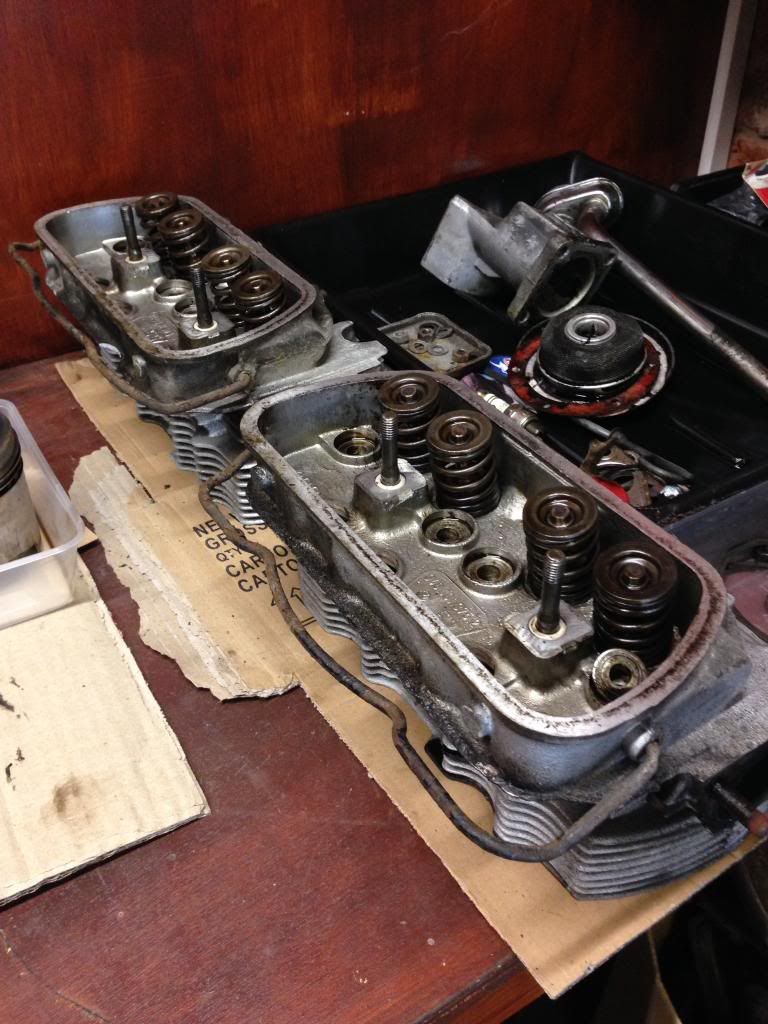
More bits.... lets hope I can put it back together....
It seems I found a green CDR marker pen in my engine and a plug socket.... curious!
Ok.... works ground to a halt in late 2013 as I got stumped ... and a little scared of splitting the engine case... so I stripped the old interior out.
Original horse hair chairs to be repaired and re-covered.... the wife wants to put big comfy ones in it so I might sell these at some point, which seems a shame... but hey.
Cockpit area looks a little unloved too... and needs some pazazz added... thinking cap donned.....
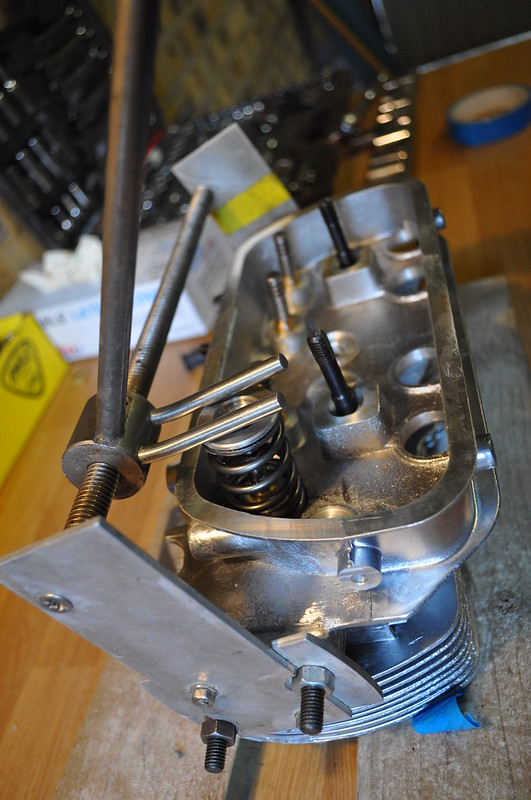
Ok... fast forward to present day........ And grow some cahunas and attacked splitting the block... made a rig to stop it twisting... added torque wrench and scaffold pole and a big socket from halfords and POP!!! We have lift off!!
The next few hours were a blur as I built a high level work bench so I wasn't bending over the engine, took the nuts out and then began to spread the engine.... it was all going so well.
I don't see them cutting through knackered bolts with hacksaw blades on F1!
.... and as for the bolts which I couldn't get to with the blade.... well I had to pop out some Pro welding skillz... I have accumulated approx 5 minutes with my Mig welder which I inherited from my Dad.... Application is 10/10.... execution is... well.... I'll let you be the judges!!.... Dirty weld!!
Ok... case was split... (forgot to take any photos) !! Will do at some point and get them on here.... and time to remove all the un-necessary bits before giving it a clean.... just got...to....give the .... dizzy.... a .... pull..... DAMN YOU!! MOVE!!!!
If in doubt... take it apart piece by piece....
Ok that didn't work.... quick trip to the forum.... you guys know your stuff!!!! Gave me enough confidence to provide it with some encouragement and bashery....
This is a great tip for removing the distributor if it won't shift from pulling, lever it with something and tap it away from the case. If you have undone all the bolts to the case it will just slide out.... ish..... wack wack wack.... BINGO!
YES! Out.
WTF is this!?!? ... I don't own a screwdriver that big.... actually who owns a screwdriver this big!! Trip to forum .....
Turns out it is the oil pressure regulator screw, and there is one on the other end of the case.... started with a little tap on the edge to get it turning and out it comes.
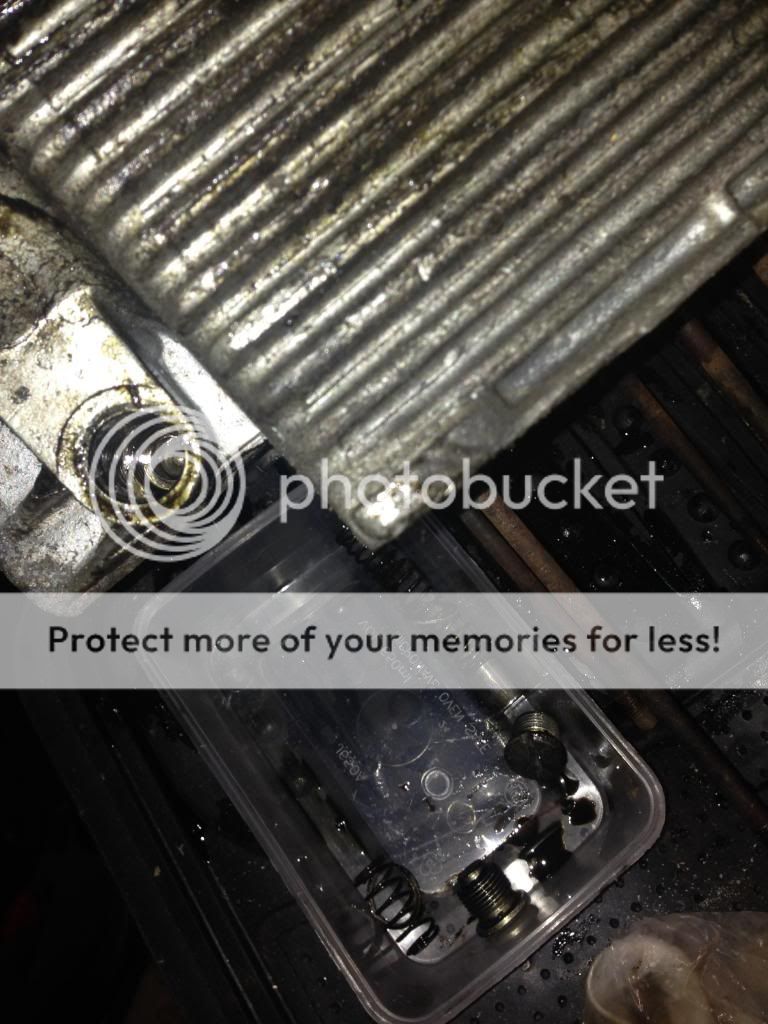
Warning: Don't hover you head over the spring when doing this as mine shot out and hit my in the face!
There is a little slider stuck in the channel that won't come out as it is catching on the threads..... I have sought the knowledge of the Forums.... will I find the knowledge I so desperately require to remove the slider..... or won't I.... Alternatively I will resort to brute force and ignorance!..... stay tuned for the next episode.....(Which I promise will be a lot shorter and lot more frequent.... You lucky people!)
Cheers
Mr1
I have been sporadically posting a few Q's in the technical section and browsing the forums and thought it would be good to get a build thread going to keep a log of progress and jobs done.... I have done a very small amount of mechanical work growing up but nothing major, and not on this scale.... I am fortunately quite practical and willing to have an educated go at things.... so let see how this build progresses!
So first photos from pickup (Sep 13) to Engine out and block split... present day (Feb 14).... I will be posting more regularly but I realised I am a fair weather mechanic and did sweet FA during the winter months.... back on it now.
Note to readers: Sorry about my overuse of "......" and "!!!!" ..... Bad habit and I can't stop myself..... <-- see!!! <--- and again.
Also this OP is a little on the lengthy side but wanted to document it all to date.
Where I have a trip to forum's if you check out my other posts you can see the problem solving in action.... and...
Action!
The day of collection!!


Apparently it's a runner... all it needs is a new fuel pump.... done! regulator fitted shortly after... oh and head lights.... and windows.... and seats that don't move around.... and..... well it's a long list..... so not quite a runner.

Hmmmm .... but wait.... battery charged... pump working.... still not working.... Quick trip to the forums resulted in a full carb strip and rebuild.... it was certainly gunked up and the floats were bent...


Ahhh... that's better... nice and clean!

and refitted.

.... Turned it over and wooomp.. it started! .... Made a funny noise after a few minutes and stopped....... UH OH!!! Trip to forum once again.... Took no chances and decided to drop the engine out... there is a first for everything...
Flattering photo... cheers Dad!

Engine out.... In need of TLC...

The strip down commences.

We will have you shiny in no time!!

More bits.... lets hope I can put it back together....

It seems I found a green CDR marker pen in my engine and a plug socket.... curious!

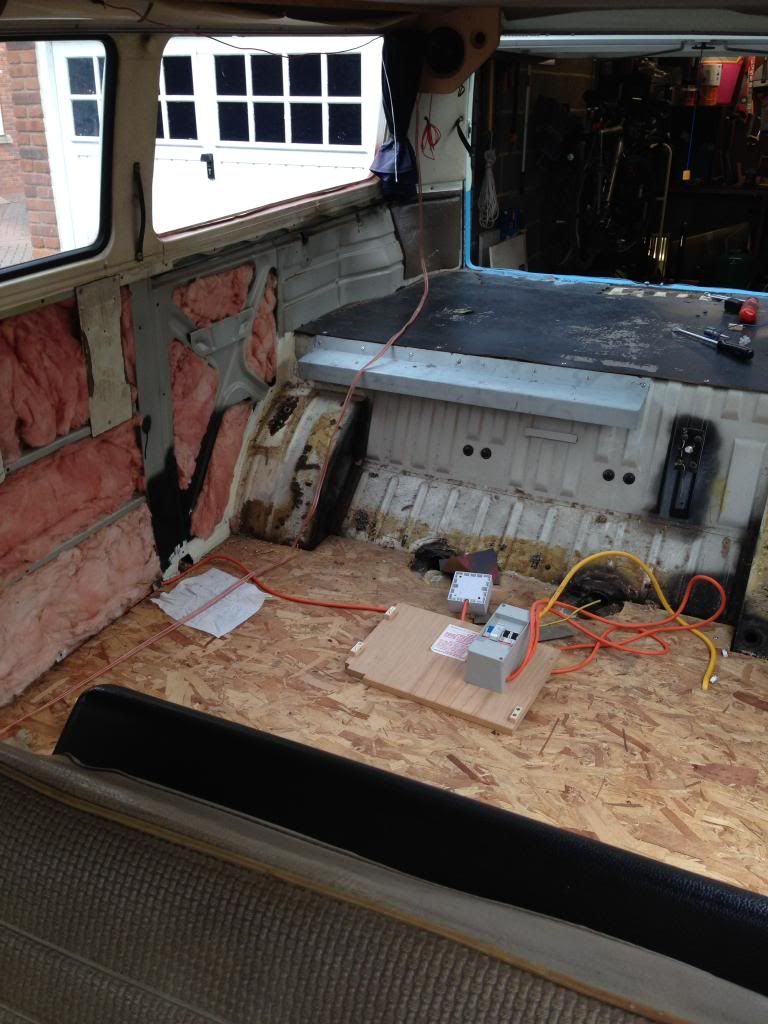
Ok.... works ground to a halt in late 2013 as I got stumped ... and a little scared of splitting the engine case... so I stripped the old interior out.

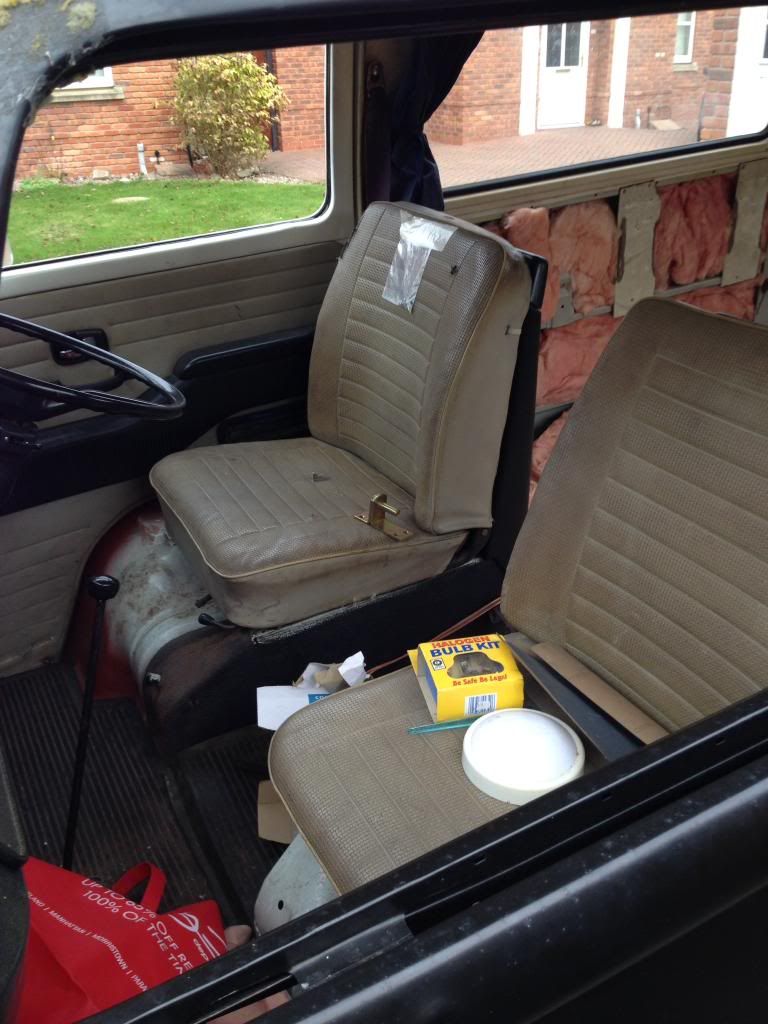
Original horse hair chairs to be repaired and re-covered.... the wife wants to put big comfy ones in it so I might sell these at some point, which seems a shame... but hey.

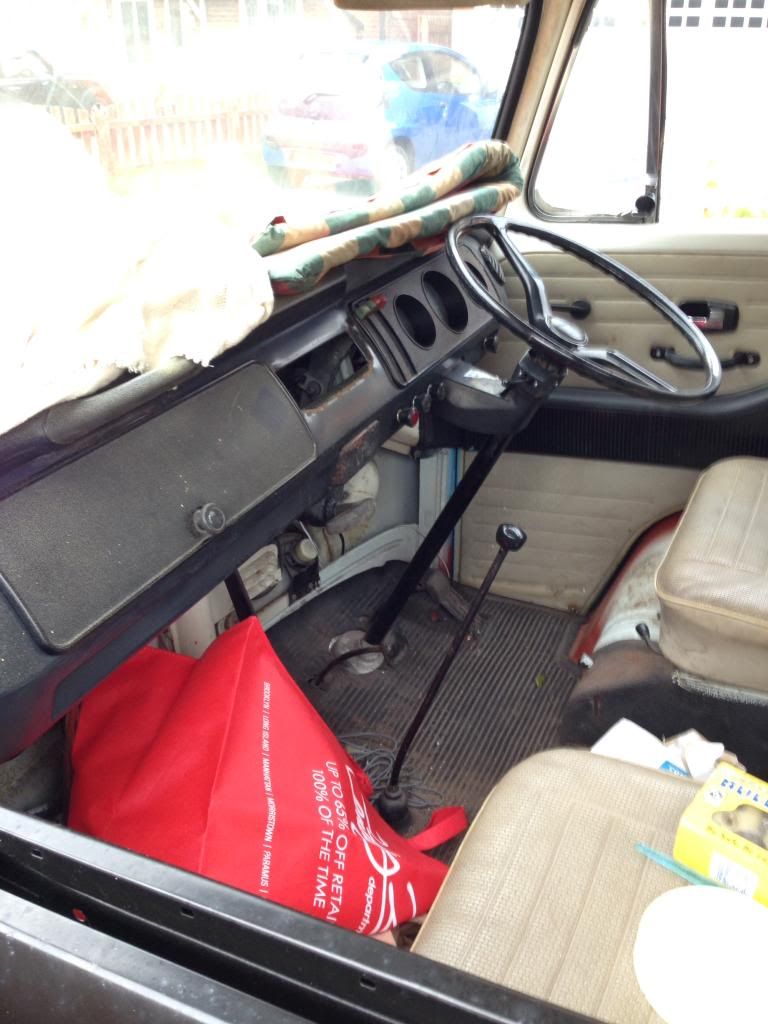
Cockpit area looks a little unloved too... and needs some pazazz added... thinking cap donned.....

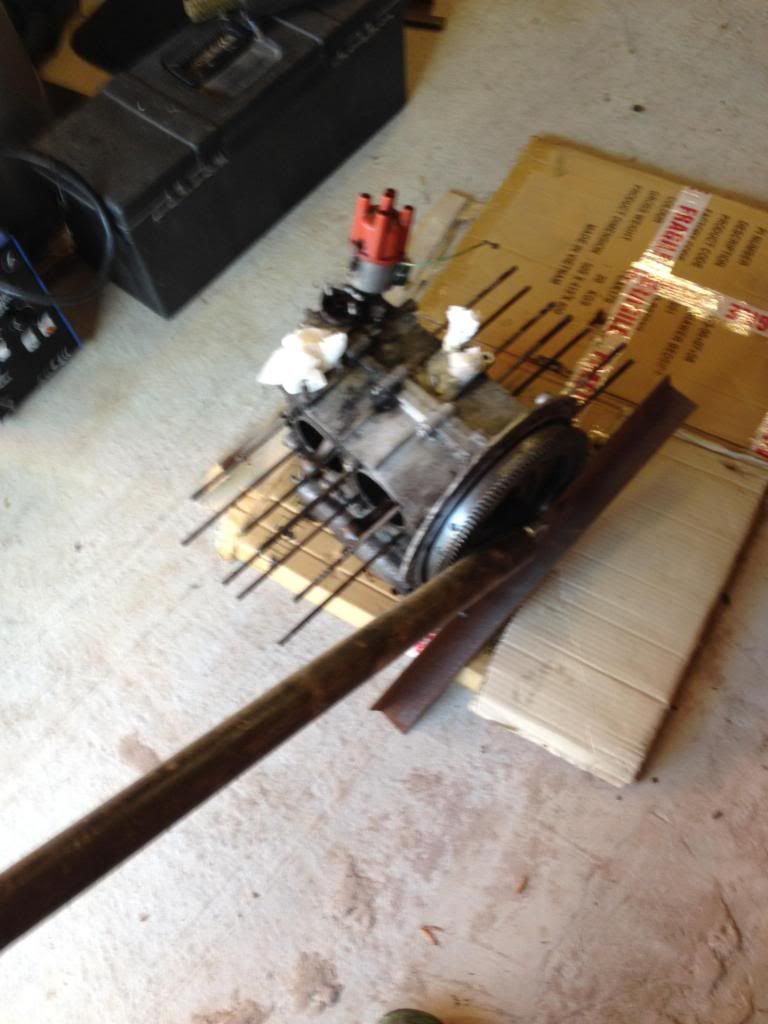
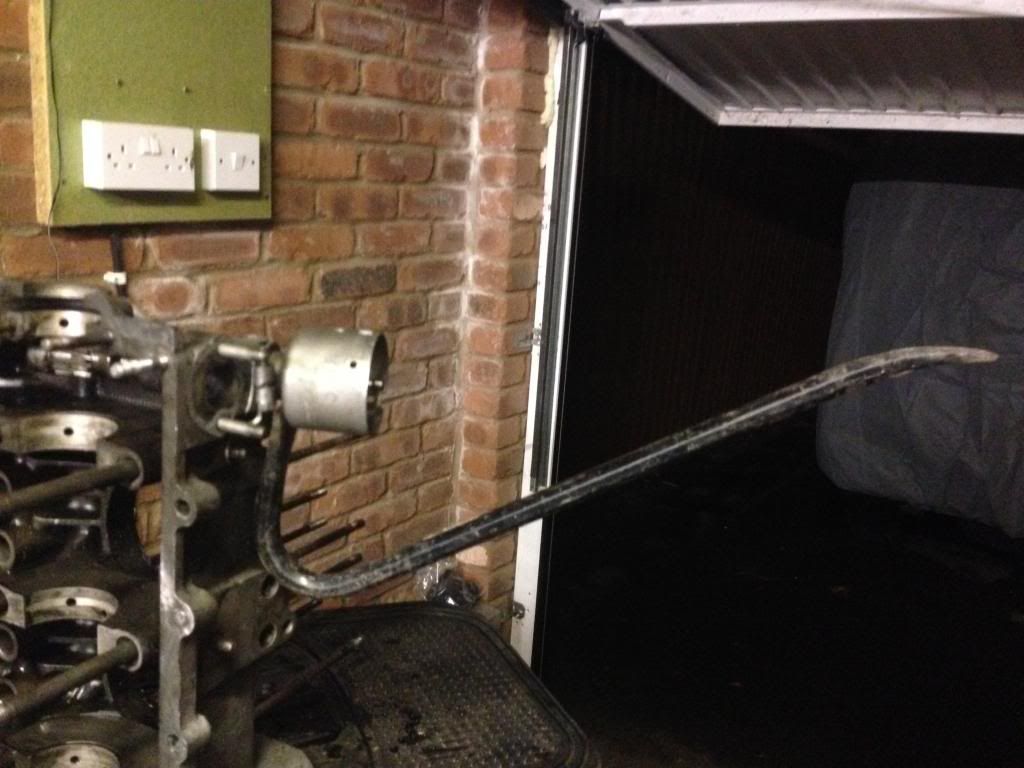
Ok... fast forward to present day........ And grow some cahunas and attacked splitting the block... made a rig to stop it twisting... added torque wrench and scaffold pole and a big socket from halfords and POP!!! We have lift off!!

The next few hours were a blur as I built a high level work bench so I wasn't bending over the engine, took the nuts out and then began to spread the engine.... it was all going so well.
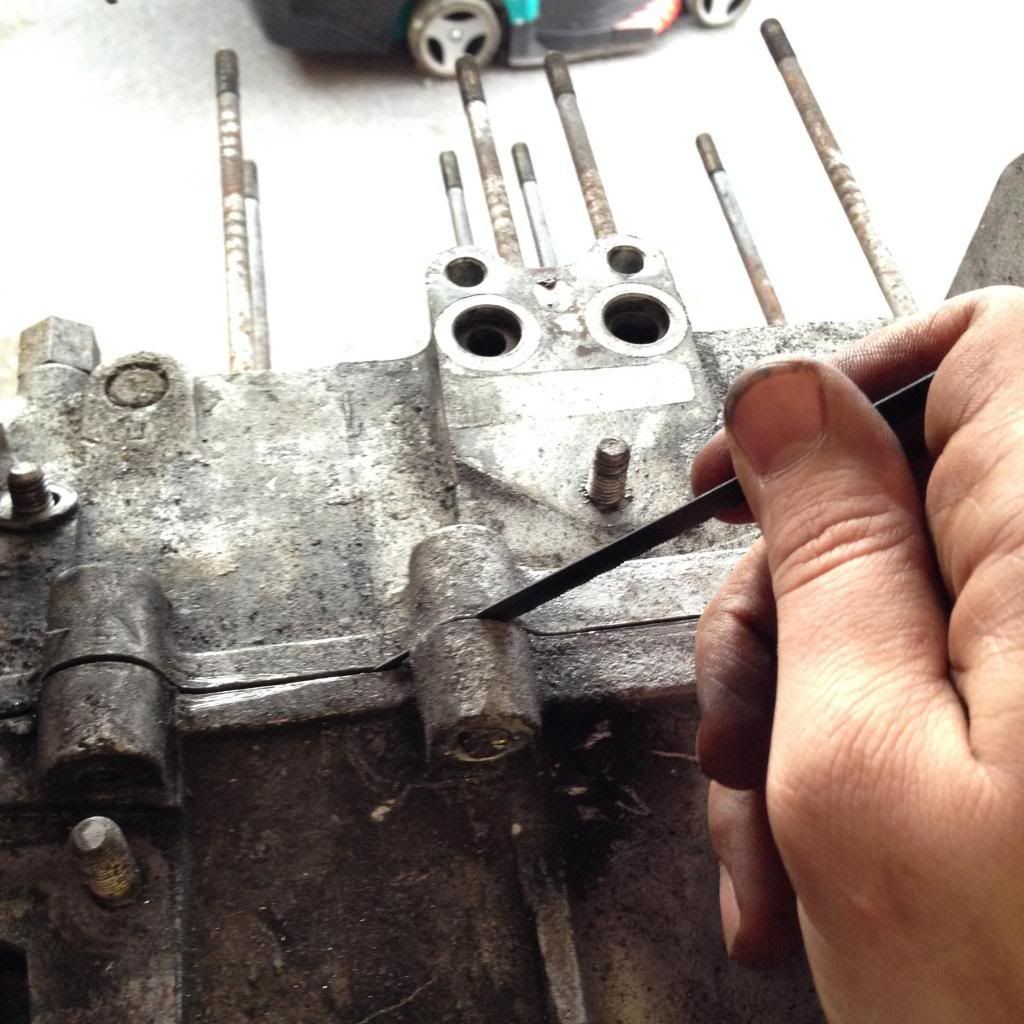
I don't see them cutting through knackered bolts with hacksaw blades on F1!

.... and as for the bolts which I couldn't get to with the blade.... well I had to pop out some Pro welding skillz... I have accumulated approx 5 minutes with my Mig welder which I inherited from my Dad.... Application is 10/10.... execution is... well.... I'll let you be the judges!!.... Dirty weld!!

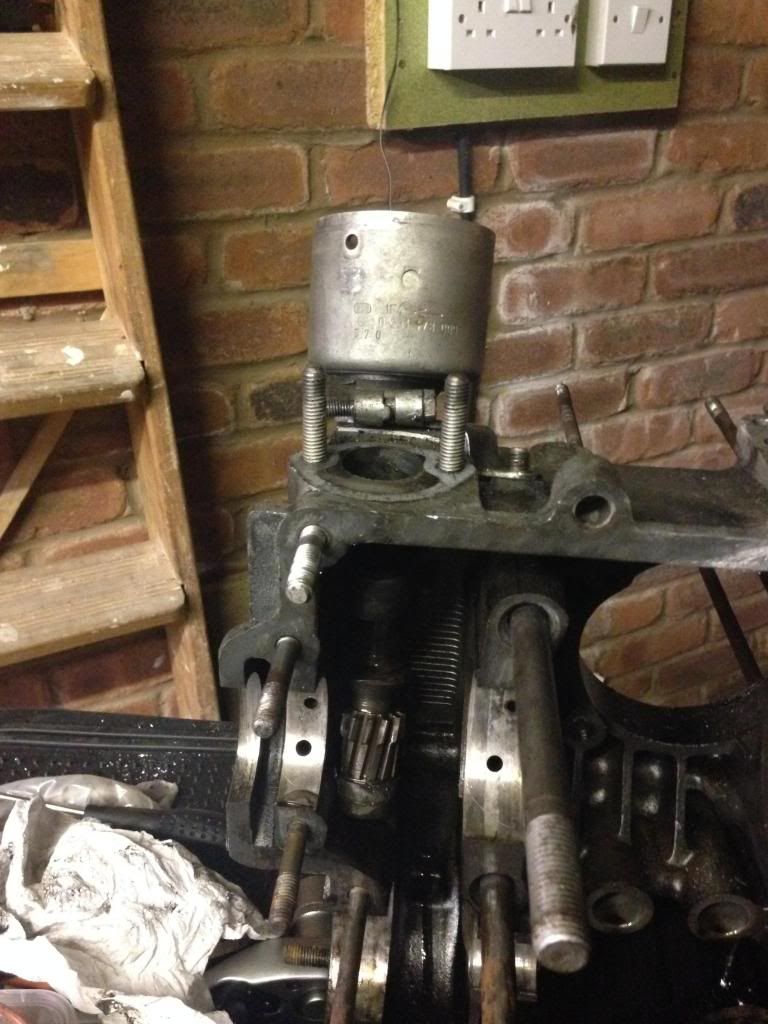
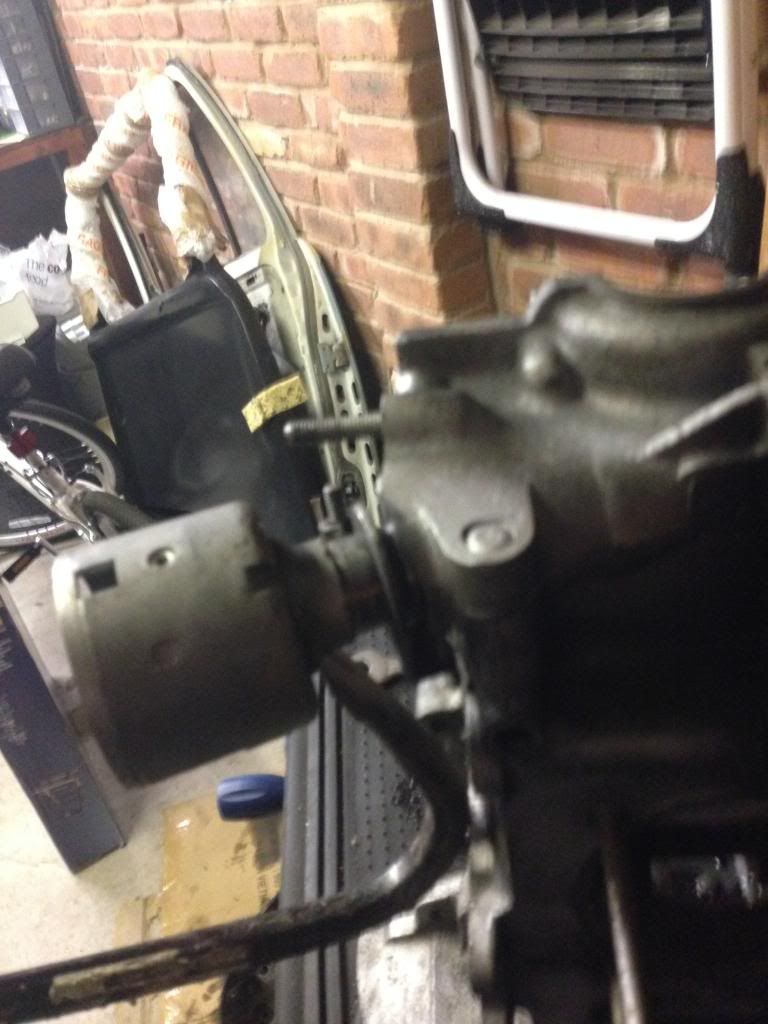
Ok... case was split... (forgot to take any photos) !! Will do at some point and get them on here.... and time to remove all the un-necessary bits before giving it a clean.... just got...to....give the .... dizzy.... a .... pull..... DAMN YOU!! MOVE!!!!
If in doubt... take it apart piece by piece....

Ok that didn't work.... quick trip to the forum.... you guys know your stuff!!!! Gave me enough confidence to provide it with some encouragement and bashery....

This is a great tip for removing the distributor if it won't shift from pulling, lever it with something and tap it away from the case. If you have undone all the bolts to the case it will just slide out.... ish..... wack wack wack.... BINGO!

YES! Out.

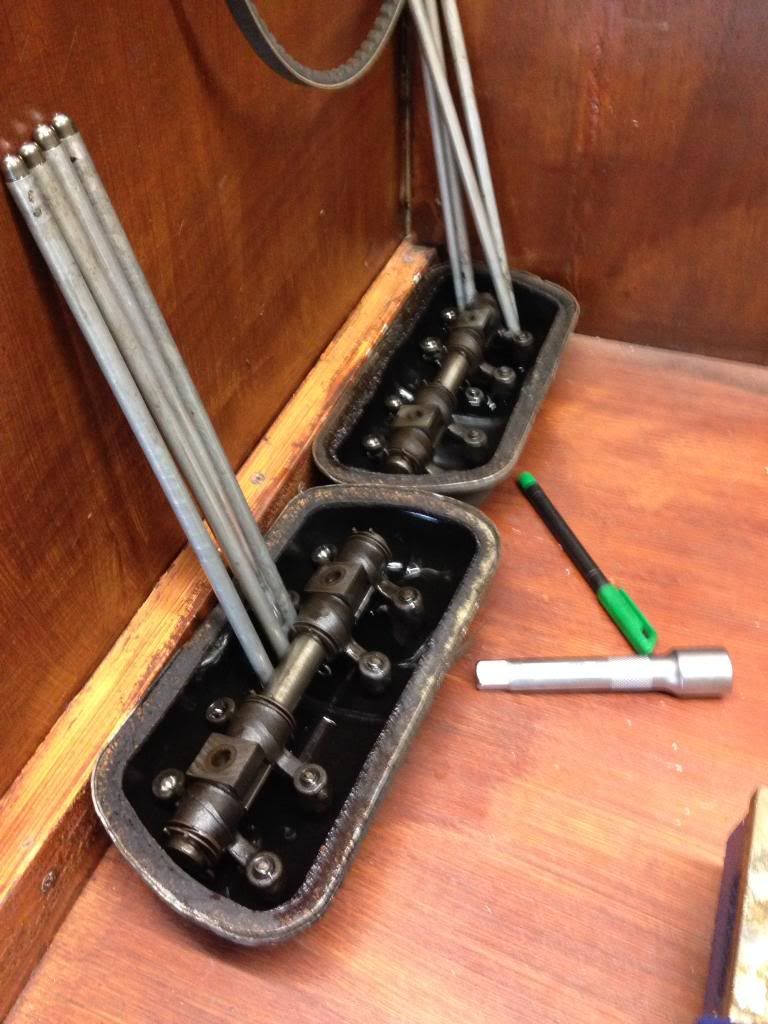
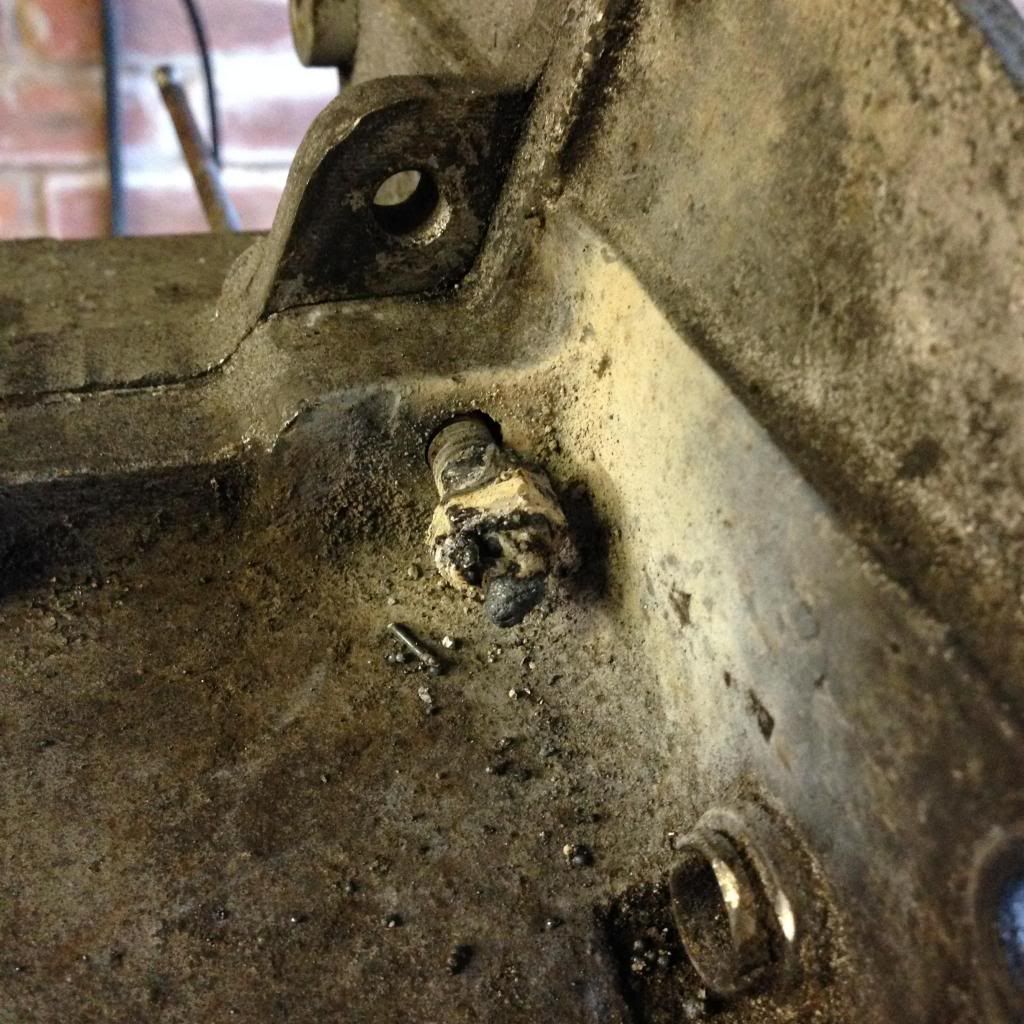
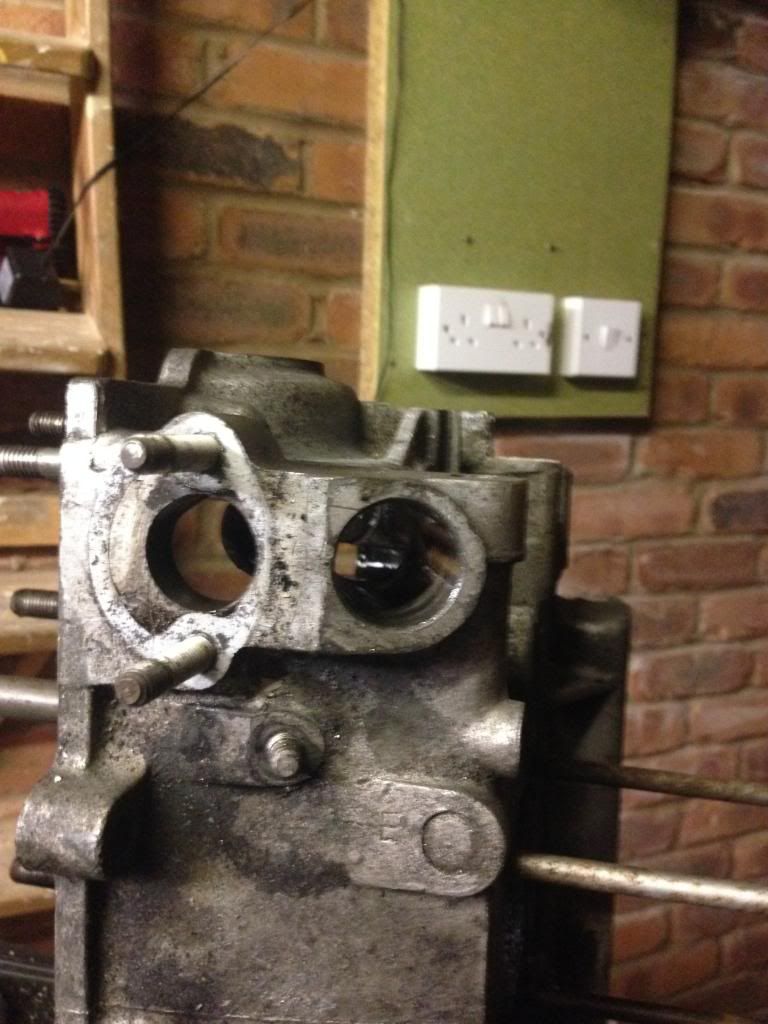
WTF is this!?!? ... I don't own a screwdriver that big.... actually who owns a screwdriver this big!! Trip to forum .....

Turns out it is the oil pressure regulator screw, and there is one on the other end of the case.... started with a little tap on the edge to get it turning and out it comes.

Warning: Don't hover you head over the spring when doing this as mine shot out and hit my in the face!
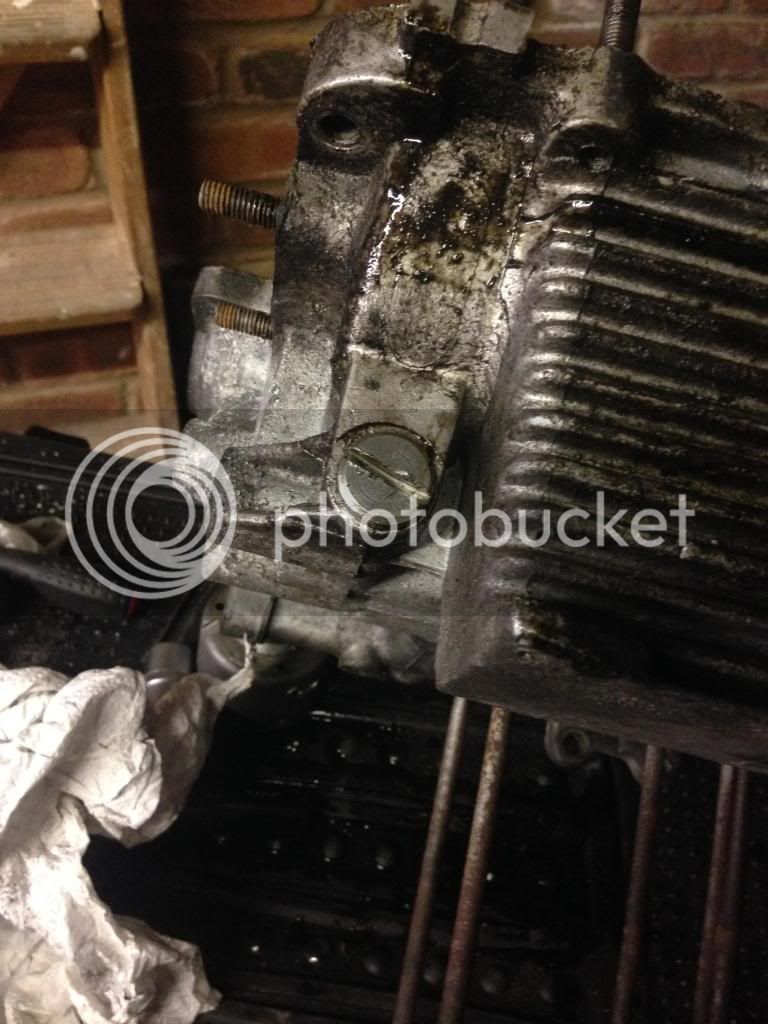
There is a little slider stuck in the channel that won't come out as it is catching on the threads..... I have sought the knowledge of the Forums.... will I find the knowledge I so desperately require to remove the slider..... or won't I.... Alternatively I will resort to brute force and ignorance!..... stay tuned for the next episode.....(Which I promise will be a lot shorter and lot more frequent.... You lucky people!)
Cheers
Mr1
")