Small amount of restoration...

Early Bay Forum

Help Support Early Bay Forum:

This site may earn a commission from merchant affiliate links, including eBay, Amazon, and others.

fallingoffalot

Well-known member
Supporting Member
Joined
May 18, 2019
Messages
1,007
Reaction score
256
Location
Gloucestershire
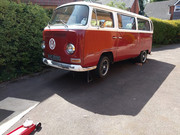
Hi I am starting this thread as a record of stuff I've done to my 68 Bay, and to give everyone the opportunity to say "....you shouldn't have done it like that"!

I've had my van about 4 weeks now and have done some minor updates....
  • Narrowed beam installed - Spax coil-overs removed, ride now lovely.
  • Seat belts installed.
  • New door scrapers
  • Gear shift sorted
Above all done by Miri at VW Restorers in Gloucester - top bloke, great service.
  • Oil change
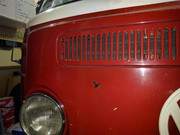
  • Small rust patch on front repaired

Primer


For this I ordered a can of Chianti Red from paints4u.co.uk - which seemed to match the (South African) paint code of 140 (the "0" apparently meaning it had a white roof). Anyway it's not quite the same red - or maybe it was 50 years ago - I'm planning on respraying the whole van anyway so will probably just stick with the Chianti.
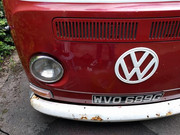
  • Bumper repaint
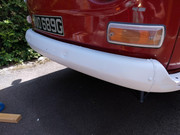
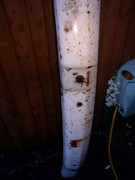
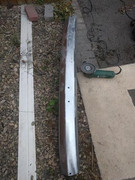
I have a spare front bumper which I stripped and repainted in cloud-white.


Today I went to fit them but couldn't get the bolts out of the n/s side mount under the door, well I got one loose, but the other wouldn't budge and I rounded the head of the nut.
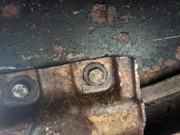


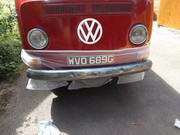
I've decided to strip and repaint the existing bumper, but replace one of the side step bits as it's been damaged.
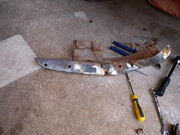


Here's the part I've already repainted...
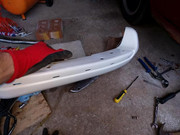


More to follow....
 
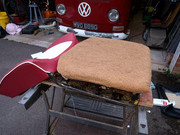
Tonight's job.... passenger seat reupholster

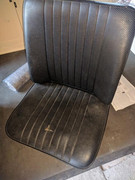
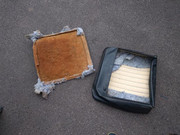
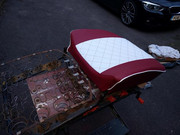
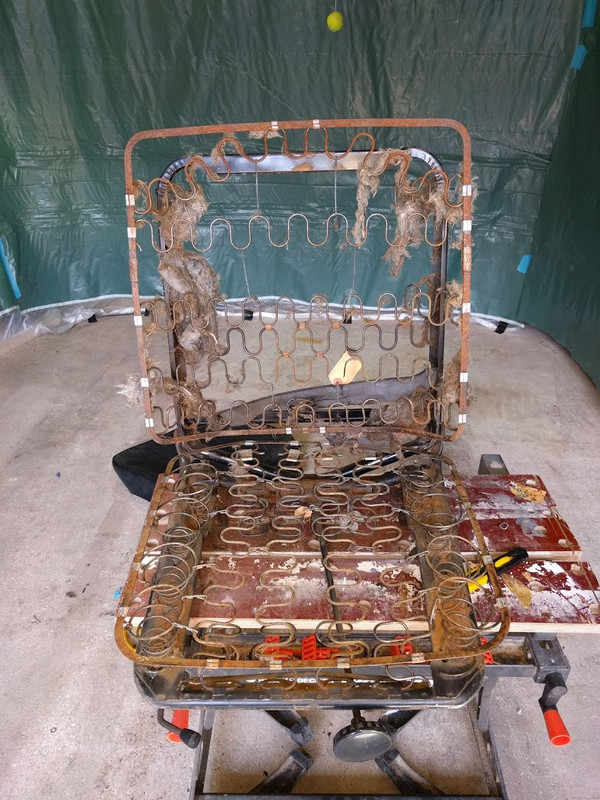
Old seat

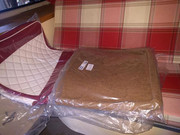
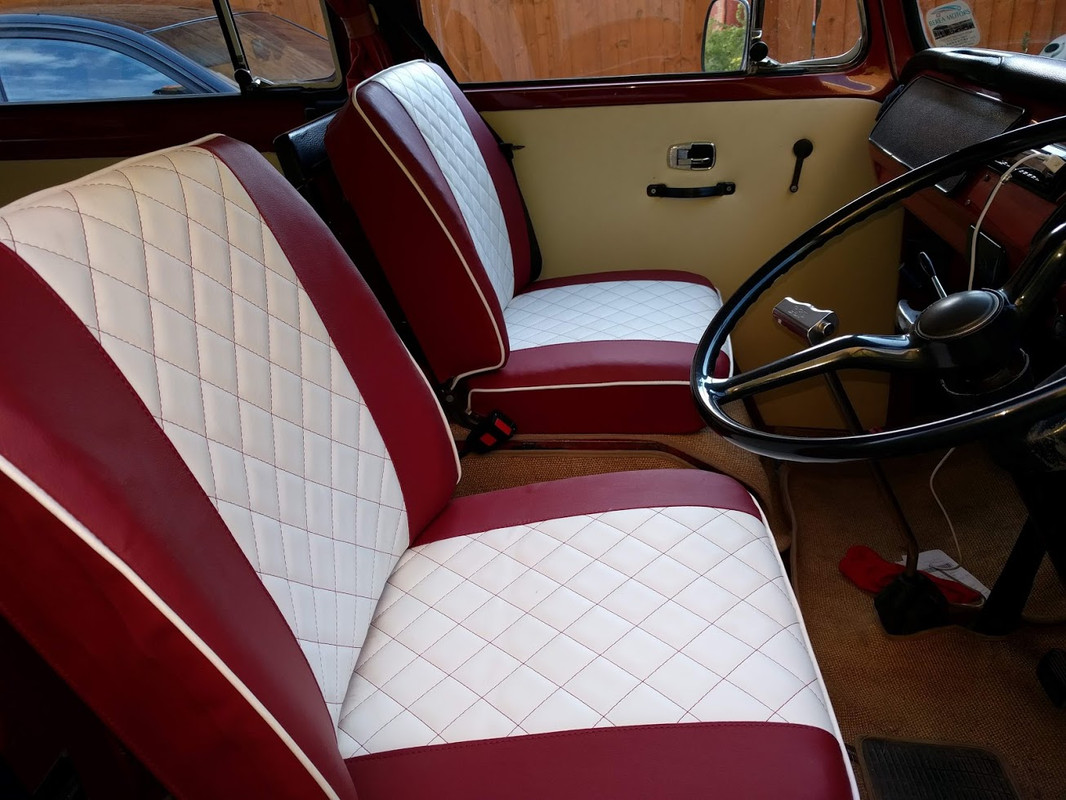
New seat


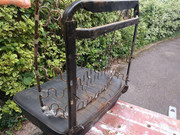
Surprisingly good condition, small amount of surface rust, and a lot of dust. Even all the bendy spikes were intact.


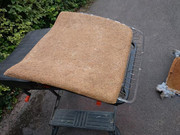
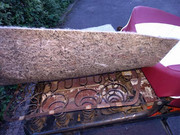
New backrest horsehair padding.


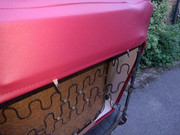
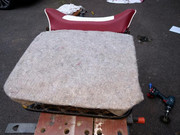
Covering base springs so they don't poke through - the existing seats didn't have this and there was a spring poking through!


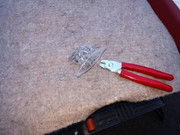
New hog-ring pliers to attach the base covering to the frame - I got this technique from a few YouTube vids.


Base padding.


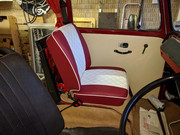
In van - job done, only a few cuts and bruises.


This was a reasonably straight forward job, I had to reuse the wire and steel rods that are in the back of the existing seat - not a problem, they were a little corroded, but fairly easy to thread into the new seats. The seat frames were in amazing condition for 50 years old, a very small amount of surface rust, but didn't really warrant a repaint. I should get the driver seat hair base in a few weeks so will do the other one then.
 
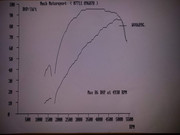
Rolling road carb check.....

The ignition was set to 39deg, which is too much and was ******** back to the recommended setting, so I actually lost a few bhp, but it drives better at speed and is quieter. 75-80mph no problem!

 
Spraying fun!!

Having only ever used spray cans in the past, but I recently bought a compressor - just a cheep one from machine mart - and embarked on respraying the front bumper. I ordered some etch primer from Jawel, stripped it down to bare metal, and resprayed it. It was easier than I thought and the results were great. I'll complete the job with "cloud white" cellulose in the next few days.


Repair damaged paintwork....

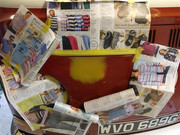
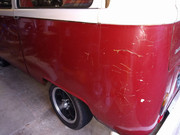
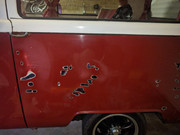
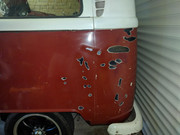
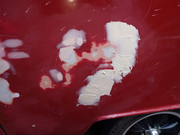
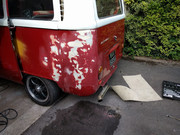
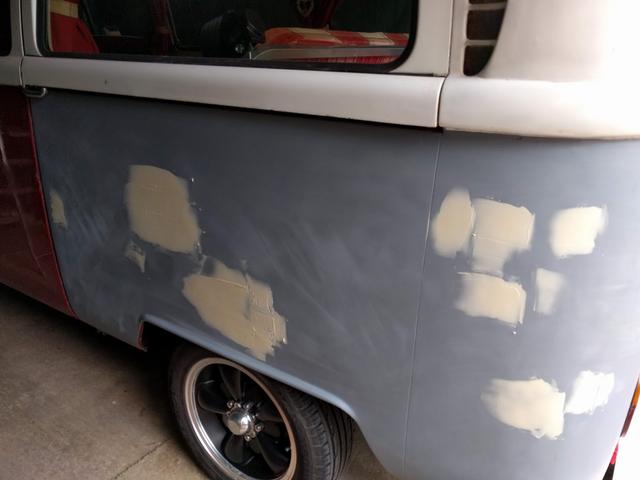
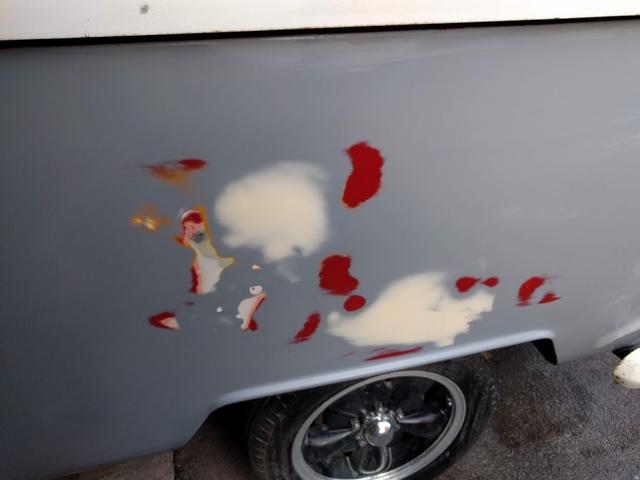
This is what the paintwork looked like on the rear back quarter, initially I wasn't sure what it was, rust? It turned out to be filler that was flaking away from the body where surface rust had started to form. Looks like there has been a repair or a new panel added then covered in 1-3mm of filler, it's not even that straight!


So I hacked it of then ground down the surface rust to shiny metal, then applied Dinitrol rust eater just in case.


Then I slapped on loads of filler (U-POL Fantastic from Jawel)...


One of the best things I have ever bought, saves so much time and cleaning....


Sanded it all down, initially with a 80, then 120 grit in a DA 6" sander. Then finished off with 240 then 1200 wet & dry. Top tip I found on one of the many YouTube vids I watched, rub your hand over it through a wet cloth, this makes any bumps much more obvious.


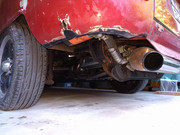
Removed and treated a bit more surface rust on the underside...


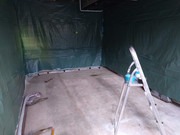
Built myself a spray booth in the garage...


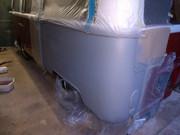
Then gave it a coat of "Cellulose Grey High Build Primer" again from Jawel.


I have bought a "Rhynogrip" sanding board, which is about 40cm long so I will revisit the lumps and bumps in a few days when the primer is hard.

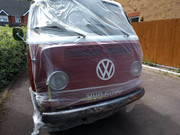
Actually I am going away in it on Saturday so will have to remove all the masking, which I will obviously have to redo when I apply the next coat of primer and then gloss coat.
 
Looking good :)
Where did you get the stuff to redo the seats?
 
Thanks for that - will put on my list of things to do in the future :)
 
Got the drivers seat padding today...

IMG-20190705-180808.jpg


IMG-20190705-195543.jpg


This one was a bit stubborn and I now have cuts and sliced knuckles to prove it!

If there's one bit of advice I can give from this process then it's buy some upholstery wire. I reused the old stuff, it was mainly OK, but it broke a couple of times and I had to improvise. Oh and take photos of all the intricacies of the existing seat before you butcher it and take it off, especially the drivers seat, it was much harder.
 
fallingoffalot said:
If there's one bit of advice I can give from this process then it's buy some upholstery wire. I reused the old stuff, it was mainly OK, but it broke a couple of times and I had to improvise. Oh and take photos of all the intricacies of the existing seat before you butcher it and take it off, especially the drivers seat, it was much harder.

Thanks for the tip 8)
 
Demolishing the interior....

...decided that I am never going to cook or wash up inside my van, but I want to be able to sleep in it and eat/drink, play cards etc. so a table is a must.

I have ordered a full width R&R bed and cushions to match the front seats.

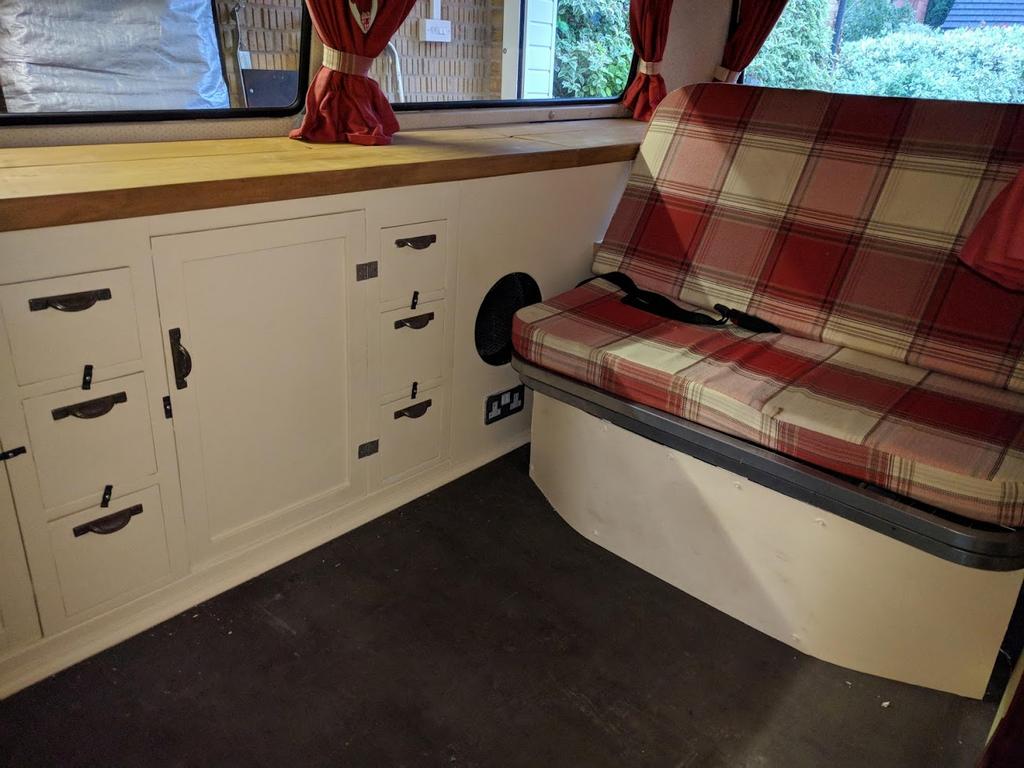
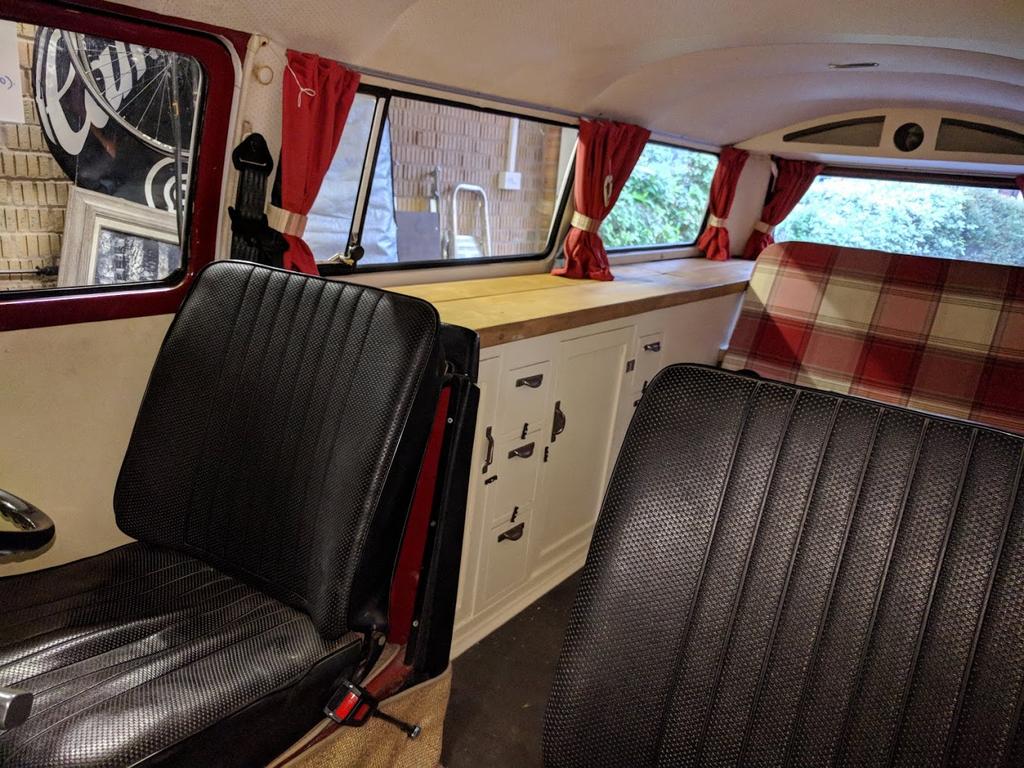
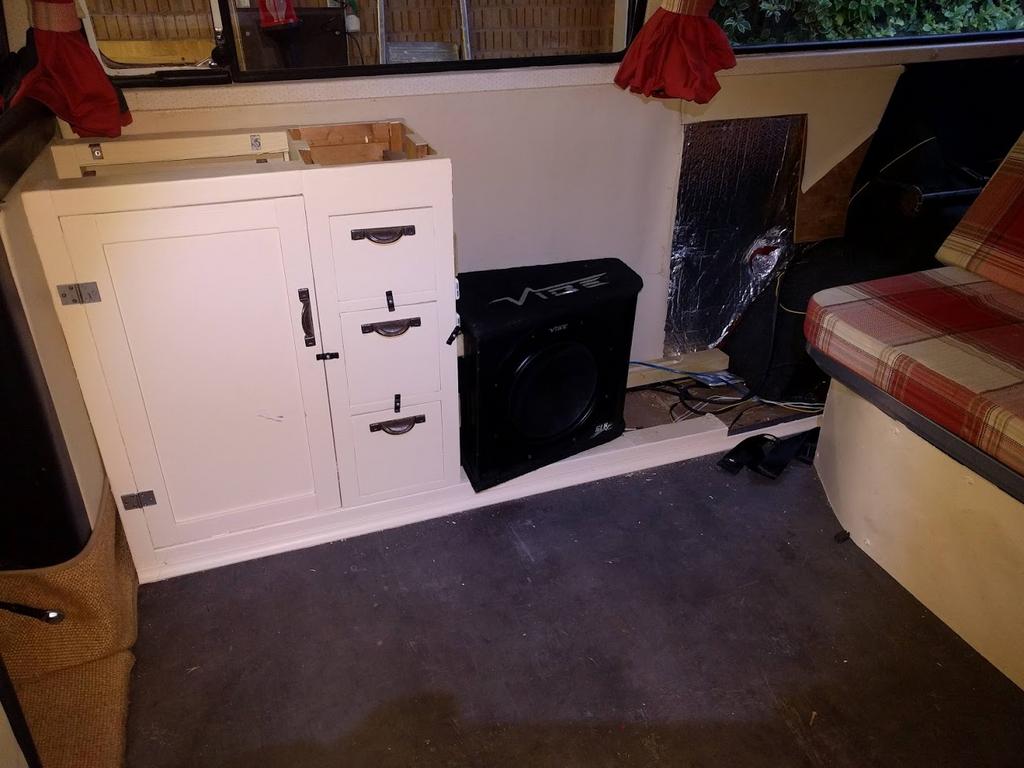
How it used to look - quite nice, but the R&R bed is't that comfortable to sit on has it appears to be made of fairly low density 3" foam, which isn't fixed to the frame, also I only have 2 seat-belts
IMG-20190618-200820.jpg


Another shot - all that's in the cupboard is a 6KG gas bottle for the heater, I am using the drawers to keep bits and bobs in.

IMG-20190618-200832.jpg


The subwoofer was enclosed in the space next to the R&R.
IMG-20190701-204944.jpg


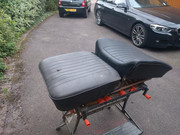
I am going to get some seats behind the drivers seats, one needs to house the gas bottle (I may have to get a smaller one), so that we can seat 5 or maybe 6 if I get a foldout extension. And some sort of fold away table. I quite like the minimal spacious look.

(There doesn't appear to anything wrong with the uploaded images - if I paste the url in a browser the large image is shown, it's the url tags that don't work. e.g. https://postimg.cc/Z9ZwLrtd doesn't give a clickable link, any ideas admin? I applied a workaround)
 
mike202 said:
Looking good [emoji41]
You’re getting loads done [emoji108]

Cheers. I am doing about 4 evenings a week, plus some of the weekends (unfortunately I do have a day job). All other chores/hobbies/social encounters have taken a back seat! I'll get it to more or less how I want then complete the respray in slow time, problem is that summer evenings are perfect for spraying, so I do kinda want to get it done before it gets cold and damp in my garage.
 
Re-working the filler....

After priming I ran my 42" sanding board over the primer and it quickly revealed the lows and highs.

Slapped some more filler on - glad I bought a massive tub of it.

IMG-20190708-193226.jpg


Finished sanding, I'm fairly sure this is more or less flat...


IMG-20190708-202042.jpg


I'll take the bumper off (again) then respray with primer. I've ordered some paint - Chianti Red and Cloud white. Unfortunately the original Chianti has faded quite a bit over the last 50 years, and Jawel were going to do a match from a large flake, but I decided that I'd be better off spraying the whole thing with new Chianti Red as each panel will almost certainly be slightly different.

(Managed to find a workaround for the link image issue, paste the url part into a browser then right-click "copy image address", then pate this between
 
Second coat of primer...

IMG-20190709-210646.jpg


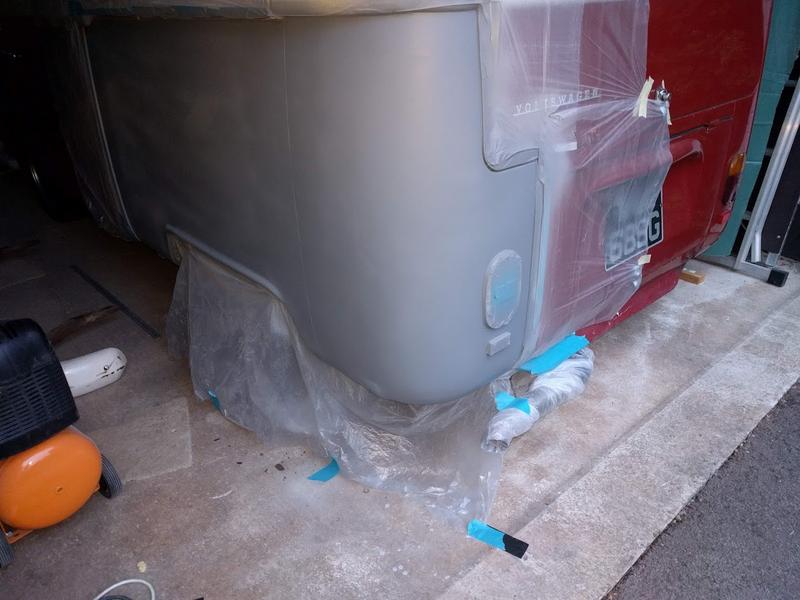
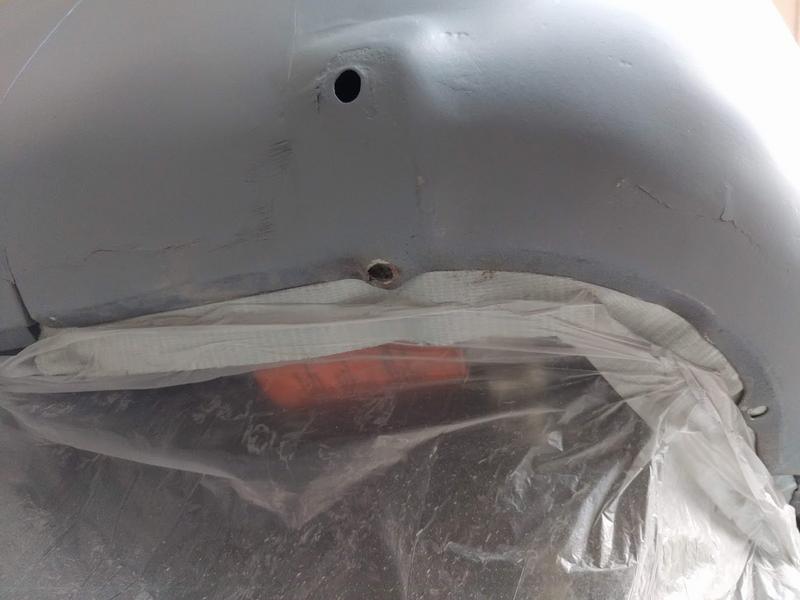
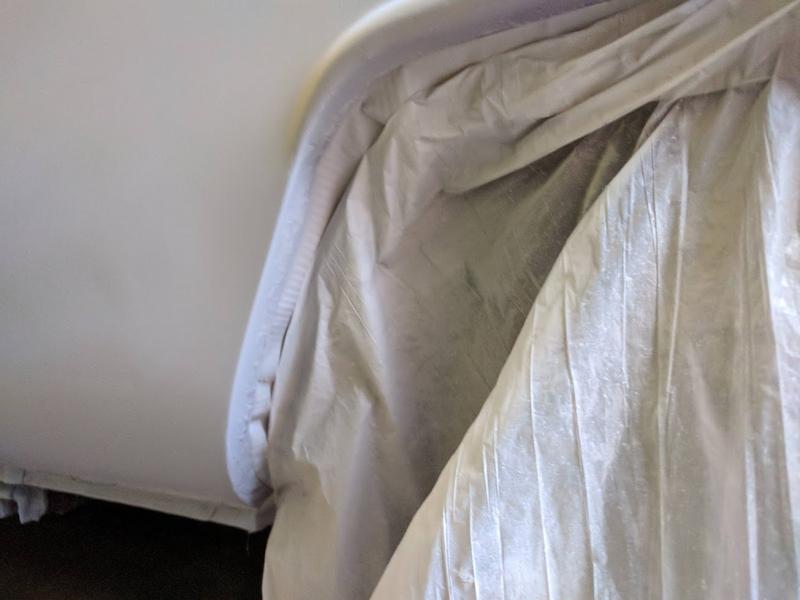
A top tip (I hope, as I'm kinda making some of this up as I go) To mask off the underside I put duck-tape on the inside of the wheel arches and under bodywork with the sticky side facing out. I then attached the thin polythene sheeting to this. The reason I used duck tape is that masking tape will not stick to the inside of the wheel arches or the underside of the bodywork due to dirt and waxoyl. I then stuck the sheeting to the garage floor to keep it from blowing in when I spray.

Under rear back (damn, just noticed a bit of lose paint!)
IMG-20190709-202518.jpg


Front of wheel arch
IMG-20190709-202535.jpg
 
:eek: This is really helpful to me as the tip of a spring made its way through the driver's seat last weekend right between my legs!
 
Rubus said:
:eek: This is really helpful to me as the tip of a spring made its way through the driver's seat last weekend right between my legs!

When I did the driver's seat I forgot to mention that there were a few broken springs, I should have replaced them, but needed the seats repaired for the next day. Don't really notice TBH, it's a bit noisy when I move about though. I managed to repair one of the long flat springs by clipping it to the next one with a hog ring.
 
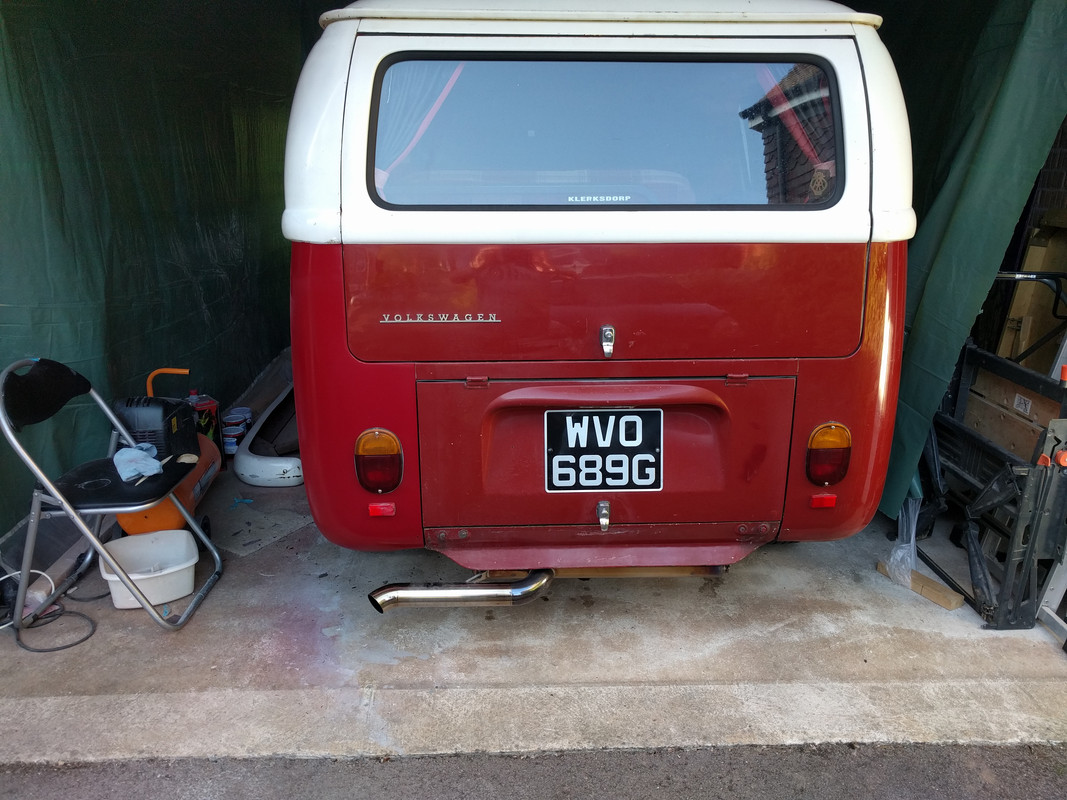
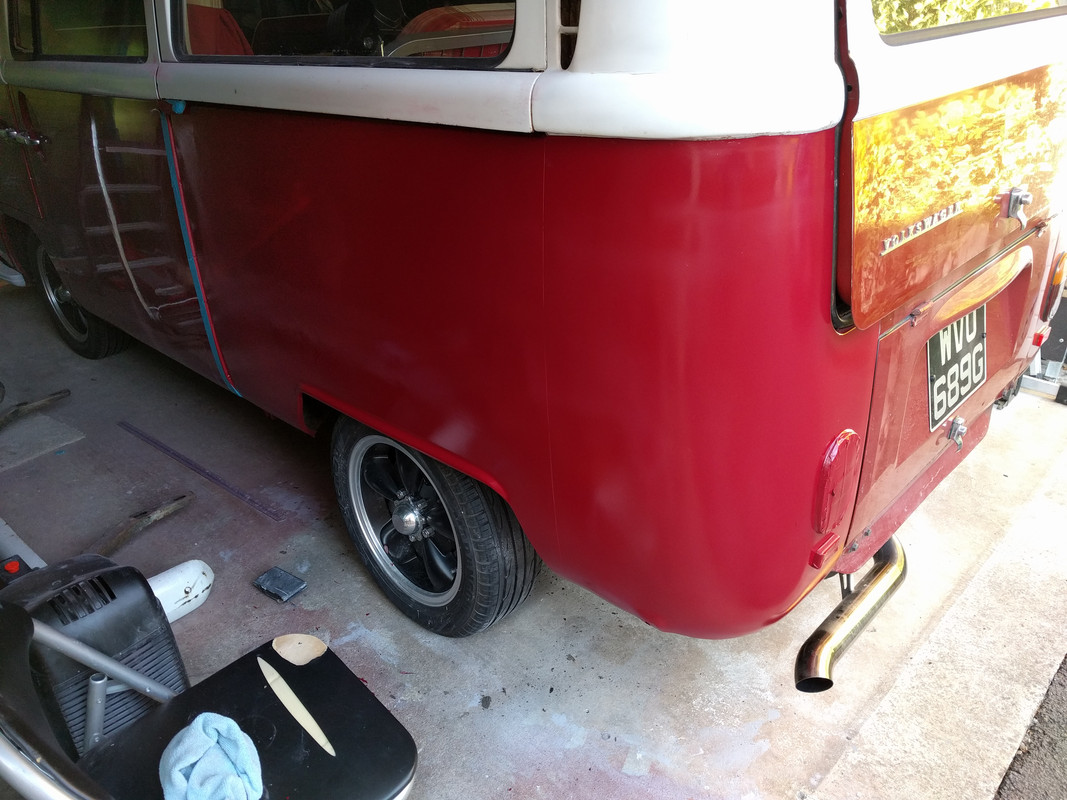
Apparently this is Chianti Red, it's not too bad, but I'd hoped it's be a better match than this. 50 years of sun in South Africa?

IMG-20190712-193016.jpg


IMG-20190712-192731.jpg


This is Jawel paint, the paints4u aerosol I bought in Chianti Red a few weeks ago is a much nicer colour, still not a perfect match, but less pink.

I'll cut this and make it shine, but I think I'll respray with the p4u colour.
 

Latest posts

Top