

Herman ver2
Member
- Joined
- Jan 9, 2015
- Messages
- 10
- Reaction score
- 0
So I obtained this 1969 Riviera Microbus in September 2014. He has been in the wife's family most of his life... and quietly resting in her dad's backyard for the last 22 years. It has a few war wounds that need fixing but the plan is to create new memories with him and the wife. I hope to chronicle this restoration process here and hope for maybe a few comments and inspiration along the way.
Here's Herman, after we pulled him out of the backyard... to be delivered to my house.
[photobucket]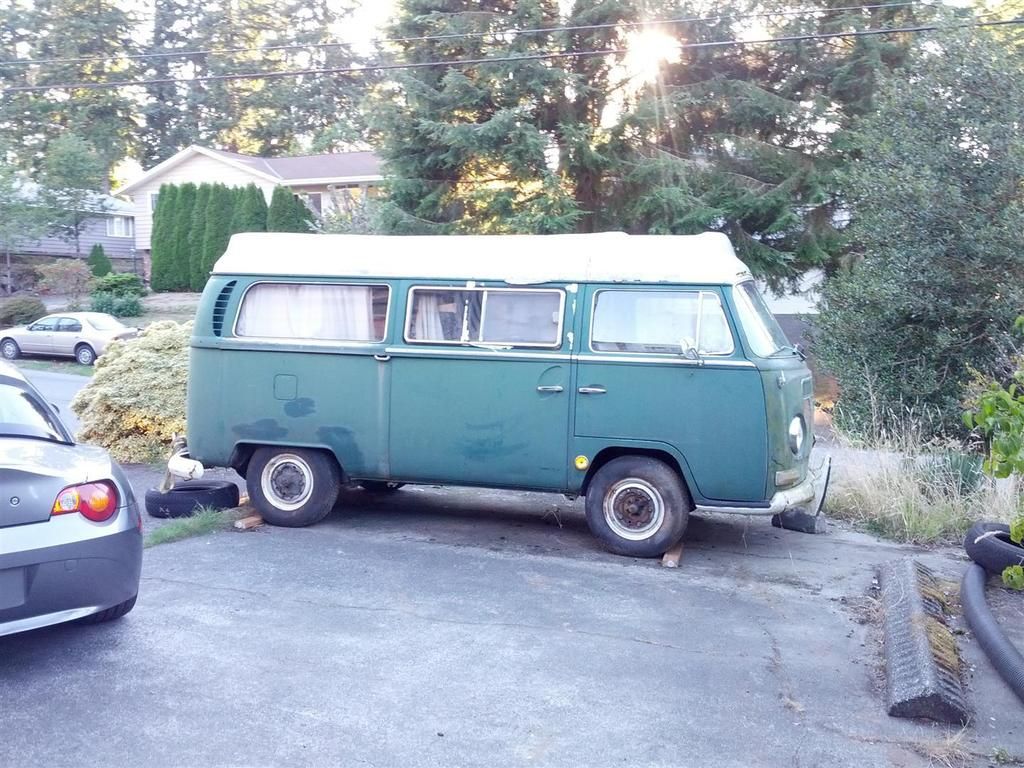 [/photobucket]
This is my first posting... so I hope this works correctly.
Here's Herman, after we pulled him out of the backyard... to be delivered to my house.
[photobucket]
 [/photobucket]
This is my first posting... so I hope this works correctly.


