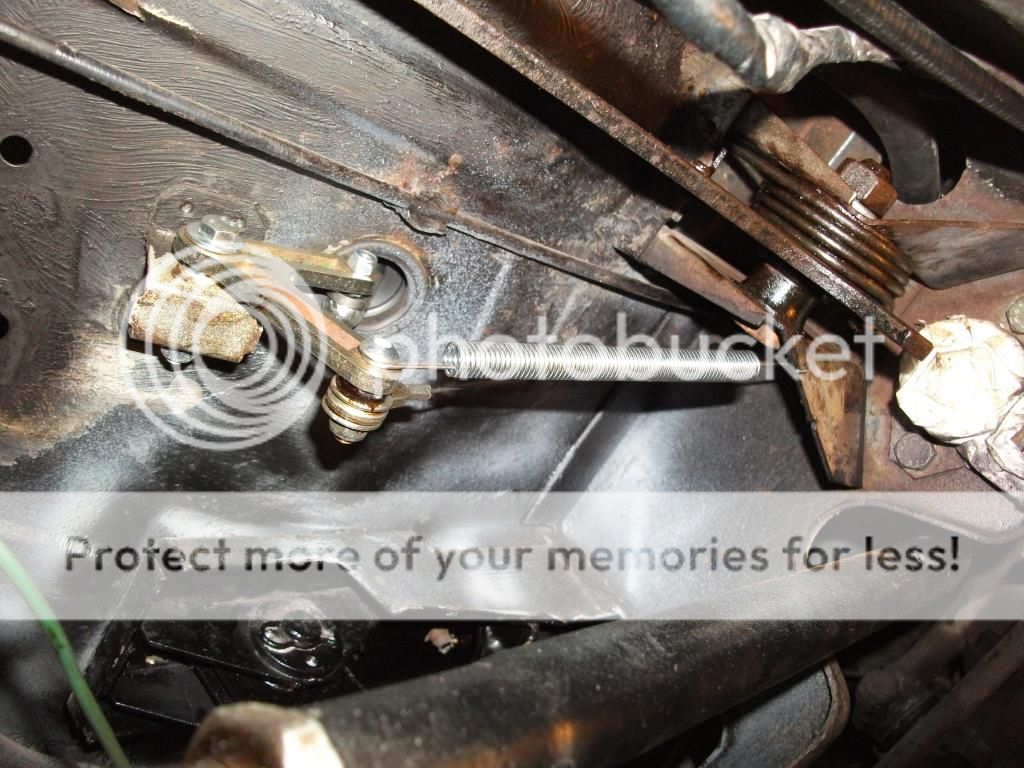
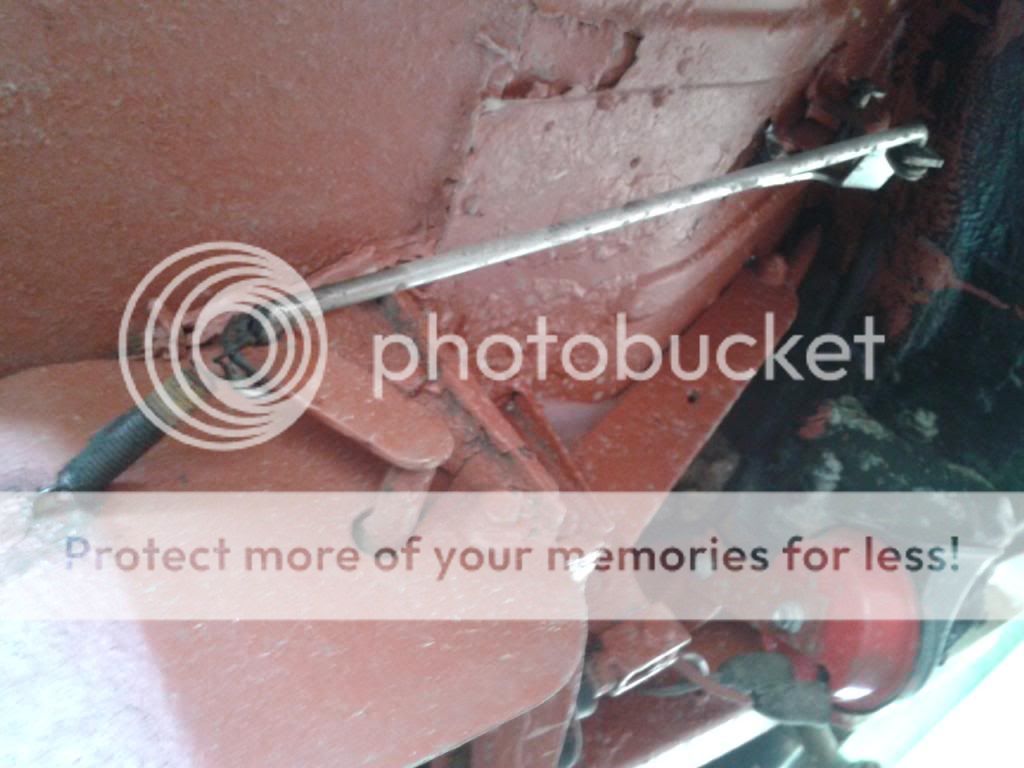
throttle cable and linkage

Early Bay Forum

Help Support Early Bay Forum:

This site may earn a commission from merchant affiliate links, including eBay, Amazon, and others.

Alice71

Well-known member
Joined
Apr 16, 2013
Messages
45
Reaction score
0
Just ran my throttle cable last night and i also purchased the throttle linkage kit from just kampers.
Anyone have any pictures or usefully info on fitting these parts. I have replaced parts of the chassis and think looking at what i have a need to drill holes inorder for the linkage to attach the cable.
 
Hello,

I just replaced mine with a Buttys Bits linkage, but it attaches to the same hole through the little box section as the original.
Disregard the spring (Buttys Bits only) this is not part of the original.
Hope the photo helps a bit, can't find the others, but can take more tomorrow if needed.


Cheers.

Andy
 
Got to get me one of Butty's after all the rave reviews they get are they cheaper direct or from eBay?

sorry for the question, just checked myself and cheaper direct

http://www.buttysbits.com/throttle-kits1.html" onclick="window.open(this.href);return false;
 
Hi Andy
Thanks for the reply is your van a LHD mine is a RHD. My throttle cable comes out the pipe nearer the centre of the van and there is 2 linkage parts in the just kampers kit both different lengths which somehow attach. A just cant seem to work it out the problem being taking these parts off and grinders and welders working for 2 years. Short memory if you could take some more pictures it would be a great help thanks

Cheers
 
Sorry, yes mine a LHD I just presumed yours was too.

I don't know what the RHD ones look like, but this might be a bump for someone else to take pics.
Alternatively have a look at Buttys Bits website (link posted in one of the above) and check out the gallery for RHD, think there is one...

All the Best.

Andy
 
Thanks andy il have a look and see how a get on.
Much appreciated
 
there was an extra length of connector in the kit that in my RHD bus was totally redundant and no where to use. The bits of the kit I used were pretty much direct replacements for the OG bits.
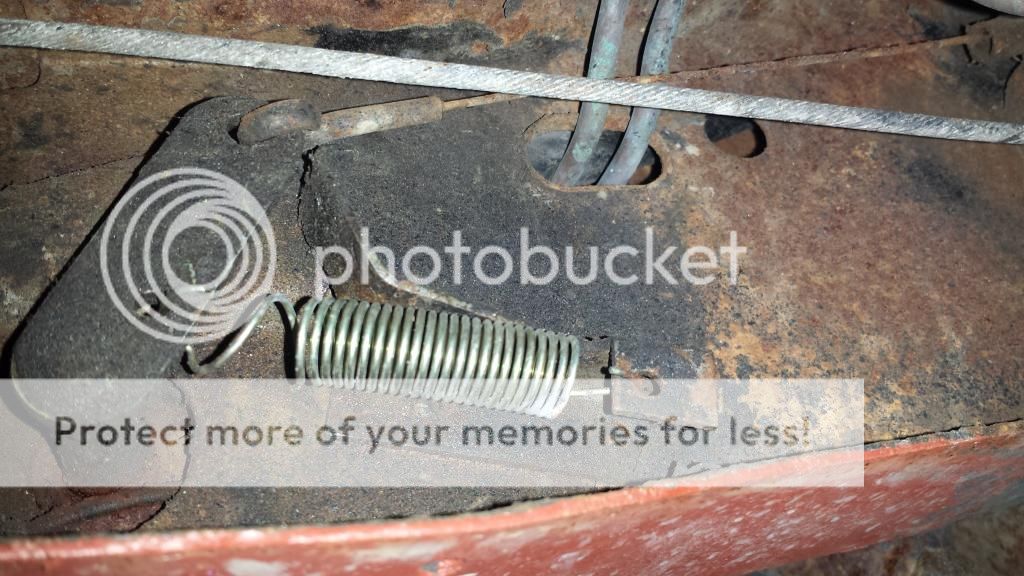
The dirty spring is extra to give the pedal a bit more persuasion to pop back up quickly, the clean spring is standard but was not strong enough.


here's the other side showing the actual cable

 
Had another look tonight and come across the part which goes through the chassis. It looks like I have cut it off with the grinder 2 years ago Think I will need to look for a replacement arm for through the chassis and then should be straight forward fitting the linkage. Thanks for the help lads
Cheers
 

Latest posts

Top