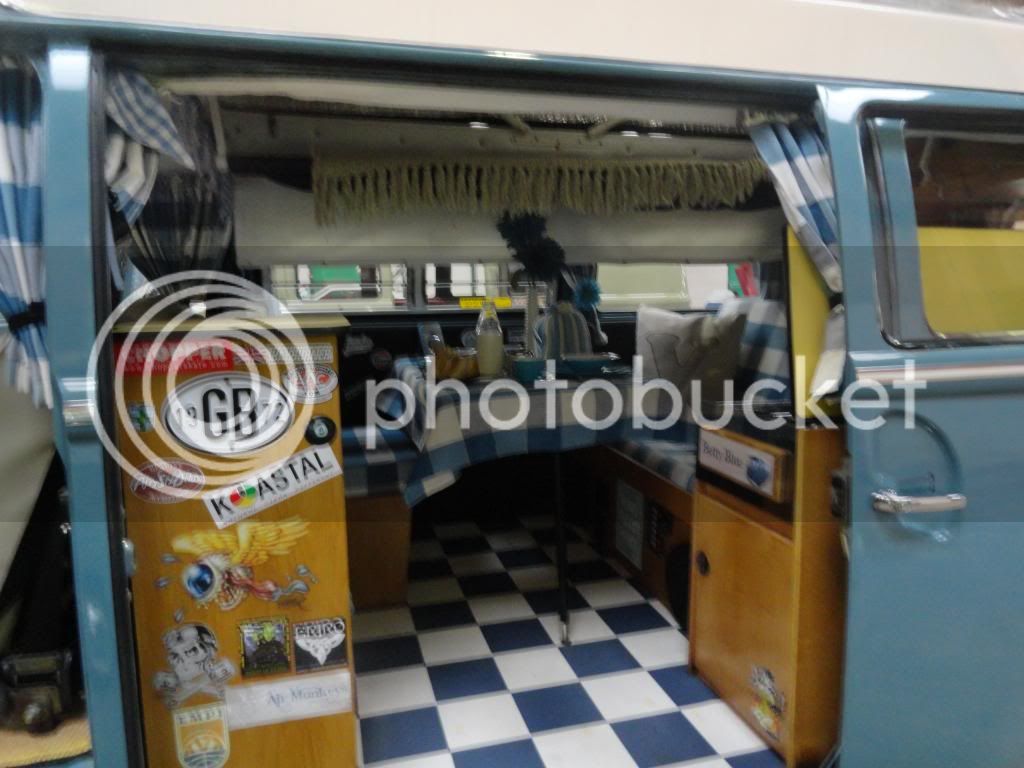
I've got the same set-up as you with a Devon concertina roof. I striped the original interior out when I started the project over 6 years ago as it was all covered in carpet and some of it was rotten, so I ended up with a blank canvas. However, the more i thought about what to do, the more I couldn't see past how the set-up of the original Devon interior was and how we used to camp in it as kids etc... So I went about building the units myself out of 12mm oak veneered plywood to try and keep the weight down a bit.
View from the front of the van (I really need to get some front seats sorted!). The top locker has a row of LED strip light on top of the fascia either side of the opening door. In the centre by the rear hatch is a third strip of LEDs illuminating the rear area. The lights are controlled via remote control, with the sensor hidden in the air vent at the rear.
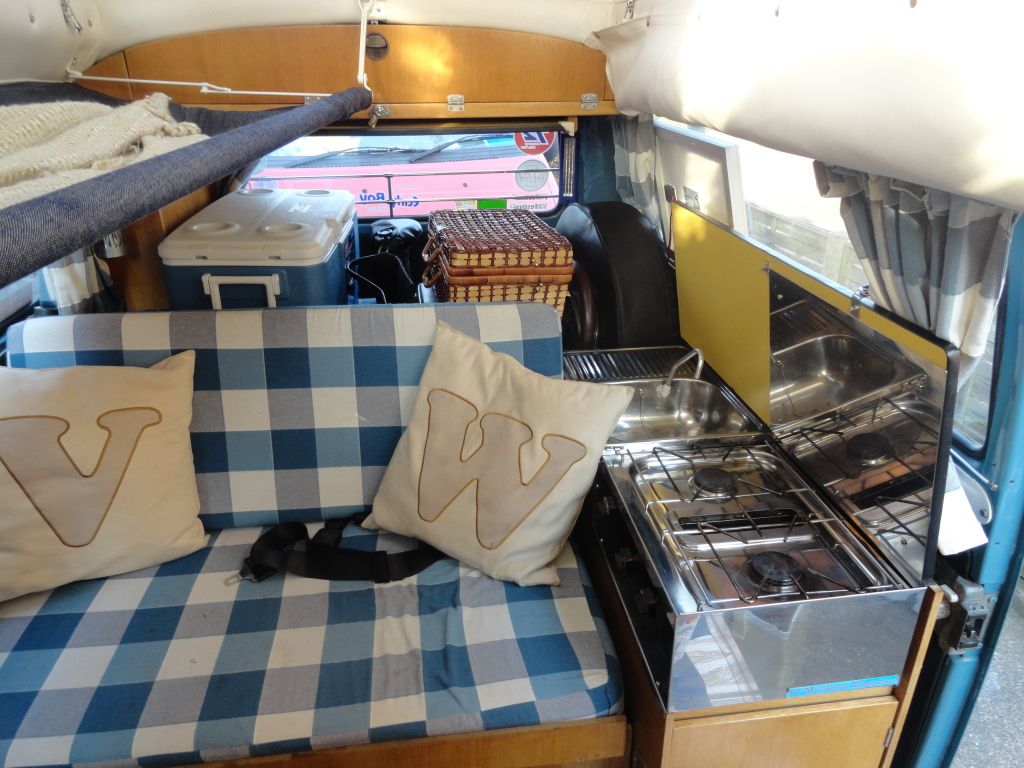
Side locker with a sink mounted on the top and the water containers and electrics in the area below the sink. Originally had a coolbox in the devon interior, but decided a normal coolbox or portable 3 way fridge chucked in the van was a better use of space. The area to the left of the sink lifts up for storage. I mounted a couple of speakers in the kick panel under the rock and roll bed.
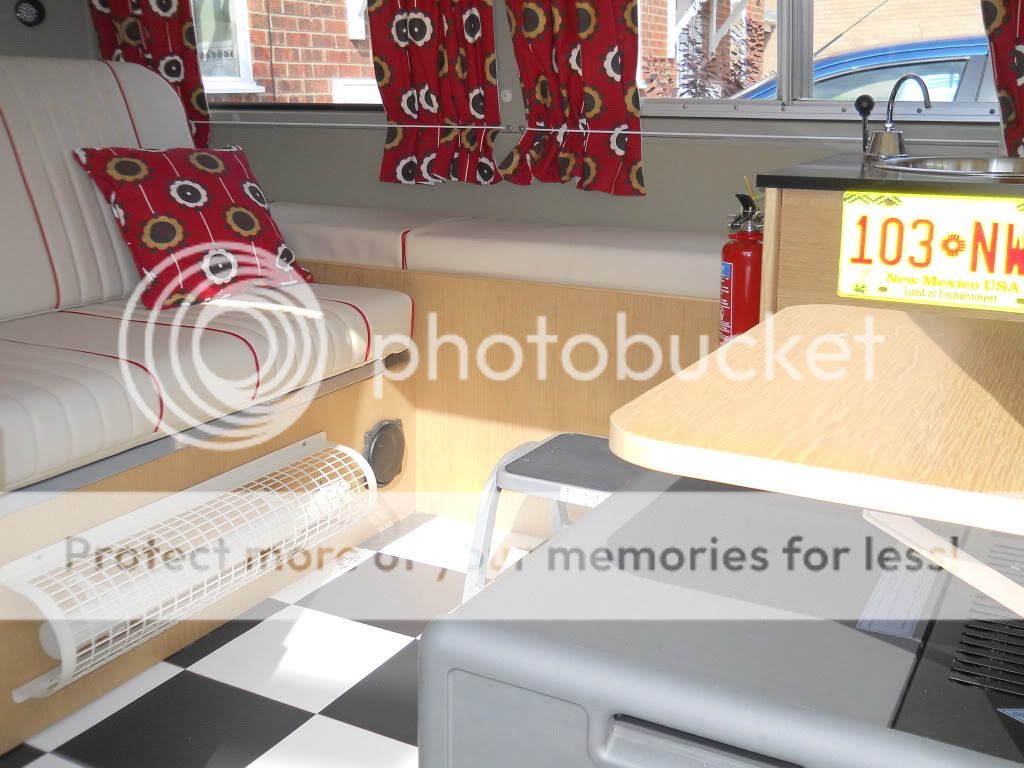
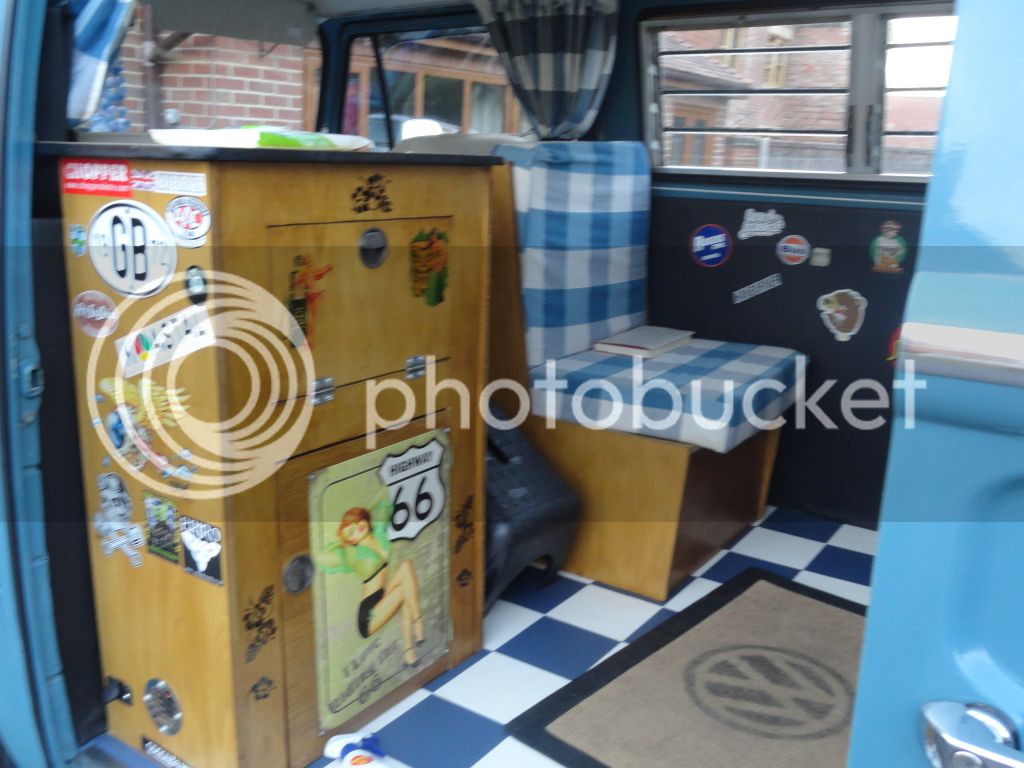
Originally we had a custom made 3/4 width buddy seat that blocked the walk-thru so more people could be seated in the van, but I actually got used to the walk-thru from driving it around without an interior during the resto! So the buddy seat is just a normal width one now. It has a sprung loaded flap on top of it to one day at a tv or something inside it (currently used for storage). For the upholstery on this, I just use a couple of Ikea seat pads vecro'd to the seat as it's not used during transit.
I reused the original cooker hob/grill and cleaned up the stainless surround. Gas bottle and cooking equipment is stored underneath.
The rear locker actually sticks out further the the top locker above it. This is deliberate as I wanted to retain the spare wheel in the rear and also use that cupboard for storage of tools/spare parts/haynes manual etc.. You will notice that there doesn't appear to be a way to get into it (no visible door), but the rear panel nearest the hatch is held on with strong magnets. This means you can remove this and get full access to the area behind. Viewed from inside the van, on top of the rear locker that sticks out past the top locker is a flushmounted cigarette lighter socket to enable me to charge my phone etc.. It also acts like a little shelf and means the phone is well out of the way so I don't accidentally tread or crush it when it's dark.
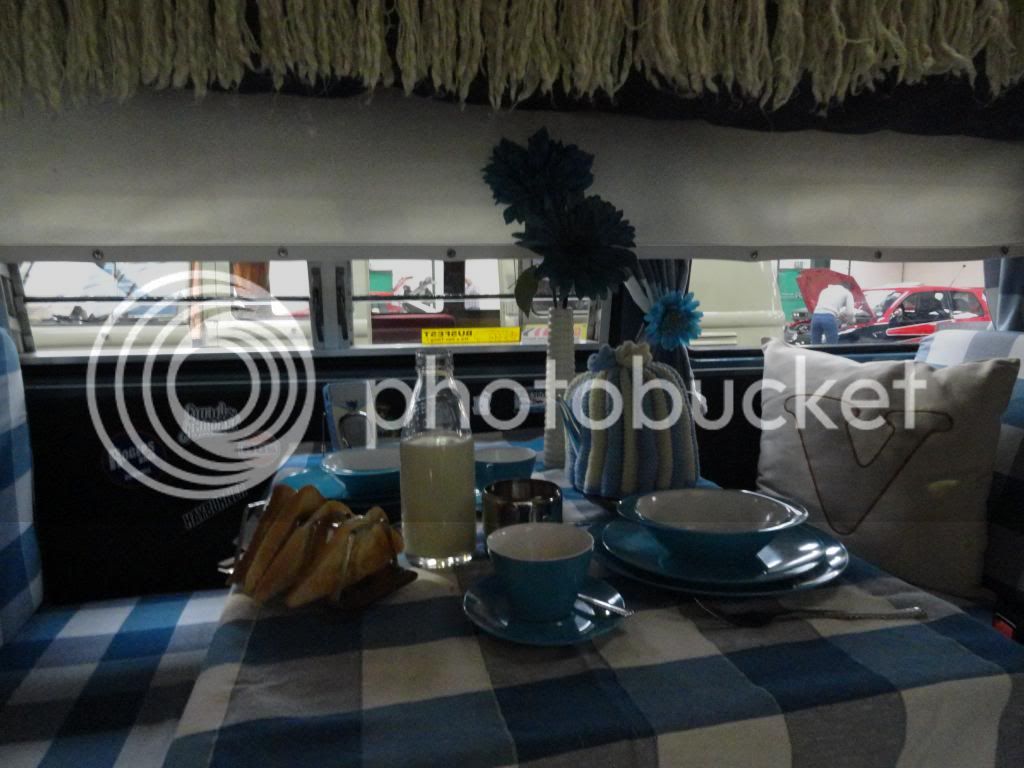
The obligatory "skimboard" table I made. The rail is off centered so that you can slide the table fully back over the buddy seat (instead of removing it) when you want to pull the 3/4 width bed out.


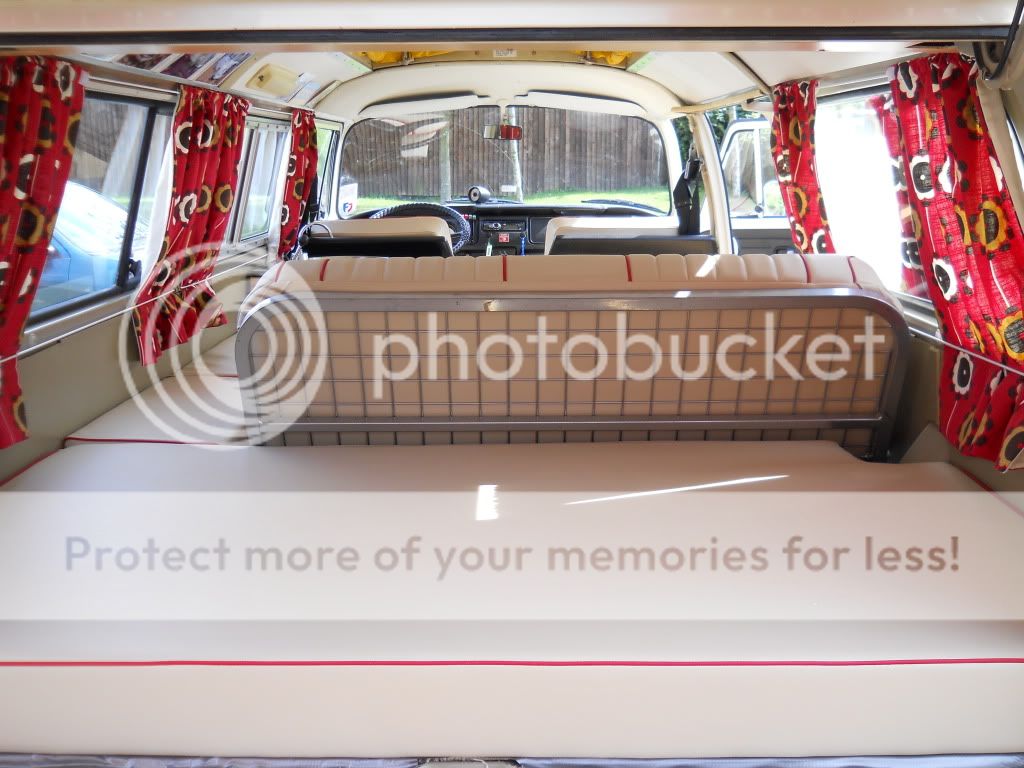
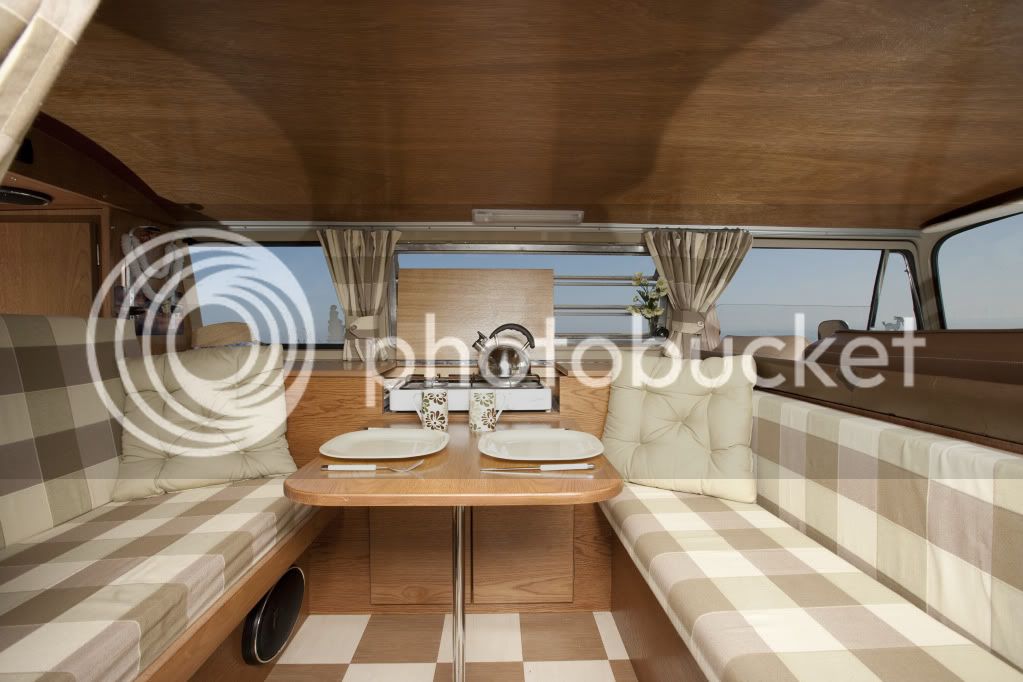
") . But i also like the comfortable look of the full width bed and cream interior.
. But i also like the comfortable look of the full width bed and cream interior.