1975 Panel Restoration/Build Camper

Early Bay Forum

Help Support Early Bay Forum:

This site may earn a commission from merchant affiliate links, including eBay, Amazon, and others.

Michael Björk

Active member
Joined
Sep 29, 2024
Messages
25
Reaction score
31
In my introduction I was advised to start a thread to document the progress of this project.

I am very new to this and kinda following a mid-life crisis here. Luckily I have a couple of talented friends and a good object to start with!

The bus itself is nearly rust free, and that’s makes me very hopeful about this thing.

The plan is to bring it over to my cabinet building friend in December and work from there to have a functional camper next summer.

I should try and make as much as possible ready before that. Engine is renovated before I bought it, I have sorted out a floppy gas pedal and some smaller issues.

Thought I’d start with taking the front window out and fixing the only bad rust I have found.
image.jpg

Wish me luck , as many things, this will be my first time.
A relative will help out taking it out. The putting it back might be a job for a pro, we will see.

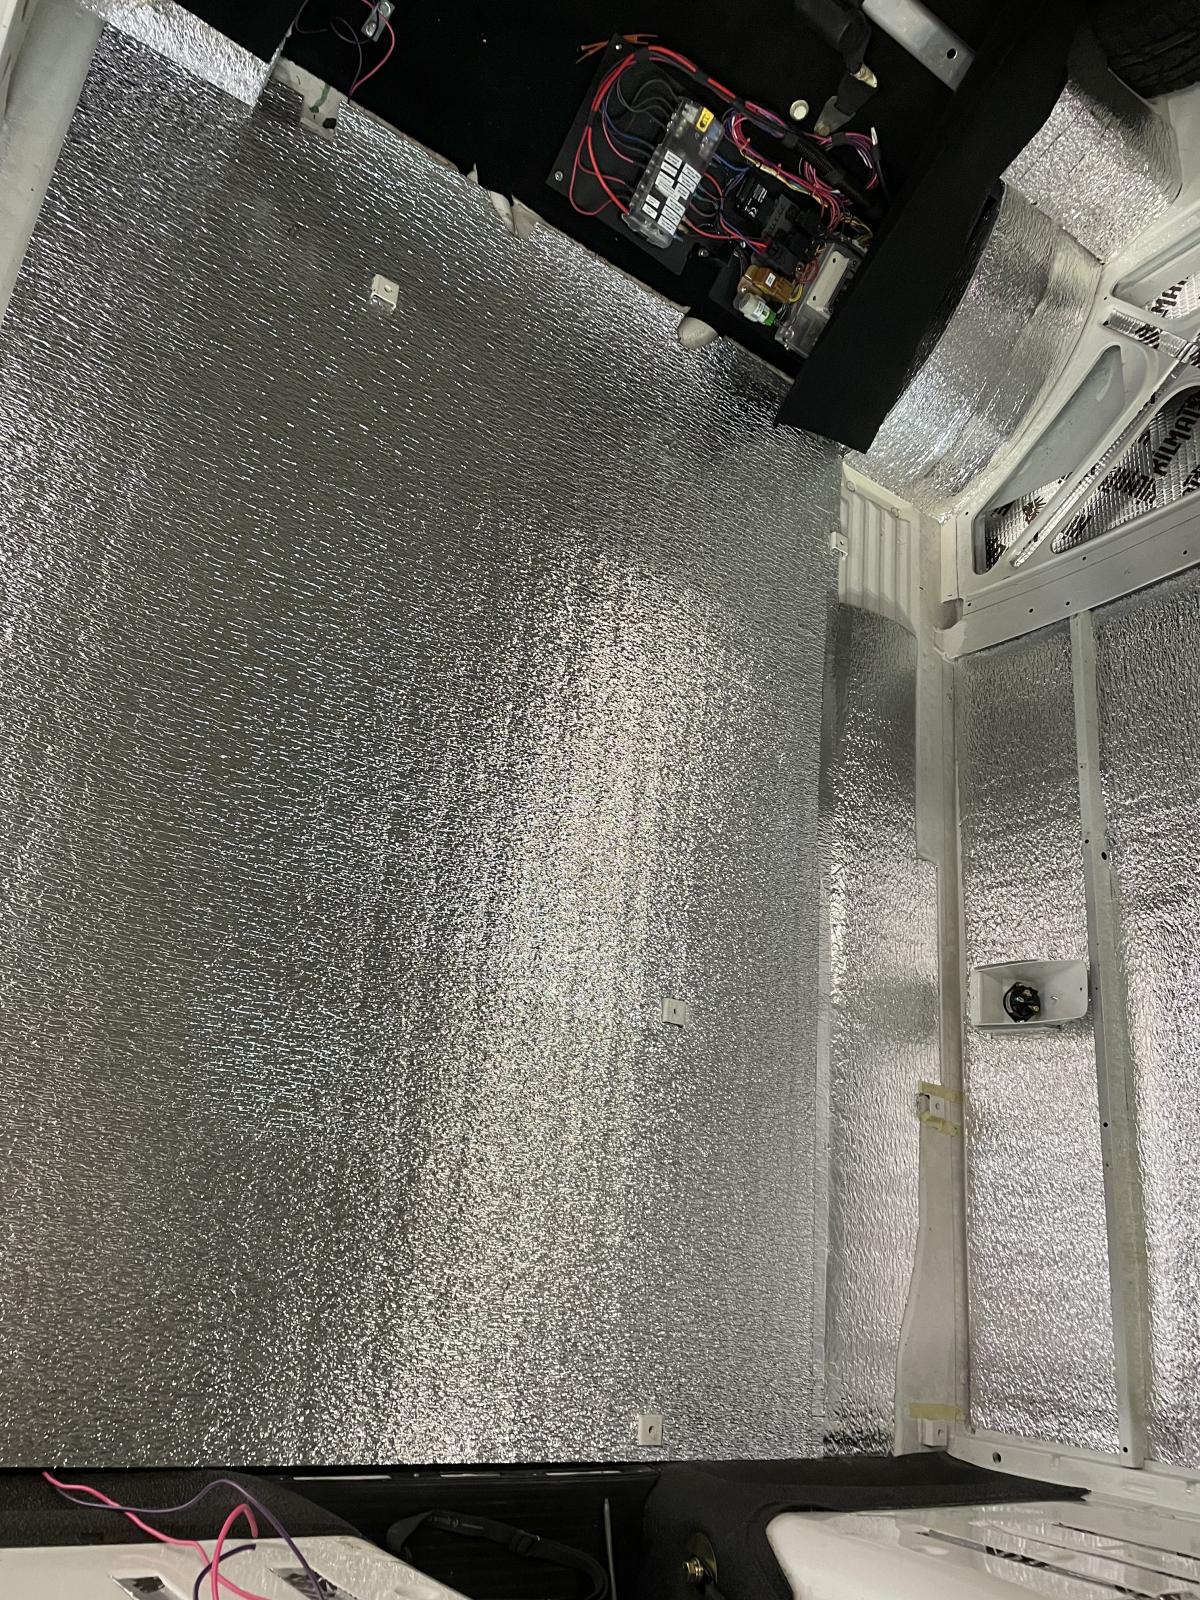
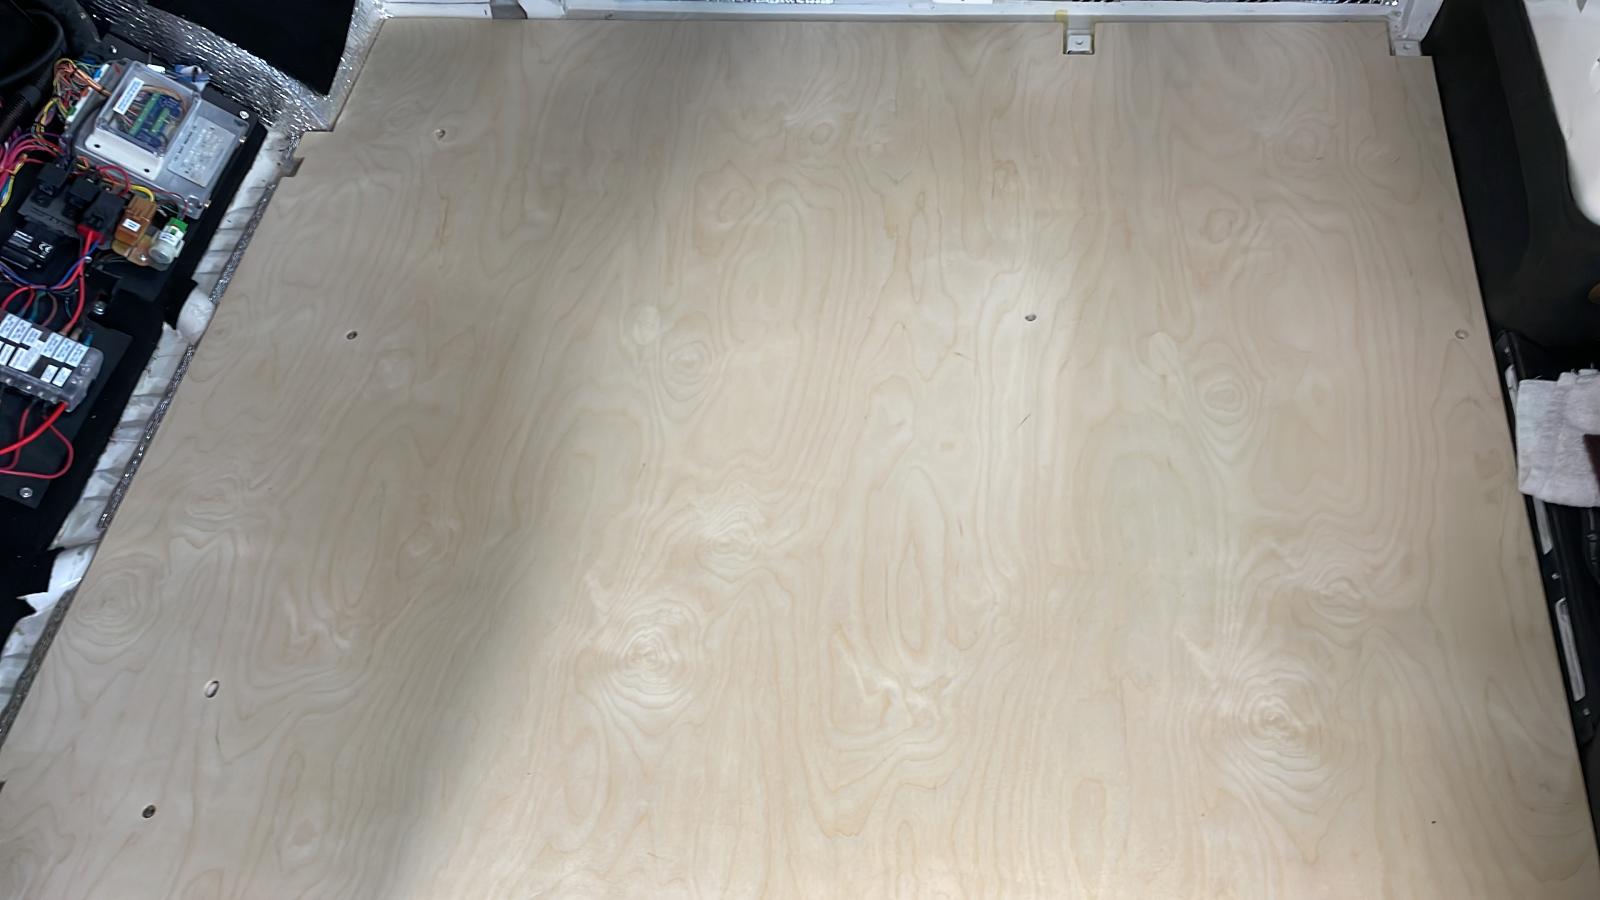
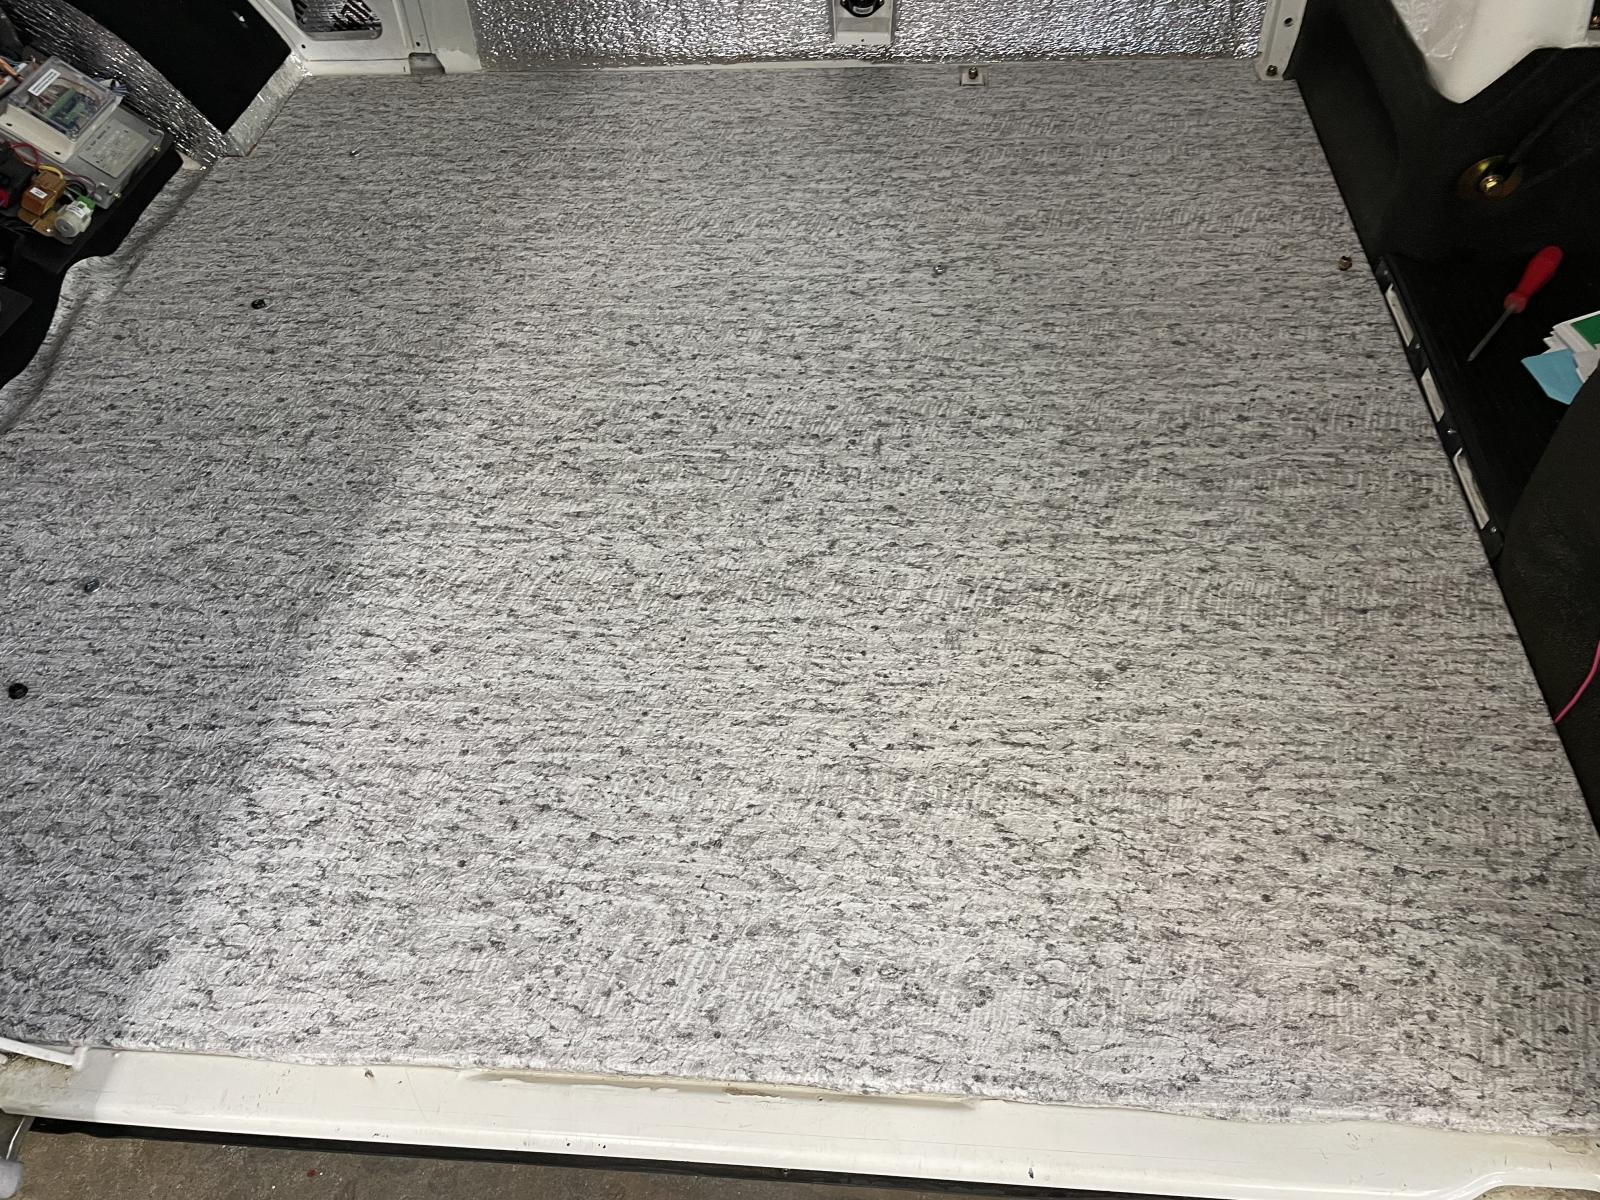
Next is to insulate and put in the ordered interior panels. And prepare electrics.
image.jpg
image.jpg
Also, ceiling needs to be adressed, and here I throw the question to the board..
What to use for insulation?
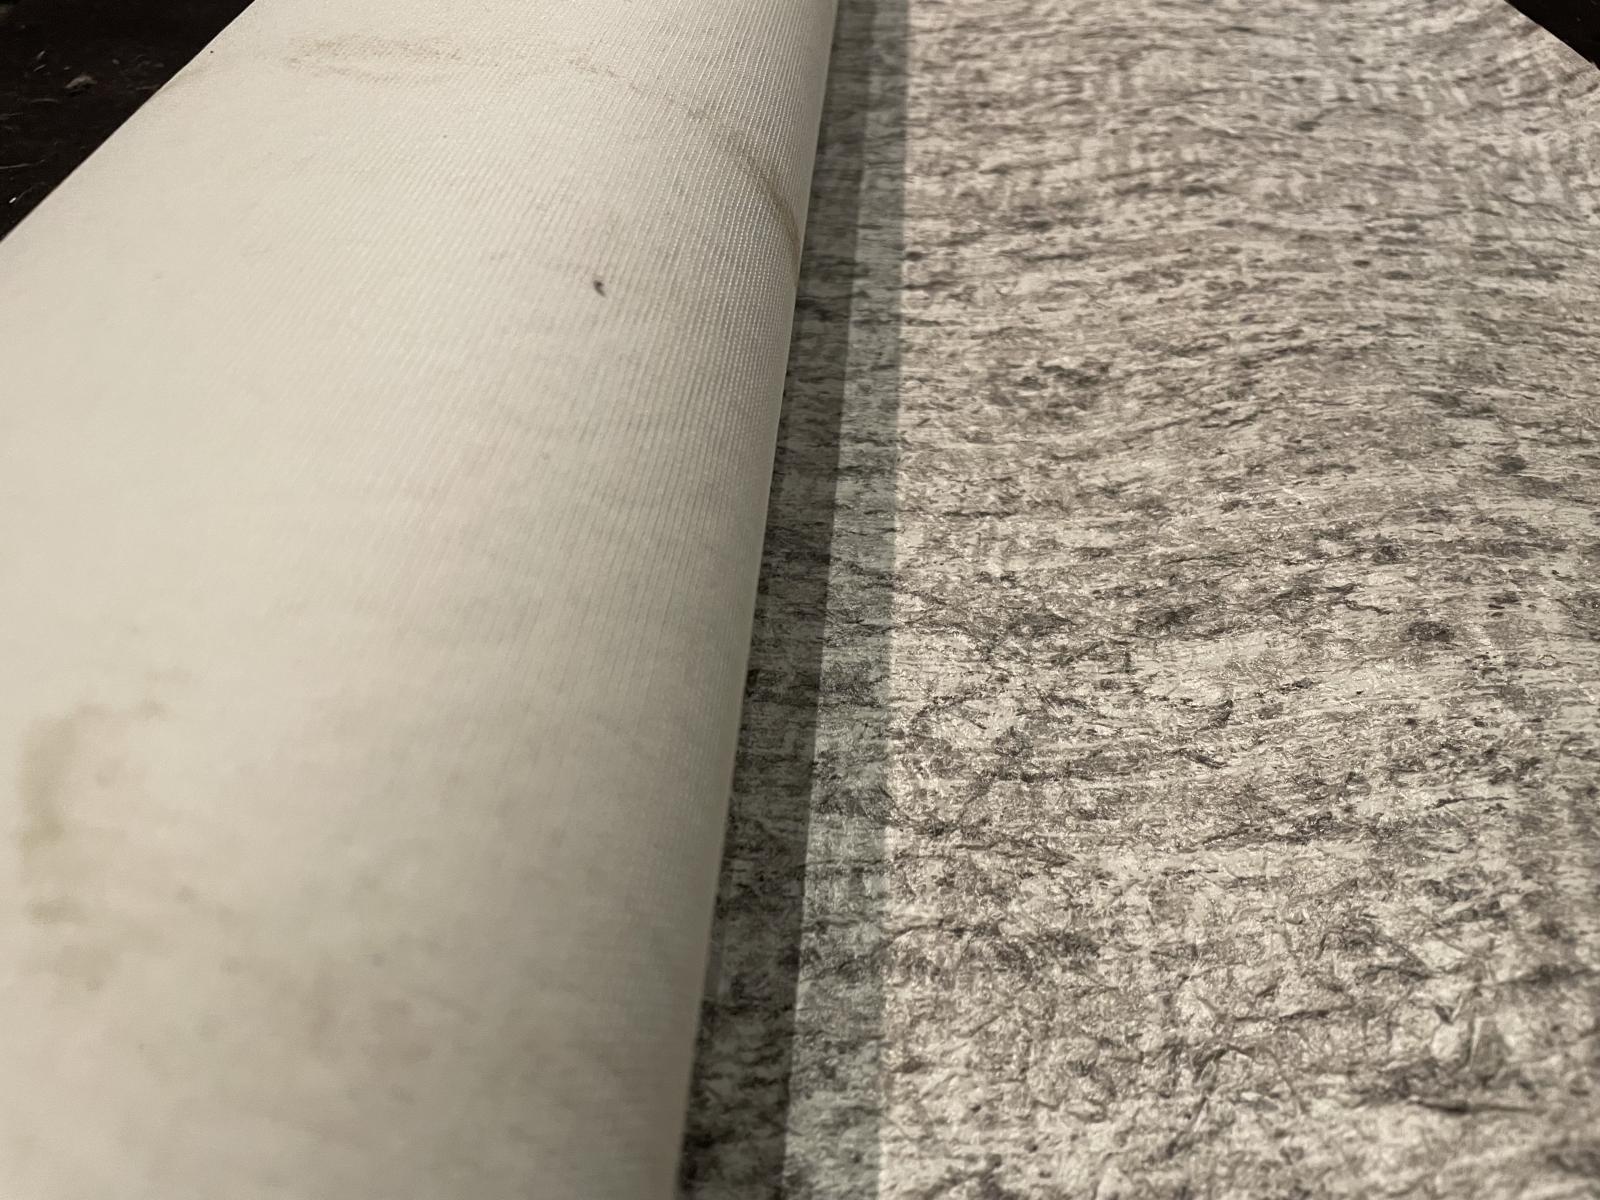
I have this self adhesive material that seems very good, but do I want to put that right in the bus, or maybe stick it to the panels instead?
image.jpg

So that’s my first post, followed by some more pictures just for fun.

I am very thankful for all inputs, and please be kind! I know I haven’t messed with old cars for about 30 years, so I might be a bit naive/slow/stupid or whatever, but I’d like to think that the fun starts now!

/ Micke

image.jpgimage.jpgimage.jpg
 
Glad you have taken up my suggestion. With the windscreen, as you say , “Two pairs of hands Is much better” I would put a nice new blade in a Stanley knife and cut the rubber through. That rubber is toast do order a new one. While you are there, I’d have a good look at the screen to see if it’s ever been replaced. The original screens were toughened and will shatter to a million pieces if ever broken by a stone or whatever. Now might be the time to get a laminated screen in or even a laminated and heated screen along with a new rubber seal. Some people have managed to reinstall the screen with lots of helping hands , I’ve done one but only managed it as one of my friends worked as a screen fitter years ago. My new laminated screen was fitted in my garage by a different screen fitter by himself while I walked to my kitchen and made coffee and it was done when I came back ??? So the choice is yours but now I would order a new screen and a fitter and pay the money. Your old screen could be sold to someone obsessed with originality. Remember most insulations are not fireproof but if you are in danger of burning your insulation then I think your van is already toasted. I’ve used 25mm Celotex closed cell foam on my ceilings and most parts of the van. The insulation needs to be in total contact with the metal or moist air can form and start rust.. I’ve found that cutting celotex with a circular saw halfway through every 100mm will form a curve like your roof. I’ve used sticky back stuff like you have under the floor coverings.
IMG_2953.jpegIMG_2951.jpegIMG_2978.jpeg4674337a-8a39-47fa-96d2-c28910895ebd.jpeg
 
The roof lining / ceilings have 25mm of celotex glued directly to the roof. The ceiling itself is a sheet of 3mm foamex and any vinyl image can be attached. The ceiling can be slid in and out again as it’s supported by chromed plastic tiling beads and the led light is all that stops it from moving. I can still get in and re install things as I did two weeks ago as I put a CB ariel through .
IMG_2567.jpegIMG_2977.jpegThe second picture is the inside of my pop top which is a very similar construction. You could even have a full length mirror :eek:

Ozziedog,,,,….,.have fun :)
 
Thanks! Took 5 minutes to get it out!
The old window is slightly tainted, so I guess it might be a new one?
image.jpg

Some rust to take care of but not to bad!
image.jpg
Off to the vw parts store today and get the new rubber right away
(Luxury to have Custom & Speed Parts VW 15 minutes away!! Also very expensive haha!

Thanks for the input on the ceiling, will start with that later this week. The material that I have is self adhesive so I think it will minimize any air / moist getting in there, but I see the problem.

/ Micke
 
The roof lining / ceilings have 25mm of celotex glued directly to the roof. The ceiling itself is a sheet of 3mm foamex and any vinyl image can be attached. The ceiling can be slid in and out again as it’s supported by chromed plastic tiling beads and the led light is all that stops it from moving. I can still get in and re install things as I did two weeks ago as I put a CB ariel through .
View attachment 9801View attachment 9802The second picture is the inside of my pop top which is a very similar construction. You could even have a full length mirror :eek:

Ozziedog,,,,….,.have fun :)
Awesome with the printed window!! I think I will avoid the mirror, don’t want to scare the little one!😅
 
The roof lining / ceilings have 25mm of celotex glued directly to the roof. The ceiling itself is a sheet of 3mm foamex and any vinyl image can be attached. The ceiling can be slid in and out again as it’s supported by chromed plastic tiling beads and the led light is all that stops it from moving. I can still get in and re install things as I did two weeks ago as I put a CB ariel through .
View attachment 9801View attachment 9802The second picture is the inside of my pop top which is a very similar construction. You could even have a full length mirror :eek:

Ozziedog,,,,….,.have fun :)
I’m thinking about painting the floor after I have sanded some small dots away. Any tips on what to paint it with?
I believe it has been painted with zinc before I bought it. Just want to make the best possible now that it is stripped.
 
Last edited:
If you are talking about the floor inside then I’d make sure it was zinc agreeable with Google for the paint. Or use a coat of multi purpose primer to ensure your new paint will adhere nicely.

Ozziedog,,,,,,,,,you are gonna be busy :)
 
If you are talking about the floor inside then I’d make sure it was zinc agreeable with Google for the paint. Or use a coat of multi purpose primer to ensure your new paint will adhere nicely.

Ozziedog,,,,,,,,,you are gonna be busy :)
Busy I am!
I think the previous owner has zinked the floor, but there are some places where that peels off very easily. I just want to treat it well for the future with minimum risk of rusting out of sight.
A friend of mine gave me the tip to cut out a rubber carpet when all the furniture etc is installed. So I can easily take that it out every now and then, and not build in any moist in places I don’t see.
I saw someone using a thing called Raptor on the floor, might be a good idea?

Today I also tore out the right (and only ) kick panel with the wiper fluid container built in, when I was trying to get the wiper fluid pump working. Realized the pump was trash, so I got a new kit with pump+container and will try and install that tomorrow. Pictures will follow tomorrow.
 
Raptor? I think one of our good members was having issues with Raptor very recently. Have a look at K@rlos resto thread which in itself is a real good read. But on the very last page he mentions a bit about Raptor and how he’s not that pleased with it. As for the carpet trick, that may have the adverse effect. You really need a continuous floor covering that’s waterproof more for getting in and out of the van with damp feet etc. Your friend might have a point however I’d go with continuous underneath as my go to, then perhaps a removable and cleanable carpet / rug / mat / whatever on top. Sounds like it’s gonna get messy in your van, I drink my Stellas mostly outside as it’s way safer on the grass ;)

Ozziedog,,,,,,,,,,,just don’t fall in the fire ,,, that’s all :)
 
my floors were painted, then strips of vibration dampener, in the low spots, a layer of low E insulation, then 1/4"Baltic birch on the bottom cut for all the raised bumps, and 3/8" baltic birch ply on top, both layers sealed with a urethane varnish. topped off with a vinyl decking membrane, AKA duradek. We had a cheaper version of this on our house deck for 15 years and it was subject to all sorts of traffic, and the annual rain, snow and ice scraping, so I'm this new material will last a long time. it has a good grippy texture to it too, We went to the local deck and patio shop and asked for what they had for remnants, they had 3 or 4 pieces to pick from for $100
2436197.jpg
2436192.jpg
2436190.jpg
2425984.jpg
 
Raptor? I think one of our good members was having issues with Raptor very recently. Have a look at K@rlos resto thread which in itself is a real good read. But on the very last page he mentions a bit about Raptor and how he’s not that pleased with it. As for the carpet trick, that may have the adverse effect. You really need a continuous floor covering that’s waterproof more for getting in and out of the van with damp feet etc. Your friend might have a point however I’d go with continuous underneath as my go to, then perhaps a removable and cleanable carpet / rug / mat / whatever on top. Sounds like it’s gonna get messy in your van, I drink my Stellas mostly outside as it’s way safer on the grass ;)

Ozziedog,,,,,,,,,,,just don’t fall in the fire ,,, that’s all :)
I’m torn between what to paint the floor with, have now removed all rust and some paint.
It wasn’t Raptor, it was called T-Rex but seems like the same product. What would you use?
Too many choices from all directions! 😅

we live in a wet country, so yes, it can get messy, will definitely have some kind of washable rug near entrance.
Well I’m thinking that you are trying to protect the metal ,,,, do I’d be thinking about the best primer that will stay stuck to the metal, then either undercoat or gloss depending on what paint you’re using and it’s maybe different over in your neck of the woods. But don’t just leave anything in primer for more than a very short while as it won’t protect your metal at all from moisture and if left too long it can start to rust under the primer. Once you’ve got the metal painted in whatever you’re using, then you might want to protect your paint with whatever flooring you want to use. I’ve used sticky backed dense foam squares under mine then a layer of foamex then some industrial linked flooring tiles from a well known supermarket floor that I’d come across on my travels. Gotta be tough stuff for a supermarket floor. So I keep a step outside my van which is my spare wheel with a plywood circle and a couple of ikea bags to cover it and make it clean when it’s in the van. If the weather is dreadful, I’ll take my shoes off as I get in. You can drive yourself crazy trying to double guess what’s gonna happen. If it starts peeing down, I just jump in and slam the door and sort it out later.

Ozziedog,,,,,,,,,they’ve lasted over fifty years with just paint! :)
 
Raptor? I think one of our good members was having issues with Raptor very recently. Have a look at K@rlos resto thread which in itself is a real good read. But on the very last page he mentions a bit about Raptor and how he’s not that pleased with it. As for the carpet trick, that may have the adverse effect. You really need a continuous floor covering that’s waterproof more for getting in and out of the van with damp feet etc. Your friend might have a point however I’d go with continuous underneath as my go to, then perhaps a removable and cleanable carpet / rug / mat / whatever on top. Sounds like it’s gonna get messy in your van, I drink my Stellas mostly outside as it’s way safer on the grass ;)

Ozziedog,,,,,,,,,,,just don’t fall in the fire ,,, that’s all :)
Yeah Raptor is a load of ****, I did my bus with it 7 years ago and even though I followed the steps to the letter it’s all peaking off and even more infuriatingly it’s lifted in some places, held moisture & crud which has caused corrosion 😡 so welder is coming out over the winter and a different method of protection will be applied
 
my floors were painted, then strips of vibration dampener, in the low spots, a layer of low E insulation, then 1/4"Baltic birch on the bottom cut for all the raised bumps, and 3/8" baltic birch ply on top, both layers sealed with a urethane varnish. topped off with a vinyl decking membrane, AKA duradek. We had a cheaper version of this on our house deck for 15 years and it was subject to all sorts of traffic, and the annual rain, snow and ice scraping, so I'm this new material will last a long time. it has a good grippy texture to it too, We went to the local deck and patio shop and asked for what they had for remnants, they had 3 or 4 pieces to pick from for $100
2436197.jpg
2436192.jpg
2436190.jpg
2425984.jpg
Thanks for the advise!
Have started to paint the floor with 2K epoxy after taking care of all the rust (that proved to be more than I thought. No holes but a few nasty places) with sanding/grinding and rust eater.
Next is insulation and getting panels up. Have everything for the walls, but need to measure the cealing and get that done too.

Saturday the paint guy is coming to look at the car and give a price , and we will see if it’s an option to get him to paint the outside.
Original color seems to be orange, but my wife is curious about Spanish green. Would be cool to see some pictures of buses that really are painted like that?
 

Attachments

  • IMG_7257.jpeg
    IMG_7257.jpeg
    2.5 MB
  • IMG_7256.jpeg
    IMG_7256.jpeg
    4.2 MB
  • IMG_7255.jpeg
    IMG_7255.jpeg
    2.4 MB
  • IMG_7260.jpeg
    IMG_7260.jpeg
    3.2 MB
A little update on the project.
All doors , windows and every other thing that can be screwed off has now been removed and sorted in to boxes.
Welder came by yesterday and fixed the rusted off piece of sill in front window , and changed a piece under the sliding door track.

Still need to sort out some rust behind belt brackets that has started.

Both passenger and drivers door has been looked over, looked fine.
Would like to change the scrapers and seals as well, but need to learn more about that before tearing in to it. Found a video but that was a openable window. Might be the same procedure? Just scared to mess it up..the scrapers are bad but the rest looks ok.

BTW, any cool tips on carpets/mats under the seats and on the cab floor? Isolation or not?

Hope everyone has a good weekend!
/ Micke
 

Attachments

  • IMG_1004.jpeg
    IMG_1004.jpeg
    2.3 MB
  • IMG_7348.jpeg
    IMG_7348.jpeg
    1.8 MB
  • IMG_7345.jpeg
    IMG_7345.jpeg
    1.9 MB
  • IMG_7304.jpeg
    IMG_7304.jpeg
    2 MB
  • IMG_7303.jpeg
    IMG_7303.jpeg
    2.1 MB
Thanks for the advise!
Have started to paint the floor with 2K epoxy after taking care of all the rust (that proved to be more than I thought. No holes but a few nasty places) with sanding/grinding and rust eater.
Next is insulation and getting panels up. Have everything for the walls, but need to measure the cealing and get that done too.

Saturday the paint guy is coming to look at the car and give a price , and we will see if it’s an option to get him to paint the outside.
Original color seems to be orange, but my wife is curious about Spanish green. Would be cool to see some pictures of buses that really are painted like that?
Be interested to know what insulation you choose. I’ll need to decide similar in a few weeks.
 
I ordered the stuff below. (In Swedish, I think it’s called styrofoam in English right?

I have so much left, I you were close by Id gladly give you enough for your van.

Good luck, I will post pics soon of my progress


https://www.transportstyling.se/hus...36wnrudfKANuQ3eQVnrj7zXNzareV6khoCrhgQAvD_BwE
I’m no expert on the names, but I think styrofoam (maybe the American name?) is the same as what we call polystyrene in the UK, which is dense and brittle. More like the celotex on your roof. But doesn’t matter, I see what you used. Thanks for the offer and sharing the link. Unfortunately I’m not planning to be in Sweden any time soon :)
 
Update thats long overdue coming up..


we had a voting at home, regarding what color to paint the bus in. Me and my 7 year old son voted against my wife, and the decision was made to paint the bus after a 1950’s Swedish commuter train. I think it came out pretty darn good.
Not done yet, bumpers are going to be black, and there might be a black line at the bottom, all the way around.

Right now putting the doors back together , with new scrapers. It goes pretty ok except for the inner scraper, it’s a small nightmare to get in to place. Any tips on this will be much appreciated. Fingers bleeding after first door done!
 

Attachments

  • IMG_7757.jpeg
    IMG_7757.jpeg
    3.6 MB
  • IMG_7311.jpeg
    IMG_7311.jpeg
    495.5 KB
Top