1971 - YRY483J -Restoration

Early Bay Forum

Help Support Early Bay Forum:

This site may earn a commission from merchant affiliate links, including eBay, Amazon, and others.
You need this http://www.ebay.co.uk/itm/Vw-early-bay-body-cut-/271621223638?pt=UK_CarsParts_Vehicles_CarParts_SM&hash=item3f3de2f4d6" onclick="window.open(this.href);return false;

Buy it cut it & let us all see the results please.
 
Day 1
February 15

Right I finally have the time to do the roof, here's what I've been up to today!

24672135003_394eed9418_b.jpg


25180640642_a60d8c2e7c_b.jpg


25003303810_da0eb0b905_b.jpg


The positives:

Started 1st time after being stood for TWO YEARS!
I didn't cut myself
The bus didn't collapse in on itself
The steel for the brace bars was only £10
I was expecting a lot worse

I quit my job to work as a freelancer which basically means Ill be doing this full time for a while! No money but loads of smiles...

Video clip here if you're interested (though you have to turn your head to the side...): https://goo.gl/photos/6AxnEQA19WszmJyw7
 
Day 2
February 16

Today I managed to get the brand new second hand roof out of storage and began work separating it from the frame. First I used a light flap disc to highlight where the spot welds were, then drilled a pilot hole in the centre of each to help my spot weld drill bit to locate properly. Unfortunately today I have man flu so not a lot of progress was made, here are some photos though:

25298895845_274ef1ee1a_b.jpg

Found some mushrooms growing in the back of the bus.

25180643302_48afac2fb9_b.jpg

Sunburnt Texan donor roof in a workable position

24931240069_bcc50c5edf_b.jpg

Gutter skimmed with flap disc and centre of spot welds marked

24668289744_f33815d746_b.jpg

Starting to drill out the spot welds.

Positives
Roof is finally out of storage
I can use what's left of the donor frame to repair mine

Negatives
Man flu
The rear tailgate bracket swung out and smashed me in the back of the calf whilst I was trying to carry the roof, nicely bruised.
 
Day 3
February 18

Today I managed to drill out the remaining spot welds and figured out how the roof panel actually attaches to the front. From this image you can see that the panel has been brazed to the top of the front pillar where the bronze coloured line is, just where the gutter meets the roof. I will cut through this tomorrow and drill out the remaining spot welds along the windscreen seam so I can finally separate it from the frame!

25298902025_3dfa51c488_b.jpg
 
Blimey. I wouldn't even know where to start with something like that. The fact you're willing to have a go makes me feel better about my rust heap though. :eek:
 
Great work keep it coming cant see some of your photos above though, need to attack my rear end soon :lol:
 
Day 4
February 19

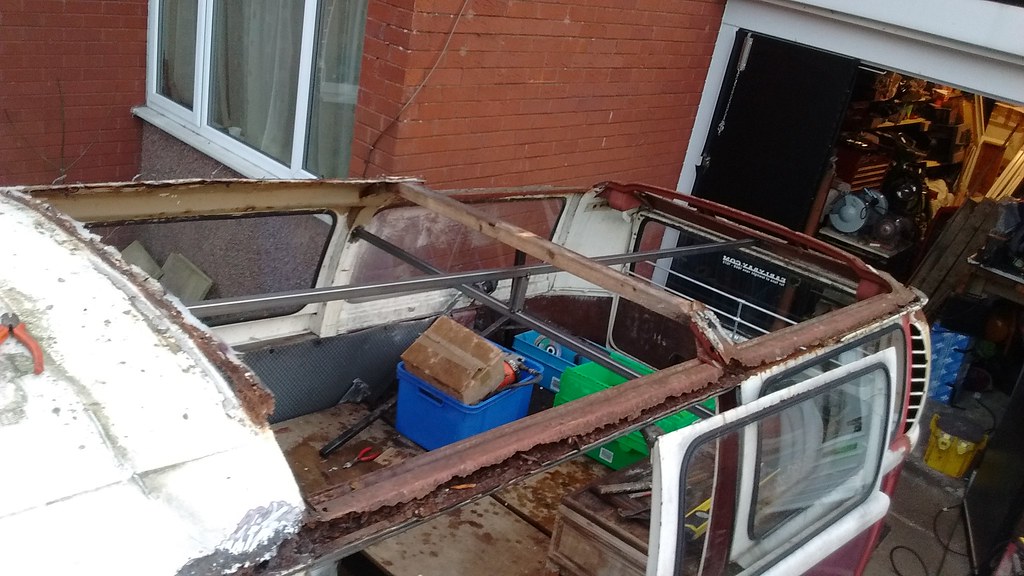
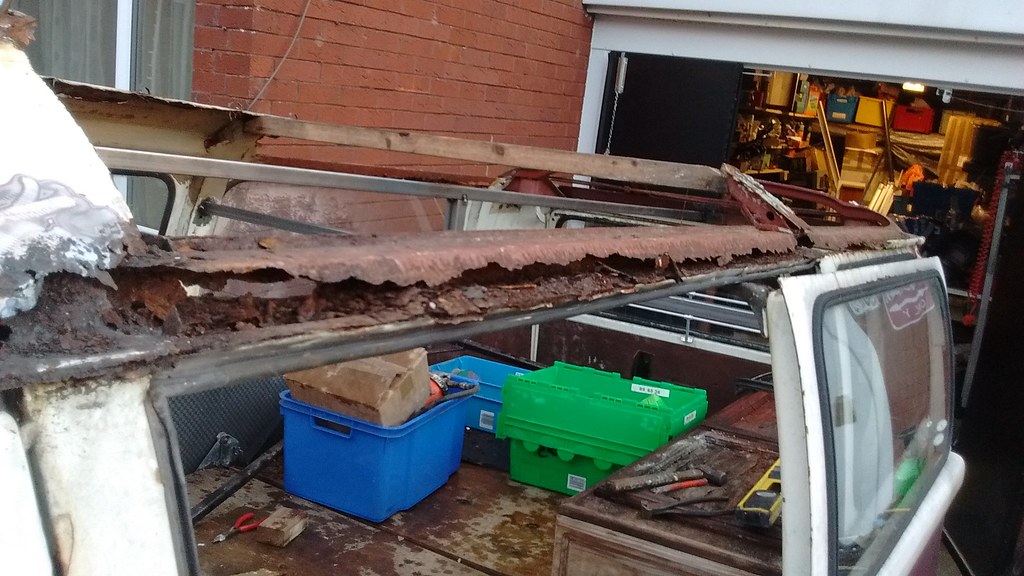
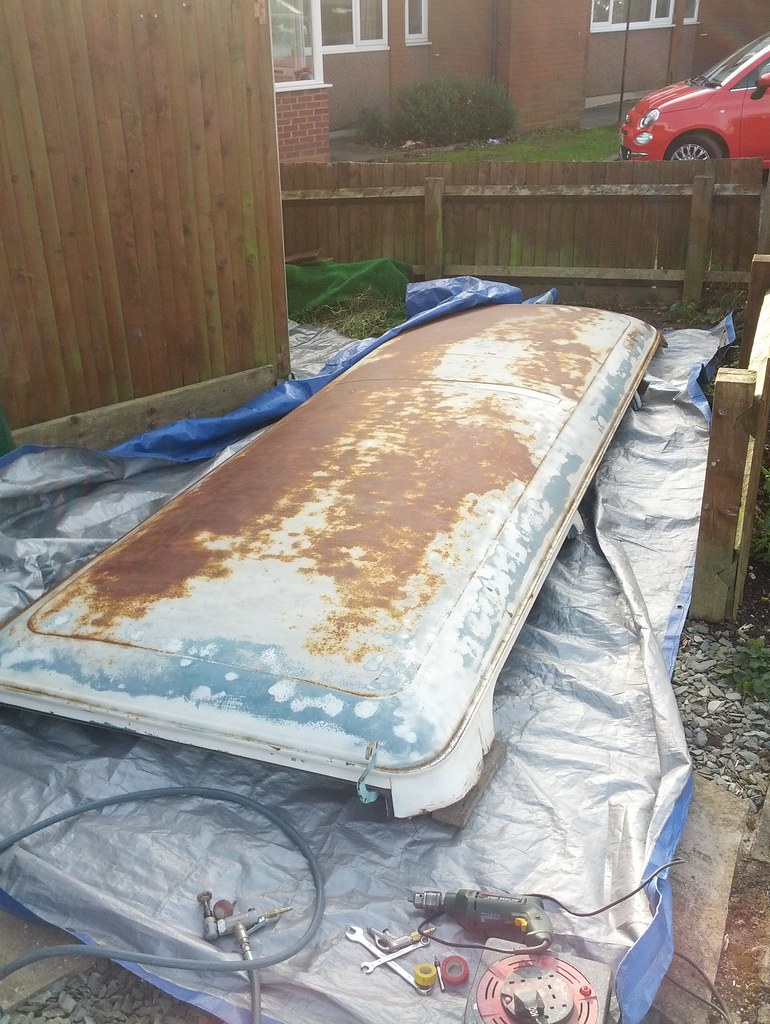
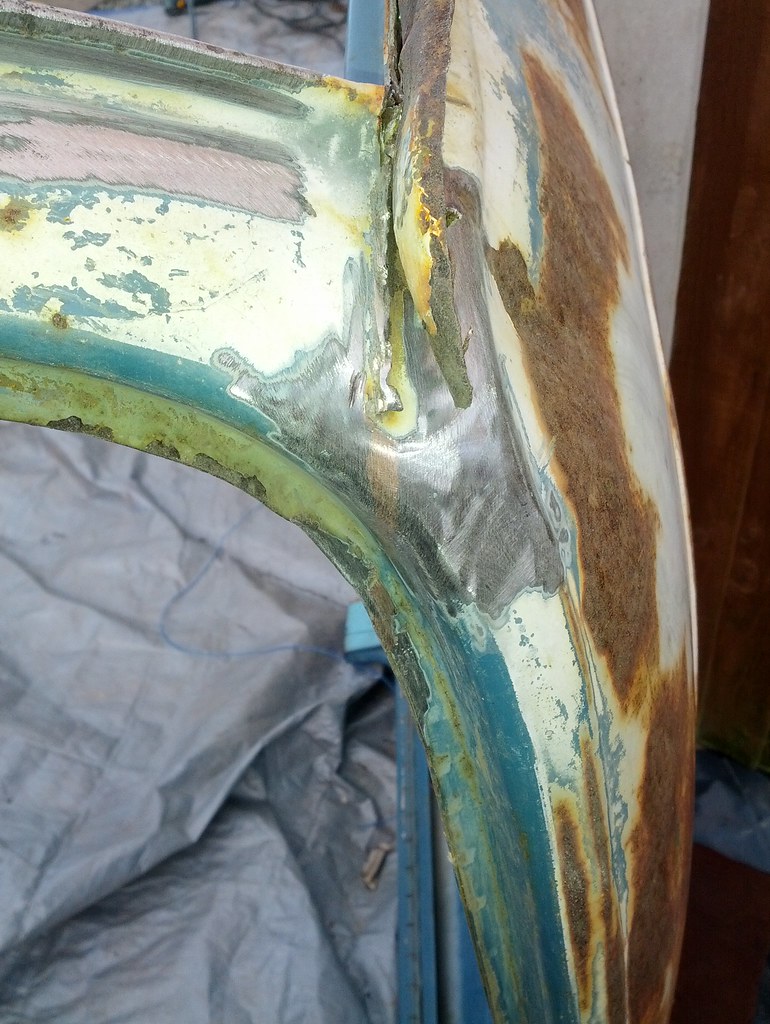
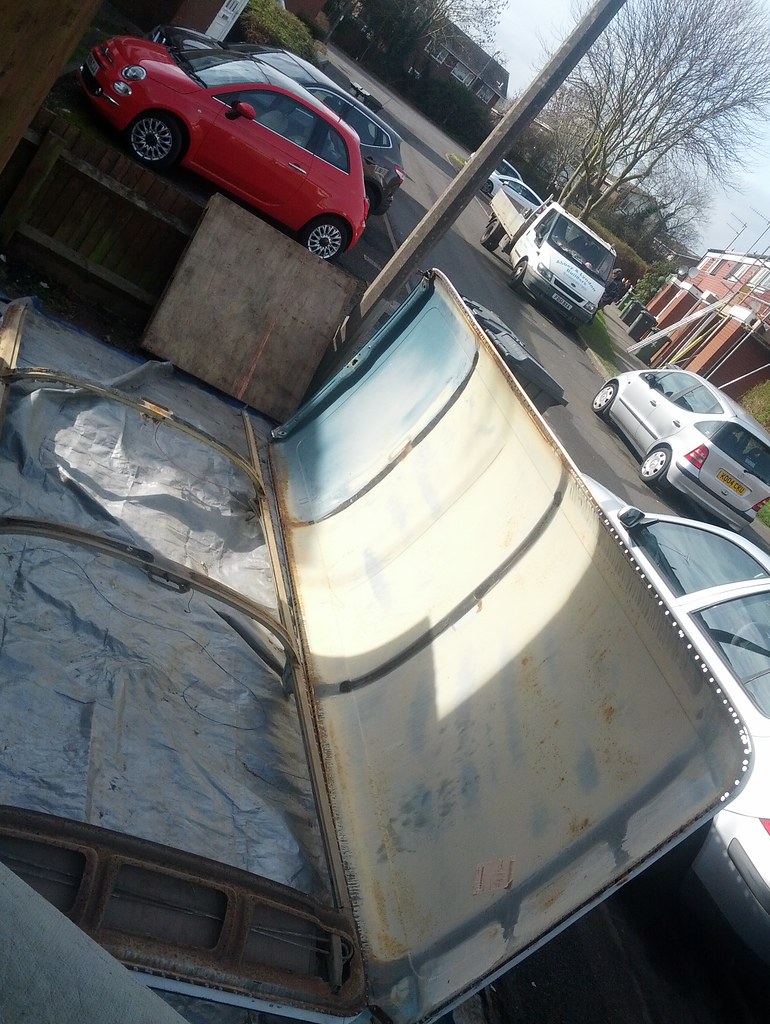
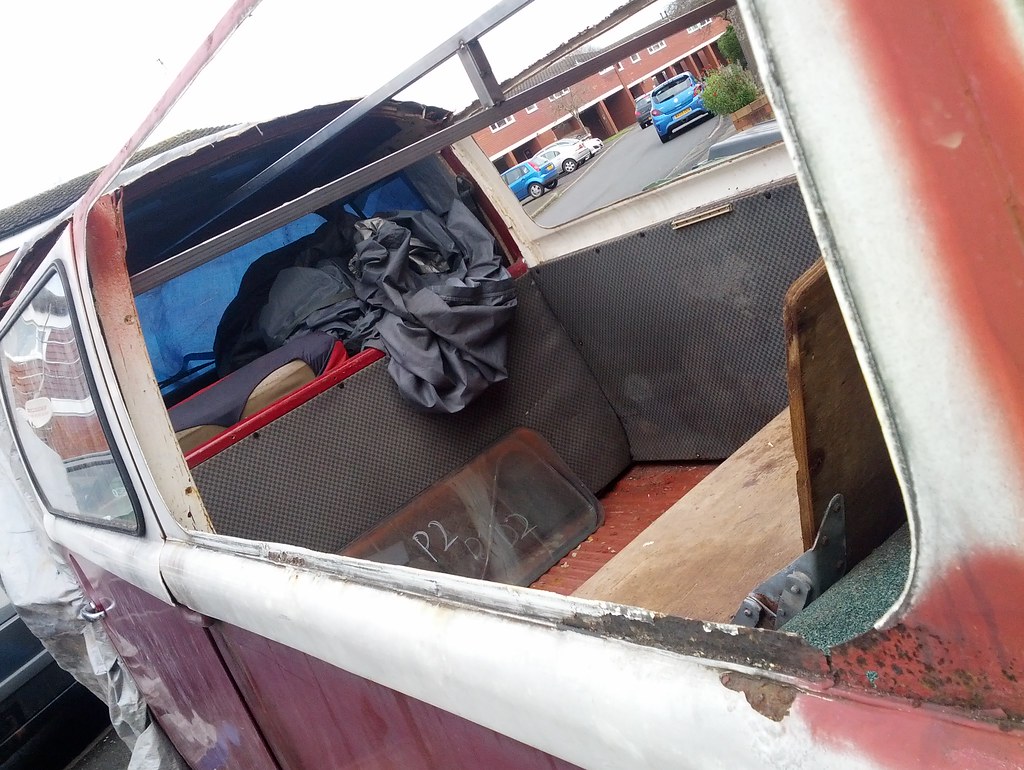
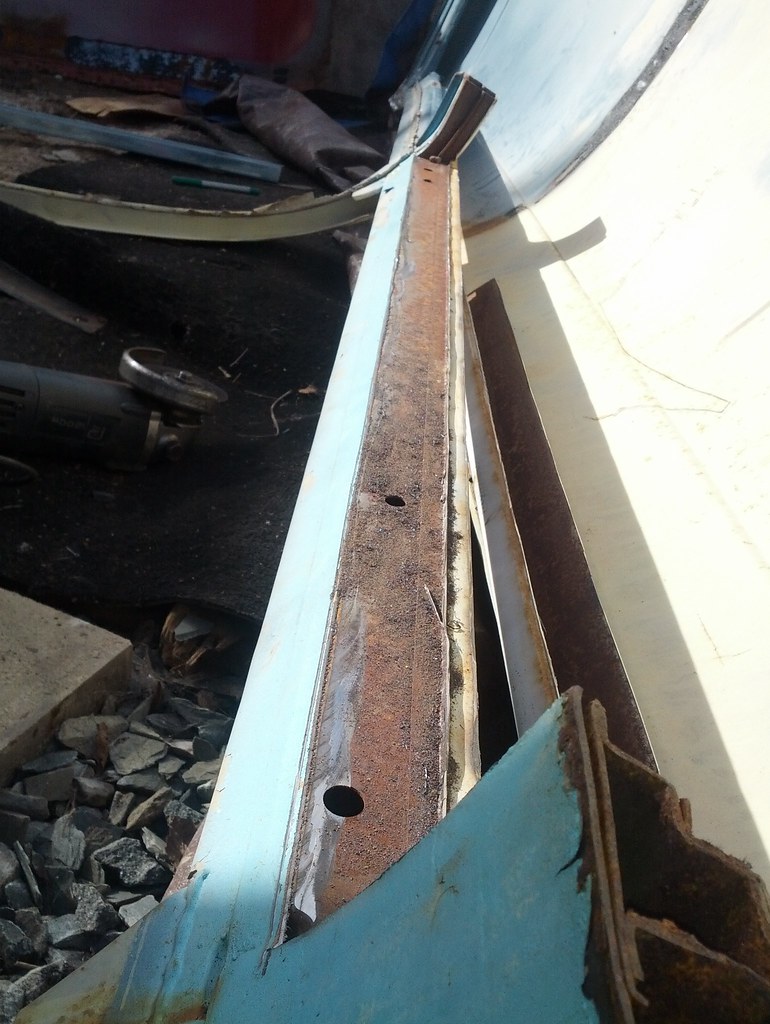
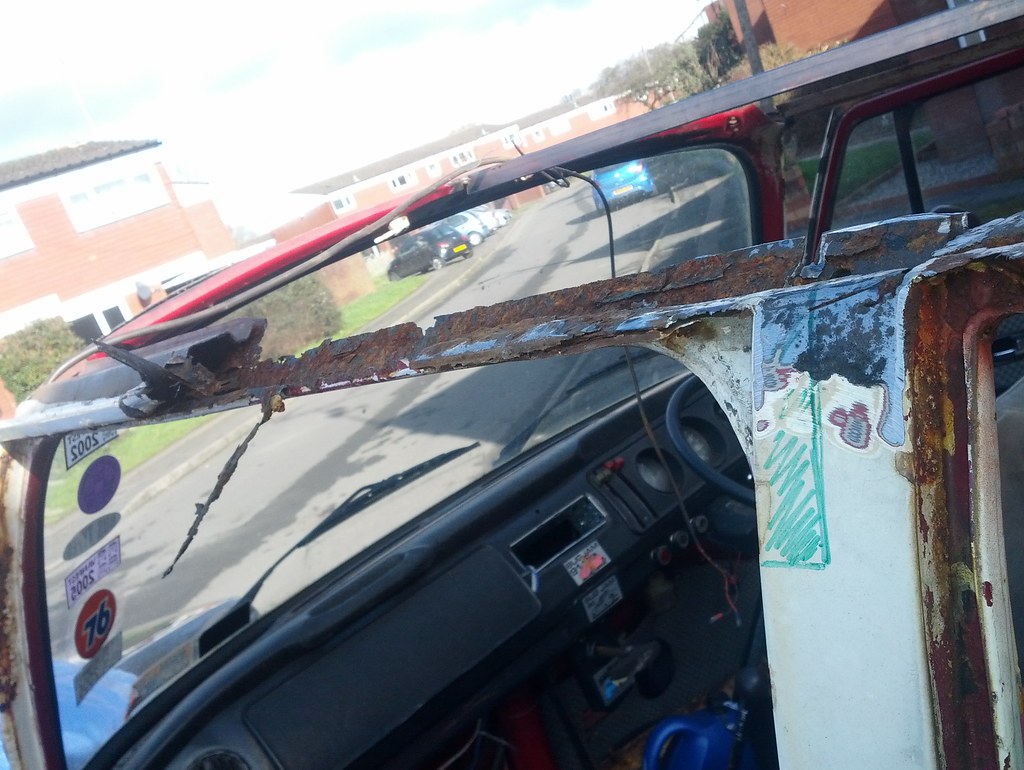
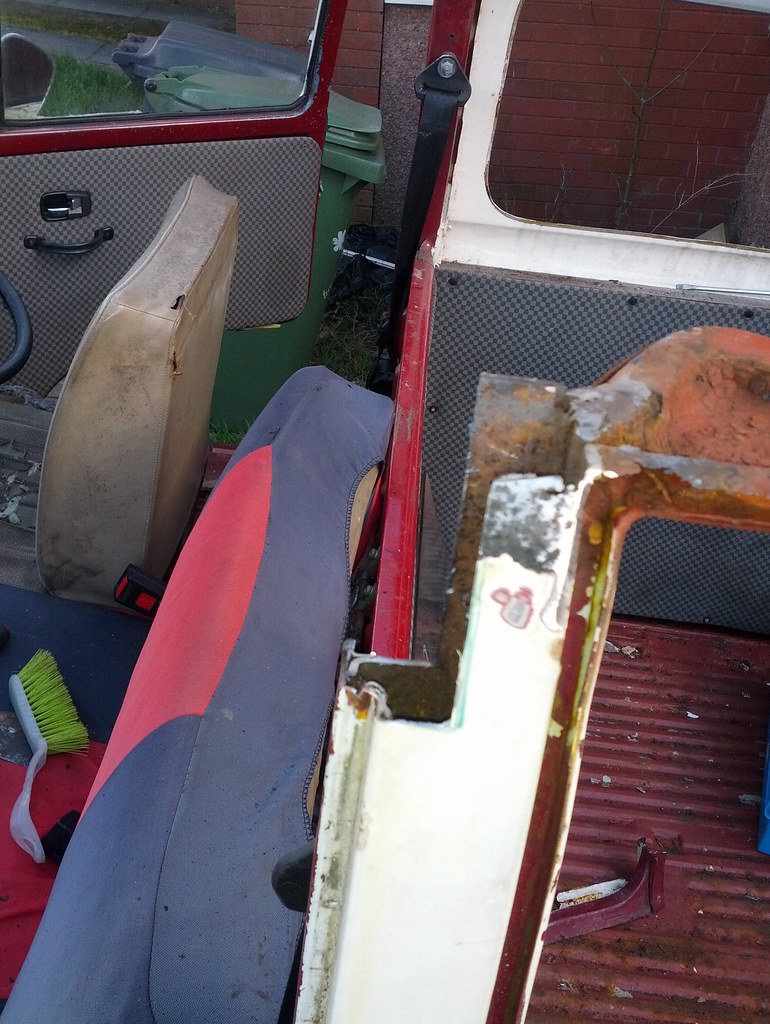
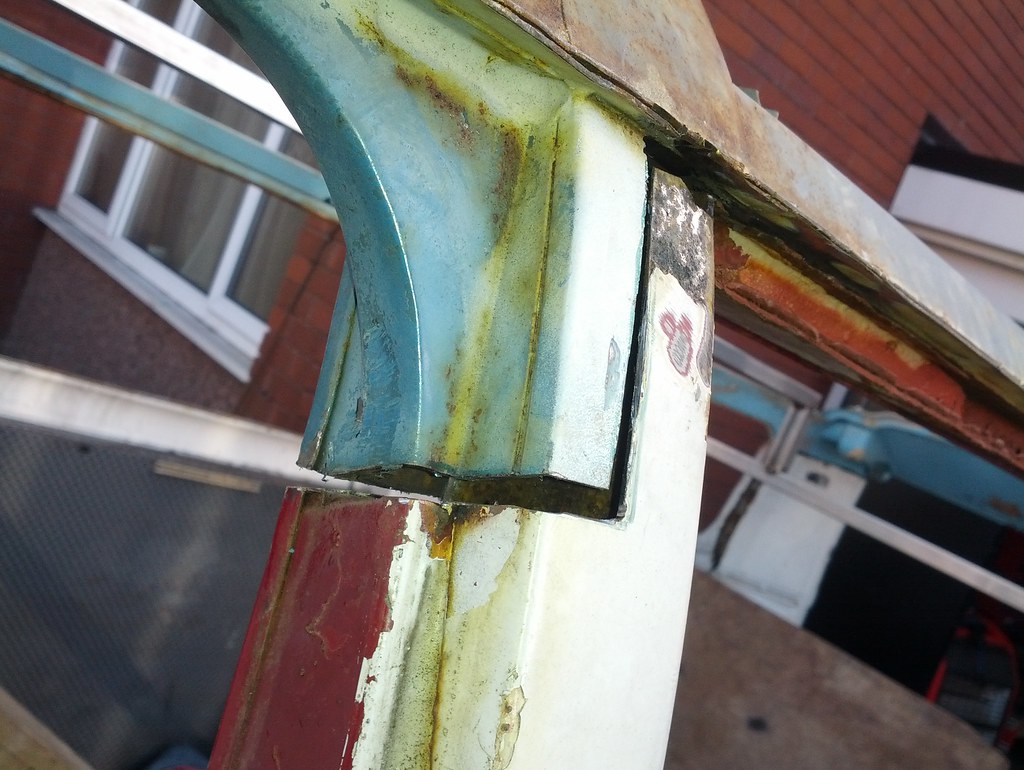
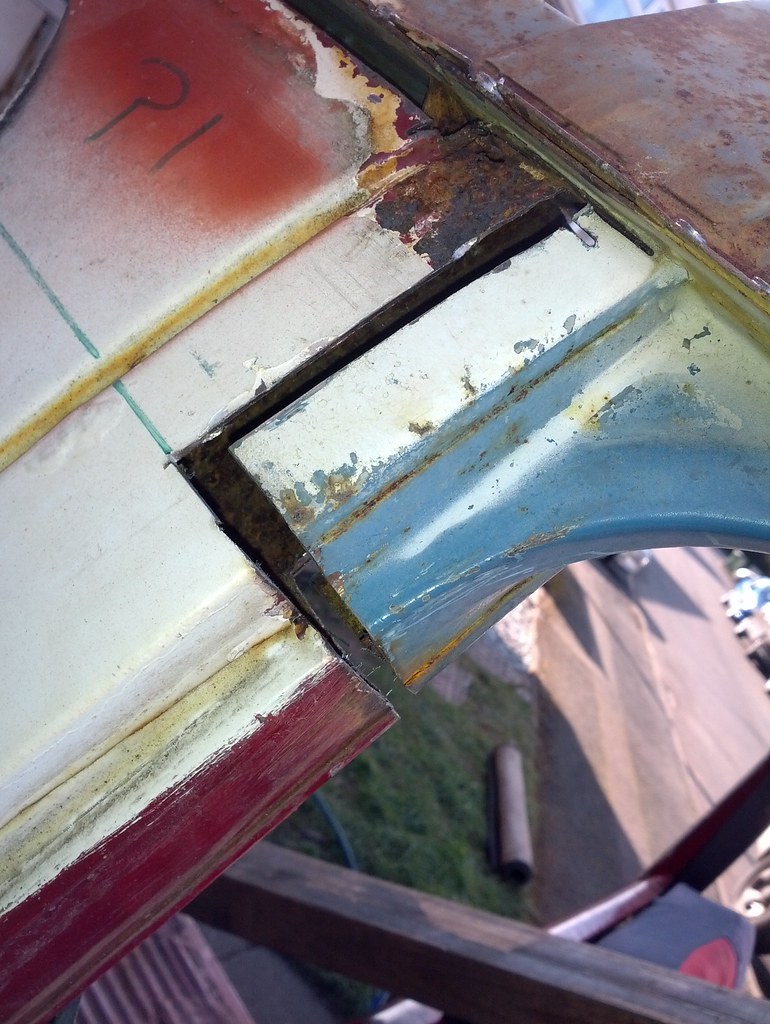
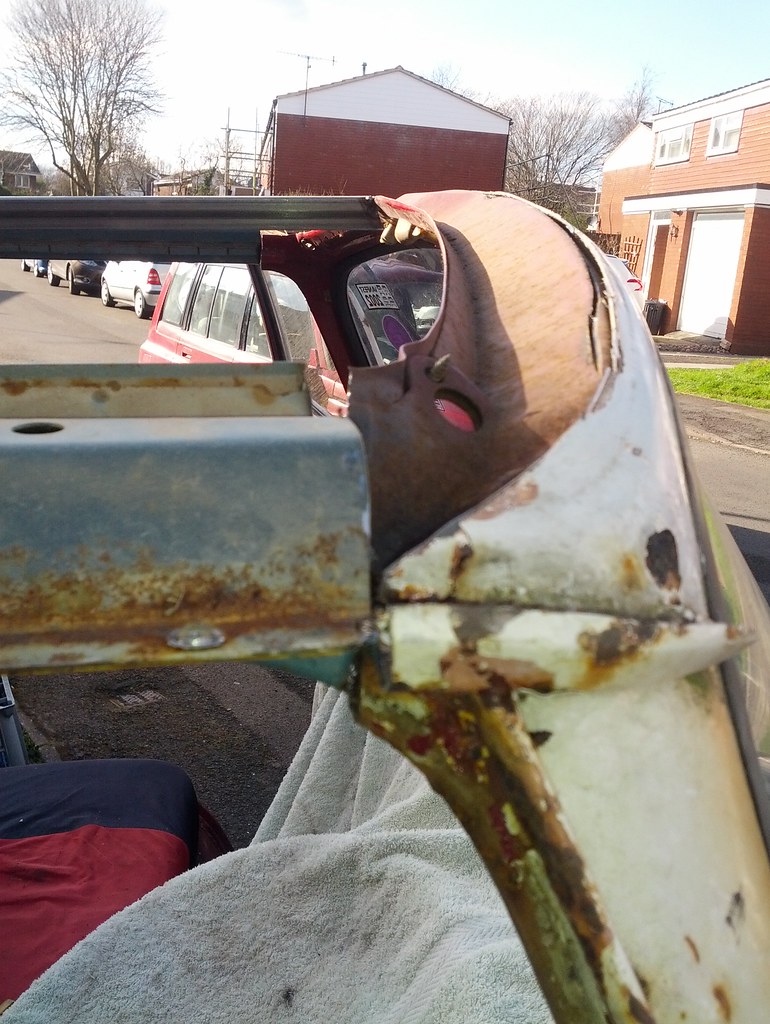
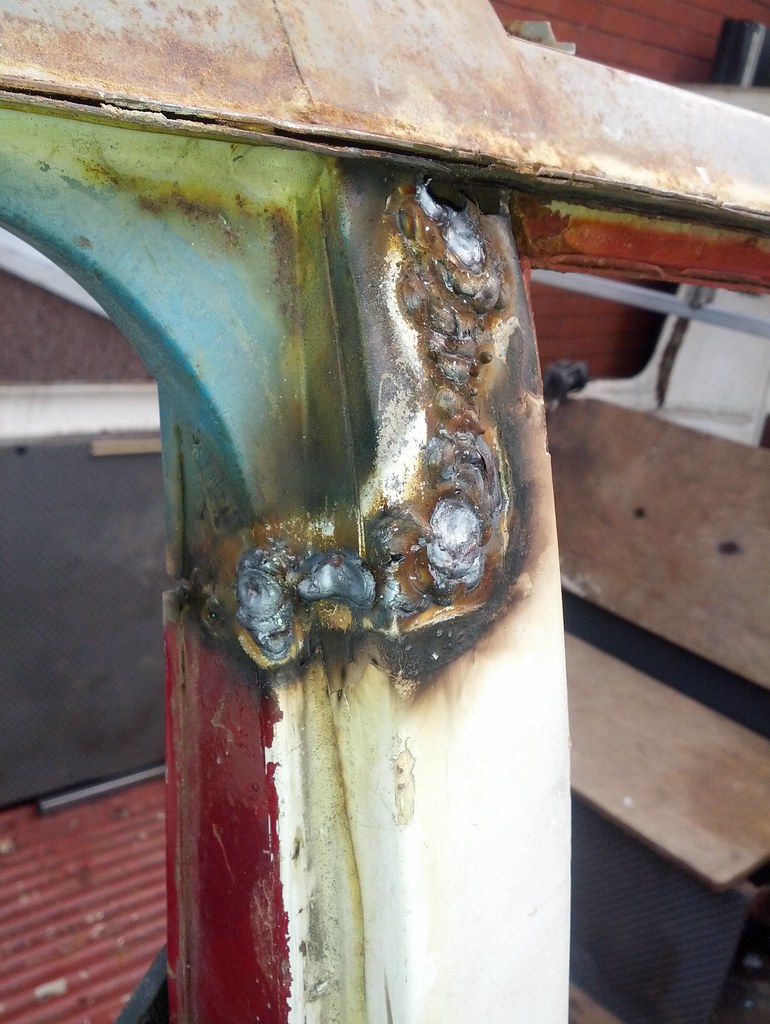
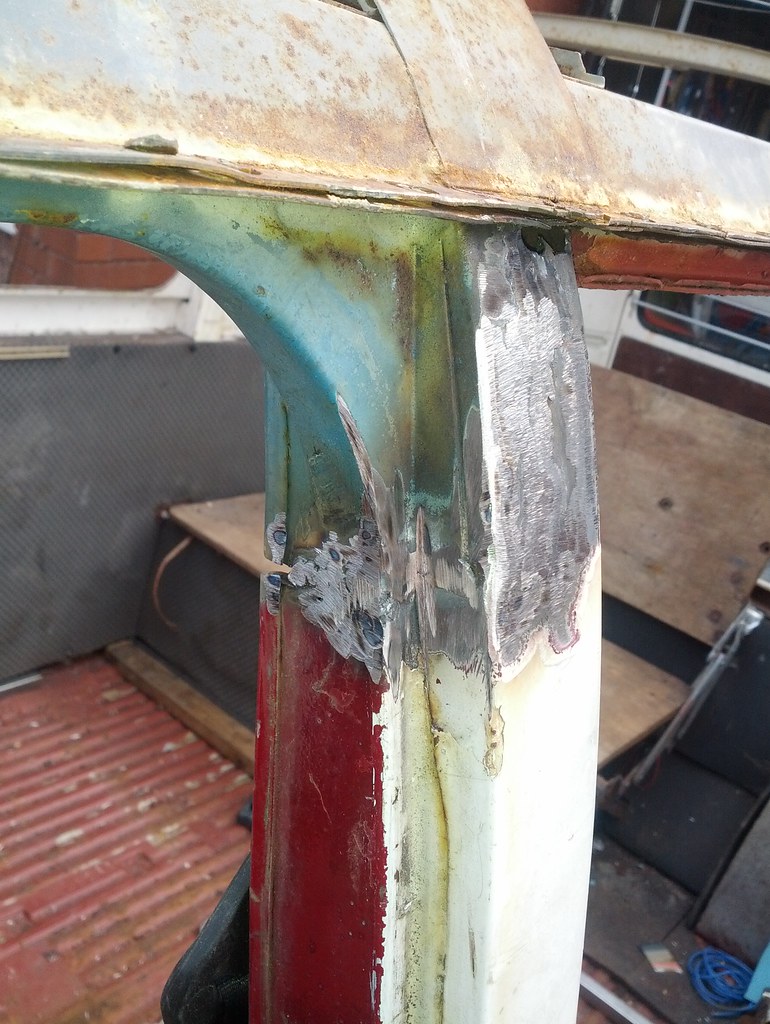
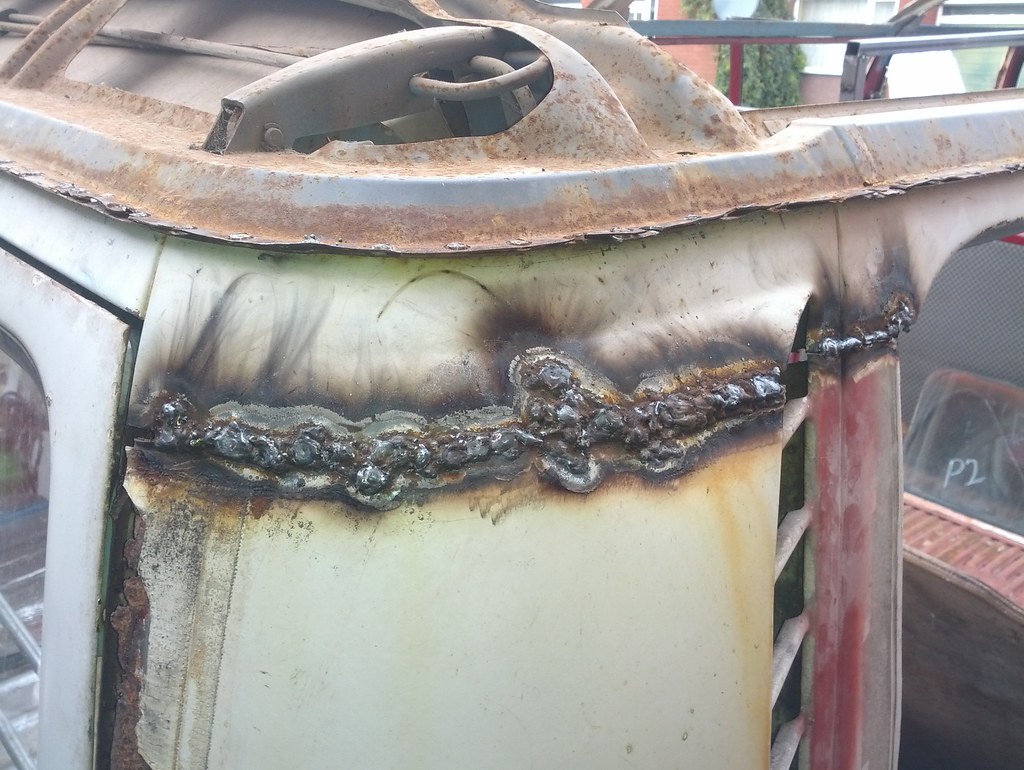
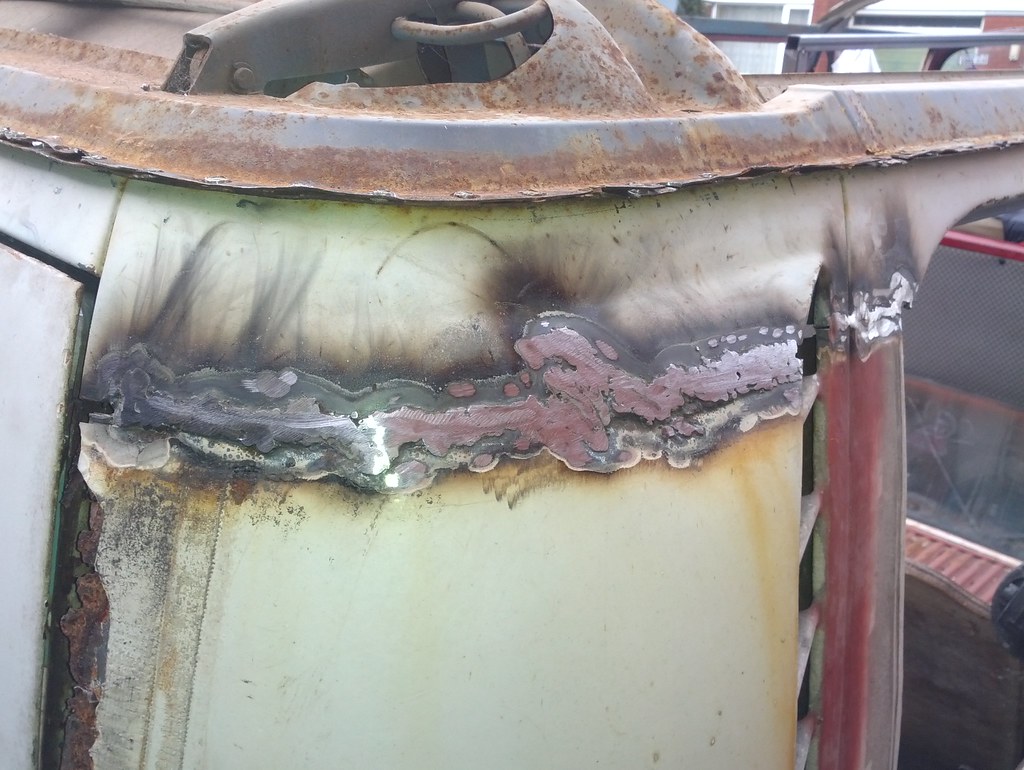
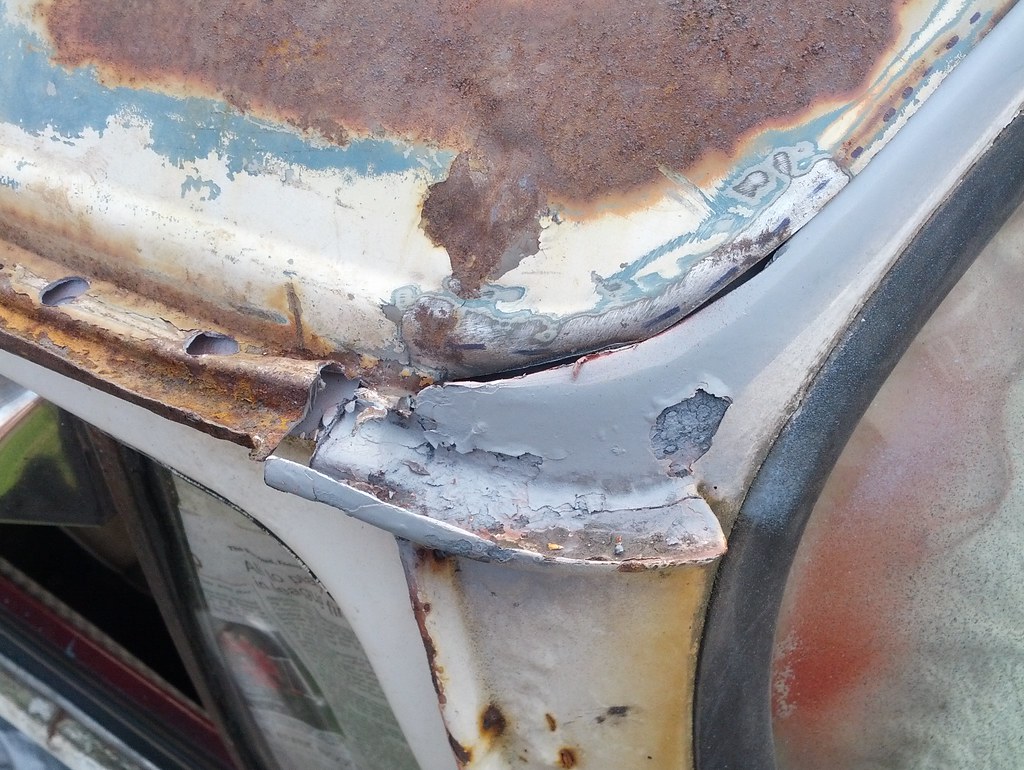
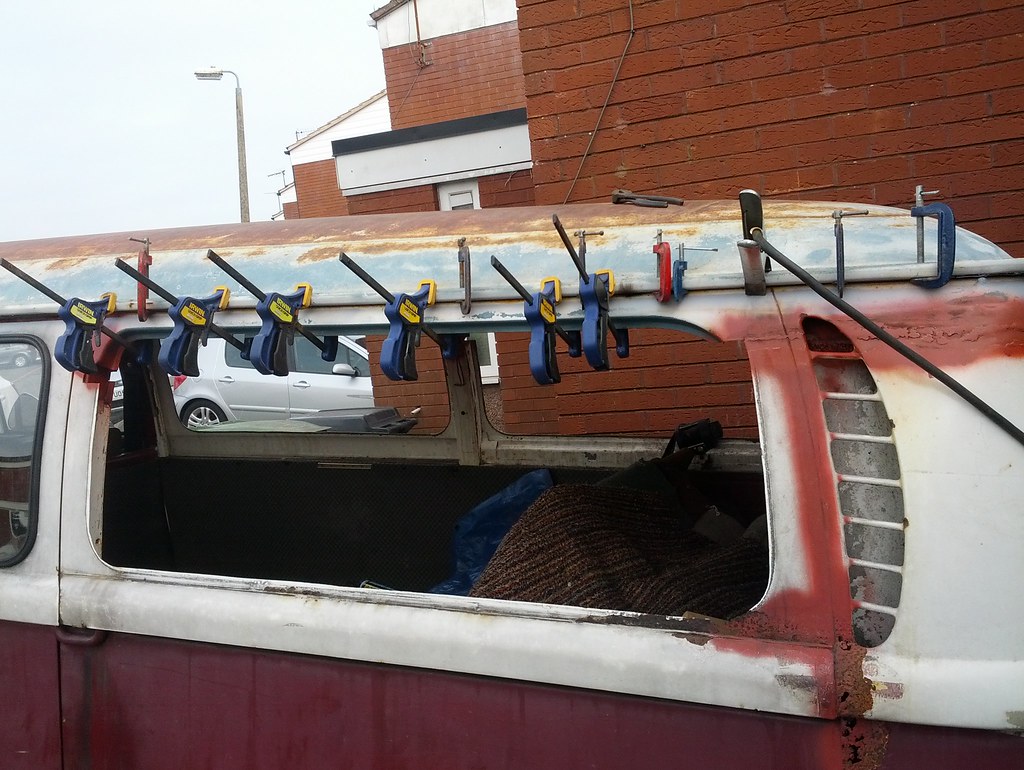
Cheers guys, bit of an up and down day today. Finally got the roof skin separated from the frame, triple check all the spot welds are out and it will come off easy, don't force it! The front crossmember is glued particularly strongly, so I slid a flat plastering trowel down in between the gap to separate it without damaging the skin. I didn't really know what to do with the front edge, so I cut through the pillars in order to keep the windscreen seam intact, time will tell if this was a mistake...

25272815836_4bc66fce57_b.jpg


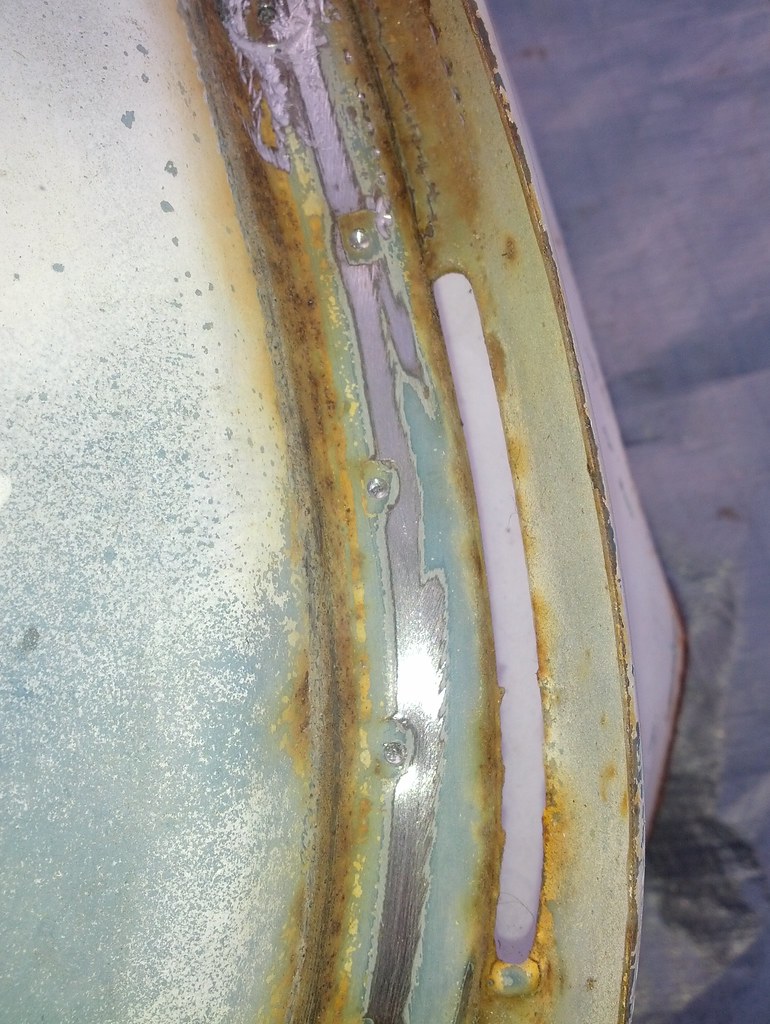
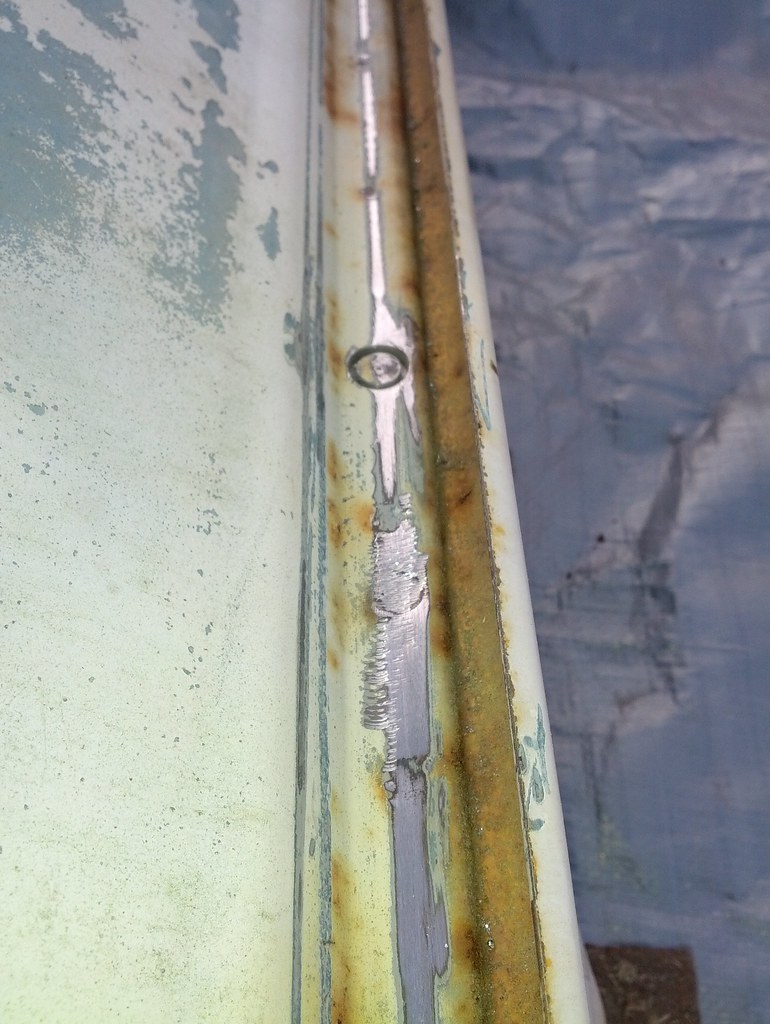
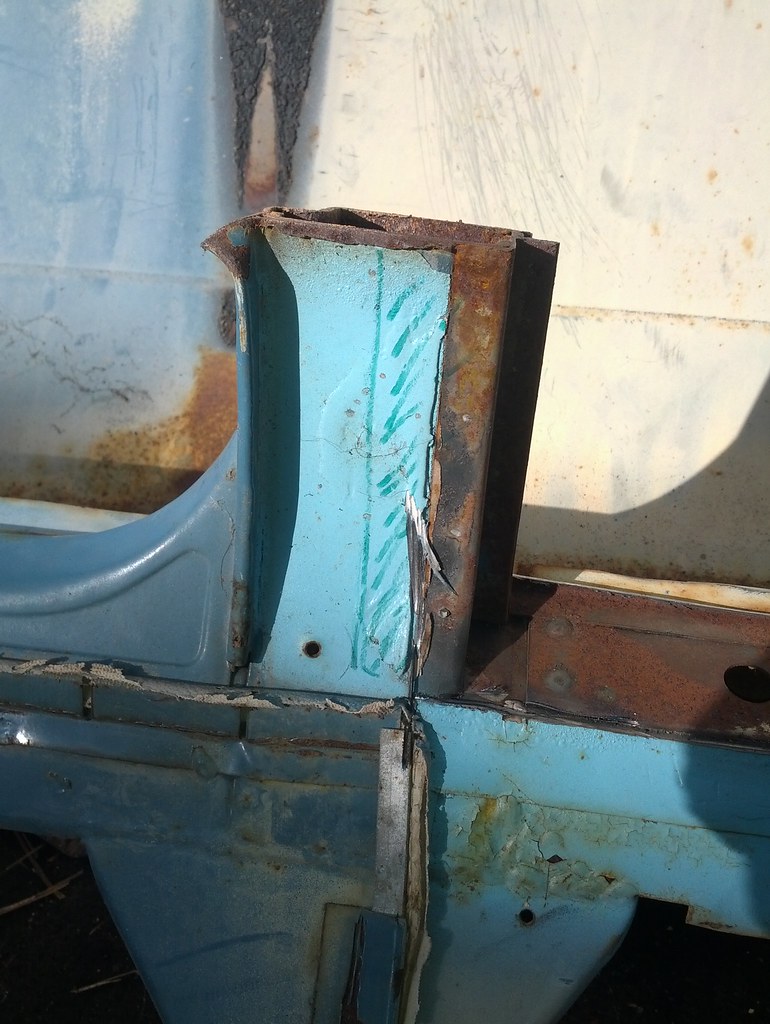
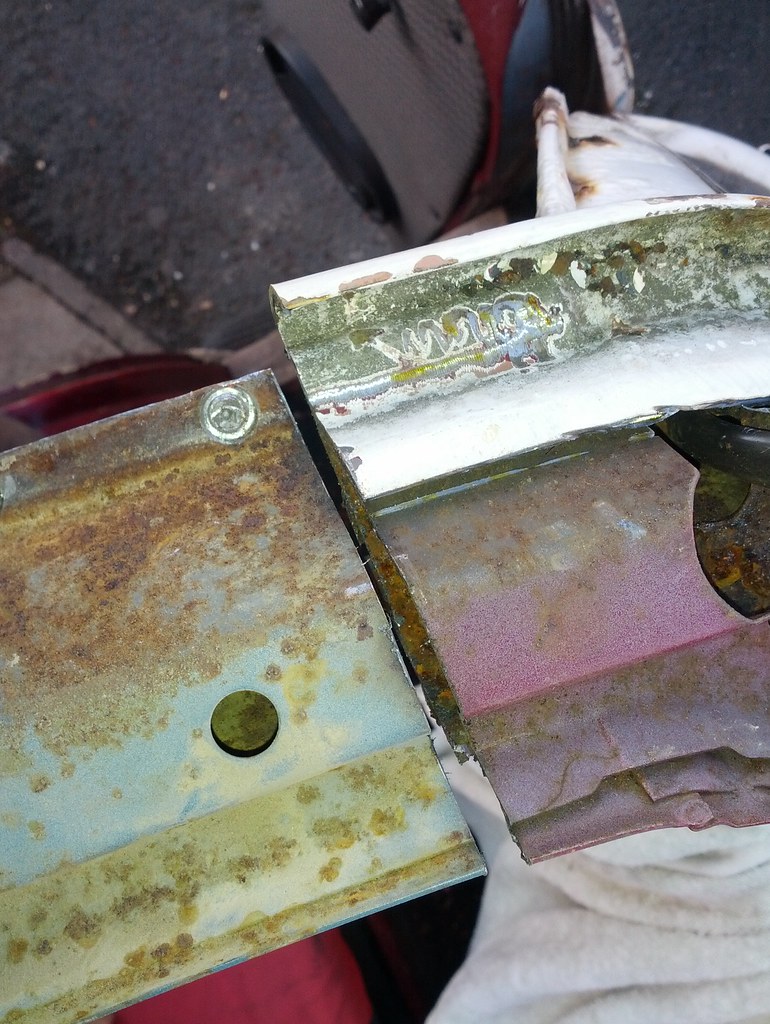
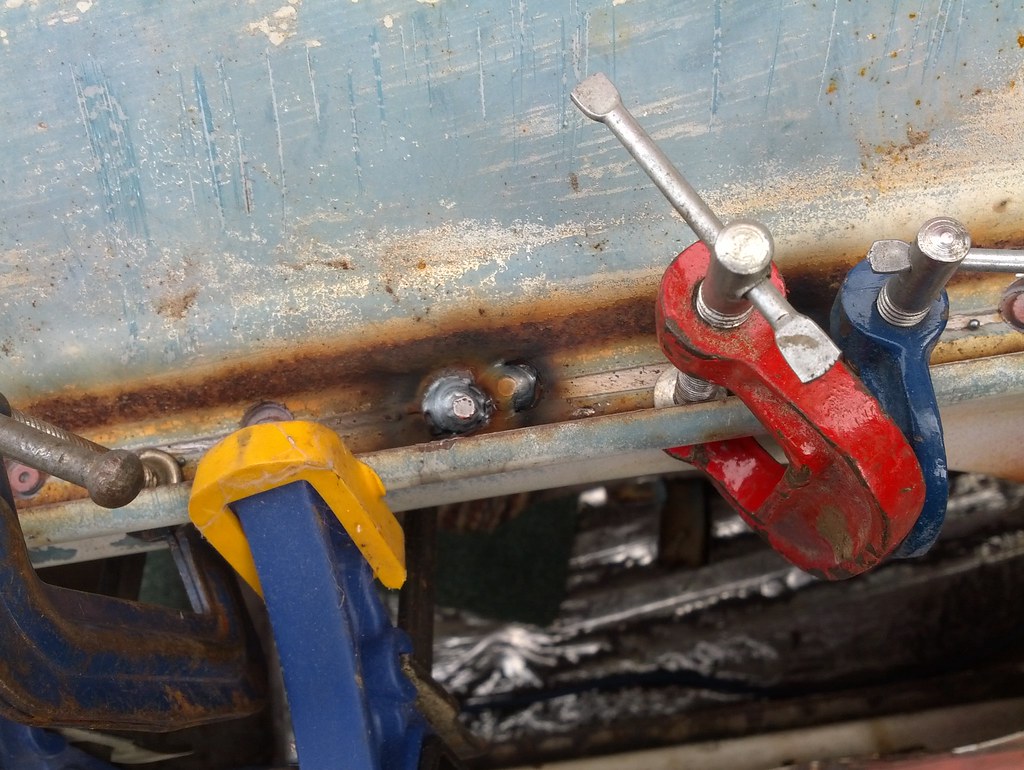
I then spent a few hours cutting away the rust from the bus gutters. My plan was to use the new frame to repair the frame on my bus, then weld the skin back on. I have decided to use the upper box section and cross members of the new frame, cutting off the lower box section and pillar remnants. I'll repair the bus lower box section to be sure it is solid and can be welded to. I'll upload some more pictures tomorrow during daylight hours.

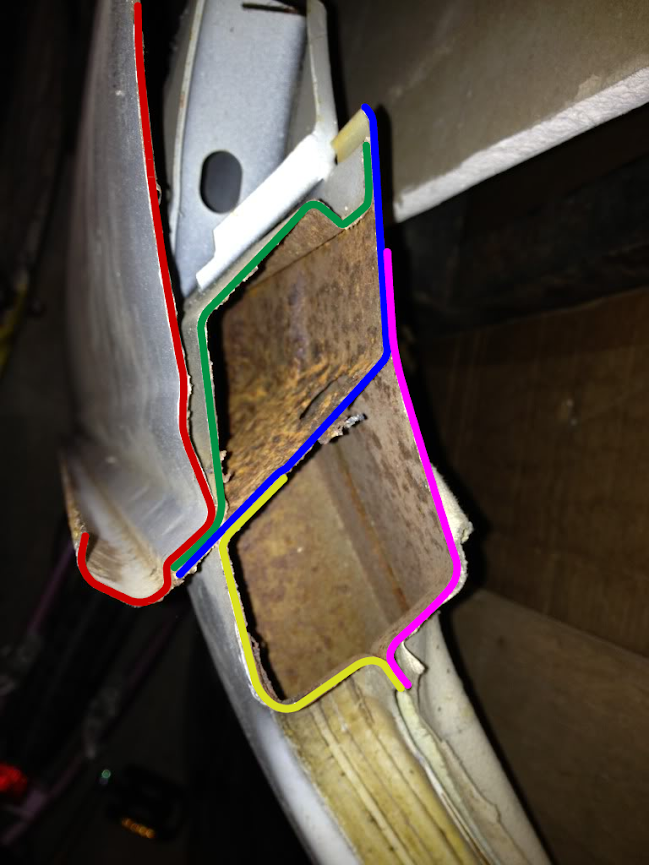
If you look at this image elsewhere on the forum ( http://forum.earlybay.com/viewtopic.php?f=4&t=38489 ) that I modified:

roof-section-joins.png


The upper box section is the green and blue lines, this will come from the new frame. The lower box section is the yellow and pink lines, this will be repaired on my bus, then the two will be seam welded together.

The benefits of this method are that I do not have to cut into the pillars, meaning a lot less measuring and nervousness. Also, I can keep the frame as a single unit, rather than chopping bits off to repair the current sections jigsaw fashion. If I can get the lower box section perfectly flat and level and strong, I'm confident this will work out well! Then of course, I will simply be refitting the skin back to the original frame, so I can line up the spotwelds to ensure it's in the right position. Any thoughts welcome...
 
Day 5
February 22

OK, my plans have changed. The bus gutters were simply too rusty, so I have decided to fit the new frame whole. Since it is from a LHD camper, and I have a RHD panel van, I have had to chop out the box section where my sliding door is. I have cut into the pillars behind the front doors and cut the new frame so it can slot into place. The same goes for the middle pillars, and the rear will just mount flush for now (the rear will be a temporary fix until I get hold of a new rear end).

Campervan roof frames seem to have a lot more strength than panel van roof frames. Mine had very little support, with only a single box section, so it will be a lot stronger once I get this roof on. The frame is now ready for it's first trial fit, hopefully in the morning!

I have left the original window surrounds in place, luckily there is only one tiny corner of rust to deal with. These will sit as a "skin" on the outside of the new frame so I can be sure to get the windows back in to the correct position. I cut the rubbers which made it really easy to remove the glass.

25081522572_836f3981b5_b.jpg

The only bit of rust on any of the 3 windows surrounds!

25173465366_758976d71b_b.jpg

Cut the new frame so it fits over my sliding door

25173467456_740c4cfd2b_b.jpg

Green area will be chopped to jigsaw in new frame.

24569132494_9e299b93e9_b.jpg

New frame chopped in the same way to fit onto old pillar.

25081527952_b6d80e9274_b.jpg

Bus cut ready for trial fitment!
 
Day 6
February 24

Progresss today! I have lifted the frame on and spent the day fettling to try and get as good a fit as possible. There is still a lot of lining up and adjusting to do, but hopefully with a full day on it tomorrow I can get it to where it needs to be! Happy days.


I am in the process of transferring my photos to Flickr, please bare with me.

25237426085_1364f3acdf_b.jpg

Lining the frame up in situ
 
Day 7
February 25

Finished getting the frame lined up today, ready to start welding tomorrow! Very happy. A lot of welding to be done but things are going in the right direction.

Video link: https://goo.gl/photos/3Sf2YjFE6qcxCZRV8

25136389452_3e32685803_b.jpg

45mm is the answer!

25233821156_f157f38ff8_b.jpg

Outside passenger side pillar join

25166938761_4b57254089_b.jpg

Inside passenger side pillar join

25141827982_b1283440e6_b.jpg

Front passenger side butt join to windscreen pillar

24633301193_74ce4db7a1_b.jpg

Drivers' side window pillar join needs work as it was quite rusty

25233825086_d81e6ba7f7_b.jpg

Middle pillar sits flush on top with additional support beam behind
 
Day 8
February 26

Spent the day welding yesterday - obviously I ran out of welding wire when I needed it the most. Really enjoying myself tho! The welding is a bit of a mess but ground back with a flap disc (so much better than using a grinding disc) the integrity is good. A few pictures!

25205655751_b565ddf055_b.jpg

Rough welding around the passenger side door pillar

25003164650_8fc070e393_b.jpg

Cleans up really well!

24668148734_3b31faf6c8_b.jpg

This was horrendous. The back is really rotten. Good job it's temporary!

25180503262_a560763e1c_b.jpg

Cleans up quite well, bit more work to do but I'm happy with the alignment and curvature.
 
Days 9 & 10
March 10th & 11th

After a week or so off thanks to some cretin stamping on my ankle in a football match - and then my Dad insisting on building a fence - I managed to get back on the bus! Lots and lots of welding to get the frame properly secure, some had to be done without a mask due to poor visibility leading to this:

25406003070_18793521dc_b.jpg


This is definitely the last time I weld without a mask, ever! I managed to get the roof in place this afternoon and it just needs some slight cutting to the front and it will fit nicely, I'm stoked!

25406004230_be47dfd9bf_b.jpg

Roof skin etch primed along gutters and red-oxided where it will be impossible to reach once it's on. In the background you can see the polycarb temporary roof it used to have, and my classic mini that is FOR SALE! http://j3vee.co.uk

25680709346_747659cd21_b.jpg

Frame given plenty of red oxide where it will be hidden

25680711456_1c60e9ec54_b.jpg

Roof in position!

25076336924_62d43fd3a9_b.jpg

Will butt weld to the front panel that remains. I did consider taking the screen out and using the frame that came with the roof, but I will have to replace the entire front end anyway so this is the option I chose. Nearly got it lined up first time!
 
Wow, great job on the roof ! Are you keeping the sunburn or painting it ?
Love this thread 8)
 
Ah I've got to keep it haven't I! My plan is to get the bus through it's MOT as fast as possible, hopefully in May, so I can use it again as my daily drive. All the cosmetic stuff can wait, I just miss driving my bus!
 
Great job so far Don't look into the light! :lol: (sorry)

Get it done on the road you will be well happy nothing better.

Well Done look forward for to some more progress rear end? weld it run it.
 
Day 11
March 12th

A nice easy day today as my face is still on fire. I purchased Weathermate from toolstation to bond the roof back onto the crossmembers. I chose this because it bonds bitumen and steel - the two surfaces I had to join, and it acts as a gap filler. It does say on the tube "for outdoor use only" but I ignored that. Looking back I should have put more on, if the roof is drumming when it's finished I'll have to try and pack the gap with silicone or something similar.

25430007940_716a285212_b.jpg

Time will tell if this was the right choice...

I started welding the roof on, and the importance of clamps cannot be understated! I managed to tack down four separate sections, two at the back and one on each side. Having the spot weld holes really helps to get it lined up easily.

25704664366_4bb6243fcd_b.jpg

Clamp it down and pull it in. I clamped each hole I was going to weld, this is going to take a long time...

25430009580_18762f0e47_b.jpg

View from underneath the gutter. Have to get this join bang on, if you have enough clamps it's not too much trouble.

25104107103_dbb20ce768_b.jpg

Now just plug weld the holes back up! There is going to be a lot of grinding...
 

Latest posts

Top