Dubenham Bay

Early Bay Forum

Help Support Early Bay Forum:

This site may earn a commission from merchant affiliate links, including eBay, Amazon, and others.

rupert the bay

Well-known member
Joined
Dec 9, 2007
Messages
253
Reaction score
1
Location
durham
4466958_orig.jpg


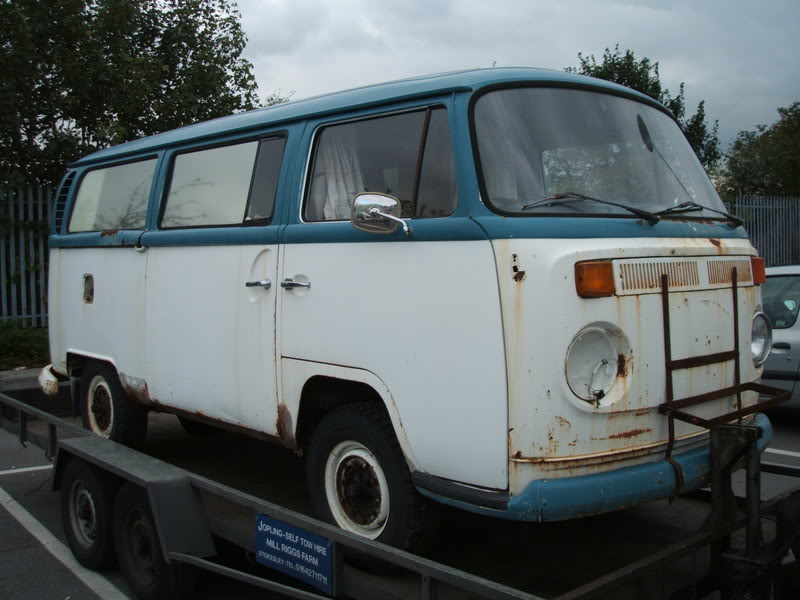
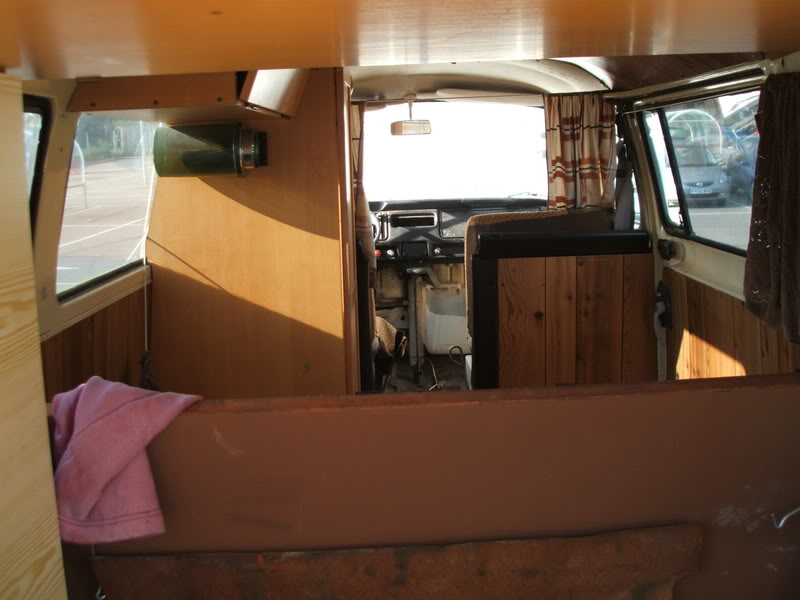
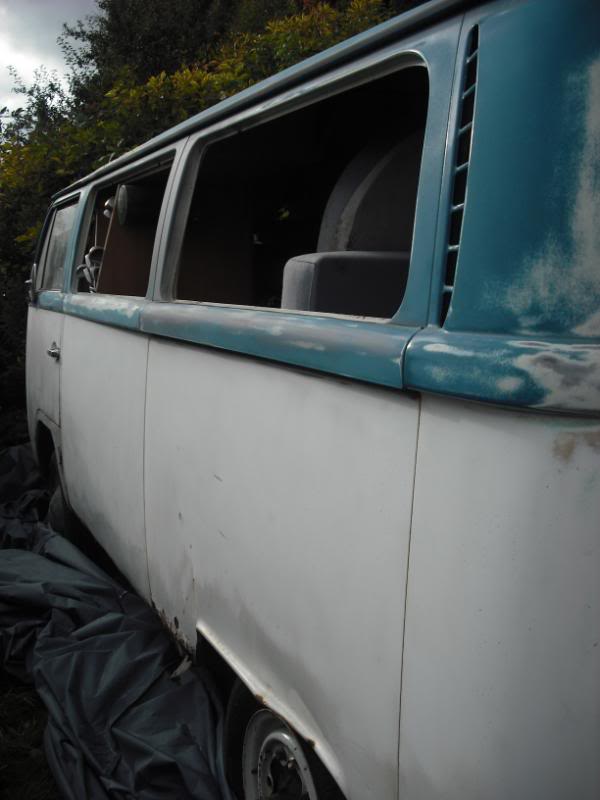
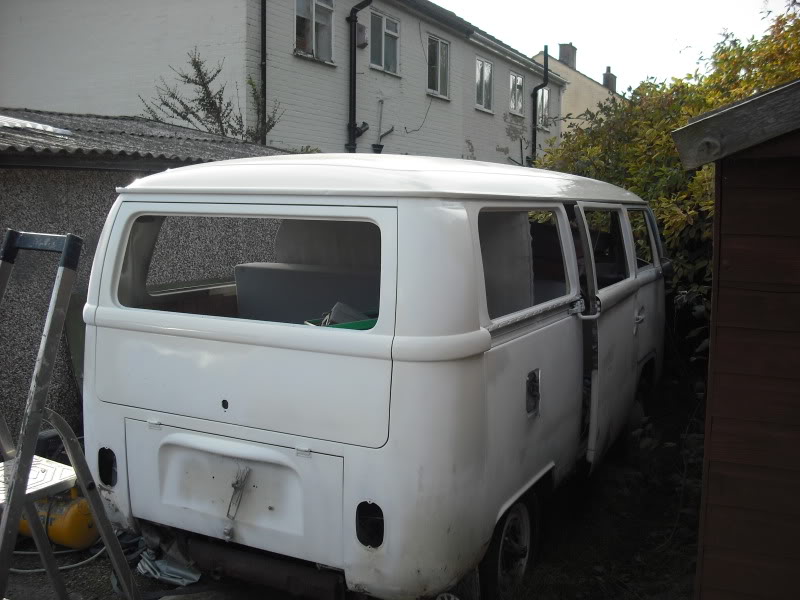
OK - I cannot even remeber how many years ago I bought this Bay....but it was a long time ago, its a swedish 1970 Kombi, it has all the early bay features, except, it has high late bay front inicators...but no lower deformation panel, i'm guessing the top half was replaced at somepoint...but it was well done as i'm yet to find any evidence of the work...

This is how it was when i collected it, many years ago

1012593_orig.jpg


1901194_orig.jpg


9811637_orig.jpg


7852065_orig.jpg


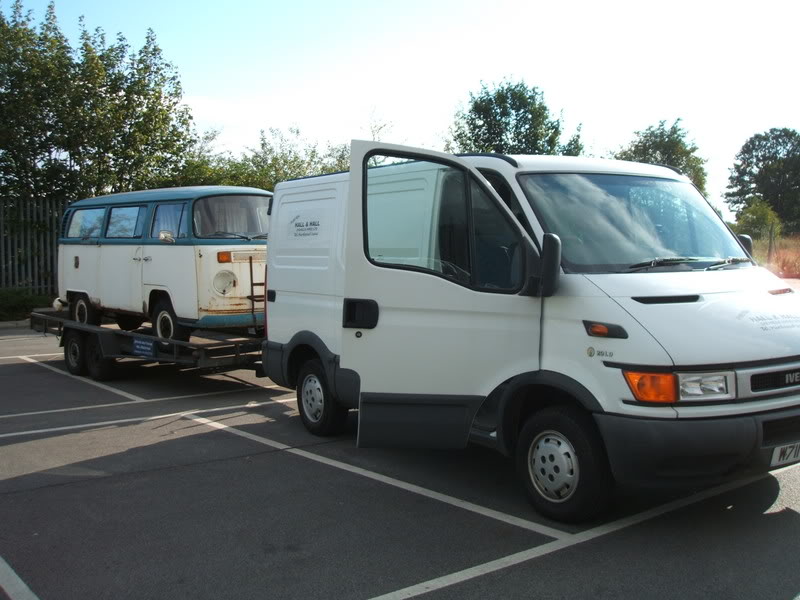
Its been dragged back & forth a few times between my home garage and my storage garage, getting the odd rub down or kick now and again, but no progress...just removed the cracked front screen and rubbed down some of the worse stone chips etc on the front panel

7933396_orig.jpg


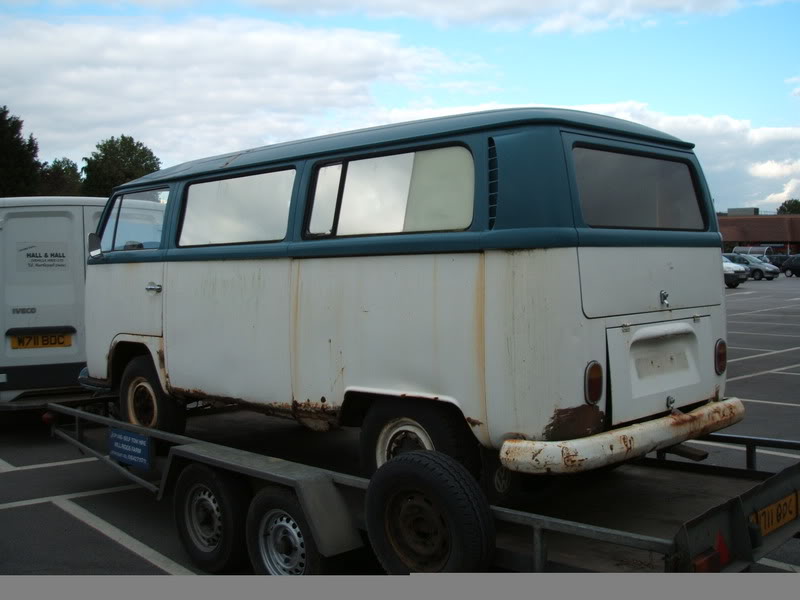
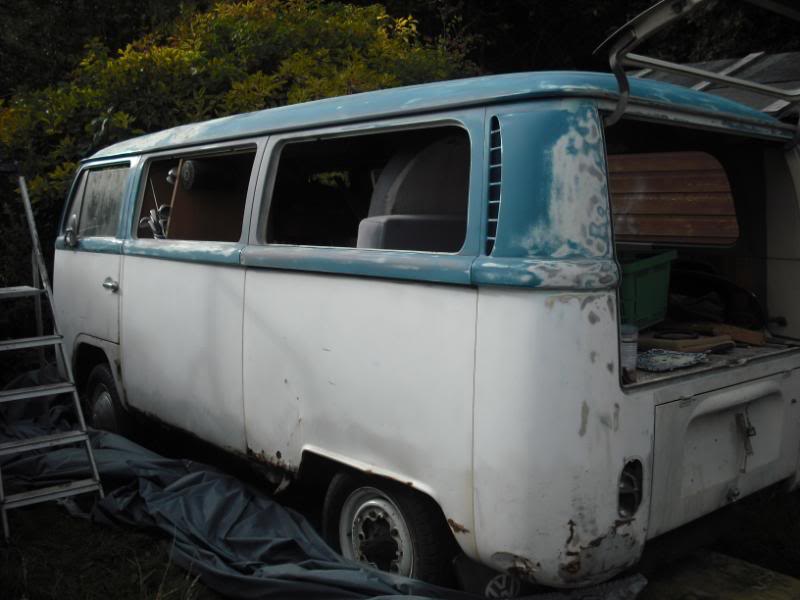
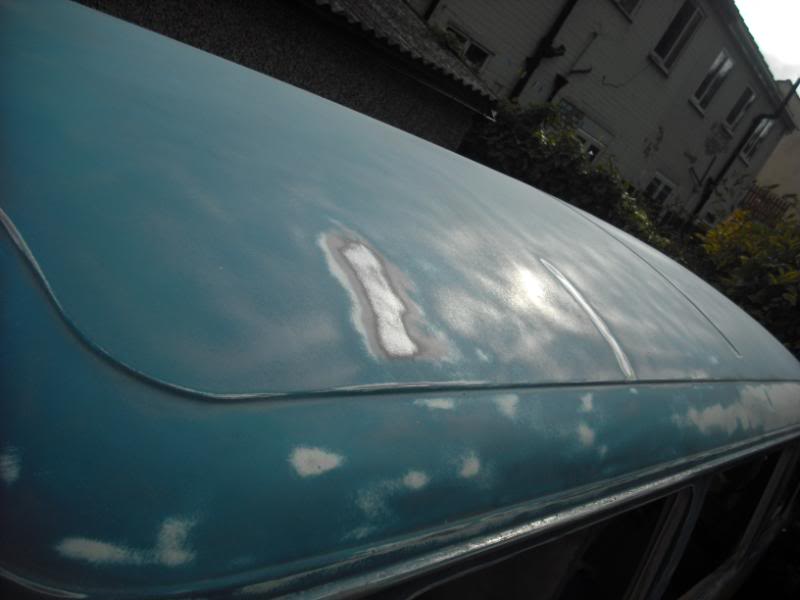
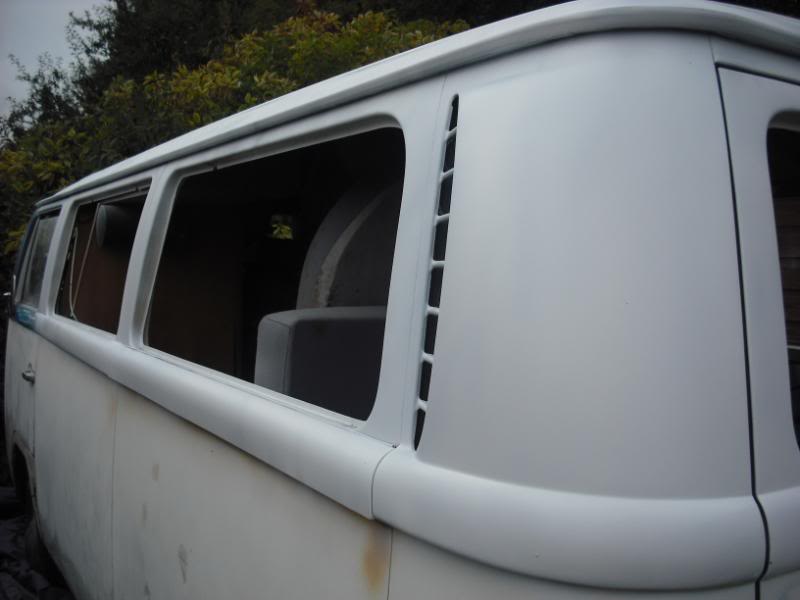
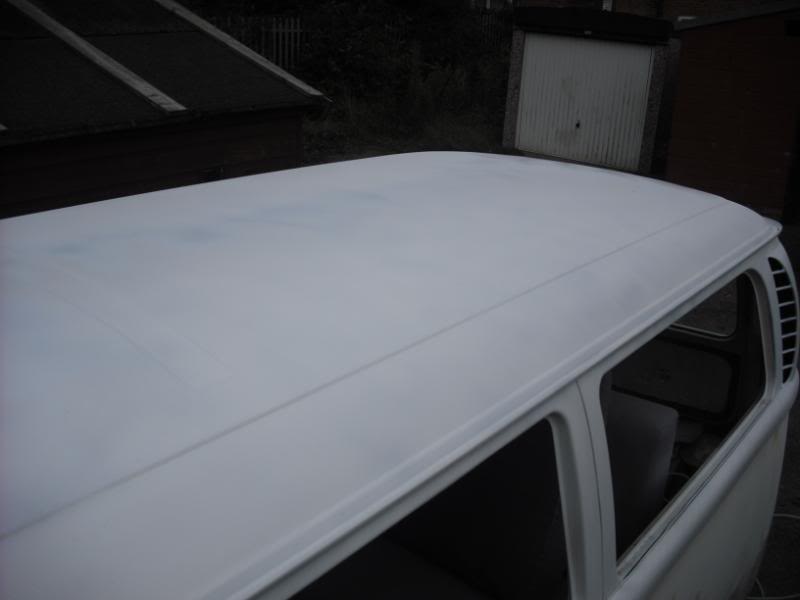
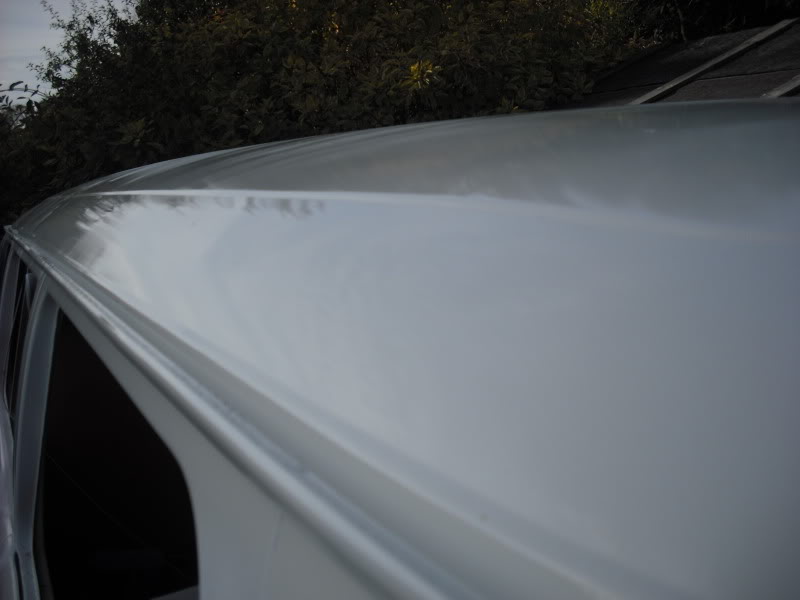
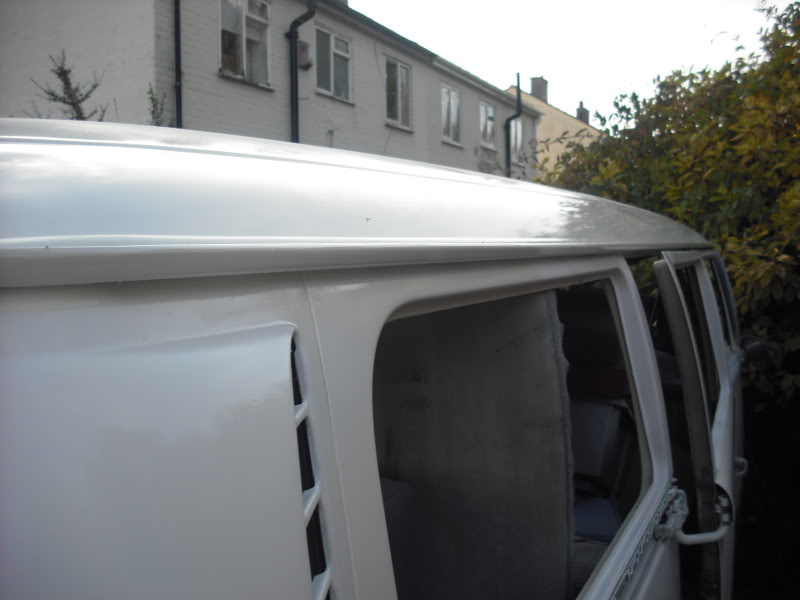
It was dragged back up out of sight for a while, until a couple years ago, I had a half hearted flurry of activity, basically, popped all the glass out, prepped the top half and gave it a little paint...not much really

663241_orig.jpg


1903459_orig.jpg


9221049_orig.jpg


6636495_orig.jpg


4348833_orig.jpg


9282233_orig.jpg


4388607_orig.jpg


7653007_orig.jpg


7541029_orig.jpg


6633198_orig.jpg


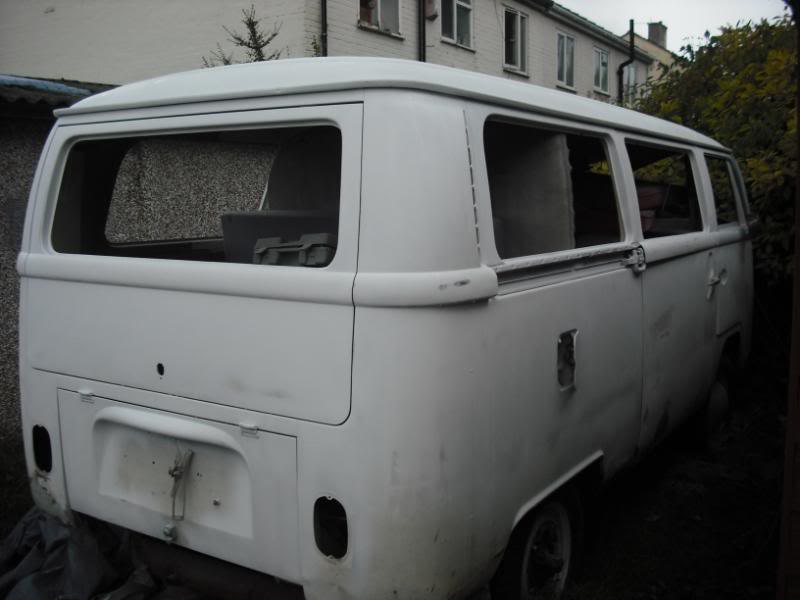
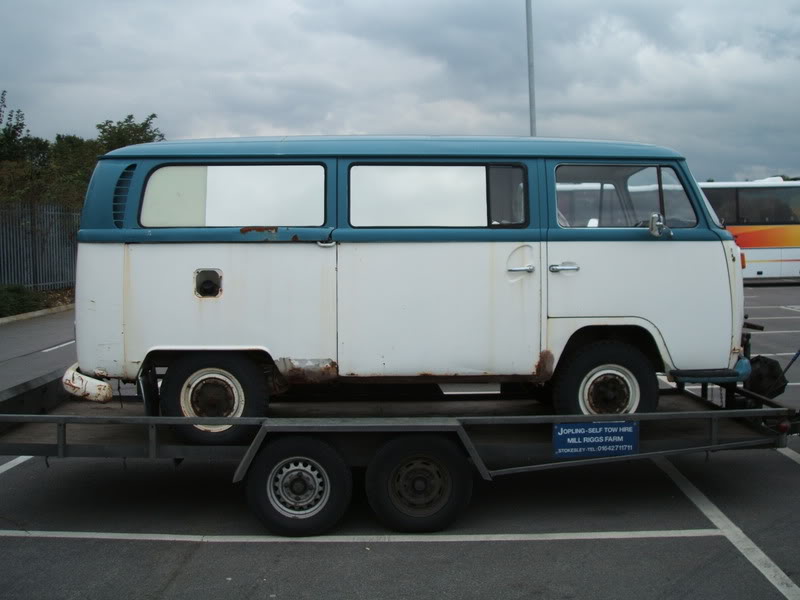
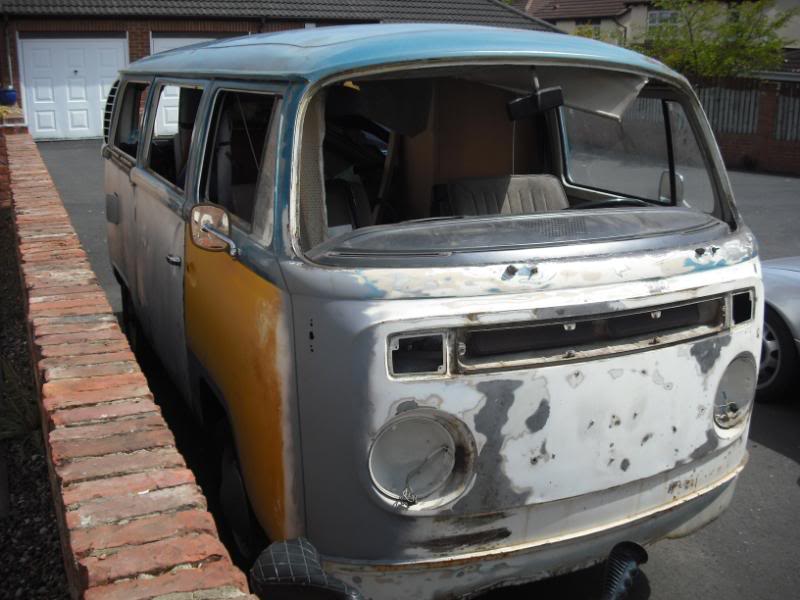
The JK cover was thrown back on - I seem to recall, we then got a LOT of snow and basically the bus sat outside under its cover for a couple of year.....I really should have got some paint on that front panel before the snow & hibernation as the next picture shows, its got a bit of surface rust.....next picture was taken this weekend, we dragged it back down home and its now drying out in the garage, the front panel is half bare metalled , as I had a hang over on Sunday and chipping at old paint with a screw driver seemed to pass the day nicely.
 
SO, this is it, the OFFICIAL start of the restoration :)

624512_orig.jpg


Initial list of metal required is as follows

high indicator blanking plates (I will no doubt just make these)
front arch steps inner / outer L&R
front arch backing plate N/S - whatever you call it, the bit that rots and joins the sill...hahaha)
inner & outer sill N/S
Front & middle outriggers and jacking points L&R
Battery tray

the sliding door lower needs some work, as do some of the upper areas of the front arches...and rear corners....and chassis on the N/S around the torsion tubes....and the crossmember :roll:

If anyone has any od the above going spare get in touch before I order them all
 
I believe the whole front has been replaced with a Late bay front or a Brazilian front. Earlybays don't have that ridge running down the front. It might get you into trouble with installing the low indicators in the right place.

Anyway, good to hear that you finally started restorations after all these years. Good luck with it :D
 
OK...so update number one, this week, i have mainly, bare metalled the front panel (screwdriver and chisel weapons of choice)
it had to go back to bare metal as this is the worse panel, lots of rust chips and exposed areas that had seen a winter or 2

but not to bad, its in pretty good shape really

9431059_orig.jpg


1294762_orig.jpg


Cut off that ugly lower panel lip and welded up the panels, then made some indicator blanking plates and welded them in - also had to weld up a couple holes in the centre of the panel where it previously had some homemade rack contraption bolted on

1802324_orig.jpg


3740340_orig.jpg


Ground down all the welds and gave a little skim over those areas
thats the front done for now, will come back round and finish the welded/filler sections once all the other metal works done

8196463_orig.jpg


8904161_orig.jpg


all in all, very pleased, this is the target i had set for week 1 and done it with ease :)
 
.....and i know, its currently still wearing the late grill

i am in 2 minds as to whether i'm gonna leave that grill late or change to what should be there
 
OK - so week 1 on the front panel tricked me into a false sense of security, Week 2, N/S front arch area - was a total wake up call, none exsisting top hat, outrigger, inner/outer step, cab floor etc etc...half a wheely bin full of rust and sand now

381138_orig.jpg


2900027_orig.jpg


718593_orig.jpg


17955_orig.jpg


6060429_orig.jpg


4059530_orig.jpg


8835123_orig.jpg


9422022_orig.jpg


Made my own cab footwell and patches, welded in those, new step inner & outer, built a new inner arch structure at the rear top, new top hat, outrigger, jacking point, closing panel and outer arch...all nice and solid, just gonna finish off all the welds and tidy it all up over the weekend, then next week....N/S sills, inner and outers, mid outrigger and cargo floor edges
6032942_orig.jpg


6494214_orig.jpg


2784675_orig.jpg


7966269_orig.jpg


4722057_orig.jpg


1593987_orig.jpg


5415700_orig.jpg


2950161_orig.jpg


oh...and gave the front panel a lick of etch primer ,, just to protect it while i'm working my way around the bus

Week 3 - hack out the inner and outer N/S sills (whats left) cargo floor edges, mid outrigger and front of rear arch - then get new metal in there

2006237_orig.jpg
 
Week3
lots of cutting this, week, out with the inner sill (what was left of it - who rivets on home made inner sills ?) cut out the mid outrigger and rusted top hats...cargo floor on the NS, and outer sill

3733393_orig.jpg


3285803_orig.jpg


Also, the entire body had little pin prick blisters all over it, off a repaint it must have had years ago...so sanded back the layers on the door, didnt go all bare metal as my theory is nothing is gonna protect the metal better than the original primer and finish if it hasnt been broken....gave the NS door a coat of etch primer to keep it all nice and healthy, the NS door is in great shape, no welding required

3417051_orig.jpg


4487787_orig.jpg


4594332_orig.jpg


OK. with the outriggers welded in place and the I beams treated and cleaned up, welded in the inner sill, sill strengtheners and the new outer sill with lower side built in

6492835_orig.jpg


3686079_orig.jpg


3529850_orig.jpg


Then to the inside and welded back in new cargo floor that had been cut out...and more sanding, middle section, also fabricated and welded in the new metal for the A frame outer between the sill and arch, I had made the inner when doing the front arch area last week

9712727_orig.jpg


4093943_orig.jpg


another coat of zinc primer on the middle section and viola - week 3 done
next week, rear section and inner & outer arch area and chassis

that will be the NS metal work finished ...luckily the OS is no where near as bad

Rock & roll

452365_orig.jpg
 
Week 4
Starting to get a bit sick of lying on my back welding and cutting now....but.....bad chassis rail rot on the NS from the rear outrigger to, and around the torsion tube, was a right pain the chop out without removing the springplates etc....but managed eventually, cleaned off all the metal and prepped it, got some nice thick galvanised steel and had a go at making this section myself, pretty please with the results, its in place now and half welded in, but got sick and needed a break from this area, so pics of it when ~I finish it.
For a bit of a change, I spent a while on the NS inner arch area , scraping off the underseal with a chisel, again, like the front the underseals done a great job and lots of shiney OG paint under there with minimal repairs needed
5425182_orig.jpg


7090551_orig.jpg


9082742_orig.jpg


8491995_orig.jpg


Gave the middle section a coat of etch primer & cut out the lower rear quarter section leading up the the rear arch, made up a replacement panel and welded that in, the arch had a nasty ding in it, but was the original metal in good shape apart from the ding, so spent a while with the hammer and have managed to get it mostly straight.....rubbed the rear quarter back to the OG paint

949639_orig.jpg


8166559_orig.jpg


1773619_orig.jpg


2244744_orig.jpg


Gave the rear quarter a coat of etch primer....thats the whole front and NS from the swage line down now in etch :)
I have made a start on going round all the welds grinding them back, sealing and filling

1351752_orig.jpg


7506599_orig.jpg


9217356_orig.jpg


1269951_orig.jpg


1599661_orig.jpg


The Roof

At some point the NS front end has had a tree branch or something heavy land on it as it had some pretty deep dints in it when i got it, i initially just skimmed over them all with filler, but have since thought better of it and spent a while this week sanding off all that filler and clouting the roof with hammers to get it back into some kind of shape....dont bay roofs make a lot of noise when you continiously pound them for an hour with hammers and dollies ???

1691075_orig.jpg


3186879_orig.jpg


Thats it for week 4, next week, finish off the chassis section around the torsion tube, pop a couple patches in the rear arch area. clean back all welds, seal them all , pop its wheels back on and hopefully get it pushed out the garage next weekend for some decent pics of the side........then turn it round, push it back in and get started on the Off Side - whoop whoop
 
Week 5

no BIG progress this week- mainly small patches, 1 in the rear of the rear arch, 1 for the sill closing panel in the rear arch, couple of small ones around the front arch / step etc...finished welding up the lower sill and sealed some of the welds and a little filler work
getting pushed out tomorrow to turn it around and get started on the engine bay and O/S

1579560_orig.jpg


8362544_orig.jpg


6751035_orig.jpg


9585088_orig.jpg


4239949_orig.jpg


7830472_orig.jpg


3433601_orig.jpg


strange seeing it back on all 4 wheels ready for the pic push tomorrow :lol:

`Oh.......and popped down to Stafford to pick up a Nice early devon caravette interior from Ant (mr whitewalls) - cheers mate
all squeezed into my polo nicely
long way off that, but nice to have it tucked away for when its needed

3574806_orig.jpg
 
Week 6

OK...so wheels back on and N/S all welded up, the bay was pushed back out into the day light....gave me a chance to take few pics and look at the complete side, rather than the little bit by bit pics I could get in the garage....also , to take a look at the 'good'side in a little more detail, turned around and pushed back in again

8753538_orig.jpg


7593890_orig.jpg


5936529_orig.jpg


1064831_orig.jpg


3124084_orig.jpg


5899908_orig.jpg


60199_orig.jpg


1950069_orig.jpg


Turned around and safely back in its home...1st job, was engine out....then stripped down to the block so all the tinware (and the actual engine) could be cleaned up and tinware painting - also removed the Eberspacher heater to give that a going over too

1362638_orig.jpg


2362460_orig.jpg


5972618_orig.jpg


1655972_orig.jpg


6262955_orig.jpg


ripped out the homemade battery tray....which was just some folded steel held in with 3 self tapers...did some small patches around the trays and corners....took the rear hatch, engine lid & quarter back to OG paint or metal, then etch primed...few little patches around the rear corner and hammered back into shape...battery tray back in, sealed and primered

7717685_orig.jpg


9716235_orig.jpg


4929249_orig.jpg


1892321_orig.jpg


817692_orig.jpg


9529400_orig.jpg


2122320_orig.jpg


5753927_orig.jpg


1569125_orig.jpg


Thats the bus turned around, engine out and stripped, engine bay cleaned, metal work done and primered ready for paint, rear hatch and engine lid de-layered of old paint and primered, same for rear corner
I started on the long side, removed the sliding door cut out most the horrific sill bodges etc etc...but will save thise updates for next week

Week 6 over, roll on week 7 - sill, rear quarter side and sliding door - oh and some of the most ingenius bodge jobs your likely to see unpicked and dismantled ;-)

One man and his chisel...to infinity and beyond

7105947_orig.jpg


found a sticker stuffed in the back of the bus...rather apt...so stuck it on the welder


1268421_orig.jpg
 
Week 7 & 8 - OK its been ~easter break, and thats what I did, took a bit of a break, gave the splitty a run out over the bank holiday - anyways, back to the jobs in hand, O/S sill - OMG - it felt rock solid, but had obviously had repairs in the past, having seen the repairs on the rest of the bus...i thought it best to investigate further, Like any good repair man, whoever had done the sill, had made as difficult as possible for the MOT man to ever fathom out what was going on, so basically layer, upon layer and riddles in metal...after trying for a couple of days unpicking the mess...I just thought, screw this....and cut the whole floor section out, I figured at least i can work on it the right way round, fix what I can , and then weld it all back in

7036284_orig.jpg


1455401_orig.jpg


1809215_orig.jpg


6897622_orig.jpg


1809215_orig.jpg


So...basically, welded in front and middle outriggers, cleaned up the top hats / I beams, welded in new inner sill , rear lower side panel - cleaned up the existing door runner section, put that back in with inner strengtheners, new outer sill, and floor sections as an when they where needed...very time consuming, but all rock solid metal again...

5715616_orig.jpg


5735011_orig.jpg


4519784_orig.jpg


6441935_orig.jpg


6877295_orig.jpg


5540033_orig.jpg


took the rear quarter back to original paint (GOD I Hate sanding the old paint off) and a coat of etch primer, also made up the sill closing panel inside the rear arch...and a repair around the seatbelt anchor up in the top of the arch
Scraped all the underseal off both archesand started cutting out the crap past repairs in the rear of the front arch A post area

8307178_orig.jpg


8523858_orig.jpg


5795528_orig.jpg


1605736_orig.jpg


6443877_orig.jpg


8787564_orig.jpg


1602964_orig.jpg


2229533_orig.jpg
 
Sliding door removed and replaced the bottom couple of inches - although most the outer skin seemed OK, cutting it all off was the only way to get at and treat the inner frame, which wasnt so good

2738517_orig.jpg


2293796_orig.jpg


8433932_orig.jpg


8482427_orig.jpg


Spent a good couple of days getting all the gaps nice around the sliding door, stripped the door and etch primered it and also got some glossy paint on in the engine bay in preperation for getting the eberspacher and engine back in sometime soon (i hope) but will save all those exciting pics for next weeks update
Thats the end of my end of year half day holidays i had to take for work.....so no doubt progress will slow down now, as I had been getting a couple of afternoons a week in on the bus, but on the plus side....ITS BST :) we now have light nights again !!!!!
 

Latest posts

Top