My Crossover Restoration

Early Bay Forum

Help Support Early Bay Forum:

This site may earn a commission from merchant affiliate links, including eBay, Amazon, and others.
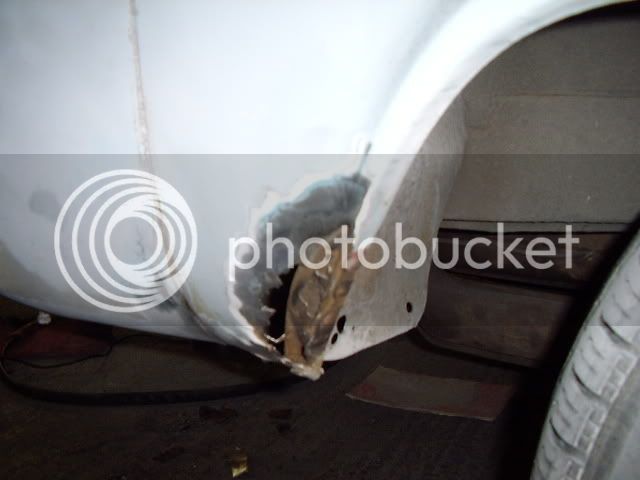
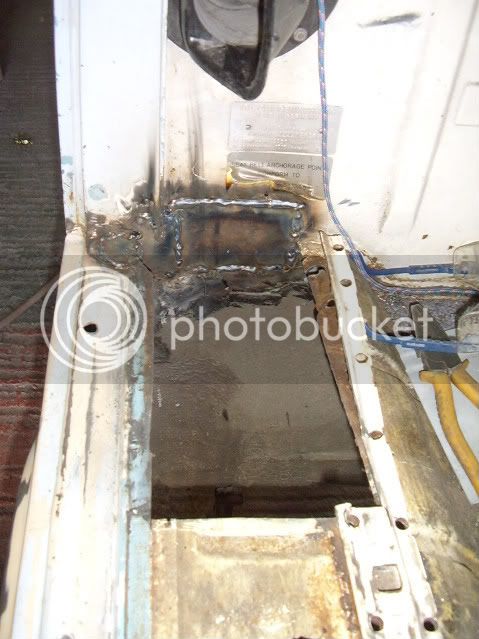
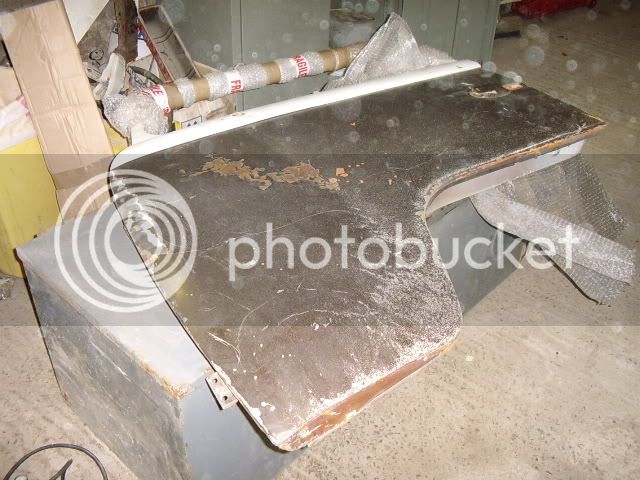
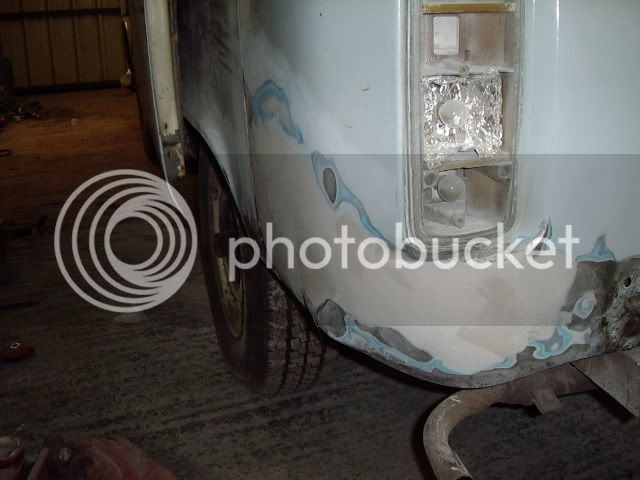
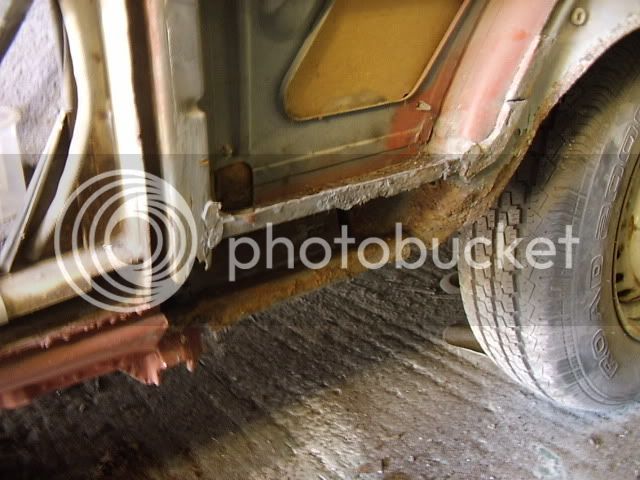
It's been a while since I added to this thread, but I have been busy. The rear corners and arches have had a bit of attention. The rear near side corner looked pretty grotty...

STA40820.jpg


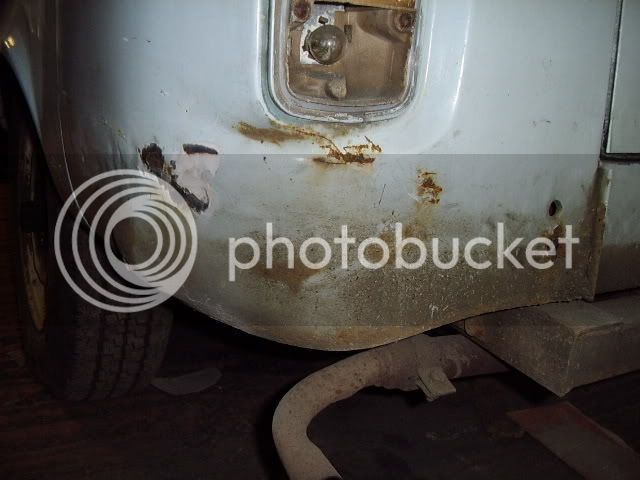
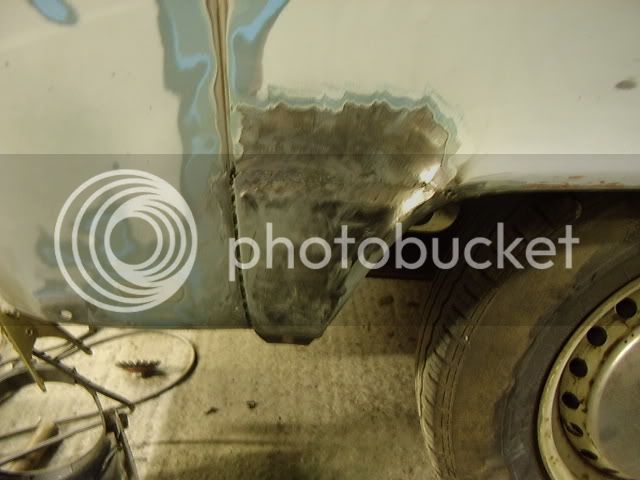
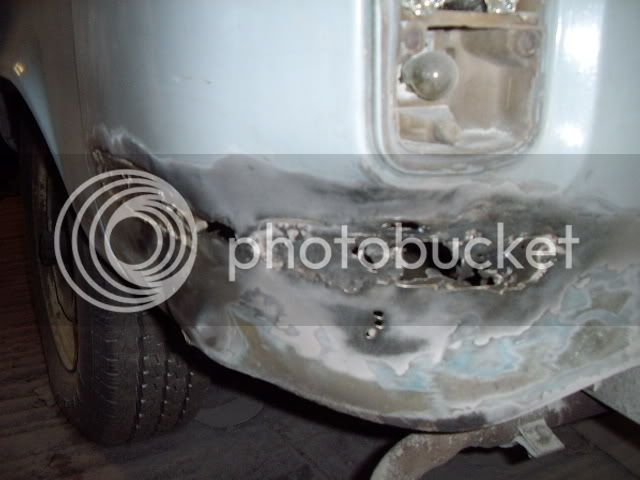
...but in actual fact was rust free except where the battery tray met the outer panel. So rather than cut out sound original metal, I just removed the rust and welded in new steel.

STA40823.jpg


STA40835.jpg


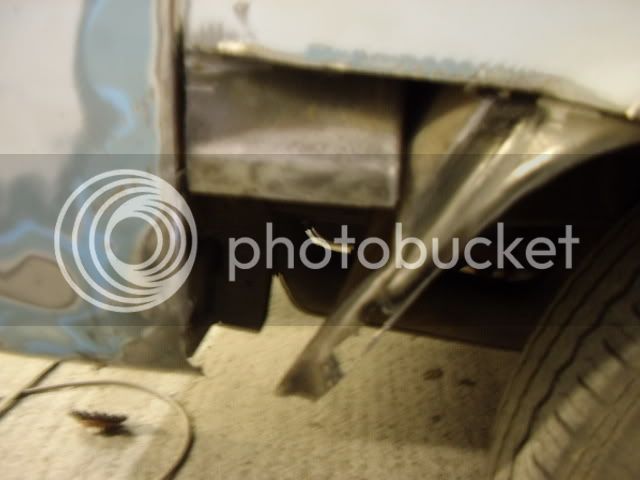
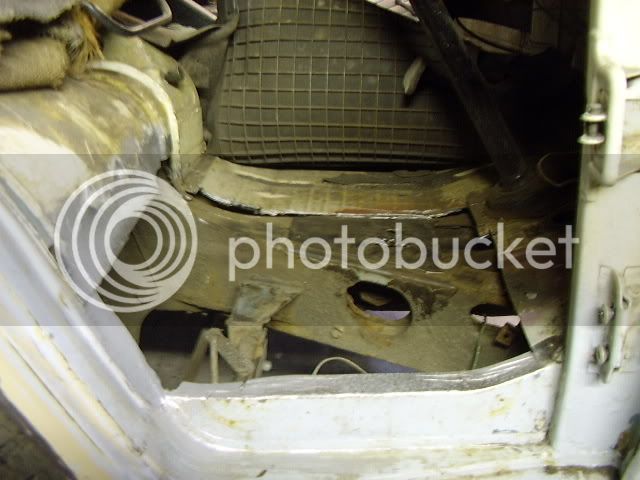
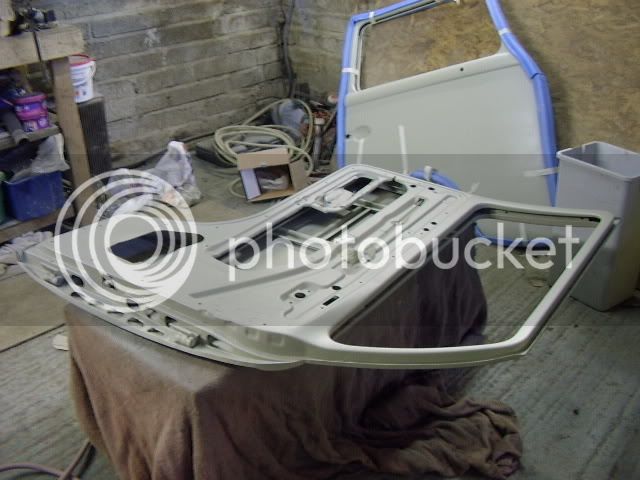
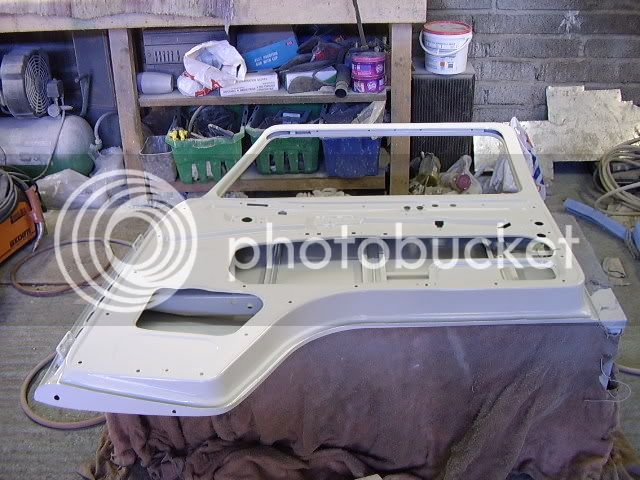
The near side rear arch had been replaced at some time, but who ever had done it had done a crap job at sealing the arch lip, allowing water in and causing rust. So off it came.

STA41000.jpg


STA41002.jpg


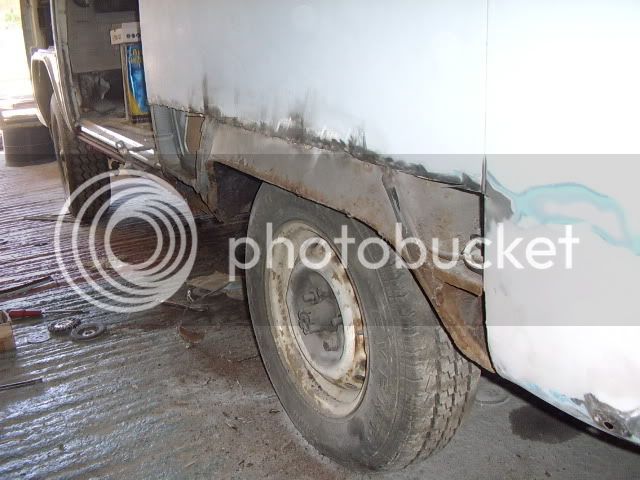
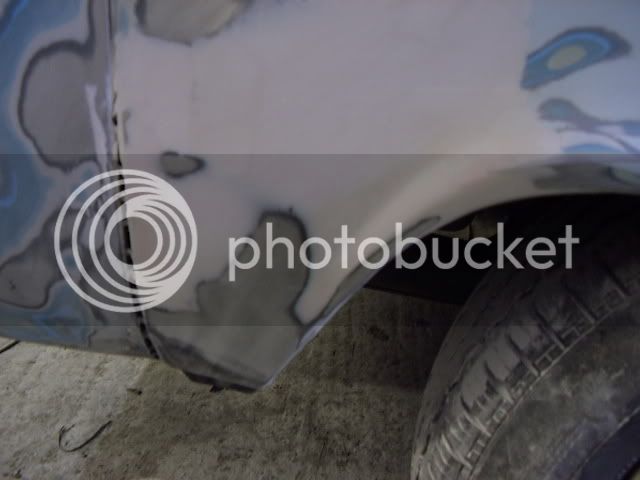
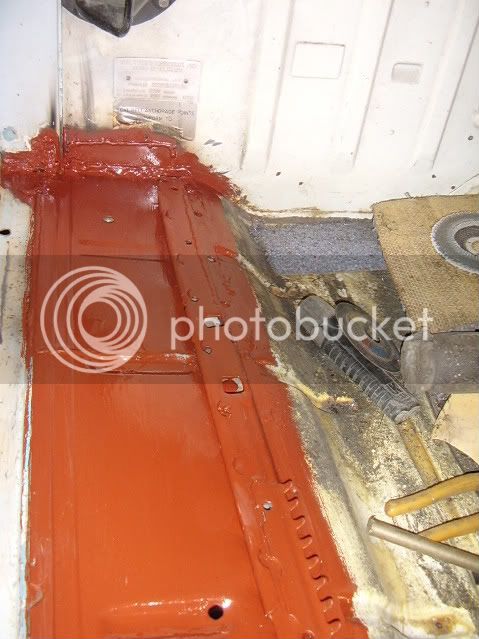
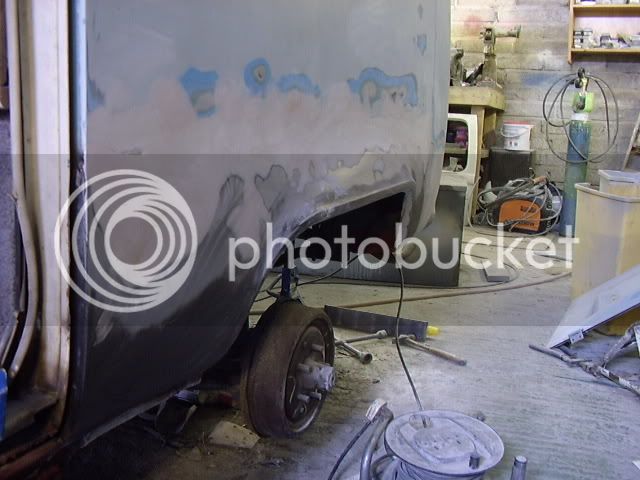
After removing the rust from the inner panels a replacement arch went on surprisingly easily
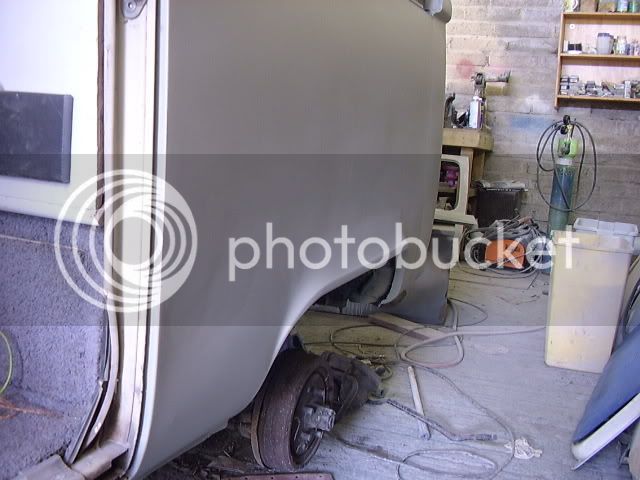
STA41006.jpg


STA41010.jpg
 
The off side rear arch wasn't to bad at all, with rust only at the rear.

STA40822.jpg


So this rot was cut out....

STA40862.jpg


....a new panel welded in....

STA40865.jpg


...and then filled

STA40871.jpg
 
When I came to unbolting the drivers seat belt, I was alarmed to find that rather than the bolt turning, the whole section of the floor did! Cutting back to decent metal took some time, especially as the seat runners were welded onto of the rusty panel.

STA40994.jpg


STA40995.jpg


Having finished this welding, I found yet more rust in the cab floor.

STA40970.jpg


And with that, rust in the chassis legs as well. By now I was getting pretty hacked off with rolling around on a filthy floor getting showered with sparks from the angle grinder and welder. It seemed a million miles away from what I'd actually bought the van for...

STA40364.jpg


Still, onward and upwards as they say! Due to being so fed up with cutting out rusty bits, I turned my attention to a rust free (but dented) door I'd bought on e bay.

STA40414.jpg


STA40417.jpg


Not a nice colour, even less so when I rubbed back to reveal a tango orange colour underneath! But it was a pleasure to work on a rust free bit of VW for a change, and soon it was primed and ready for the top colours.

STA40796.jpg


I'd also bought a brand new Brazilian door from JK and this was no ready for top coat in no time as well

STA40787.jpg
 
At last it was time to prime the van.

STA41035.jpg


STA41036.jpg


It's amazing, you work for hour upon hour feeling like you're getting know where while preparing the van for paint, then within a morning the whole thing is in primer and transformed. You feel like you have actually achieved something

STA41014.jpg


STA41016-1.jpg


More photos of what it looks like now I've put the top coats on when I've taken them!
 
sweet, get those top coat pics up 8)

did you have to do anything with the poptop? sand/re-spray etc?
 

Latest posts

Top