Nick's Crossover Cali Riviera Camper

Early Bay Forum

Help Support Early Bay Forum:

This site may earn a commission from merchant affiliate links, including eBay, Amazon, and others.
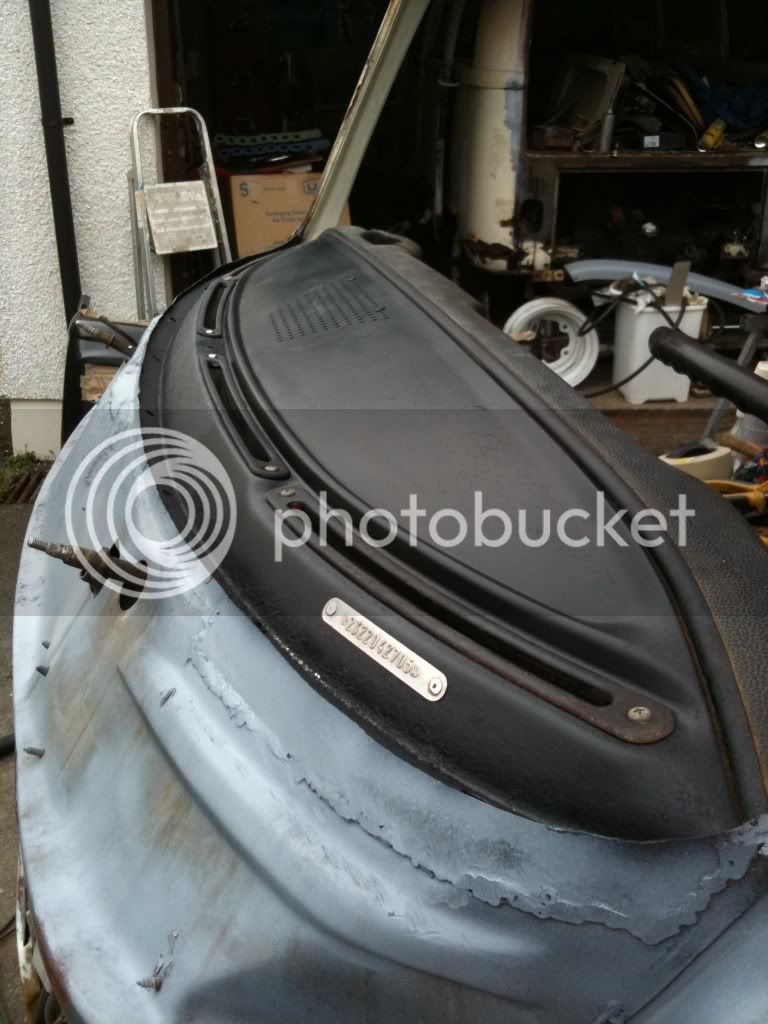
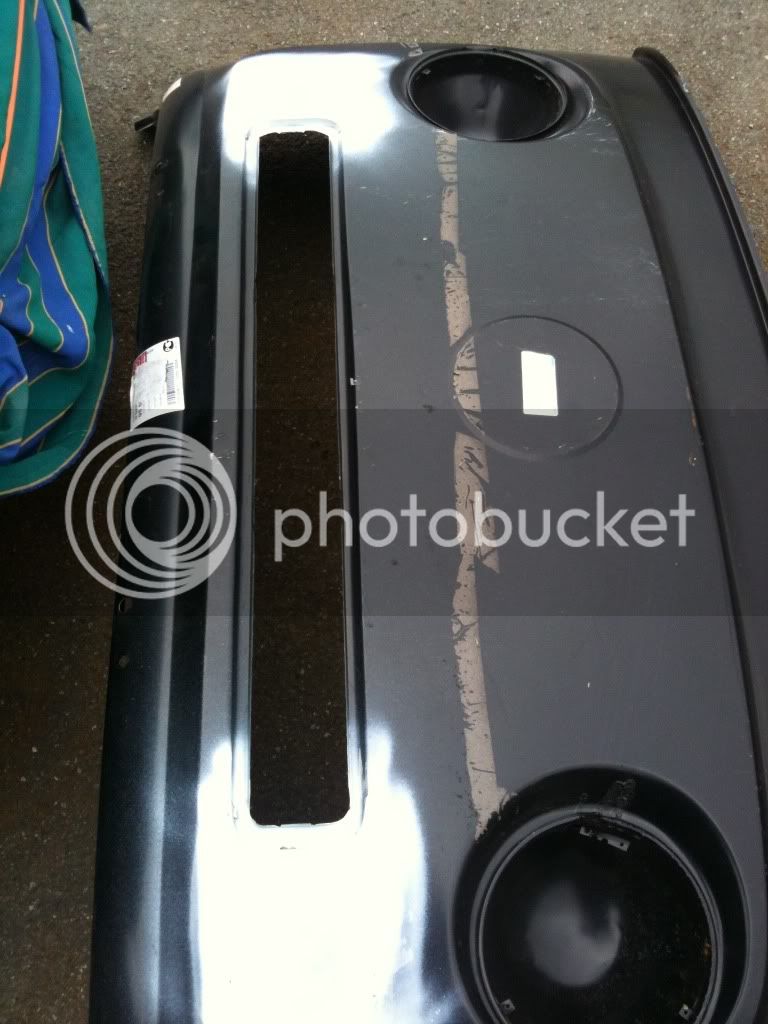
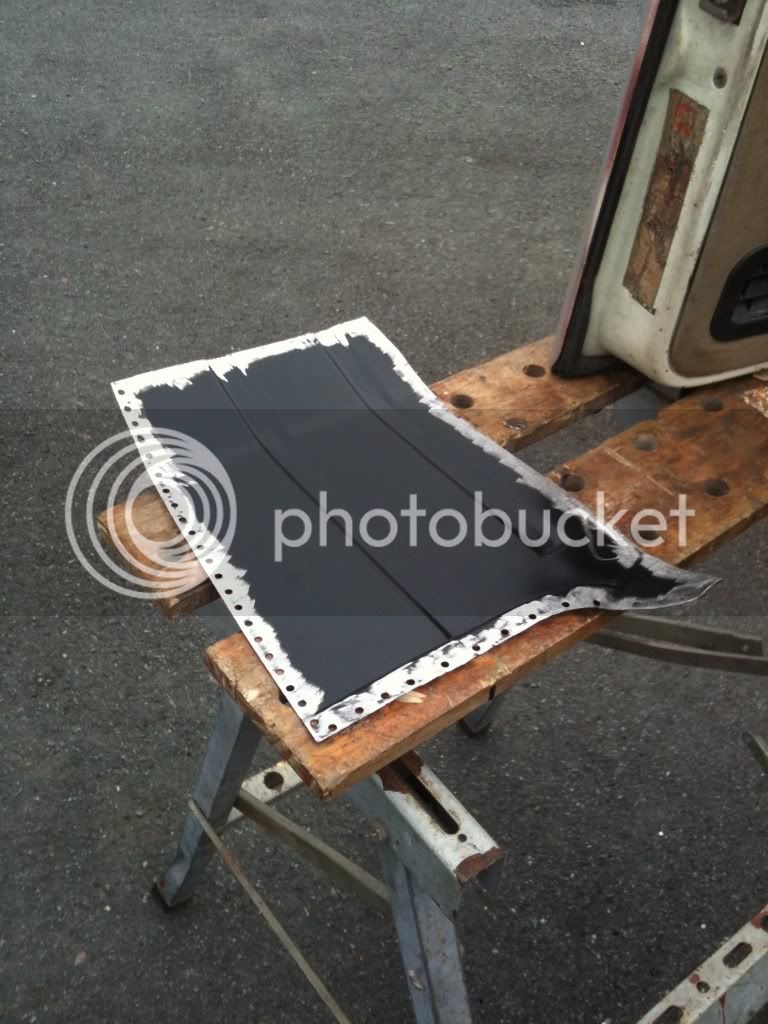
Woohoo! Look what arrived this morning!
ba9ab9ac.jpg

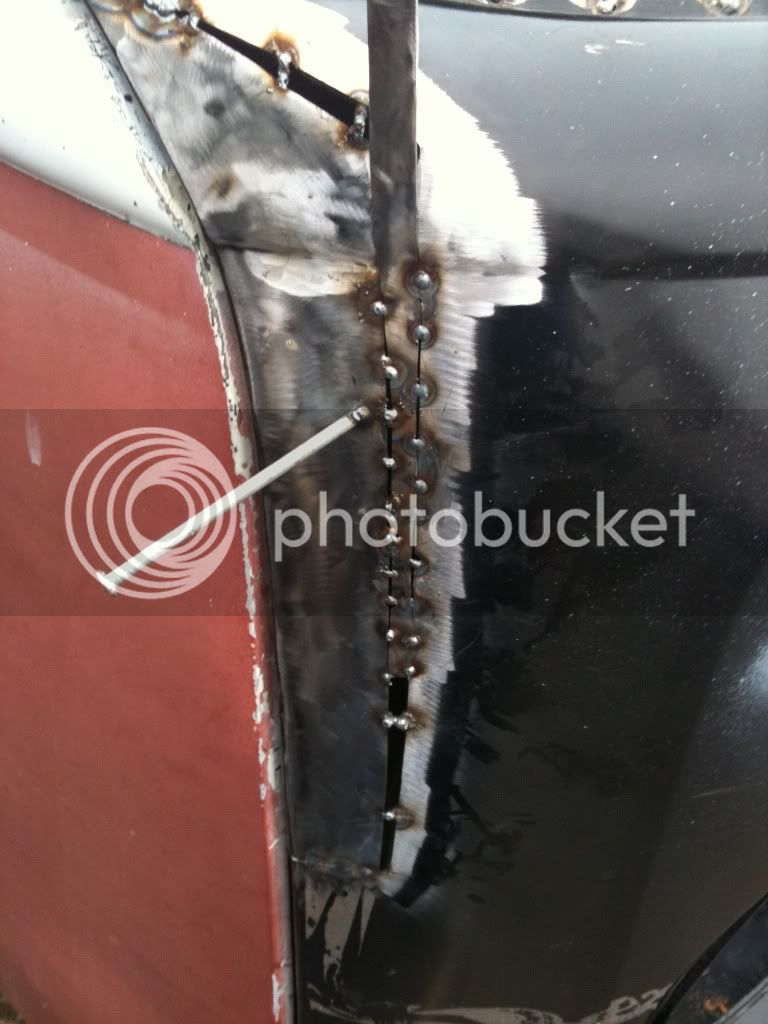
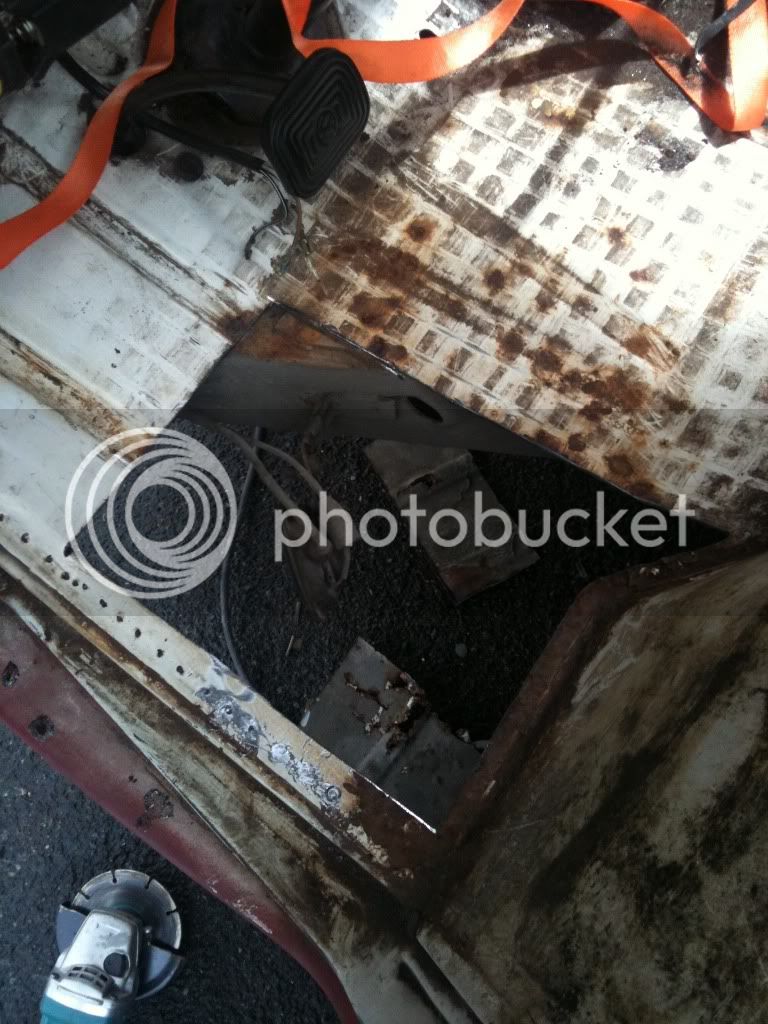
I'm off to fire up the grinder.
 
I cut off the bulge on the top of the old front panel just to give access to the windscreen flange. I needed to repair a little bit of rot in each corner of the crosspiece and also a section in the middle.
e6be051d.jpg

Here is the nearside lower corner. I have cut out the rotten bit and made up a new section out of flat sheet. Once welded in it will get cleaned up and painted to keep future rust out.
 
I got a bit busy with the grinder...
18919e31.jpg

A bit of windcreen flange repair:
5c72a755.jpg

A bit more:
145d3d44.jpg

I just need to dress back the welds, splash of paint and then the new front panel can go on. I'll be doing the lower front panel and indicator blockoff plates as well if it doesn't rain tomorrow. Off for a beer.....
 
This is looking good, have you done work like this before? I'm guessing its not as quick as these few snap shots make it appear!

Shall be waiting for your next installment
 
Well, the footwell stuff was done in one afternoon, and the front panel removal and windscreen flange repair was done yesterday. I've done a bit of work on beetles and my old latebay about ten years ago, and more recently I have had a shot at fixing up my 68 dormy, although thats on hold till this riviera gets finished. All of the stuff I am doing I have researched by going through some of the resto posts on this site. There is no-one local to ask for advice, so the help I have got from the people on here has been priceless. Thanks for the kind words by the way. :)
 
Have to agree - doing a grand job 8)

Don't forget to remove the loose rust before painting (what are you painting it with?)
 
The loose rusty stuff on the dashtop will be removed with a flapwheel and steel wool, followed by a coat or two of red oxide primer and then top coats of satin black. I never really liked coloured dash tops as they reflect glare into the screen.
The rest of the front will be getting some flapwheel action on the bits of remaining surface rust, zinc rich primer and then some pale magnolia rattlecan paint that is a good match for the original interior paint. I'll be doing the inside of the front panel in the same stuff, with just weld thru primer on all the surfaces that are going to get welded. The rattlecan paint was originally intended for household radiators and is meant to be pretty hardwearing, so it will be interesting to see how it holds out.
 
So while you lot down south have been sunning yourselves for the last week, Shetland has gone back to winter with heavy rain, showers, fog etc. Not really condusive to working outside on the camper I'm afraid. I managed to dash out this morning and do a bit of work on the LHS footwell. Before:
517.jpg

During:
2087b8cd.jpg

It then started to pee down again so had to knock it on the head. You can see in the bottom pic where I have started to mark out the spotwelds ready for drilling. My previous spot weld cutter had given up the ghost, so I bought a new one of the same type. For some reason this one won't hold straight at all and only managed one clean cut in 15 minutes work. I'll give it another go when it stops raining but it looks like I will be leaving the spotwelded part of the panel attached to the door step and butt welding the new piece against it. I would rather not do this as the finished result will not be as good, but needs must.
The rest of the front of the camper is wrapped in taped up black plastic while the front panel is off and the screen is out. There is decent weather forecast for the weekend so hopefully I can get the front back on then. :)
 
I thought I would spend a couple of hours working on the bus before I went in to work. I got the footwell repair panel prepped and punched for spotwelds and wheeled the welder out of the garage, just as it started to hammer down (again). Wheeled the welder back into the garage before I got a shock, and took a quick snap of the prepared panel for your perusal.
d565d767.jpg

I have the next two days off work so I'm hoping to have the footwells finished and the front panel on. weather gods permitting!
 
Thanks! I'm trying my best not to mess it up by doing a crap job. Here's todays installment:
45217e12.jpg

That's the footwell panel in, just needs the welds grinding back, black transit primer removing, a lick of decent primer and the underside sorting out. Then I will be cleaning up and repainting the whole cab floor.
Decent weather has been forecast for tomorrow, so I will be up early to make a start on this:
1fcc30f0.jpg
 
good progress.

your a longway up :D my wife was in Shetland filming on one of the super trawlers for a fishing program.
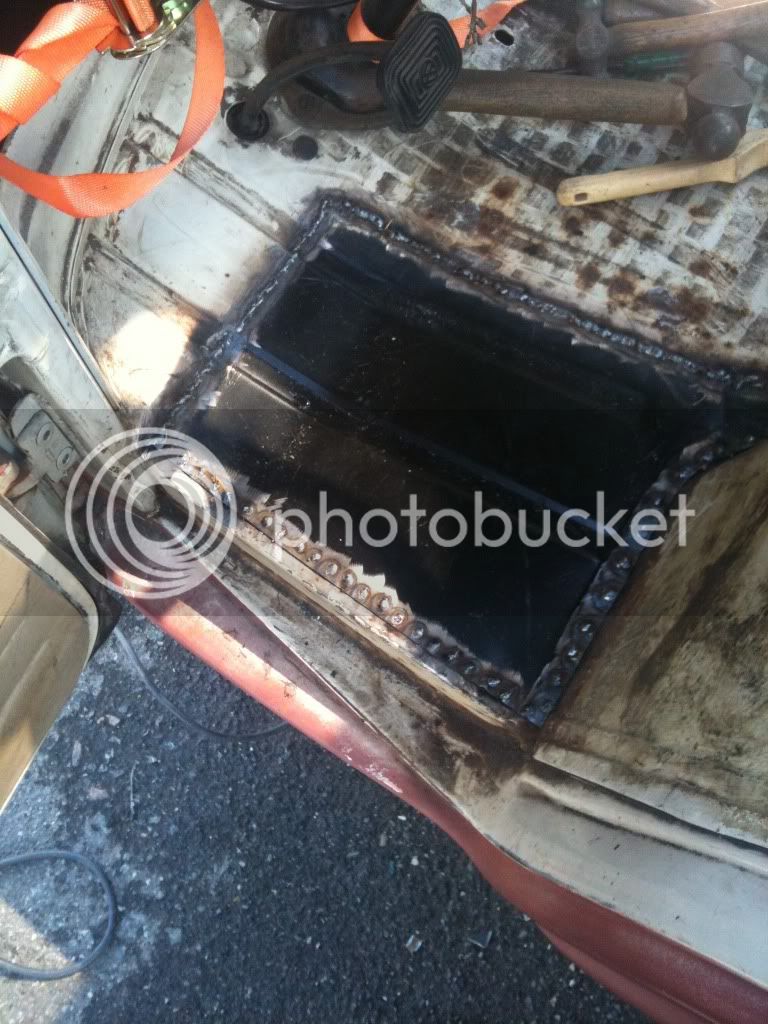
she said shed never seen so many drunk people wandering around at 1pm in the day :lol:
 
Managed a couple of hours on the bus before I went to work.
9fc776d5.jpg

Rubbed down, primed and painted the dash top in satin black. Also ground back the welds on the inner crosspiece (a bit) and shot some zinc rich primer on it.
 
These late shifts are great. It means I can get a couple of hours each morning on the bus! Here's what I did today.
The offending panel:
d23fcff9.jpg

This bus is going to have the indicators it was born with.
I have lopped off the front grill mounting tabs as they don't allow the grill to sit deep enough into the panel. The originals are still attached to the bus.
2ad373de.jpg

A bit of daisychaining and there you go.
727f91ea.jpg

Only a tiny skim of filler to do. I have shot a bit of primer onto it to protect the bare metal.
ce4cd932.jpg

Tomorrow the badge bulge in the panel will be removed.
 
Front panels are a total pain in the @r5e. Too busy swearing to take pictures. I'll post something tomorrow maybe... They should make these things an inch wider and there would be no problems. Get ready for a demonstration in extreme bodgery with the use of ratchet straps, clamps and a boxload of cutting discs :cry:
 
Here you go:
cb1418cd.jpg

30d2a37e.jpg

Getting ready to spot weld the windscreen flange and airbox area, then buttweld the windscreen pillar and lower airbox edge. The lower 6" of the pillars will fold round, but the top foot of the panel by the upper door hinge either side will have to be split, pulled and sections welded in.
 
There's more....
9f539a80.jpg

I hung a few bridging tacks across the gap, just to hold the panels at the correct angles.
8c51ef6a.jpg

Then I started to feed in a filler strip and removed the bridging tacks as I went along.
5f88ea91.jpg

I tacked a nail onto the panel to help me pull it out to the right spot to meet the strip.
308c583e.jpg

After daisychaining the tacks together and grinding back, this is what I ended up with. Still needs a skim of filler, but nowhere near as much as I thought I would need. Still got the other side to to, but I'll not bother putting those pics up. I am thinking of putting a doorskin flanging tool on order to properly fold back the metal into the doorshuts. The hinge brackets are preventing me from getting a hammer in there with a dolly. I have tried all sorts of odd ways of folding the flange, even using a combination of a tyre lever and rolling pin, but without the right tool I am going to have trouble getting the crimp tight. Any ideas?
 
Wow you've done great to make that panel fit, such as shame they can't make them right in the first place! I just read too that Klassic Fab are considering making bay front panels which would be exellent news! Still your doing fantastic work and its really enjoyable to follow your progress
 

Latest posts

Top