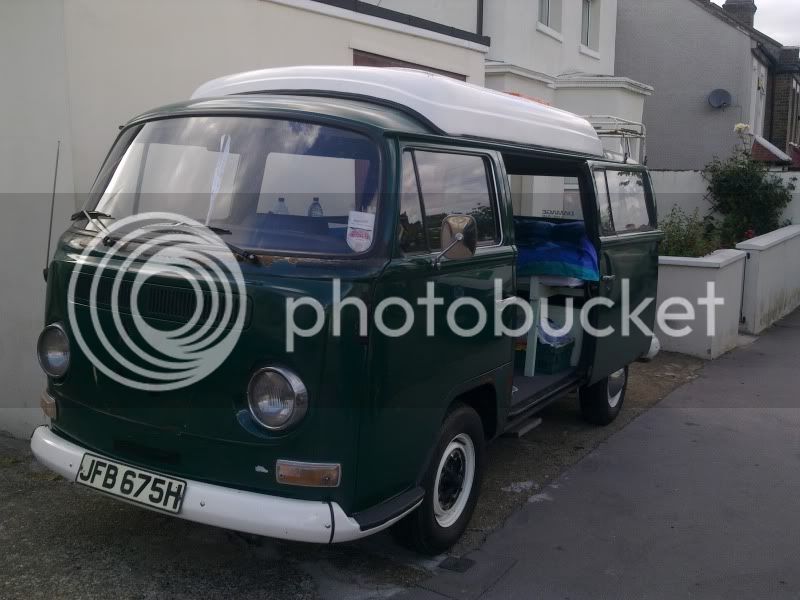
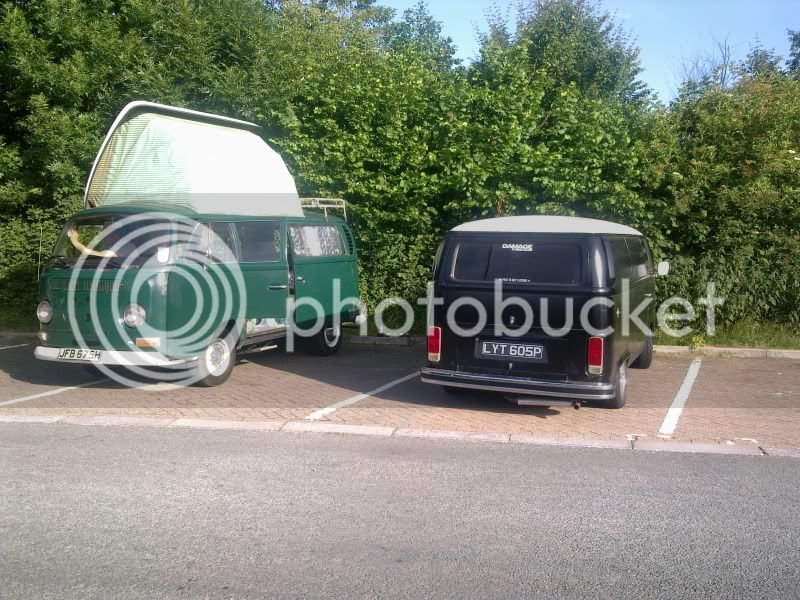
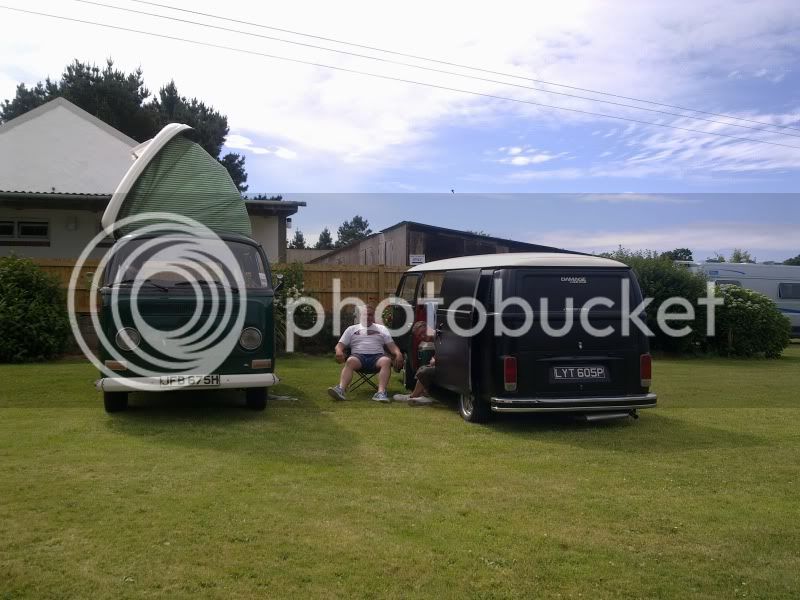
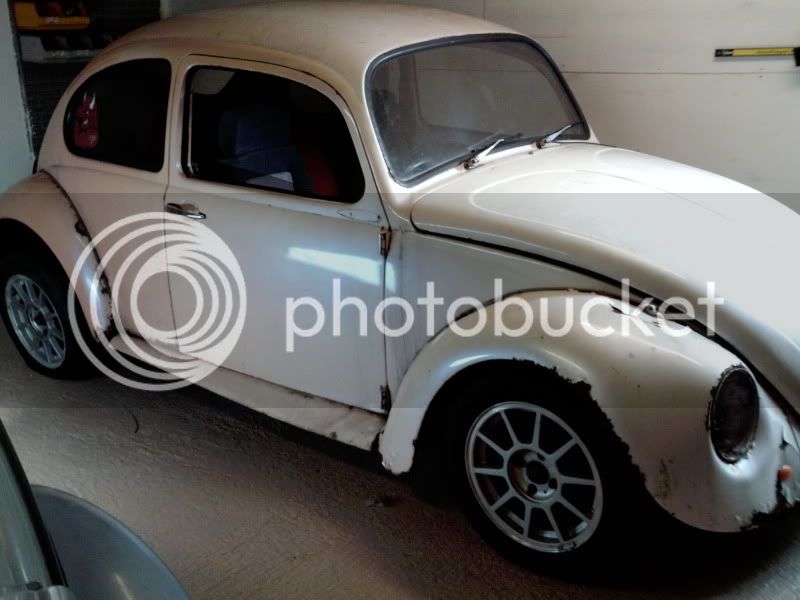
the new bus 70 dorm!

Early Bay Forum

Help Support Early Bay Forum:

This site may earn a commission from merchant affiliate links, including eBay, Amazon, and others.

SkidMarkII

Well-known member
Joined
Jan 11, 2007
Messages
69
Reaction score
0
Location
London
Here we go with the story

Had the 72 cross over and now that has gone to a mate. I will be working on the bus still, so will keep the thread updated with the progress that is on here.

I let him have it and he paid me for the spares I had been collecting. In the deal I got his fecked 74 bay as it was a mess and I have nearly finished cutting it up for the bin. We have saved what we could and will use the parts on our various buses when the time comes :shock:

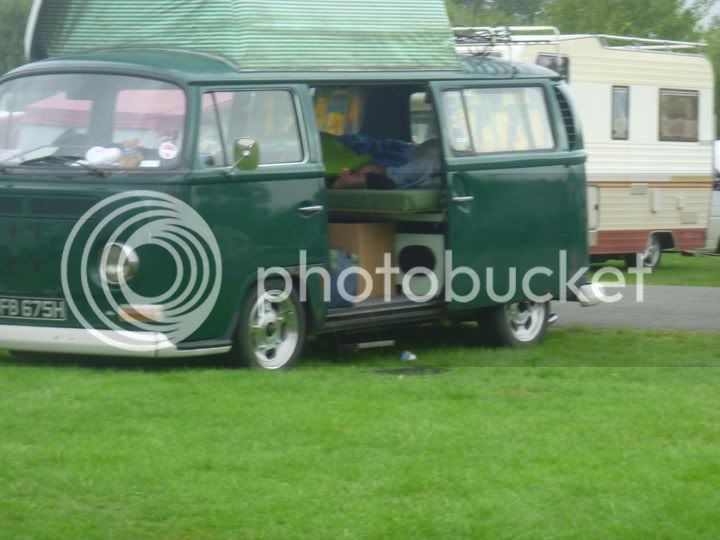
This all happened due to me finding this bus
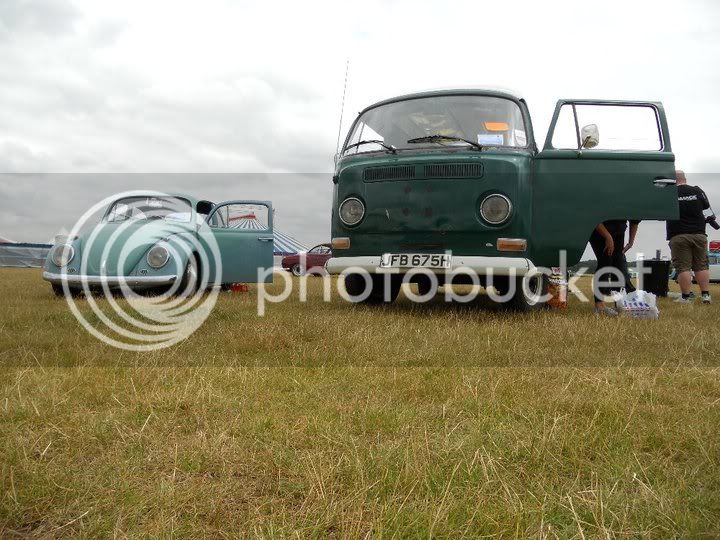
38180_417893429567_544879567_4466260_1378698_n.jpg


Thats my bug in the pic as well :D He is a 1970 dormobile, but has a homemade interior in him. The girlfriend has called him Christopher. Picked him up for £3,800 off a chap in Leicester. Done it this way as we are doing a big trip next year to Germany and I was never going to finish the 72 in time. Where as with this one I can do everything I need to and still keep it on the road at the same time rather than doing a complete strip on it.

Some more pics and the plan :eek:)

Picture010.jpg


Picture022.jpg


Picture030.jpg


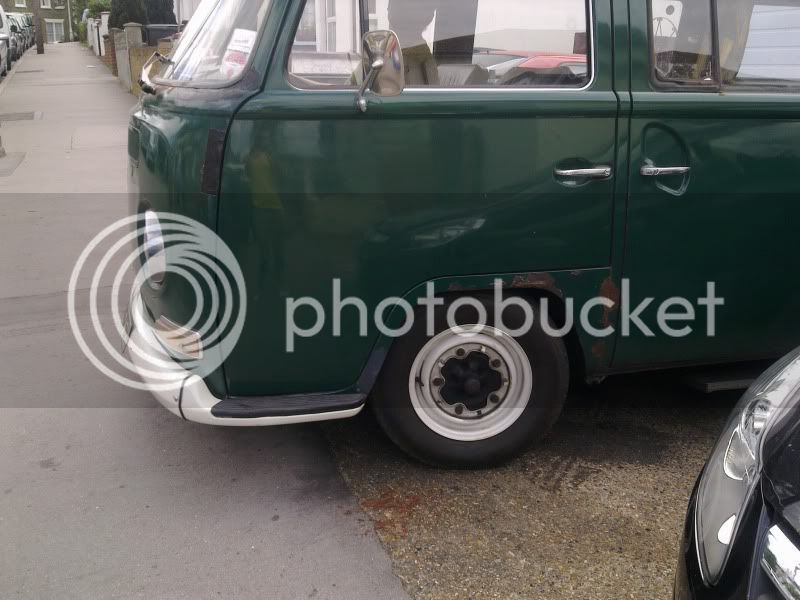
Since getting him I have dropped him and put a set of enki slot mags on. I still need to come down 1 more spline on the rear and I need a narrowed beam.....but I am torn at the mo as I looked at the red 9 wishbone set up and really do fancy it, but can not make my mind up! Anyone got any info on the red9 set up?
Picture039.jpg


bus.jpg


The plan over the winter is to drop the lump out and give it a good going over and just start the welding. See how far I get before the Germany trip and maybe get it in paint as well, but we all know how long these things can take!

Well thats my update and I have made my mind up that I am keeping Christopher and my bug as they are both really nice motors. So in the family we have my 63 bug, Emma's 67 bug and a 1970 bus that are all running and I have an old show car in major need of restoring. Not a bad line up really.
 
Great bus and bug 8)

How does the interior work out - as in is it usable??

Also loving the colour ;)
 
Cheers for the comments people.
The colour is a vauxhall one we were told, we will be keeping the colour kind of, but thats the big plan and you will have to wait and see it when its finished

The wheells will never go I am affraid, even if we go with the red9 and have the small 5 stud pattern I can still use the wheels on the bug :lol:

Should be getting the engine out by next weekend so will update it when we do.
 
the interior is very useable.....its all home made by a previous owner with a 3/4 bed, cooker and quite a bit of storage space. But we will be re-doing it in our own way as it can be done a bit better. Will get some pics of it over the next week or so and get them up so you guys can see it.

The old show car is "pearlfect peach" here is a pic for the people who will remeber it

PICT0030.jpg
 
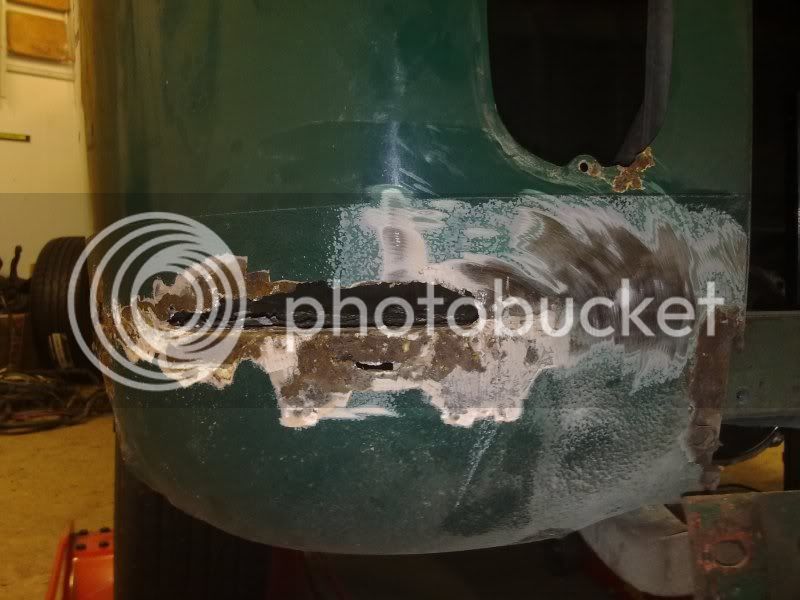
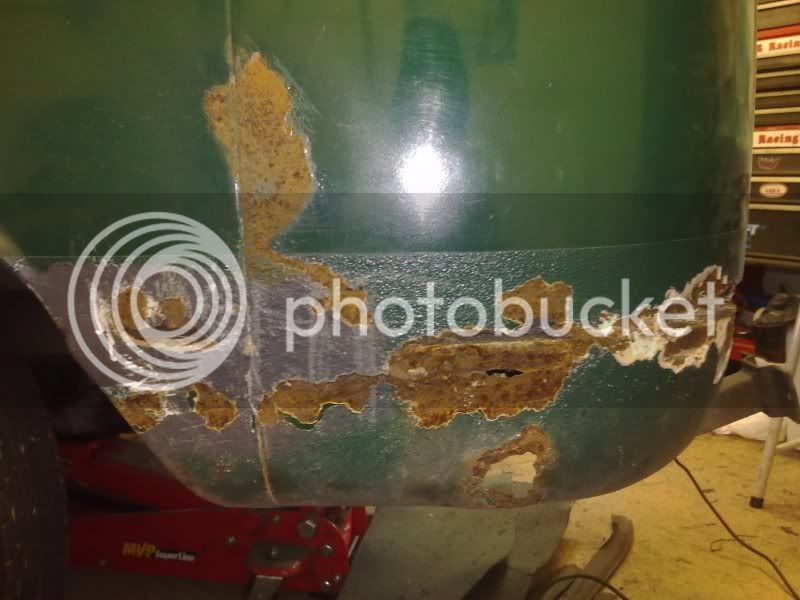
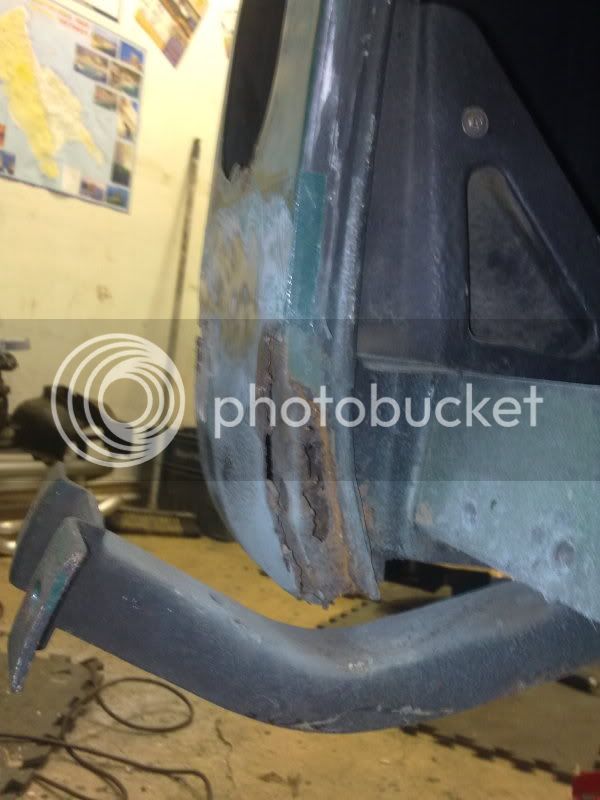
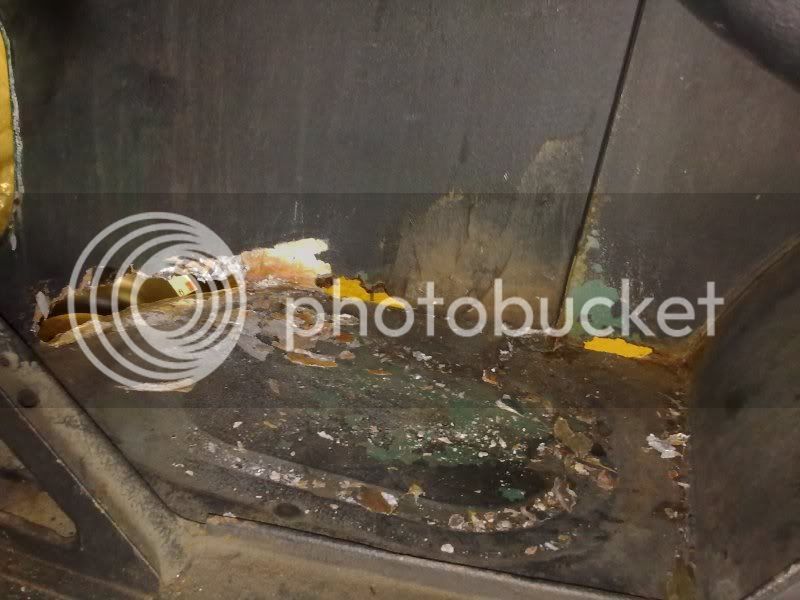
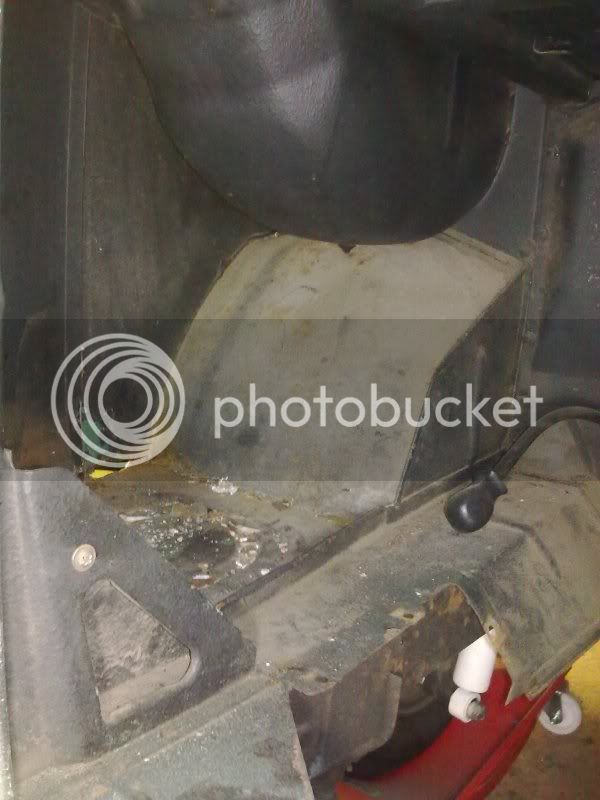
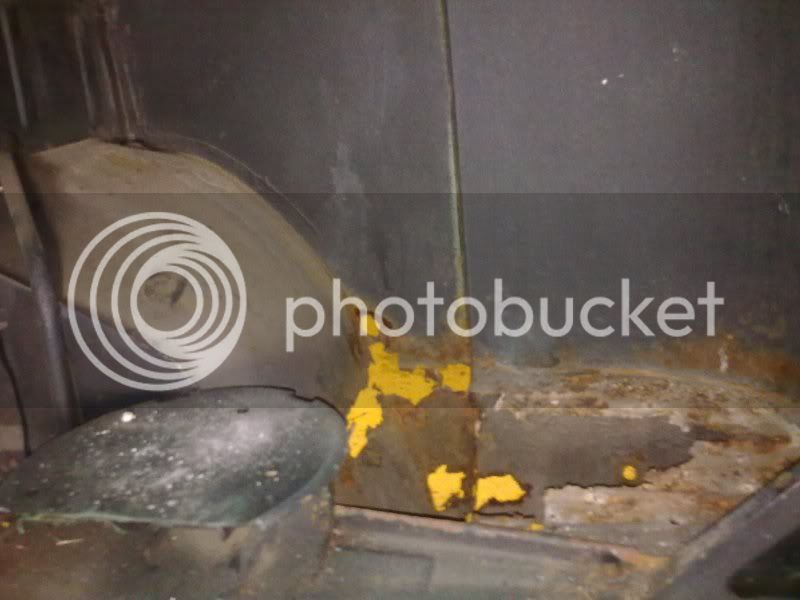
ok here goes with what I have done so far. Starting at the rear with this one.....heres the pics

Image0034.jpg


Image0035.jpg


Image0037.jpg


Image0038.jpg


Image0039.jpg


and the other side, but I have not pulled all this apart properly yet :(

Image0042.jpg


Image0043.jpg


Image0044.jpg


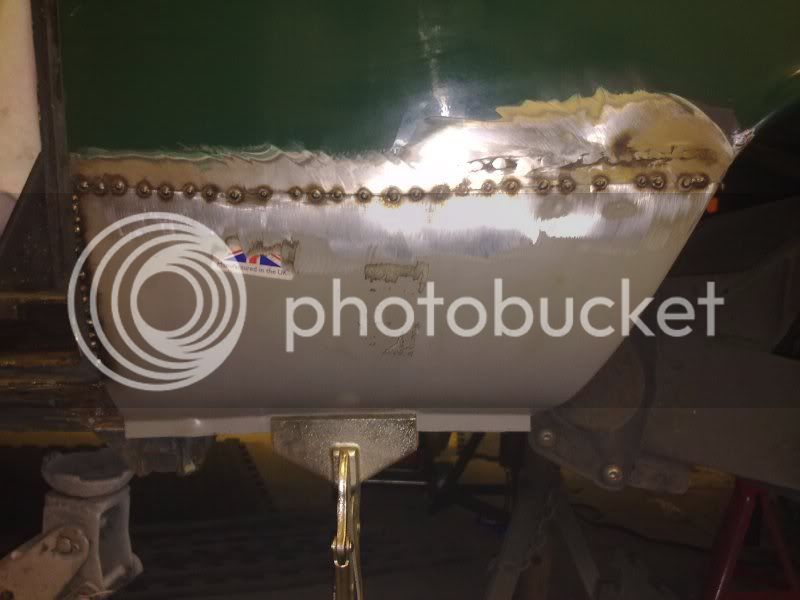
Spent £120 with just kampers on panels for the passenger side. Got the "made in UK" ones as I am thinking they must be a better fit and quality than the repo stuff. Will let you know when I get them on I suppose lol.

Have the engine out and on the bench as well. Converting that fromn a SP to TP with better dog house cooler, twin 34's and 1:25 rockers to so we got a bit more ommmph! Will post pictures up of that when thats done and ready to go back in.
 
ok been in the garage a couple of nights which is a real surprise with how busy we are at work but I got in there. So here goes with the update

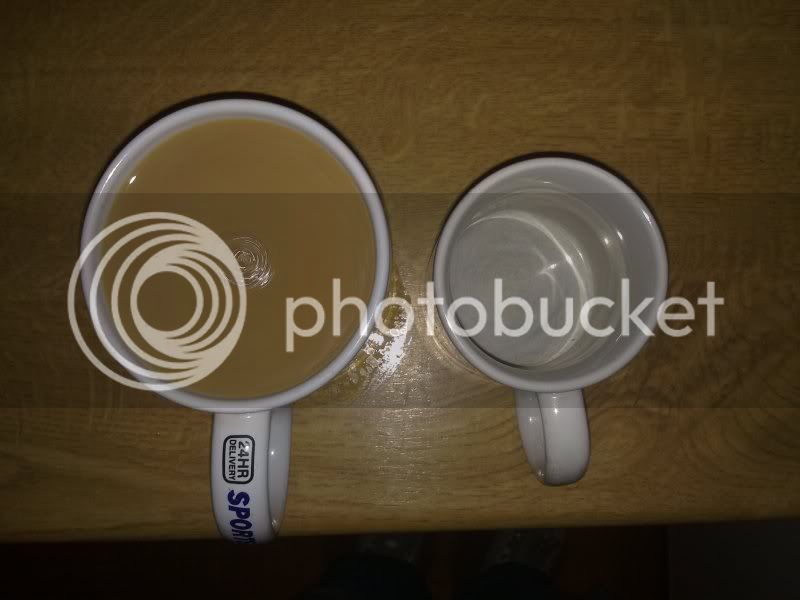
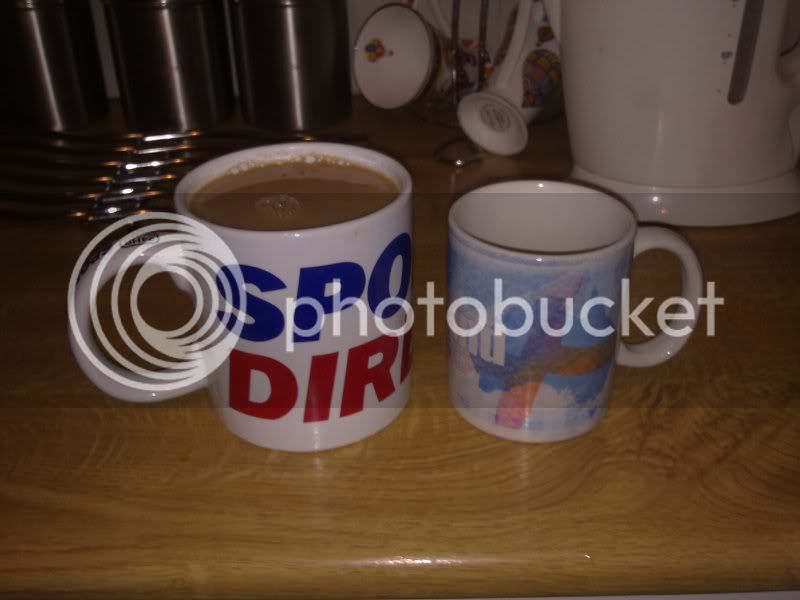
Important thing 1st got a new cup......but this is no ordinary cup. this is the mother of cups and perfect for the garage. I have put a large cup next to it so I hope you get the scale of how big it is

Image0054-1.jpg


Image0053-1.jpg


Now to the bus lol

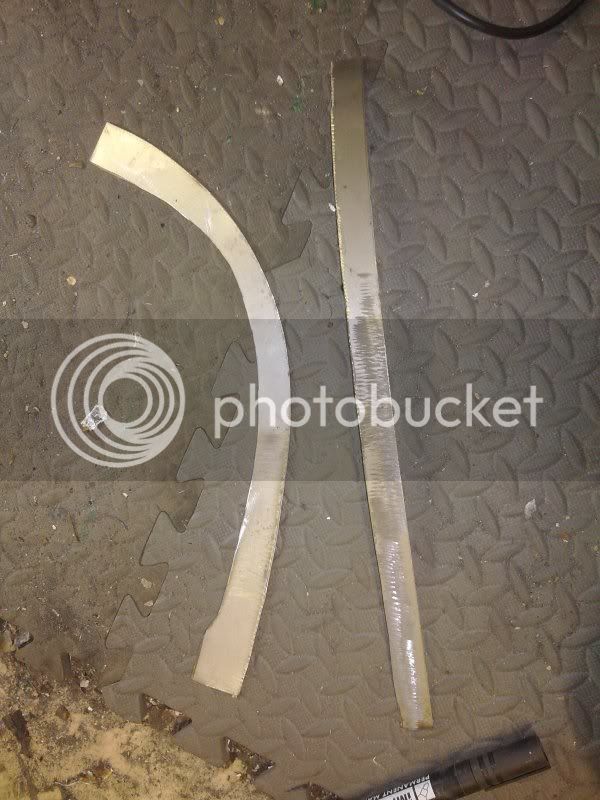
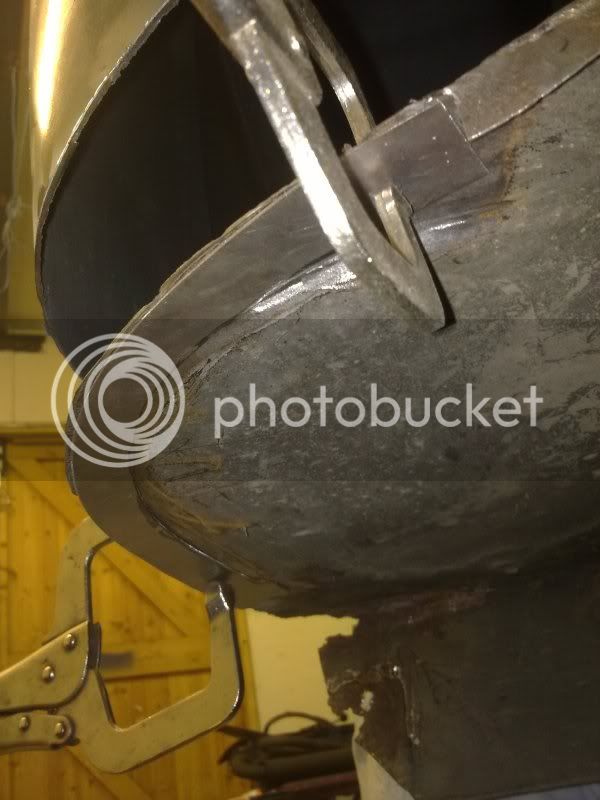
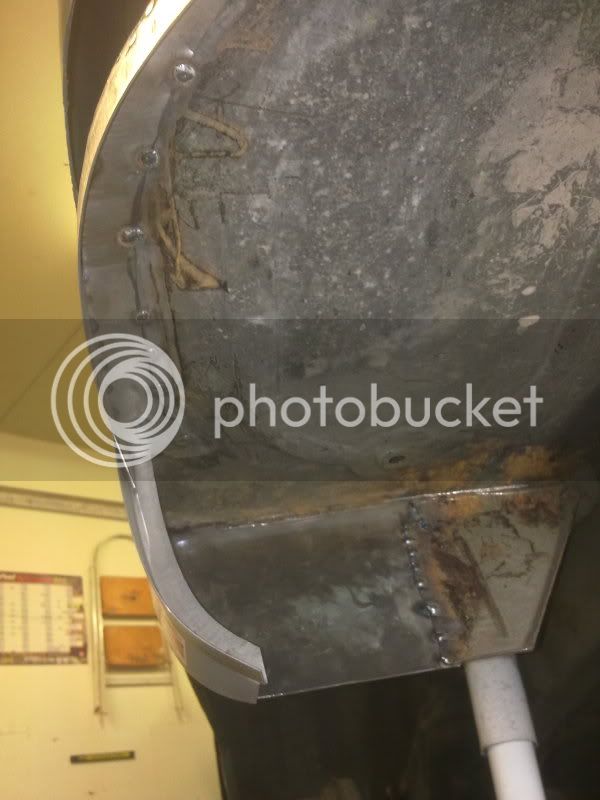
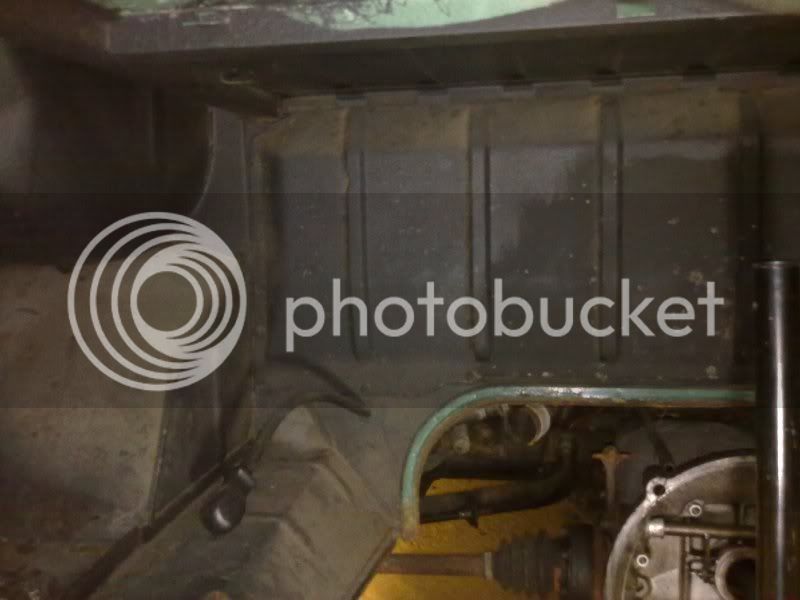
Home made battery tray repair panels

Image0055-1.jpg


with them clamped in then spotted in

Image0059-1.jpg


Image0067.jpg


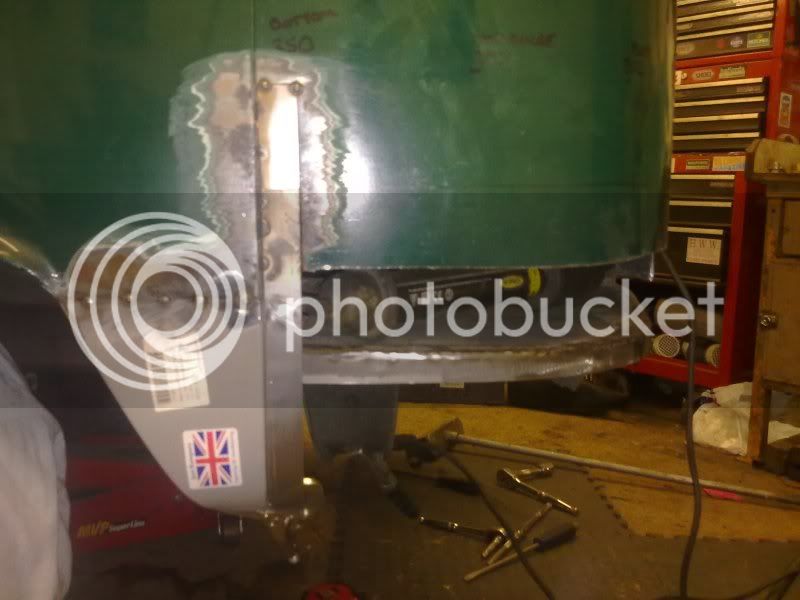
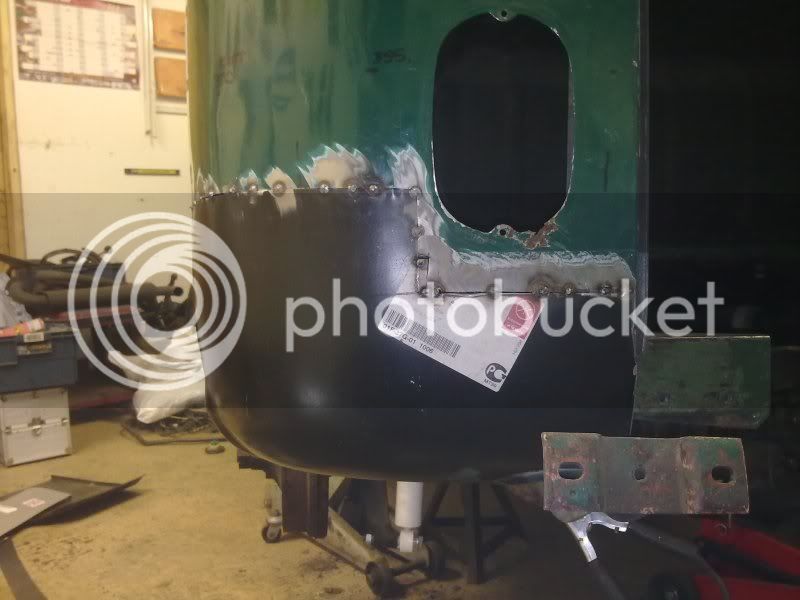
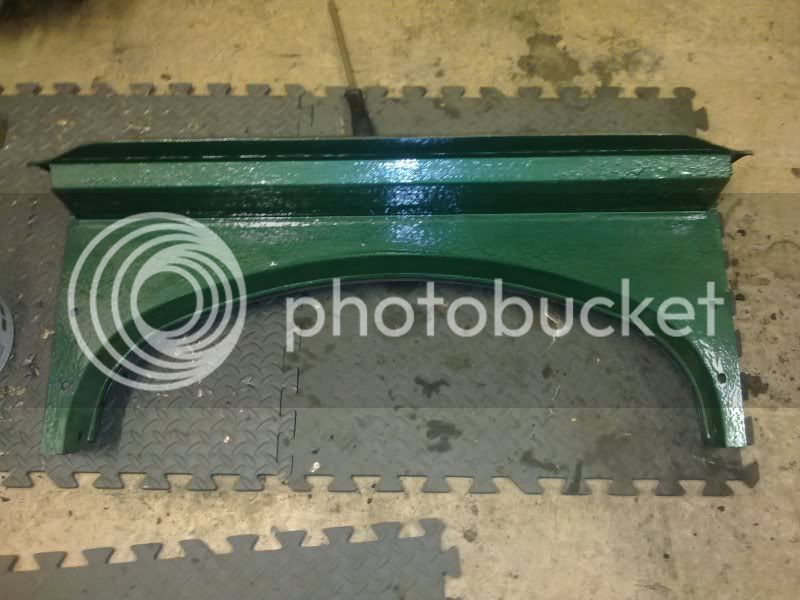
Then onto the rear arch, guide for the rear corner and sealing panel (before and after

Image0060.jpg


Image0062.jpg


Image0066.jpg


Then with the rear corner on

Image0068.jpg


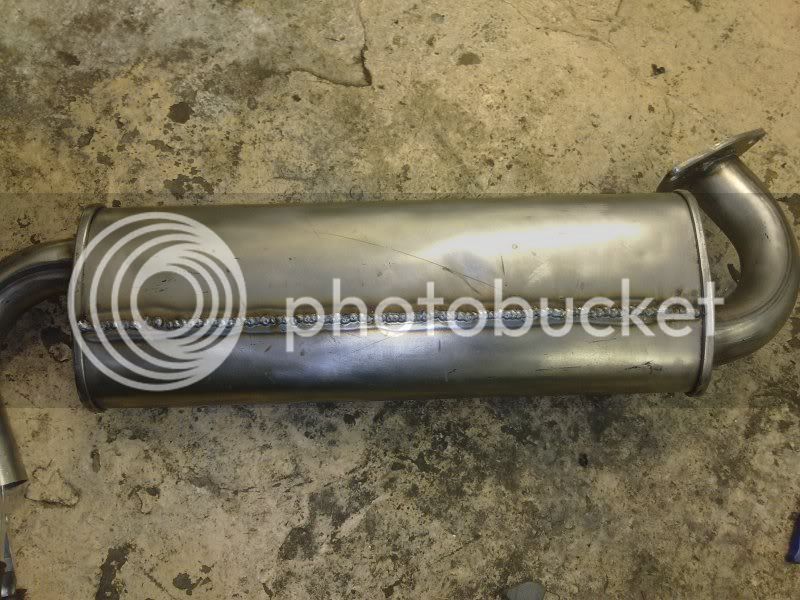
While I was at it I thought I owuld weld up the empi saust as we all know the spot welding on empi stuff leaves alot to be desired

Image0025.jpg


Well thats that. Oh the best quality panels from just kampers are crap. One was about 75mm to short on the sealing panel which is why I made my own. The front rear arch peice is about 25mm to long. So if you can make your own panels do. I can make most out of site panles of flat ones but dont have the tooling to get the curves in panels so I am going to have to cut out the extra 25mm and reweld the front rear arch peice which is just pants really for the money they charge!

Skids
 
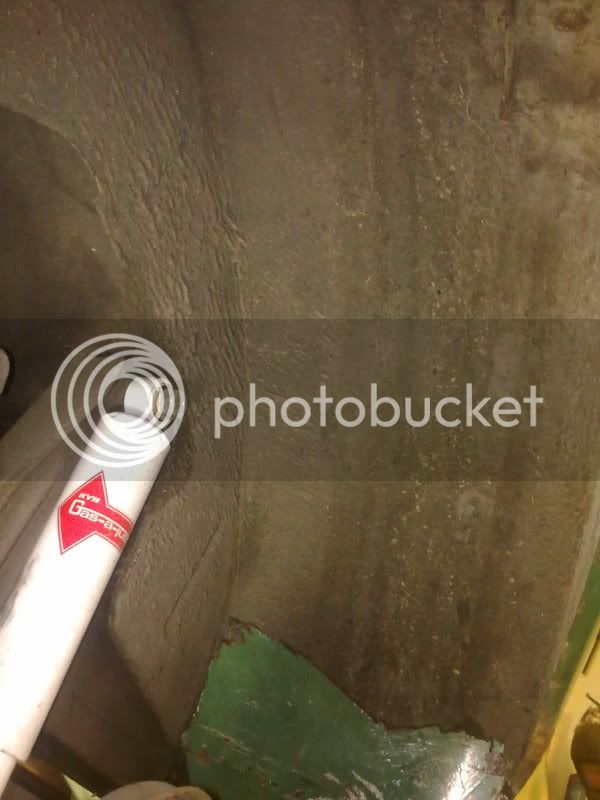
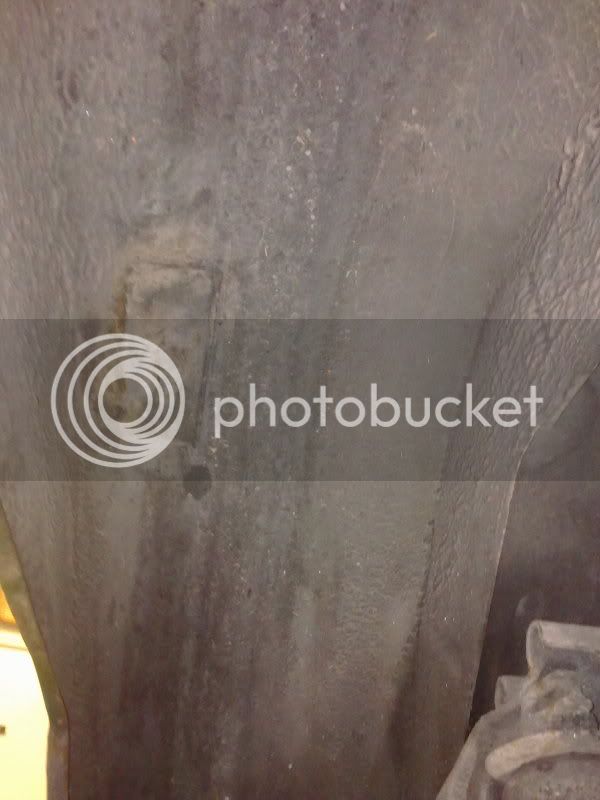
I need to get busy with the srapper and cleaning brush as well cos I wanna get all of this

Image0063.jpg


Image0064.jpg


Image0039.jpg


Image0040.jpg


looking like this.....just did it quickly so it gives me something to aim for and I can see what its all going to look like when the rear is finished

Image0033.jpg


See you soon :)
 
Think I followed you outta Portsmouth after Beach buggin , Looking good dude ;)
 
cheers for the comments guys :D

you were, we were admiring your motor in the mirrors. We had a black panel late bay in front of us and a green bug as well if I remember. Was a good day for us and going to make a weekend out of it next year. Or try to anyway :shock:

Should be back in the garage over the chrimbo break I hope so will get me pics of of the jobs done......watch this space

Take it easy

Skids
 
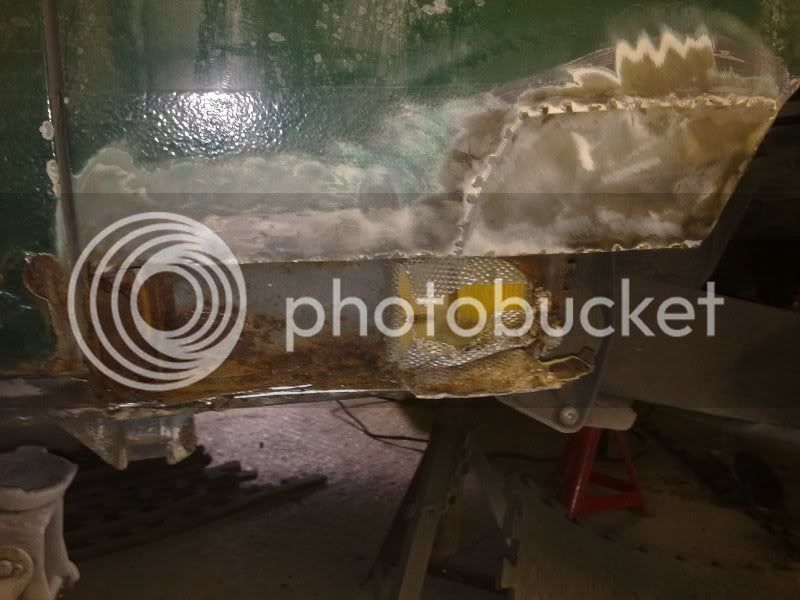
ok got in the garage today and got the front of the rear arch done. Also had Emma (girlfriend) and Charleigh (8 year old cousin) in helping with the scrapping in the engine bay.........so a big thank you to them :)

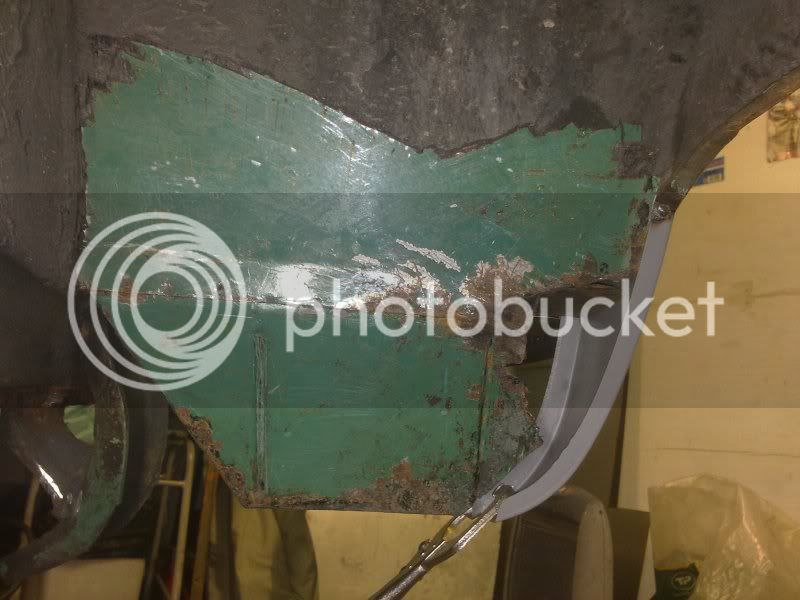
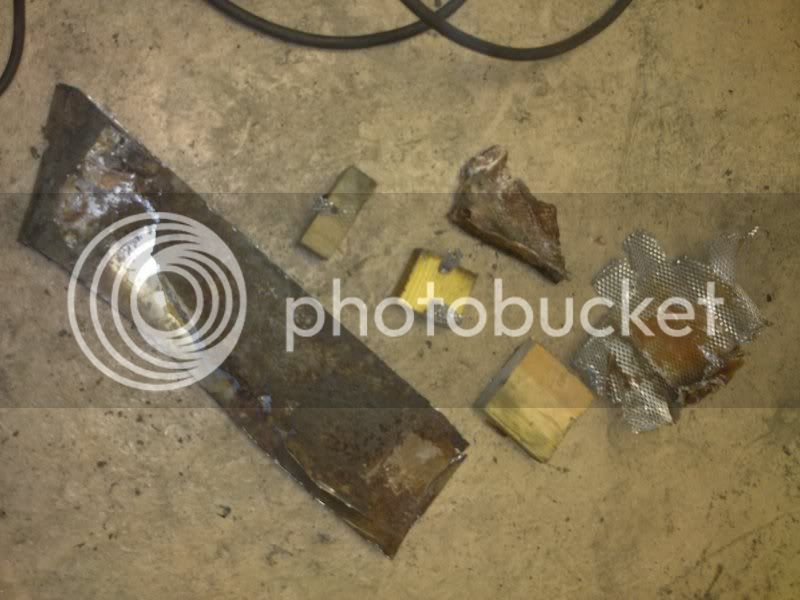
Anywyas here goes. I have got used to the little surprises the bus has been throwing up and was not phased when I found 3 plates over the original filler and little blocks of wood in the cavity :lol:

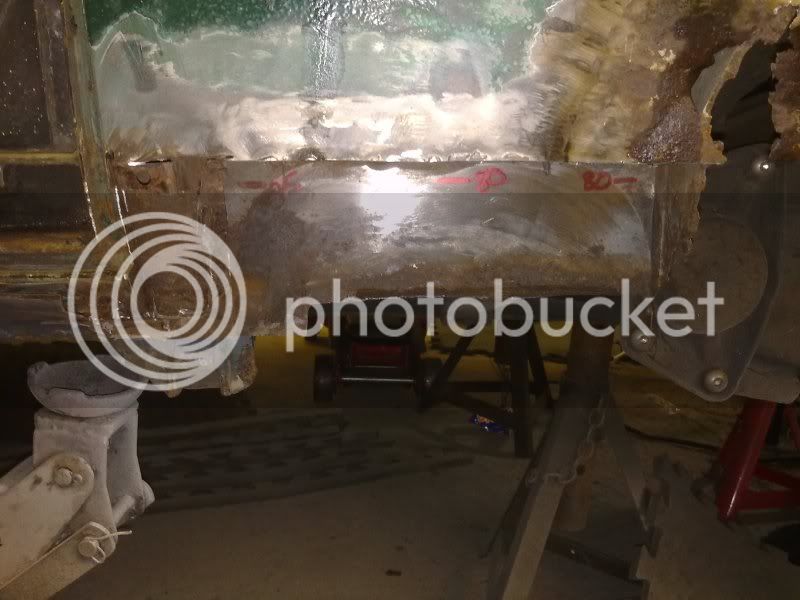
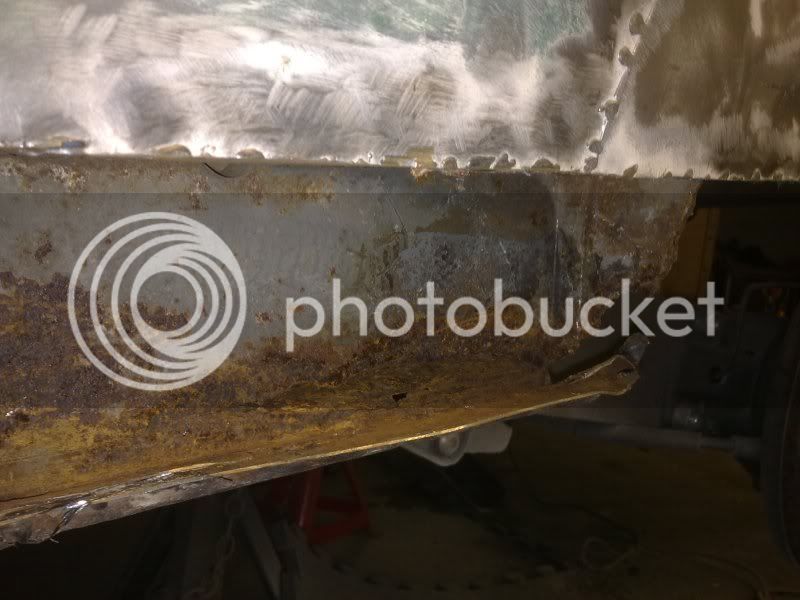
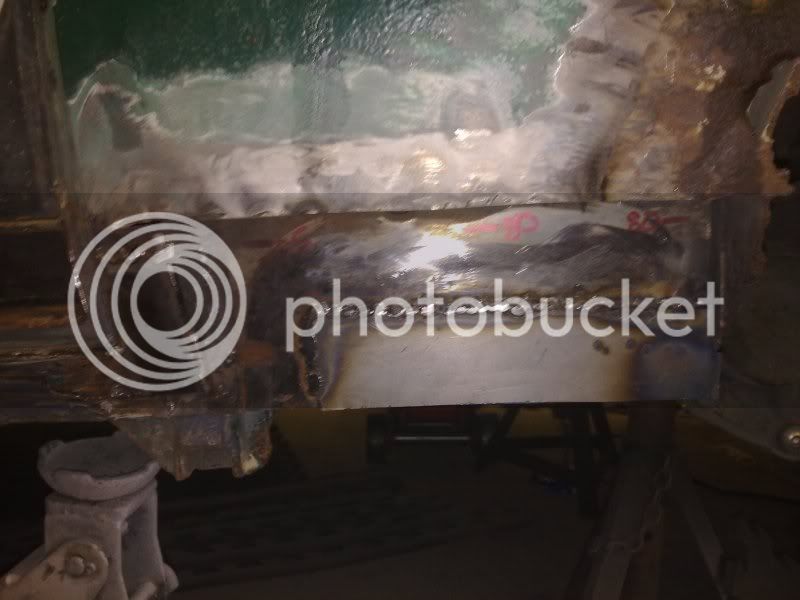
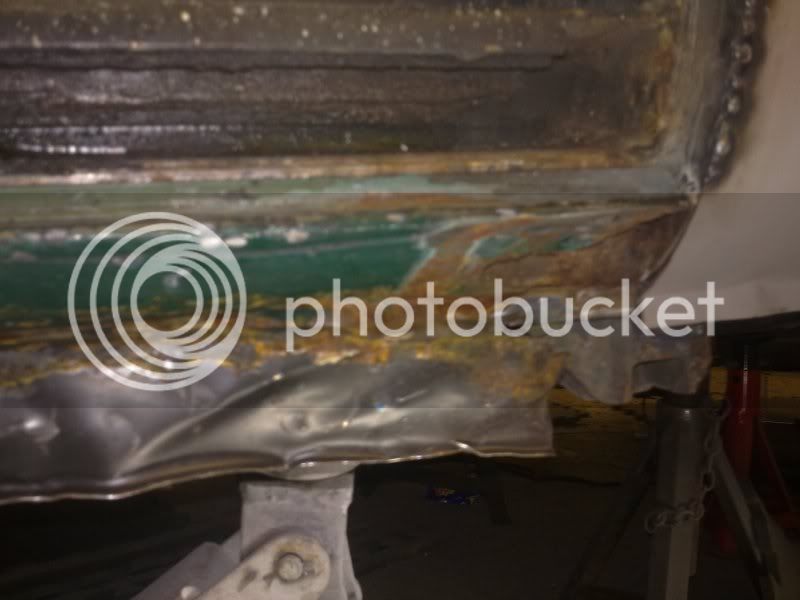
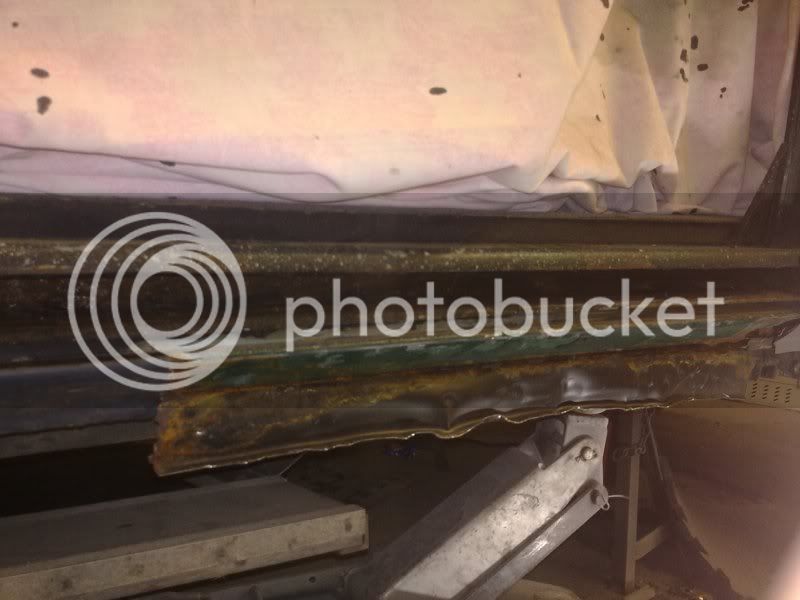
All that has been taken care of now and its all metal again. I will be doing the sills next as the dude that had it before us paid someone to do them but when I started the arch I noticed that the sill was just bent over the old one and had not been welded on.......again I am not surprised :lol:

the wood and 3 panels all welded over each other

Image0074.jpg


Image0073.jpg


Image0076.jpg


Image0075.jpg


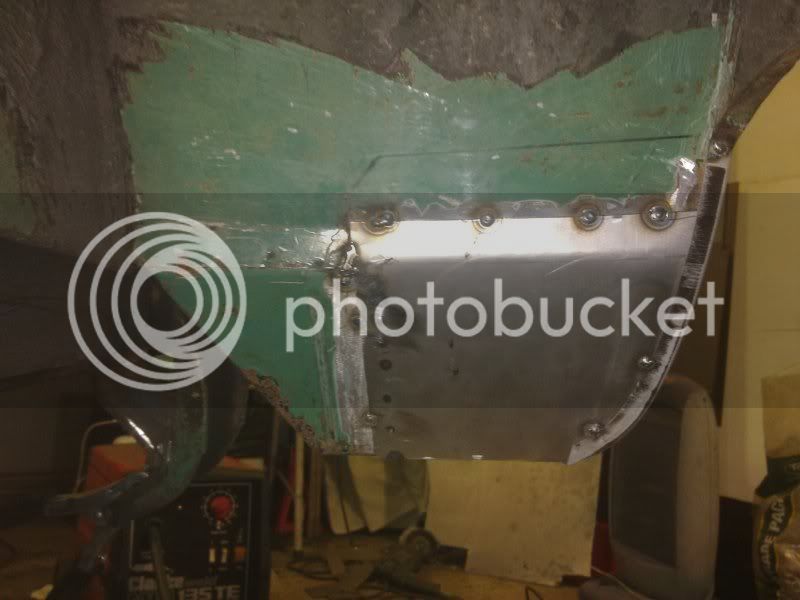
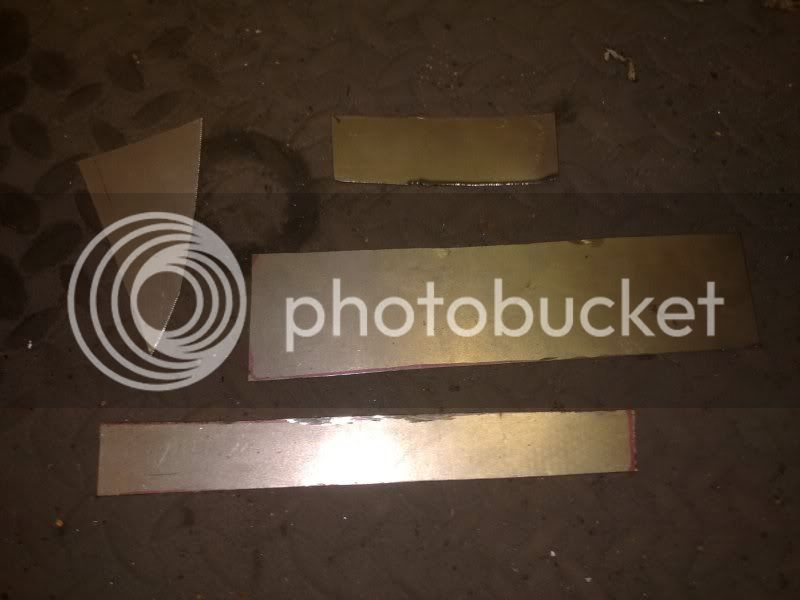
the new metal we knocked up and welded in

Image0078.jpg


Image0079.jpg


and then the "best quality" panel from just kampers that had to be trimmed by about 40mm to fit.....but hey at least its a good gauge metal. But its all done now and onto the next bit

Image0080.jpg


So you all when I get more done :D
 
ok been a bit lazy with the camera but here goes with what I have been upto

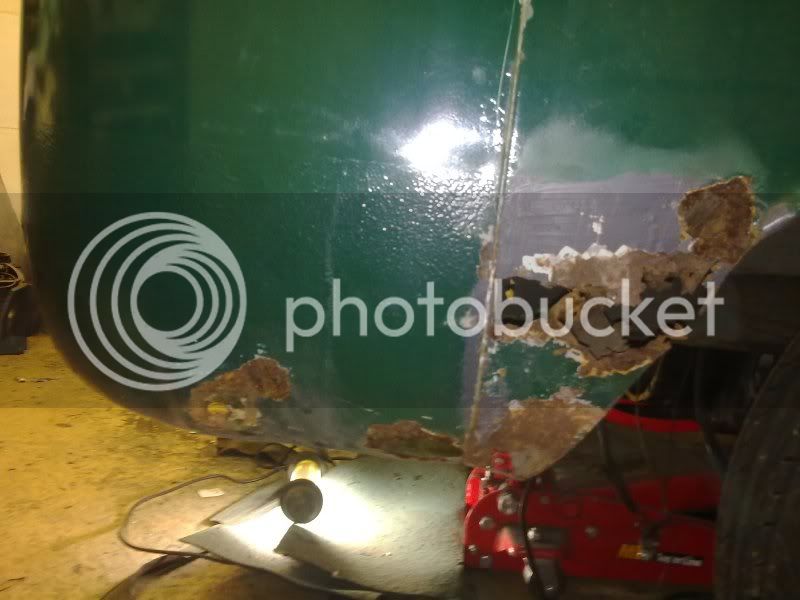
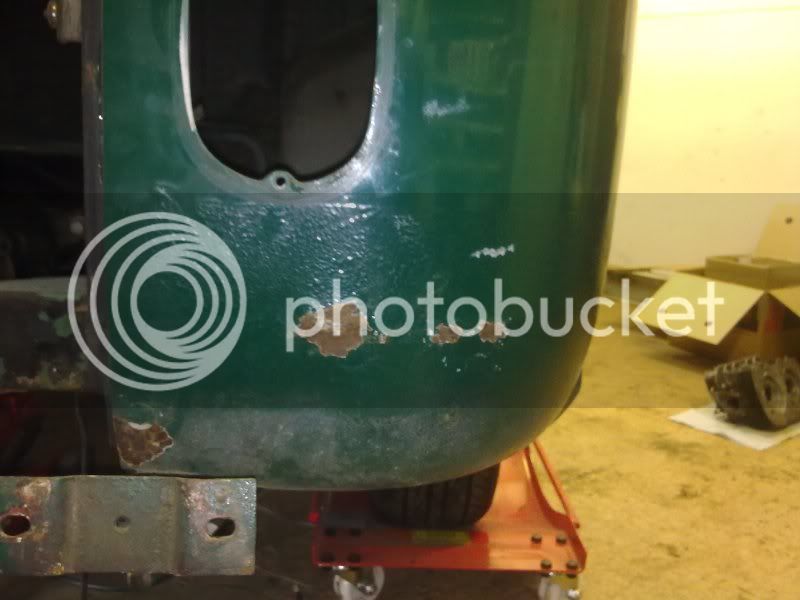
More problems 1st

Picture001.jpg


Picture002.jpg


Then resolving the problems

Picture11.jpg


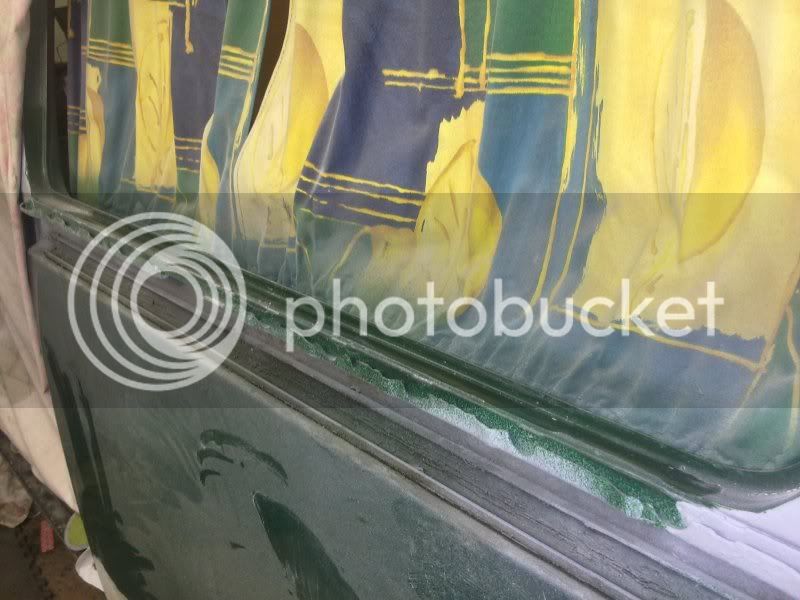
Sorted the passenger side rear window out. Most of the bottom was not there but its all back now and I have painted it quickly

Picture012.jpg


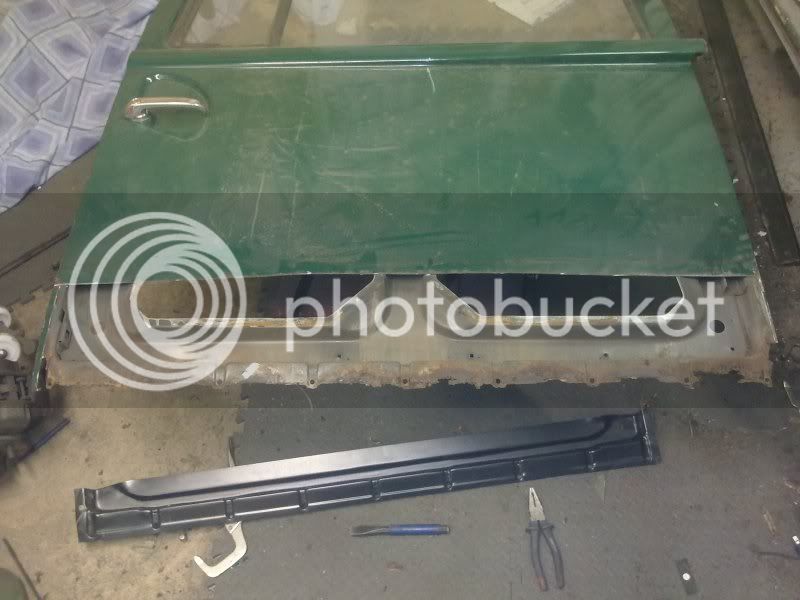
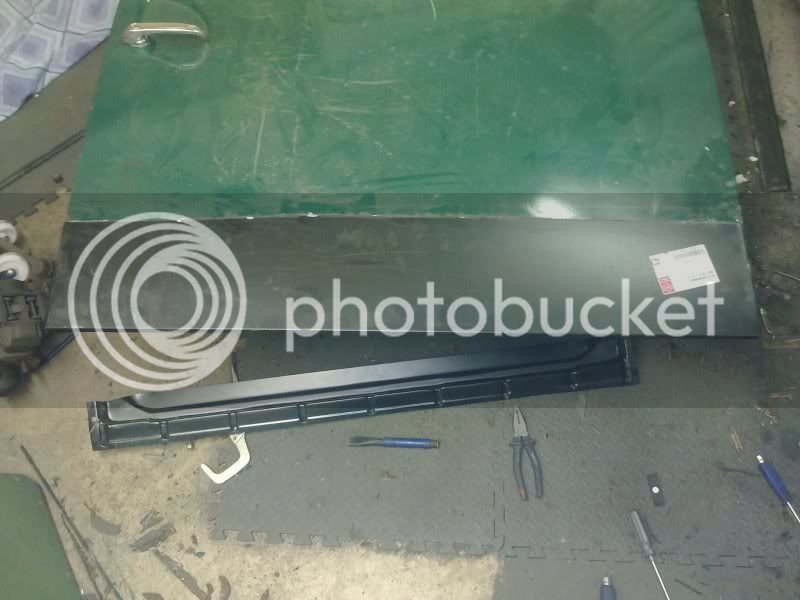
Then the sliding door

Picture008.jpg


Picture006.jpg


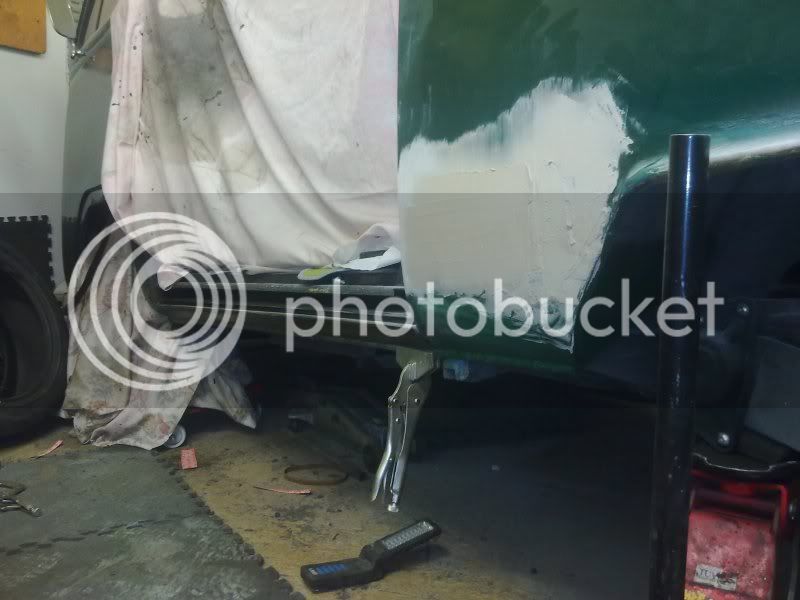
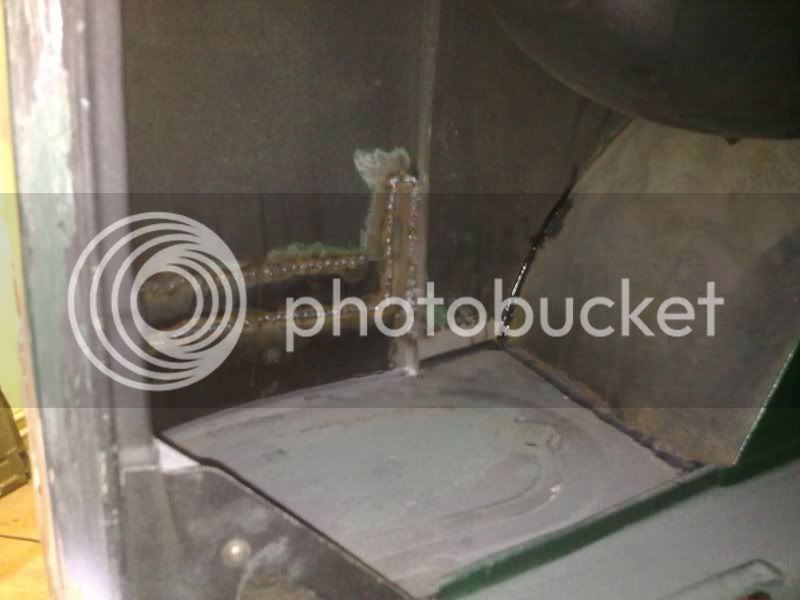
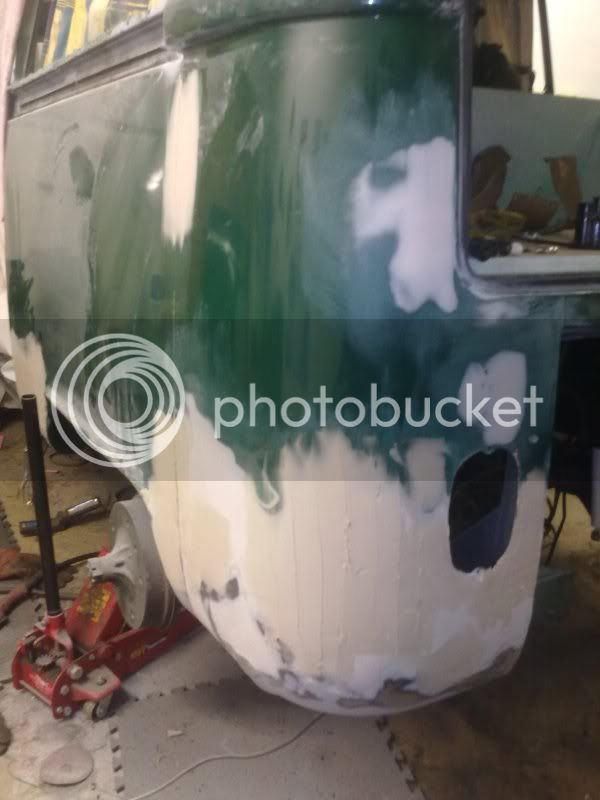
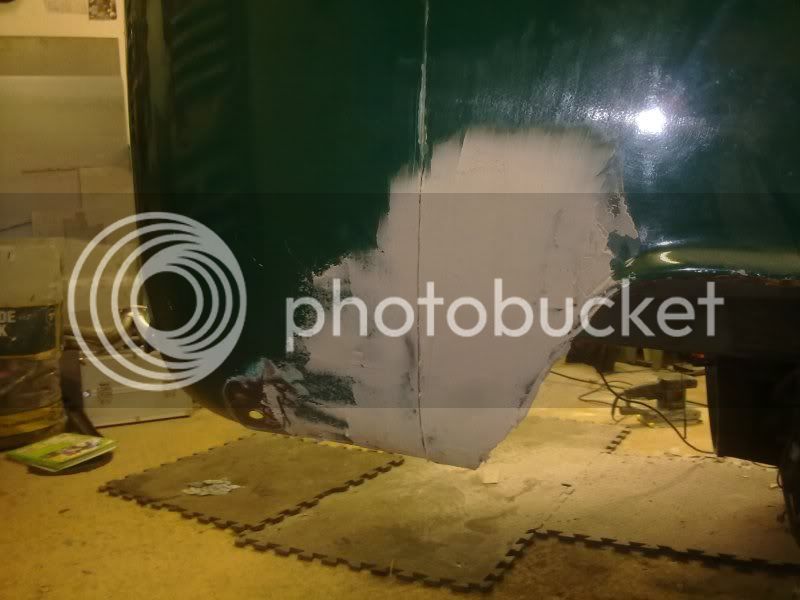
Finished battery tray passenger side and loads of filler work

Picture005.jpg


Picture10.jpg


Picture004.jpg


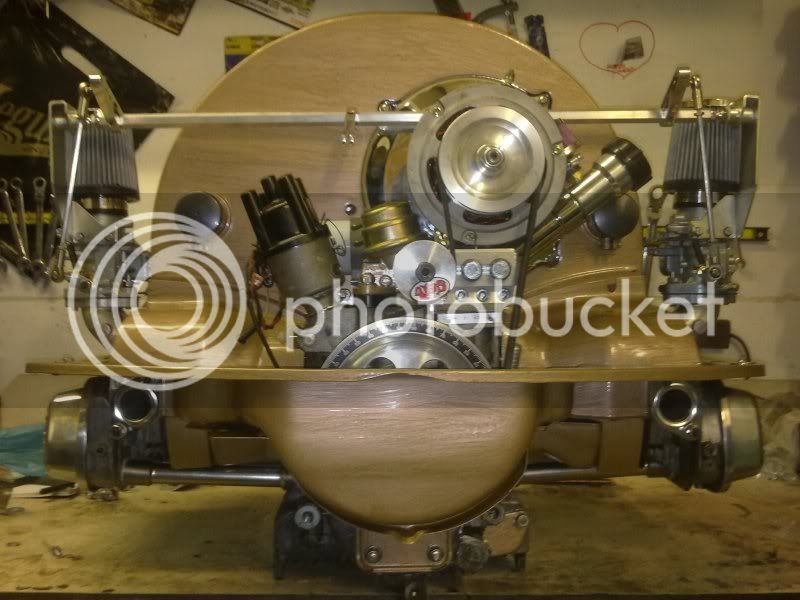
Then the engine.....from 1500 single to 1600 twin with twin carbs, 1:25 rockers, serp belt kit amd general paint and tidy

Picture13.jpg


Just doing all the filler work now so wont have alot to report for a while as we are going away in the bus in April to cornwall.

Will update when I have done a bit more

Mark
 
well done Mark,like the stance & wheels on that earlier picture!good on you for fabricating all that metal work,you've saved a few bob on repo panels there mate. like the engine ~ looks sweet.Is that a gold Hammered finish?
 
Nice bit of body work going on there, and I love your engine especially the tinwear!
 

Latest posts

Top