New member from Sweden

Early Bay Forum

Help Support Early Bay Forum:

This site may earn a commission from merchant affiliate links, including eBay, Amazon, and others.
Joined
Sep 29, 2024
Messages
18
Reaction score
21
Hey,
Bought this one a couple of months ago, and starting off as an old beginner here. Had a couple of VW T2 from the mid 60's some 30 years ago, and didnt do too much with, just rode them and had a good time.

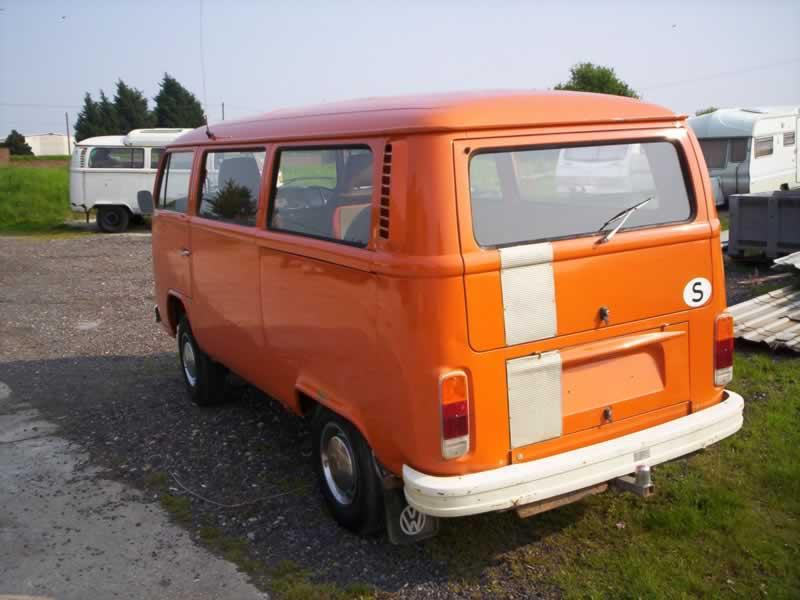
Now almost 50, I felt it was time to conquer that wonderful feeling again, and bought a 1975 Panel Van, totally free from rust and in ok condition. It is totally empty and I am planning on making it in to a camper van during this coming winter.

Open for all suggestions and tips on this project! The idea is to bring wife and a 6-yo plus 3 dachshunds on smaller trips. Would be very cool to see som drawings, pictures etc to get the ideas flowing! / MickeIMG_7061.jpgIMG_7060.jpg
IMG_7058.jpg
 
Glad you’ve joined us, and with the best start ever of loads of pictures, that’s wonderful and exactly what we like. Before you go crazy making this and that, I thoroughly recommend you take little steps and see exactly what suits you and your gang. I’d also recommend visiting gatherings and shows and see what works well for others and ask for honest opinions. I’m not a big fan of cooking in the van although I can if it’s terrible weather outside. I like to have a gazebo or at least a shelter or awning to cook in and to provide a bit of a dry area before stepping into the van in a field. A full width rock and roll bed is a great start and Rusty Lee does a very popular one, then keep it as basic as possible until you’re certain what might suit you. A cab bunk will be a great idea for your young one perhaps with a flag and magnets as a curtain. The cab windows and screen are easily covered by one of a hundred different versions of all round covers, some have droopy eyes on them, mine has a pair of flip flops on.
Ozziedog,,,,,,,,big welcome and get creative :)
 
totally agree with Ozzie. keep it simple to start with. if you can, now is the time to clean everything then fully sound deaden and insulate as much as possible. Once you start fitting out the interior you won't want to take everything back out to insulate!
Enjoy! this is the fun bit!
 
Thanks !

Love to read your replies, made me go straight to the garage and sort win smaller things out.
IMG_7213.jpegIMG_7214.jpegIMG_7215.jpegIMG_7216.jpegIMG_7217.jpeg
Just talked ti a friend who’s a furniture and cabinet maker. We will park it at his shop over the winter and work from there, which makes me very hopeful , I think this will be great!

I have got my hands on self adhisive insulation material and thinking of putting it on the inside of the interior panels rather than directly on the metal. Any thoughts on this?

Starting to plan for electrics as well. Will put in an extra battery as well as 240V option.
Same here, any ideas or known bumps in the road are much appreciated!
 
Glad you’ve joined us, and with the best start ever of loads of pictures, that’s wonderful and exactly what we like. Before you go crazy making this and that, I thoroughly recommend you take little steps and see exactly what suits you and your gang. I’d also recommend visiting gatherings and shows and see what works well for others and ask for honest opinions. I’m not a big fan of cooking in the van although I can if it’s terrible weather outside. I like to have a gazebo or at least a shelter or awning to cook in and to provide a bit of a dry area before stepping into the van in a field. A full width rock and roll bed is a great start and Rusty Lee does a very popular one, then keep it as basic as possible until you’re certain what might suit you. A cab bunk will be a great idea for your young one perhaps with a flag and magnets as a curtain. The cab windows and screen are easily covered by one of a hundred different versions of all round covers, some have droopy eyes on them, mine has a pair of flip flops on.

Ozziedog,,,,,,,,big welcome and get creative :)
Thanks!
It’s really awesome, Can lie awake at Nights just planning, this is definitively an opportunity.

My cabinet building friend will draw everything from scratch, although a RnR bed would be the easier choice, but it seems that they can’t ship outside of the UK at this moment. Anyways, customs and shipping might be stupid expensive right now.

Not a fan of cooking in the van either, will probably build a sliding cabinet for that, so I can pull it out thru the door when it’s time.
I will try and start a thread for when we start to build!
 
Great garage space to work in! Are you going to put side windows in or leave it closed?
I think leave as is.
I think it’s not bad having all that wall space to build on. Plus, less curtains and sun in the morning. What do you think?
 
I think leave as is.
I think it’s not bad having all that wall space to build on. Plus, less curtains and sun in the morning. What do you think?
Exactly this, it’s a great base. I have a cheapso blind that I’ve now used behind the seats that I secure with magnets just to pull across to block the cab for when it’s just me (mostly). If you’re building a rock and roll bed, especially with your experienced friend, you could copy the Westfalia bed as it works well. I’d imagine getting some second hand hinges in your own country shouldn’t be to difficult. It’s primarily a plywood construction but the hinges would be tricky to make. Just don’t go crazy with toooo much furniture. Might be worth while fixing in some cables etc from noisy cupboard to dash in readiness for whatever? Perhaps start a build thread of your own over in the gallery section. :)

Ozziedog,,,,,,,,,,,bigg thing is have fun :)
 
We spent a while with big cardboard boxes after we had the bed setup trying to decide where to put things, and what we wanted. We went with a jetboil genesis stove so we can cook inside and out. a deep bar sink so we can actually use it for dishes, with a 12v pump and tap with two 4 gallon jugs under the sink. Dometic fridge 12v. Also a diesel heater in the cabinet behind the pass seat. LED lights built into the bottom of the counter, front of the bed and the overhead bin and inside all the cabinets, everything is powered by a 100ah battery and a couple 100w solar panels on the roof. If you add a side tent or canopy you can expand your living space considerably. We have the bus depot canopy with the add on sides so it can be a canopy or tent or you can zip it all open for a screened bug free space

Lots to think about when you lay everything out
 

Attachments

  • IMG_5425.jpeg
    IMG_5425.jpeg
    2.5 MB
  • IMG_0807.jpeg
    IMG_0807.jpeg
    2.4 MB
  • IMG_5756.jpeg
    IMG_5756.jpeg
    3.1 MB
  • IMG_5714.jpeg
    IMG_5714.jpeg
    3.9 MB
  • IMG_1756.jpeg
    IMG_1756.jpeg
    2 MB
Hey,
Bought this one a couple of months ago, and starting off as an old beginner here. Had a couple of VW T2 from the mid 60's some 30 years ago, and didnt do too much with, just rode them and had a good time.

Now almost 50, I felt it was time to conquer that wonderful feeling again, and bought a 1975 Panel Van, totally free from rust and in ok condition. It is totally empty and I am planning on making it in to a camper van during this coming winter.

Open for all suggestions and tips on this project! The idea is to bring wife and a 6-yo plus 3 dachshunds on smaller trips. Would be very cool to see som drawings, pictures etc to get the ideas flowing! / MickeView attachment 9774View attachment 9773
View attachment 9772

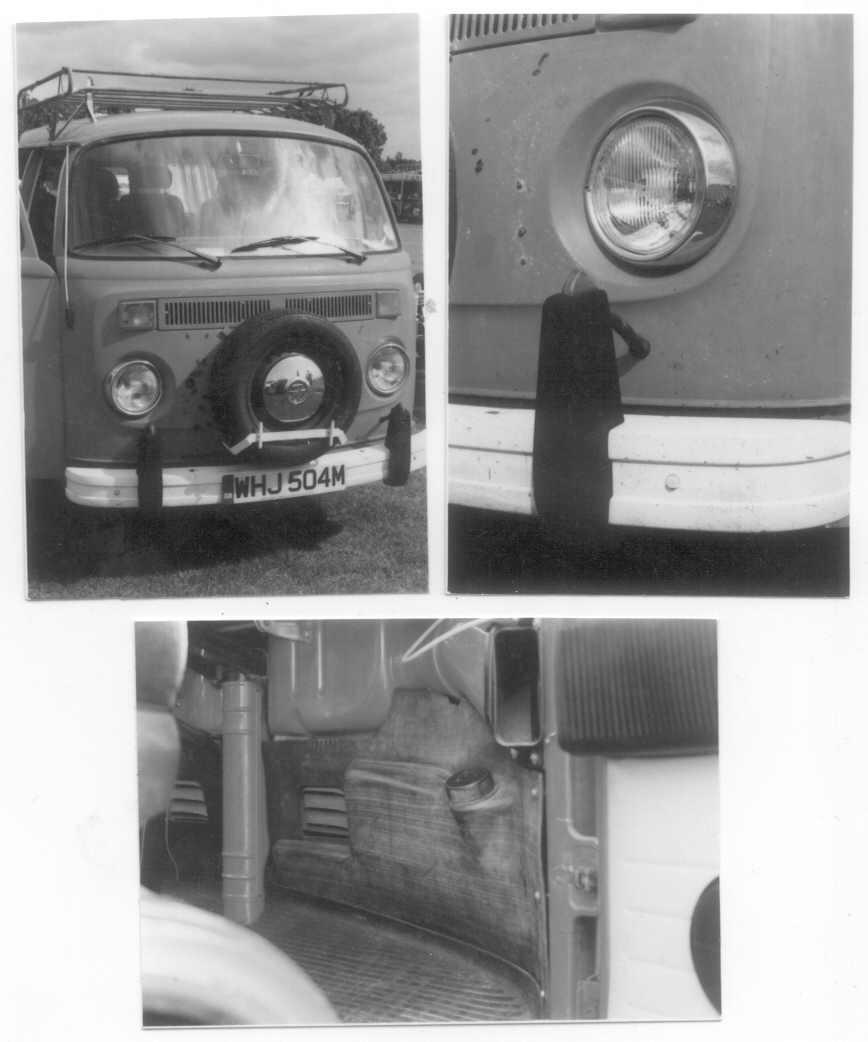
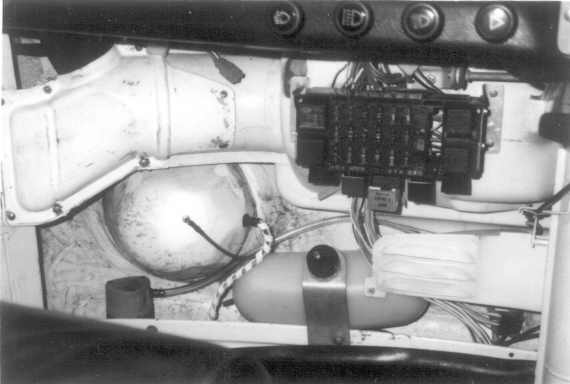
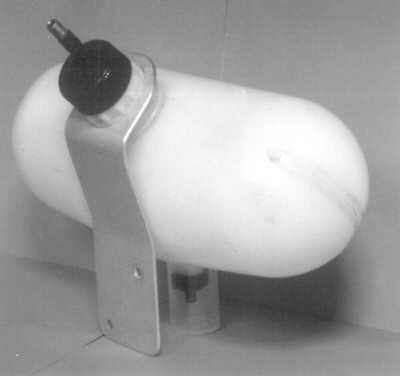
Judging from the lack of front bumper over-riders with associated headlamp washers, I surmise this might NOT be a vehicle of Swedish specification (although you do seem to have the 8 litre water tank instead of the right-hand kick-board in the cab & circa 1 litre, air-pressurised, white lozenge-shaped windscreen-washer tank), for which they were mandatory from the 1974 model-year onwards. I don't know whether it would be a requirement to retro-fit these to a 1974-onward second-hand vehicle imported into Sweden and re-re-registered in Sweden.

328679.jpg


If you re-purpose it as a motor-caravan, with rear seating which could be occupied whilst the vehicle is being driven, you might be obliged to retro-fit rear seat belts.
 
Last edited:
If you are planning to build your own interior furniture, it might be worth investigating the following Internet links pertaining to light-weight materials:

https://voehringer.com/en/

https://voehringer.com/en/our-basics#plattenbeschichtung

https://voehringer.com/en/our-basics#Moebelteile

https://voehringer.com/en/our-basics#profileundleisten

https://voehringer.com/en/innovations#airply

https://voehringer.com/en/innovations#vflex

https://voehringer.com/en/Innovations#vundertech

https://voehringer.com/en/innovations#vstrong

https://voehringer.com/en/innovations#v3d

Vohringer Furniture Board, AirPly, Trim & Tools

https://www.grassroutesleisure.co.uk/furniture-materials/c6

« Vohringer board is available in two thicknesses, the 15mm is veneered both sides and the 3mm is veneered on one side. All Vohringer boards are hard finish veneer. »

« New 2024 - Made by Vohringer - AIRPLY 45% lighter than standard Vohringer Ply. »

The Campervan Shop - 3MM OR 15 MM VOHRINGER PLY

https://thecampervanshop.co.uk/product/3mm-or-15-mm-vohringer-ply/

« Colours available: American Cherry, Black, Carbon, Drift wood, Graffiti Grey, Grey, Grey Zebra, Light Oak, Makassar, Matt black, Oak, Puntinella, Sand Zebra, Terrano grey, Titanium, White »

15mm Lightweight Vohringer Style Boards

https://www.caravanbreakers.net/product/15mm-lightweight-vohringer-style-boards/

The iconic British WW2 De Haviland Mosquito twin-engined fighter-bomber, was constructed using lightweight balsa-wood plywood. It was faster than virtually all contempory fighters, highly manoeuvrable and could carry virtually the same bomb-load as the American Boeing B17 Flying Fortress four-engined “heavy-bomber”.
 
Last edited:
Judging from the lack of front bumper over-riders with associated headlamp washers, I surmise this might NOT be a vehicle of Swedish specification (although you do seem to have the 8 litre water tank instead of the right-hand kick-board in the cab & circa 1 litre, air-pressurised, white lozenge-shaped windscreen-washer tank), for which they were mandatory from the 1974 model-year onwards. I don't know whether it would be a requirement to retro-fit these to a 1974-onward second-hand vehicle imported into Sweden and re-re-registered in Sweden.

328679.jpg


If you re-purpose it as a motor-caravan, with rear seating which could be occupied whilst the vehicle is being driven, you might be obliged to retro-fit rear seat belts.
I dont believe it’s an import, it says it’s not in the register. But the headlamp washers has been removed. The extra pump is still there, but I have put in the regular smaller washer tank and got new kickpanels. I think it will pass like that. If not, it will be a problem to take care of later. I still have the original kick board and tank as on your picture.
 
I dont believe it’s an import, it says it’s not in the register. But the headlamp washers has been removed. The extra pump is still there, but I have put in the regular smaller washer tank and got new kickpanels. I think it will pass like that. If not, it will be a problem to take care of later. I still have the original kick board and tank as on your picture.

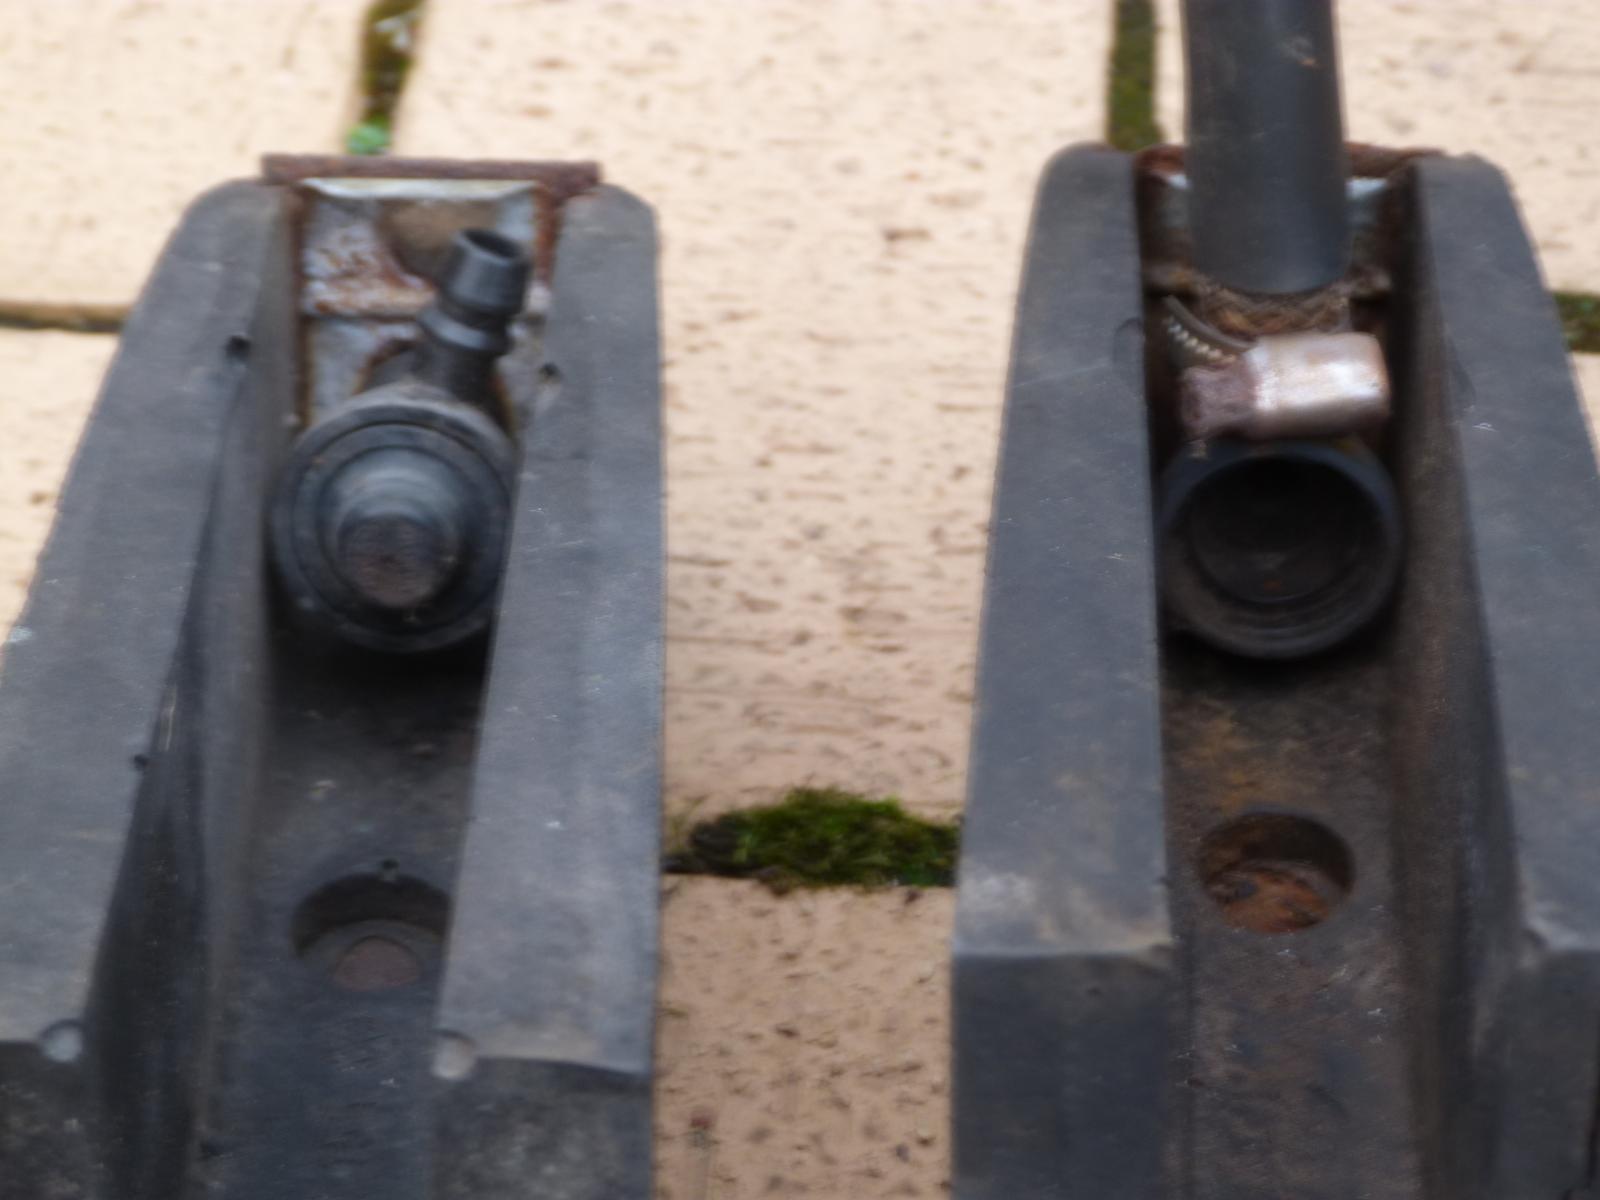
The photograph of your van's front panel, shows no signs of large holes above the front bumper for water hoses to the missing bumper over-riders & headlamp washers.

A few years ago, I managed to obtain most of the Swedish specification, 1975/75~79 VW Type 2 windscreen washer & headlamp washer system for my British specification, 1973 VW 1600 Type 2 Westfalia Continental motor-caravan, but there are some components missing such as the 1974-only, Swedish specification windscreen wiper & washer stalk-switch and headlamp-washer relay, plus large-bore hoses & connectors.

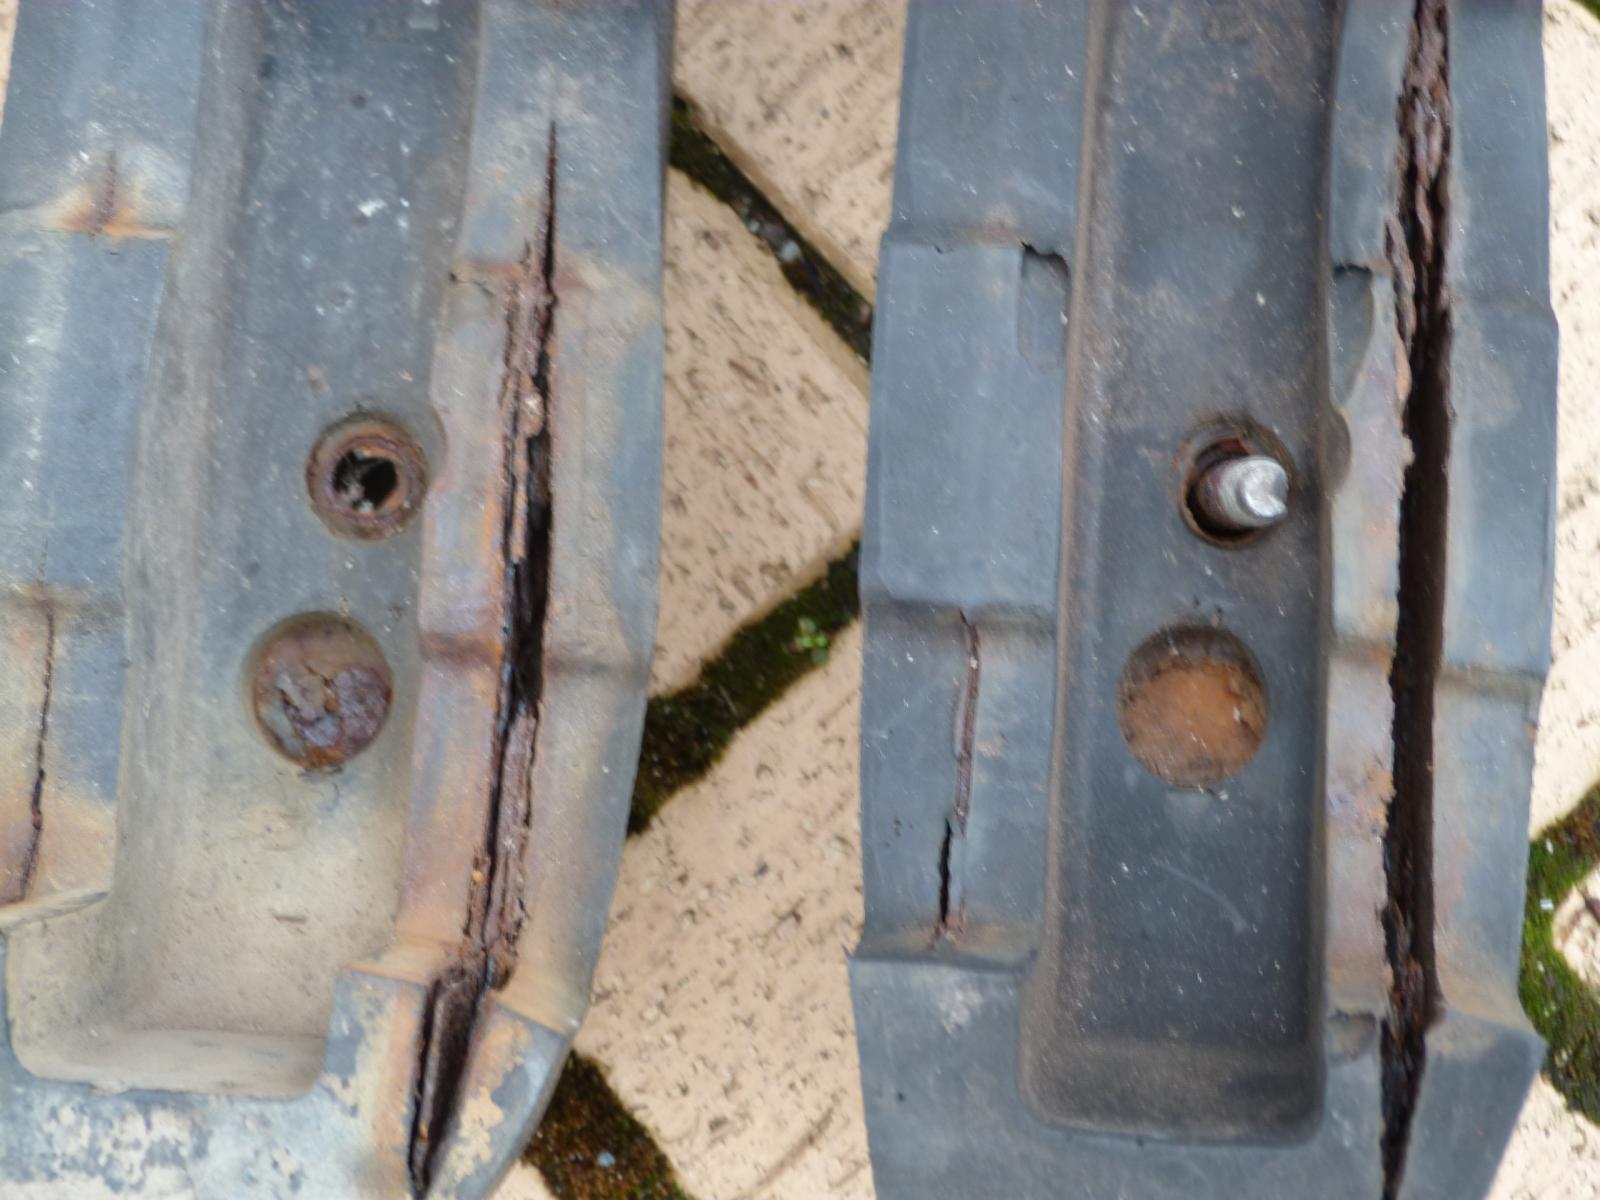
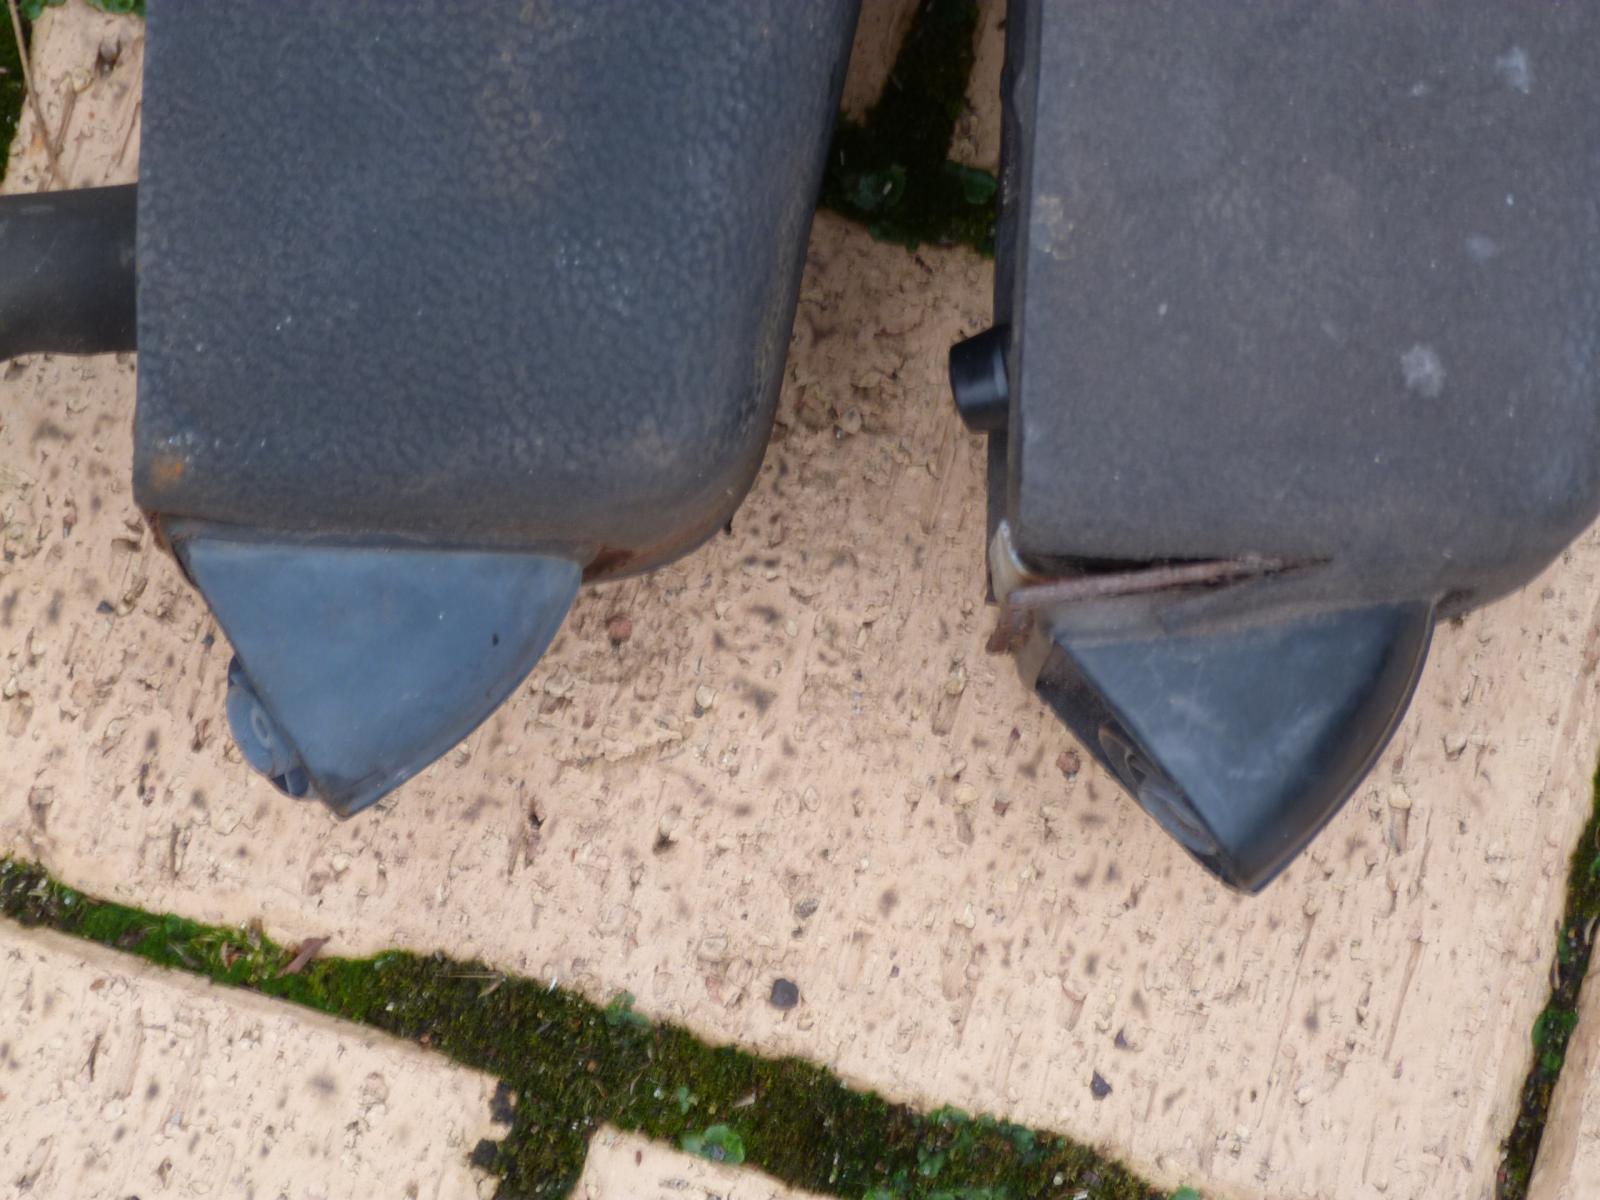
The bumper over-riders were in poor condition (not discernible in the vendor's photographs and the headlamp-washer nozzles were incomplete.

1987831.jpg


1987827.jpg


1987828.jpg


Ideally, I also need a second low-pressure window-washer pump for my rear-window washers, otherwise I shall have to retain the pneumatic VW 412 LE windscreen-washer reservoir on the left-hand side.

294448.jpg


294447.jpg


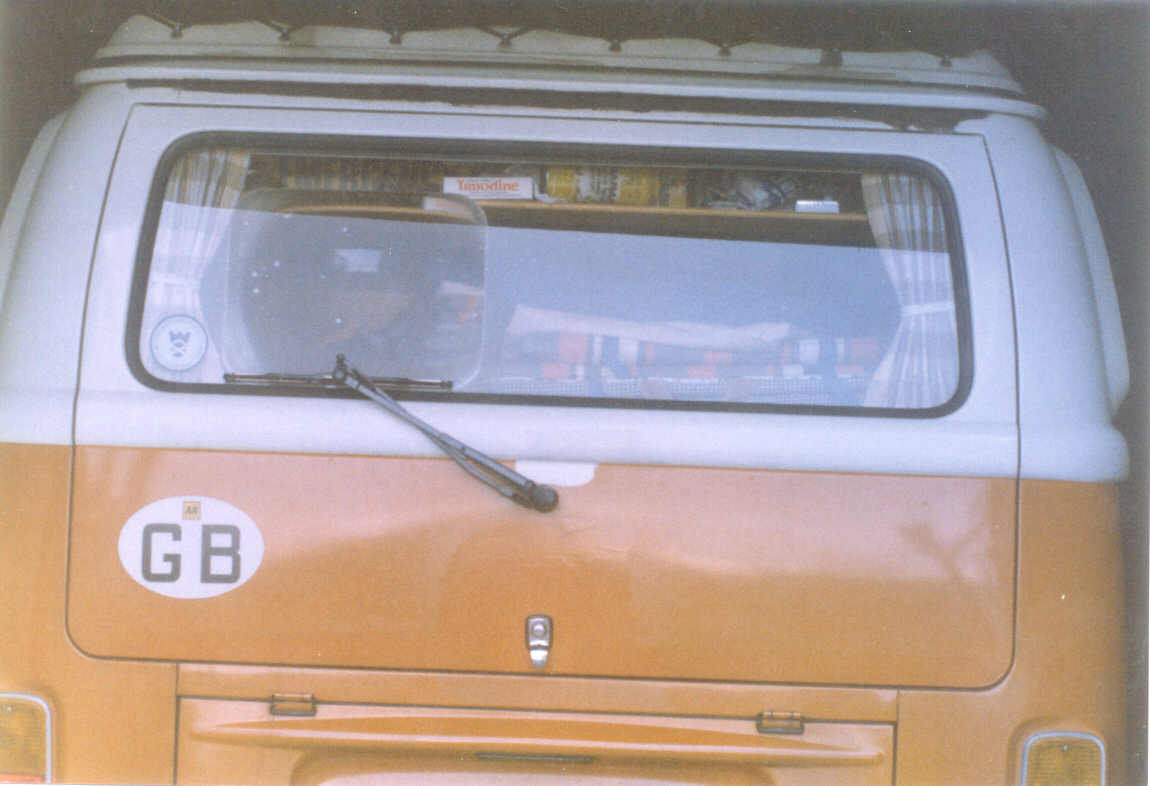
I am aware of a Swedish after-market accessory 1968~79 VW Type 2 rear-window wiper & washer system, but it's inferior to one I created.

The Swedish accessory rear-window wiper

976712.jpg


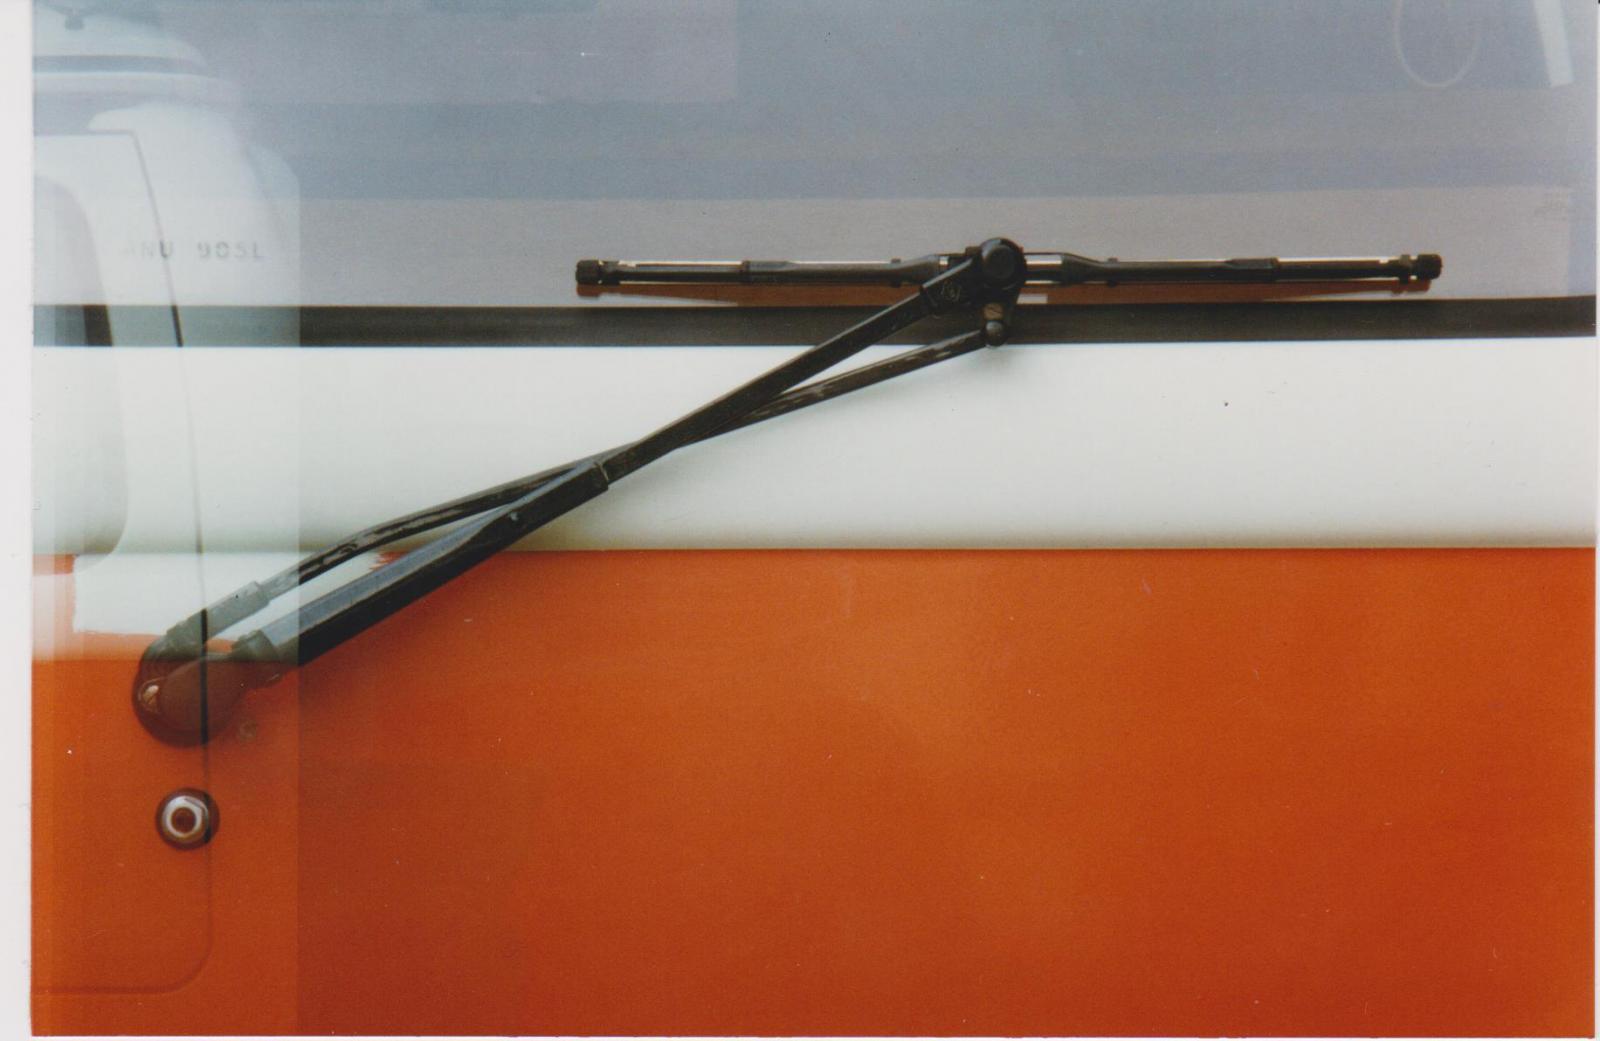
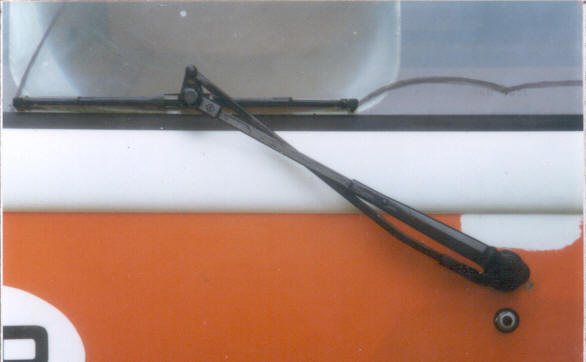
My rear-window wiper, based upon an adaption of that which was factory-fitted to the Opel Kadett D Caravan or Combi

360682.jpg


2343544.jpg


294598.jpg


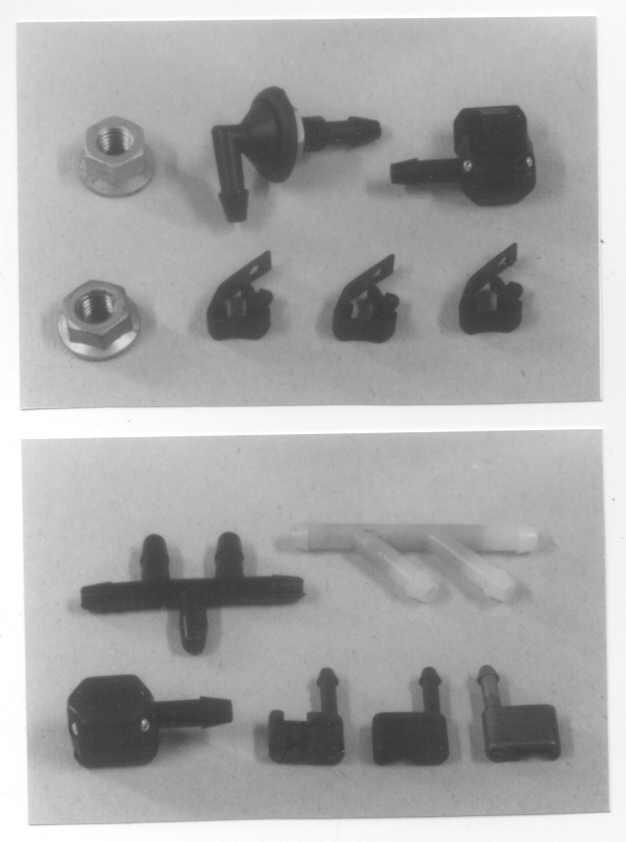
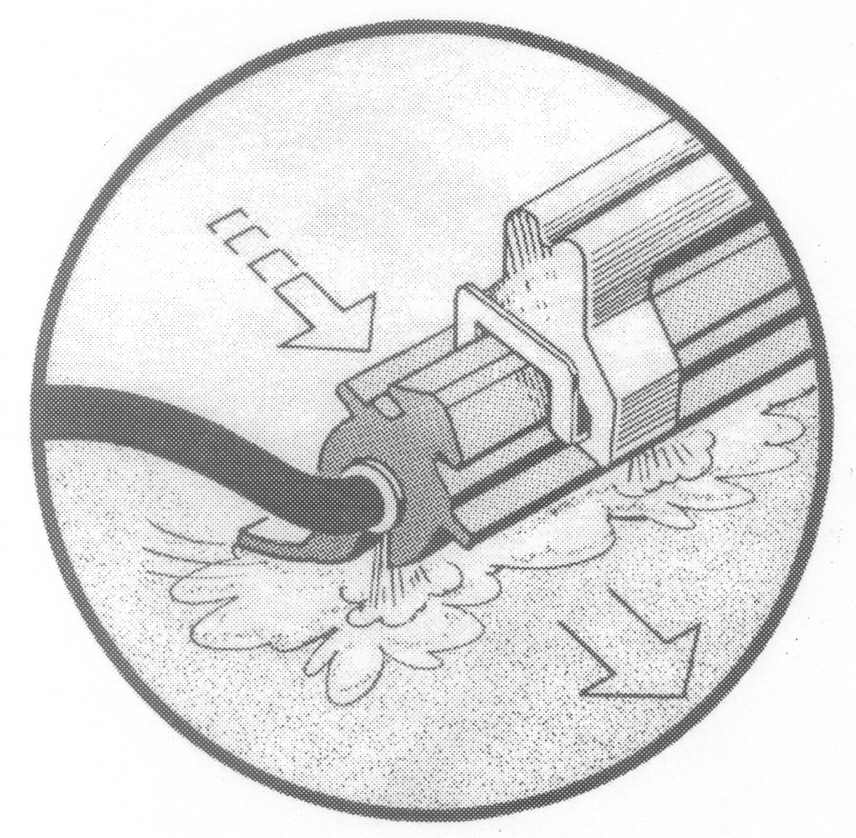
The through-panel connector, is for a wiper-arm mounted clip-on washer-jet housing with four adjustable ball nozzles.

328685.jpg


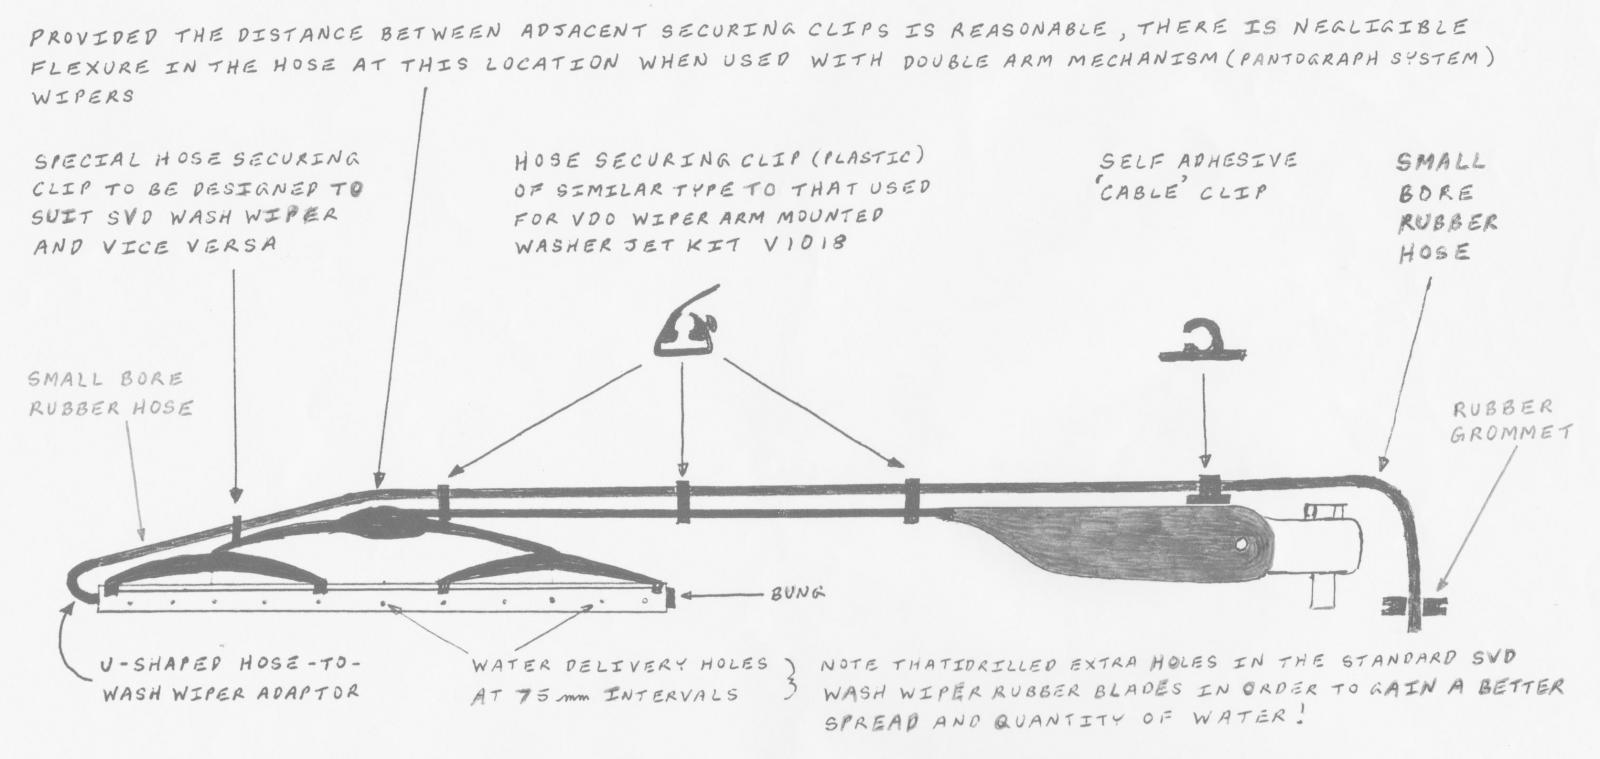
My ideal rear-window washer system would have comprised the Swedish made SVD/SWW wash-wiper blade with perforated, hollow blade-rubber, fitted in this way, but I couldn't persuade SVD/SWW to slightly modify their design, which would have resulted in a more versatile and more durable product

2005824.jpg


294083.jpg


294082.jpg
 
Last edited:

Latest posts

Top