69 Deluxe Headliner and Window Rubbers This is what we did

Early Bay Forum

Help Support Early Bay Forum:

This site may earn a commission from merchant affiliate links, including eBay, Amazon, and others.

speedbuggyseb

Well-known member
Joined
Dec 16, 2010
Messages
99
Reaction score
0
Right, here we go, we have just finished a seven week mini restoration/preservation project on our April 69 Deluxe microbus we bought at the end of November 2010 pretty much straight off of the boat from Chatham docks.

It is a one owner bus from new until approx one year ago, from a small town near some dessert outside of LA. One year ago it was sold to a father and son team, who were going to set about fully restoring it. Thankfully they gave up before they even started and went for a burger! :lol:

Our friend Steve 'Retro' Walker shipped it, we saw it and loved it, agreed the deal and picked it up in all the snow at the beginning of December. We drove it straight to another mates, Pete Nice (Autotechnics) where it sat until until just after christmas as not a lot could be done during the holiday period. We then sourced an original indicator stalk, and rear view mirror as ours were both broken, made the lights etc European spec, tuned it up a bit and put it in for an MOT.

Here it was at Steve's when we first saw it. (These pics might have been seen before)

ecf73b49.jpg


3d127ef6.jpg


fcb544ac.jpg


It passed the MOT first time, with the only advisory being that the ball joints need doing desperately, and it only had lap belts, and should apparently have full 3 point inertia seat belts fitted??? I also think that a new steering idler pin would be very beneficial and help it to drive a lot better as at the moment it is all over the road, and feels horrid!

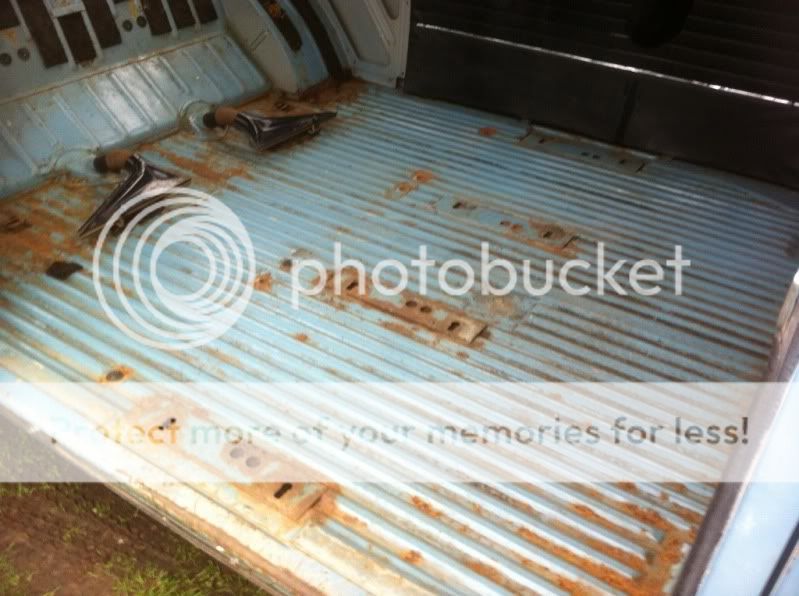
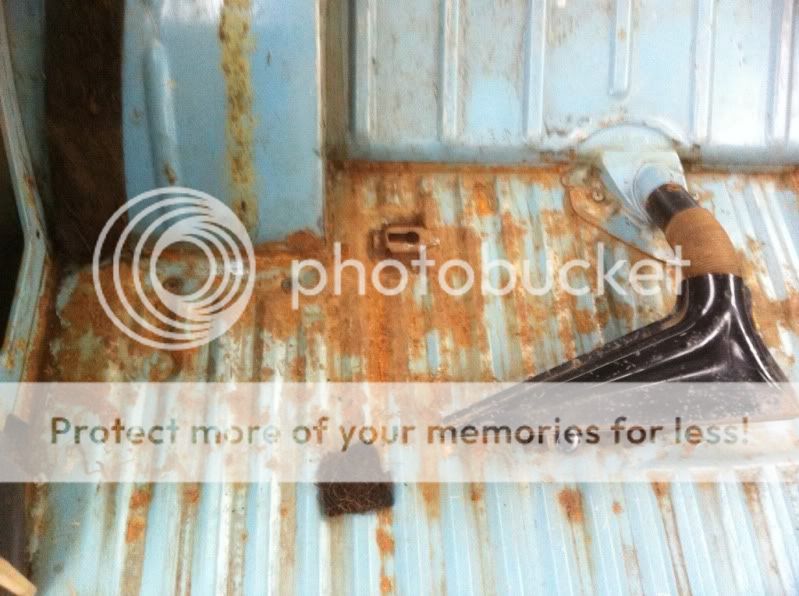
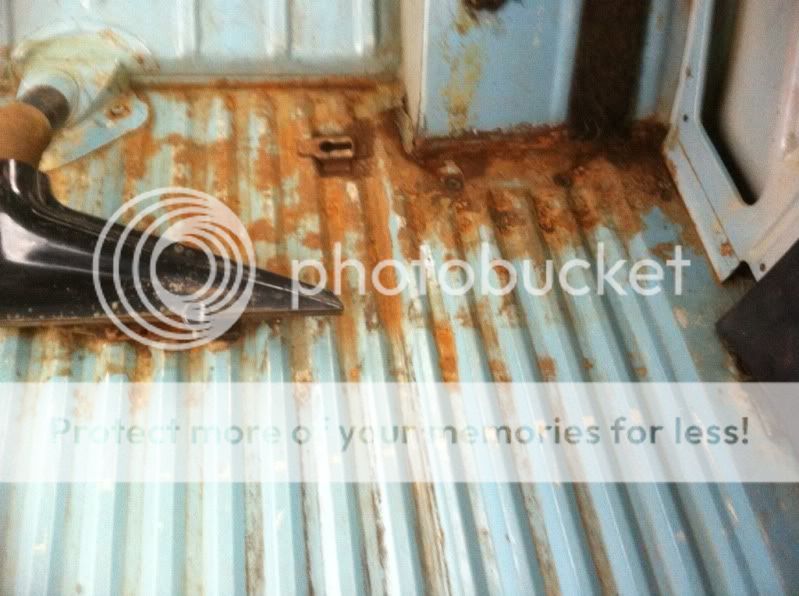
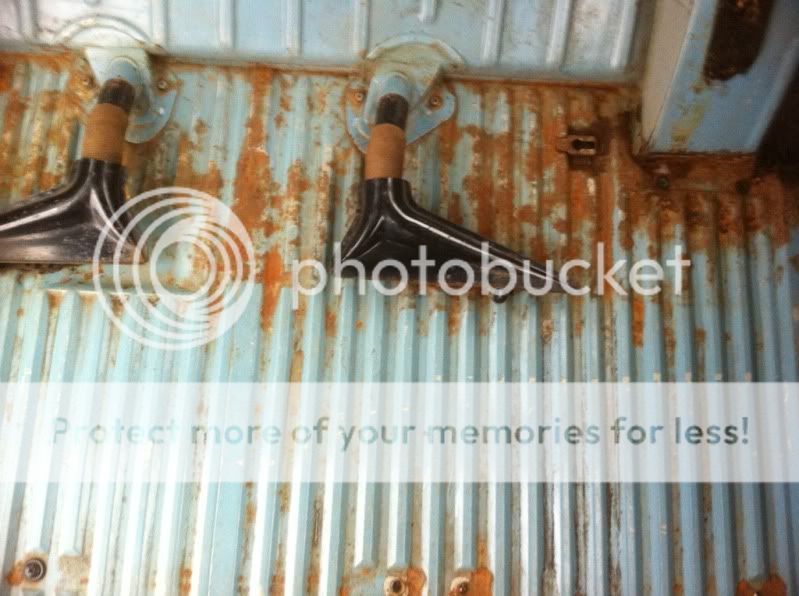
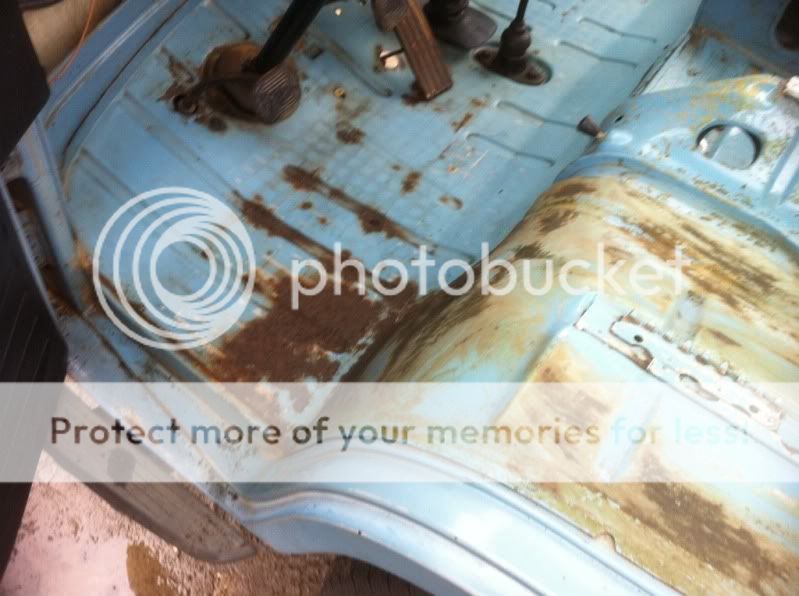
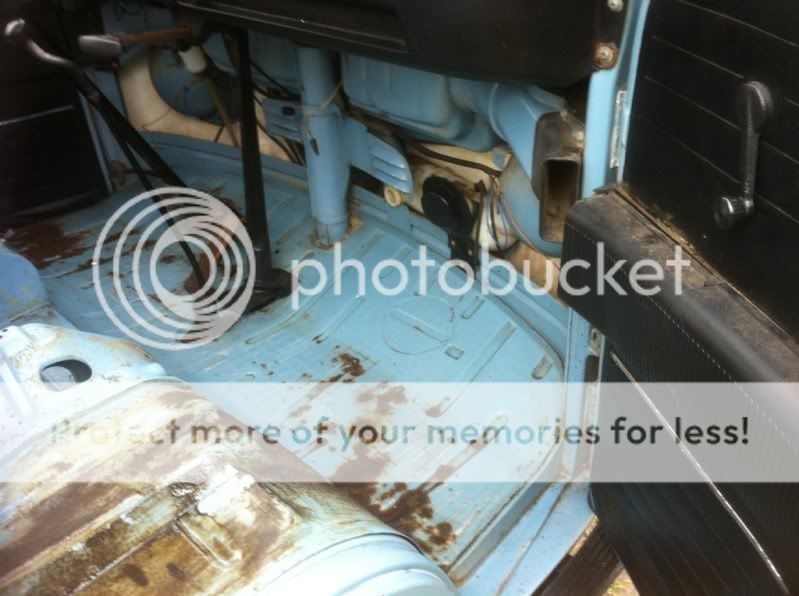
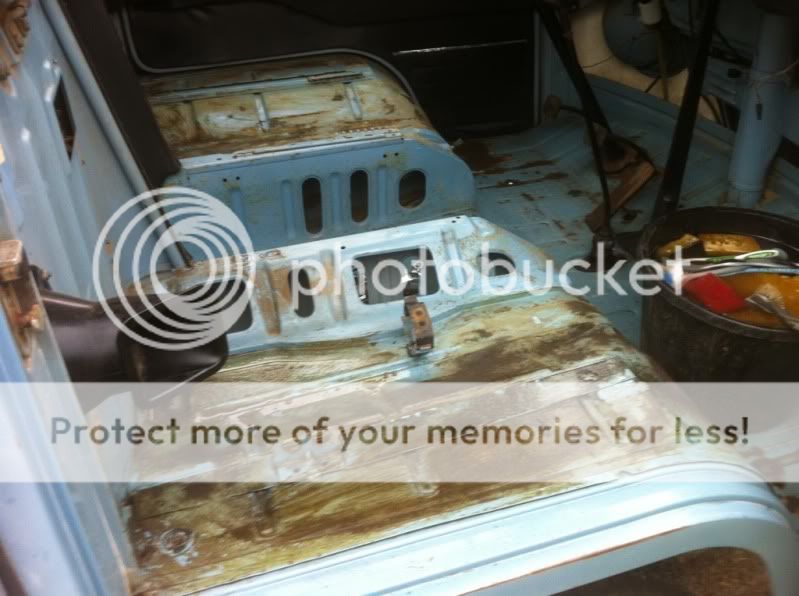
The van is all completely solid and has never been welded and apart from a five pence piece size hole in the front cab floor, that we really poked around with a screwdriver to find, once we got it home, (more about all that later) it needs nothing else doing, and basically should eventually look like new underneath when we eventually get the wheels off and get underneath it all properly cleaned. (More later)

Anyway here it is when we got it home, with a new MOT and ready to send off the registration forms etc , so we can get some UK number plates and more importantly some nice FREE Road TAX

4900c635.jpg


2697c25d.jpg


e4af4bc9.jpg


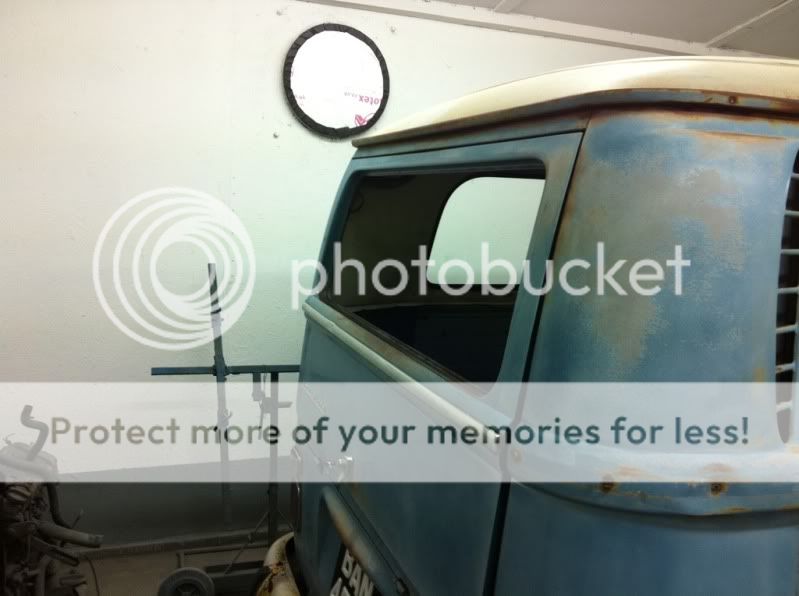
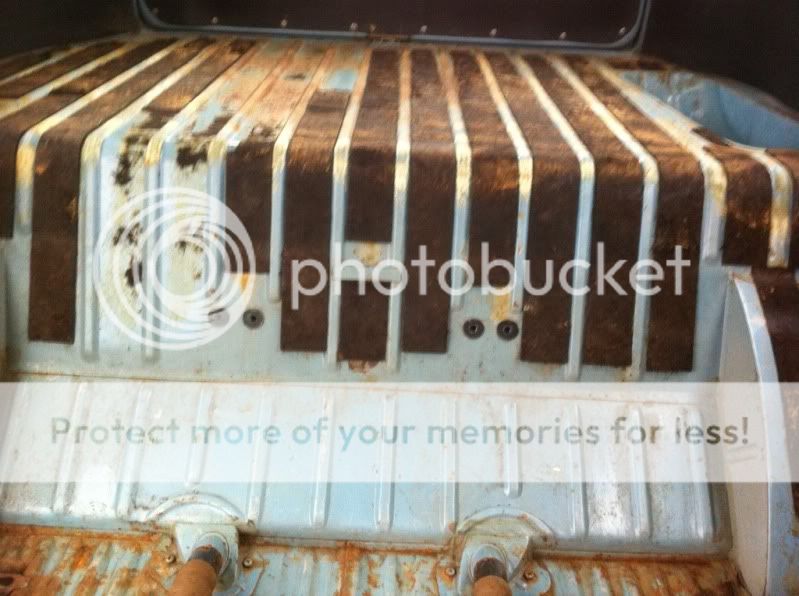
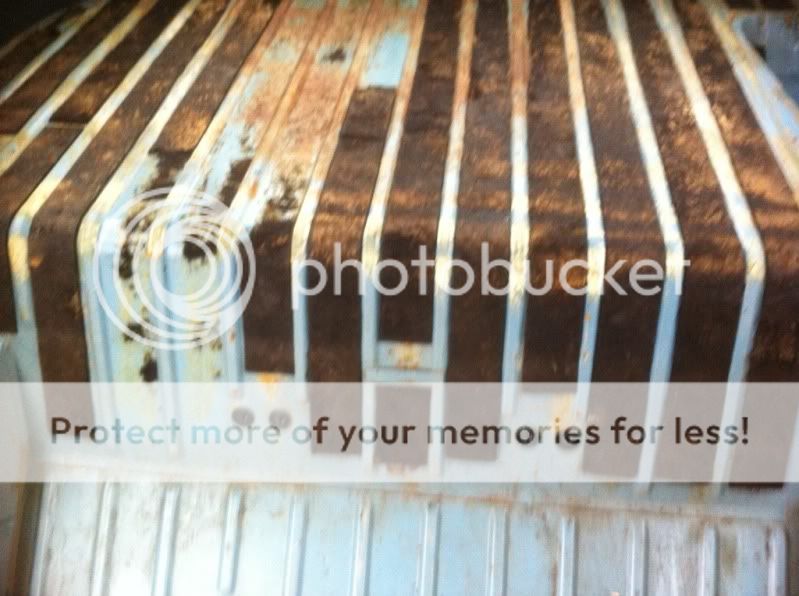
As can be seen in these pictures from about 8 weeks ago the paint is all really good, but very flat. And the roof is very slightly surface rusty, well more rusty coloured paint than rust to be honest with you.

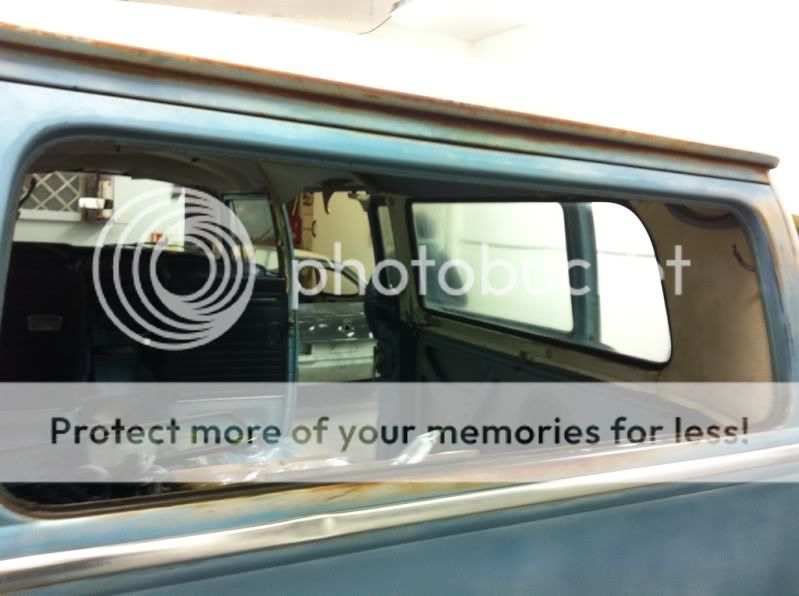
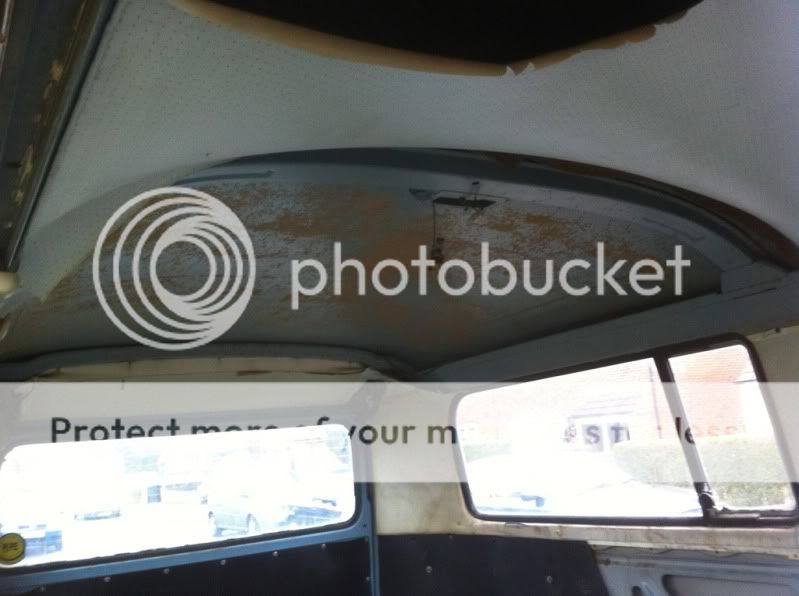
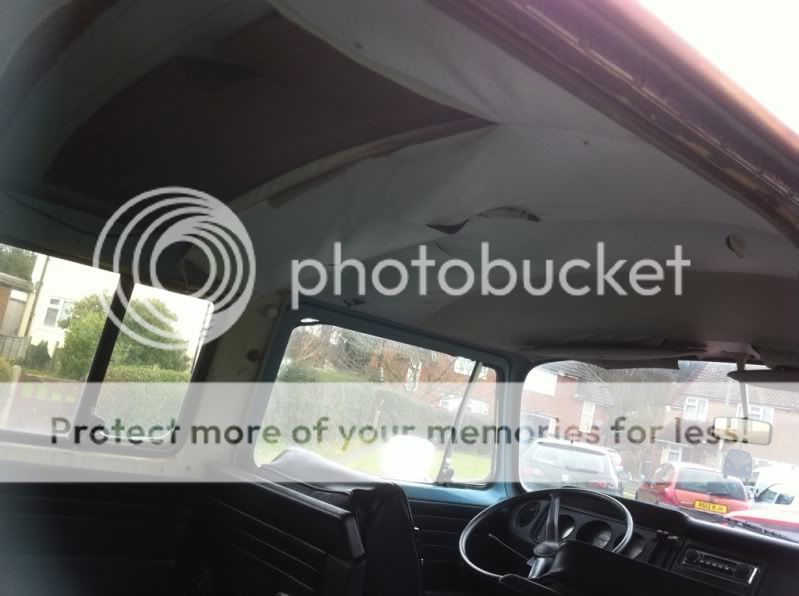
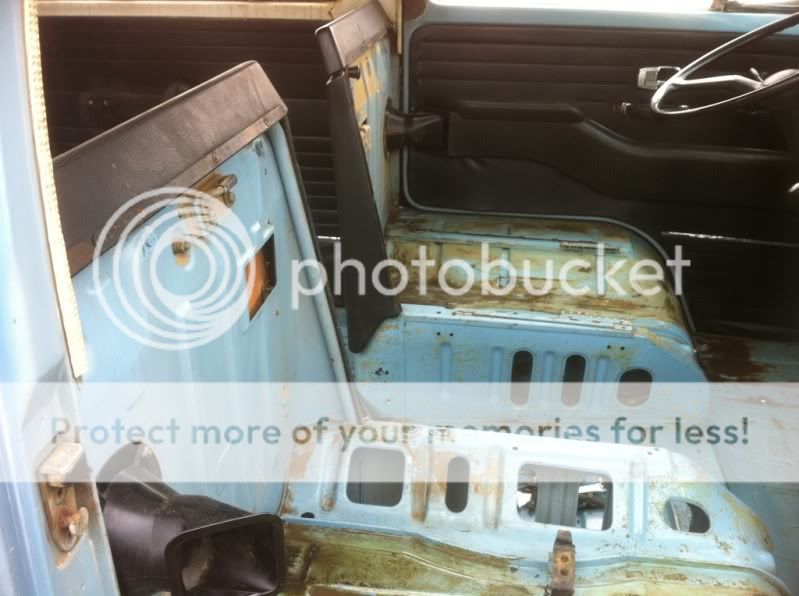
So bodywork, chassis and mechanicals are all good, and completely original, but the main two problems of the van were that the headliner was non existent and the window rubbers were the hardest and most perished that I have ever seen. (And I spent a lot of time with my cousin and his famous imported ratty 50's LOW LIGHT KARMANN GHIA known as the ZOMBIE). These were much worse.

Here are some pictures of what was left of the original headliner, our phone cameras are not that great so at this stage it is hard to see how bad the rubbers are. (more later)

83994cf8.jpg


b7fee700.jpg


16f09a37.jpg
 
c51d3caf.jpg


Ok, so we got the van home from Pete's with a fresh MOT on a Friday night sometime in early February 2011 I think.

The following Saturday morning, we got up really nice and early and were excited to go and have our first proper look at the van since we had it home and bought it about 5 weeks previously.

I think that when we looked at the outside we were really happy, we loved the natural sun bleached patina (think they paint that on at the California Docks on all cars coming to the UK) complete originality and very rust free and solid state and it was exactly as we had remembered, and was just how we fell in love with it in the first place.

Opening the sliding door though and looking inside was another story. It all looked far more broken, perished, brittle and ripped and cracked than we had remembered. The almost non existent headliner was hanging down and torn all over the place, and if you touched it your fingers just went straight through it. The deluxe headliner parts, were also hanging off all over the place. As said earlier the rear view mirror was missing, the indicator stalk was broken and every rubber on the van inside and out was like rock and had inch wide cracks at best.

Everything was filthy dirty, and it didn't look as though it had ever been cleaned out properly. Both the deluxe double middle bench seat and the triple deluxe rear seats were ripped to pieces. Some of the black interior panels had come all unstuck over the years and were peeling away from their backings. Everything was covered in thick grime. The radio knobs etc were just plain thick dirt.

We only took a couple of pics at this stage, as we were so keen to get going and excited, the minute we stopped looking on that first morning, we started stripping it all out.

By lunchtime, we had all of the interior out, seats, all of the seat belts, all the door cards, floor mats etc. Every part that was in good condition and could be cleaned and re used was properly bagged and labeled and put into a new temporary dedicated early bay area in the garage.
 
When we were taking the seats out it soon became clear how much the windows had been leaking over the last few weeks, as we started to notice that the floor area in the back was very wet indeed. Puddles of water were sitting in the rear wheel arch corner areas and also over the engine bay area, where there was broad daylight showing in all around the original rear window rubber. I had driven the van in the pouring rain a few days previously to work and could not believe how much rain was actually coming in. Every time I hit the brakes, water obviously waved down over the roof, down onto the front wind screen and then just gushed in through the windscreen rubber, door tops, bottoms and everywhere actually. The door rubbers were also non existent and there were massive gaps all of the way round. The rain had also poured in to the rear cargo floor through the side windows and the deluxe quarter lights windows too.

Luckily this was only really a month old problem, since we had bought it, (Steve had it in a barn, previously LA) which was the first time it had been outside in the UK ever.

Removing the rear seat and cargo floor mat, was a bit of a nerve racking moment, as you never really know what rust etc you might find underneath, despite the new MOT, especially when it is as soaking wet as this was.

Anyway luckily lots of nice blue floor paint became exposed, and it quickly became clear that the floors were all good apart from being filthy dirty and some light surface in those damper corners.

Here is a picture of the cargo floor after a good sweep, hoover and gentle wash at this stage.

6df45aa9.jpg


e1a467f8.jpg


a31a3ea0.jpg


00f5e545.jpg


d30bf179.jpg


c664bec1.jpg
 
Ok the next step, after first stage cleaning of the rear floor and engine top area involved making sure everything was nice and dry. A couple of days of air sorted this out with no problems. Think that that was that for the first day.

On the first Sunday of having it home, (Second day) we again got up very nice and early, stripped out the original front seats, which are in very good condition, no rips or damage, took the front cab floor mat out, seat belts etc and also thoroughly swept, hoovered, and cleaned the whole front inner below dash level. We also had a very good stab round with a screw driver and this was when we poked the very small hole through in the passenger side cab floor. (Think we were ok with this as now the whole van had all been stripped out and stabbed round with a screwdriver and this was the only rust on the entire thing, not bad for 40+ years old)

At this stage (Day 2) we also thoroughly cleaned and polished the grime, dust, desert and general dirt off of the back of the headlights bowls etc, brake reservoir bottle (which also needs replacing as it leaks), washer bottle and all around the pedals etc which were just covered in 40 yeras of dirt

Some pictures of the front cab floor at this point in time

74622ed4.jpg


979087c7.jpg


61040af7.jpg


As can be seen in the picture below we have taken all of the plastic front seat base covering off, as this was so brittle that as soon as you touched it it disintegrated. Texture had gone like Pringle crisps almost. The covers were obviously very glued on as can be seen.

Our plan is to remove the glue, polish the mint blue paint then put the seats back. This should look really nice, a bit more classic and it means we will have a bit less plastic to break in the future. Once the black seats andd cleaned belts are back in it should look much better.

bc3a5f5d.jpg


45696a13.jpg


bc3a5f5d.jpg
 
The original jack is also present and complete.

The next stage, (Monday, Day 3) Ok we had now had the MOT for almost a week, which meant we needed to crack on with the registration documents and TAX. Luckily Penny helps to manage the business park at Theale where the local DVLA office is situated. We had already grabbed and filled in the registration forms and had the £50 waiting for administration fees. Penny popped in at lunchtime, met with all of the requirements and were told that the registration documents would be through within a few days. All we would need to to do then to be fully legal is buy the new age related number plates.

At this stage we also ordered a full deluxe window rubber and correct aluminium window trim set from Custom & Commercial.
Think these were surprisingly expensive around £700 and also a brand new original quality headliner with enough extra material for the deluxe bits from a guy on here. Think he also sells through Ebay .

More details on all of this tomorrow if I get time. Seb
 
Actually just looking back the £700 from Custom and Commercial also included all new genuine cab door rubbers, sliding door rubber, boot seal, engine bay and engine rubbers too.

Whilst we were waiting for the registration documents, Tax disc, headliner and rubbers to come through the post, we ordered new ball joints and track rod ends and were all set to fit them over the following weekend. It was then organised with my old best mate that the following Monday the van was going down to his paint shop in Petersfield to get on with the fun job of the headliner and rubbers.

We had arranged to have the ball joints pressed into an exchange set of arms, so we could easily just swap them over in a couple of hours. Unfortunately after getting everything off we realised the ball joints were pressed into the wrong arms, therefore couldn't complete that job on that Saturday. The track rod ends were fitted however, and altogether did help it drive a lot better.

By the time this was done the Registration documents and Tax disc had come, (approx 8 - 10 days after we applied) and we had our new UK Registration Number, and were fully UK Road Leagl. A great and very satisfying feeling! :D That night we sat down on the computer and ordered some new 1968-69 period correct raised digit number plates.

Amazingly they came the next day, which was perfect as this only left me the Sunday to fit them, before we were going on our first 40 minute journey down to my mates workshop, where it would stay until the headliner, window rubbers, cavity waxing and general preparation and preservation for UK life would begin.

Even fitting the raised digit number plates was not that straight forward, as I was determined to use both of the original US VW number plate brackets, I definitely was not going to drill any holes in the boot lid or bumper. The problem with the raised digits is you cannot drill through them as they will crack or break off. The number plate holes in the plate also obviously have to be central, parallel straight and miss the raised digits as I said. Anyway I managed to do all of this, after a couple of hours of messing about and am very happy with the end result.

Will be able to see how they look in further pictures coming up ahead.

Nest Stage on Monday evening early Feb 2011, down to my friend Pauls to begin the mammoth task of the headliner and deluxe rubbers etc.

Over the next few weeks I should be able to explain how we fitted the headliner and full deluxe window rubbers and trim in detail with pictures.

Thanks Seb
 
Sorry but had one to may JD's tonight so didn't read all the words but the pictures told most of the story 8)

Promise to read the words over the next few days :mrgreen:

Cheers ;)
 
Nice bus matey! where did you get the headliner from i need one for mine? Shall be watching this thread with inteest. Keep it up!!!!

cheers biggles 8)
 
Lovely bus you've got there, going to be sweet. What are your plans once you get it weathertight?

Let me know how the window seals work out. We also have an ex-US deluxe with fossilised seals and everyone says that they're a mission to replace.... :(

Hoping they're reputation isn't justified for both our sakes! :)
 
Geeze said:
Lovely bus you've got there, going to be sweet. What are your plans once you get it weathertight?

Let me know how the window seals work out. We also have an ex-US deluxe with fossilised seals and everyone says that they're a mission to replace.... :(

Hoping they're reputation isn't justified for both our sakes! :)


Hi, thanks for your comments, we finished ours about 3 weeks ago, and yes, your right they were a massive mission, but I am going to show you what we did over the next few weeks when I get any spare time to work on this thread. Its going to take a while to go through all the pictures and get it all accurately typed out. Thread will show fitment of all the rubbers, headliner, cavity waxing and general preparation for the UK climate. Thanks seb
 
Hi sorry I havent got to writing about the headliner and rubbers part yet, I have been really busy the last evenings, working on some other areas of the van, as well as other projects, and it is going to be a gradual process that takes me some time to type. Thanks Seb
 
Right hi, have been really busy for the last few weeks, working on some other projects we have, as well as home garden, garage etc, while the weather is nice and the evenings are light. LOVE IT!

Ok back to the bay, it is the first week in February on a Monday evening when I drove the Bay down to my mate Pauls workshop about 40 mins away in Petersfield Hants to start the mammoth task of all the window rubbers and headliner.

At first my girlfriend, thought, and without really thinking about it, we may be able to do the job in a weekend, I predicted it may take us 2 weeks or so, and my mate Paul who is vastly experienced in this sort of thing predicted it may only take a week of evenings and weekends.

Introducing Paul, my expert friend who I am merely assisting for the duration of the work!

My oldest best friend Paul who's workshop it is, has worked full time as a top paint sprayer for one of the countries leading coachwork companies for 25 years since we left school. Paul also has his own smaller coachworks paint and body work unit of his own that he runs a small side line business in the evenings and weekends. Most of his private work is on older VW's and he has a wealth of experience in rubbers and headliners.
 
Monday evening we drove the 40 mins down to Petersfield in the freezing cold and pouring rain. Penny followed in one of our more sensible cars. I had to have all of the windows open so that the windscreen was to cold to steam up quite so much with my breath and general damp feeling that was inside the van. I also had to have the windscreen wipers on full speed to help with the demisting but unfortunately the passenger side one must have been a bit over worked and probably unused for years, so the blade fell off about half way en route. This left the wiper arm rubbing hard and scratching against the windscreen. GREAT!

Due to the fact that the rubbers were so fossilized and split (inch gaps in places) every time you braked the water waved all down the roof and then gushed in through the front screen and top of the doors, whilst also being regularly slapped in the face by the absolutely hanging headliner.

I am quite used to driving some really old cars but on this occasion by the time I got to Pauls I was freezing cold, soaking wet, and a bit of a nervous wreck from all the driving down dark dirty back roads and country lanes when I could'nt really even see where I was going at all.

All the fun of driving an old Volkswagens !

Anyway we eventually arrived and drove the van straight in out of the weather. What a relief to know that the next time we drove it, it would all be UK weather proof, and not out in the nasty British elements for one moment longer than necessary!
 
Ok, right we arrived down at Pauls at about 7.30 in the evening, had a quick catchup and chat for half an hour and then got straight down to work.

Due to the fact that our window rubbers were all so fossilized there was no point in even to trying to get them out in the regular way by popping the glass out.

We just grabbed a very sharp and retractable (its safer) new stanley knife and blade and started to cut the rubber.

We began with the rear hatch window, as this was the first window that we could actually get out and hopefully get the new replacement in as soon as possible, with no delays or missing links in the chain of what needed to happen. (All of the other windows required a lot more work as either the headliner needed to fit first or the sliding door needed removing or something like that.

We were extremely careful at this point as it is very easy to slip and either scratch the van boot lid or cut yourself to bits. Luckily we did neither and after about half hour the window came free

ddd1fa4f.jpg


66a3d438.jpg
 
Hey dude,

Looking good... Any more progress? Also, where did you get your headliner from - and do you think your pal in Petersfield would want to fit one for me?

I'm in Walton-on-Thames (KT12) so not a million miles away :)

Cheers,


Mike
 

Latest posts

Top