oldschool71
Well-known member
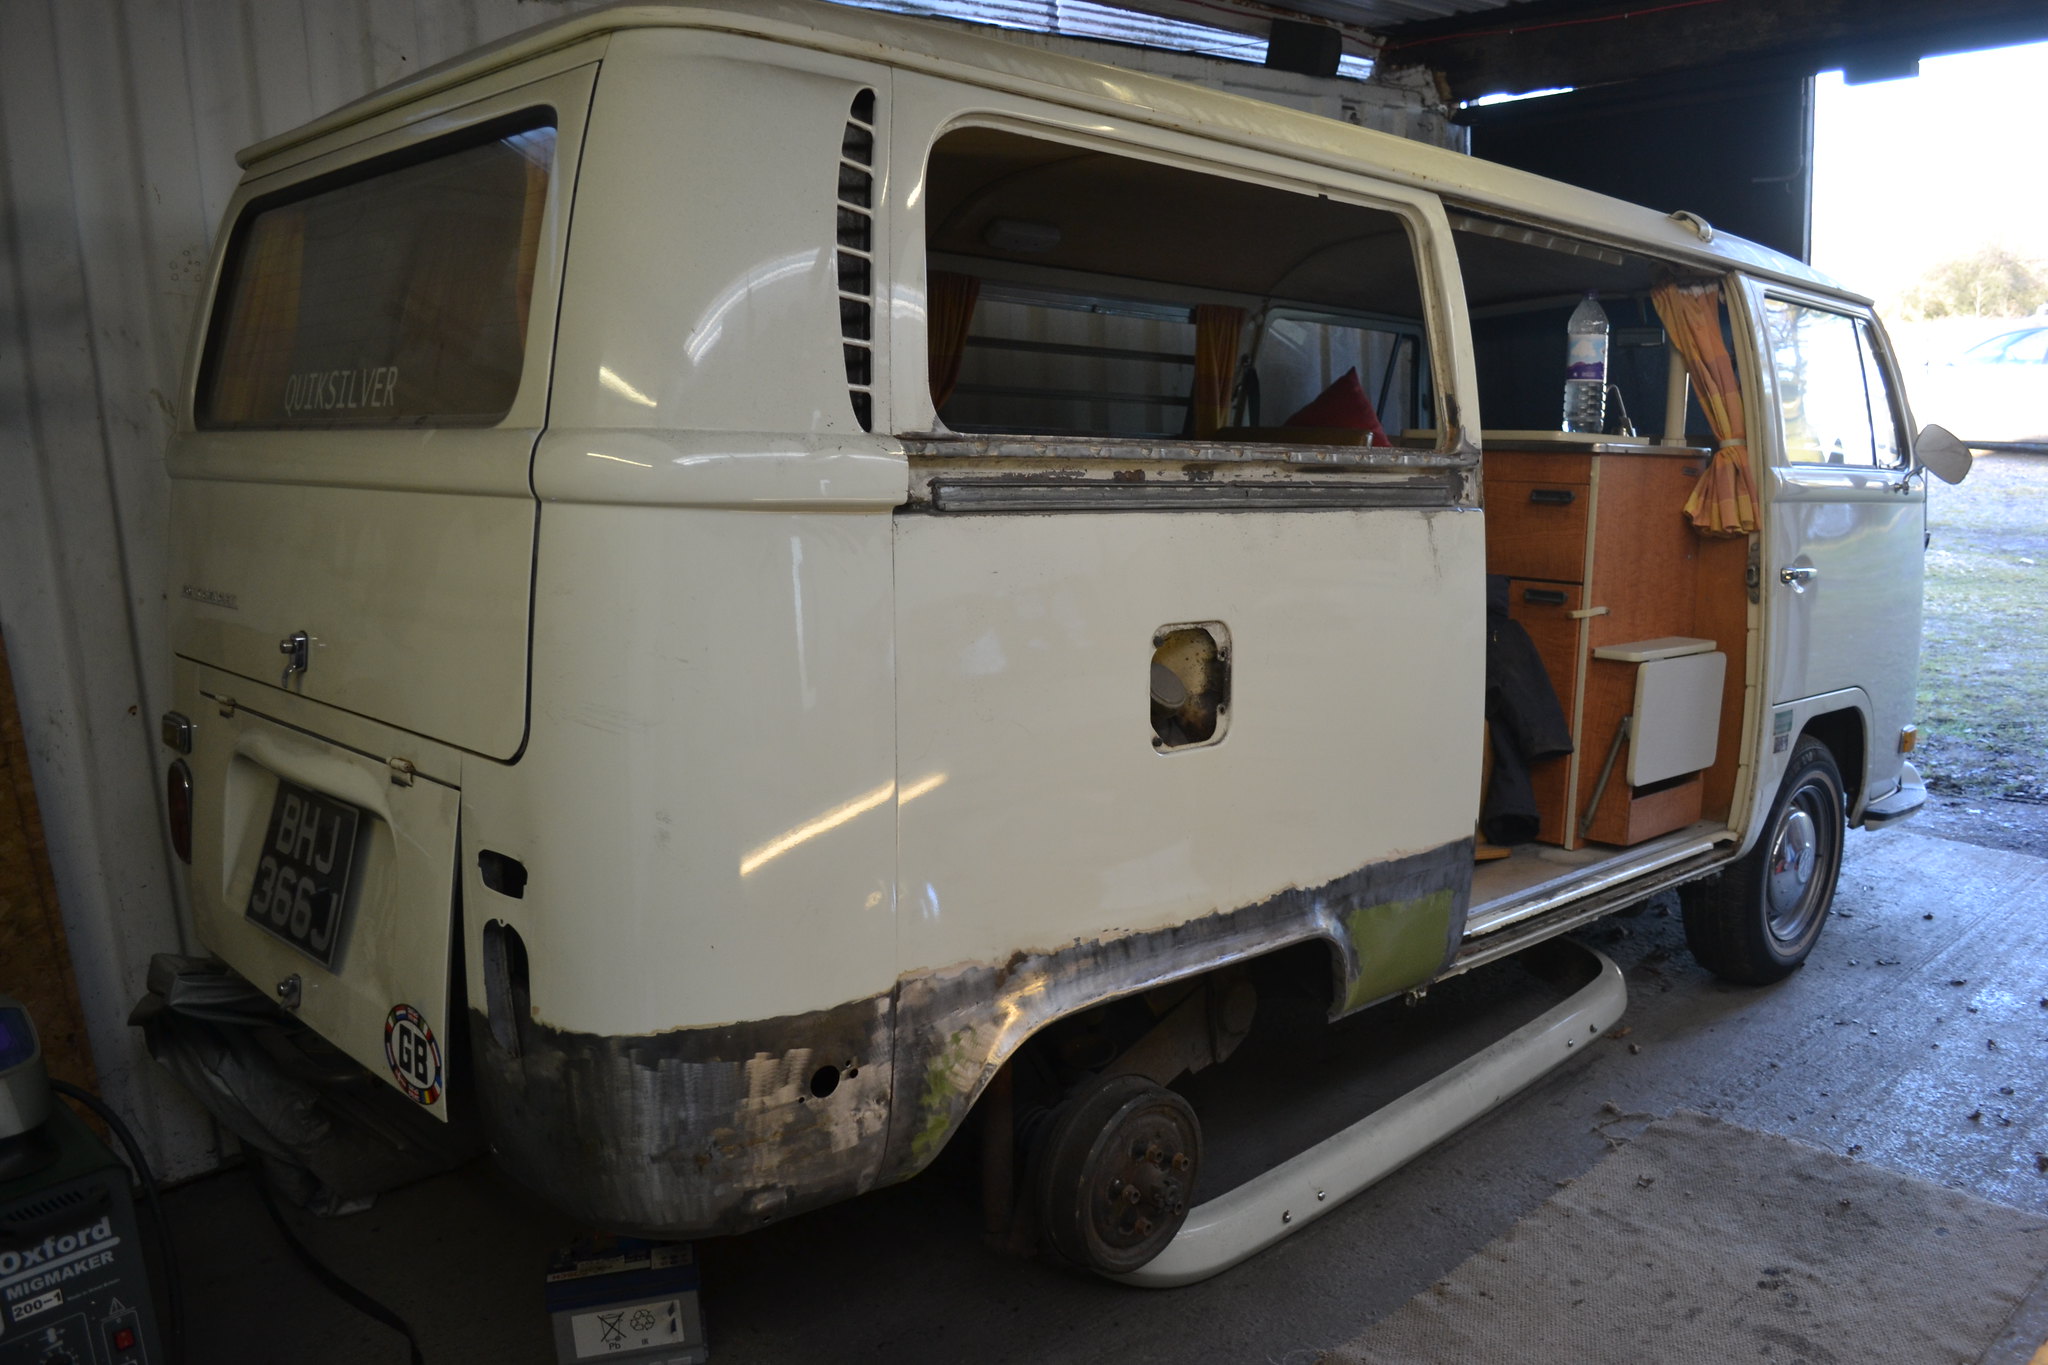
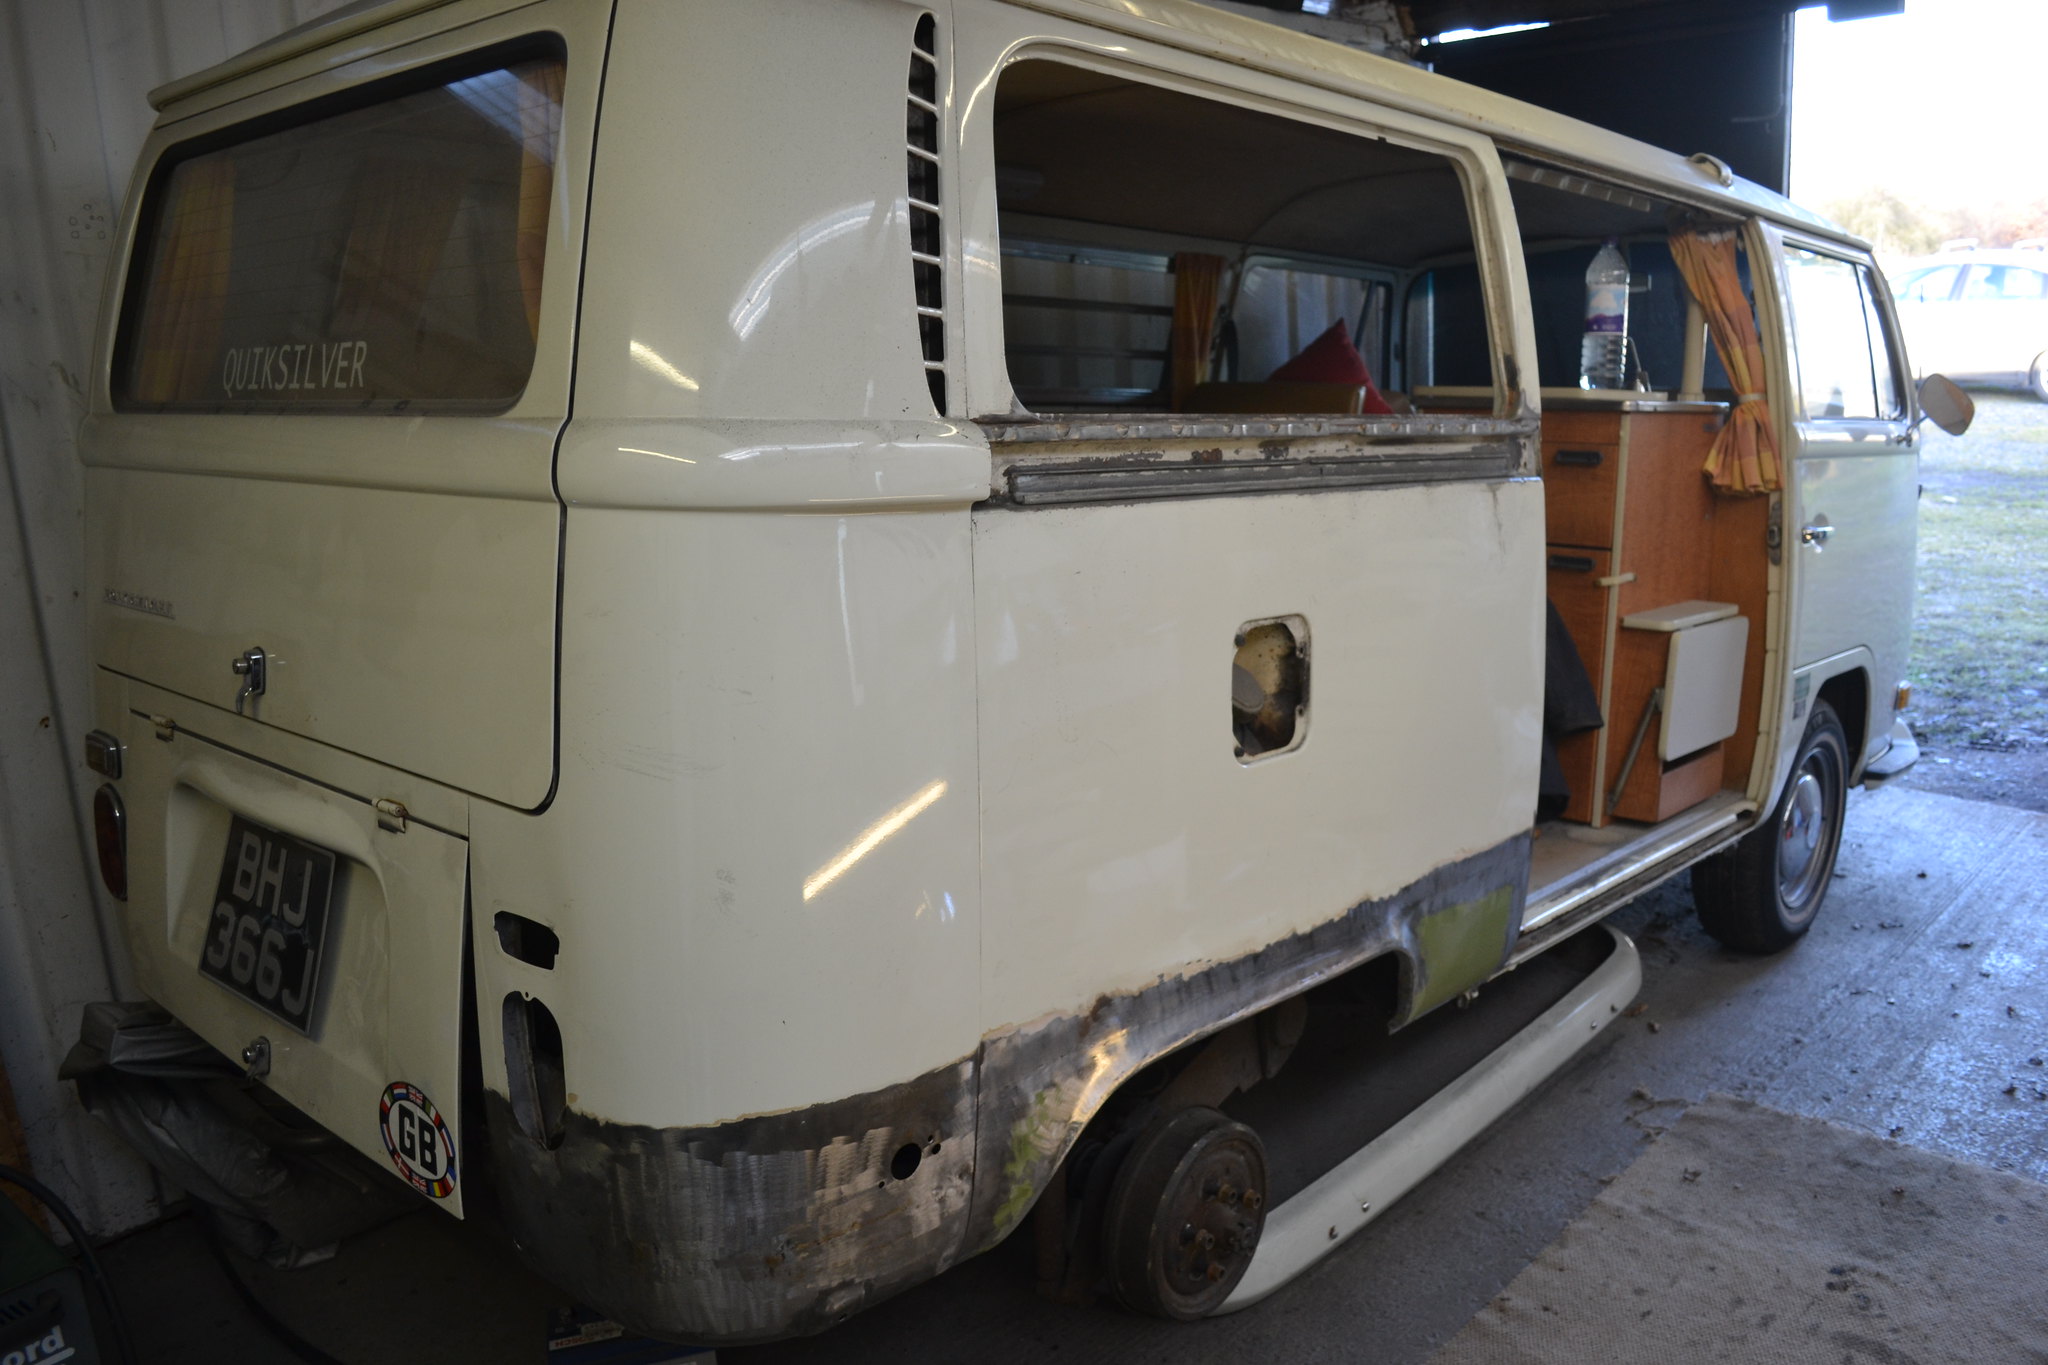
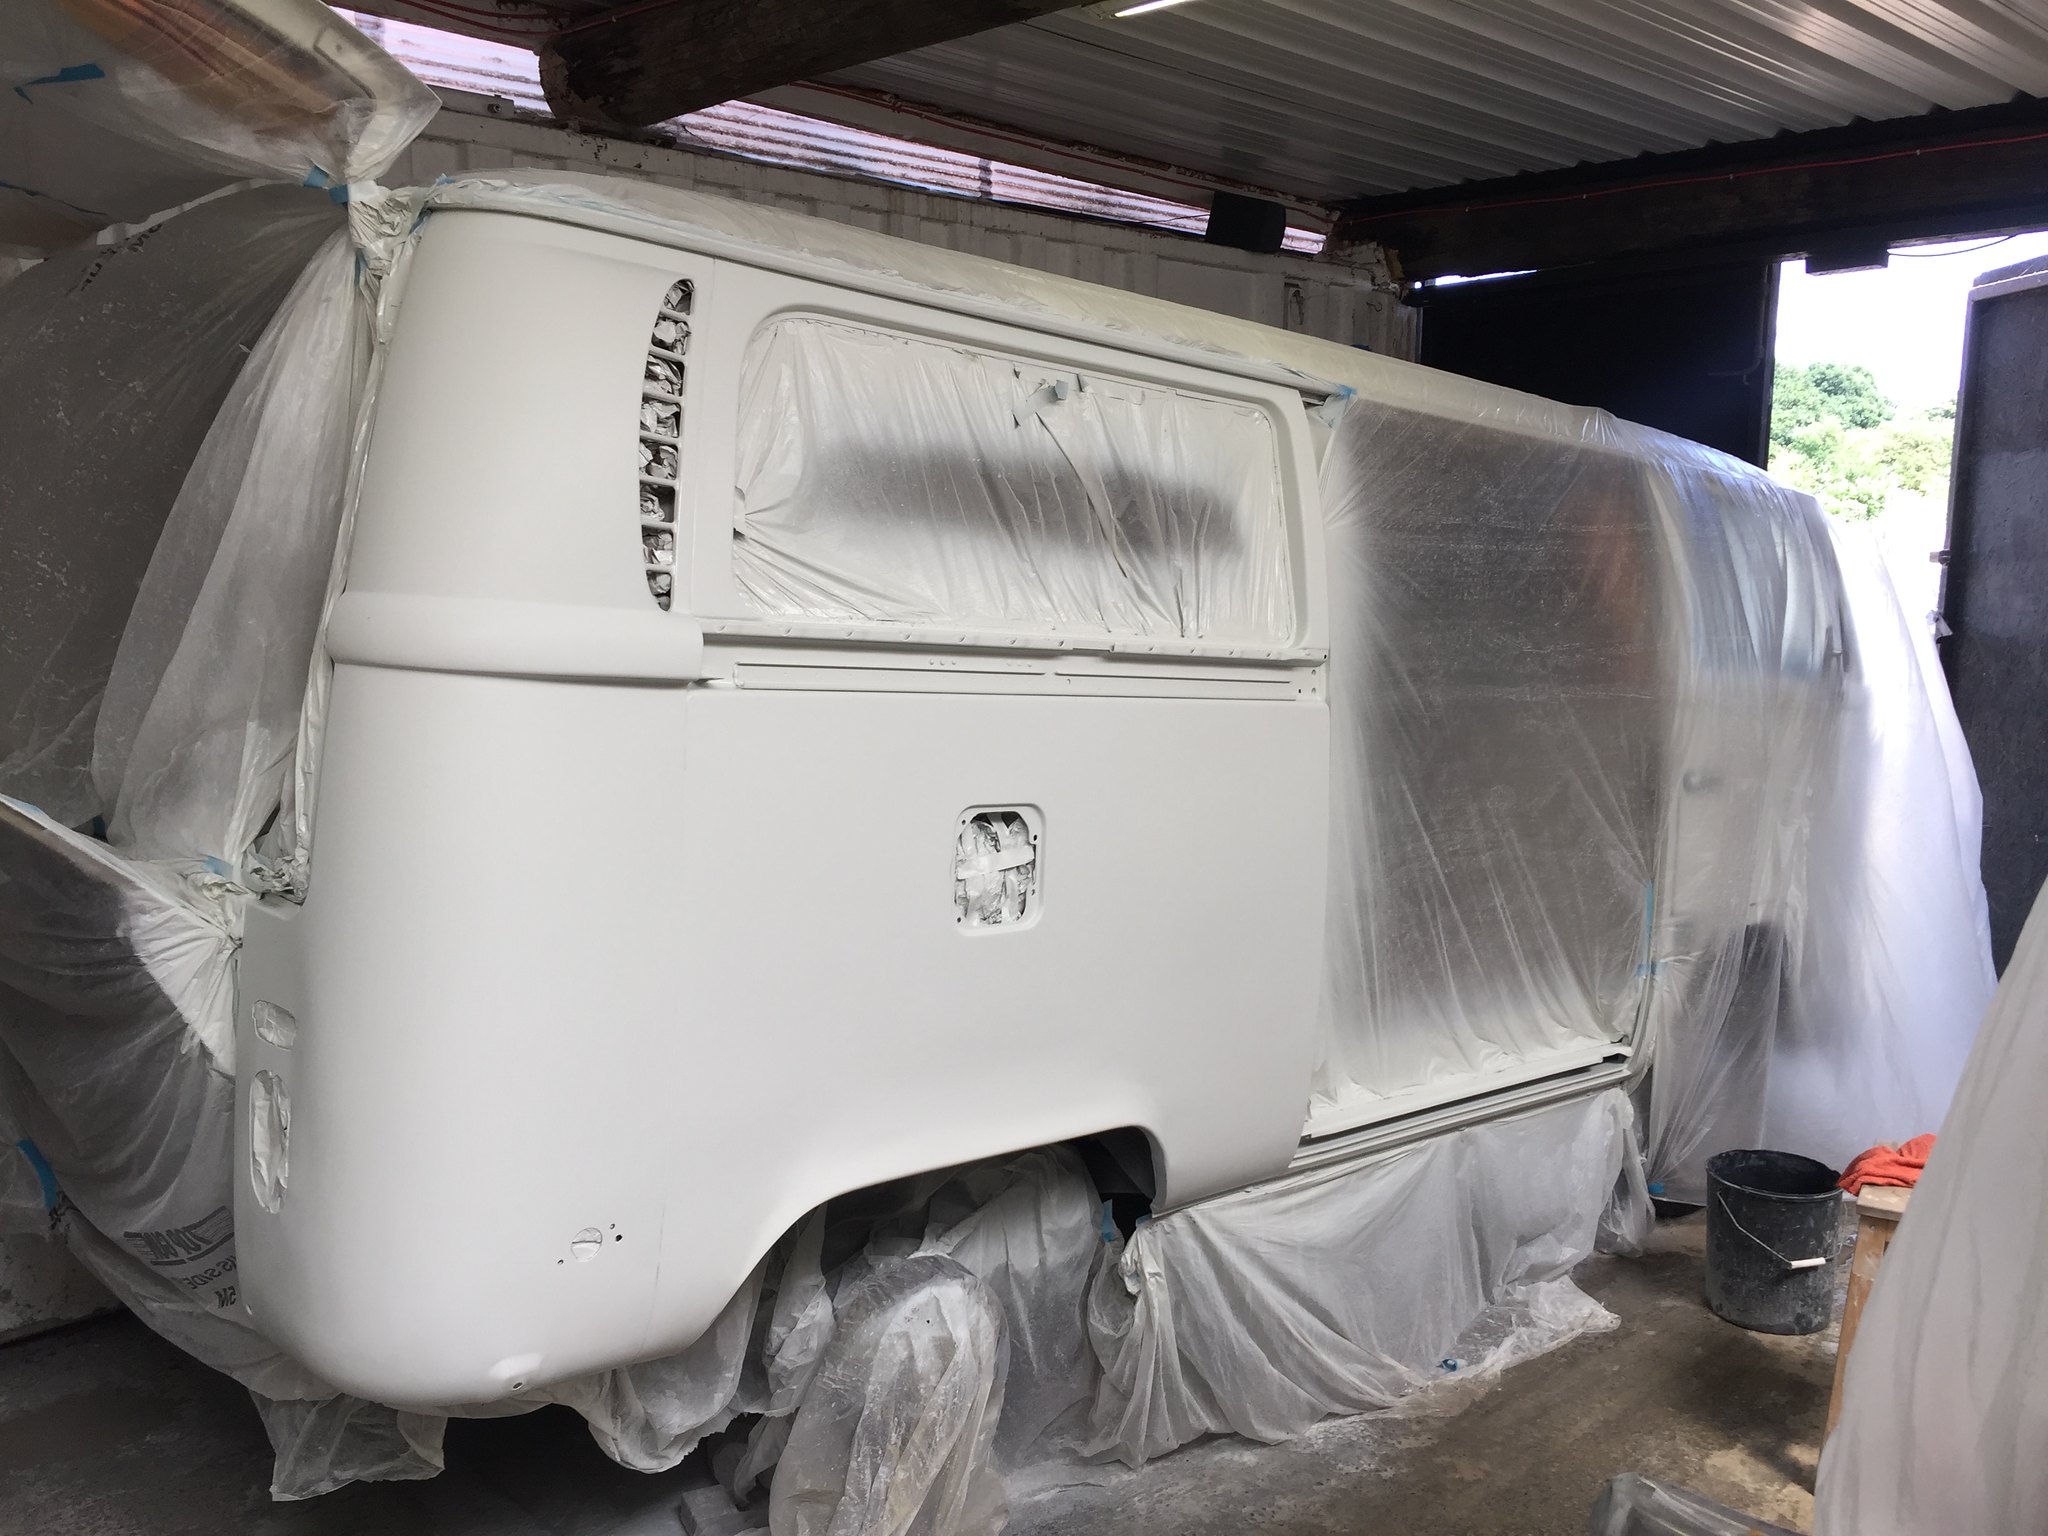
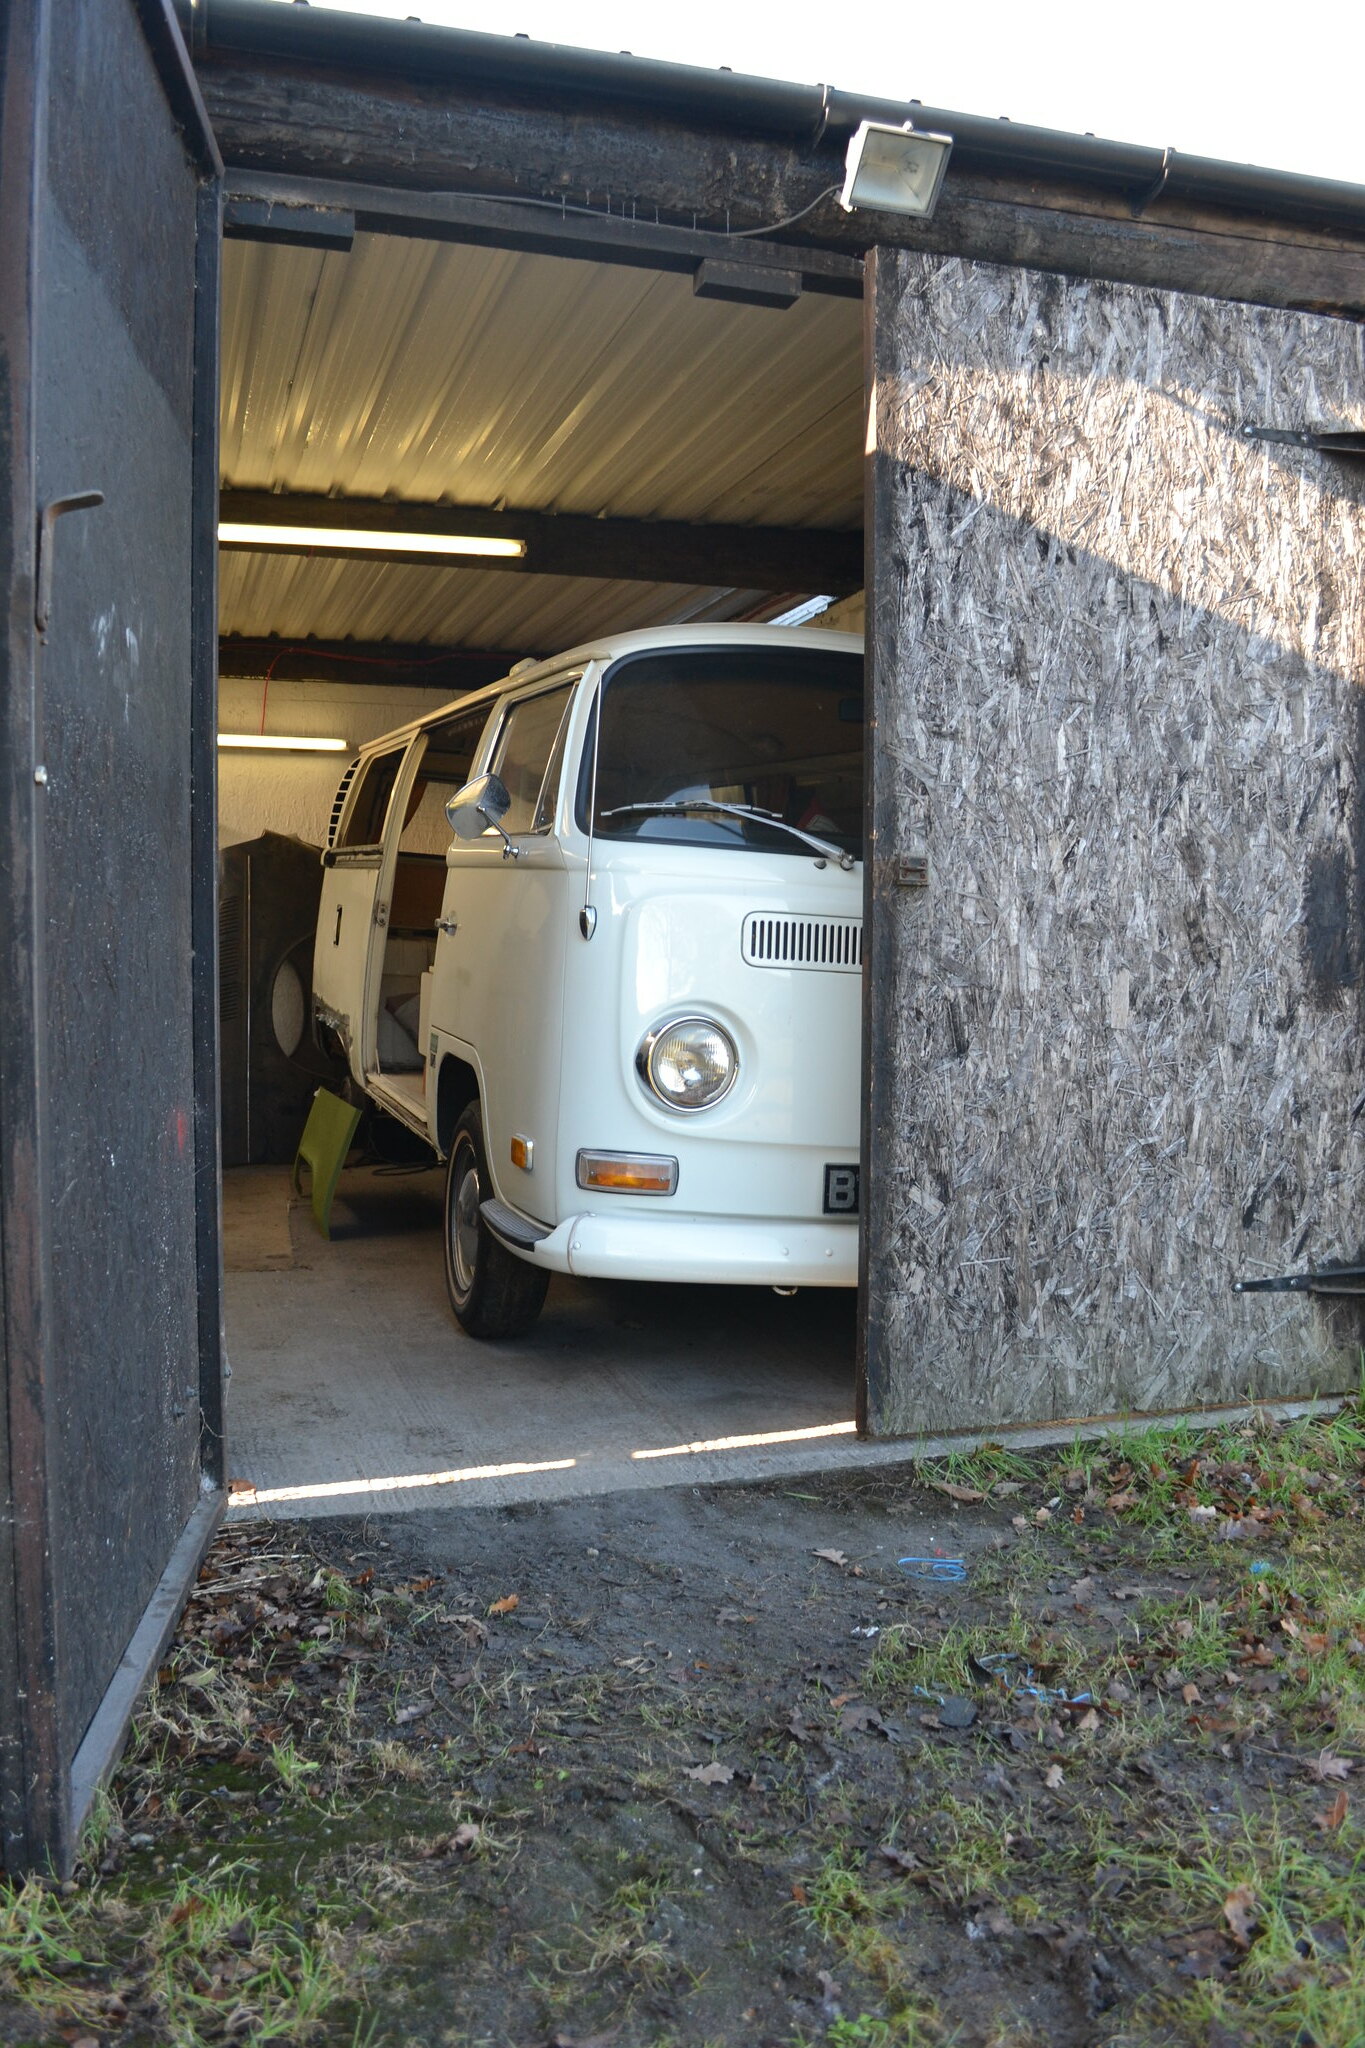
I put a question out on the technical thread but thought i'd show you how i'm trying to replicate the early cross-over rear arch. I could have put a the late style arch on but would have needed to fit a late arch on the nearside to match.
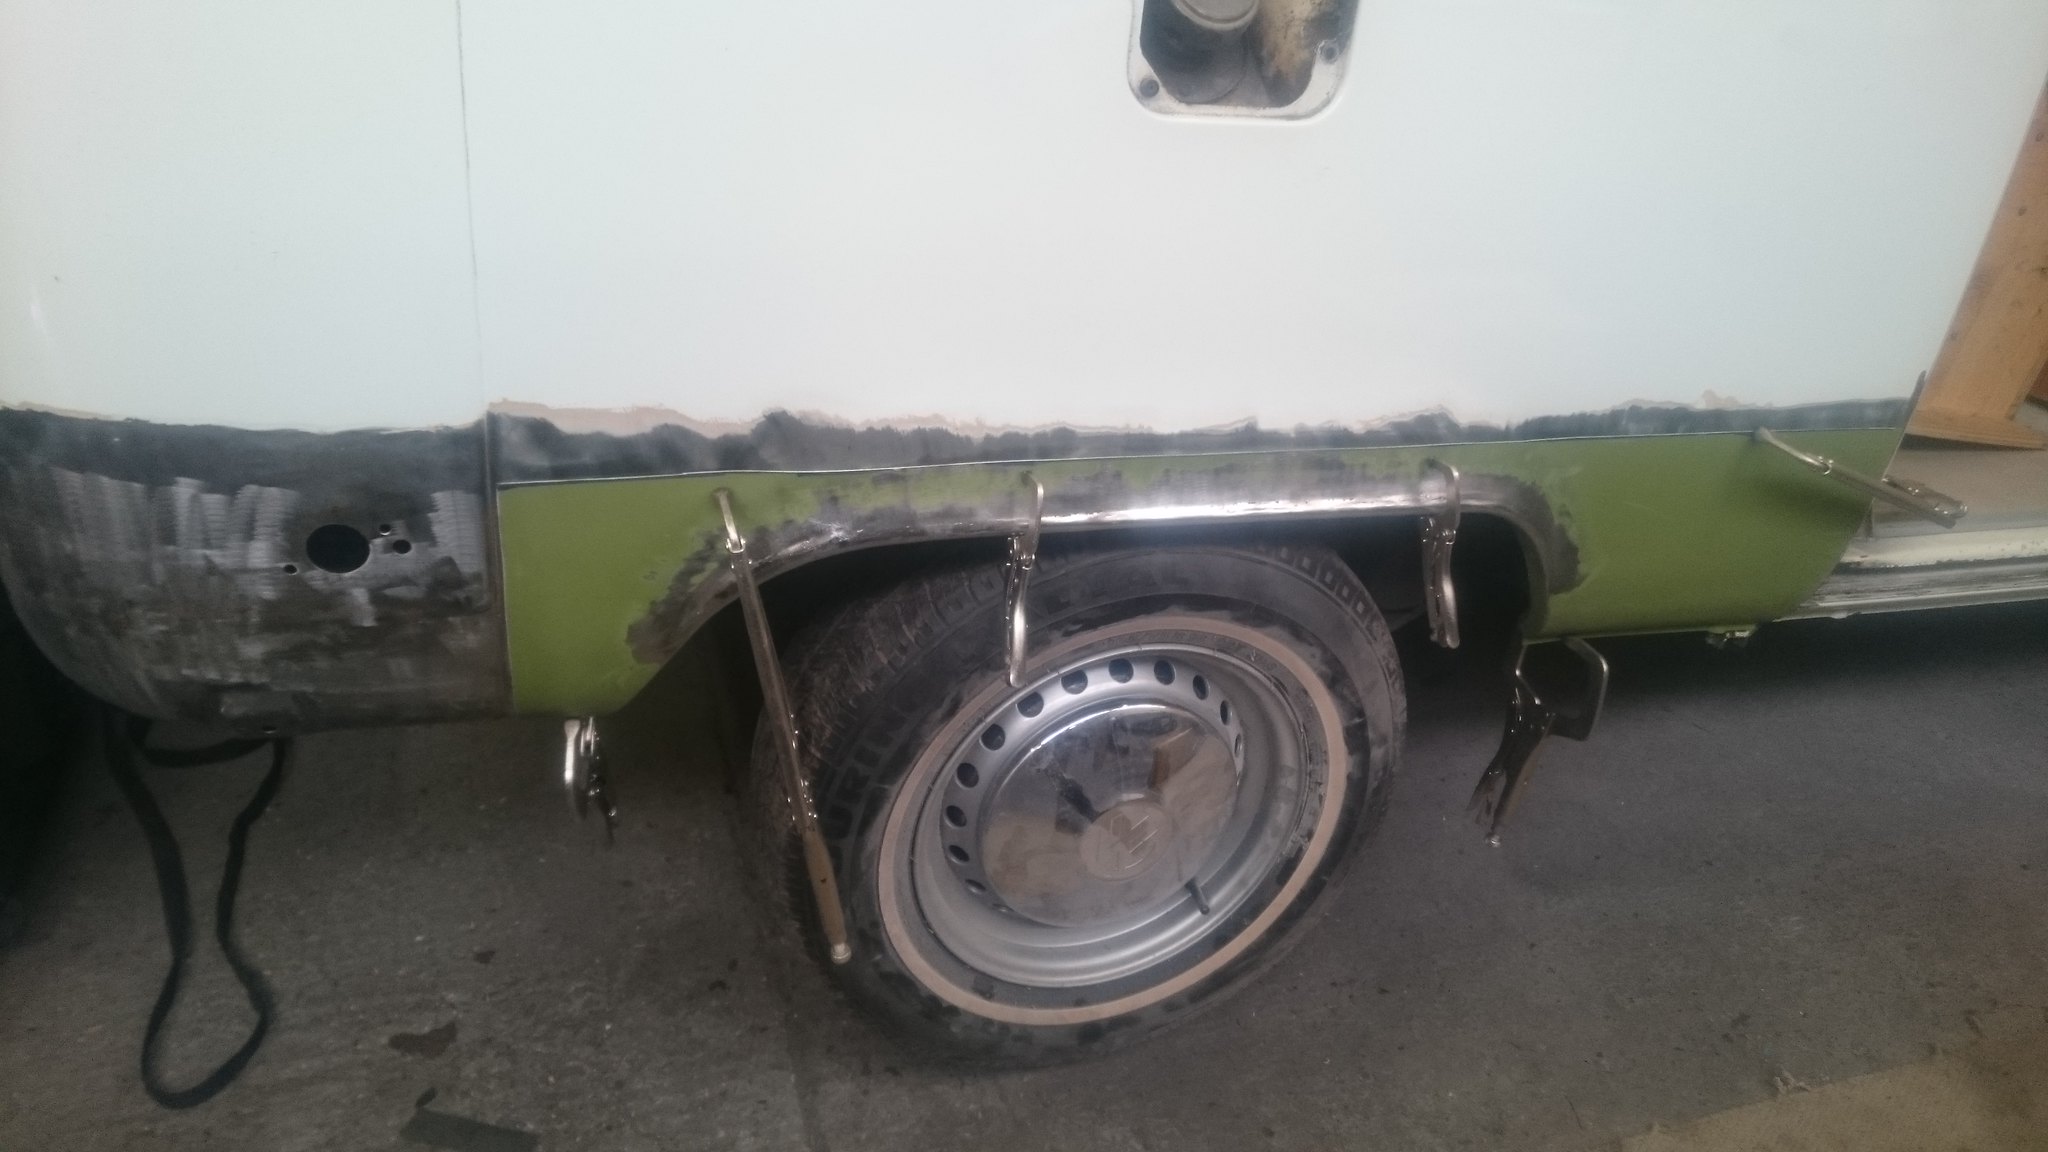
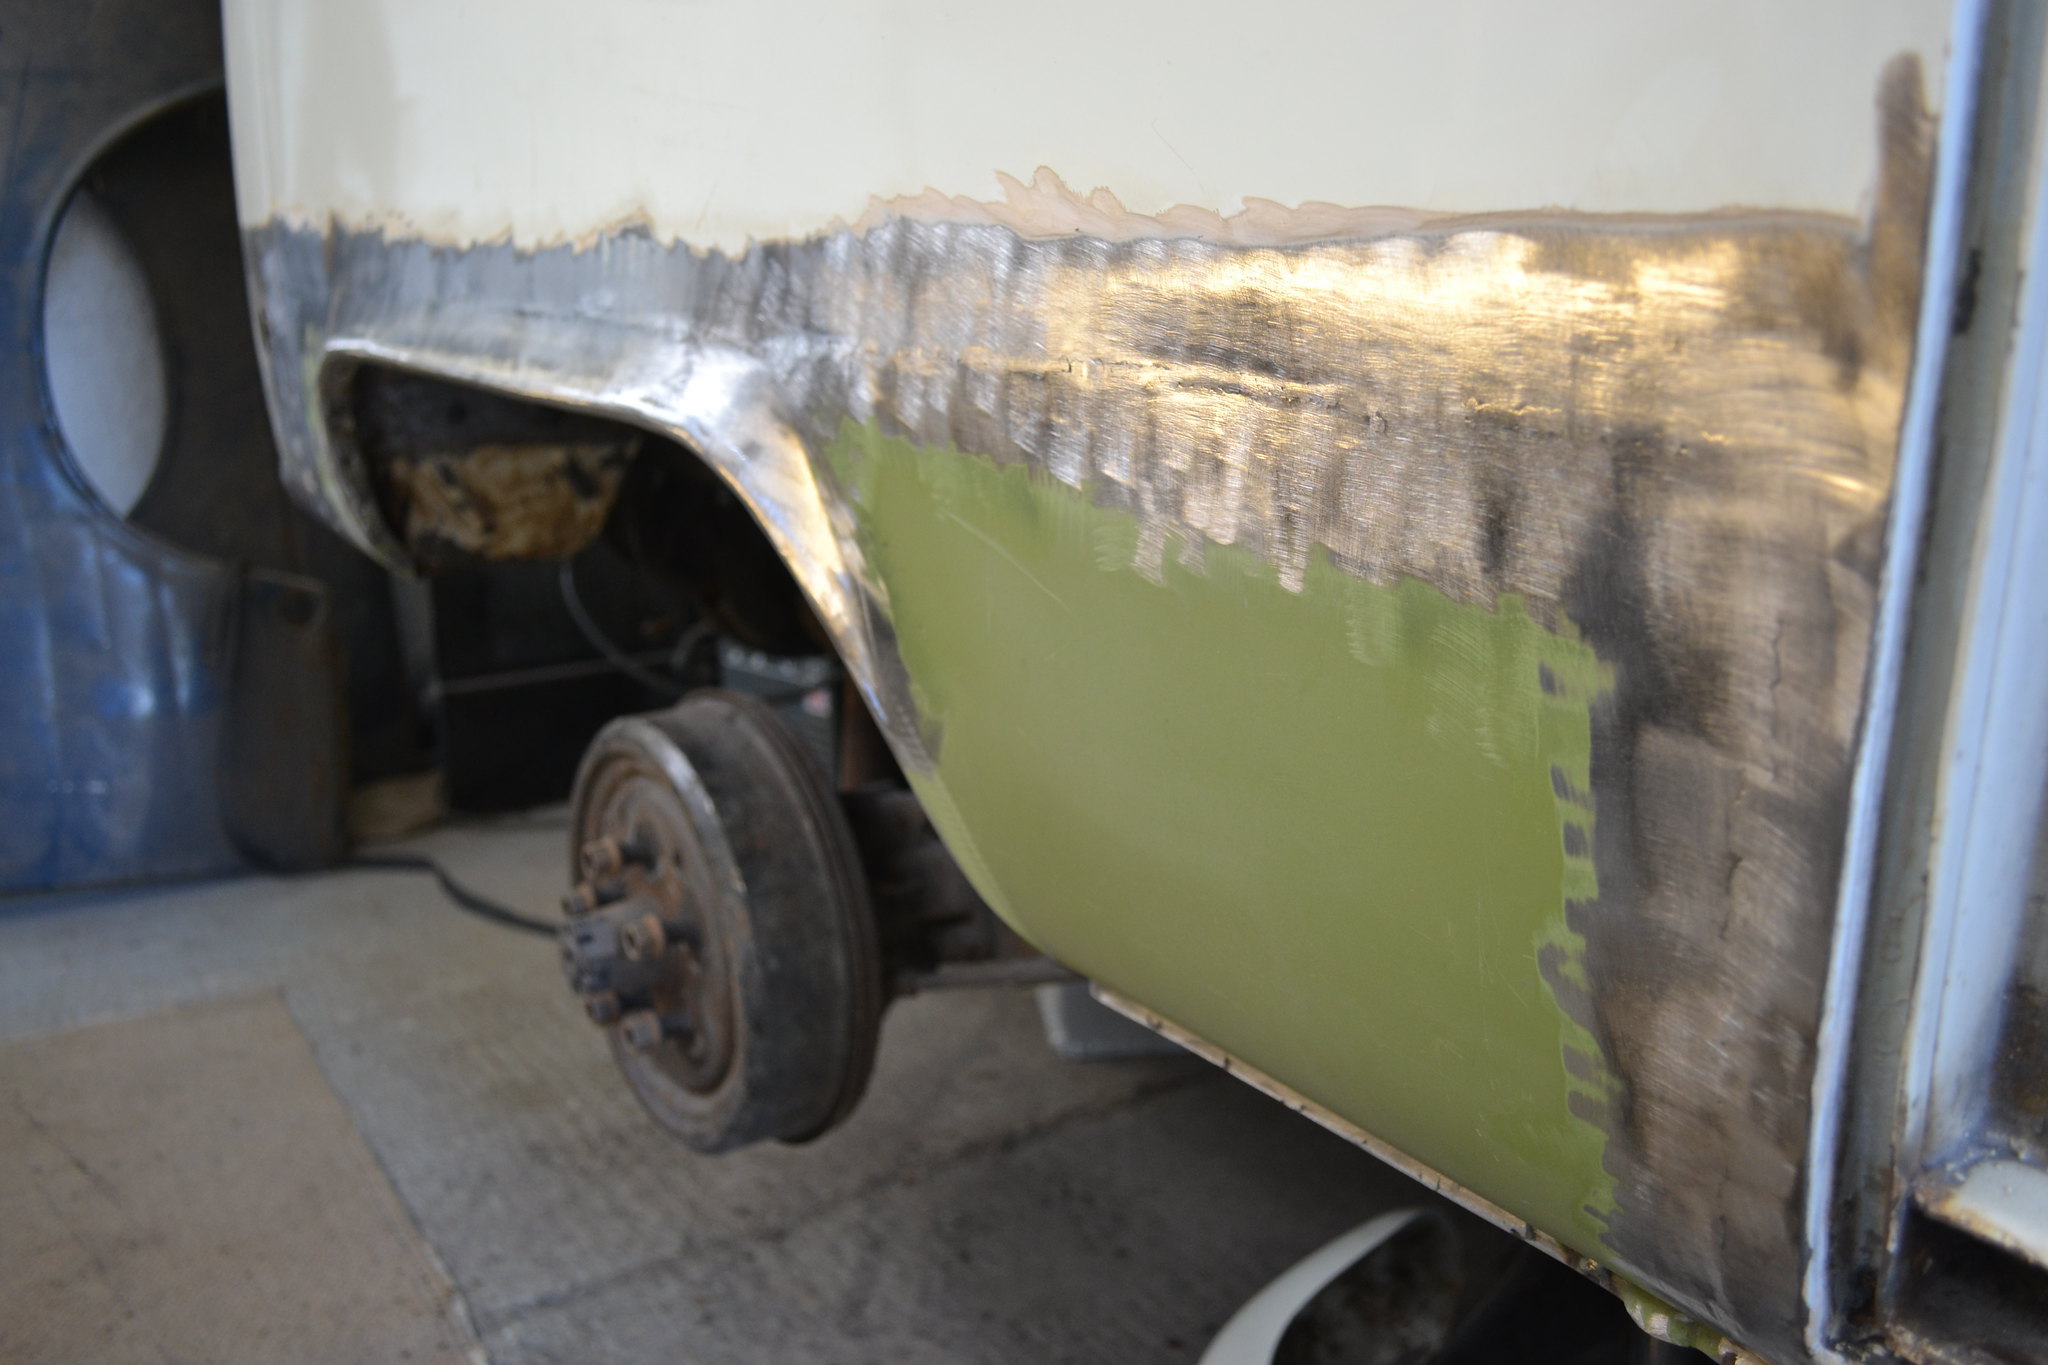
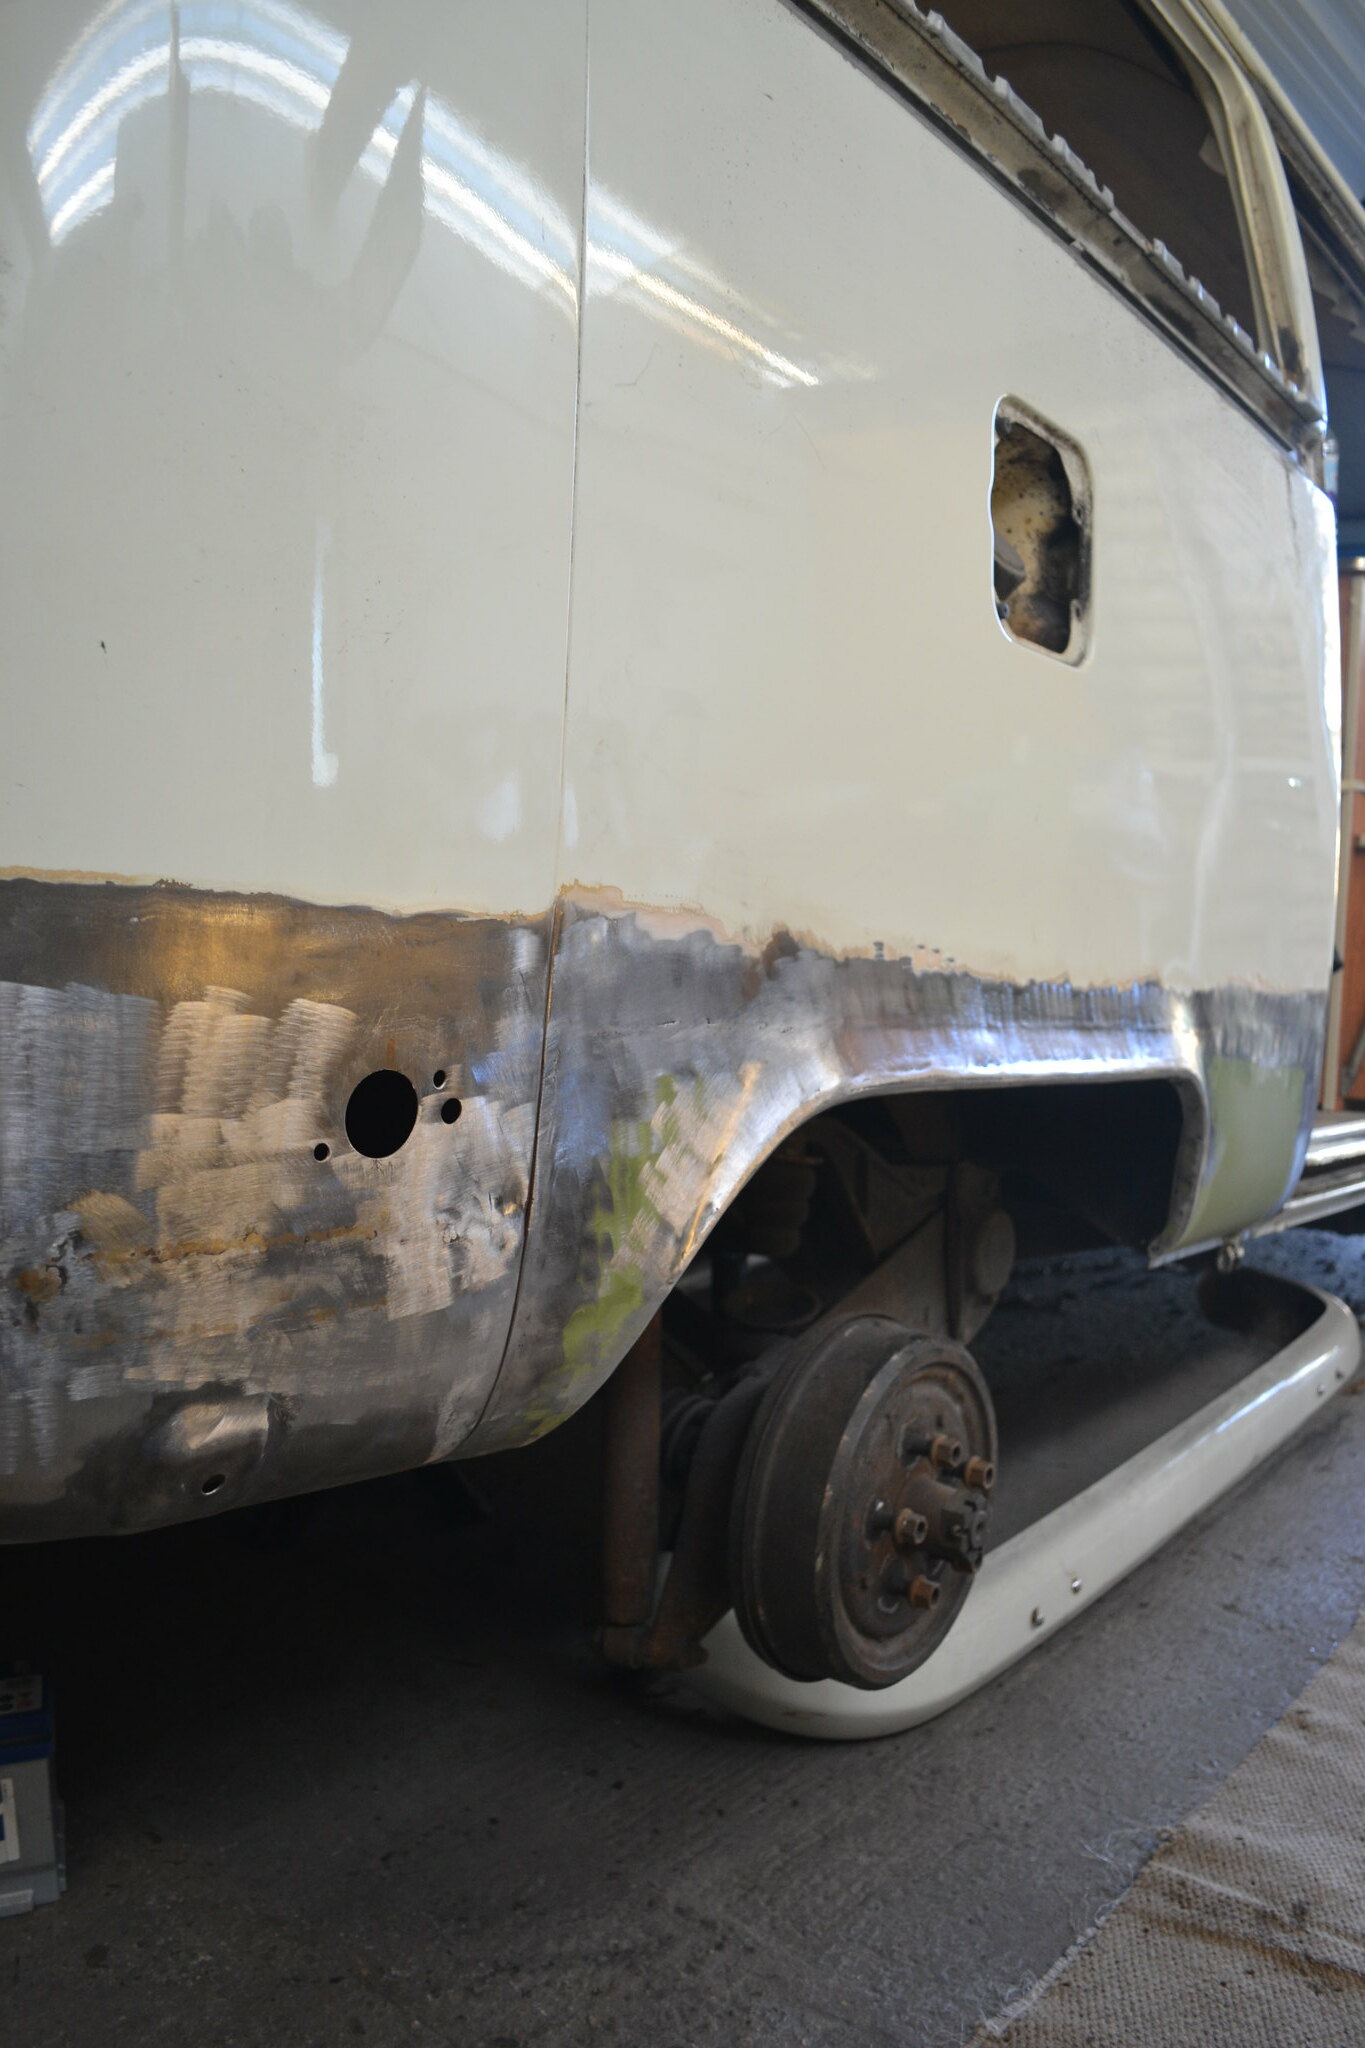
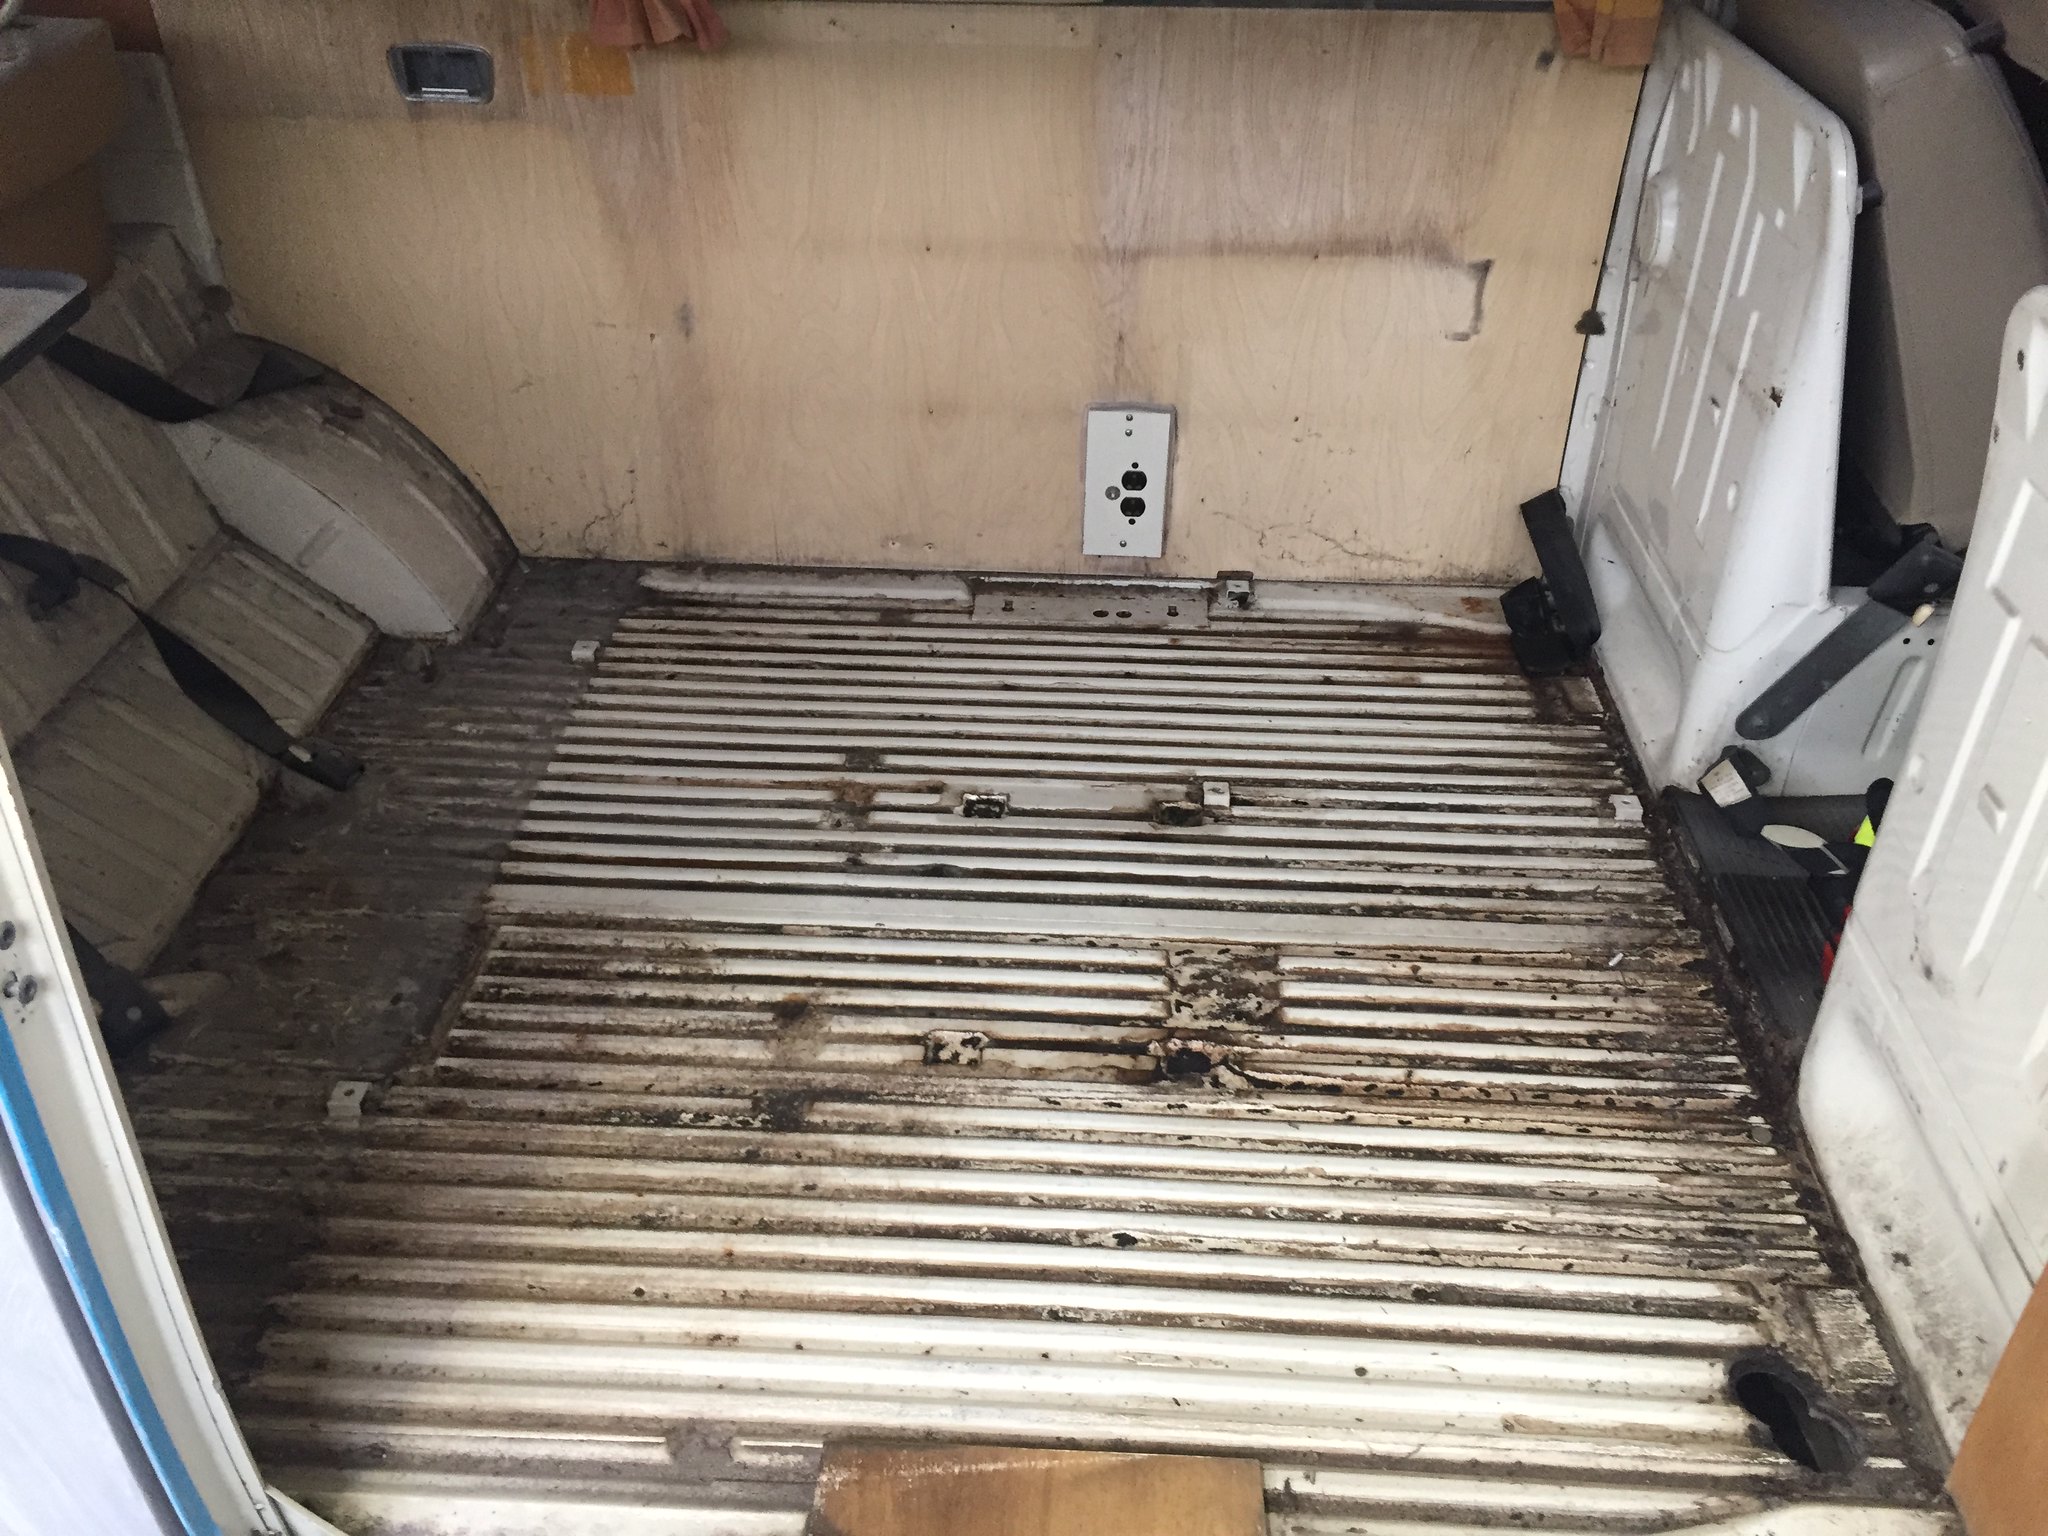
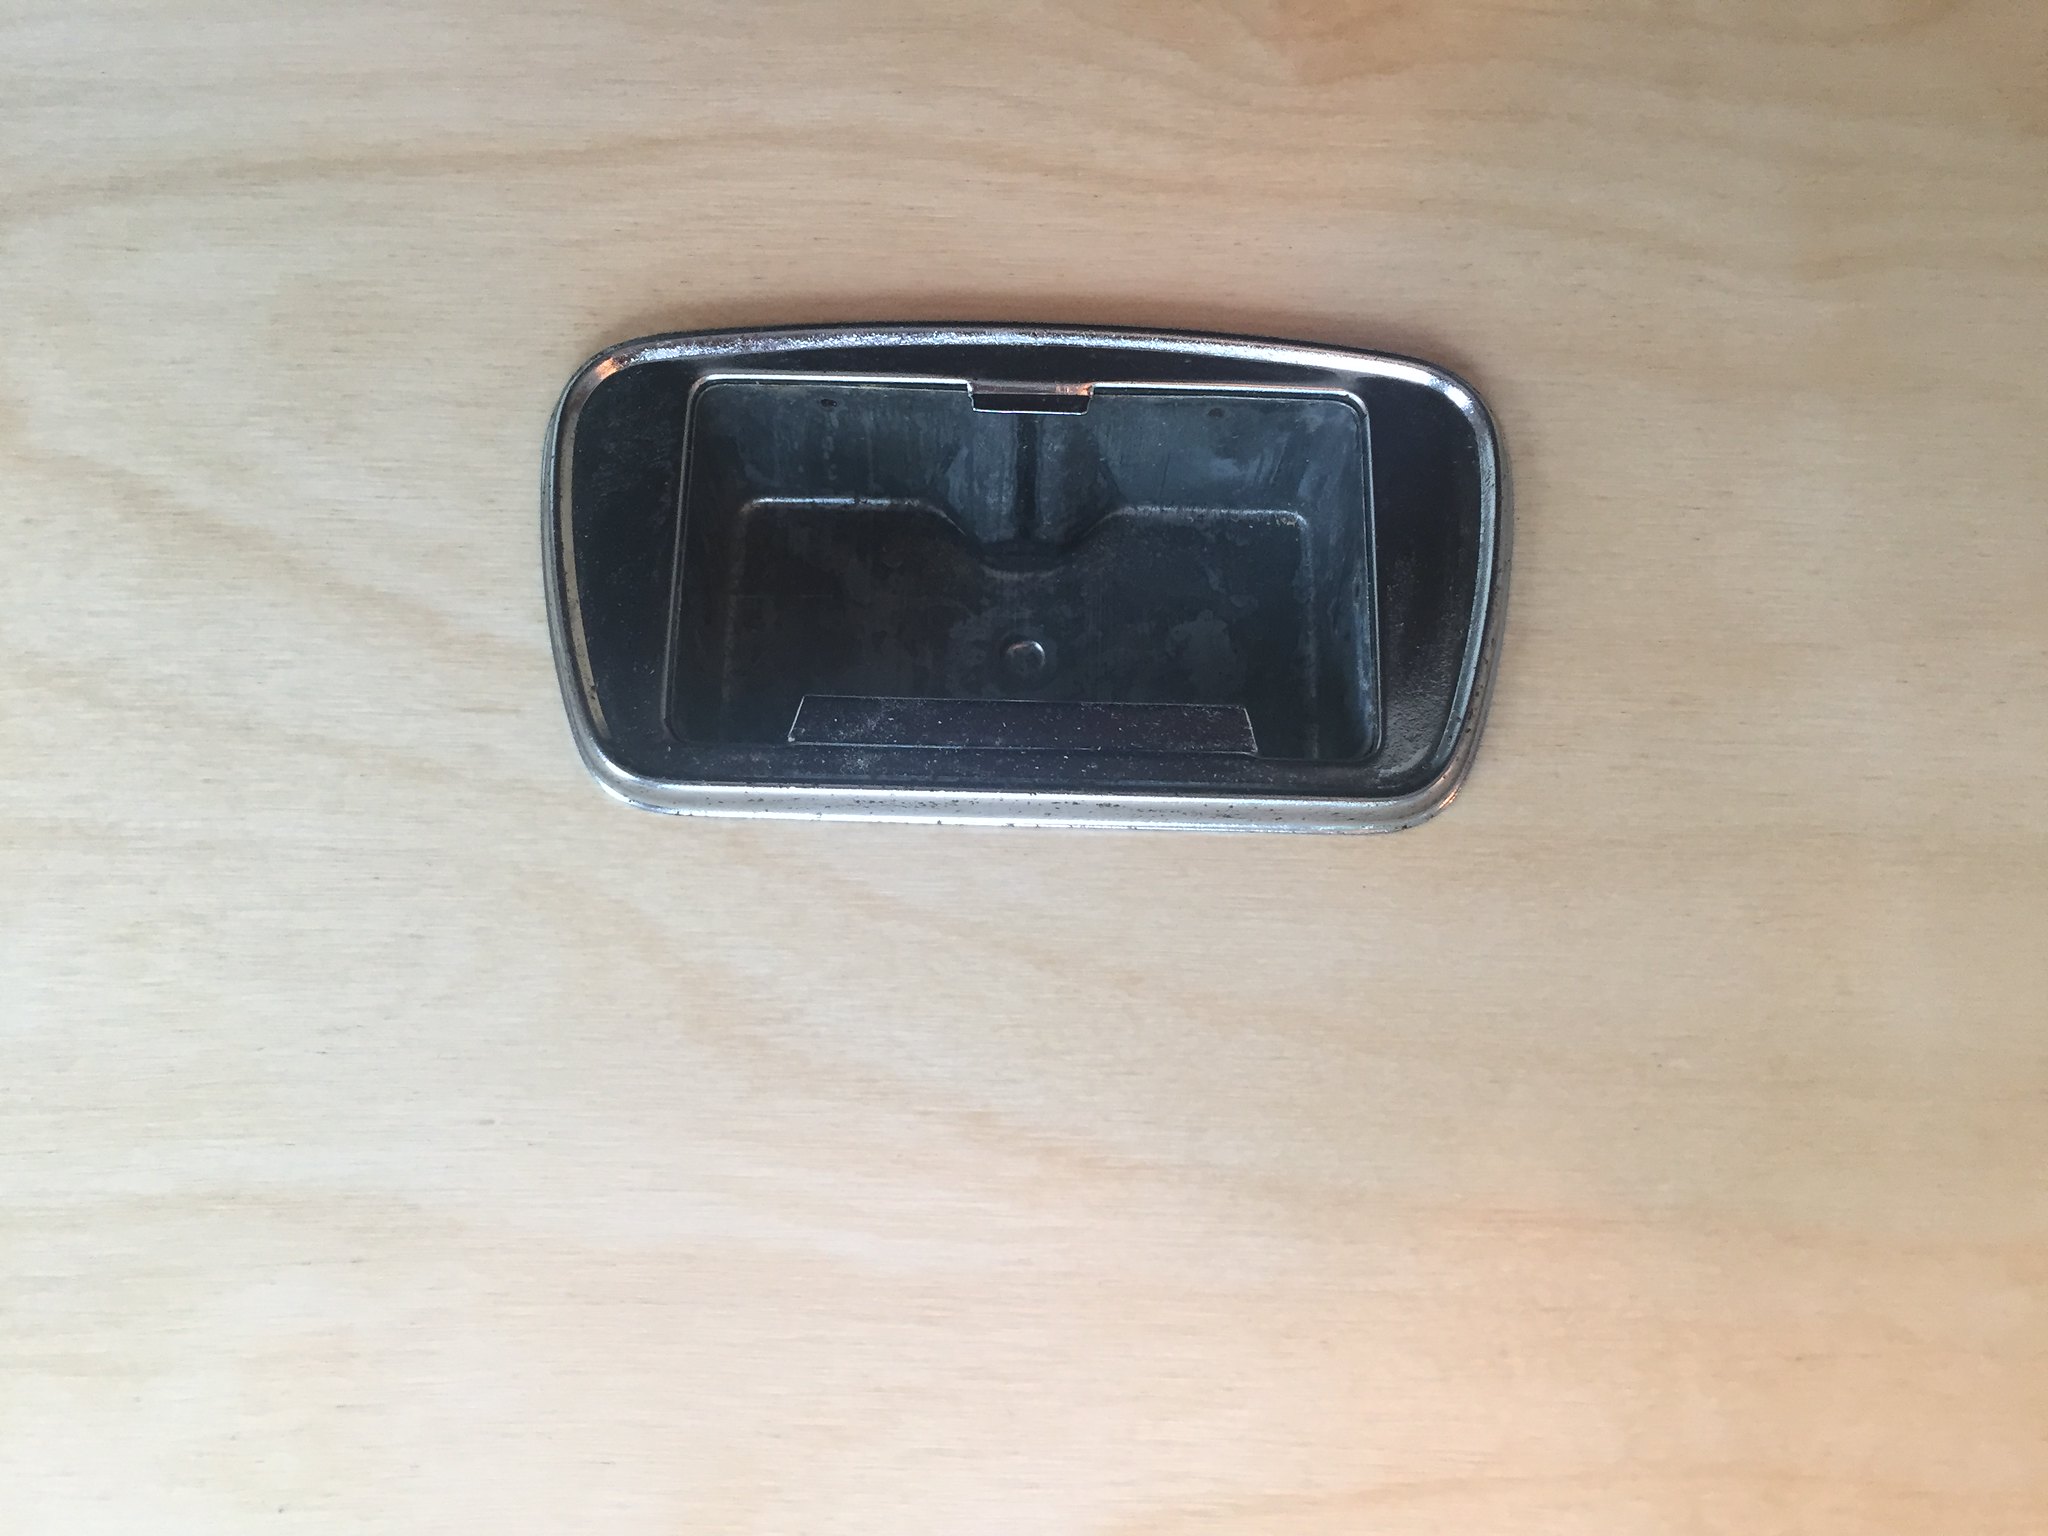
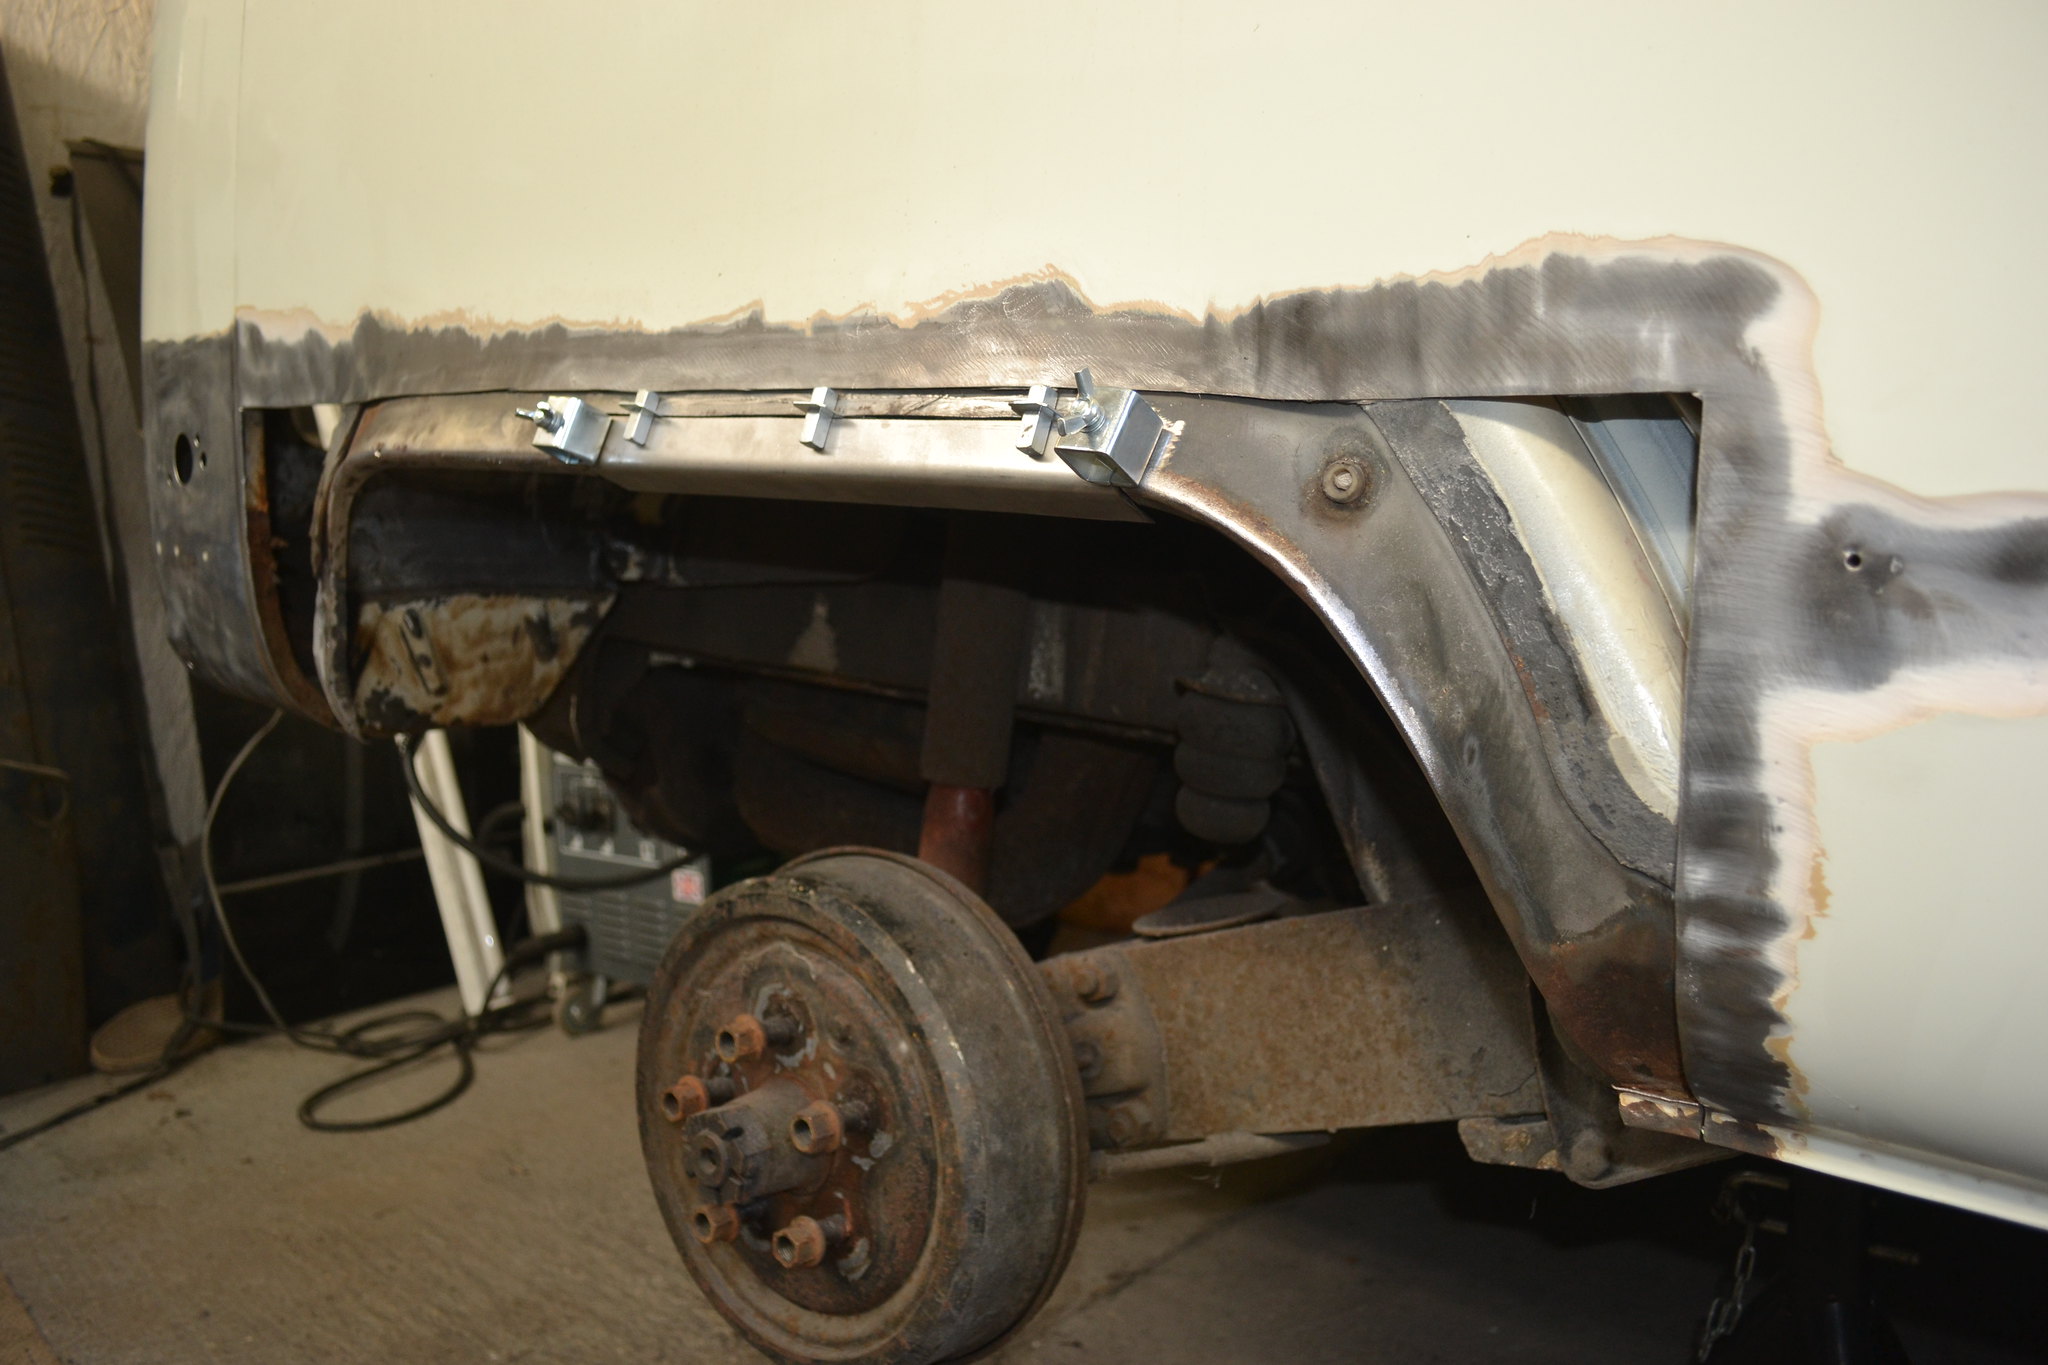
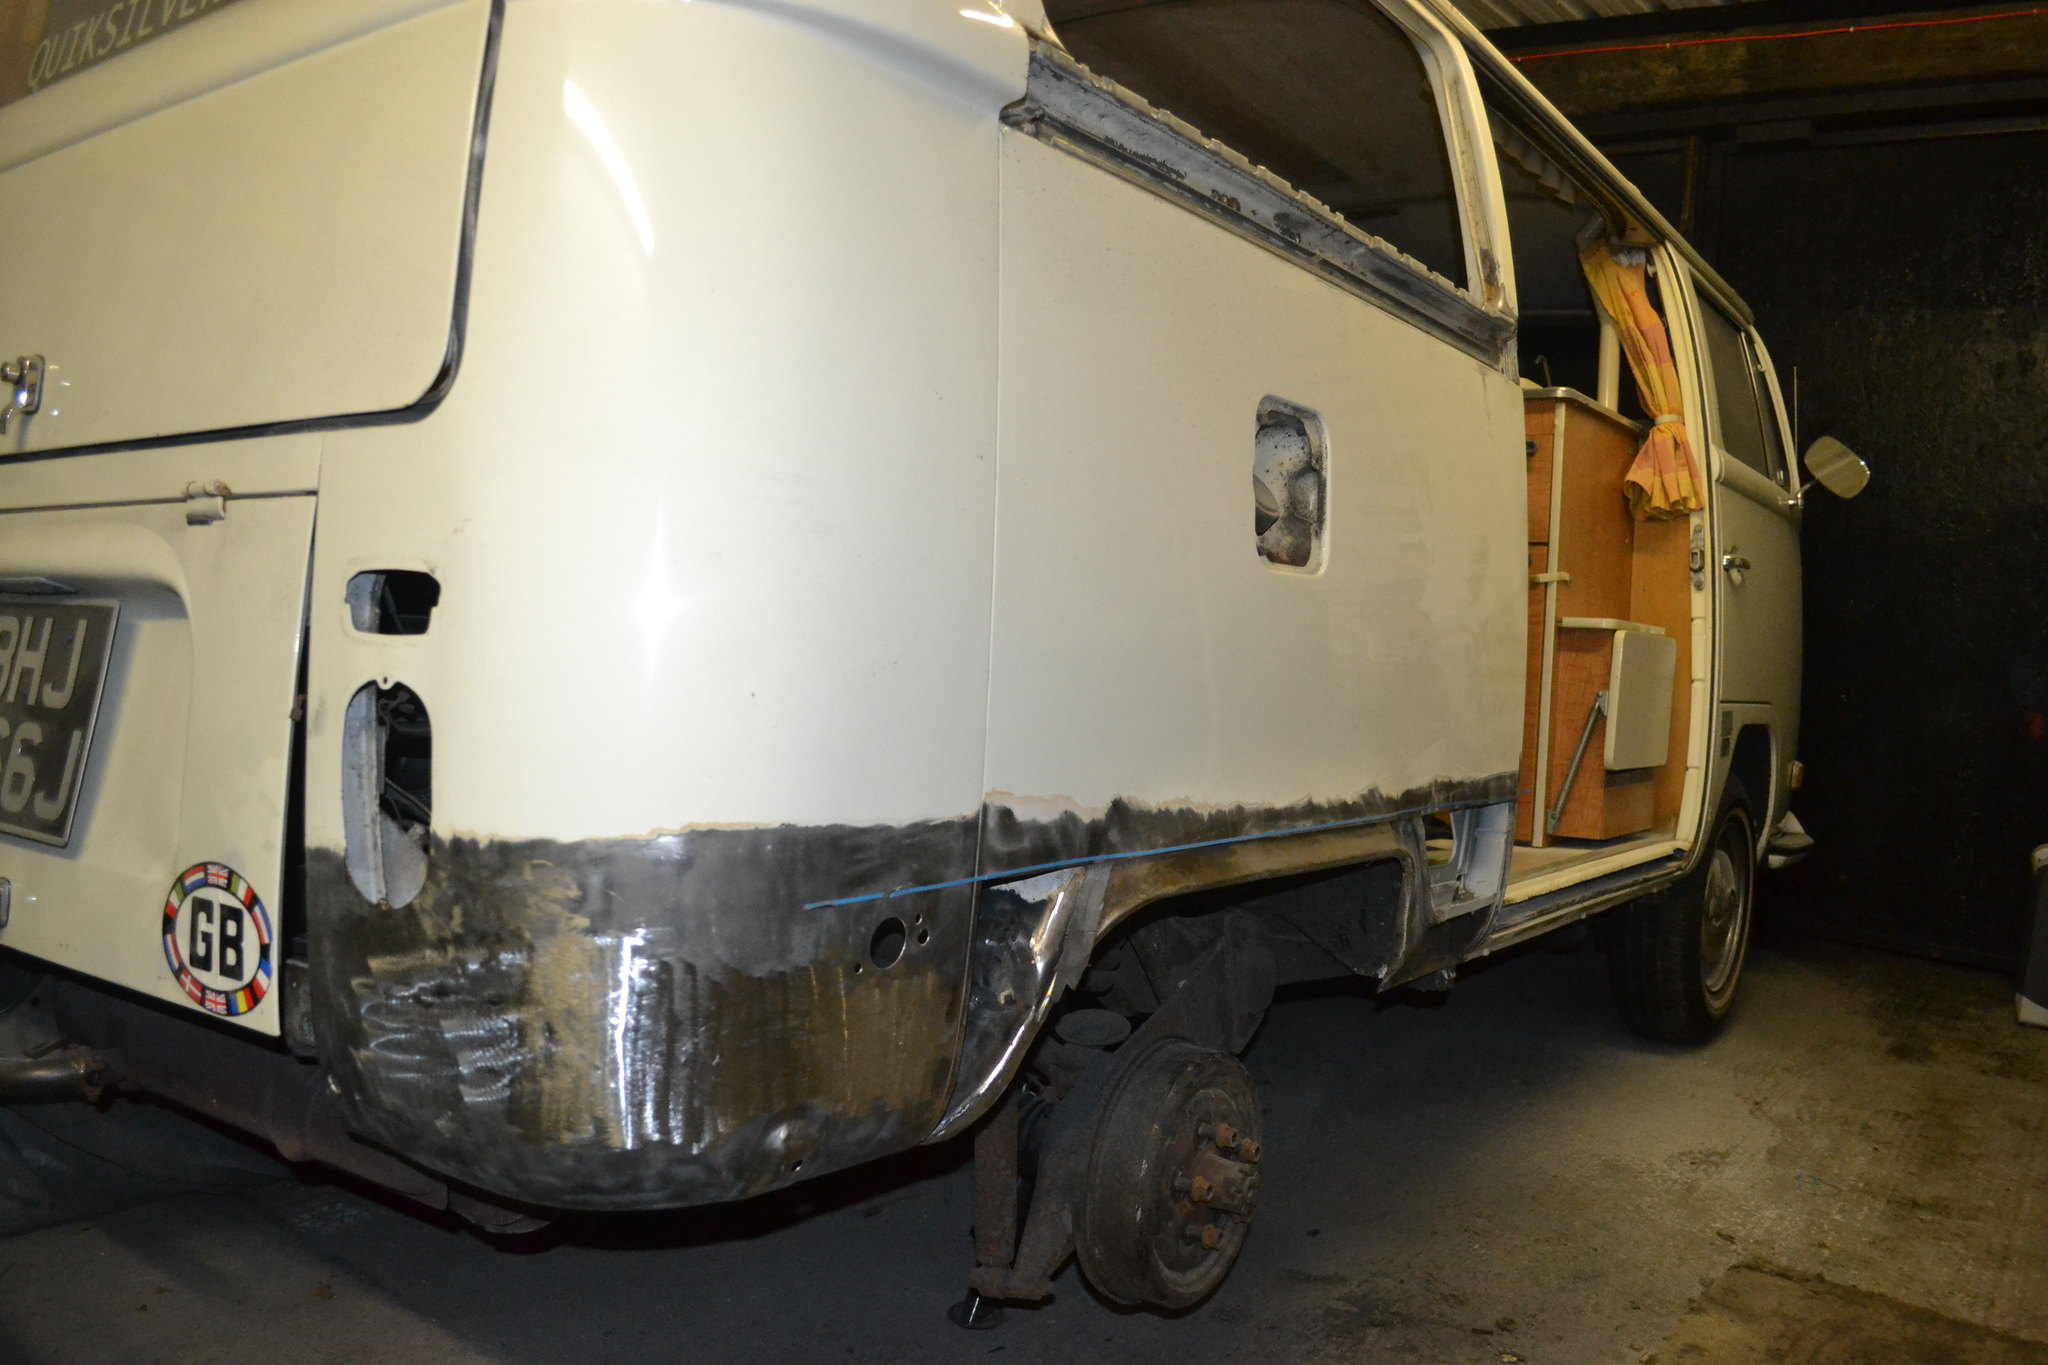
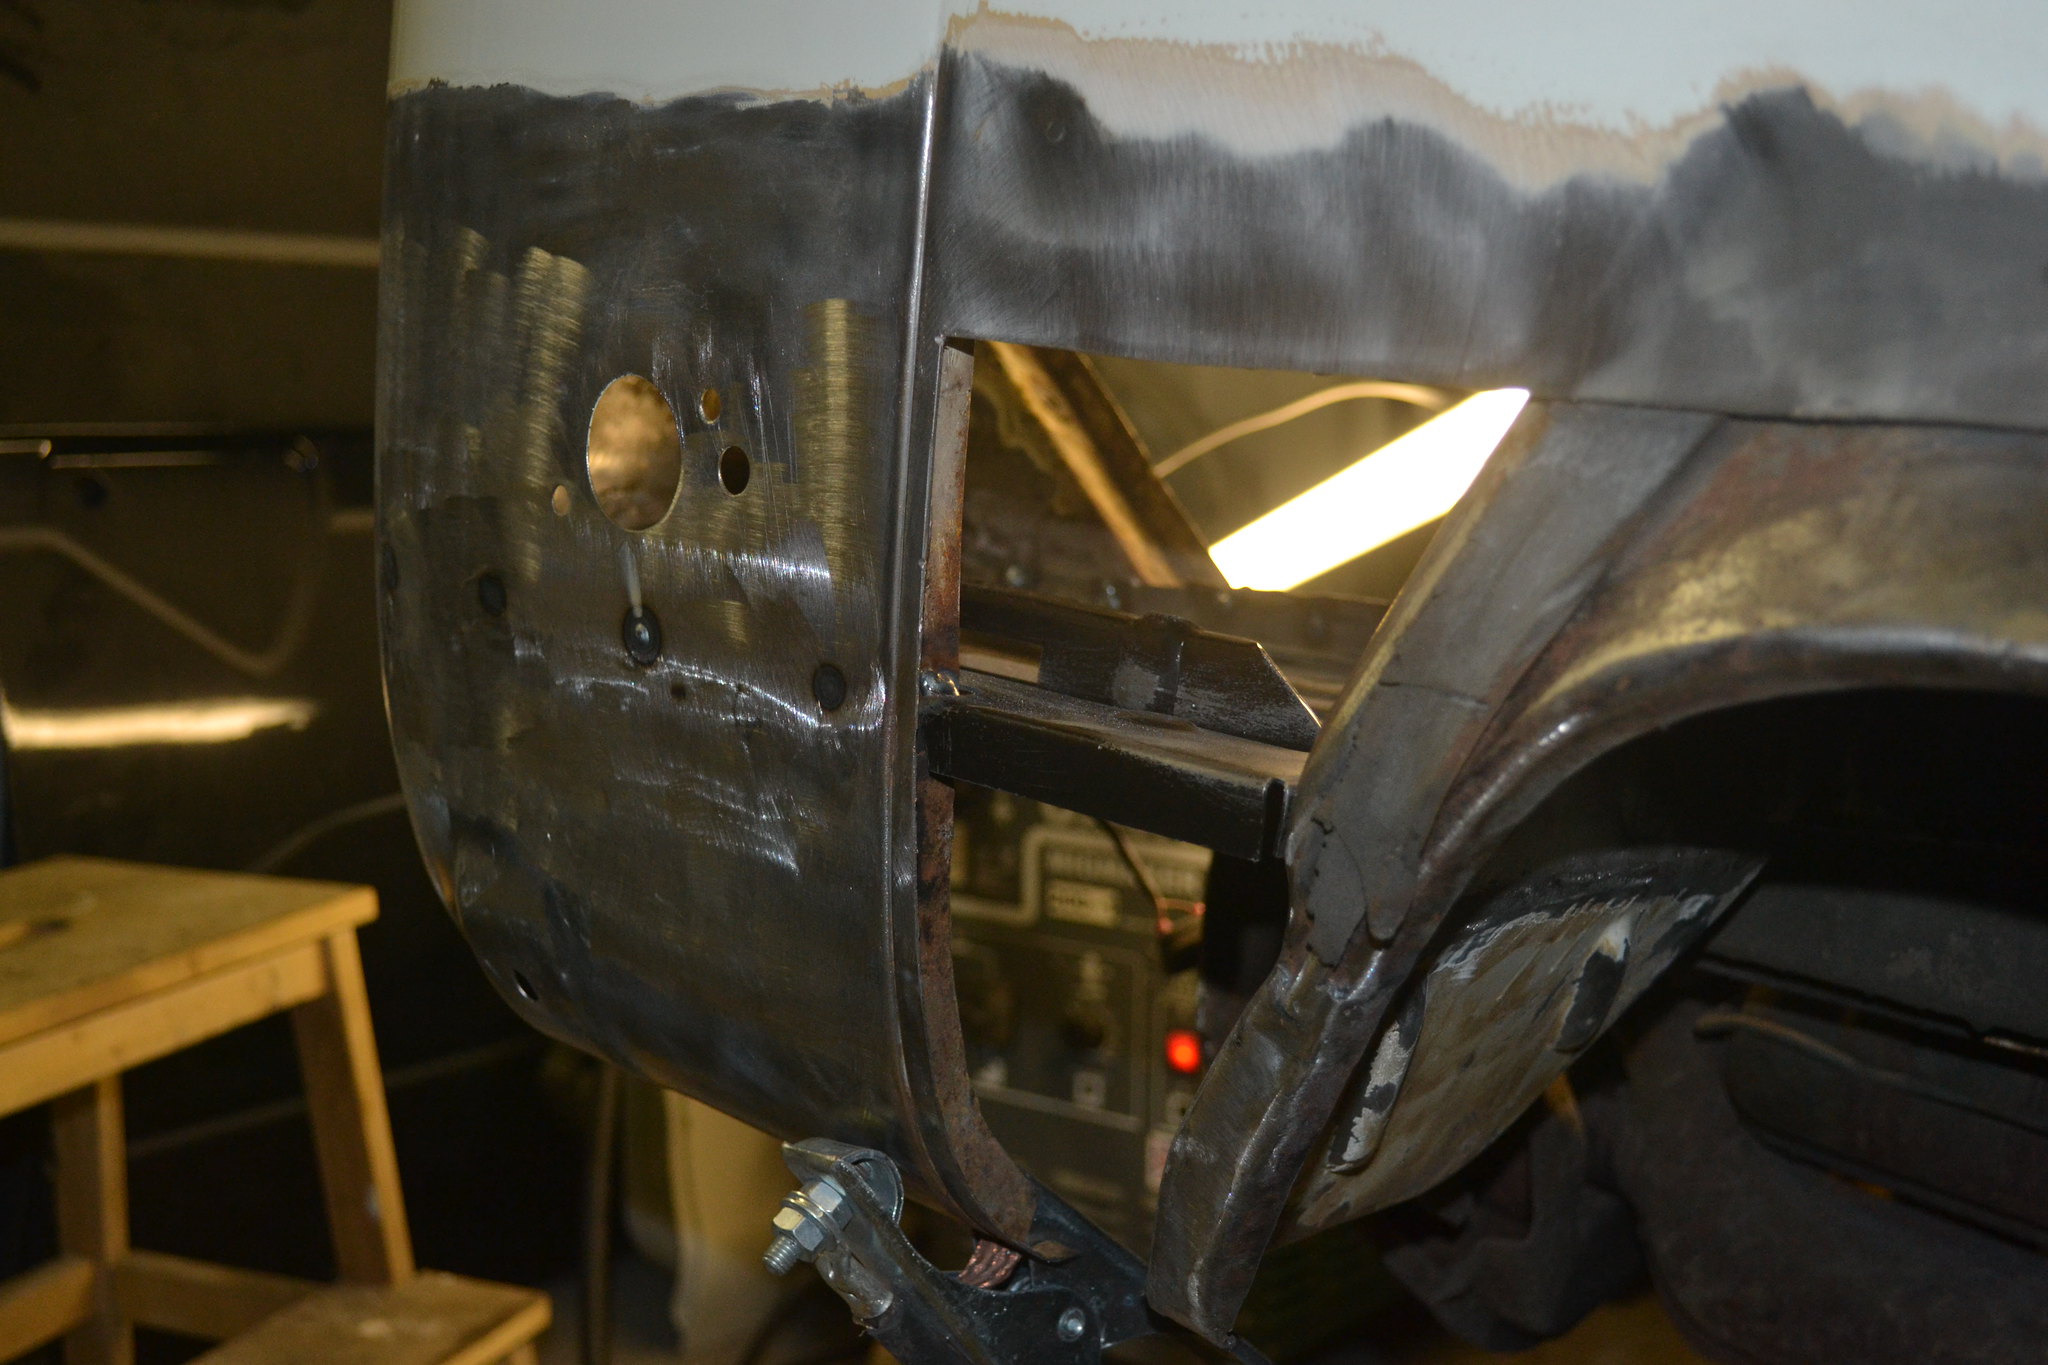
Rear off-side arch was corroded along the edge and the rear spat had a considerable hole caused by a rotten battery tray. Rear corner had corroded along the battery tray spot welds and the trailing edge wheel tub bottom had a fair amount of metal missing.
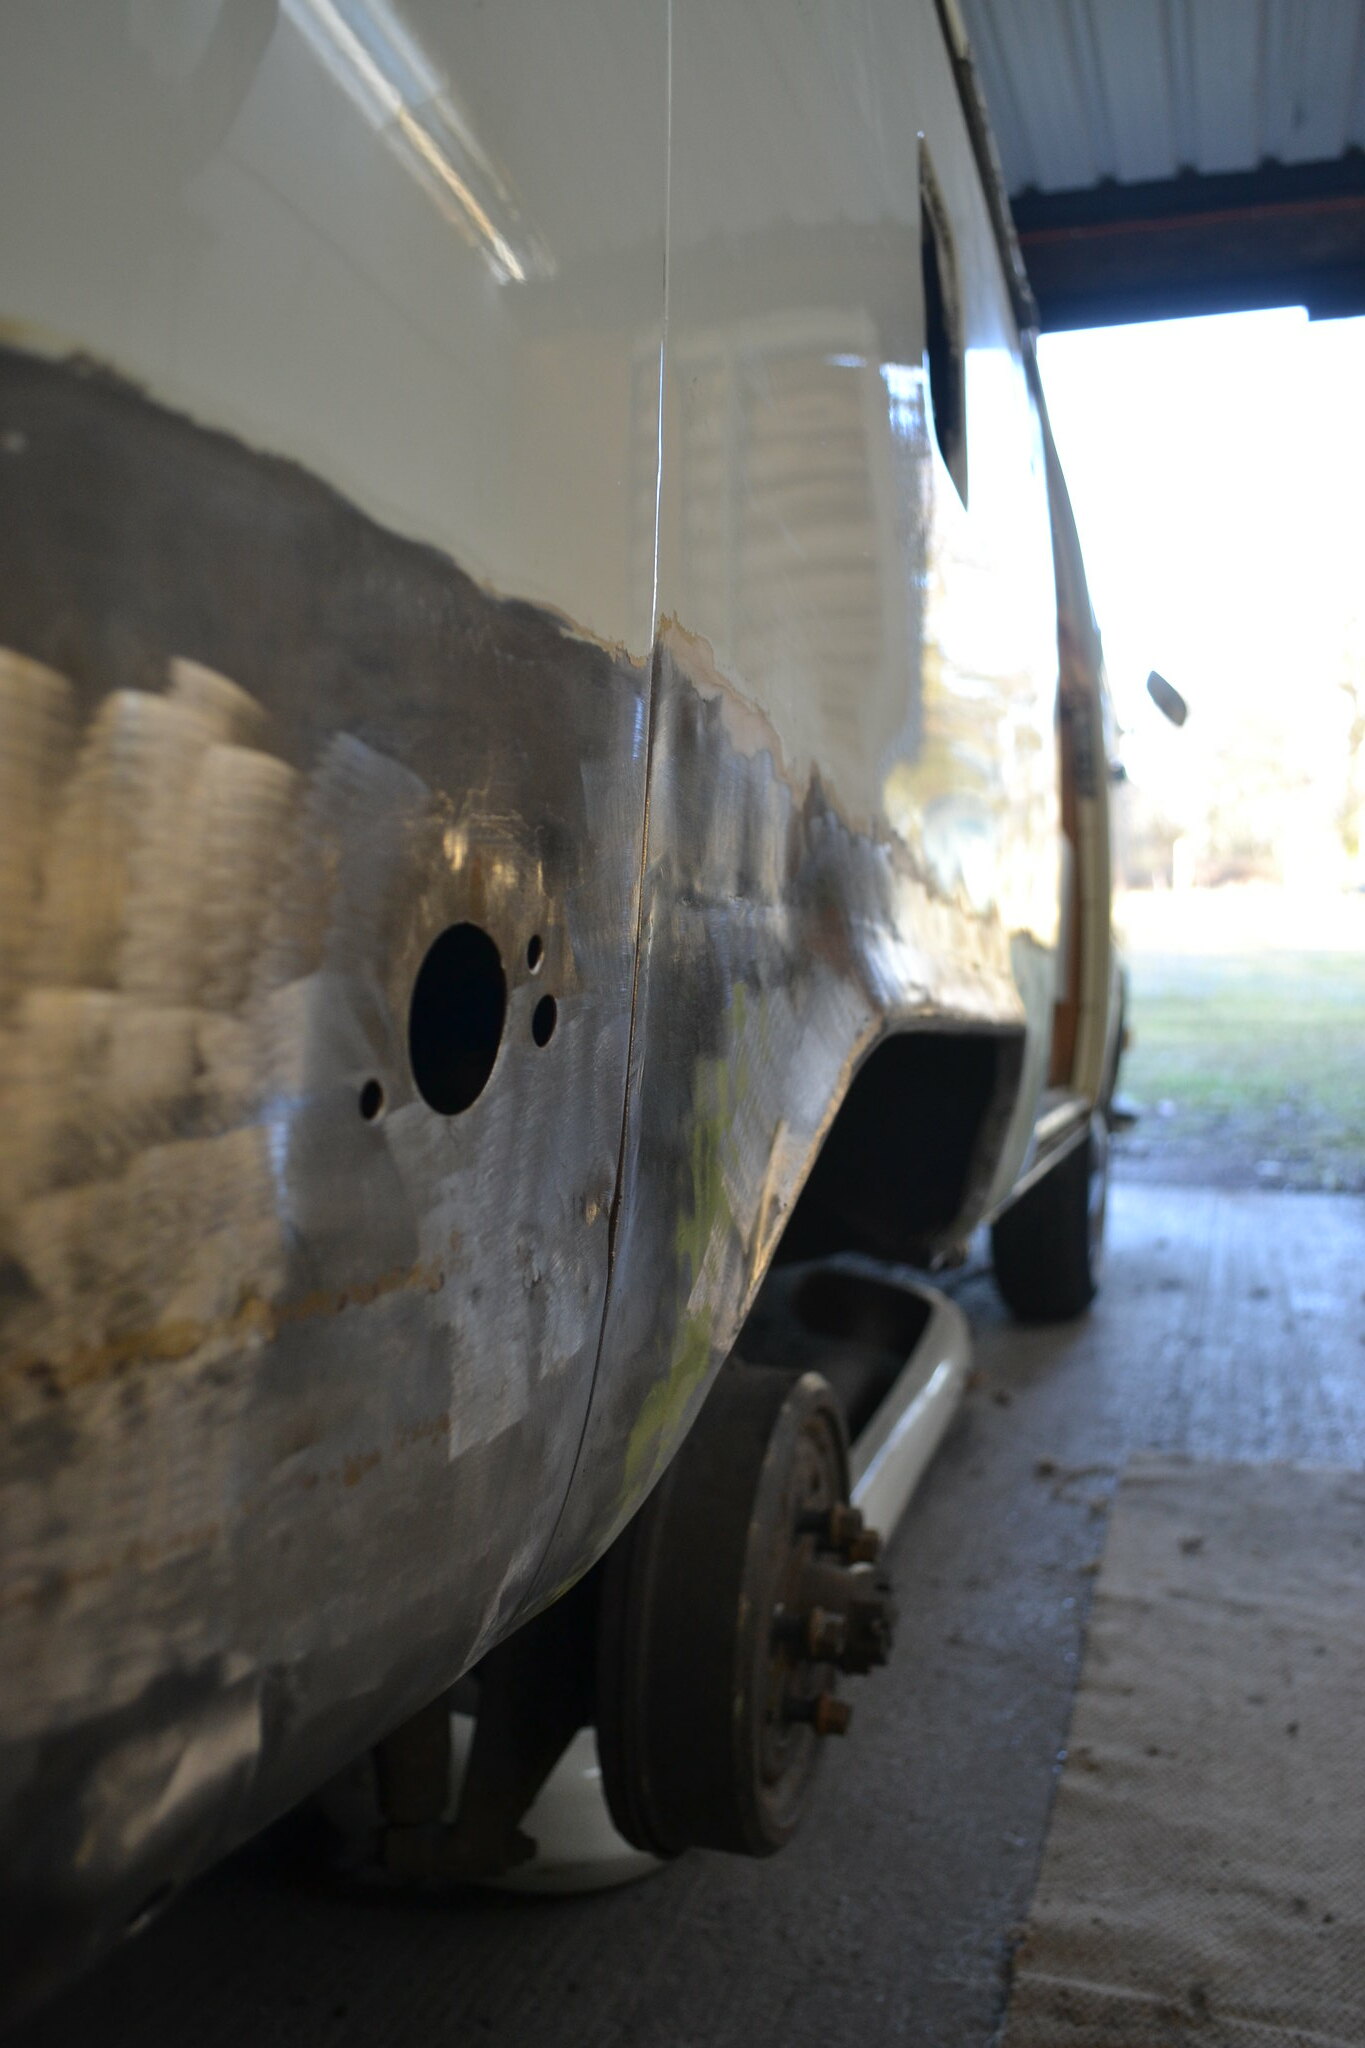
Inner wheel arch was repaired and outer arch cut away, all fairly standard stuff.
 DSC_0691 by Andy Bright, on Flickr
 DSC_0684 by Andy Bright, on Flickr
 DSC_0692 by Andy Bright, on Flickr
 DSC_0679 by Andy Bright, on Flickr
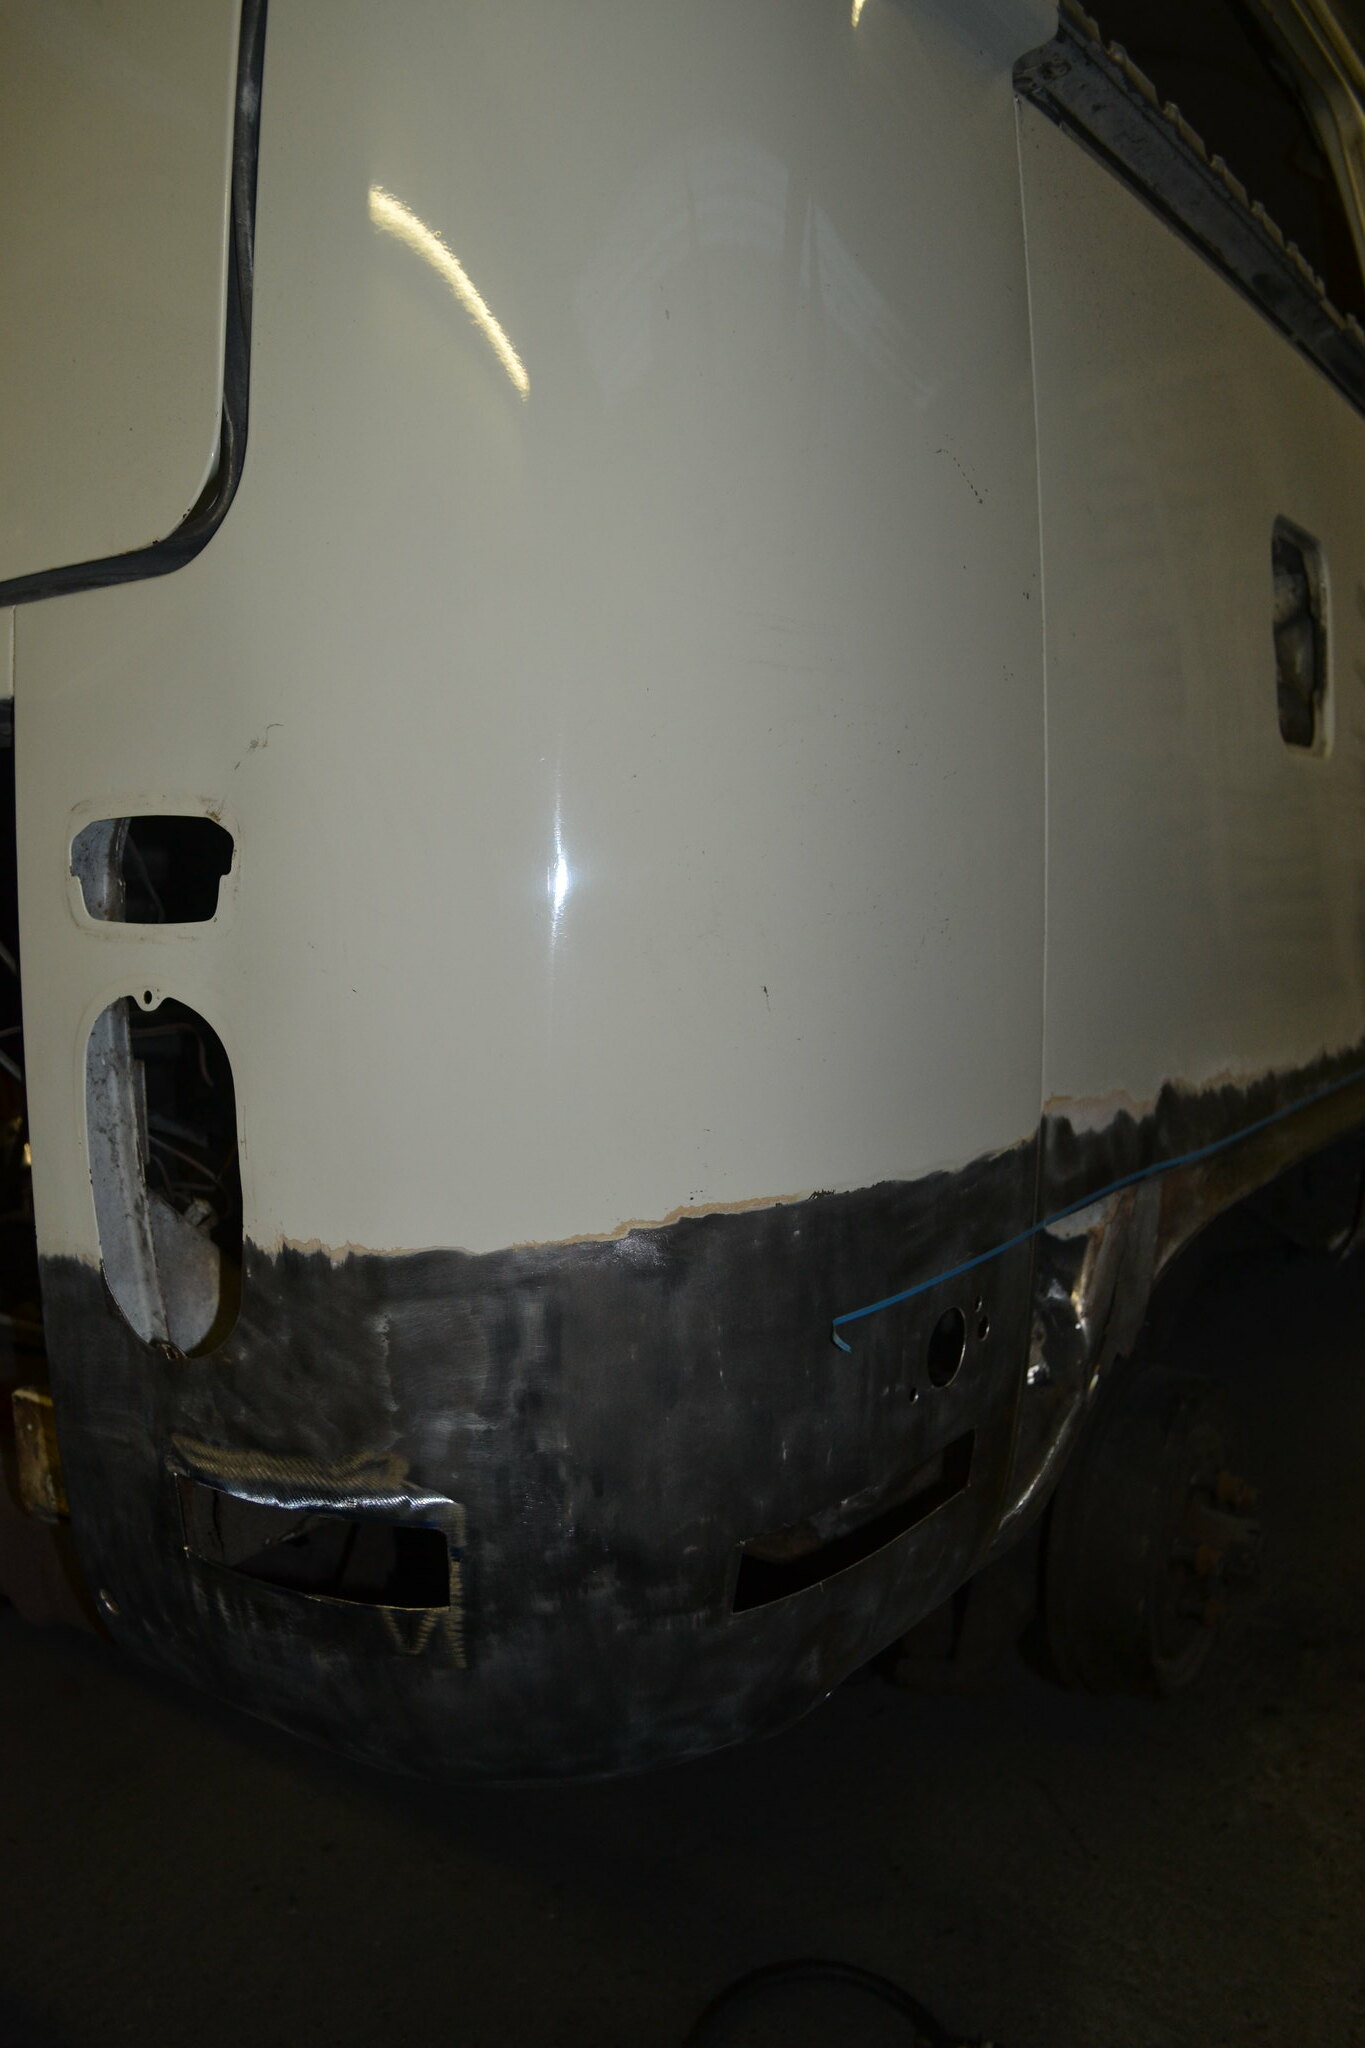
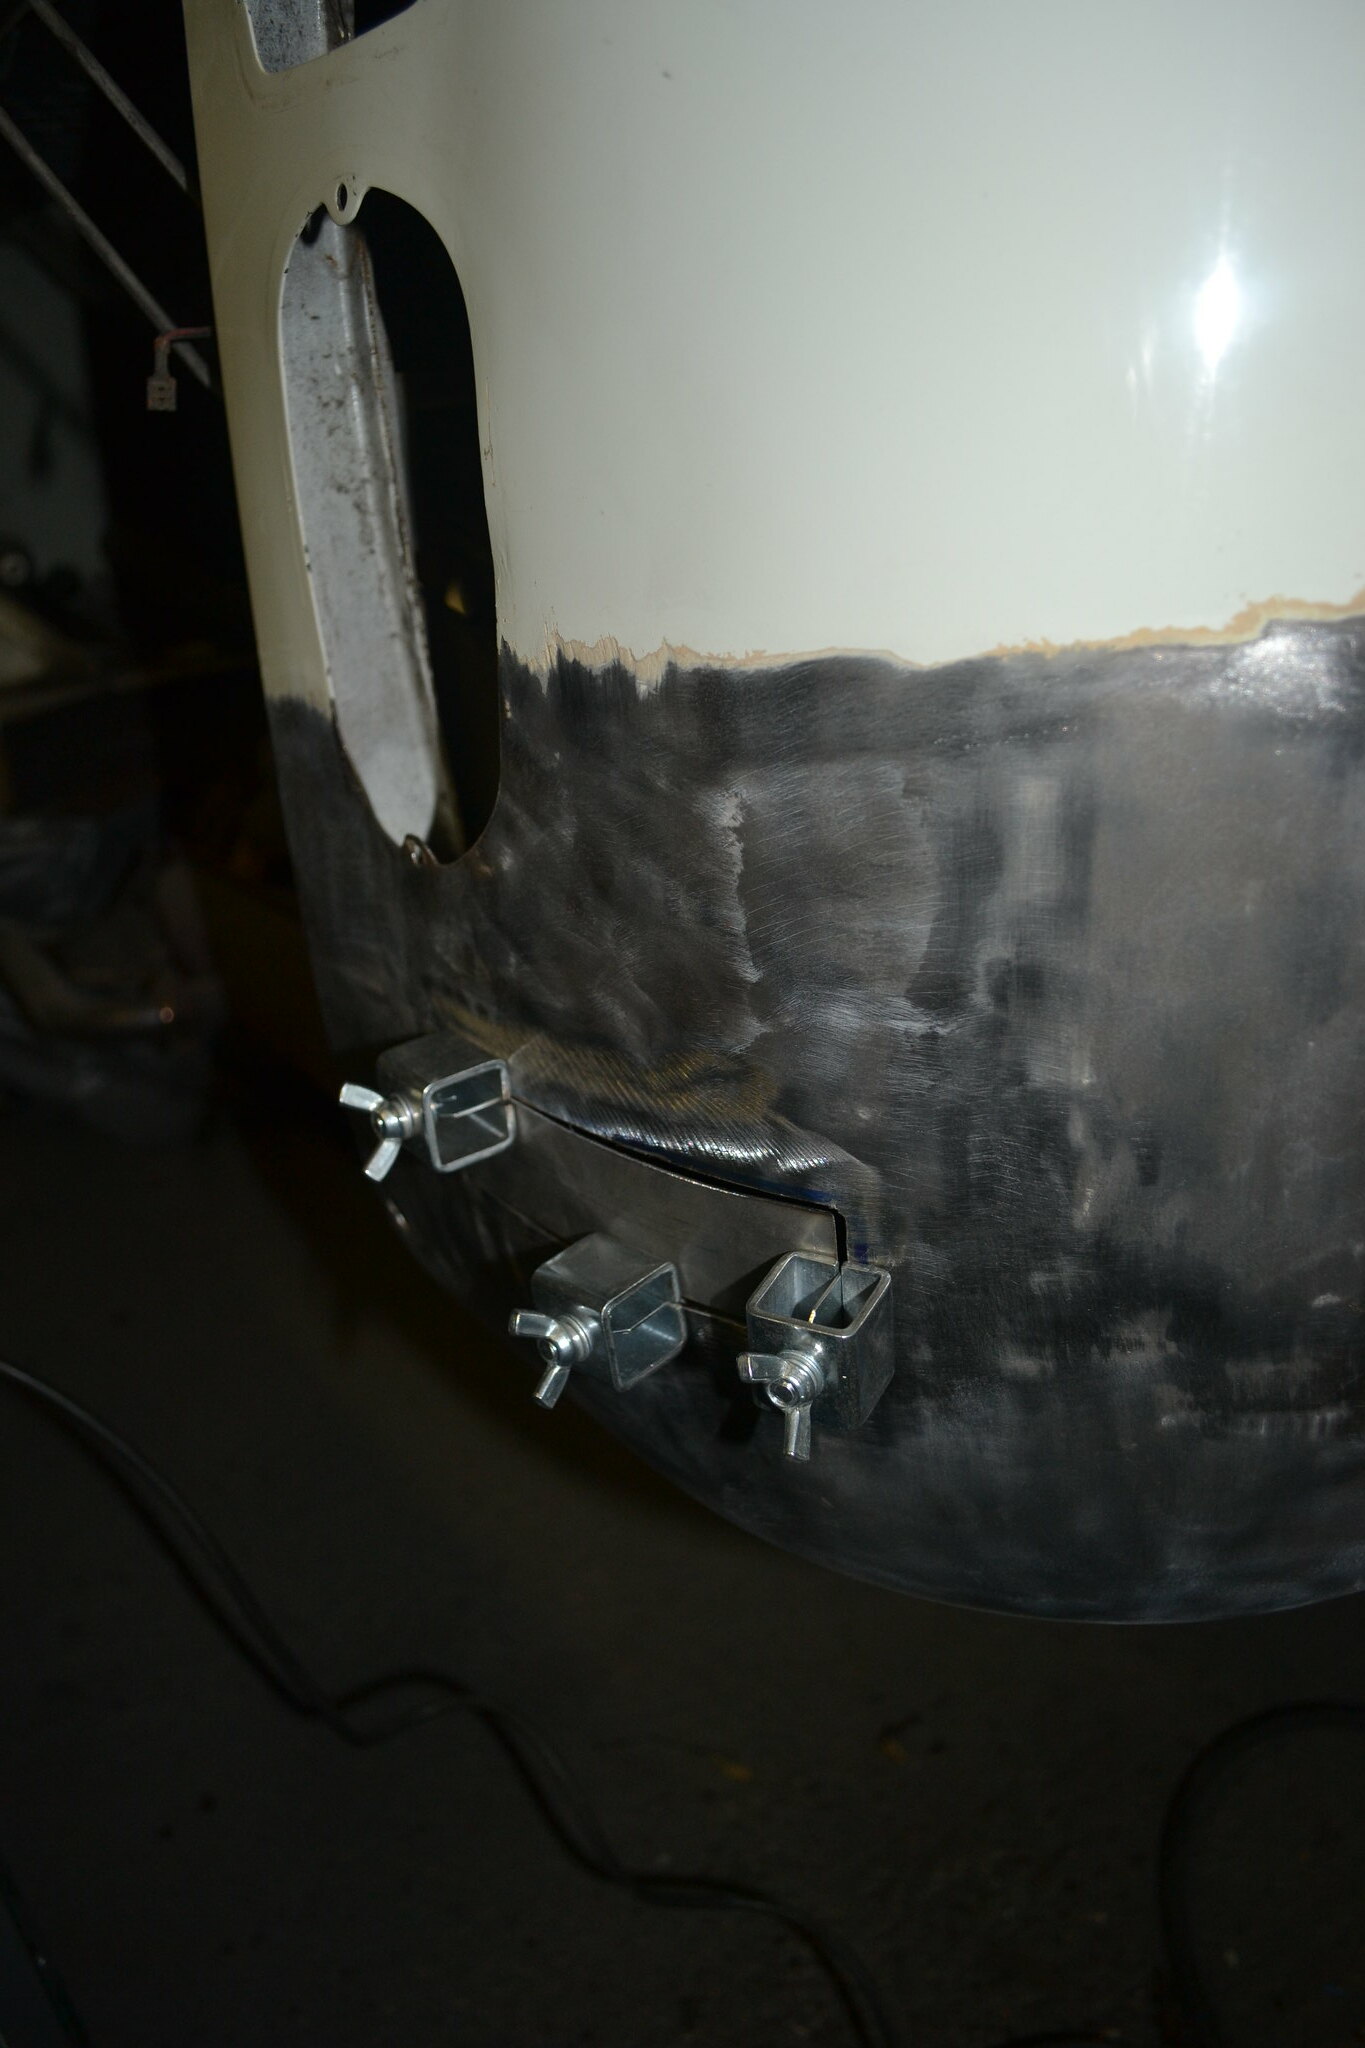
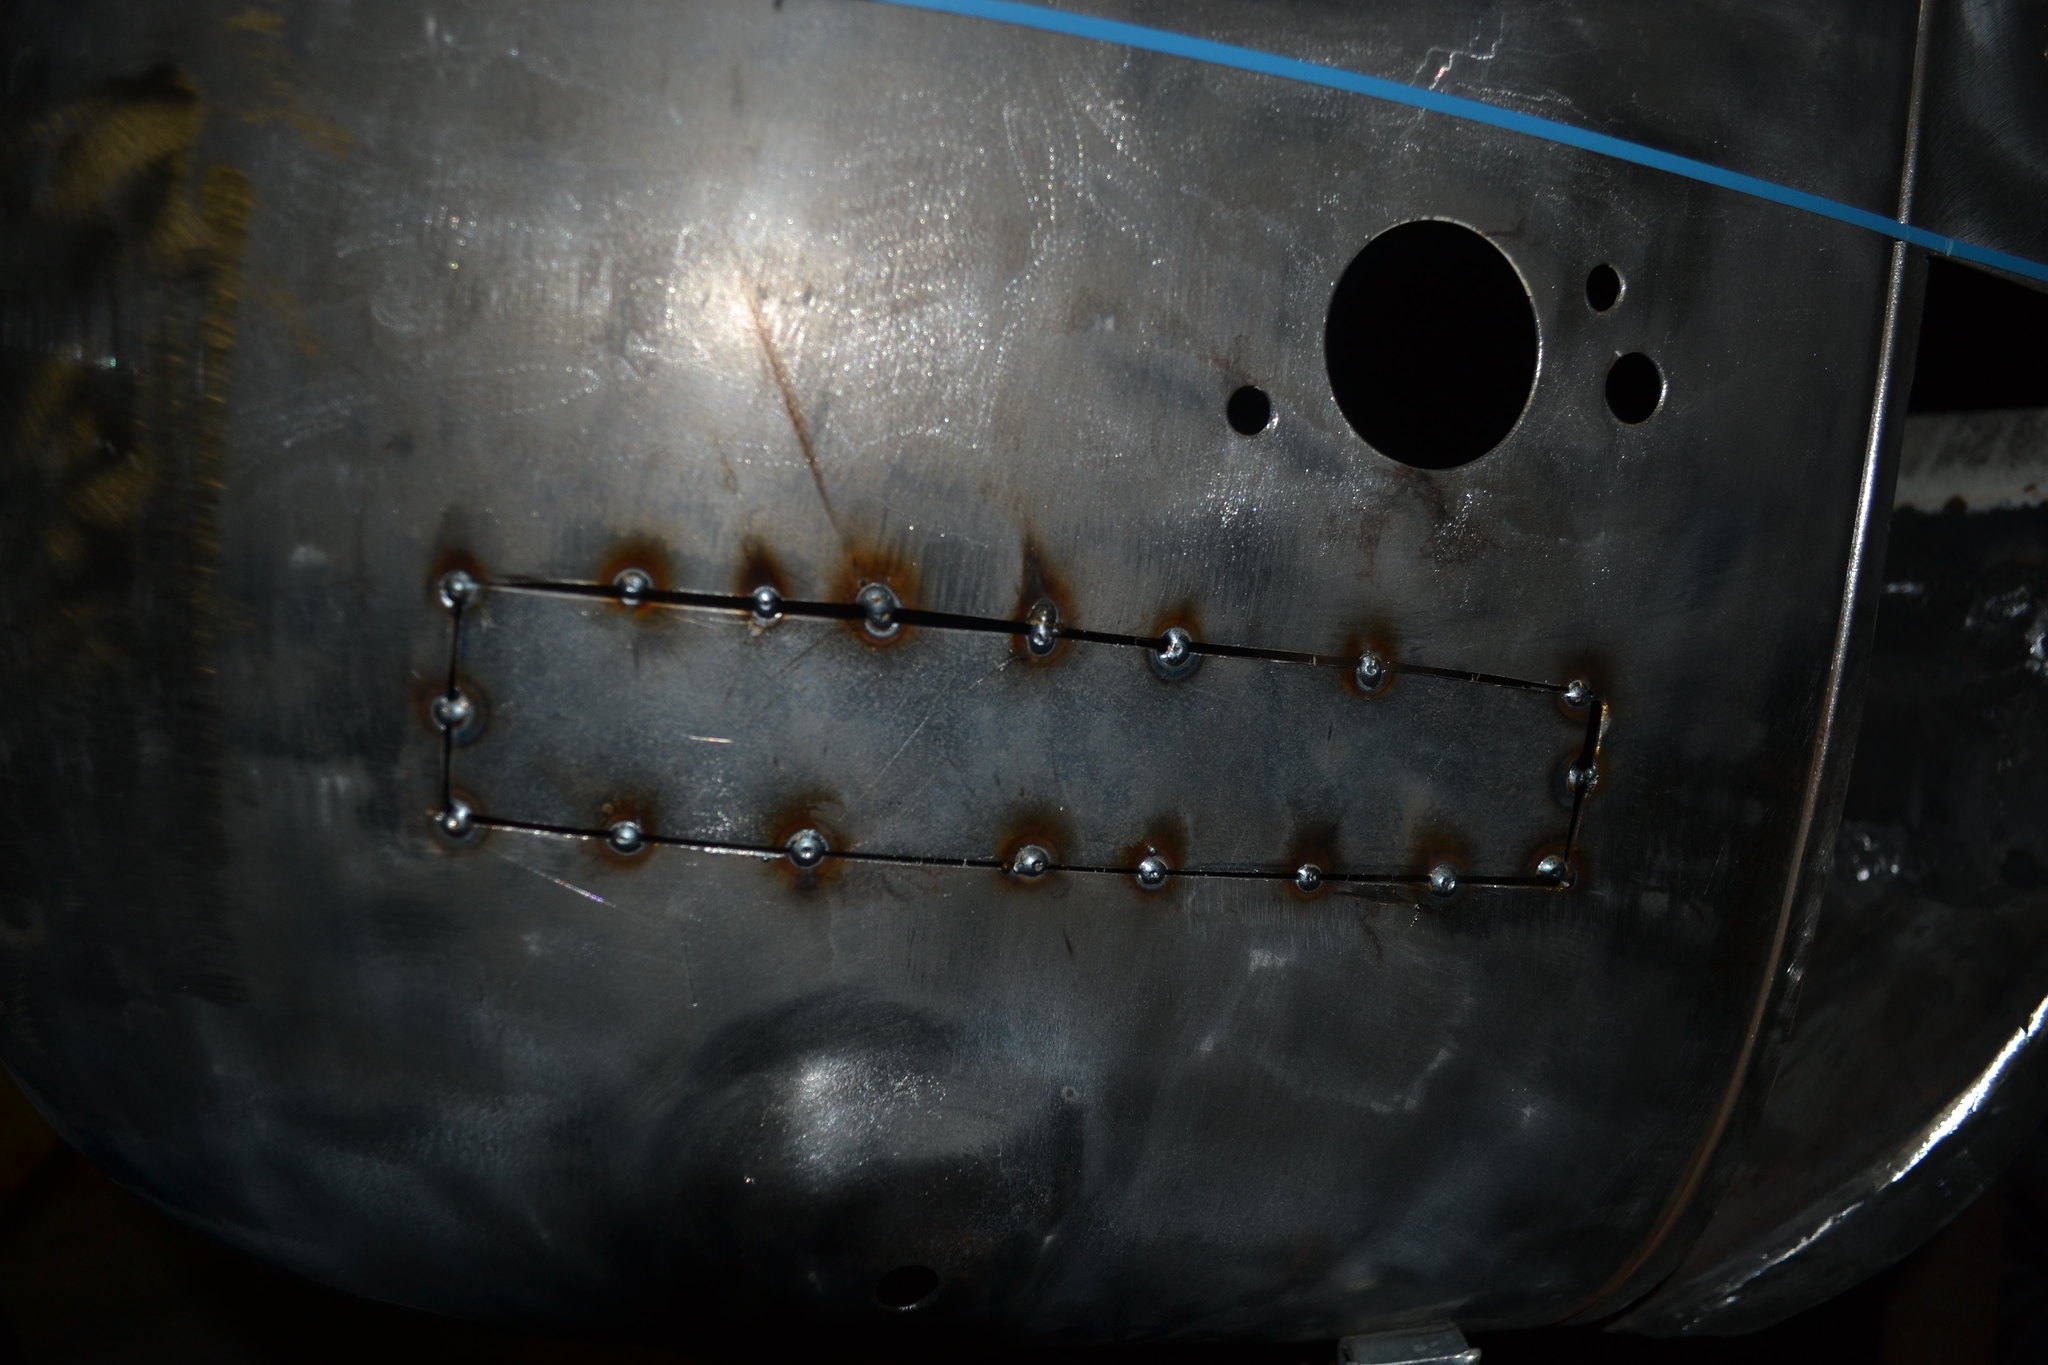
Corrosion in rear corner cut out and replaced with small repair patches that i'd rolled out to the correct radius.
 DSC_0697 by Andy Bright, on Flickr
 DSC_0701 by Andy Bright, on Flickr
 DSC_0705 by Andy Bright, on Flickr
 DSC_0716 by Andy Bright, on Flickr
Battery tray installed, used Heritages correct fit tray that fitted great.
 DSC_0729 by Andy Bright, on Flickr
 DSC_0730 by Andy Bright, on Flickr
 DSC_0731 by Andy Bright, on Flickr
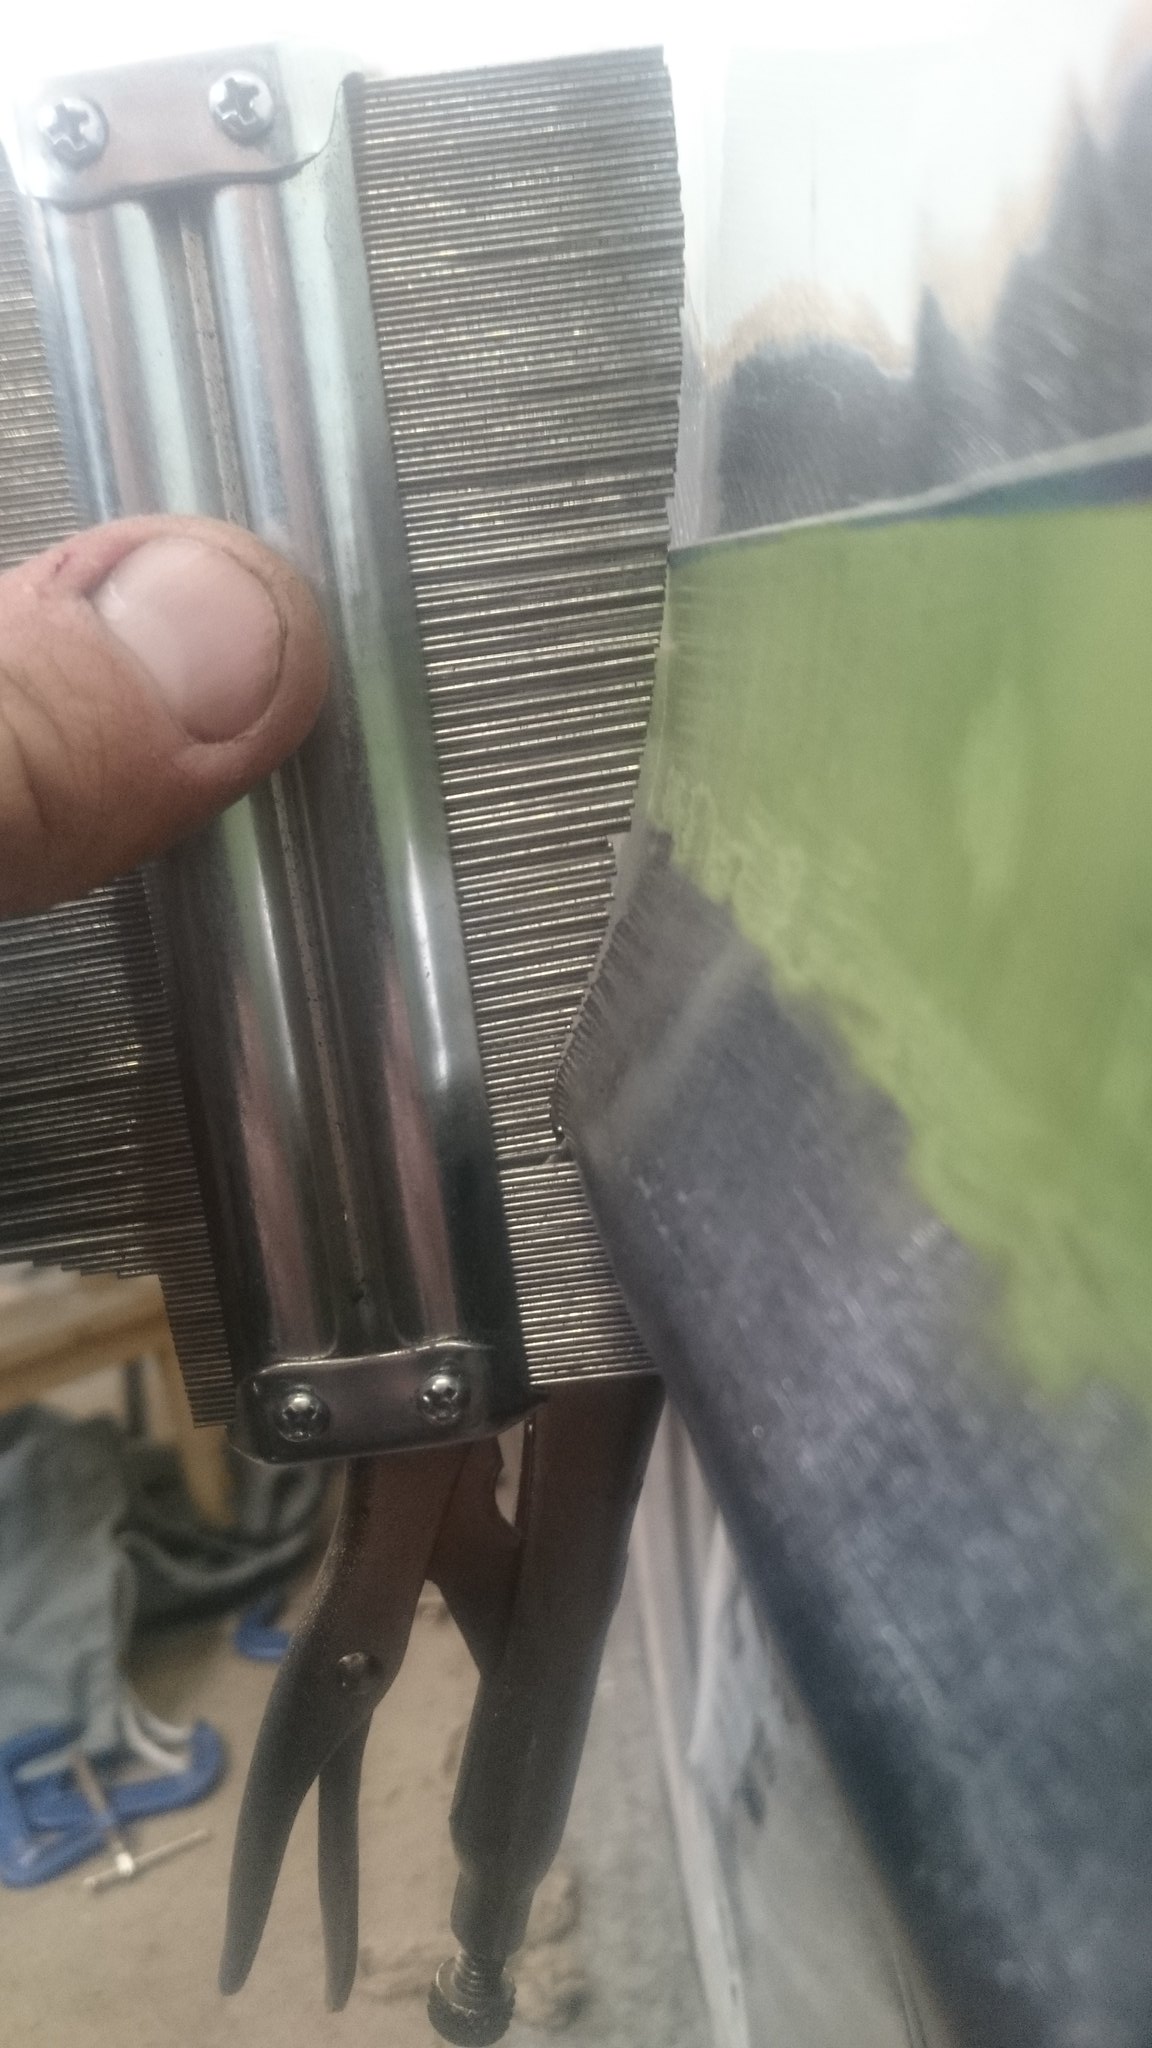
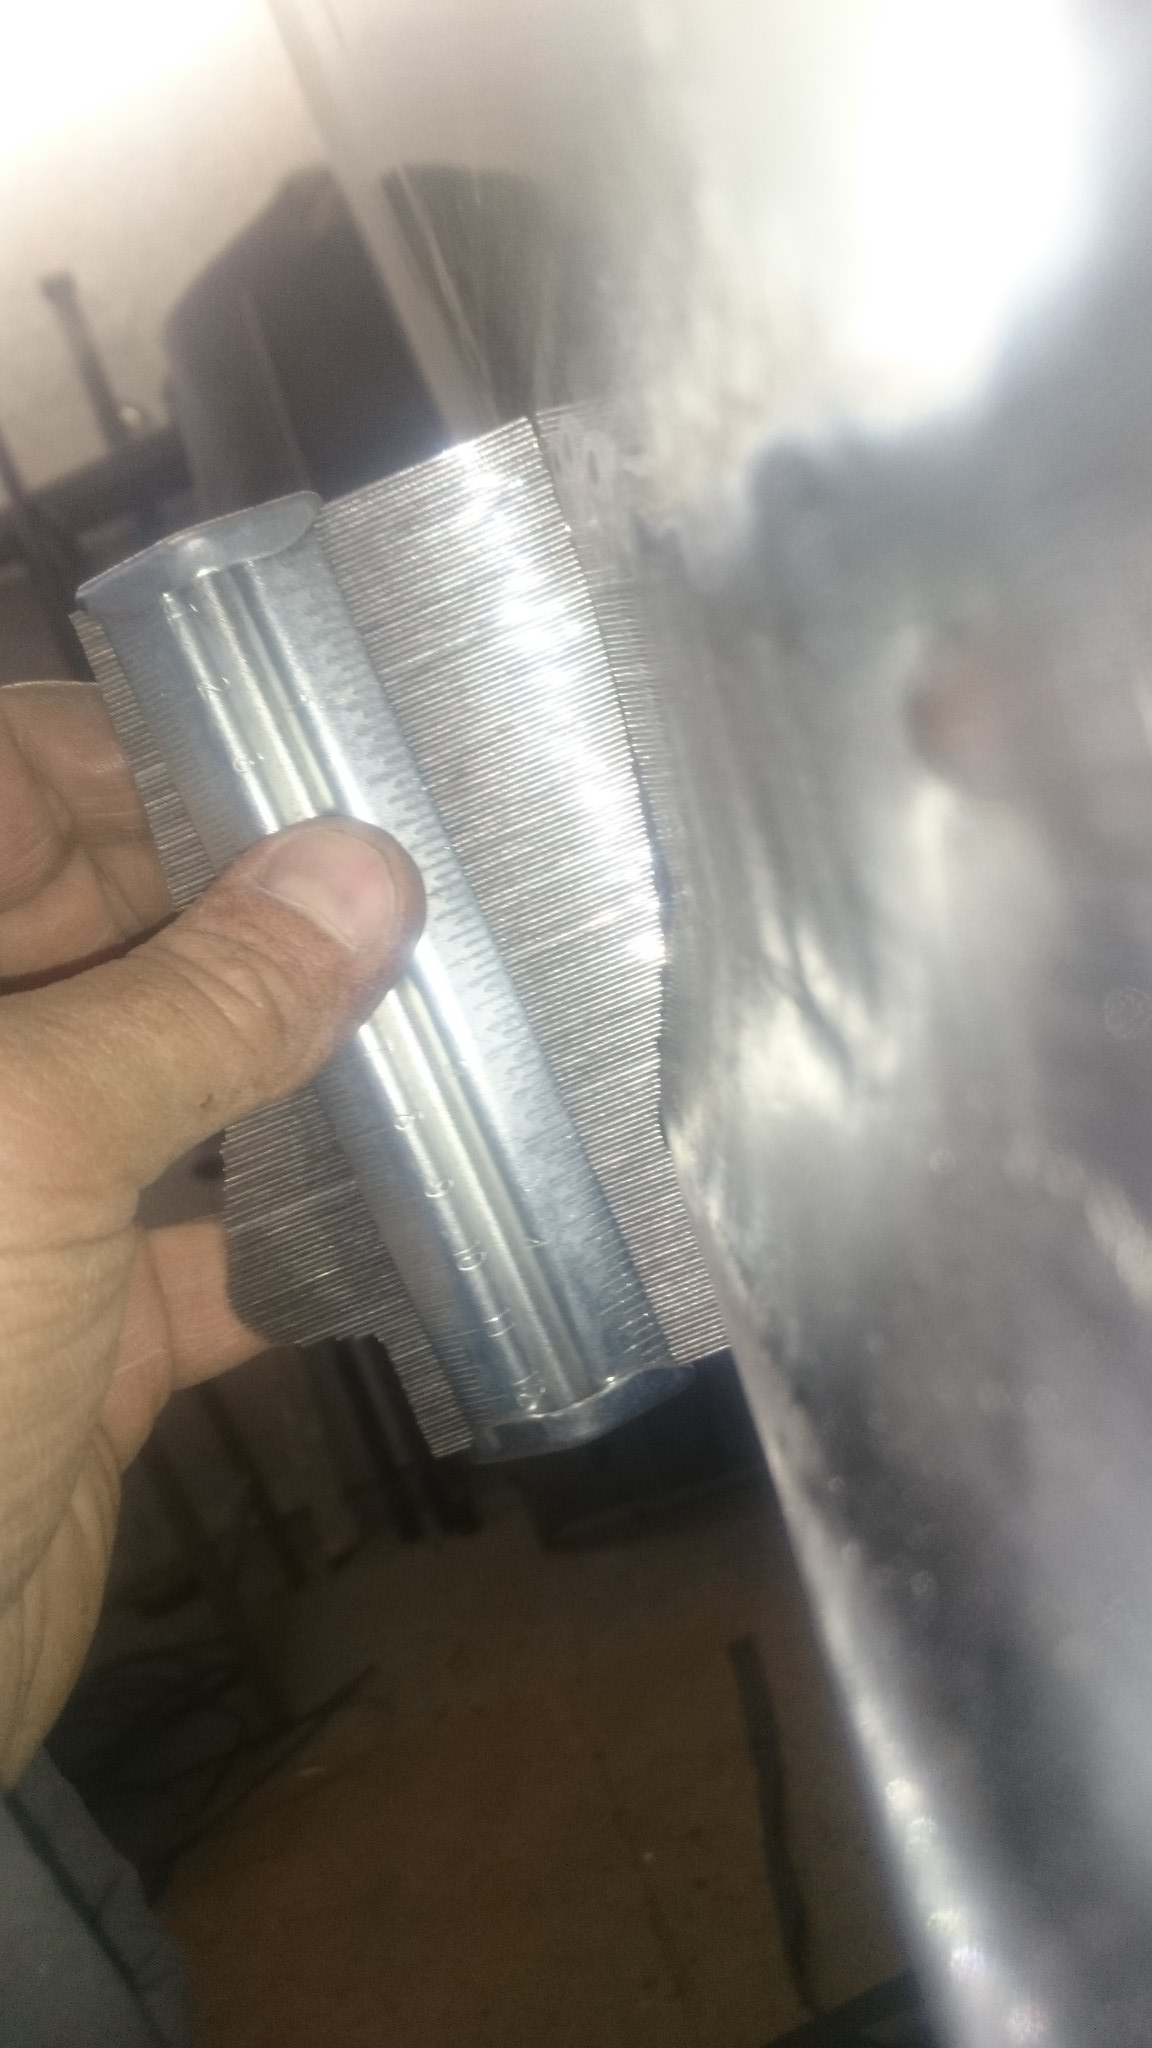
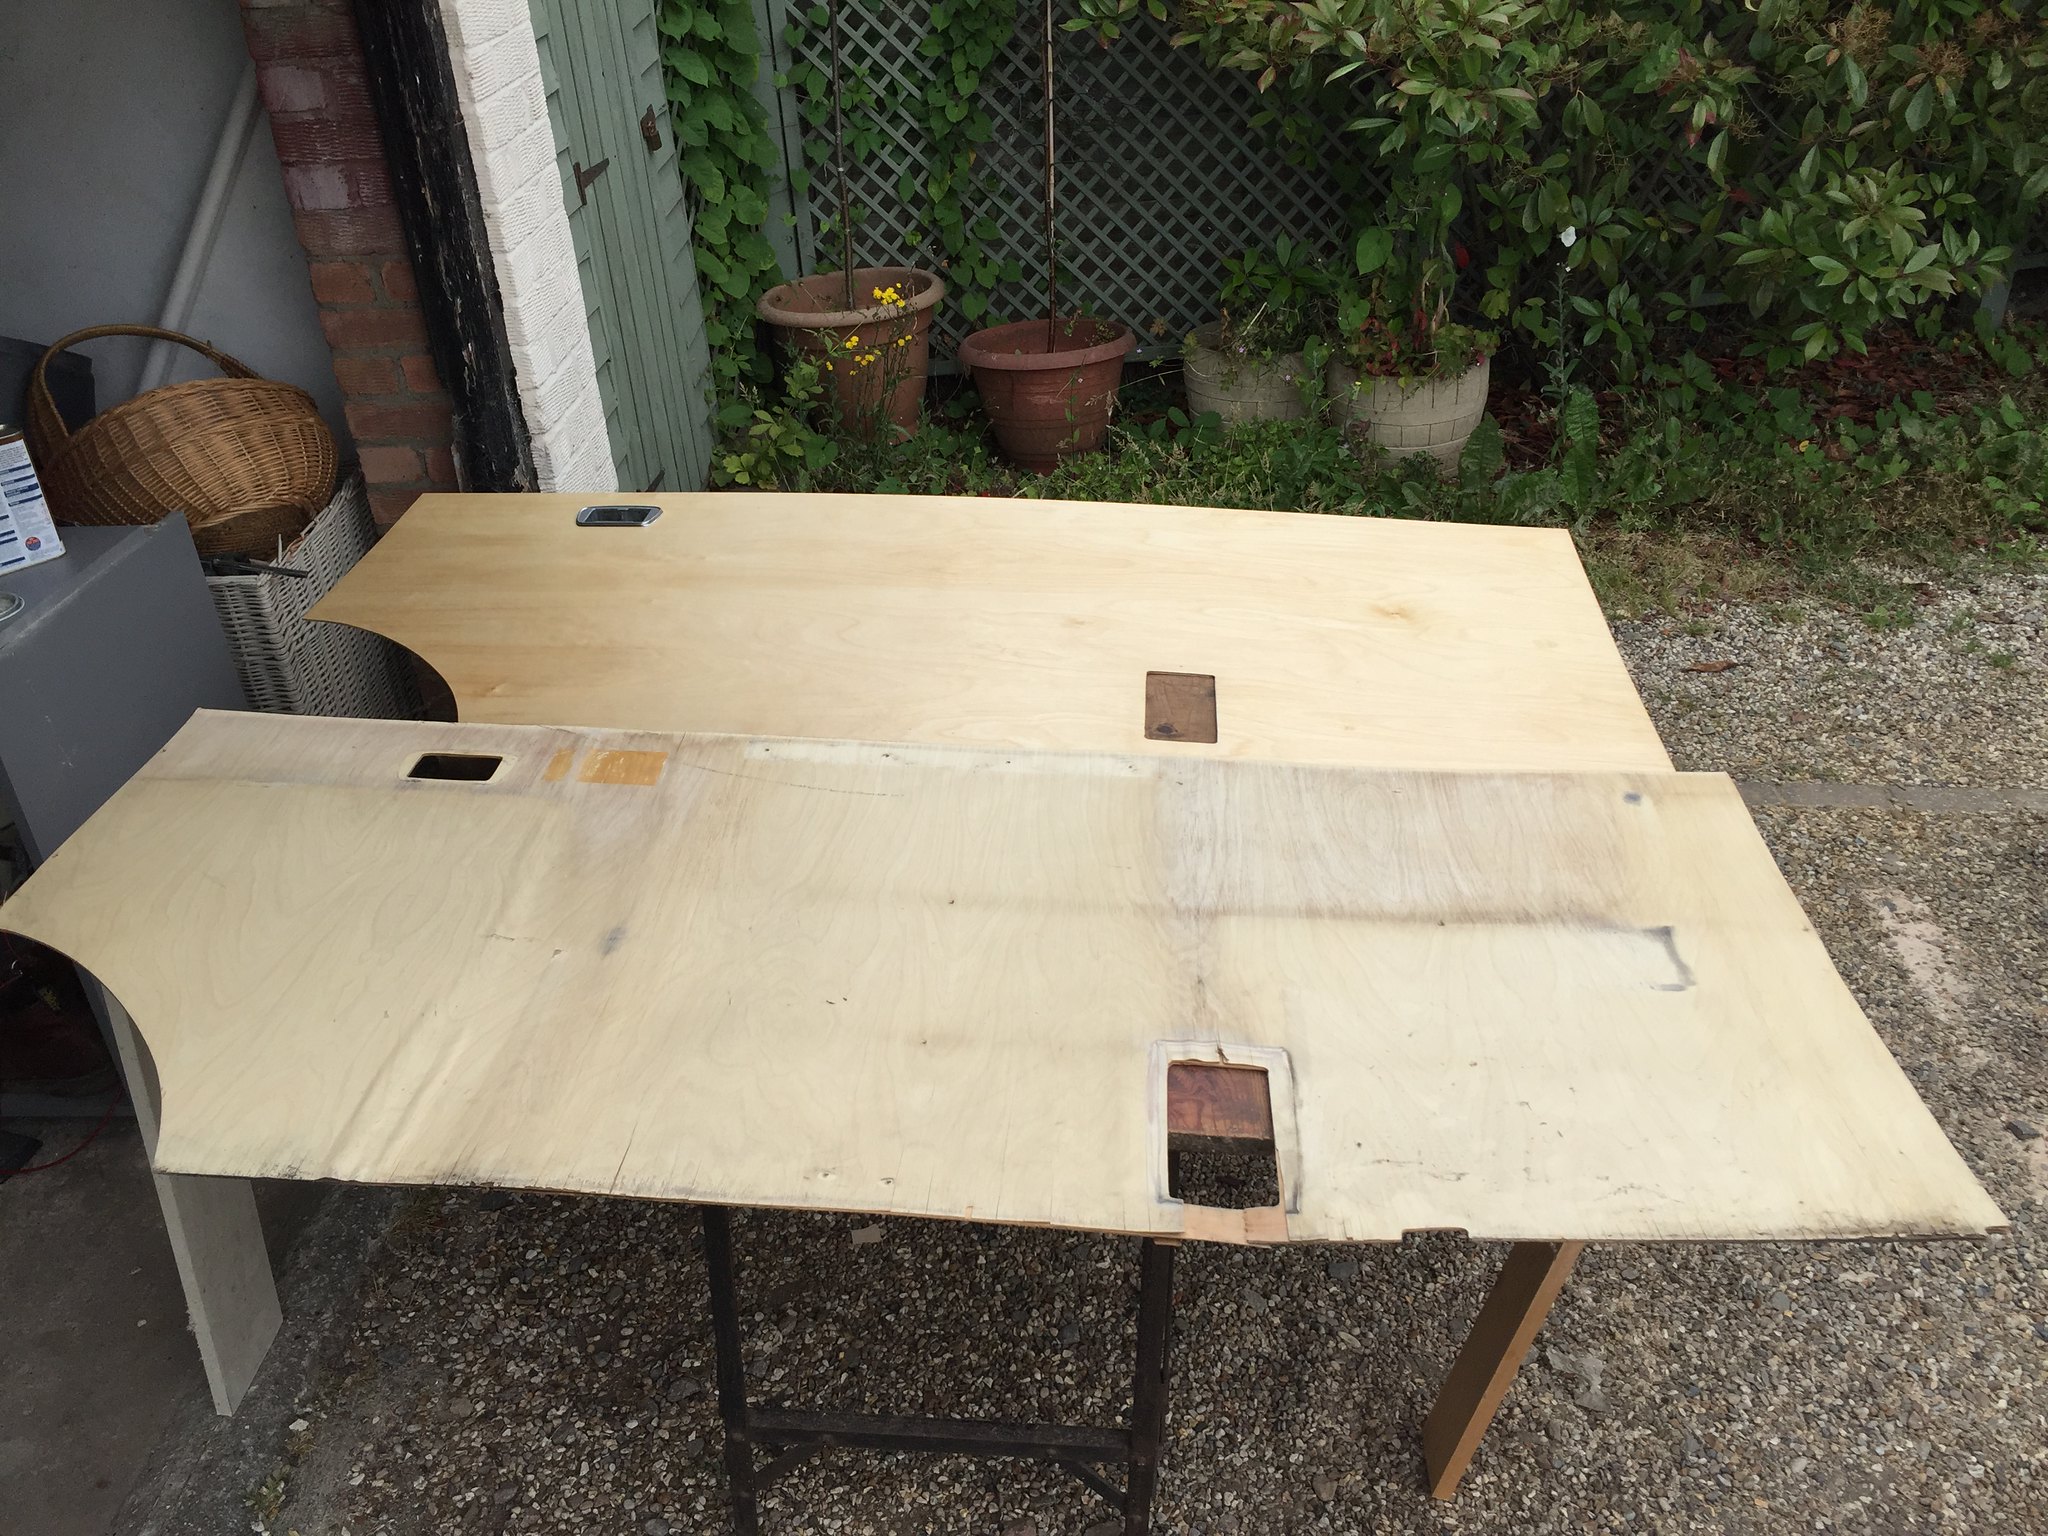
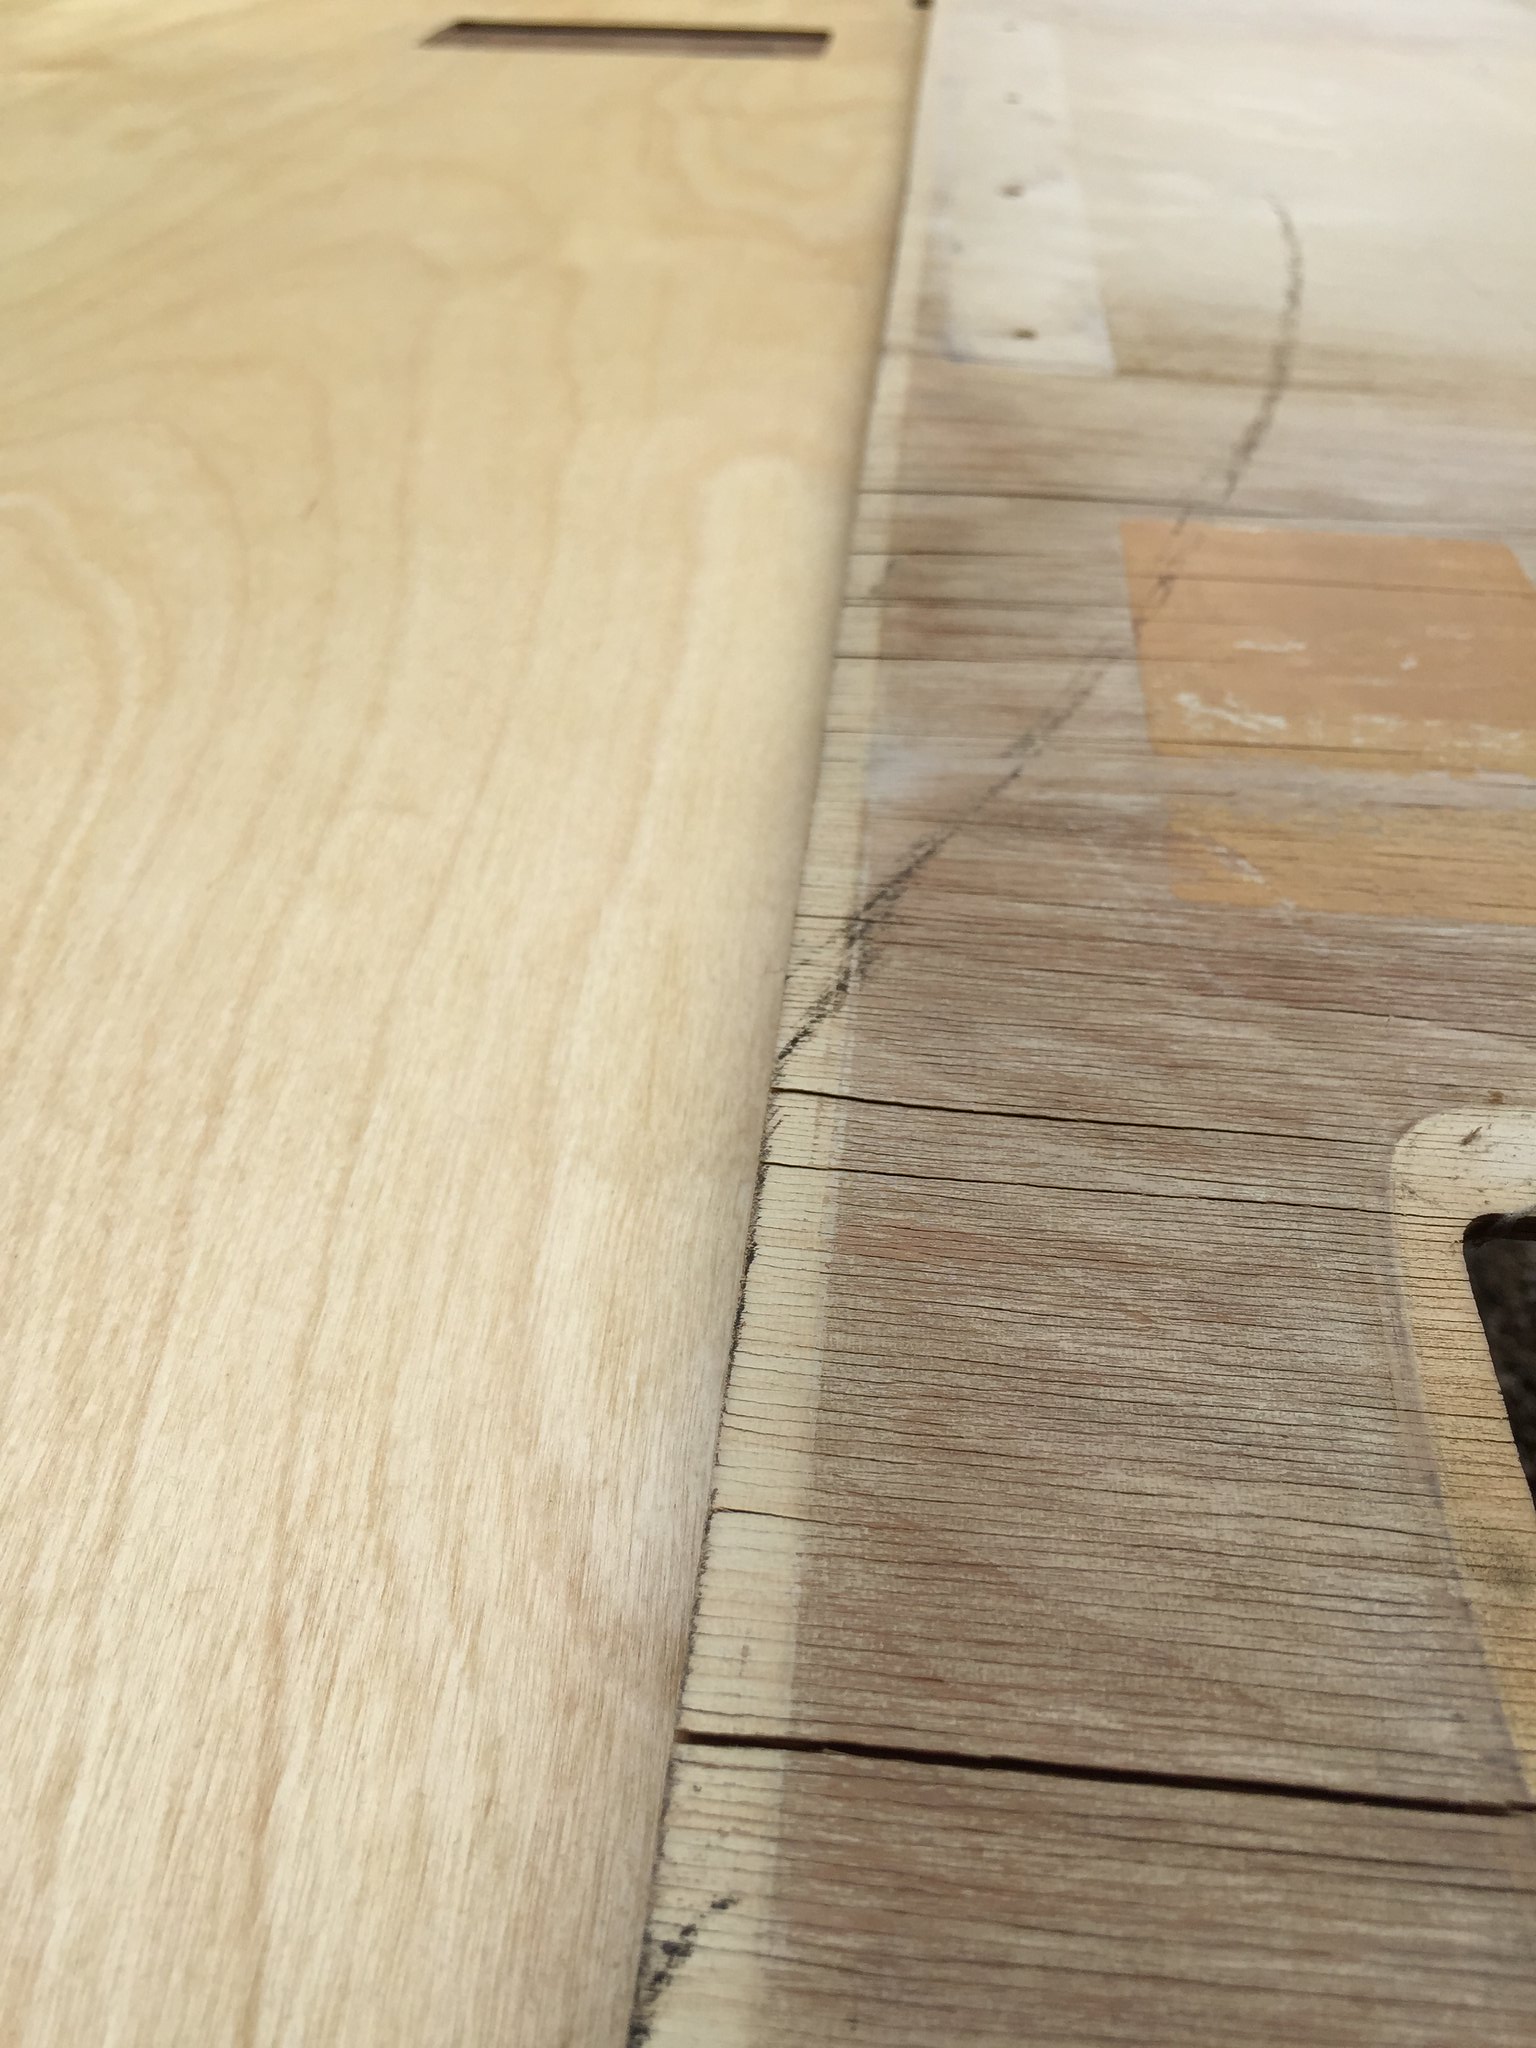
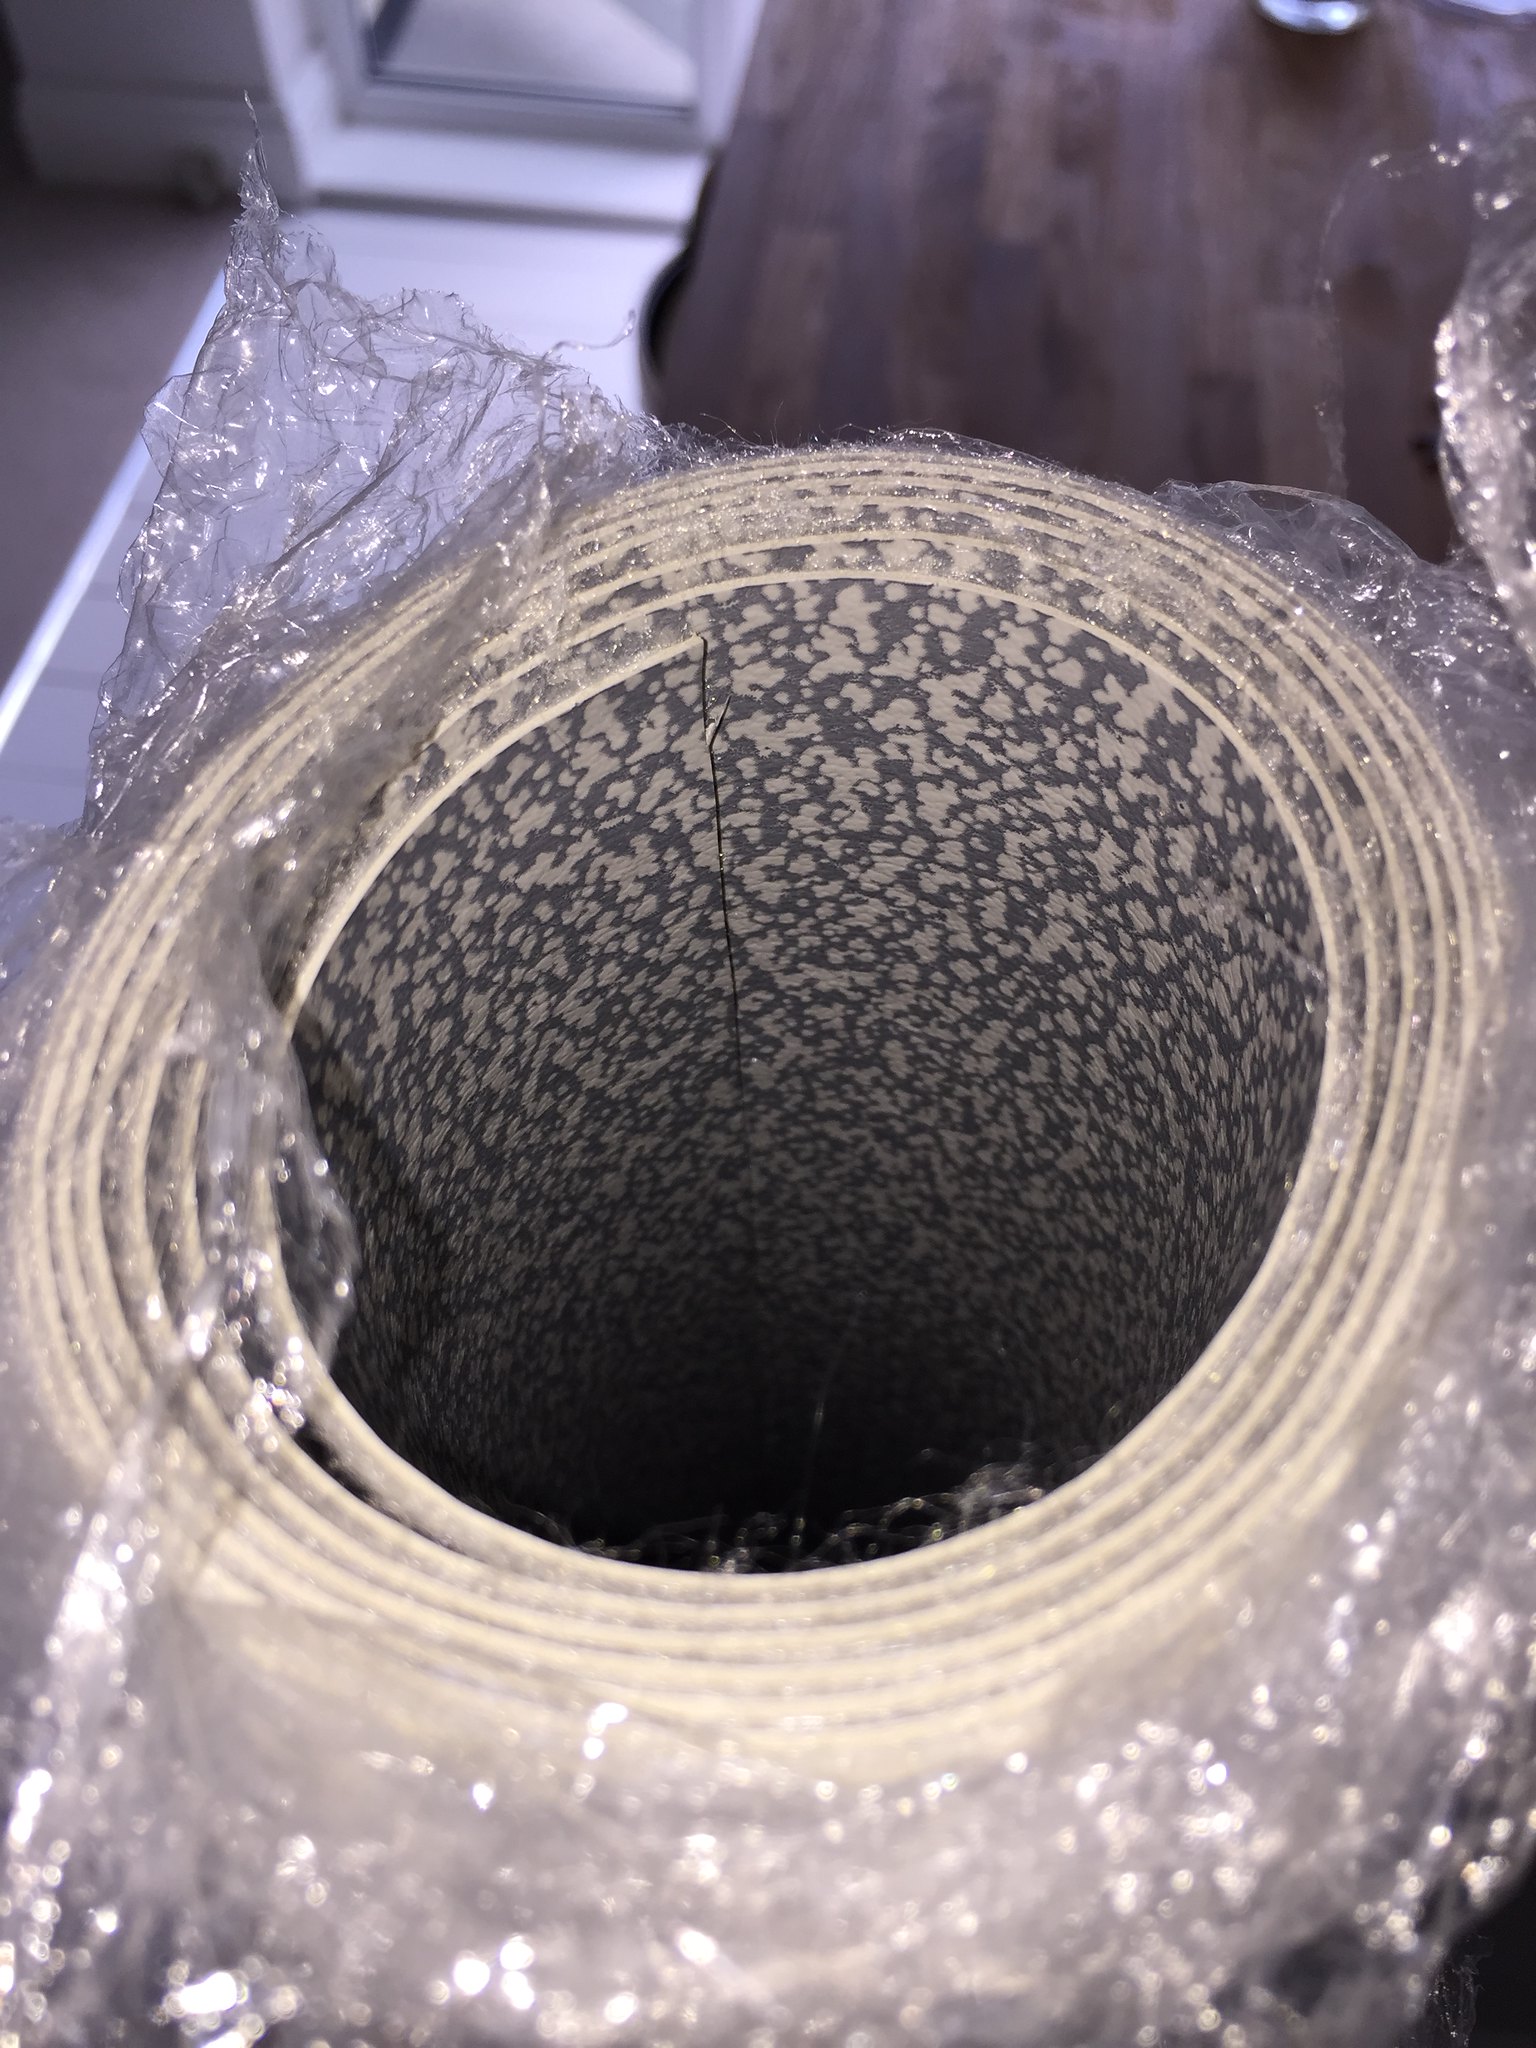
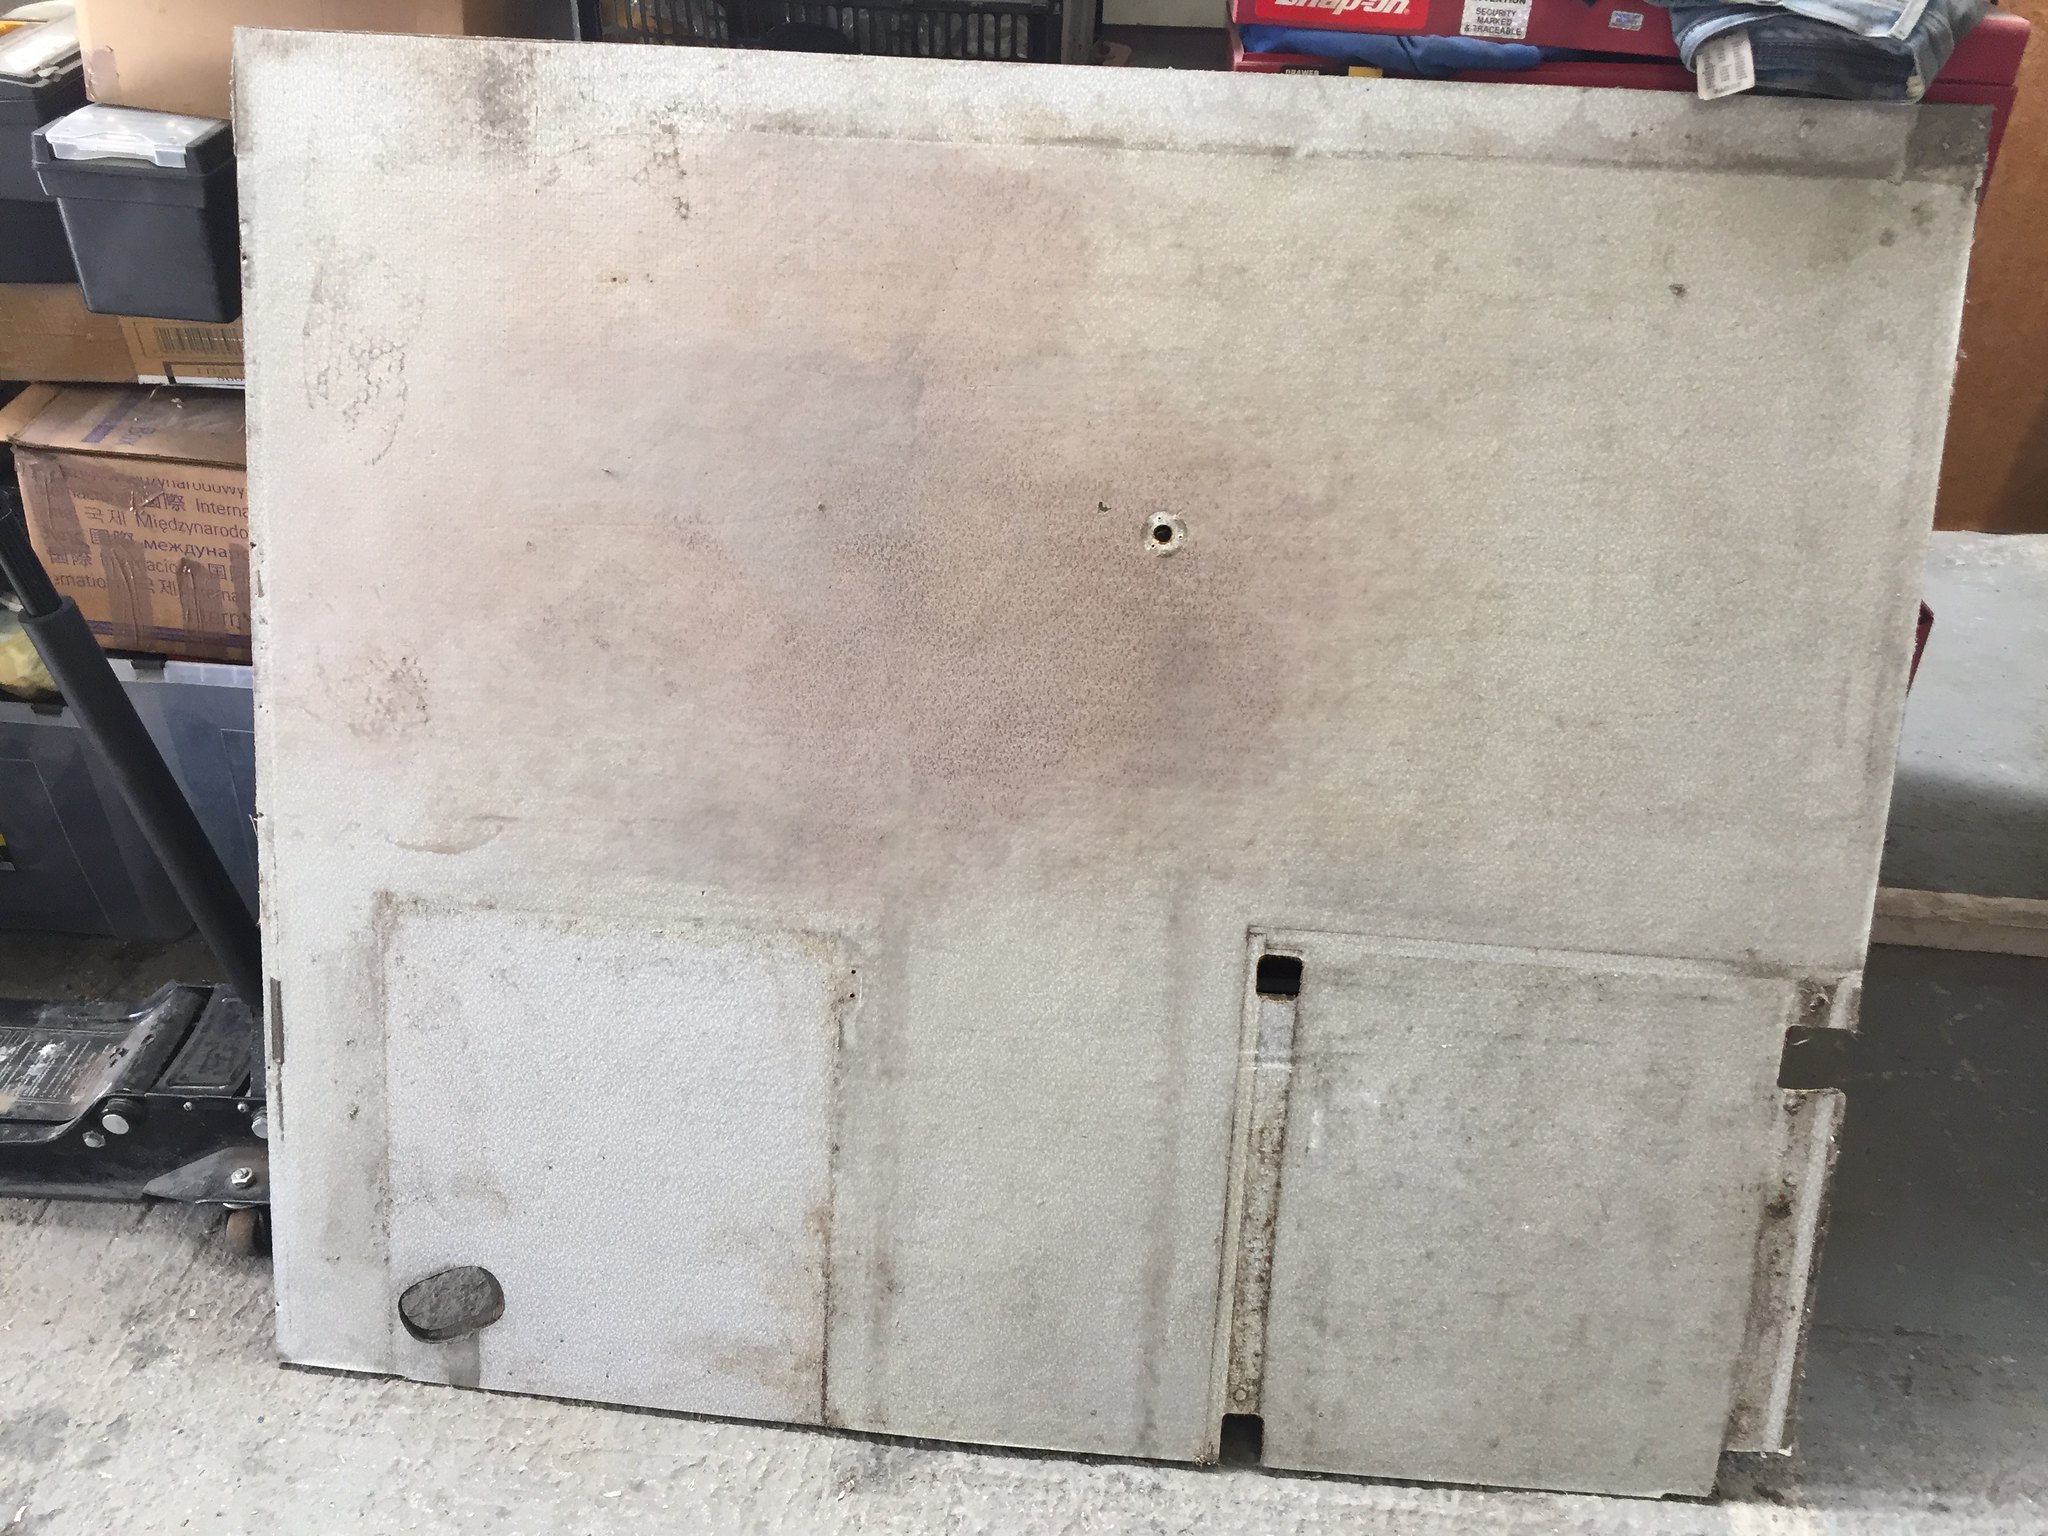
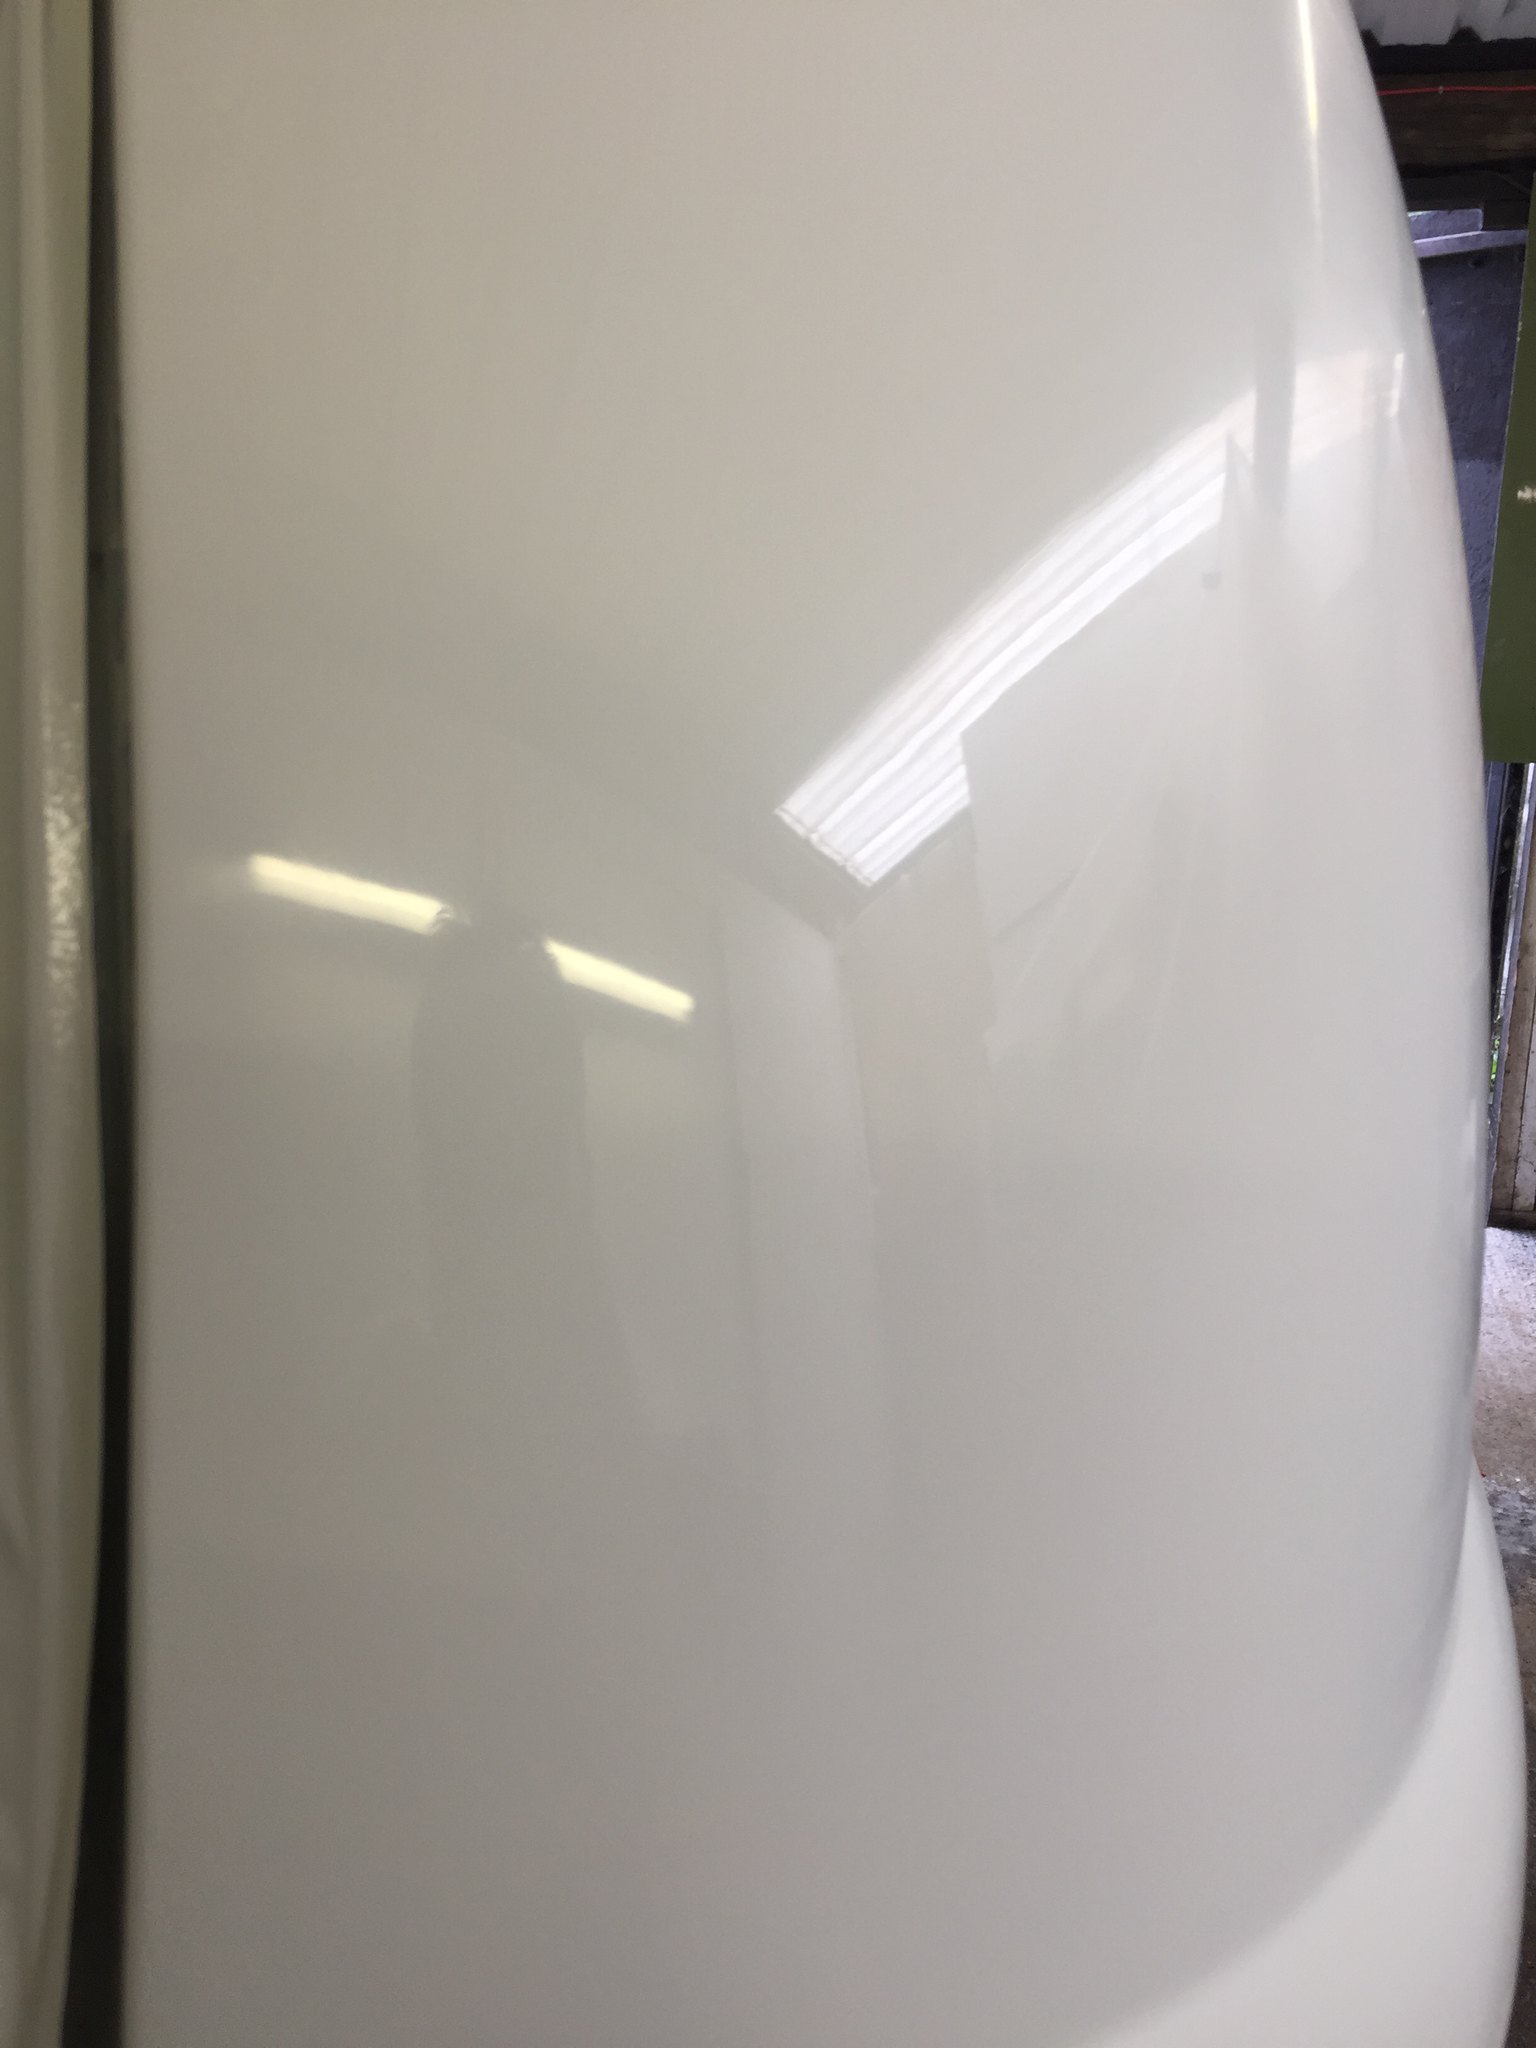
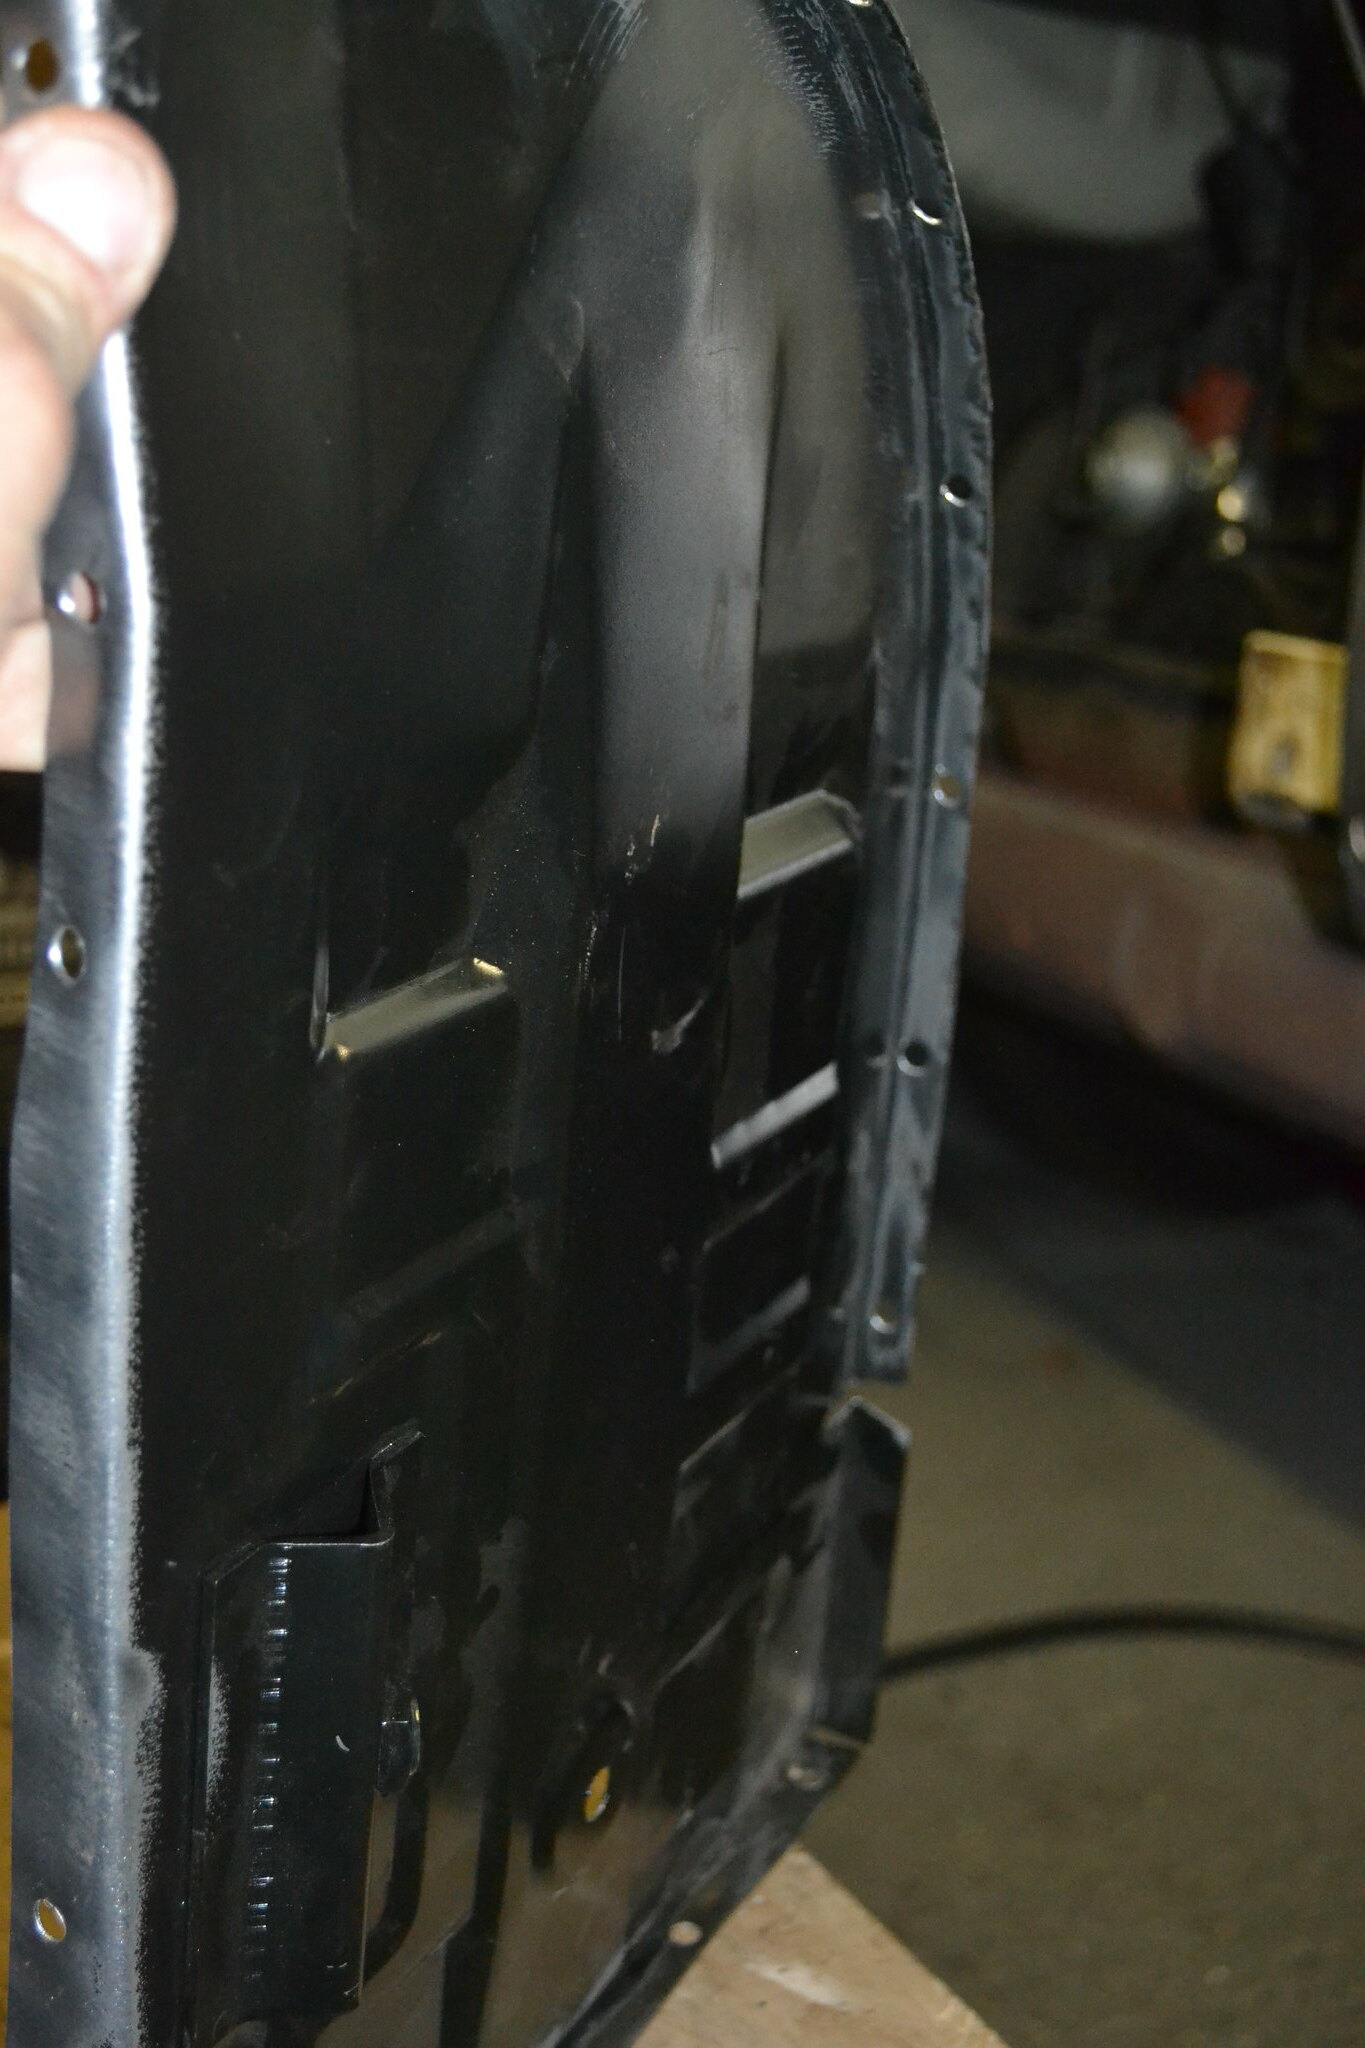
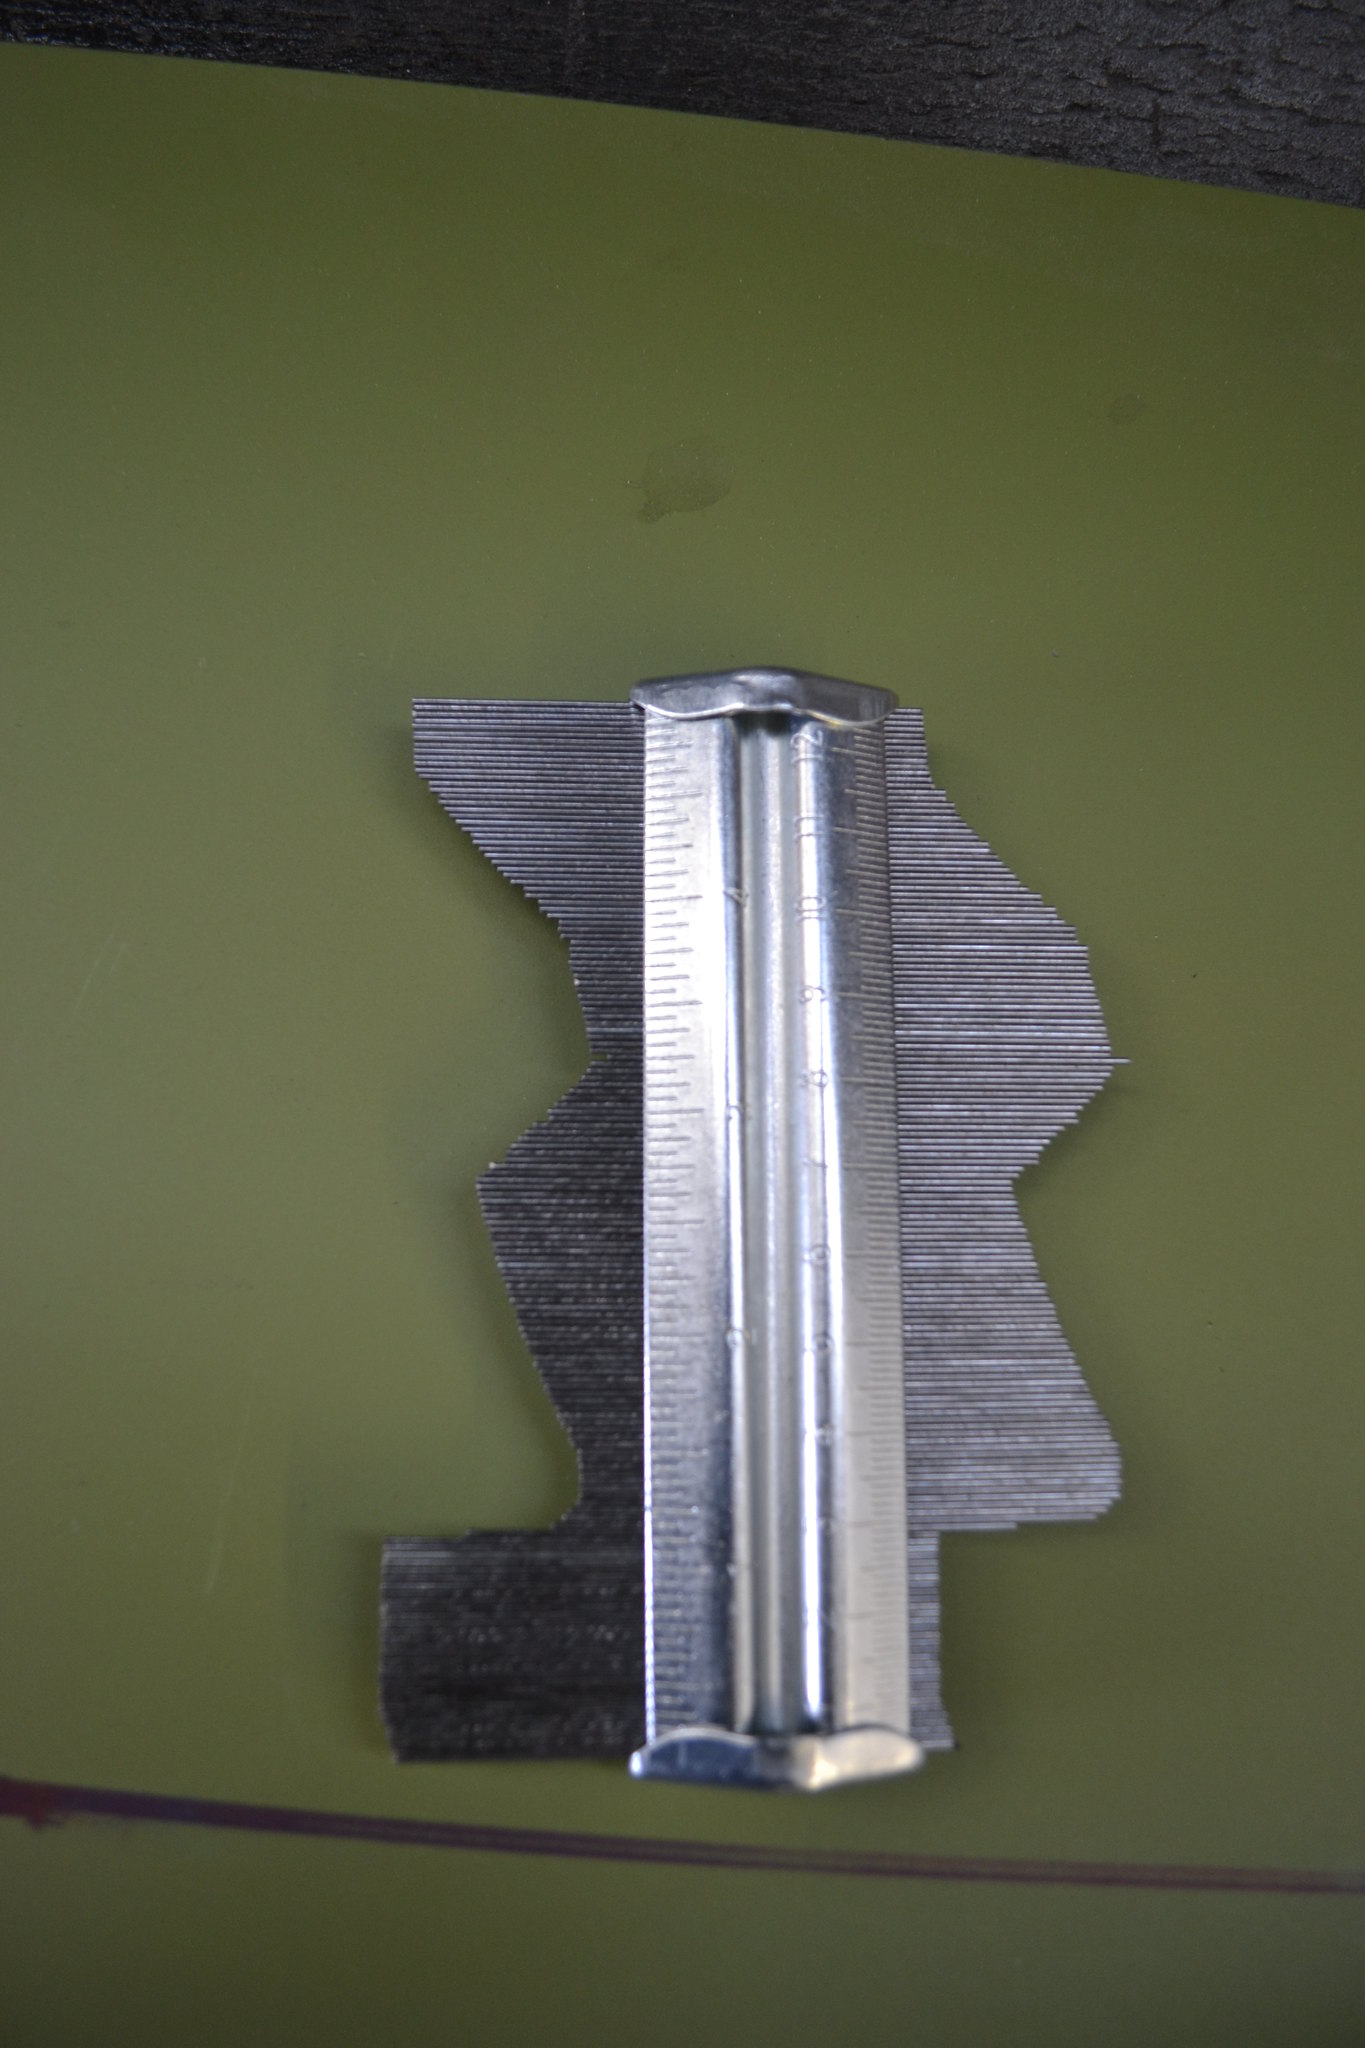
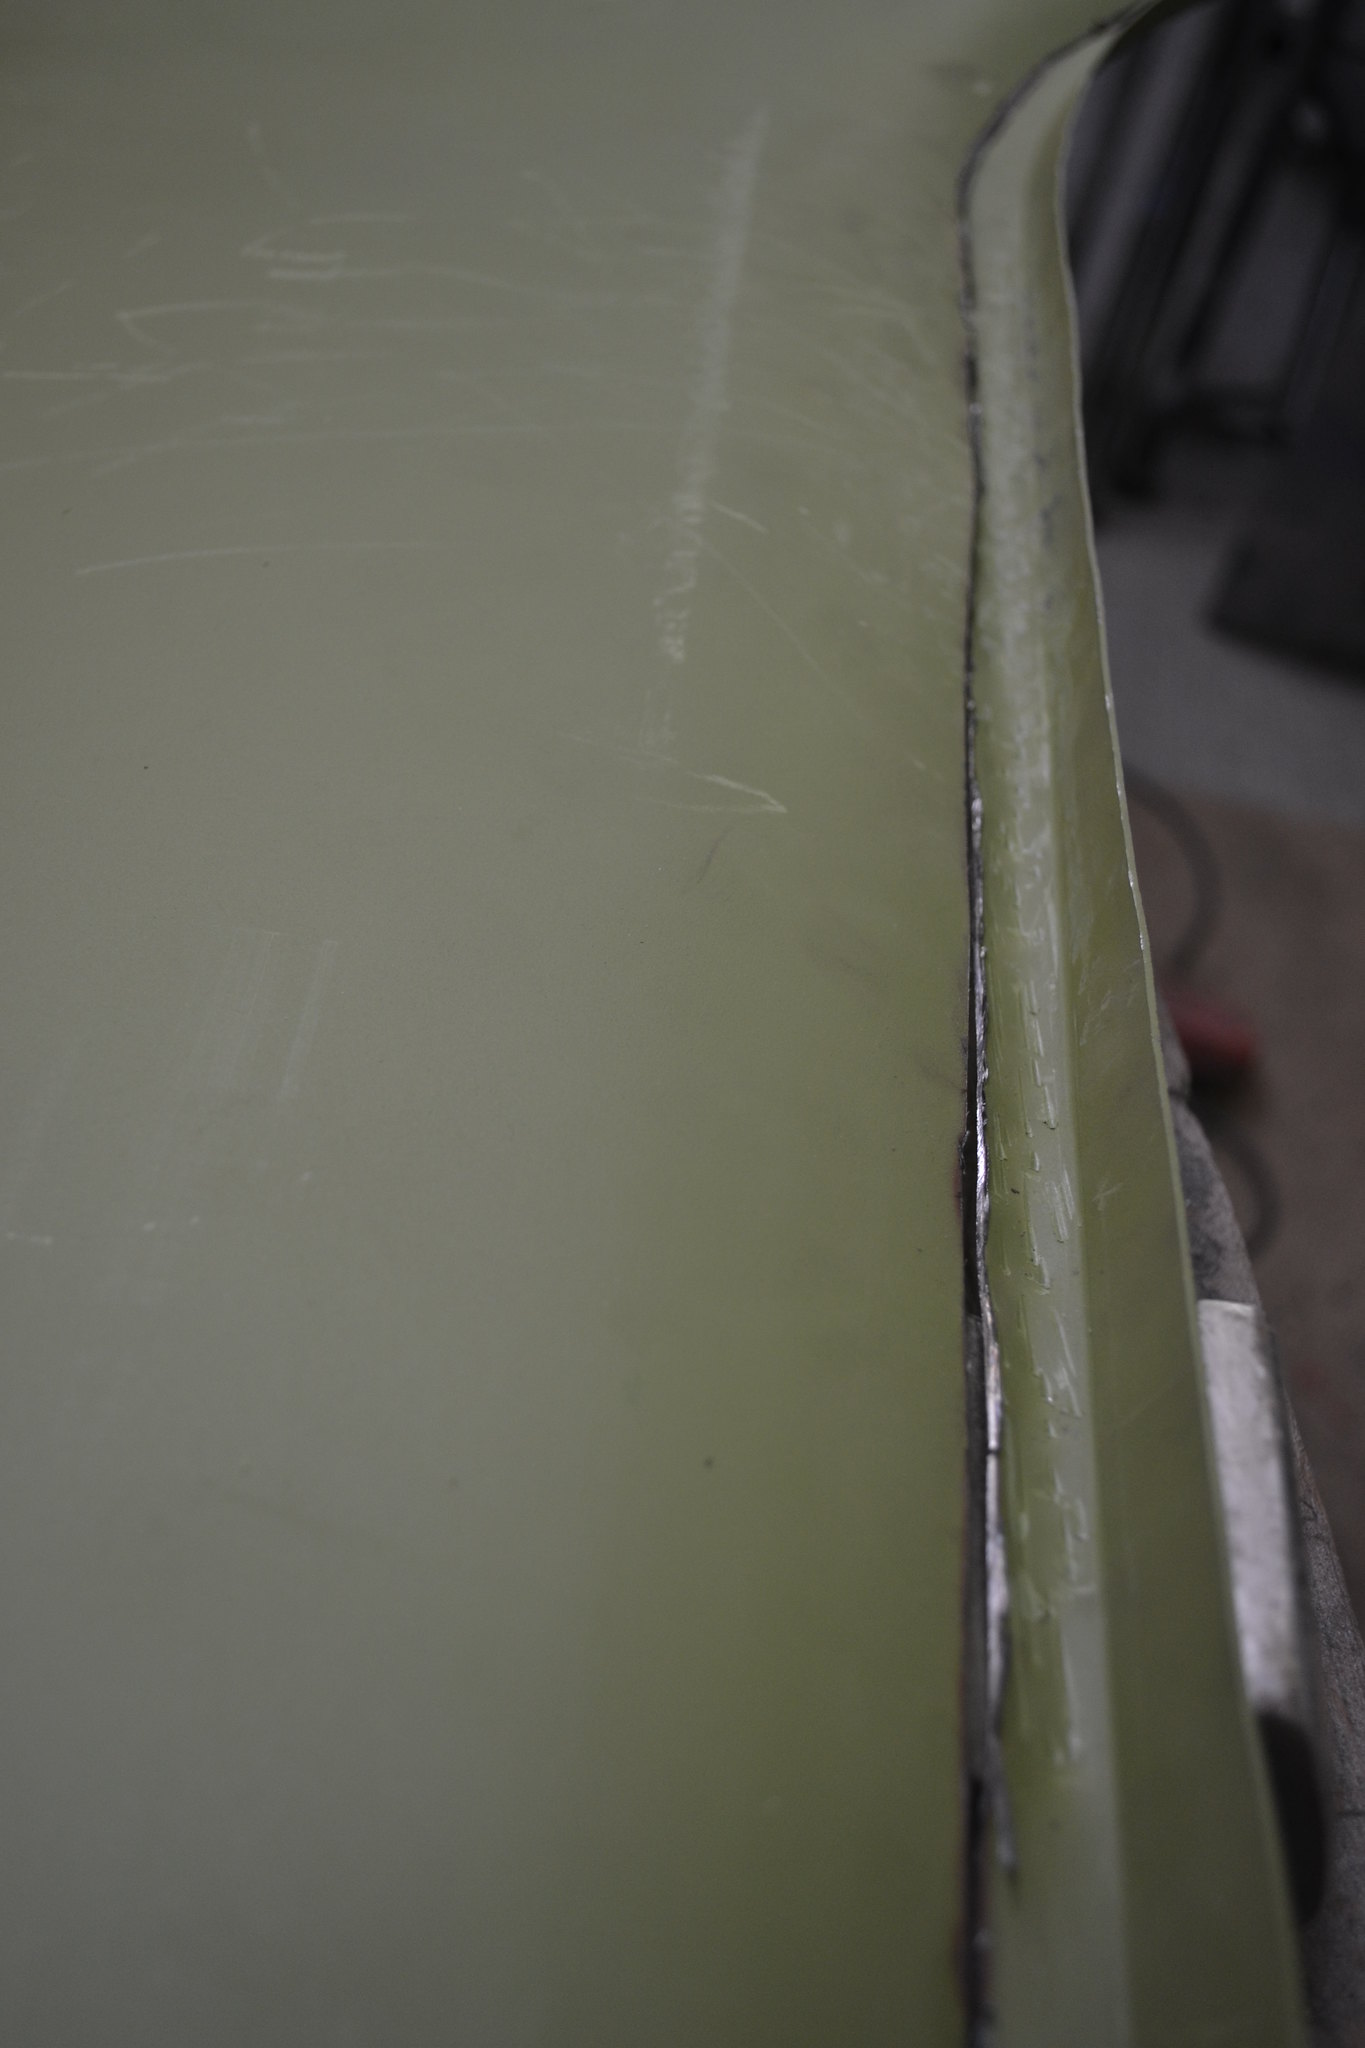
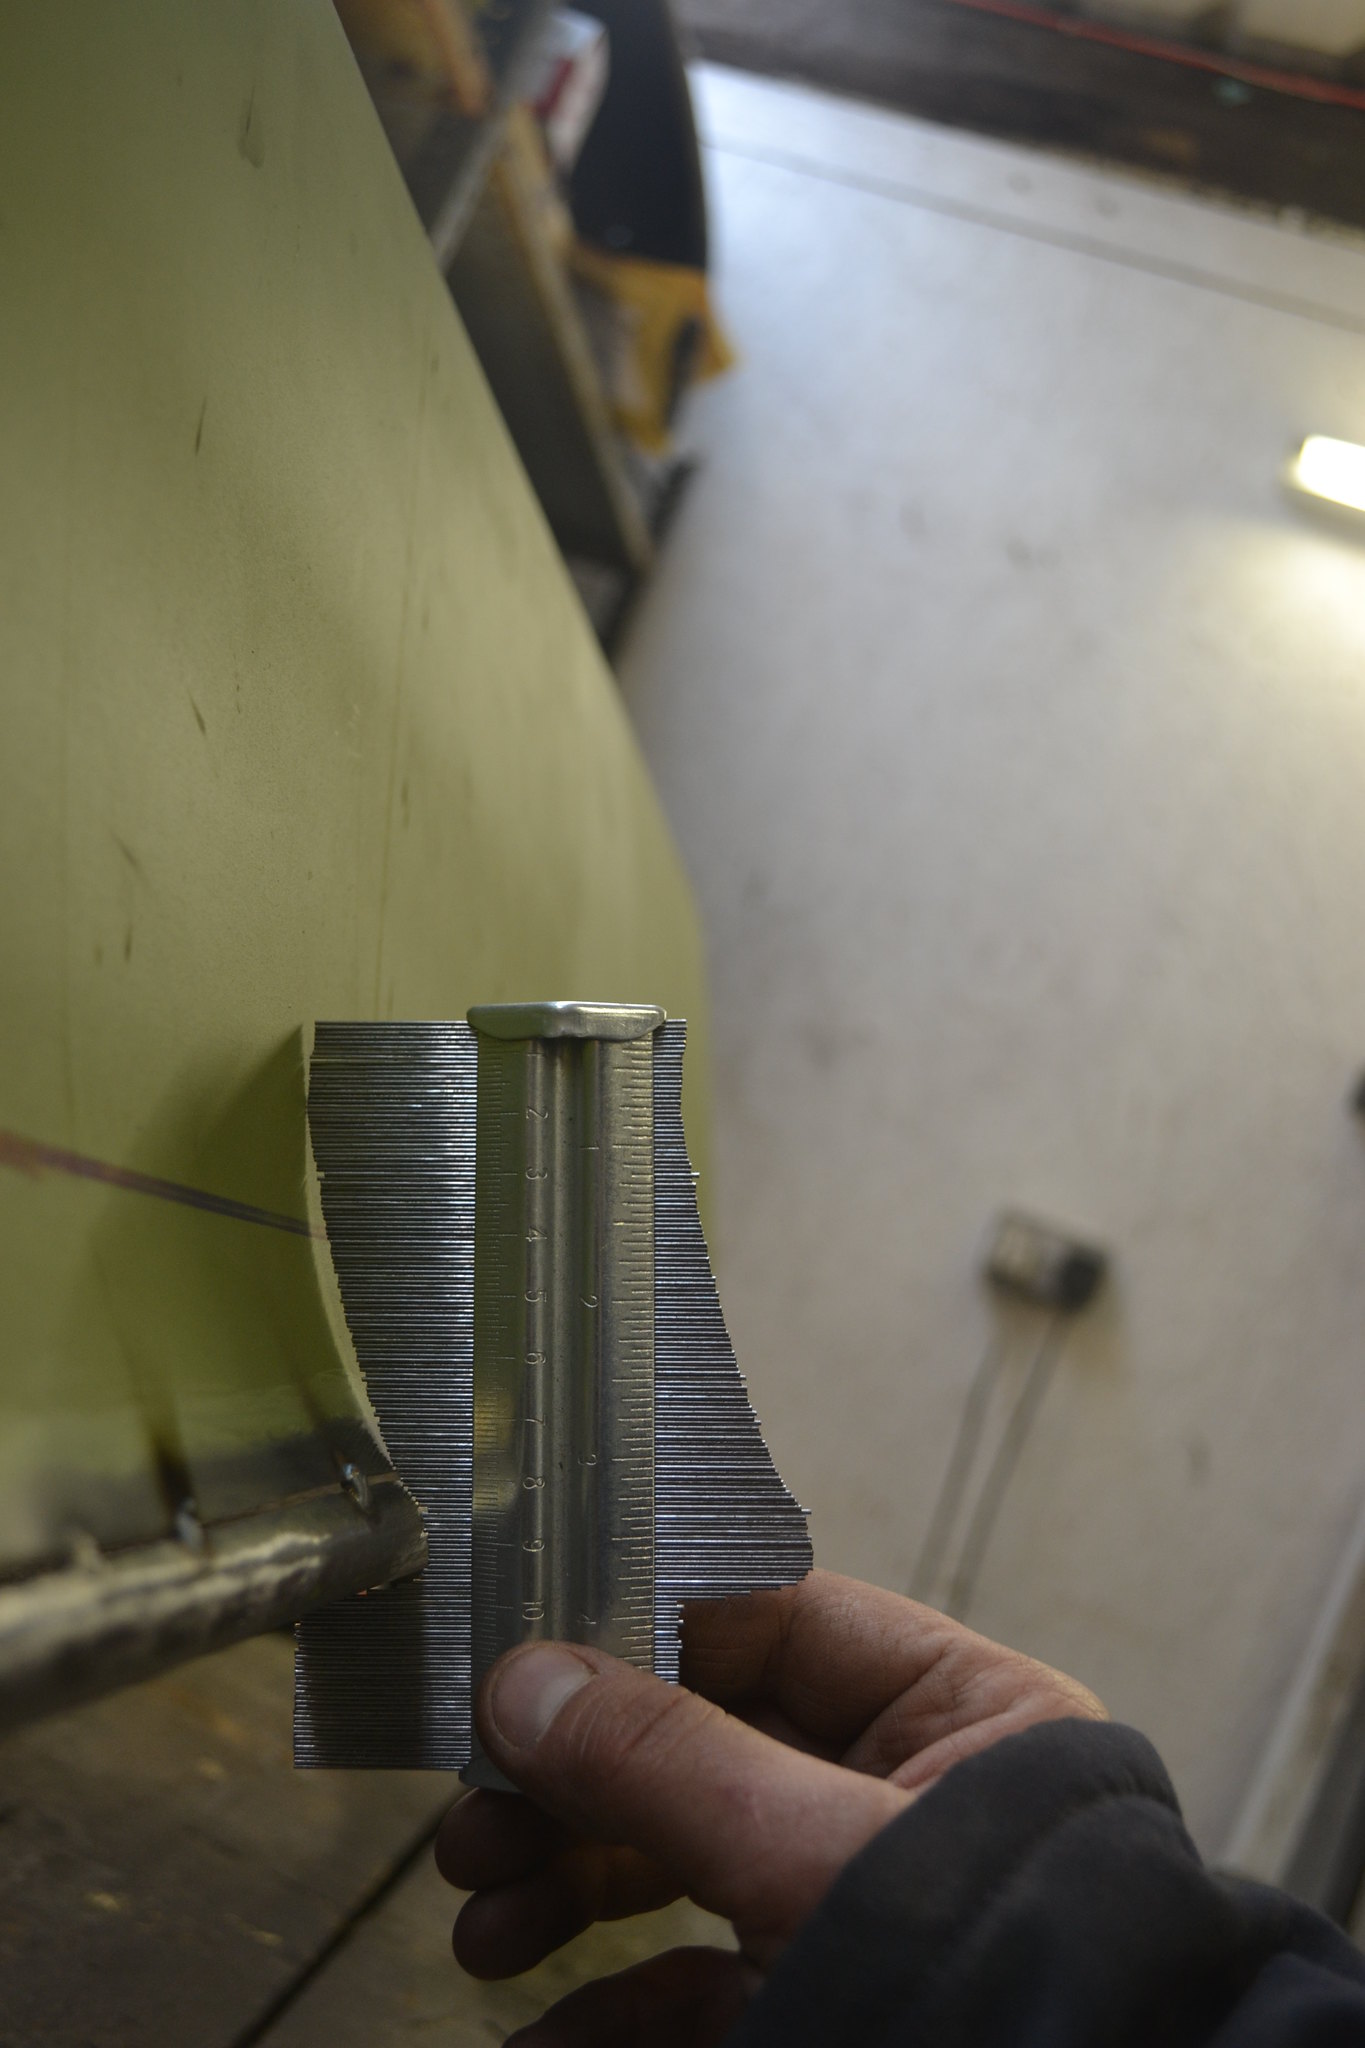
Next is the rear arch, the only 2 currently on teh market are advertised as Early (67-70) and late (71-79). The problem is that some late 70' and early 71' vans were fitted with a flared, rounded arch. from a way back they look like late arches but on closer inspection have a radius instead of the late squared off arch. You can see the difference in the profiles here
Late on top and early below:
 DSC_0749 by Andy Bright, on Flickr
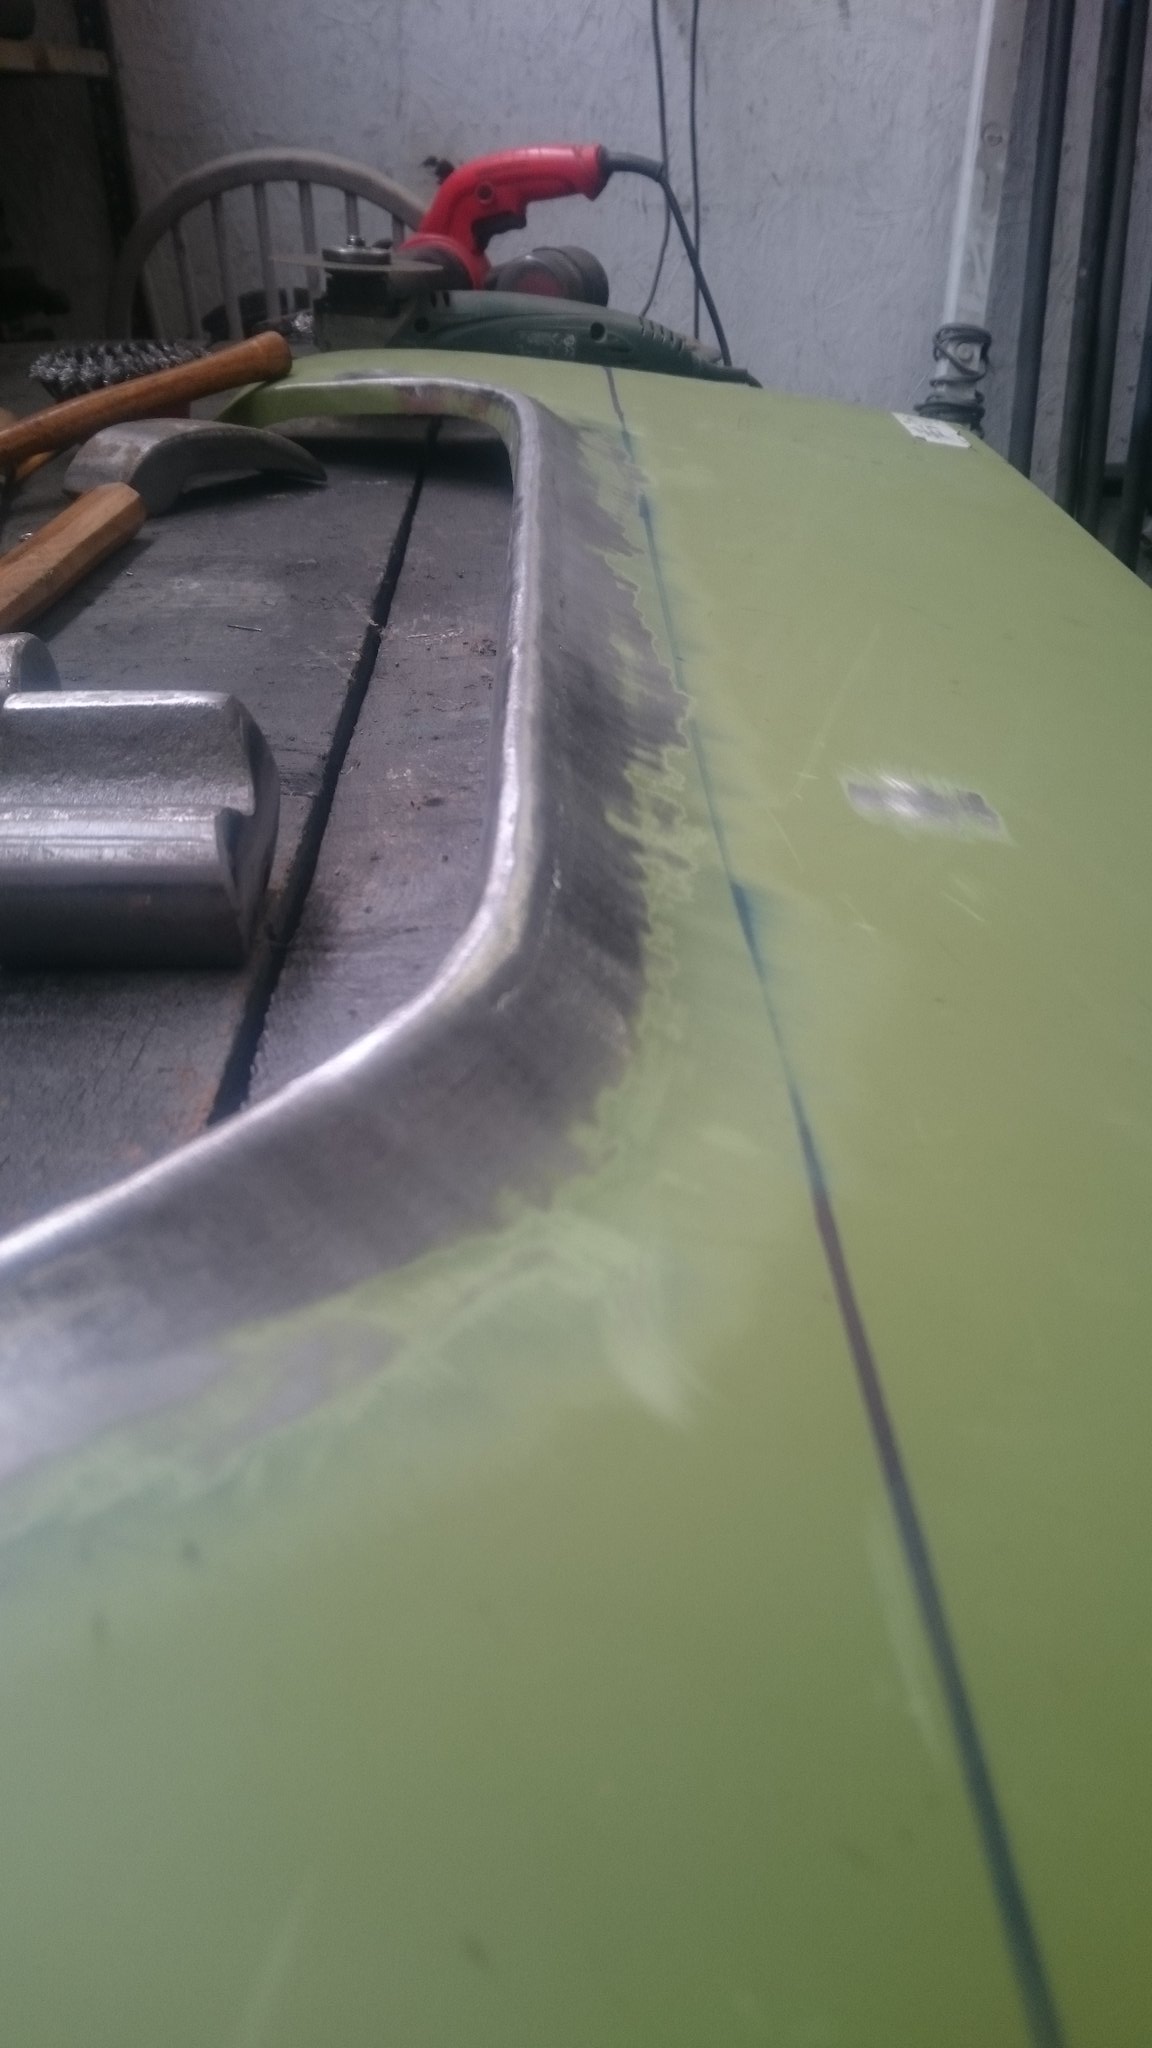
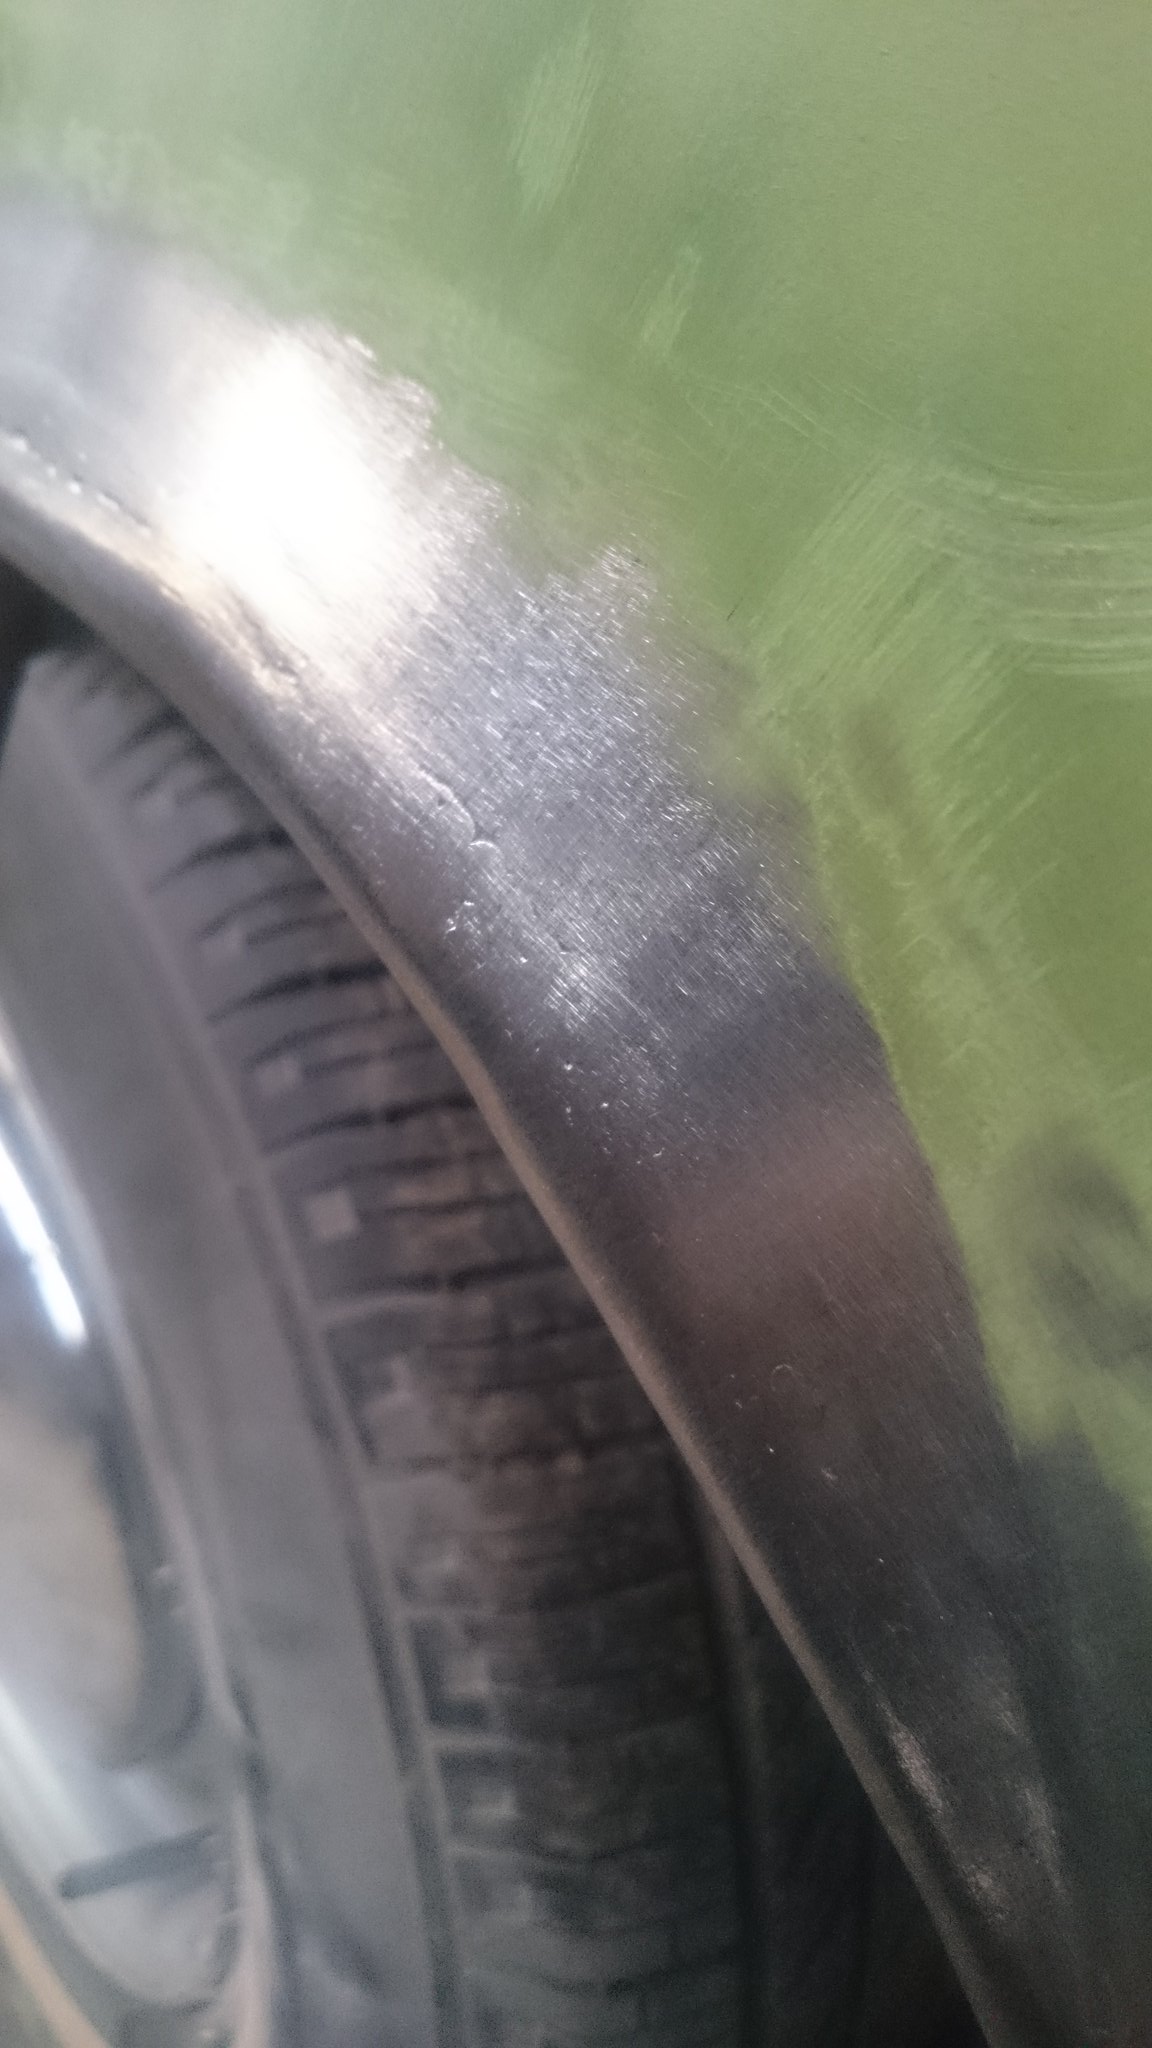
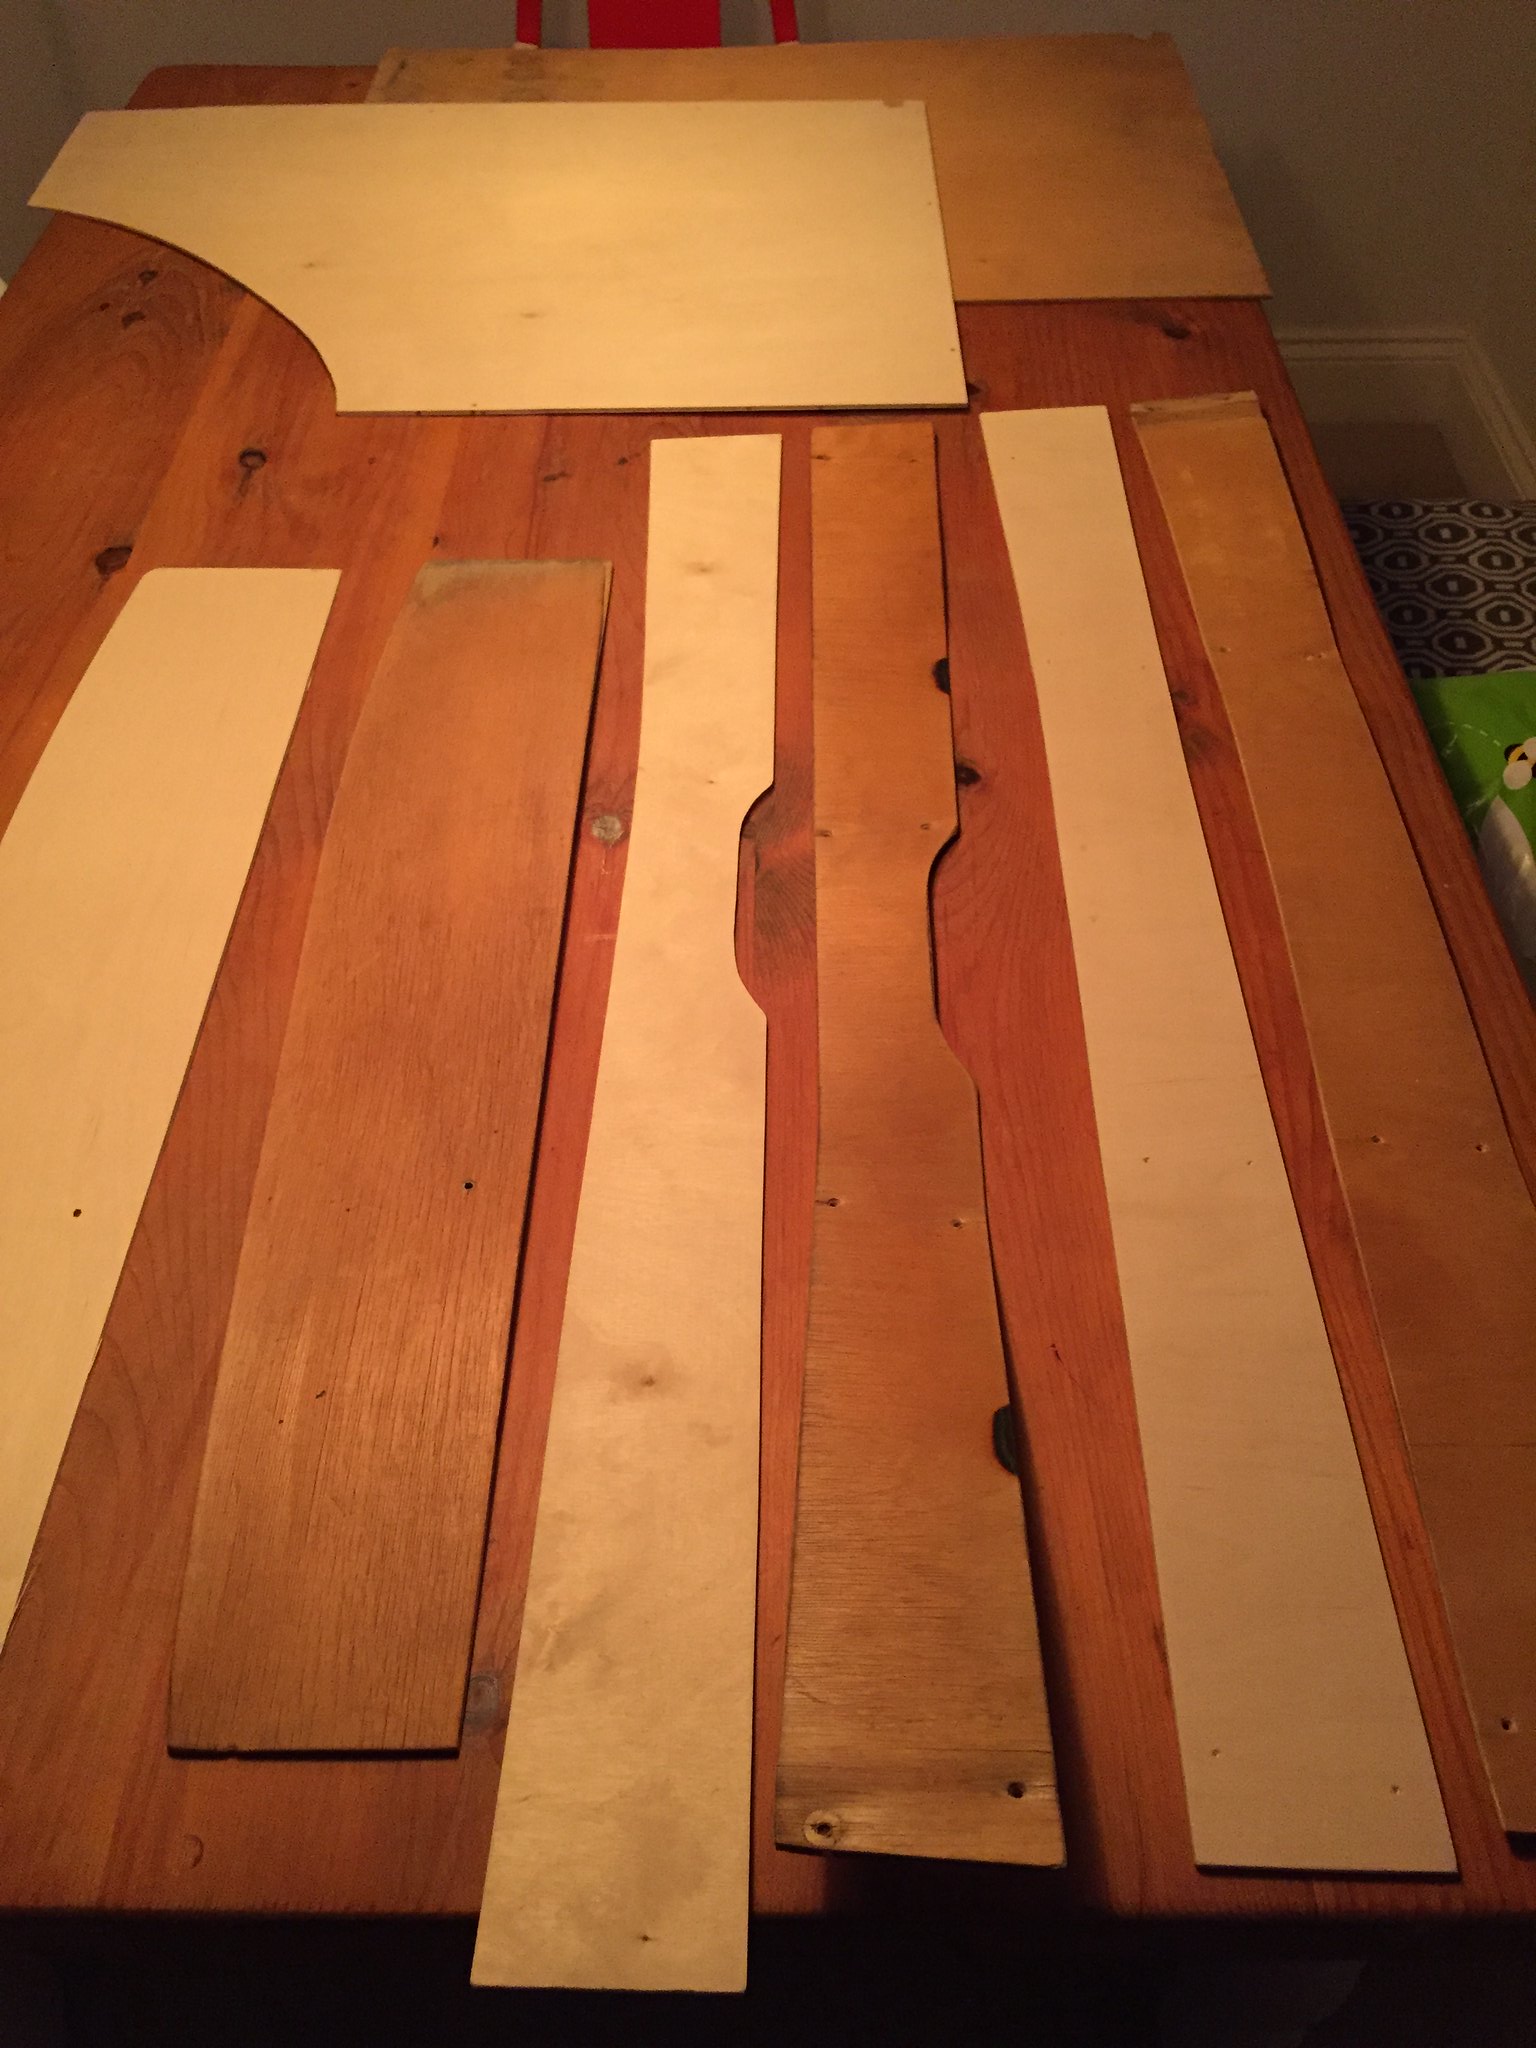
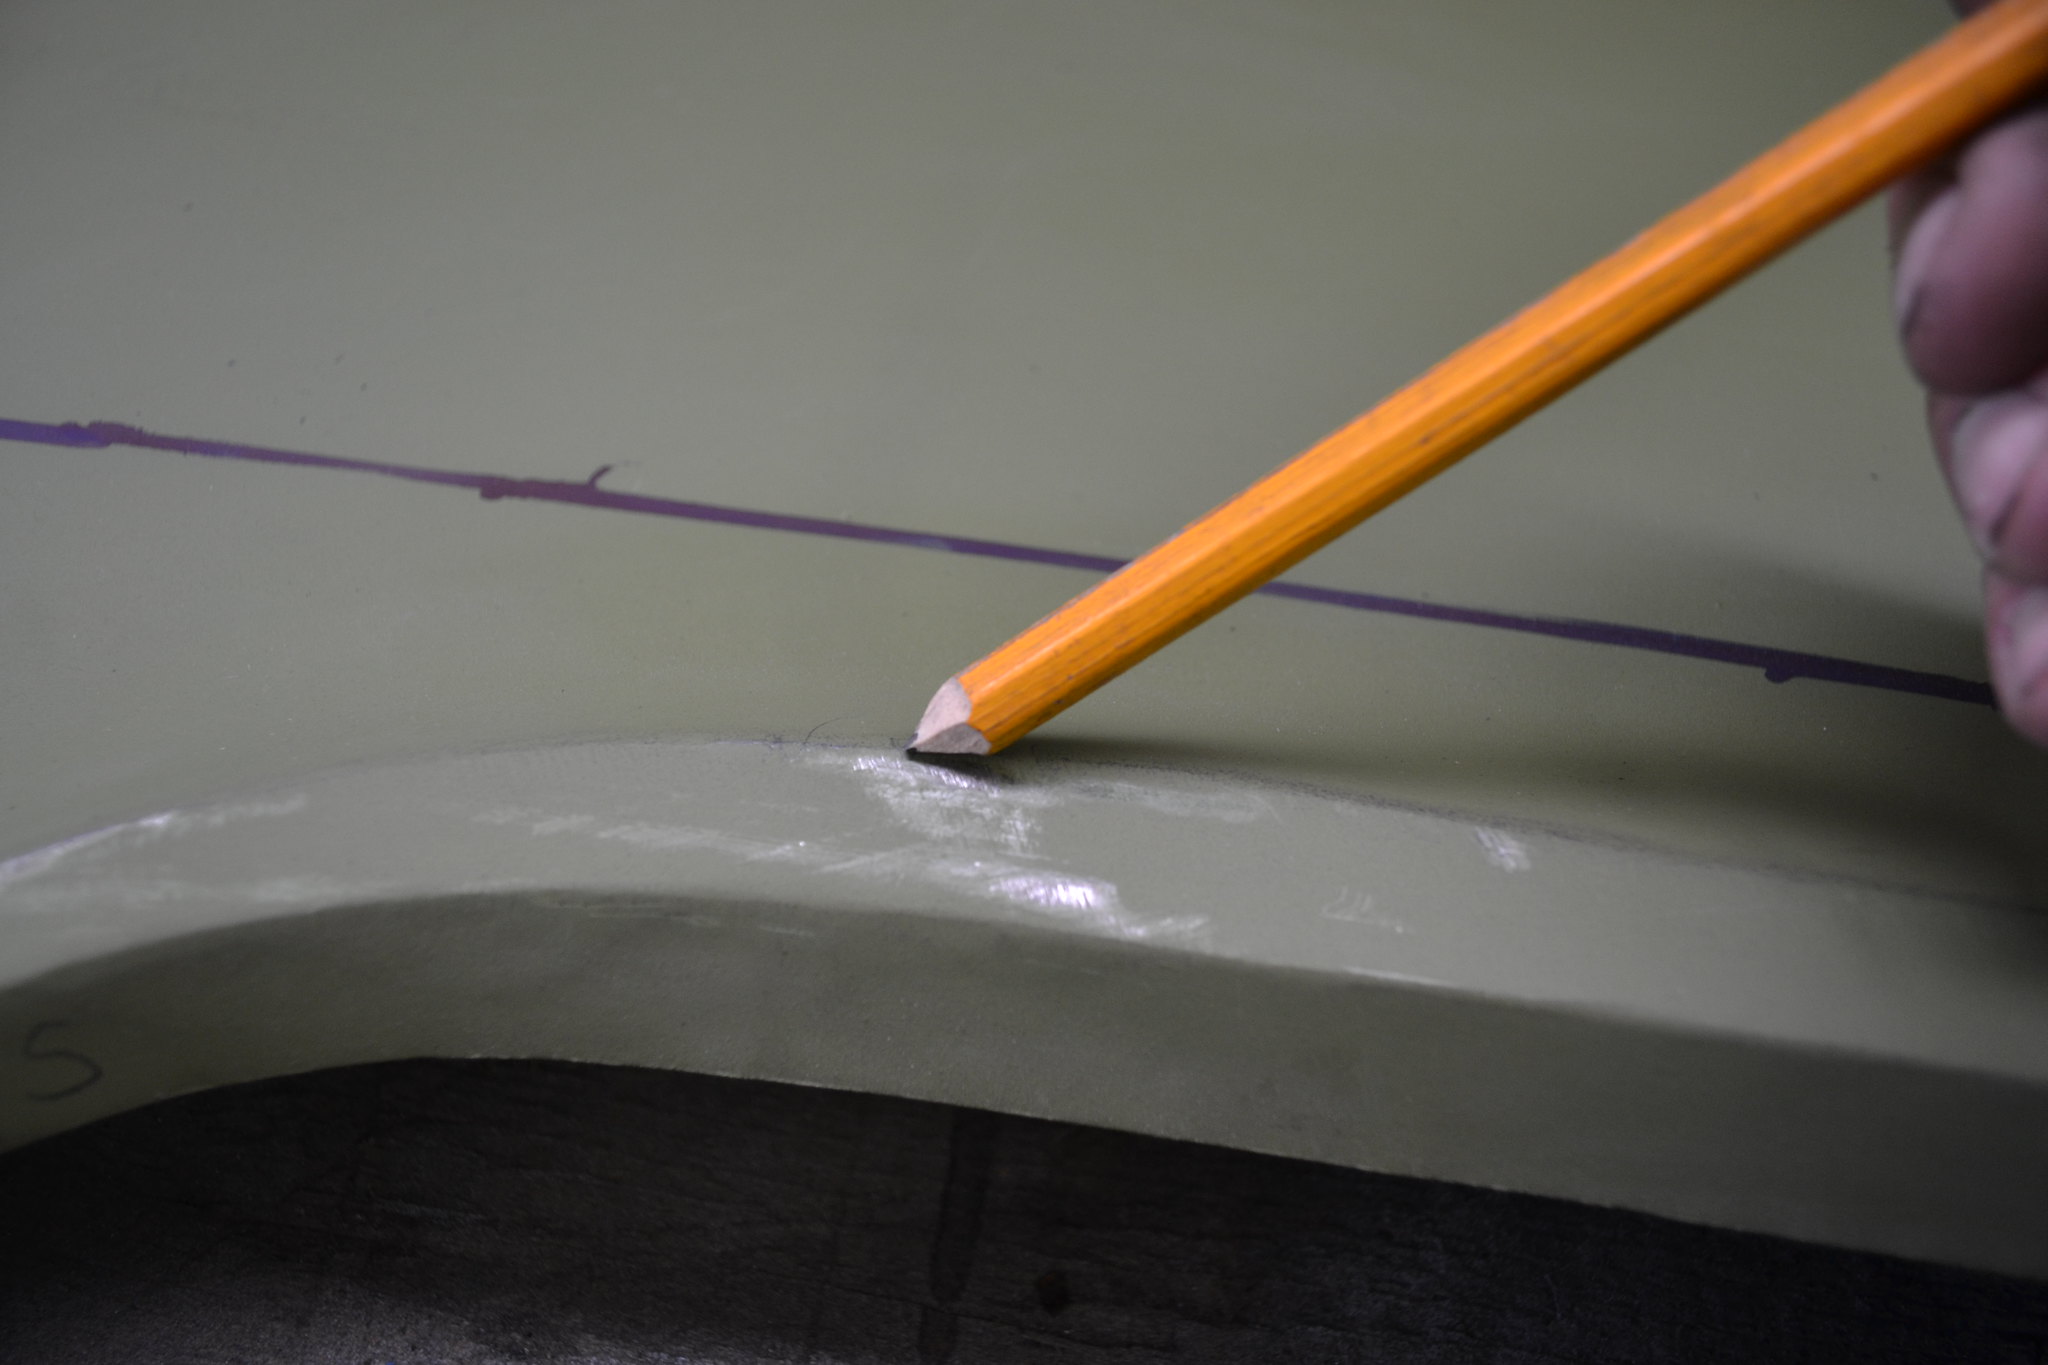
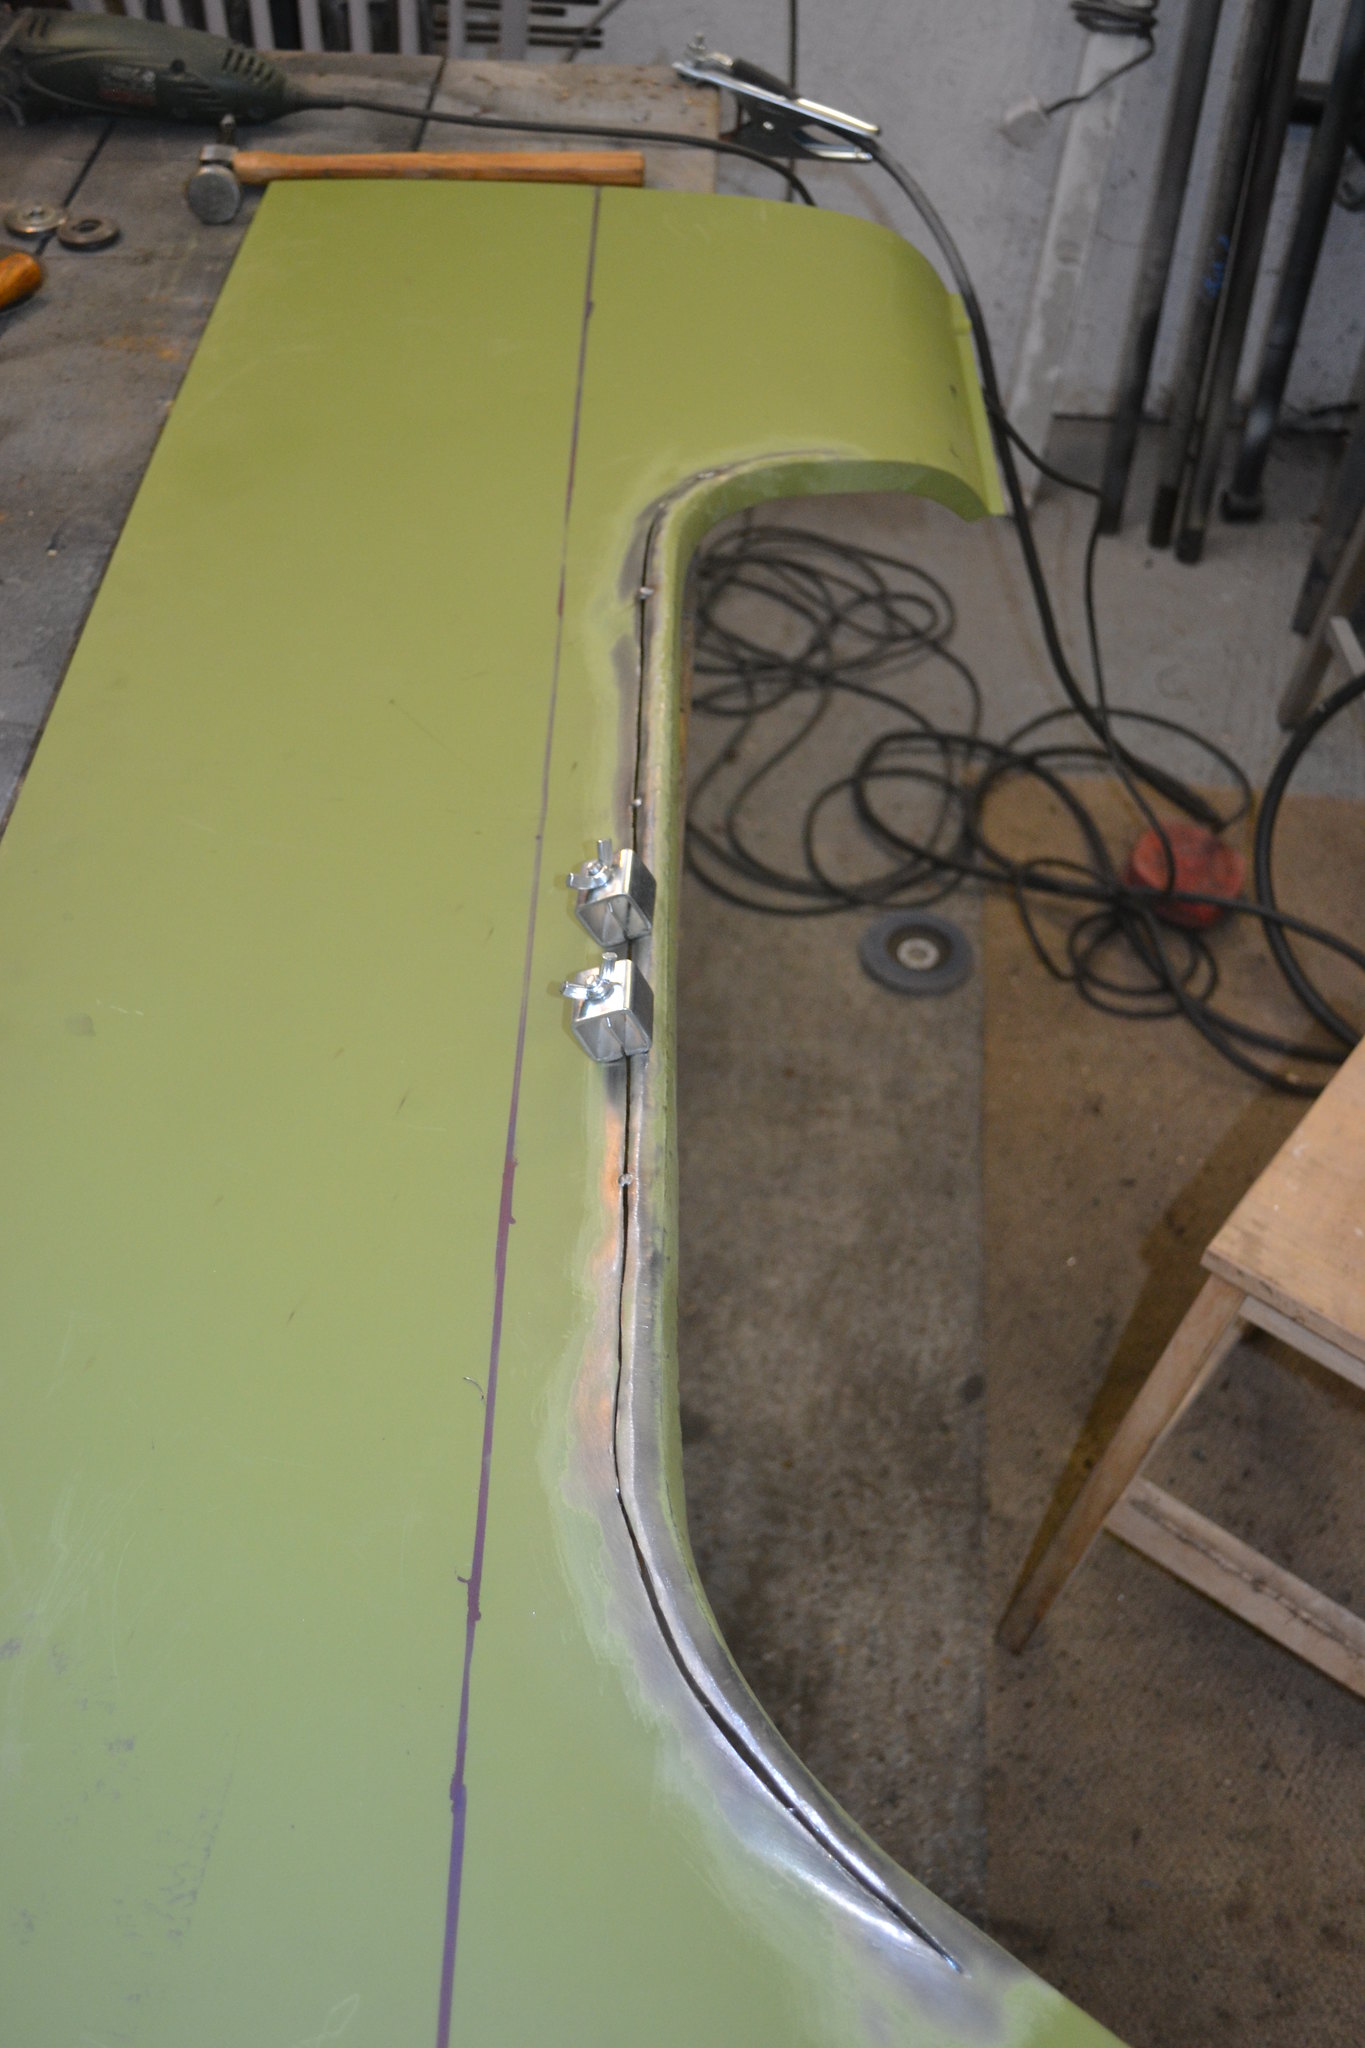
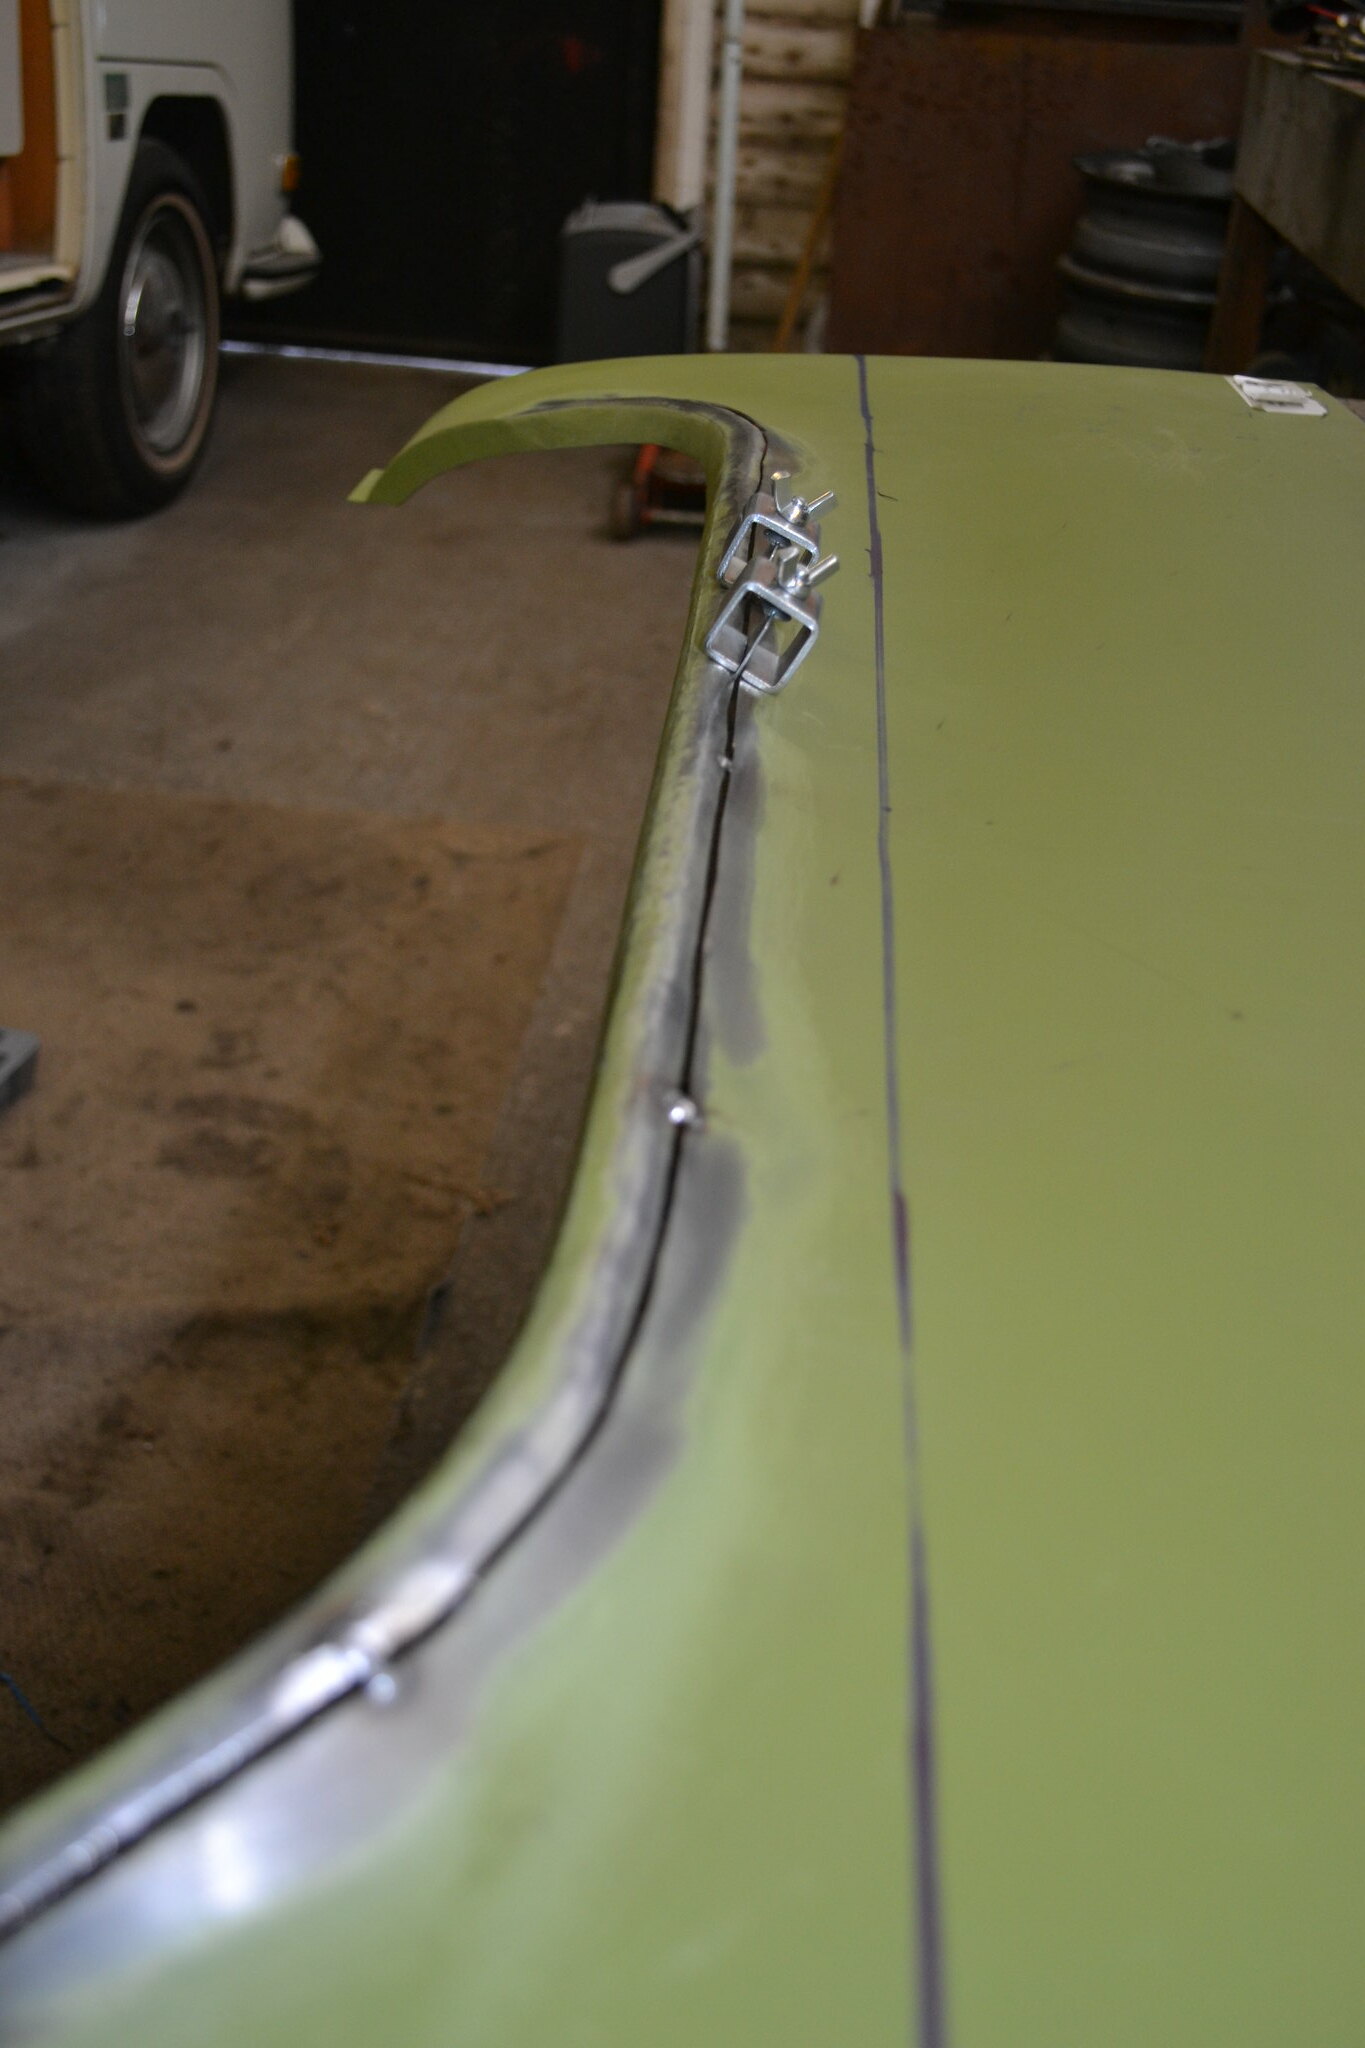
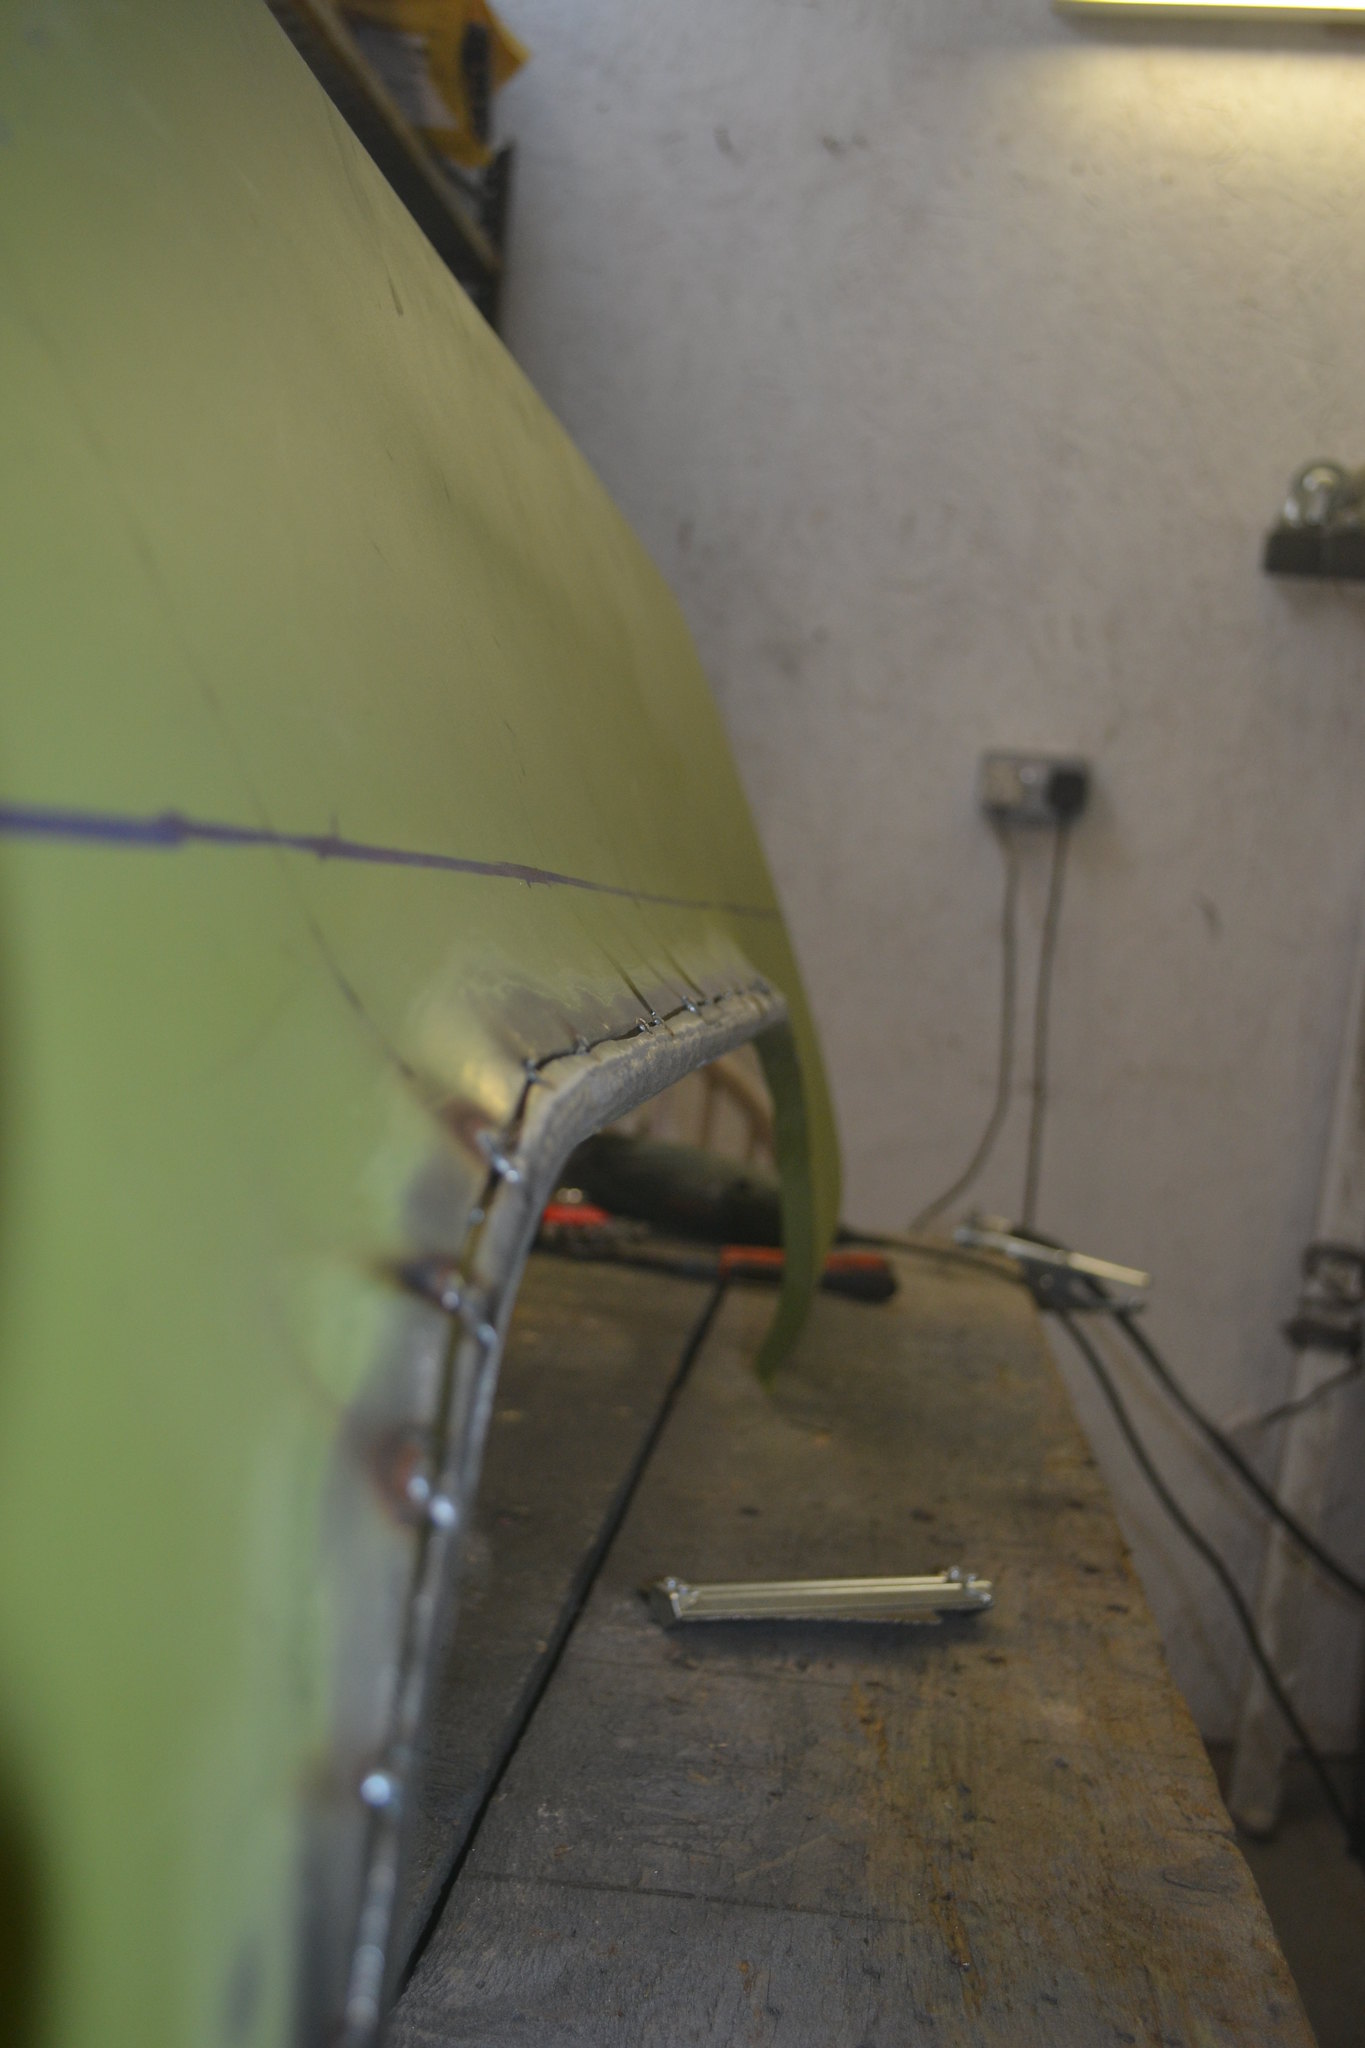
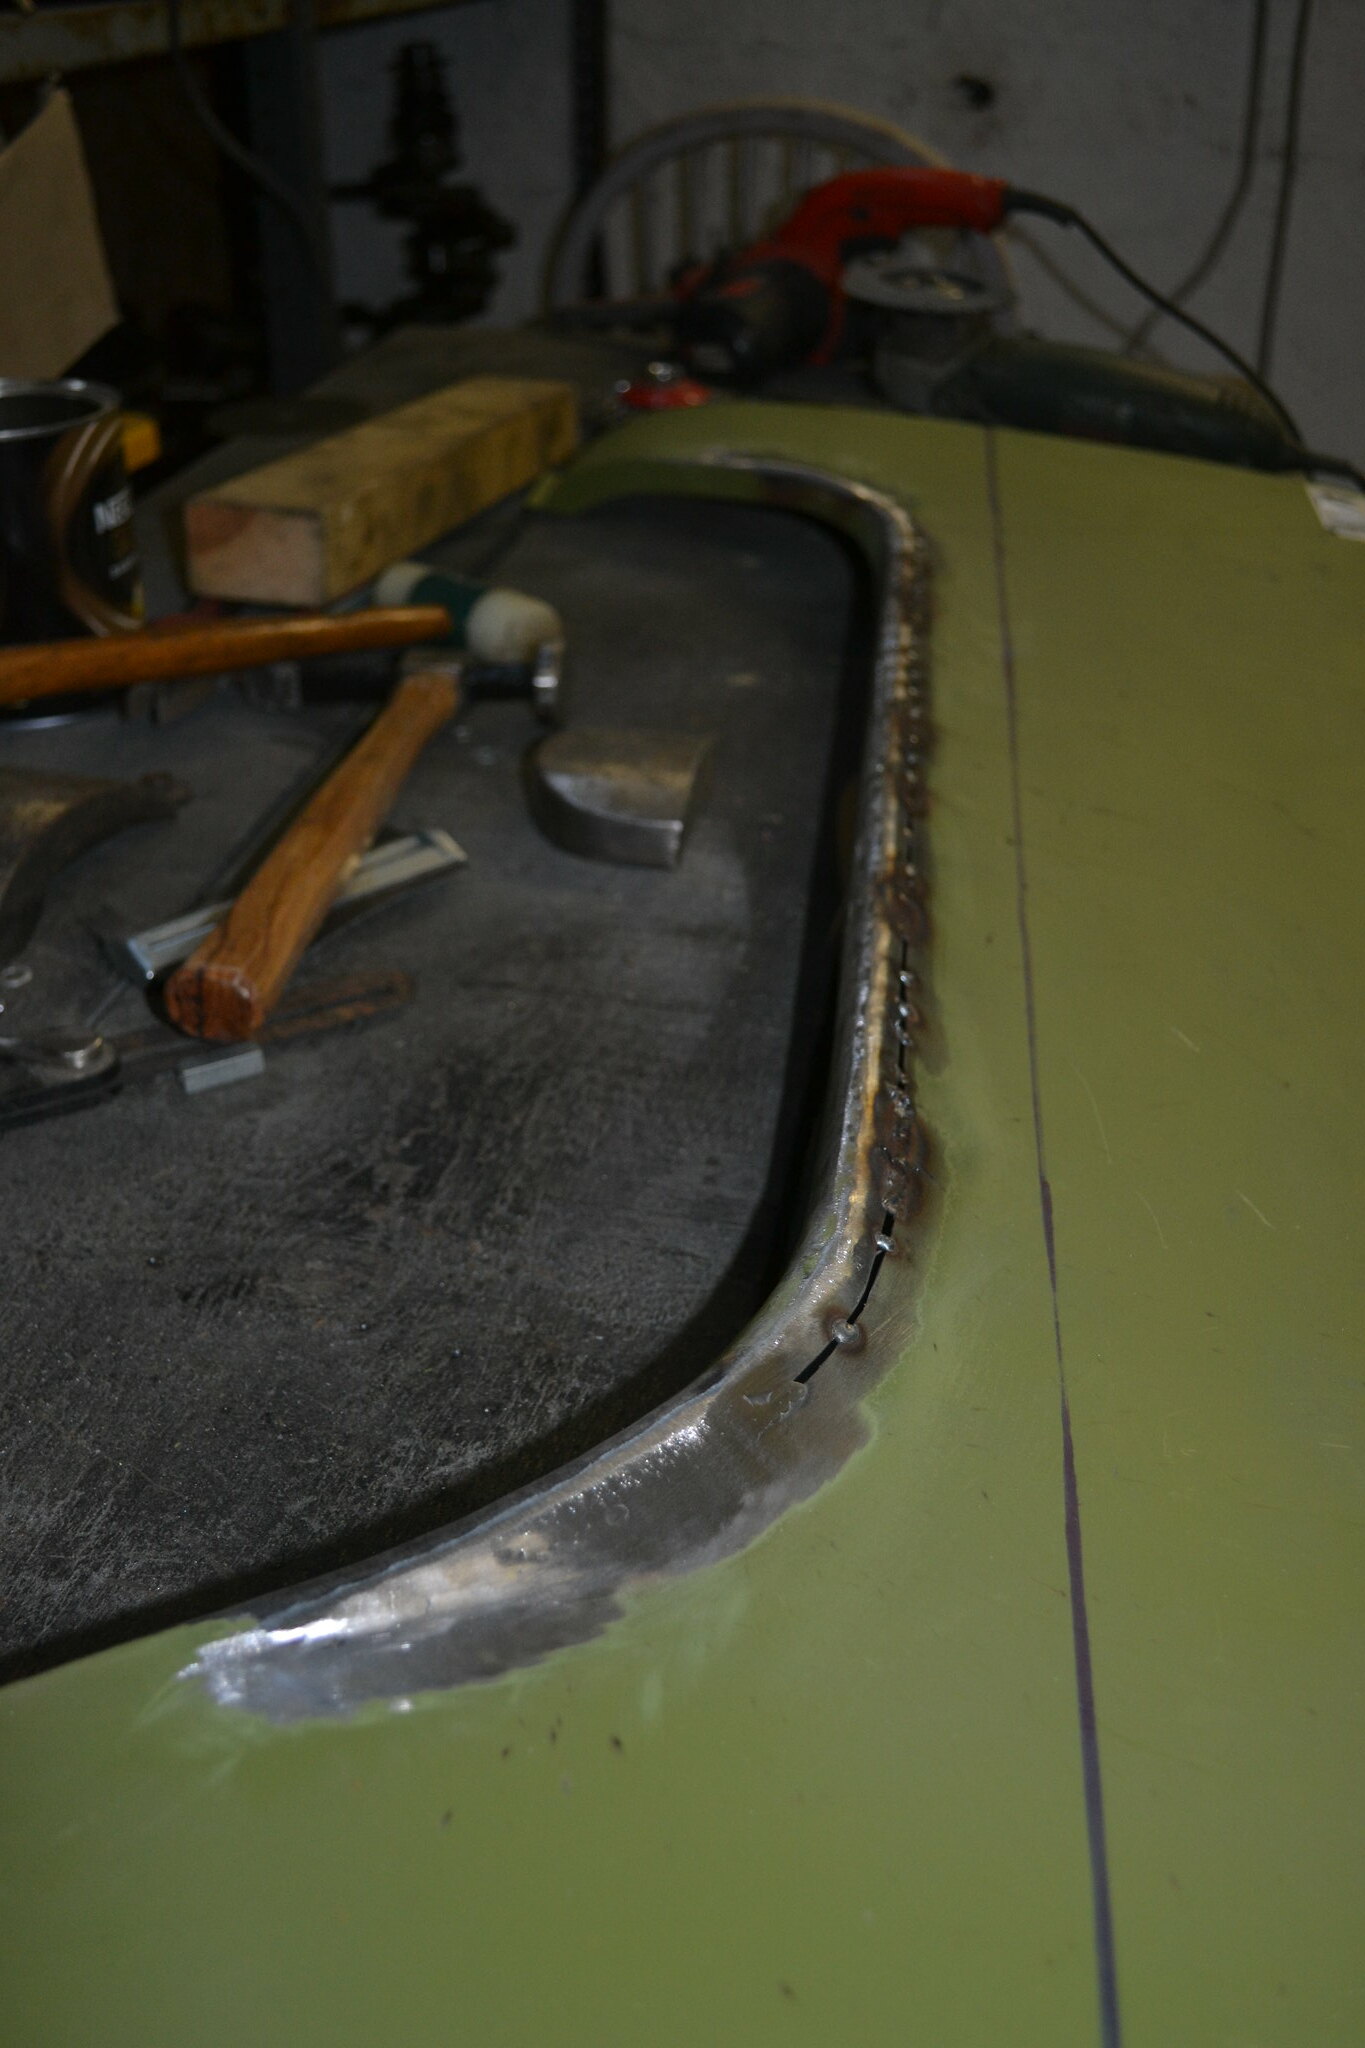
I cut a relief cut along the fold connected to the flare of the arch and with a hammer and dolly slowly shaped the arch into a radius
 DSC_0751 by Andy Bright, on Flickr
 DSC_0753 by Andy Bright, on Flickr
 DSC_0754 by Andy Bright, on Flickr
 DSC_0759 by Andy Bright, on Flickr
 DSC_0760 by Andy Bright, on Flickr
 DSC_0763 by Andy Bright, on Flickr
 DSC_0766 by Andy Bright, on Flickr
 DSC_0768 by Andy Bright, on Flickr
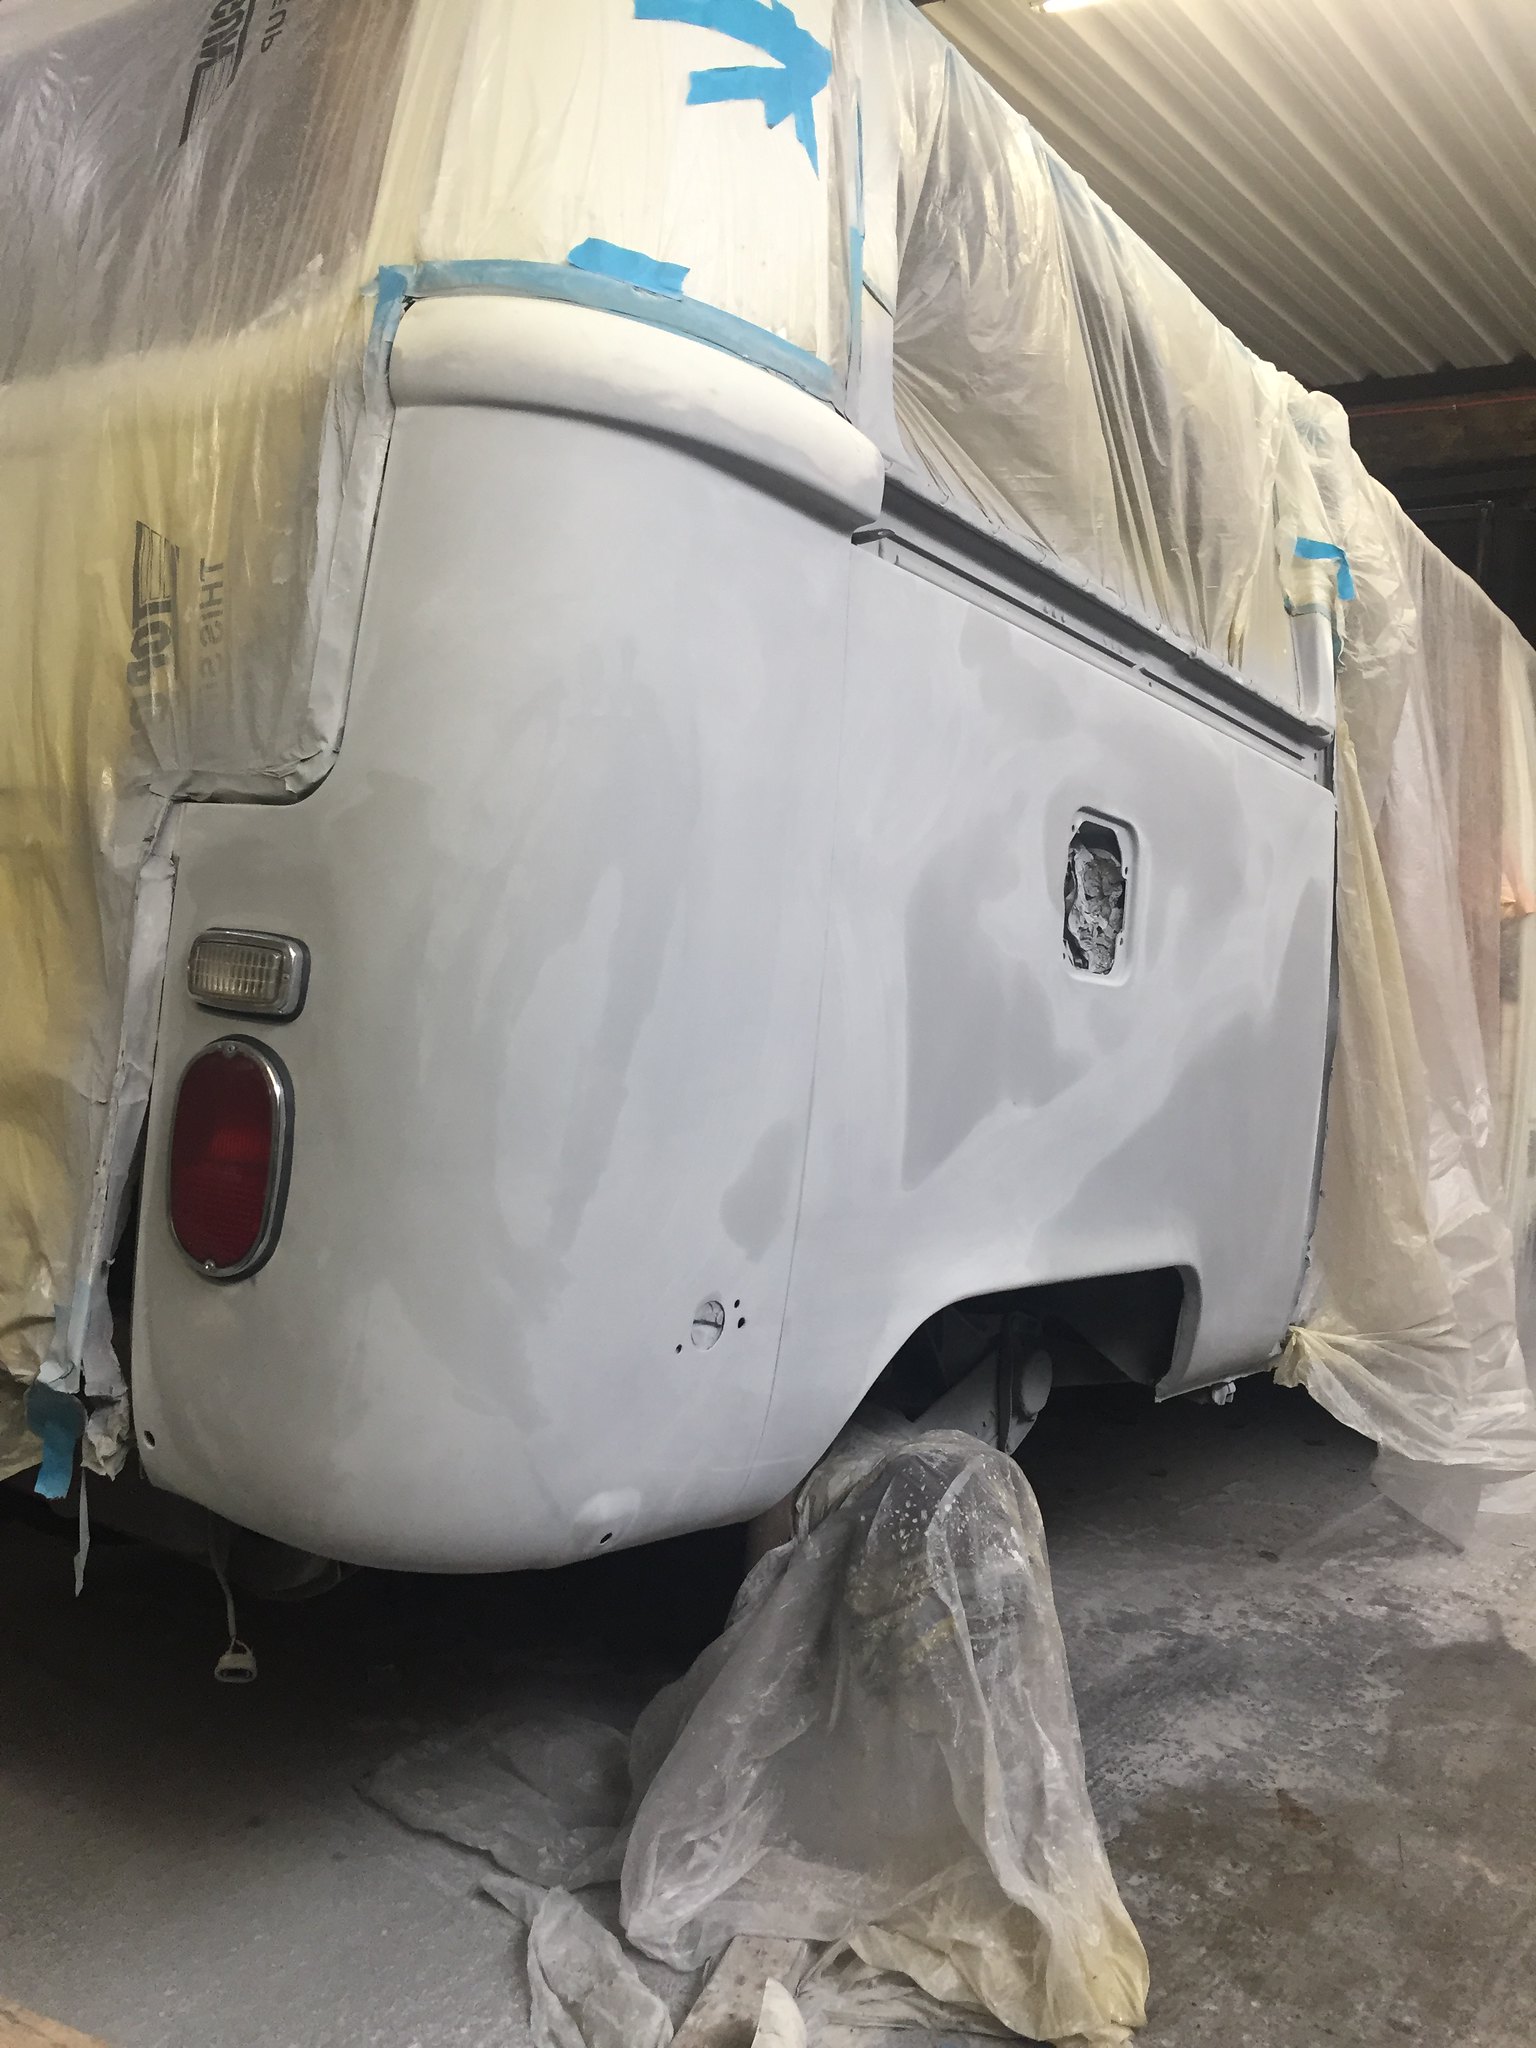
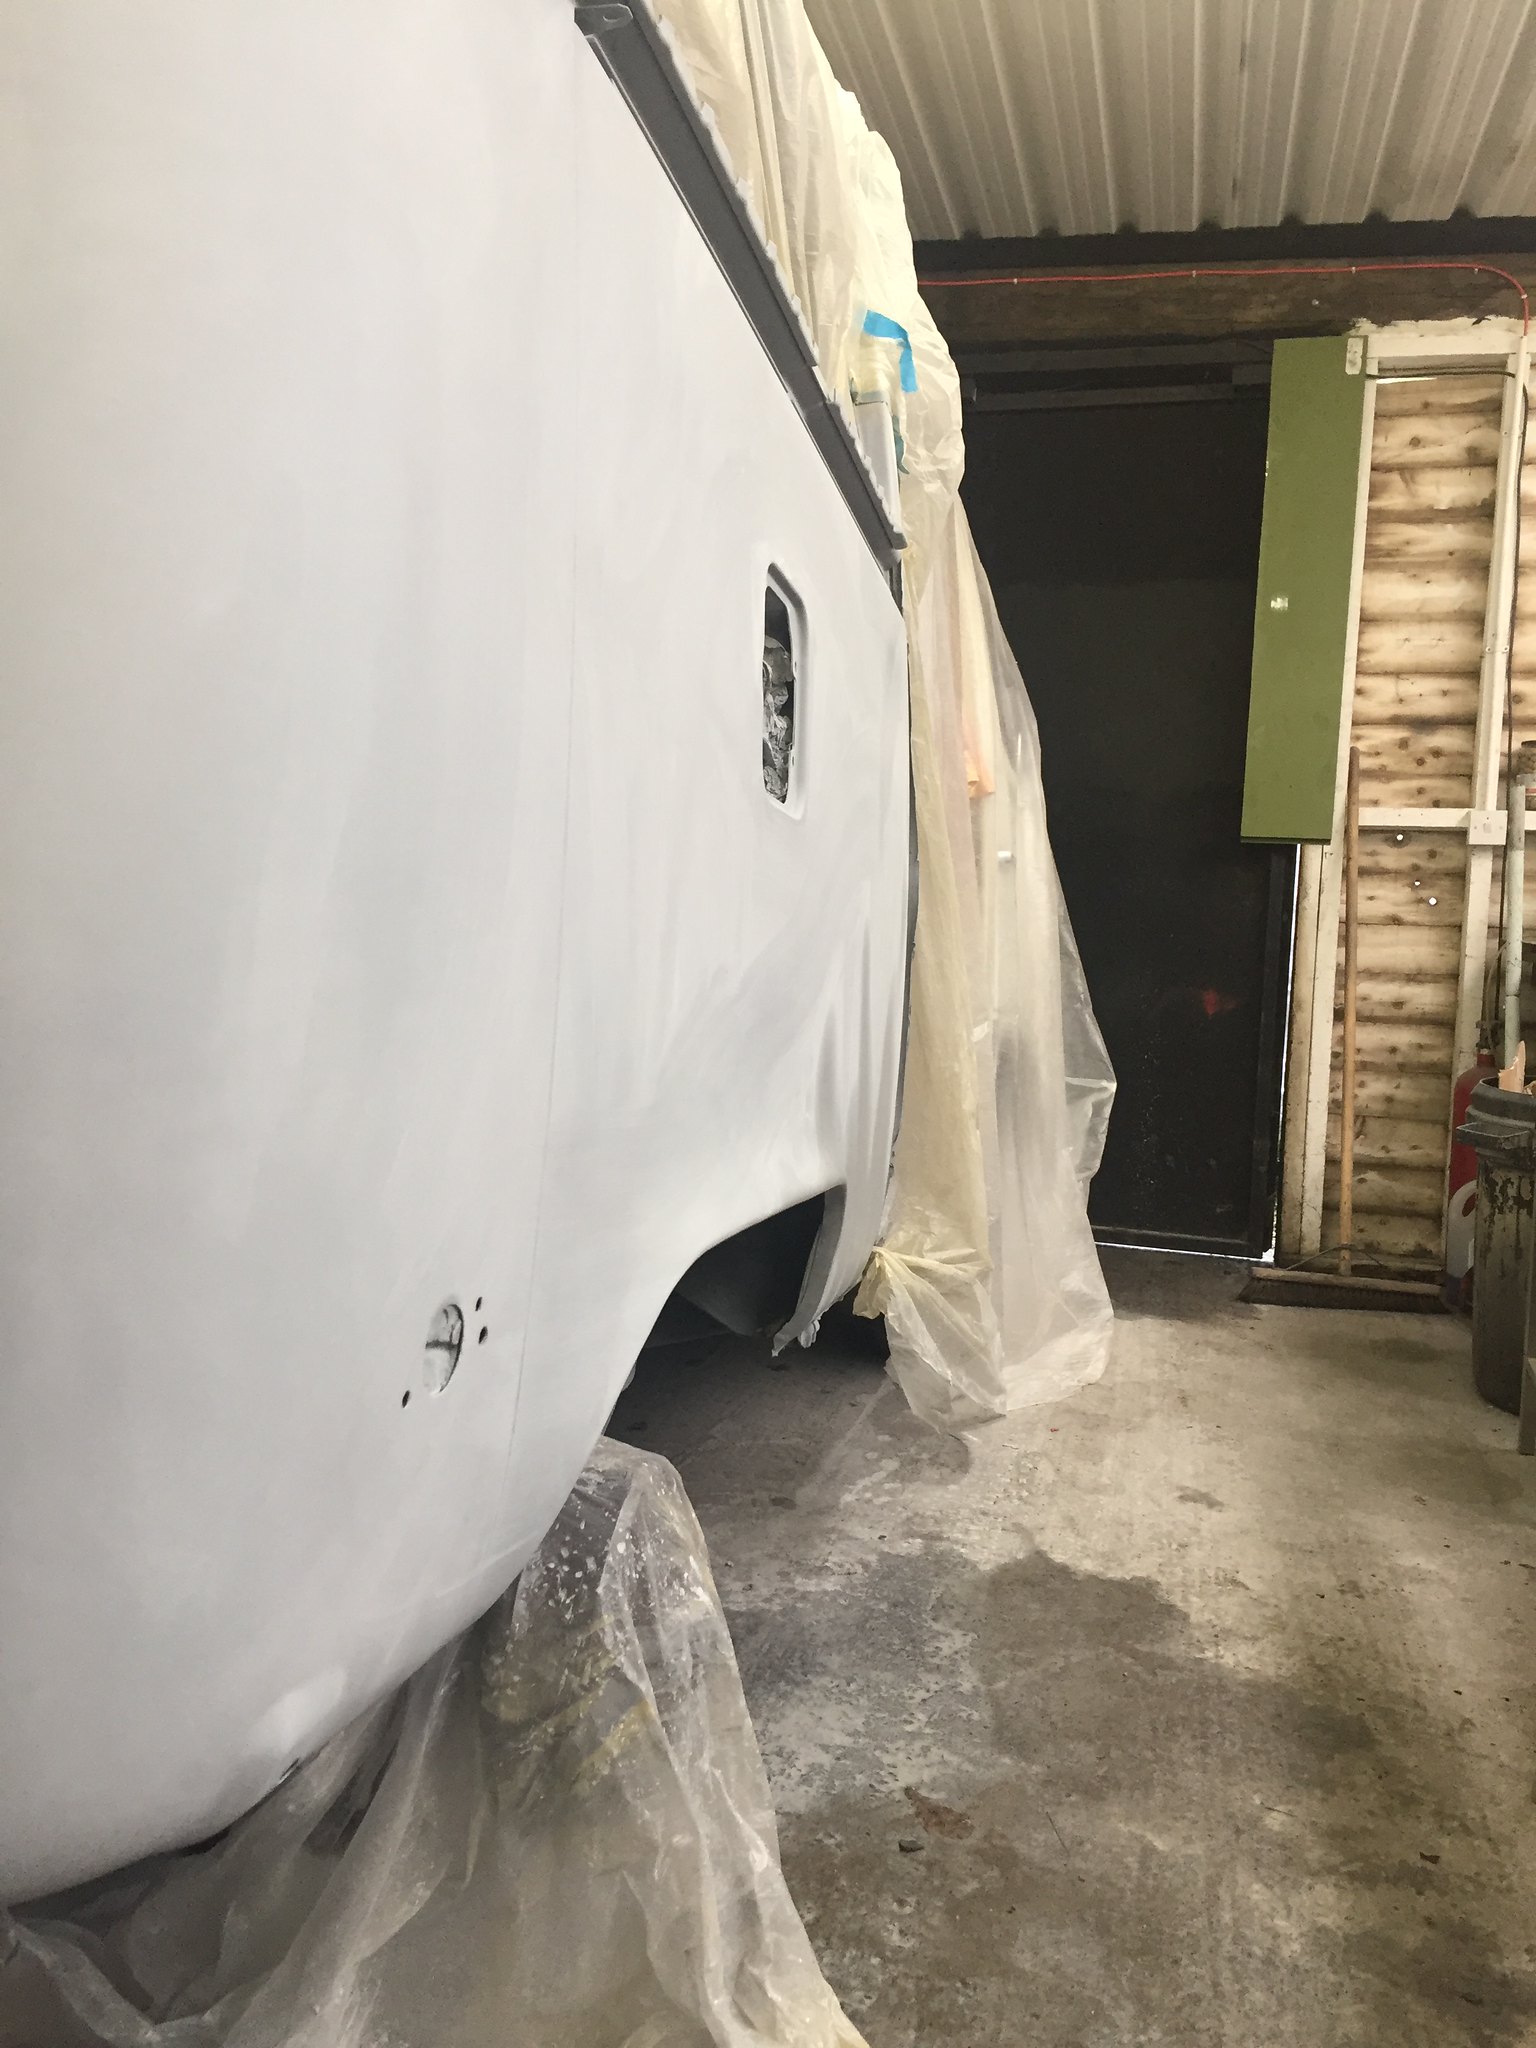
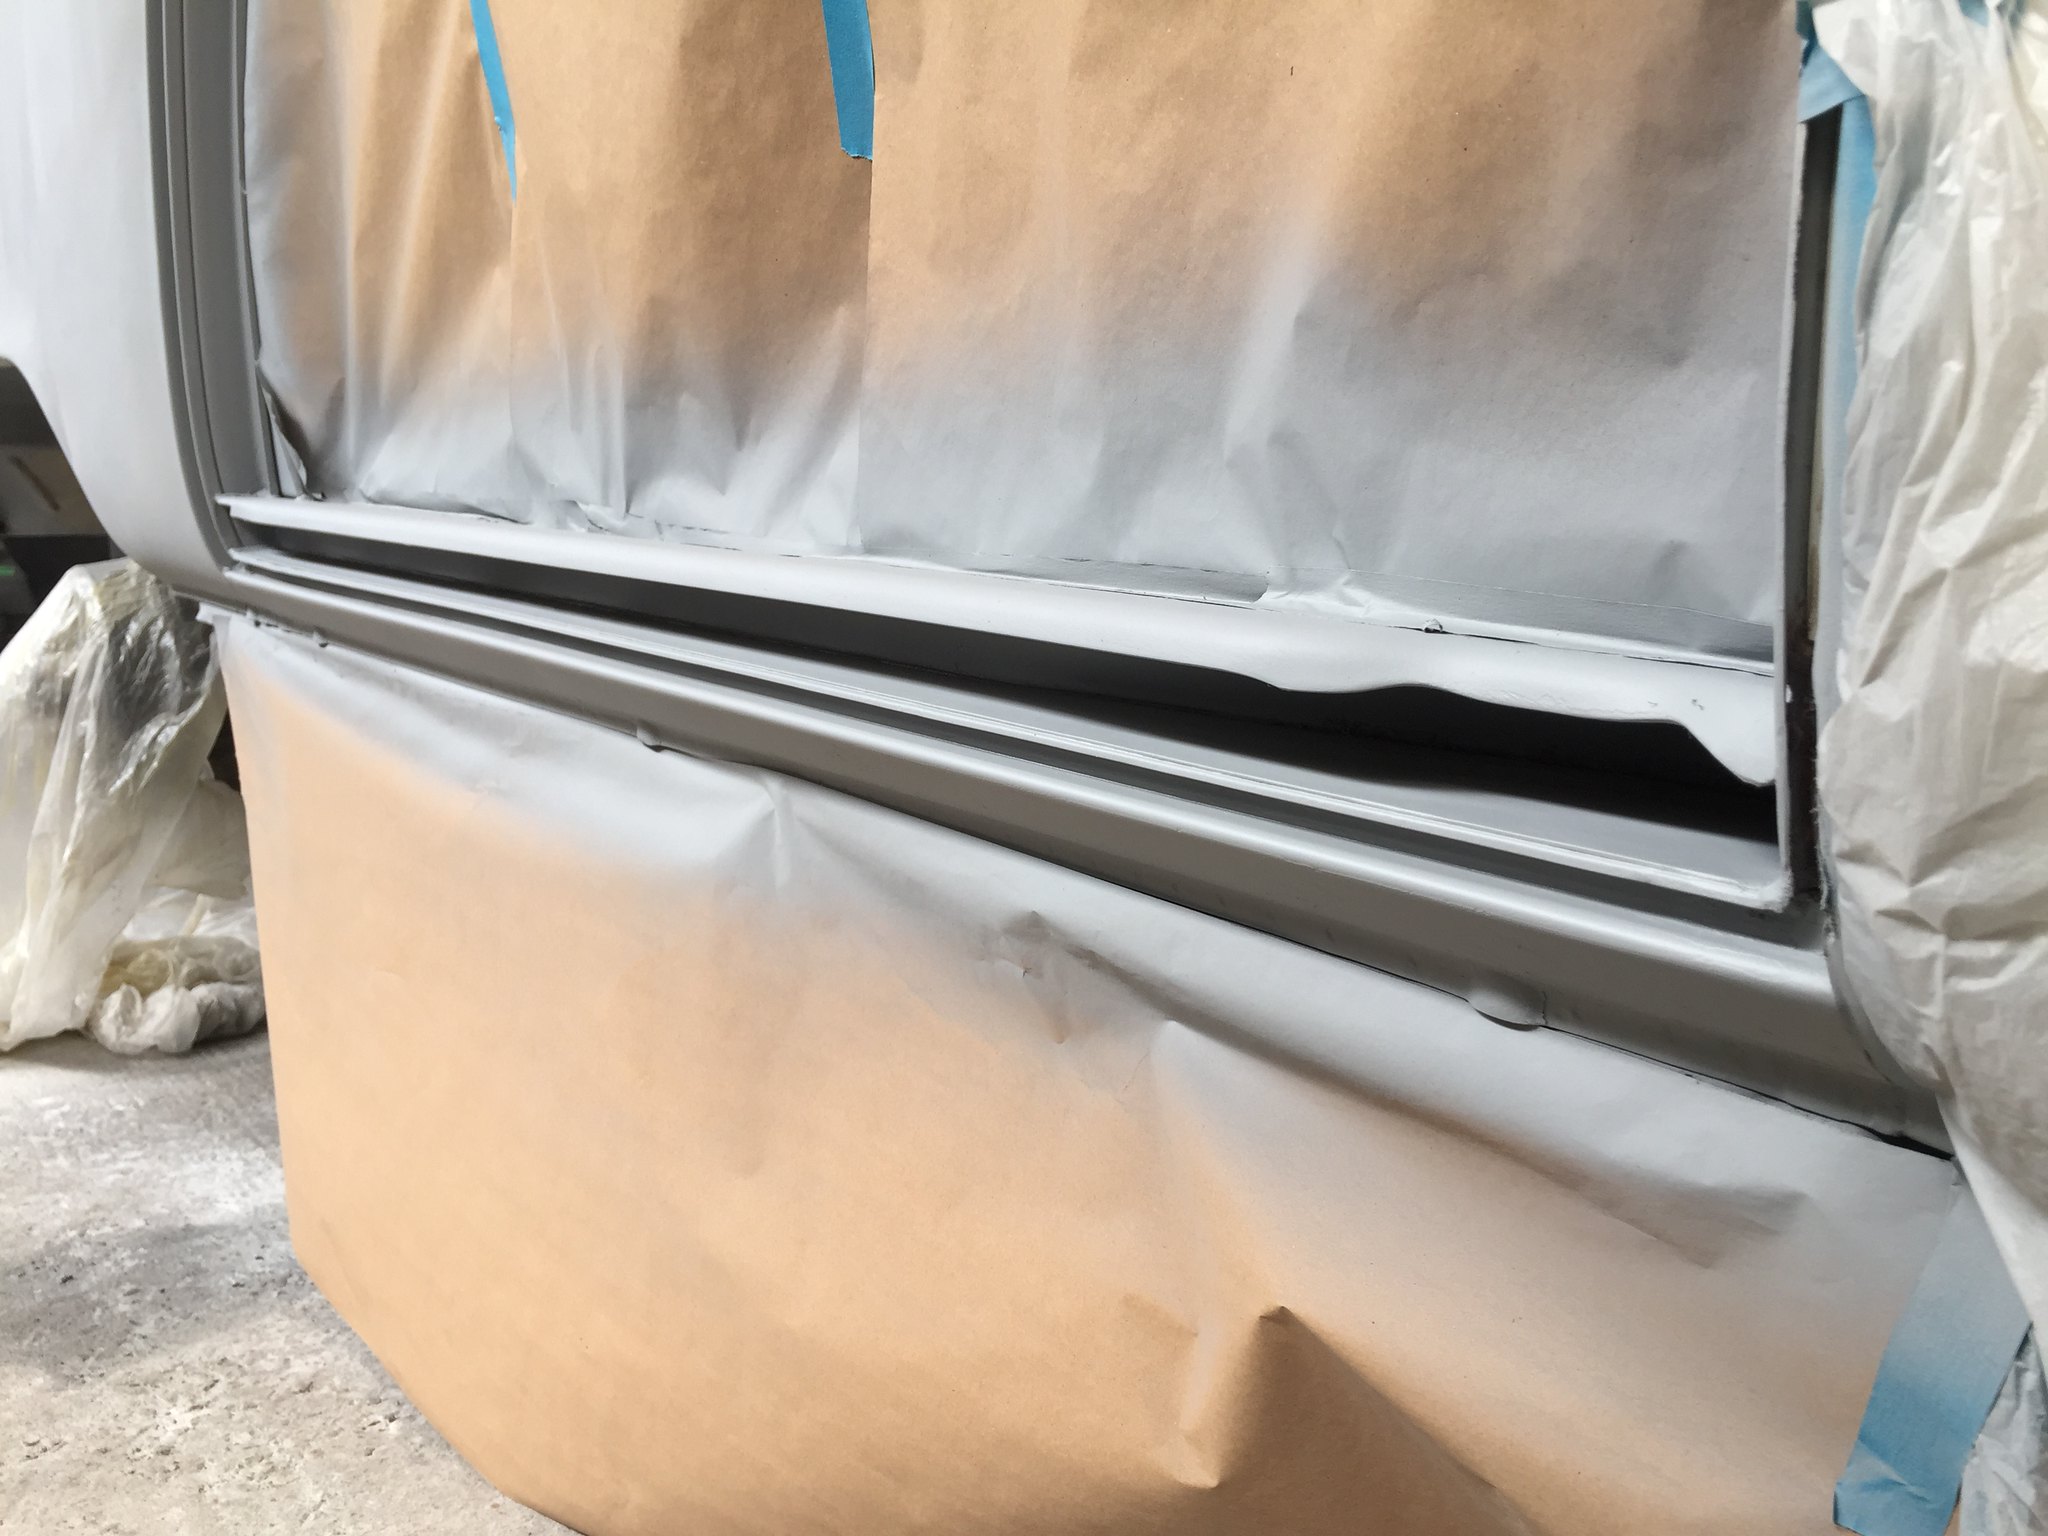
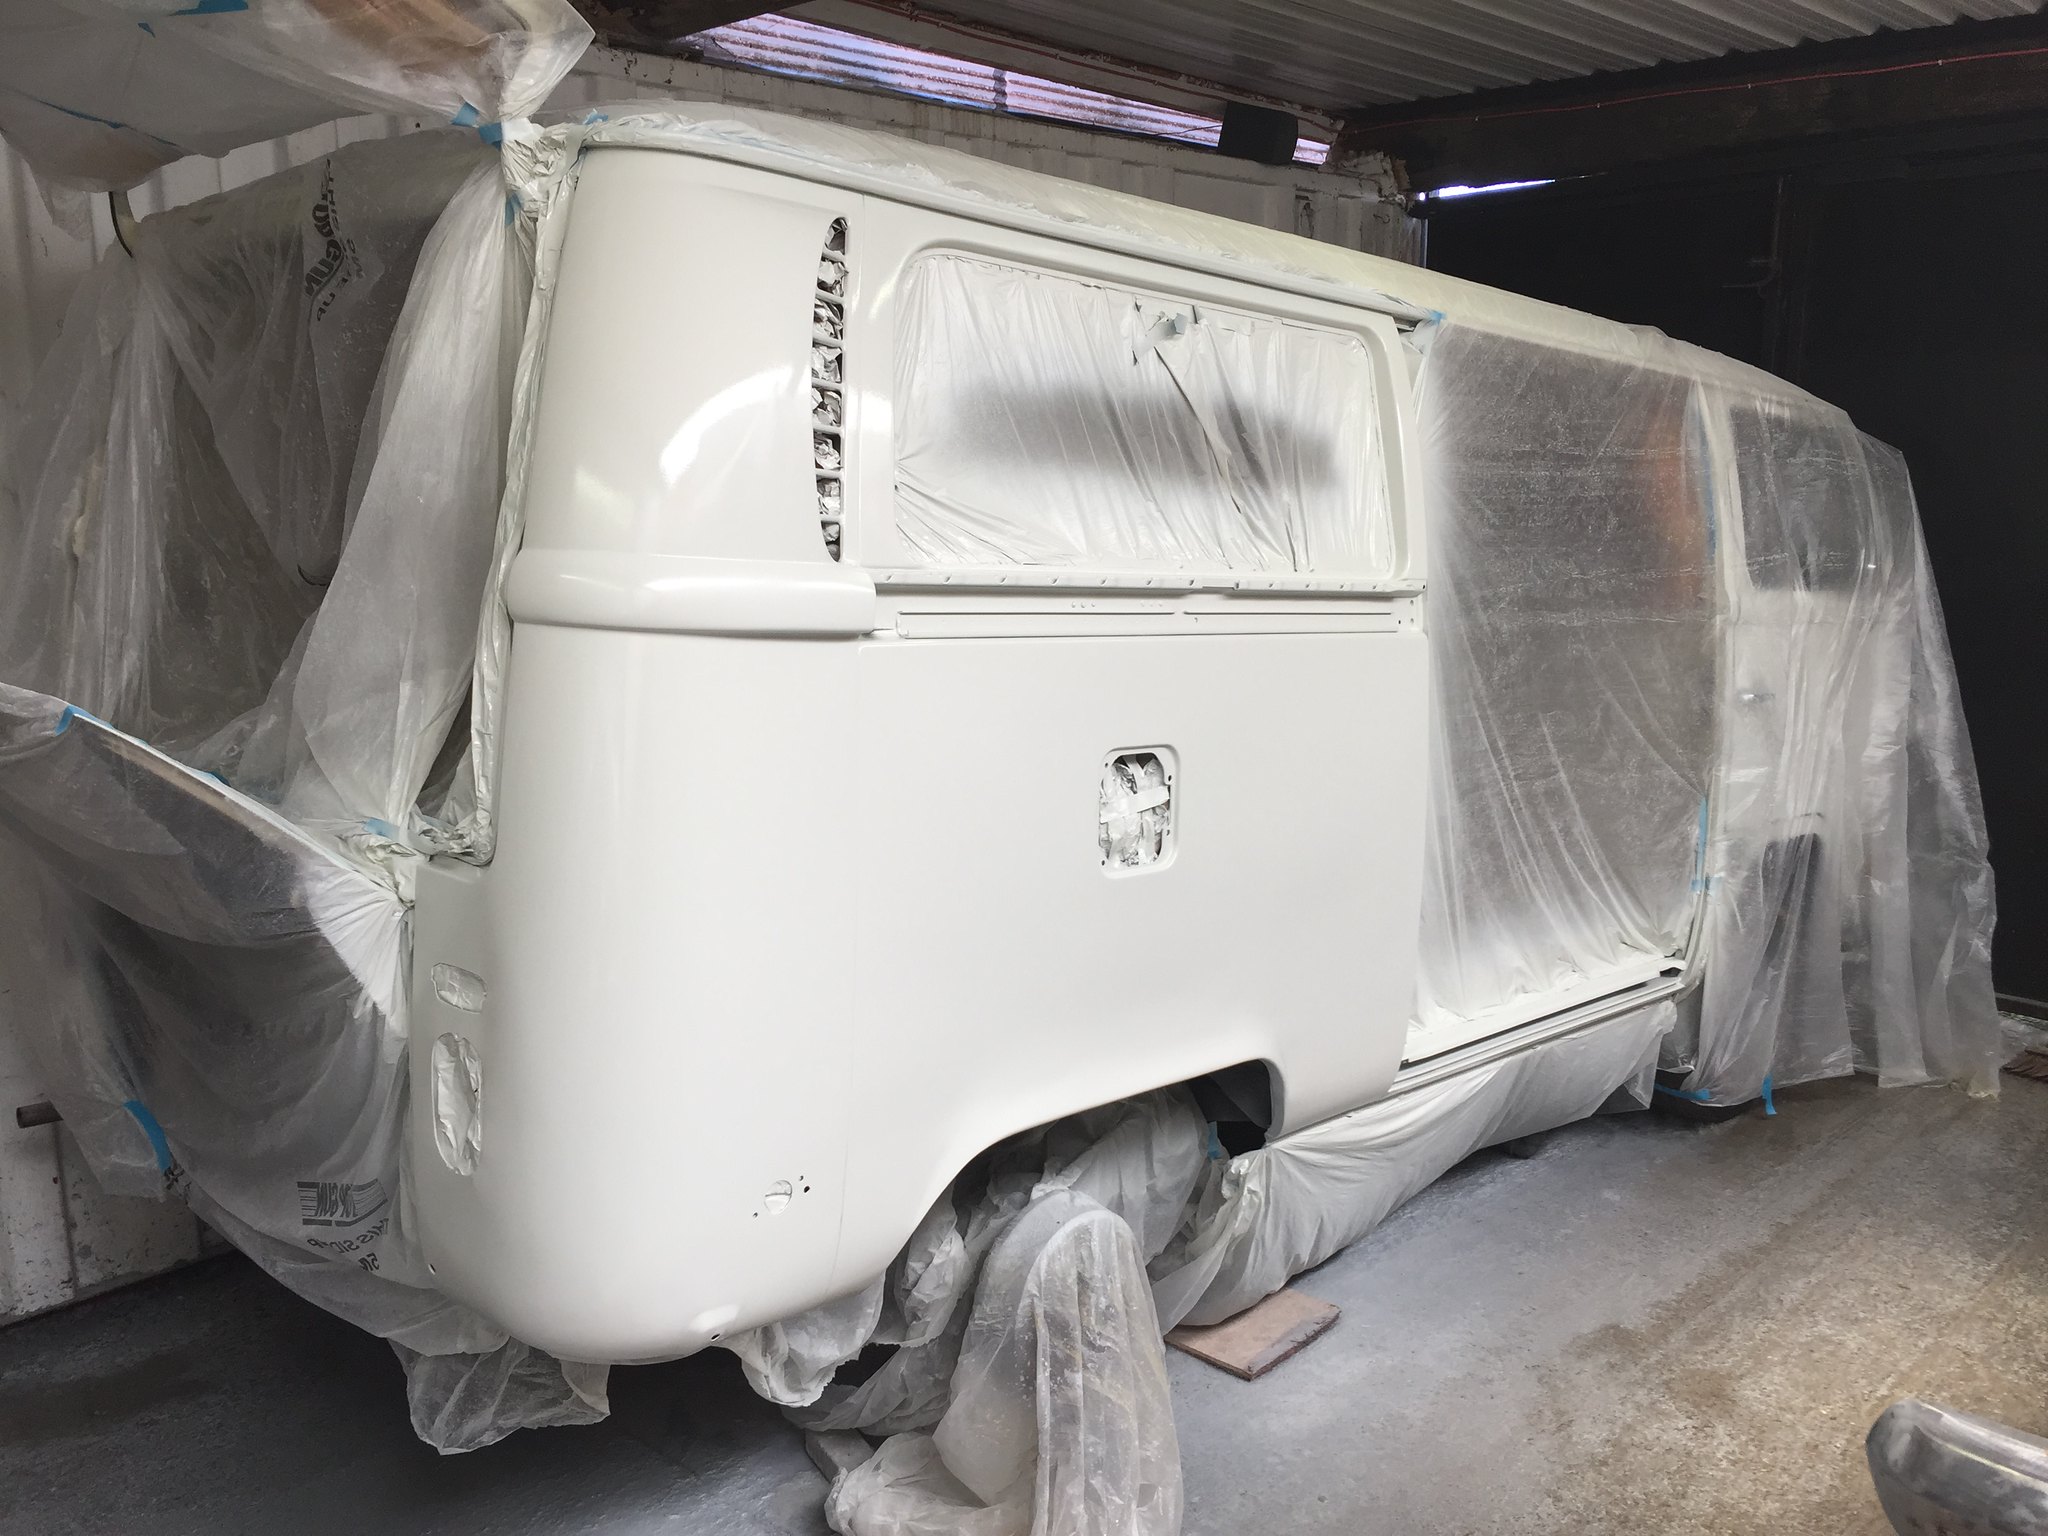
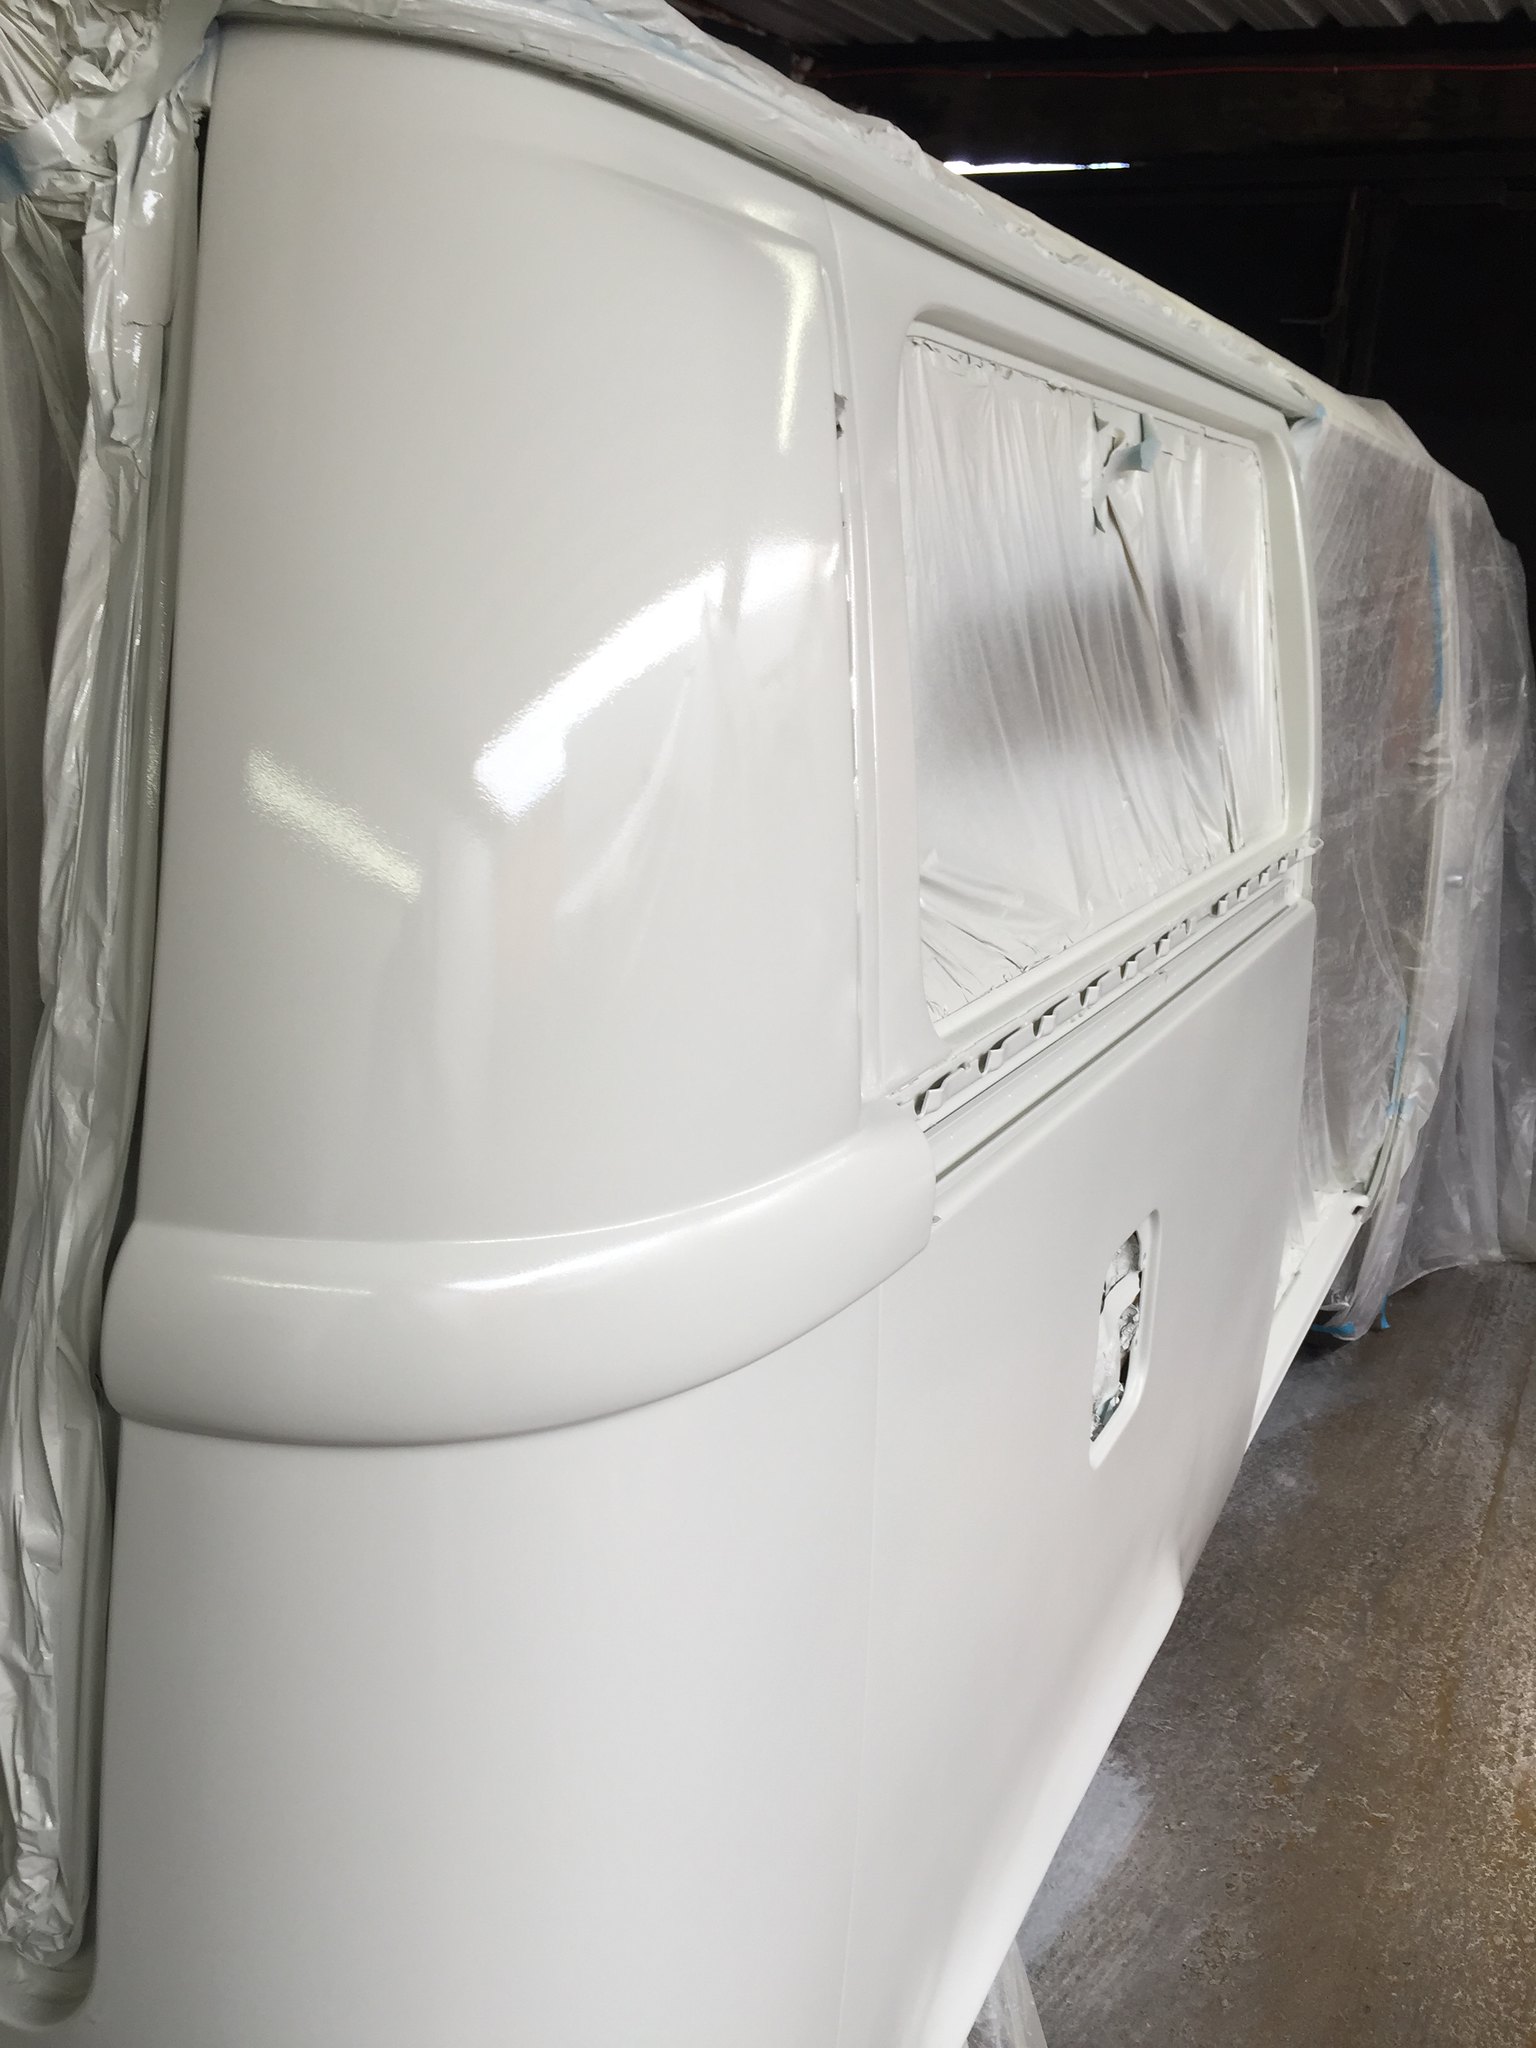
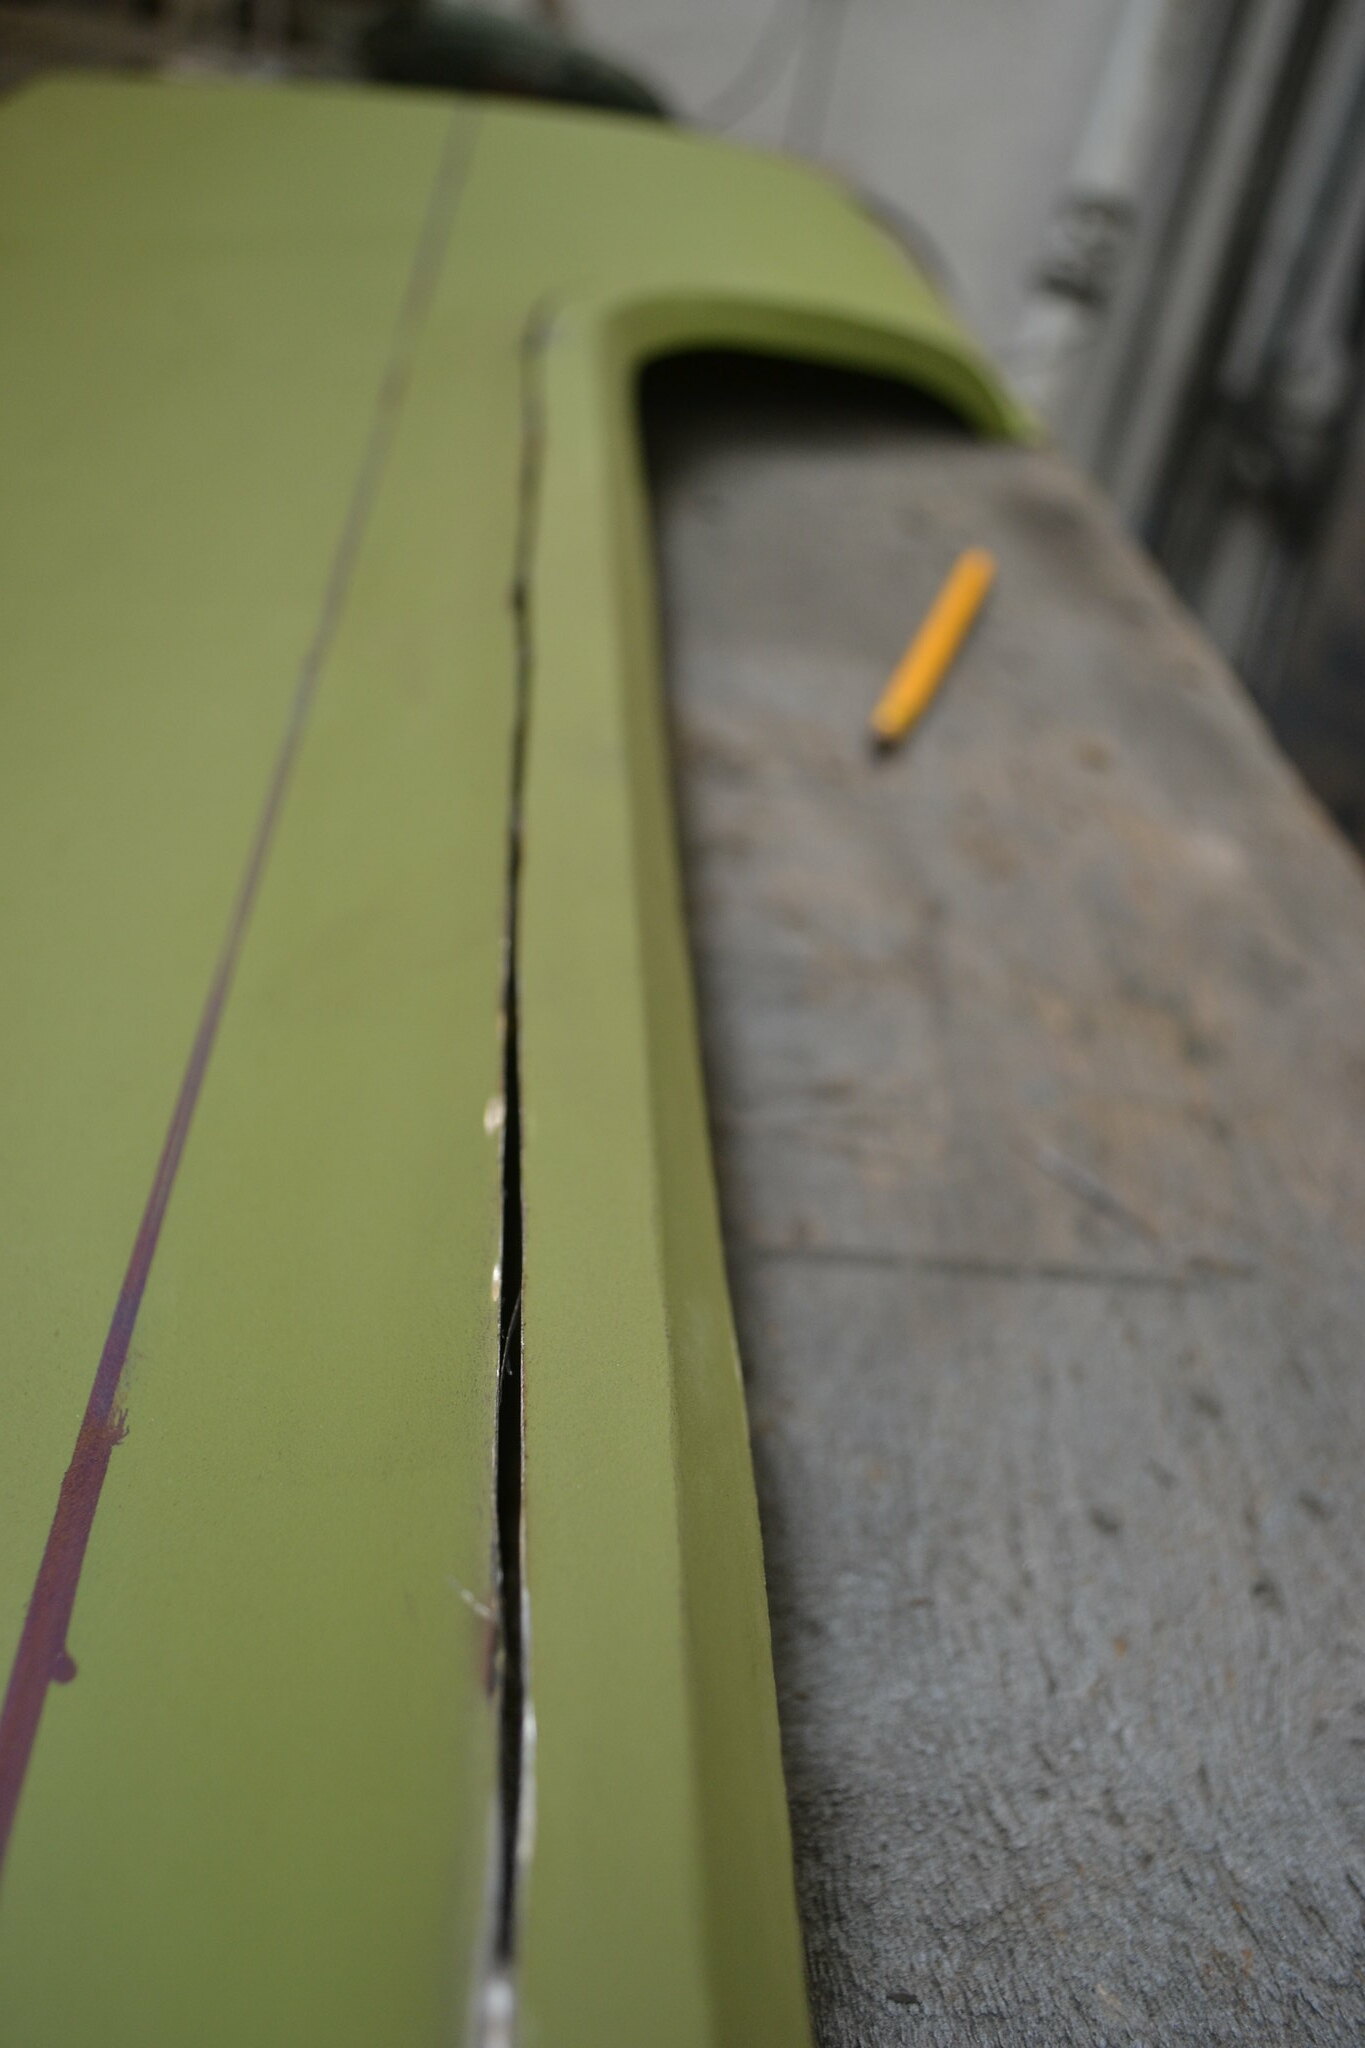
Will need some minor adjustments to minimise filler but for 4 hours work its beginning to take shape. I will trim the arch down to size and weld it into place but it can be done!
Andy
Rear off-side arch was corroded along the edge and the rear spat had a considerable hole caused by a rotten battery tray. Rear corner had corroded along the battery tray spot welds and the trailing edge wheel tub bottom had a fair amount of metal missing.
Inner wheel arch was repaired and outer arch cut away, all fairly standard stuff.
DSC_0691 by Andy Bright, on Flickr
DSC_0684 by Andy Bright, on Flickr
DSC_0692 by Andy Bright, on Flickr
DSC_0679 by Andy Bright, on FlickrCorrosion in rear corner cut out and replaced with small repair patches that i'd rolled out to the correct radius.
DSC_0697 by Andy Bright, on Flickr
DSC_0701 by Andy Bright, on Flickr
DSC_0705 by Andy Bright, on Flickr
DSC_0716 by Andy Bright, on FlickrBattery tray installed, used Heritages correct fit tray that fitted great.
DSC_0729 by Andy Bright, on Flickr
DSC_0730 by Andy Bright, on Flickr
DSC_0731 by Andy Bright, on FlickrNext is the rear arch, the only 2 currently on teh market are advertised as Early (67-70) and late (71-79). The problem is that some late 70' and early 71' vans were fitted with a flared, rounded arch. from a way back they look like late arches but on closer inspection have a radius instead of the late squared off arch. You can see the difference in the profiles here
Late on top and early below:
DSC_0749 by Andy Bright, on FlickrI cut a relief cut along the fold connected to the flare of the arch and with a hammer and dolly slowly shaped the arch into a radius
DSC_0751 by Andy Bright, on Flickr
DSC_0753 by Andy Bright, on Flickr
DSC_0754 by Andy Bright, on Flickr
DSC_0759 by Andy Bright, on Flickr
DSC_0760 by Andy Bright, on Flickr
DSC_0763 by Andy Bright, on Flickr
DSC_0766 by Andy Bright, on Flickr
DSC_0768 by Andy Bright, on FlickrWill need some minor adjustments to minimise filler but for 4 hours work its beginning to take shape. I will trim the arch down to size and weld it into place but it can be done!
Andy