For Sale: Pcb GreenBay: 69 porsche themed: WBX2.1, Mag rims

Early Bay Forum

Help Support Early Bay Forum:

This site may earn a commission from merchant affiliate links, including eBay, Amazon, and others.
Died, I mean these wheels:

0990566001202552897.jpg

0881530001202552898.jpg


But then with the center part cut out.
 
to me, as a slot mag connoisseur with dodgy eyesight :oops: they look like they're definitely slot mags (well durr :roll: ) but possibly not wolfrace because they usually have 'wider' slots if that makes any sense ? they're different to the ones on the volvo above as well... the slots are a different shape and so's the lip ?? they're also not the chrome ones with the volvo hubcap ???

they look like my appliance slots, widely available in chev PCD and better chopped about and on an early bay than languishing on a retro buggy, although if somebody's chopped up a 5 on 112 set i'll be cross :evil:

but what do i know :wink:
 
My My .. all the cool posts i've been missing out on ...

Indeed the pics of the cool Amazon are the truth.
I am not sure if its slot mags but i'll check with Danborn, he remembers.

And yes... they had the center cut out. Then the backside are flattened to fit on the standard bay brake drum
and the bolts are also customized. Use to be with a cone shape (cant remember the correct word now , to late sobsobsob) not ball style , cone.
Drilled flat and then a washer is added to provide a lock.
There you have it ...

Hehehe ohh by the way , my 2165 testfitted will bne on a youtube vid soon so watch out.
more than 160Nm and a bit over 115Hp means i can make it squaeeek in 2nd. Yahoo

And now its winter and messing about time so i'll ad the project tread here, promise.

Enjoy fellas.
..
Ohhh and also ... there's is an article in Total911 where the bus appears soon, i'll let you know when i know.!
 
Hehehe ohh by the way , my 2165 testfitted will bne on a youtube vid soon so watch out.
more than 160Nm and a bit over 115Hp means i can make it squaeeek in 2nd. Yahoo

:shock: :mrgreen: pffff... Low and Fast, loving it!
Thanks for answering my question! :wink:
 
Oh damn ... what can i say ...
It's been tooooo long and almost no screwing and fixing and doing things...

but i havent been doing nothing either ... I've shopping for my bay..
Have a hard time stopping when i begin so i also bought a 181 thing big time project...
Body too bad to save so bought a better body....
Best thingnis that it has a DC gearbox in it which will be put in my Bay...
Yupps you aren't seeing things .. gonna put a type 1 box in the bay.
Then i found a ball joint beam adjustable , drum spindles which might be swapped for drop spindles...
Building a new 1500 ccm on a AL engine house with old school 32mm Solex and worked on tops and manifolds.
Found a 56 oval ragtop in poor shape but with original Lemmertz Sprintstars in 5,5 with two different ET's

so sold the rag and kept the sprints.... gonna look cool i think
Perhaps something like this..... this has a chopped window frame ....
Winther3.jpg


Back to the bay ...... did some shopping for that as well.....
bought this Rustbox 2"shortend frontbeam that fits spilt and bay busses.
its got dropspindles and comes complete with brakes and all
IMG_0742.jpg


Then building in the DC (1500 type3 gearbox) giving me aprox 98-102 km pr hour at 3000 in 4th
driving on 205/70/14 (the slotmags)

The 2165 is going out soon for an overhaul ...
swapped my 40mm Weber DCNF's for a set of 44mm Weber IDF i sold earlier this year with a screamer engine..
Hoping to get some more Umpff out of it as i am gonna loose some again driving with heatboxes and and far from optimal exhaust...
Good thing is that my bay is fitted with a brake booster and the manifolds on my 44idf have already holes for vacuum tubes...beeing build with one-way valves ..

Other cool projects is dual battery .... pretty standard i guess.
a brand new interior that the sweet new girlfriend is going to help out on seeing as she's a lovely creative architect. :lol: :lol: :mrgreen:

Well.. thats the update .......

Hoping to add pics soon of the work in progress....
(and right now spring is soooo close.. but i'll make it.)


Pete
 
this bus is sooooooo fecking cool! i love it!!! and the wheels look spot on!
they look similar BTR rims..... which would look amazing on an eb... not seen it done yet...

2215651.jpg


2402618.jpg


pics are a refreshing change too..... nice to see someone taking real time to show their ride off in style!!!
 
Update ...15/4-09

Been forever in a combination off not getting anything done and trying to do it all in no time to be able to get it on the road ...
Bad bad bad comni lads 'n' lassies ...
Urmphhh

Well...
Lost time on stuff that didnt work out but also put in gooood time on stuff that are going to pay off to the better...

So got bus up on stands , got the engine and tranny out ..
Used a good evening designing and building a couple of gearbox extenders to be able to fit a type1 gearbos in the bus...
Didn't feel like useing a latebay 2.0 box as it only helps partially on the revs vs kph.
so although a type1 box might be less strong what i did was seek out my luck , and as luck would have it i found a newly built type1 that was used shortly for a rather powerful type1
so knowing that its built in the right way and providing i dont plan to abuse my first gear
on 1/4miles it shold be juuust fine..
So 4.125 and .89 in 4th gear , painted in a pretty golden color should make me the man with the golden box ... Loool
Color looks rather cool in a green bay ..
Engine was stripped down to short block and inspected for damage , tighten up properly, new flywheel seal and re-packed with new seals and so al over..
Heads was cleaned and new 40mm Manley intake valves put in..
everything put back together with some small changes to the fan housing ... added a few holes to get my heat hoses on ..
Knows i sound a bit off to optimise a 2074ccm engine from 40mm DCNF to 44IDF and then take some of with heatboxes but give and take a littel to get as many good things as possible..

Besides from that we straighten out a rear bumber , alfway through the right rear corner...
Took the front beam of and realized that the newly bought Rustbox beam includes notching my frame to install it , which i wont do , so thats back up for sale , price 1000pounds if anyone are interested in a 4" beam adjustable with dropped spindles and complete with brakedrums and steering rods ...

Reinstalled my old beam and place an order for dropped spindles for Ball joint ..
Got the rear crossmember replaced and fixed the center heat tube as it turned out it was missing about 5cm around the rotten rear cross member..!

So now i'm getting there ore or less.. have a huuge bunch of things i need to get going on but no time to do it in as i'd rather be driving these days.. however by the time we are going down to Spa on the Race circuit , it'll be much more complete and as i want it..

Ohh by the way ... found a extra set of Slotmags wheels in sweden and when they get here i'll send them out and see if i can have a set made up like the ones i have on the bus now.
Plan is to put them on my 181thing to have a similar look to them .
The Keller Renner Kopenhagen theme are going on that one as well althought woth out the Porsche Logoes ...

A few pics ......

See you out there guys

Oldbox.jpg


goldbox.jpg


goldboxin.jpg


Oldcrossmember.jpg


heatpiping.jpg


newcrossmember.jpg


2074_1.jpg


2074_fly.jpg


Cleanedeng.jpg


Heads.jpg


Manley40mm.jpg


oilfiller.jpg


alternator.jpg


cooling.jpg


enginegettingthere.jpg


enginetestlook.jpg


enginealmostfinished.jpg


baybumper1.jpg


baycorner.jpg


baycorner3.jpg


the airfilters ...... of my old Porsche 912 1967..... had them around and hopefully they take the sound of the Webers ..*
lool
 
Latest update the day before we head up for Mantorp Park.

Got everything more or less sorted with ride-height , suspension , new tires etc
Had to raise and lower the rearfew times to get it right.
The Type 1 gear box with 4.125 and 0,89 in 4th work like a charm.
Runs like a daily in the better end....and had it at 155kmp but there's still some left, probably til 180kmp but havent got a urge die right now.
Had to change the front tires from 185/60 to 165/65/14 to clear the inner archs but thats cool to with new tires.
Starting to design disc brakes soon for my dropped ball joint spindles to se ehow we can do it best ... challenge is to keep to my 14" wheels as they are perfect for the look i have.

Besides that i am 3 weeks behind on all the small bits and bops, interior, carpets etc.

Hehe spent a good two evenings on trying to get the new oil cooler and filter set-up to function .. first it dropped 2-2,5 liters on the road... very spectacular but not very enjoyable
Second time around it worked but i am changing a hose again today and changing the oil to be sure...
The set-up with a 2074ccm WBX ignition and 44IDF's with the Porsche 912 Air filters work like a charm...
Lots of sound dampening in the bus and it pretty quiet ...

Worklist for today so we can leave for sweden is :
Roofrack back on
Radio change and Ipod holder installed in the ashtray ..
Complete the westy bed so its works
Change hose and oil + a new fanbelt rim
Clean out the bus
If i dare .. installing the new rubber seals onboth front doors and rear hatch ...
But if they cant close properly afterwards its a real bitch

Anyways .. a few pics of the new driving height and the Tony Curtis Kit i was given *
lool

Slammed2.jpg

Slammed1.jpg

Slammed3.jpg

TonyCurtisKit.jpg


Hopefully there just a couple of brits at Mantorp Park this year??
 
Back to the main project and a quick rebuild before february and my diving holiday is up.

A bit pressed for time seeing as i have a few major things to get done.

But short list in cue-words.

2074ccm with 44IDF are out with a cracked cylinder - replacement is a rock solid WBX 2.1 Inj.
(yes you are not wrong.... add H2O!!

wide five id going off and Fuchs 6" front and 7" rear is going on.
found latebay rear brakes and had the hubs altered to 5x130 and the axels and hubs narrowed with 18mm to fit in the fuchs and still be able to have the porsche caps on.
Pictures will follow..

944 porsche hubs and early 911/912 discs on the front , need rebuild of the front calibers and 2 spacers done up.
just found a set of front beam adjusters and the CAD file for beam plates to make up a narrowed adjustable beam.
I already have wagenwest 2" drop spindles on it but they add to the track.
will have to re-calculate the width ...

gonna post some pics of the different things tomorrow .... -:)
 
Hello Peter

So you are also hanging around on this great site for earlybay aficionados :)

Well, guys, here we have a true innovator, when you like Peter stops counting ribs on your bus gearboxes and instead look at the type1 and 3 shelfs, then you have a lot of possibilities to make an autobahn cruiser.
And now watercooled..! man.. let me have a testdrive when it's ready :mrgreen:

See you around (i'll get the adjusters soon)
Ronnie
 
Nice bus - no, very nice bus and as for the photo's.... 8) 8) 8) 8) 8) 8)

Porsche 912 - yes please :mrgreen:
 
Okie dokie...

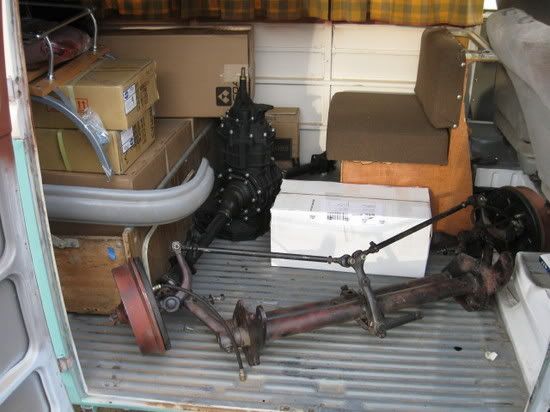
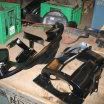
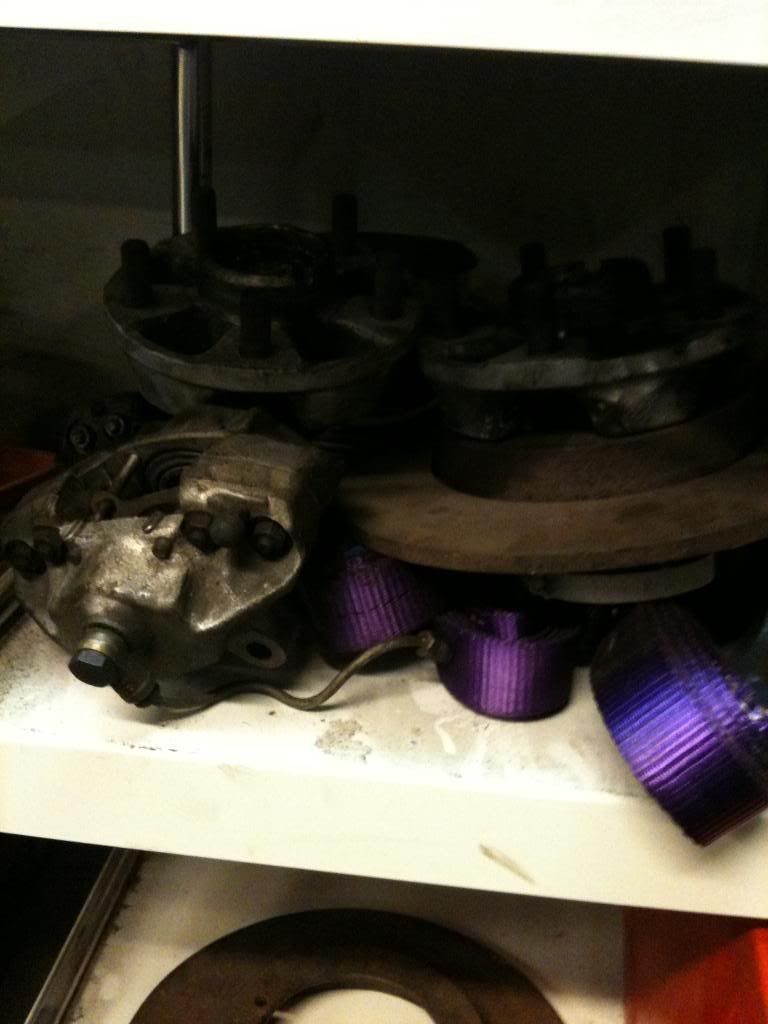
First up is pictures of the front and rear axels going on.
stuff stilll on shelves but being prepared to be as bolt on as possible so i can spare time once i start the
rebuild ..
IMG_0277.jpg


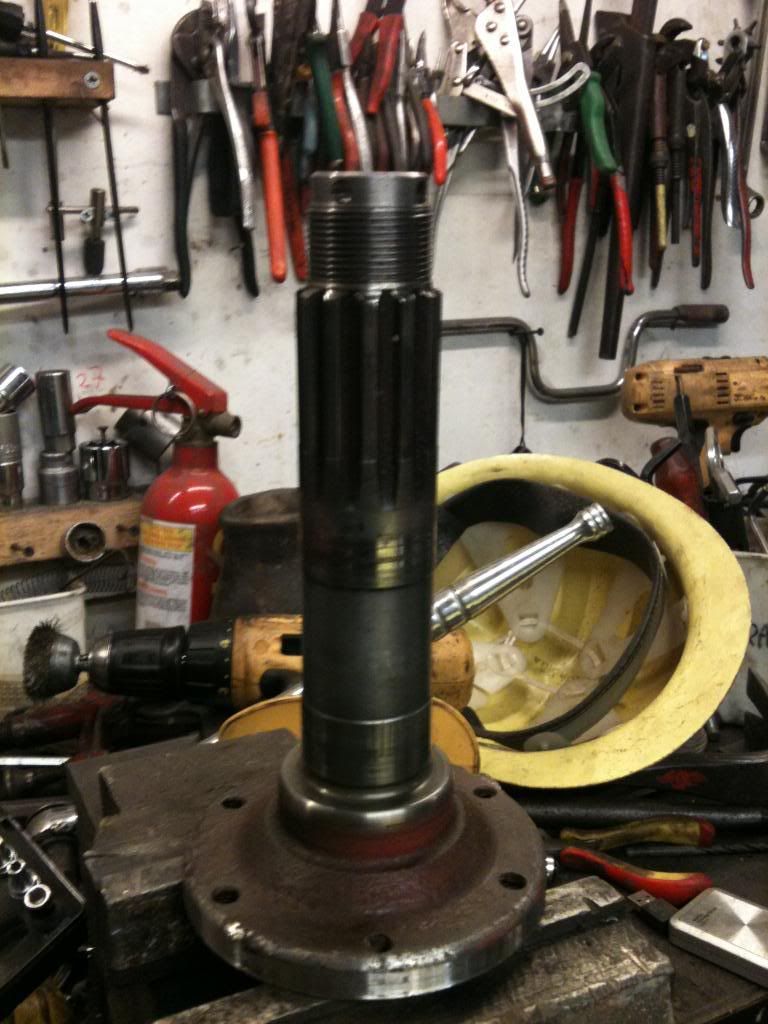
Rear axel is shortened for not having the axel sticking out throug a 7" fuchs
IMG_0275.jpg


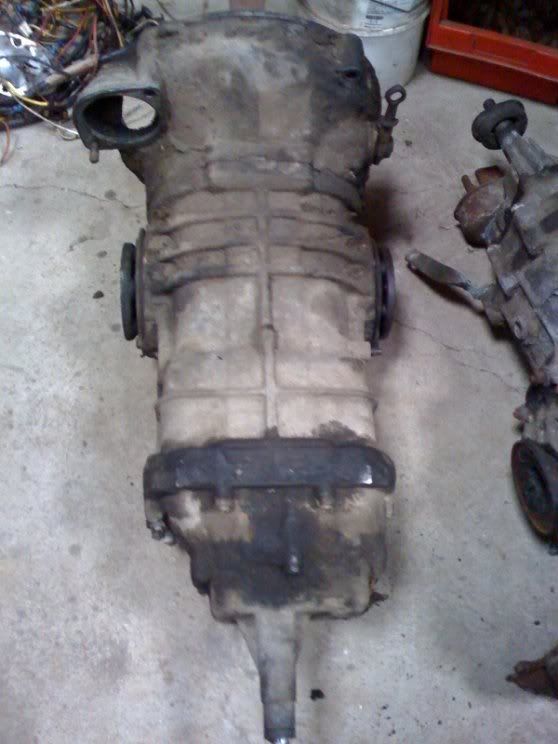
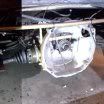
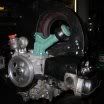
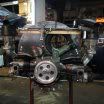
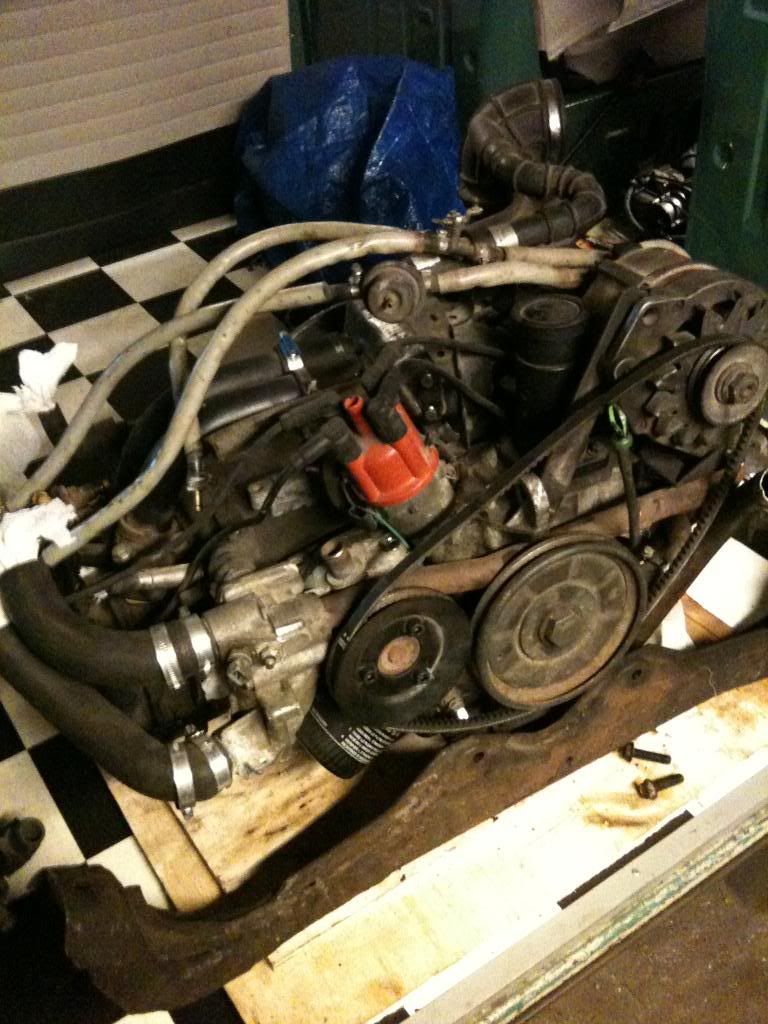
And here's the bandit going into the rear of my bus.!
IMG_0276.jpg


Running a Type 1 , DC 4.125/.082 4th gear in the bus the conversion is pretty simple when you have a garage mate
thats had plenty of wbx powered cars, t3s and type 1 55 oval. discs braks and wbx .... so he had the masterplan an di execute it.. more or less.
This list of bugs putting one of these in is really not big.
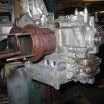
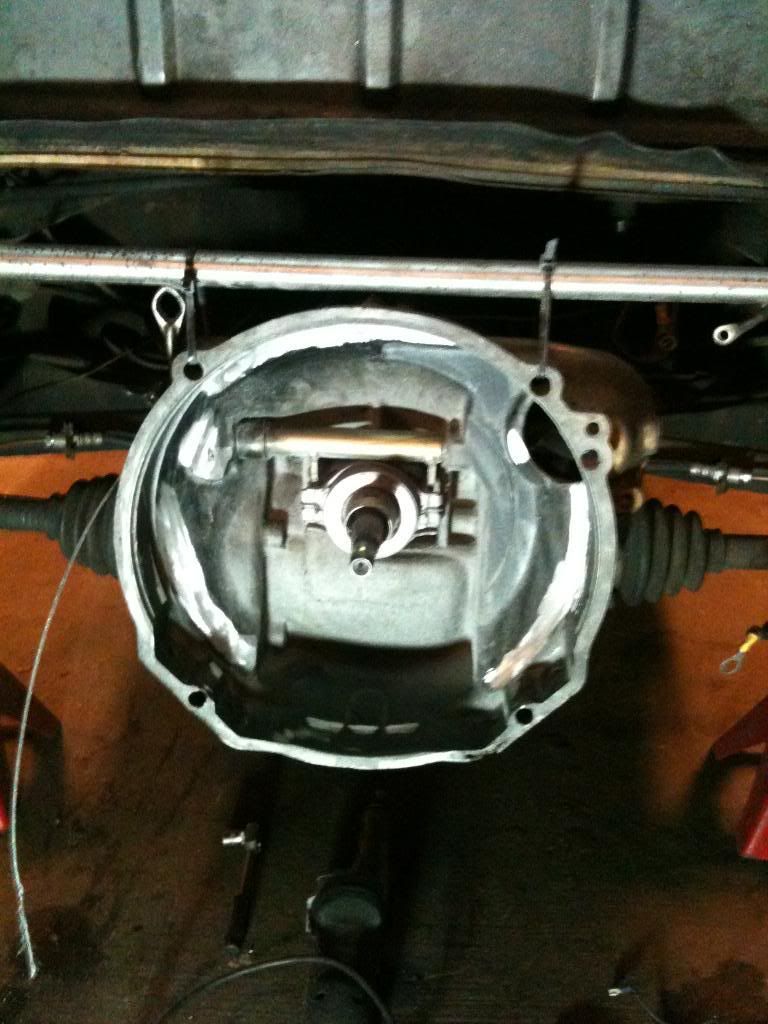
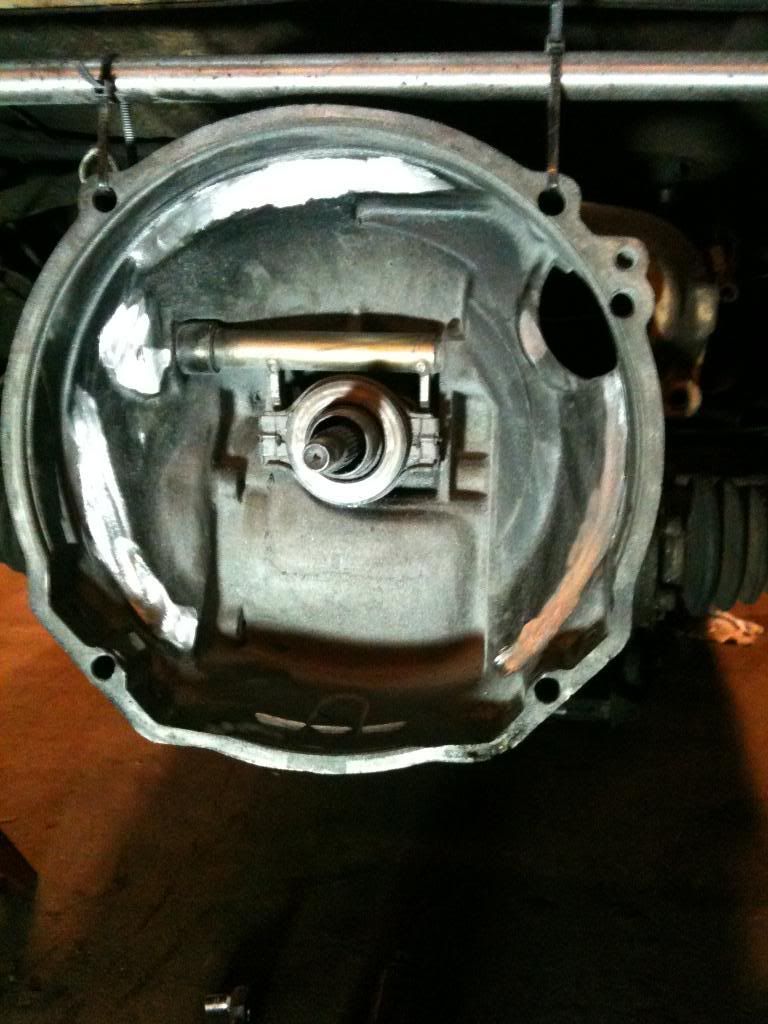
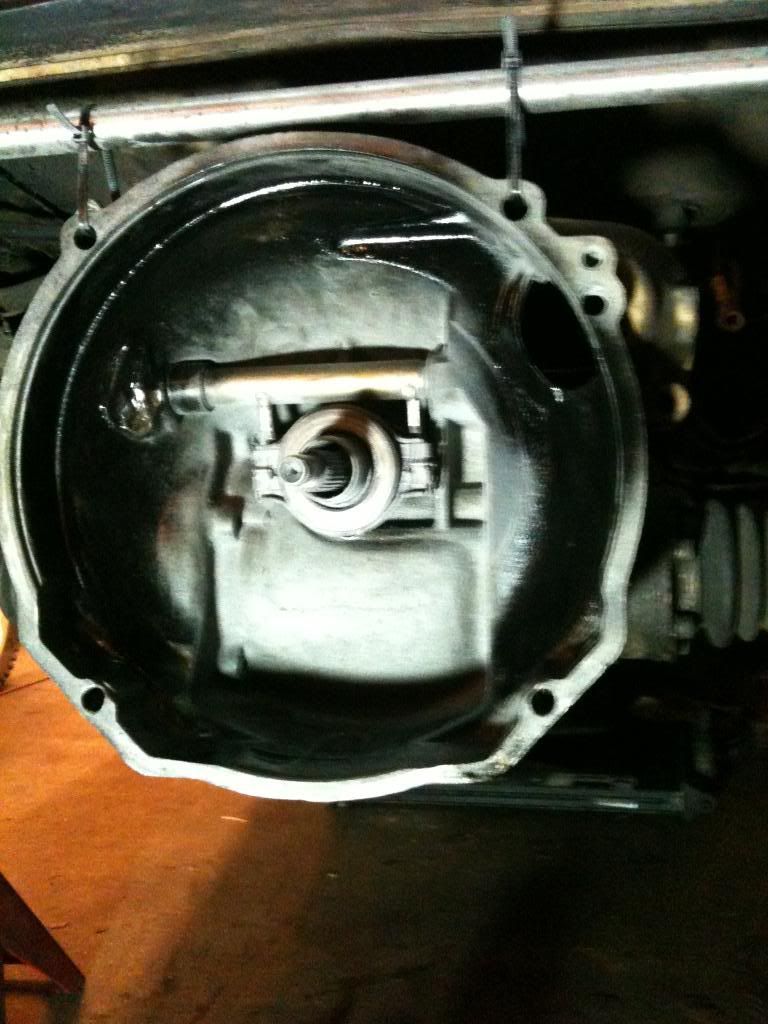
Type 1 gearbox has to be grinded out several places to fit the 228mm clutch and larger preasure plate.
i had a seperate flywheel and preasure plates which helps.
so loosen the cluthcabel, hold it up, turn turn turn and then removed, grind and then paint with spray.
Hold it up again and turn ... grind marks .. remove and grind more, remember to repaint.
do this little at a time and it be cool. a bit thin around the bearing arm but no problem.
IMG_0280.jpg

IMG_0281.jpg

IMG_0282.jpg


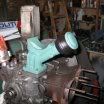
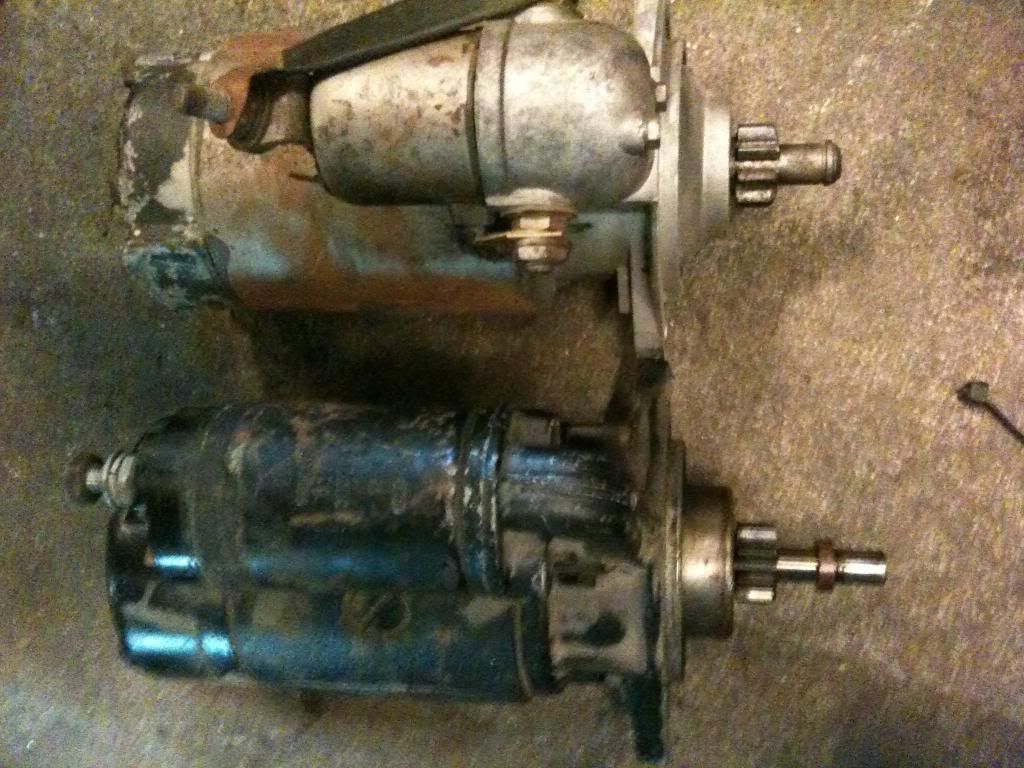
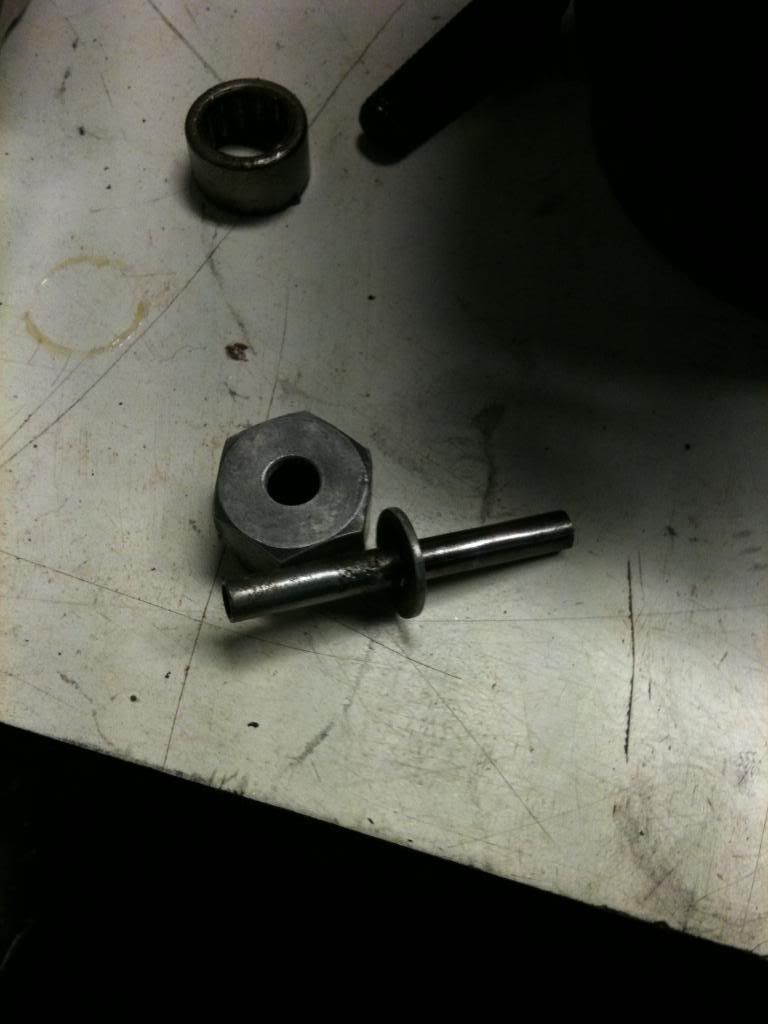
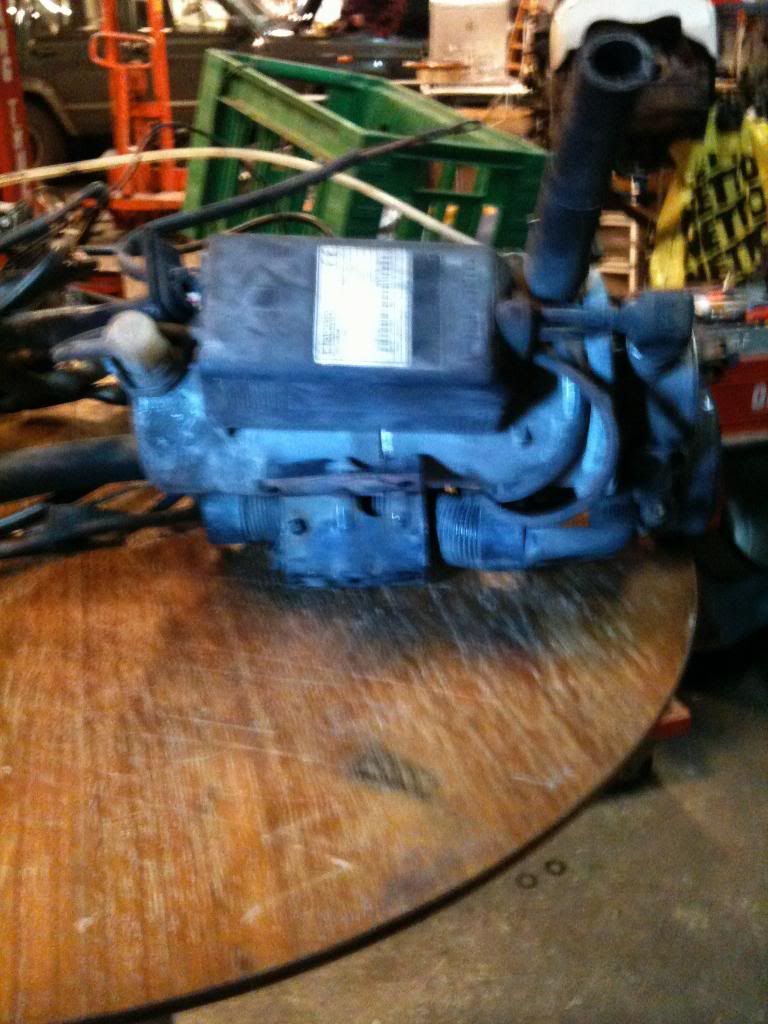
Next up is the starter is no longer std type 1, i had a new reconditioned 0,8hk type 1 on mine but for this conversion you need one of two options ... the easy one is a self-bearing starter. problem is its not the strongest one and a wbx is heavy to pull round. but it'll work.
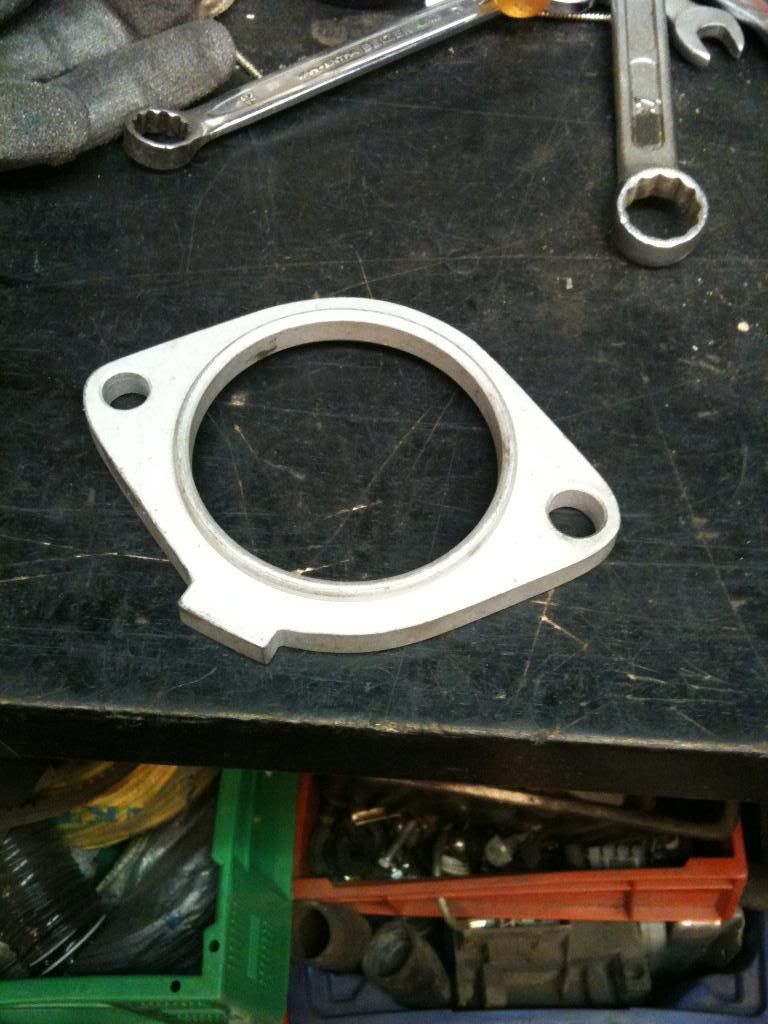
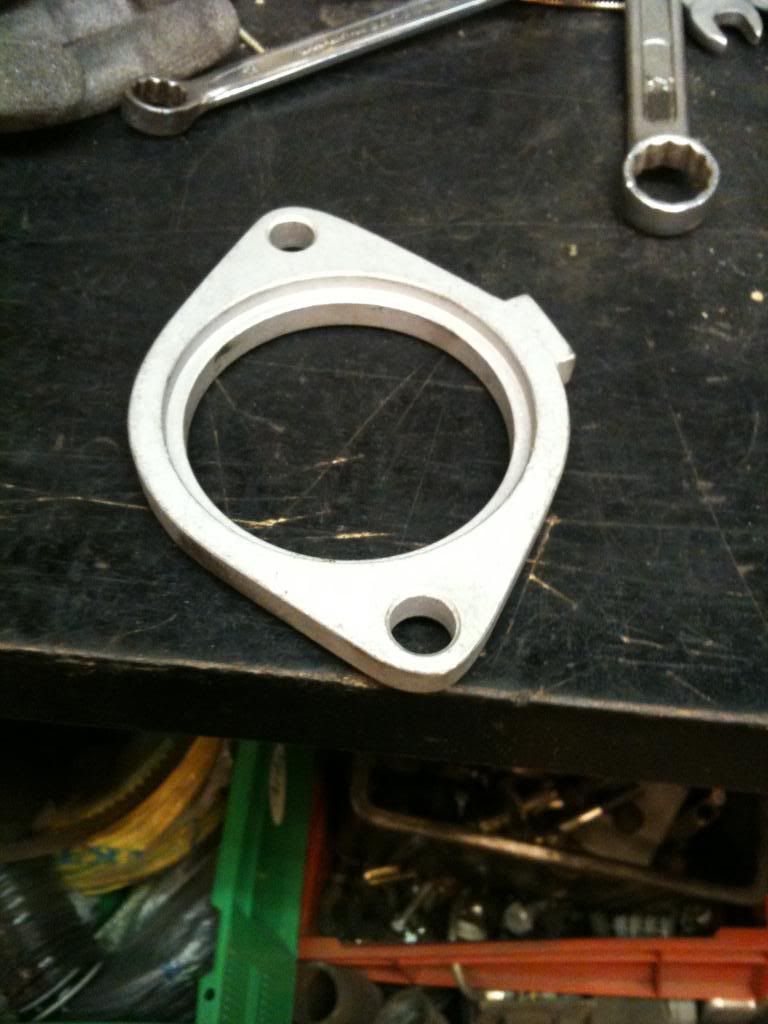
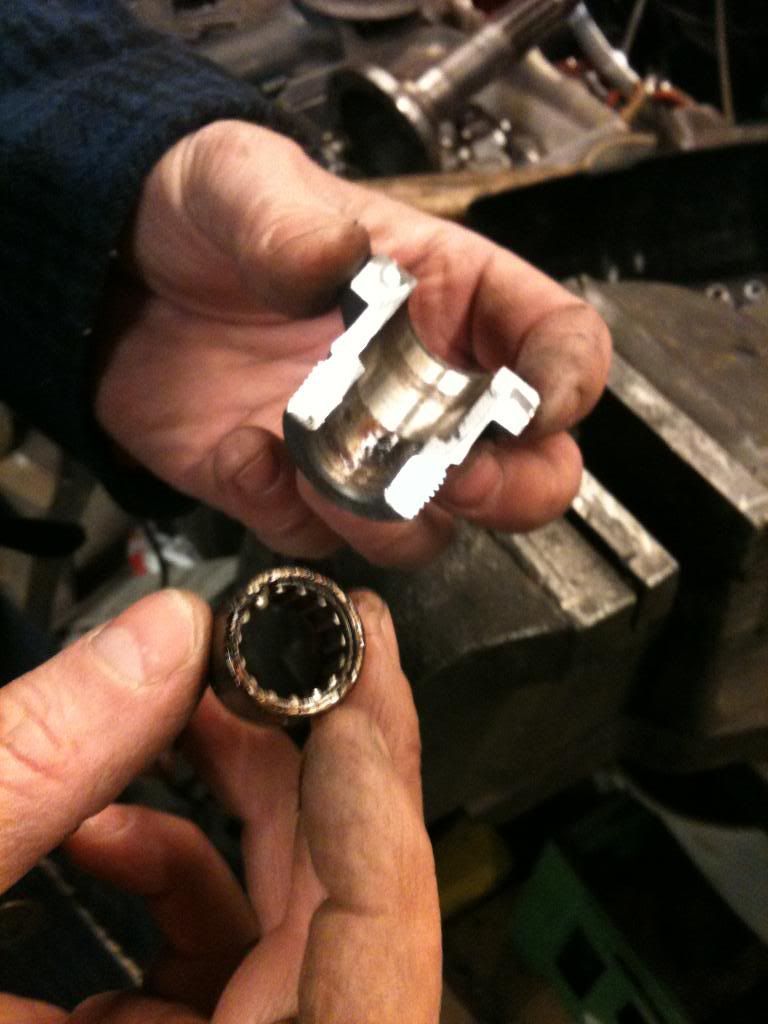
My sulotion is the transporter starter which only fits and has the correct travelling if you add this custom cut spacer , spaces around 8mm.
IMG_0283.jpg

IMG_0284.jpg


Buttom one is my 0.8hk type 1 , top one is transporter one. easy to see the problem.
IMG_0285.jpg


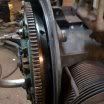
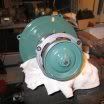
Next up is the flywheel ... to avoid shaking in the clutch, high gear axel you need to add a needle bearing from a flywheel bolt type1 to the 228mm flywheel so the axel cant travel sideways ....
Simpel fix.. cut a flywheel bolt up and steal the bearing from it. Have the flywheel center hole drilled up to aprox 21mm so the bearing can be glide pressed in.
IMG_0286.jpg


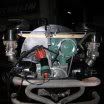
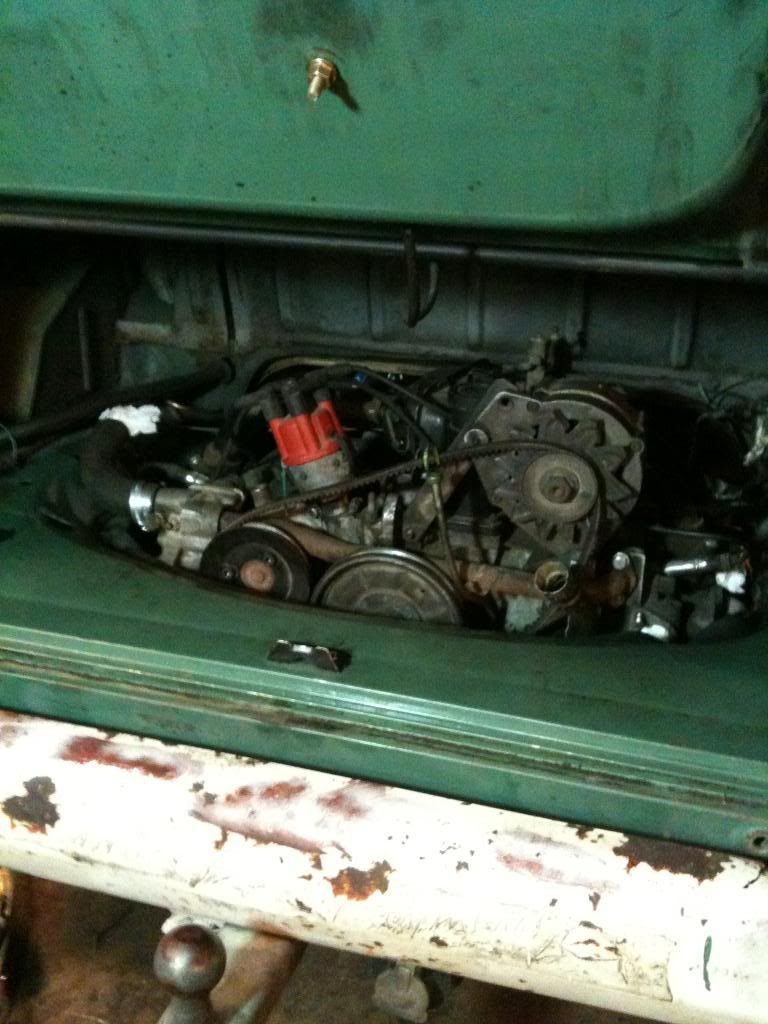
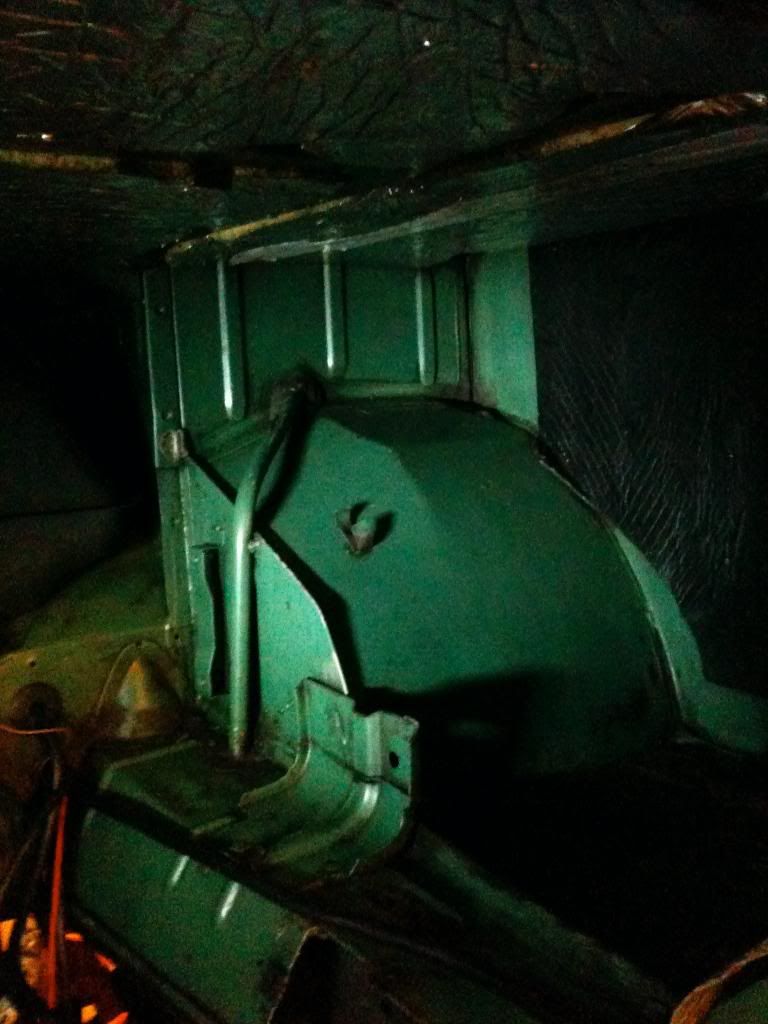
As fitting the engine into the bay was a real piece of cake ...
Turned out , and sorry i forgot to take pictures but i will later, that the engine hanger in the rear of the engine fits perfectly
with ONE little alteration to it...
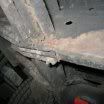
One the buttom center mount you need to shave 5mm of the original earlybay mount. its 14mm high and the wbx mount is only 9mm. so out came the cutting discs, of came 5mm ( engine is back out so i'll take pictures for you)
and here you go.. bolt on and the mount lines up perfectly in the engine bay ..

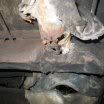
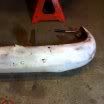
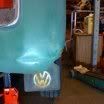
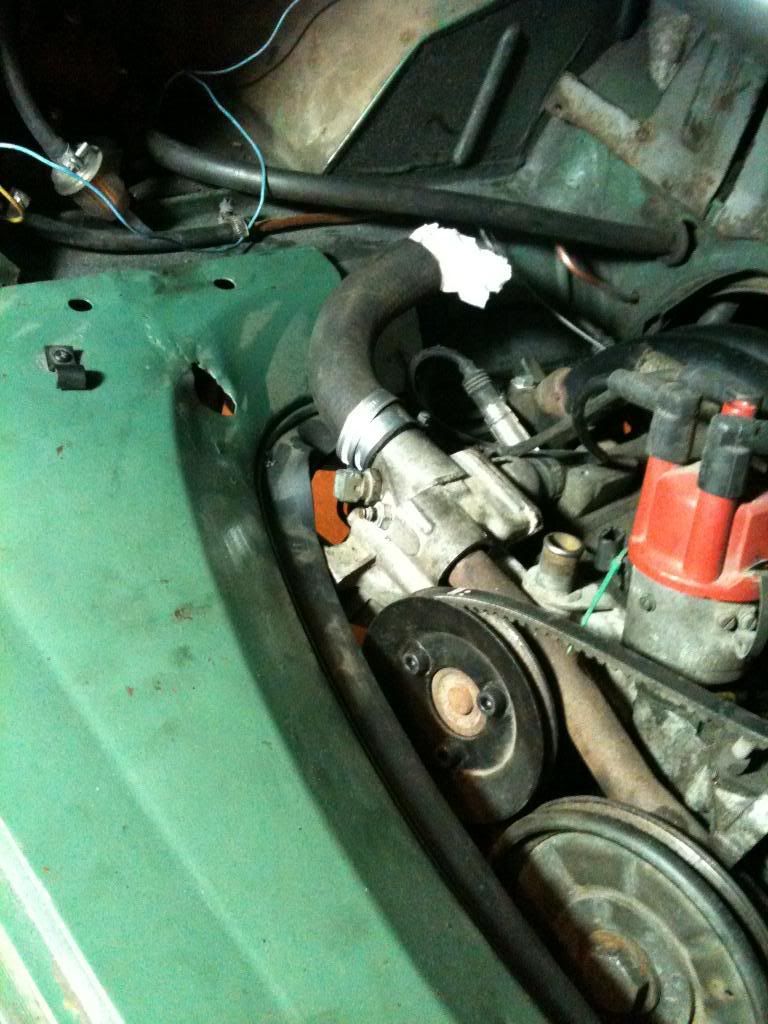
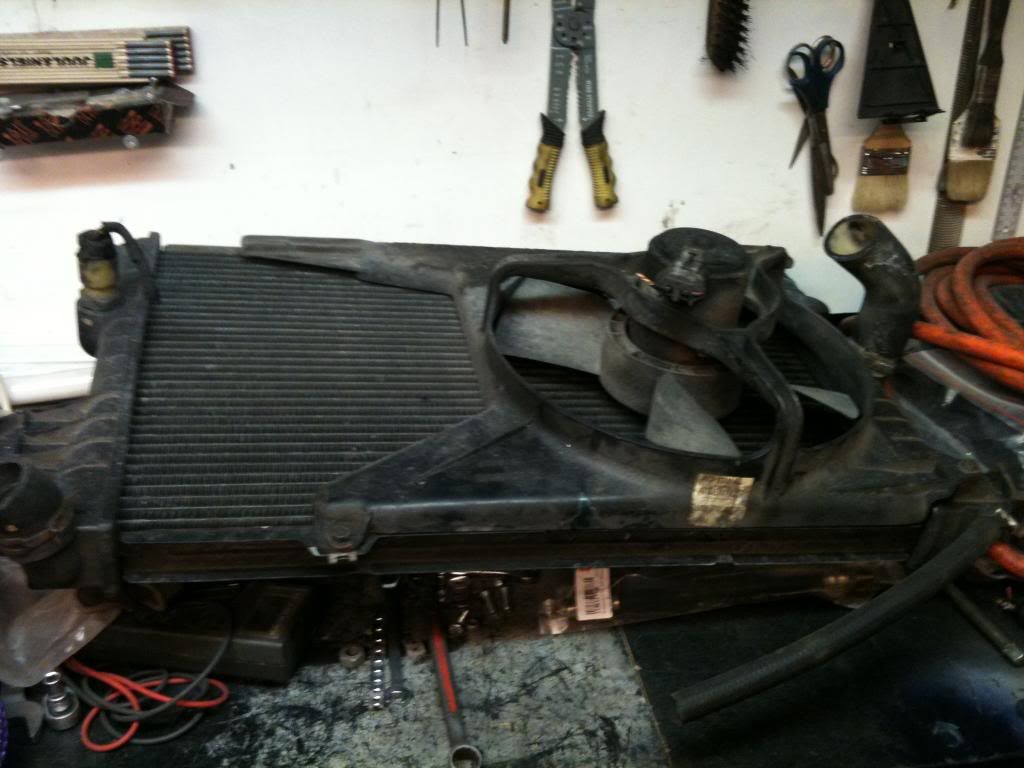
Not needing cooling tin is a real cool benefit. but i must admit i was hesistant to cut into my original removable back piece.
but had to try and see how much needed to be cut and then look for a spare unit.
And hell.... no cutting was needed, look at all that space.. niiiice..lool
Here goes.
IMG_0287.jpg

IMG_0290.jpg

IMG_0289.jpg

IMG_0290.jpg

IMG_0291.jpg


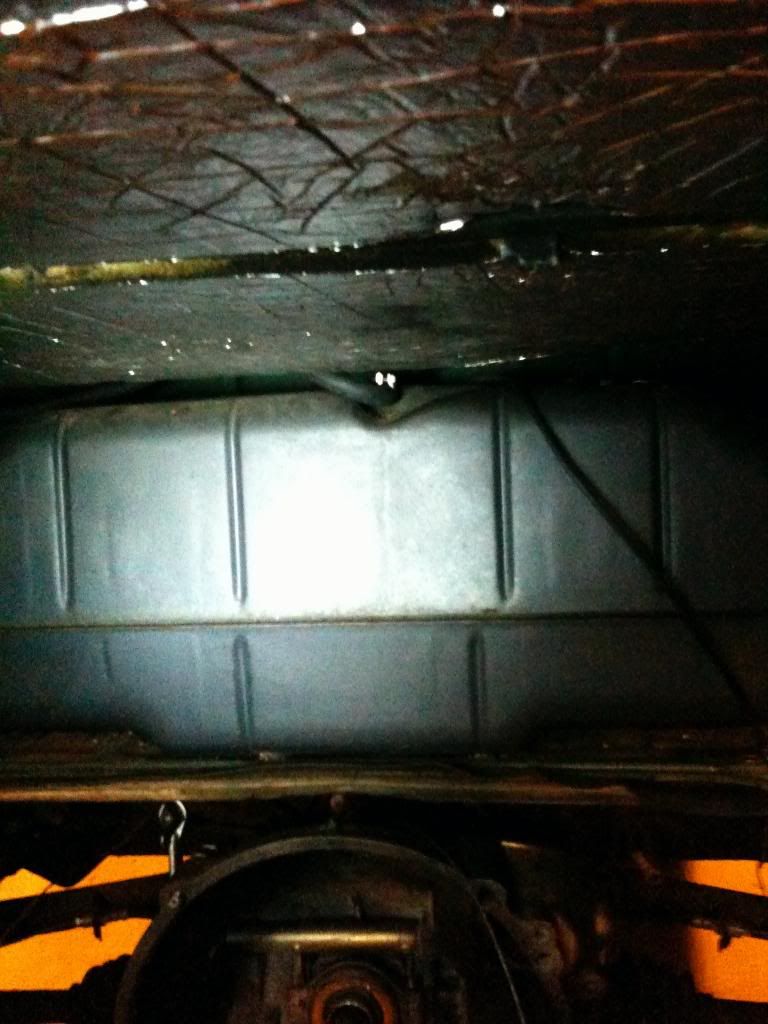
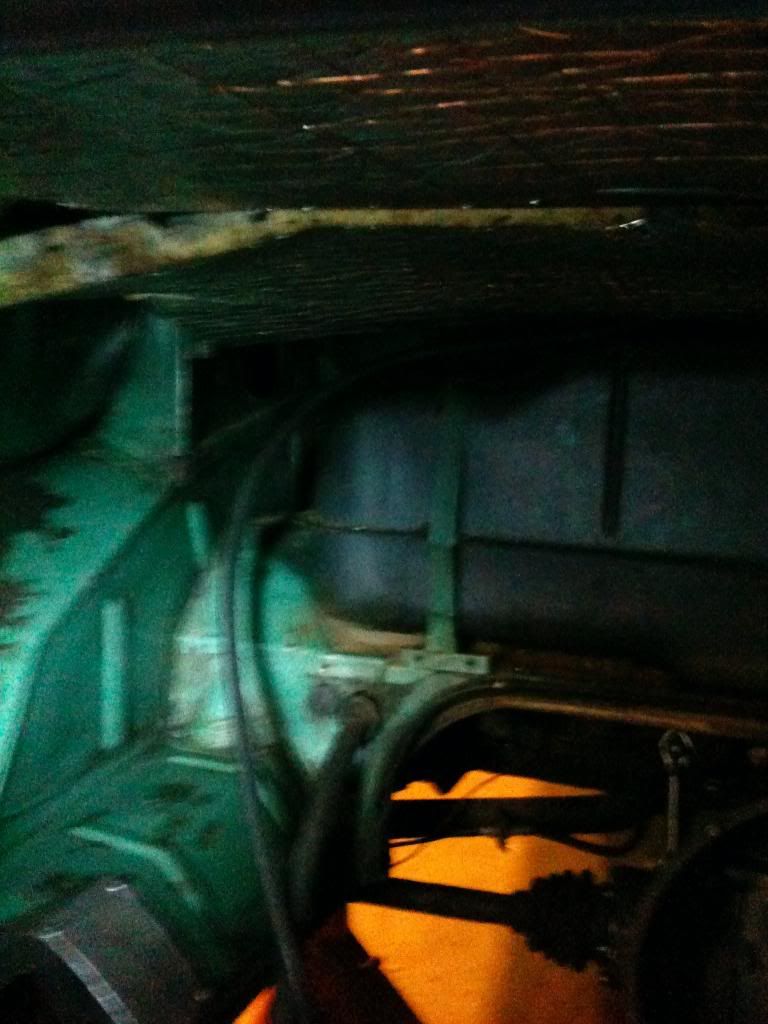
Next up is taking the petrol tank outlet thing and increasing the hole diameter from the 6mm its now and to 12mm
so that the high preasure petrol pump get what it should.
Thats out being done too.
IMG_0292.jpg


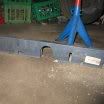
Next up is a custom buildt exhaust system with 2 x 315mm oval simmons mufflers and some bends and corners.
ITs going to have a nice deep rumble and sounds cool but not noicy.

More to follow in the next couple of days... , building time now its -6 to- 15 cels here at night ..
Hrmmpfffffff.
 
I believe that the DC is a standard Type 3 gearbox with 15/1600 gearing.
I have 205/70/14 on the rear now and i travel 99kph at 3000revs.
Perfect for a cruise to Spa ..
But that akind of gearing needs around 90hk plus to work up hill and so.
A good combination if one foesnt want to run big expensive engine is a god strong 1200 AM type 1 box with a 1600 engine on it.
Works good too.
 
Airtime

You know.... i would lie if i said the thought hadent crossed my mind that i should just stay on drum brakes and keep the wheels i have on.
I know they make them repro style in wide five 15" and they are not expensive .. but these are one off custom buildt

Besides .. a complete set of 6" & 7" fuchs early style repros polished and rear and front set of porsche brakes/custom buildt axels shouldnt be impossibelt to sell. lool.
 
Okay ...update:
I realized yesterday that all i am really doing is admitting i dont like newer cars and instead i am just moving the few good things from the newer car to the older car i like. simple. and works too if you want it to.

First .. here's the thing its all about more or less...:
IMG_0299.jpg

Came out of an Vectra 1.6/2.0... hey 30 pounds at the partsbroker.

Got the flywheel of and had a friend machine the hole up to 21.02mm, the needlebearing from the type 1 bolt is 21.08, so now it fits just perfectly.
IMG_0296.jpg

I'll add a picture of the inserted bearing later.

Then it was time to clean out the engine compartment for old oil, dust from the grinding and 35+ years of dirt.
The wall came of the gastank while i was there so we could put in an return line to the tank.
We ended up taking the air outlet/overfill hose of and pulled it out. added a rubberhose in 6mm , a little small but it will have to do it for now. Vacuum probalem is solved with 2 x 1mm holes drilled in the gascap ..
IMG_0293.jpg

IMG_0294.jpg

IMG_0295.jpg


And then as i was trying to figure out the best way of tackling inserting a T on the fuel lines so i could have my ebersprâcher and have some heat at next Meet at Mantorp Park..( it was liek -2 cels last time at night .. fucking hell ) .... Jesper , my trusted helper and master mechanic turned around and said.... you know what you need in there .. a proper Webasto water heater ..! So cool.. or should i say hot .??
IMG_0297.jpg

IMG_0298.jpg


Well. more to come... tomorrow i can hopefully get the radiator testfittet and adjusted underneath the floorpan.
See yaa.. get into those garages guys .. a loong time before we can drive again
 

Latest posts

Top