For Sale: Pcb GreenBay: 69 porsche themed: WBX2.1, Mag rims

Early Bay Forum

Help Support Early Bay Forum:

This site may earn a commission from merchant affiliate links, including eBay, Amazon, and others.
Almost forgot i have this picture of the porsche VDM420 1956 steering wheel thats going in the bus.
Have a extra oval steering collum and gonna have that welded together with my bay one.
Gonna look cool.
Ratten.jpg
 
Keep it coming 8)

Loving the way you are doing the mods so far - that steering wheel will be so f@cking cool :mrgreen:
 
you make a difficult engine transplant look easy. :msn4:

It was a sweet ride anyway 8)
 
Damn .. i posted his picture yesterday in the tread about cool rare rims and hubscaps.

IMG_9159.jpg


And now i am not so sure anymore. Dont think i'll have the same cool set up throwing a set of fuchs on it even though the theme on is porsche ..
But what the hell.. the danish rules regarding tuning and added horsepower makes it impossible to install a porsche engine in it anyways so cant legally do it as a 100% conversion with insurance covering ...-:)

So lets see ... what do i have now for lowering and converting my bus.

The beam on it is adjustabe. + drop spindles for drum brakes.
all brakes have machine drums and new pads. 170pounds worth so thats good..

2 back up beams for making narrowed adjustable ones.
one set of adjuster to weld in.

Ball bearing houses from a 76 bay with shortened axels to fit fuch, 5x112 custom made into 5x130 .
Needs new backing plates, drum drilled to 130 and pads but anyone with a good set on theirs have whats needed soo.
Porsche 944 front hubs , and a set of calibers (needs a rep kit) , a set of early 911/912 discs ..
All that need is to make a mounting bracket for the calibers and you're off to go.

2 x 6" x 15" early look fuchs
2 x 7" x 15 early fuchs ..... no center caps...

Hmmmm.... thinking about it...
 
got round to doing a few smaller things with my chief mechanic and wbx expert...lol

Modified the oil intake so the original hole is now blocked with a temp gauge in it and
the upright thats normally a closed unit is now modified with the top cut of, a piece of drain pipe
that is inserted with a rounded egde to fit tightly and then the donor piece from a CT engine (or from a type4)
has been cut down.. everything sanded to a tight fit and clue up with 10sec clue.
If needed just add a small self cutting screw from the back so its not visible.
Done deal now i can fill oil from the top .. looks so much cooler.

Here's a few pictures of the modification.:


also didnt really want to use time on pimping the engine tin and parts but seeing as i already had to change a few things
and wanted to clean the alternator i ended up doing the loose bits and pieces on the rear
rim wheels, tube for cooling water to the pump and so on.
I'll put a few pics on tomorrow. its al drying up right now.
 
Stunningly nice work on the car!

I really like it a lot!
Is the "PORSCHE" look original, (the paint/dekals) or are they fitted by you?

Keep it up =)
 
Got a little done today .. not near enough but thats okay , tomorrows another day!

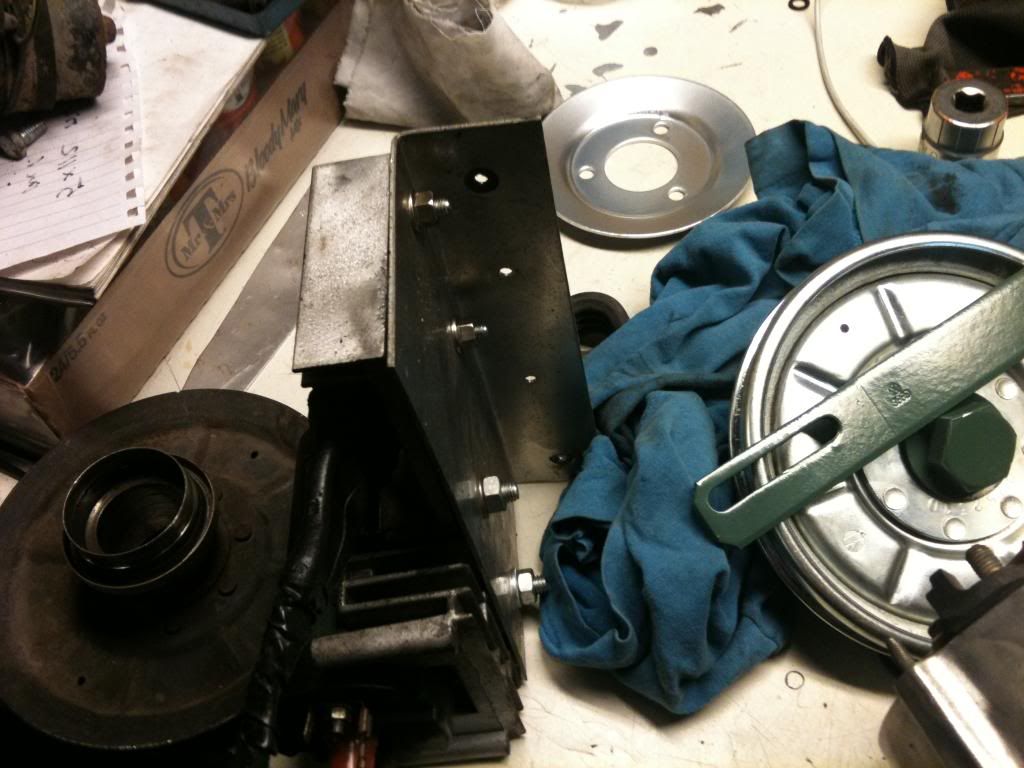
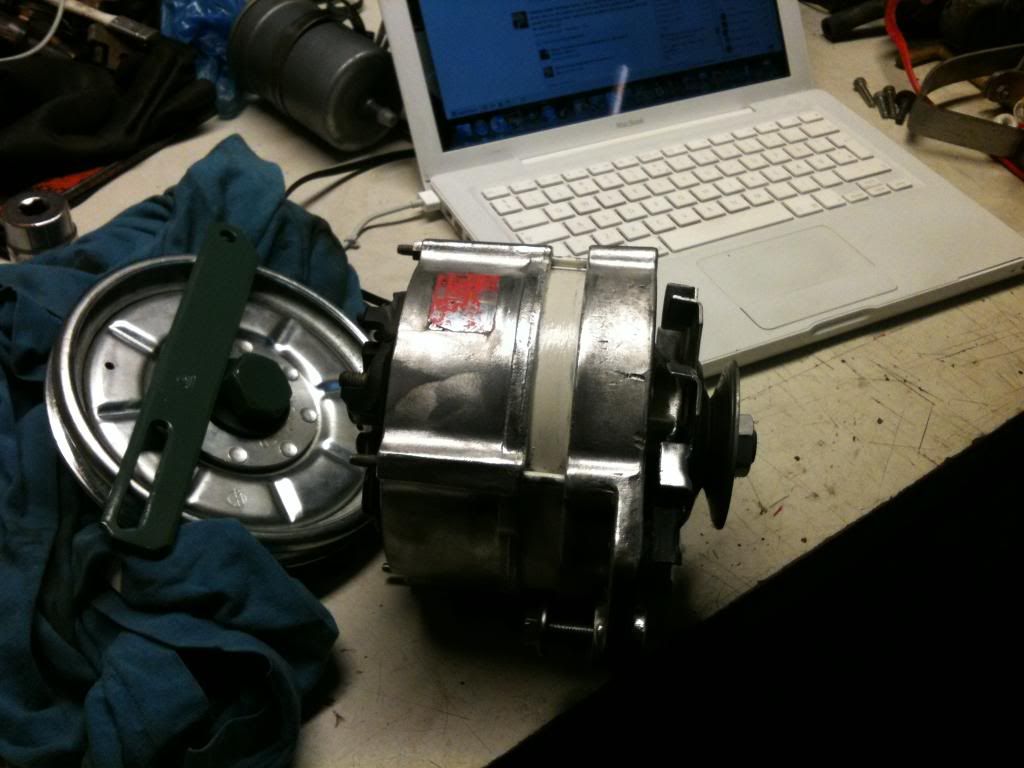
the parts that i pimped a bit so the engine bay doesnt look tooooo borring was dry , so they went back on.
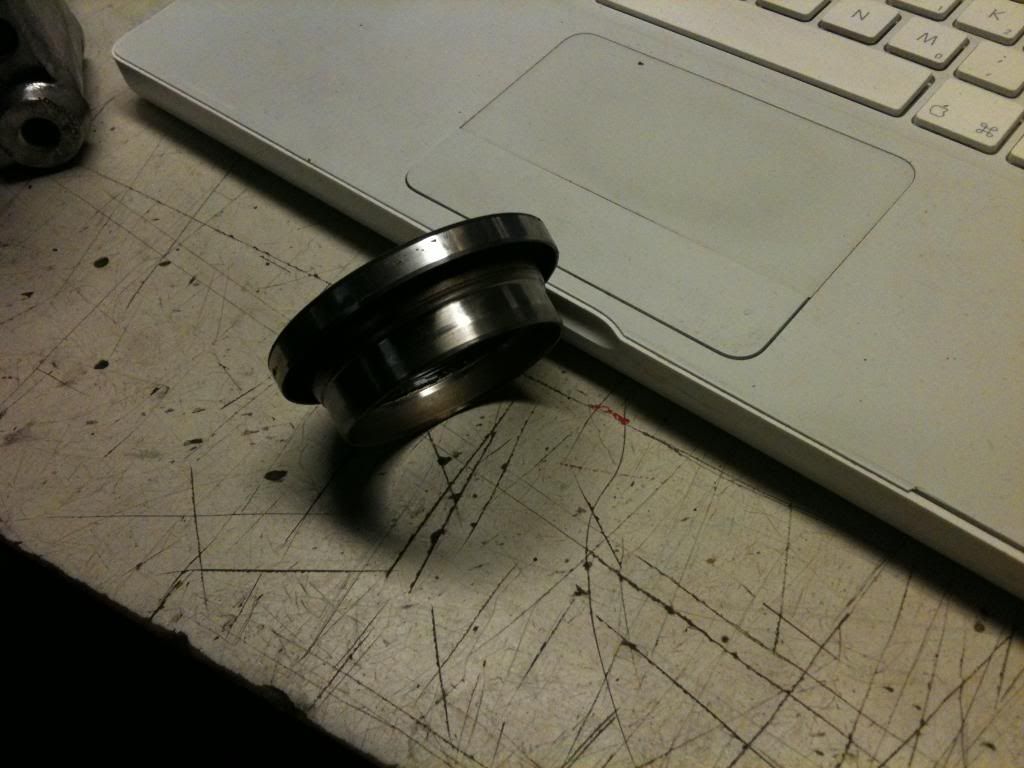
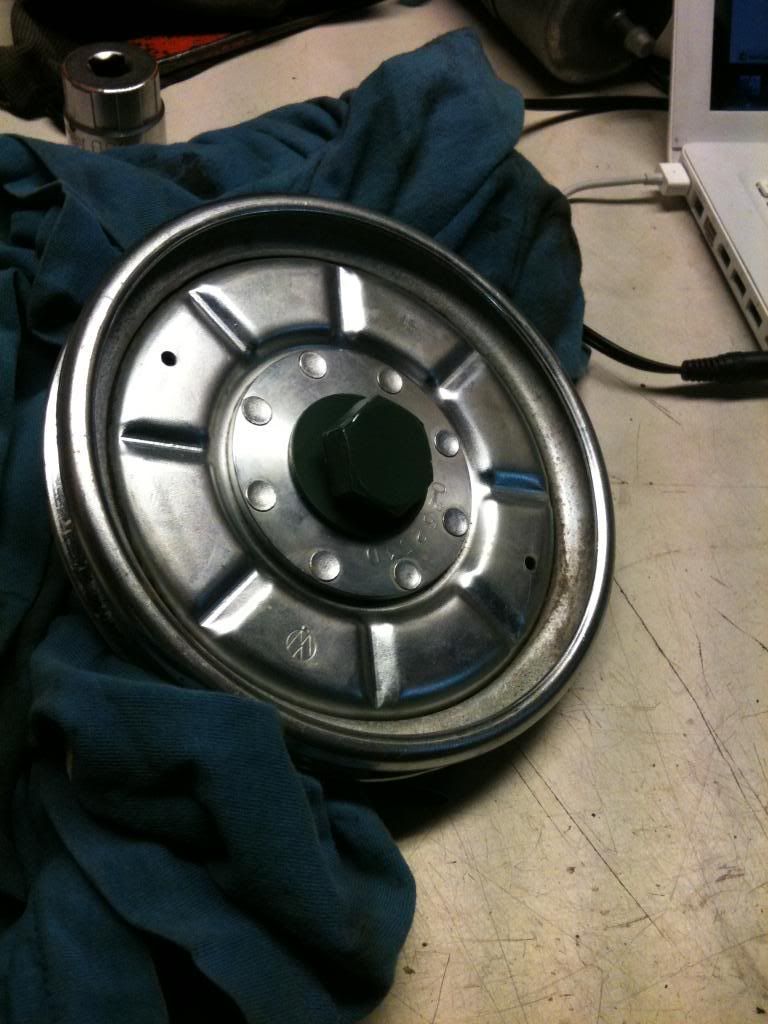
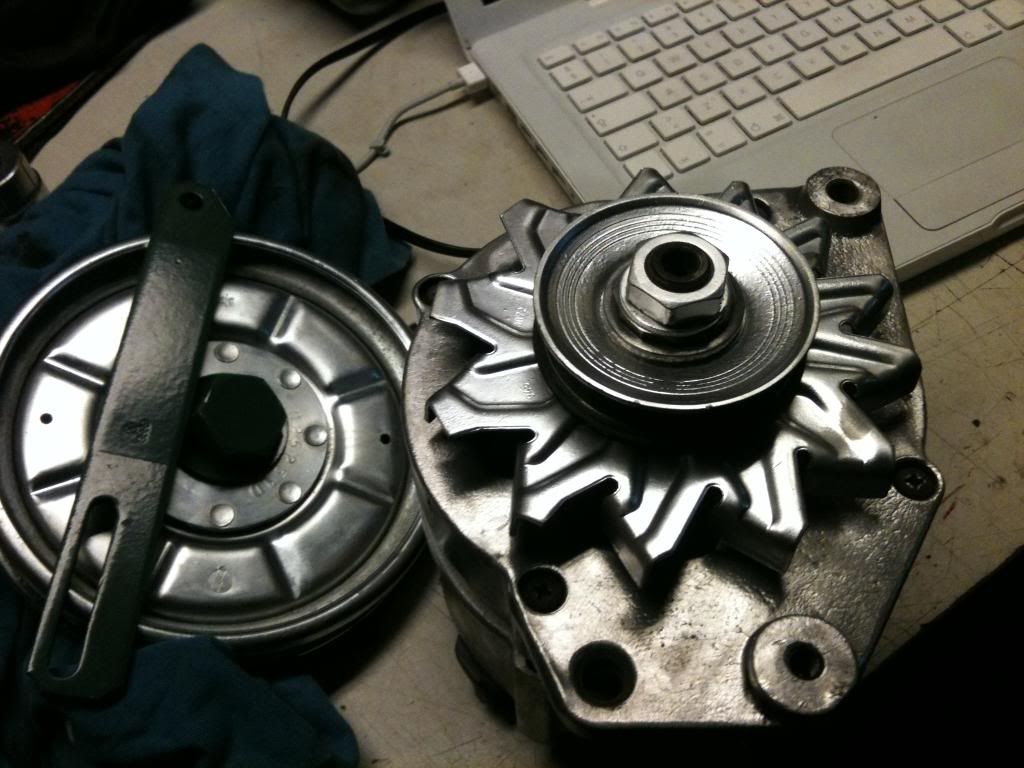
Funny thing when the rim wheel came off there was a metal seal with a rubber inside to it.
We couldnt figure out why until my chief mechanic and partner in crime realized the engine came off a syncho..
So its a water sela .. offcourse:
IMG_0374.jpg

IMG_0375.jpg


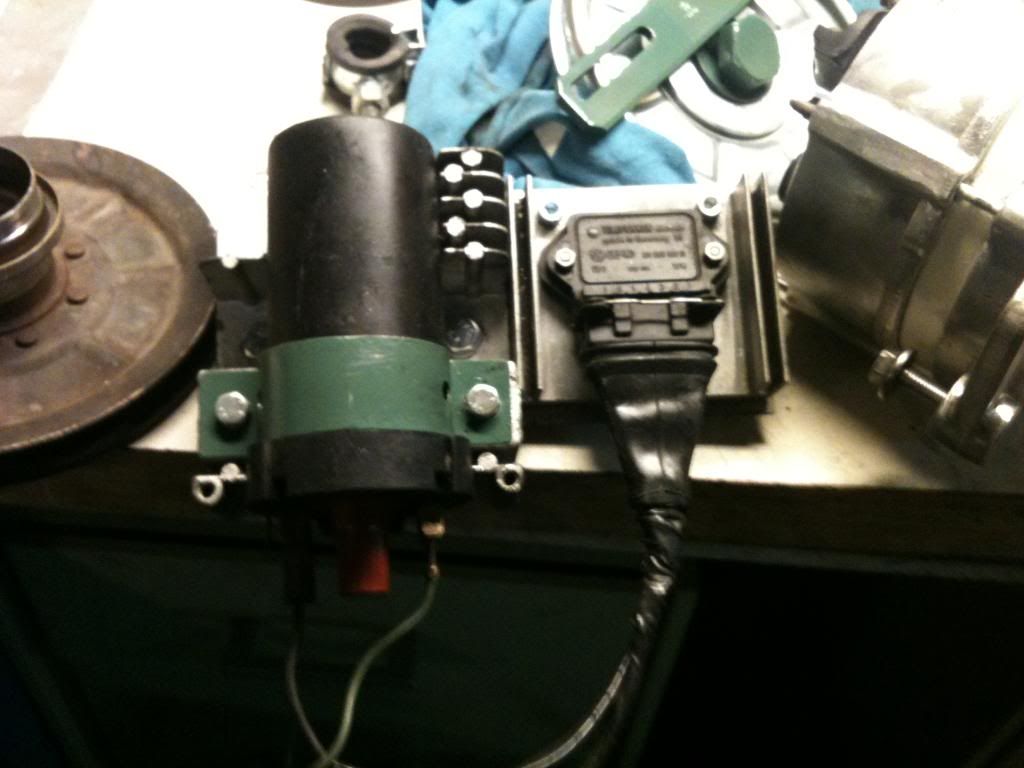
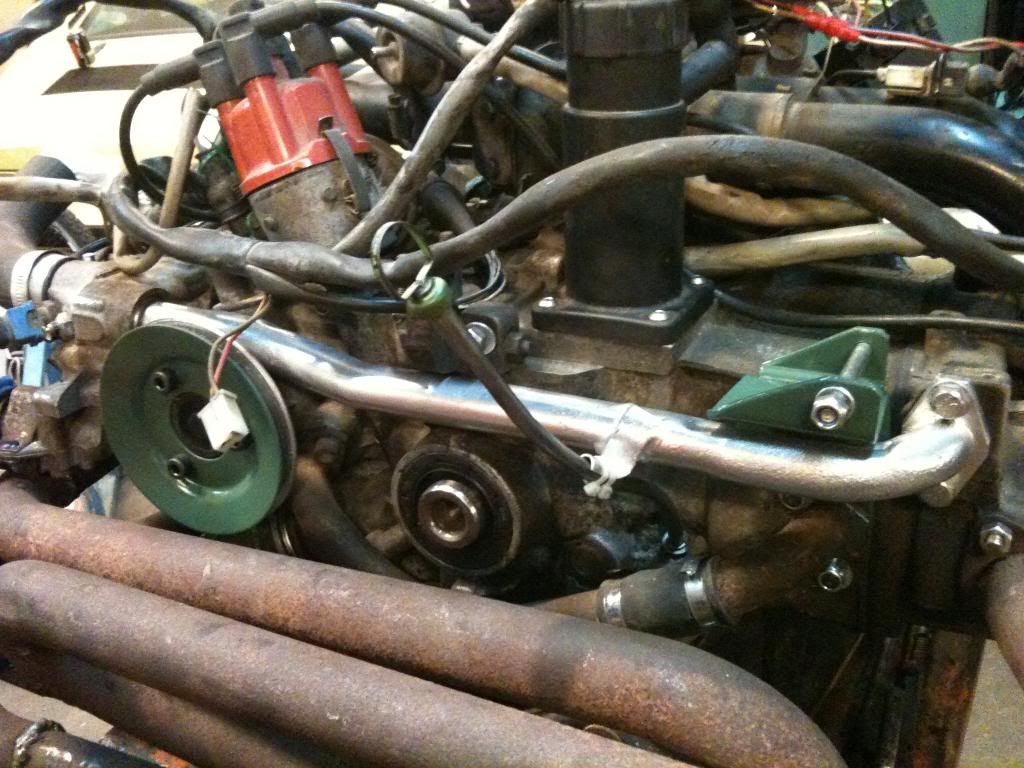
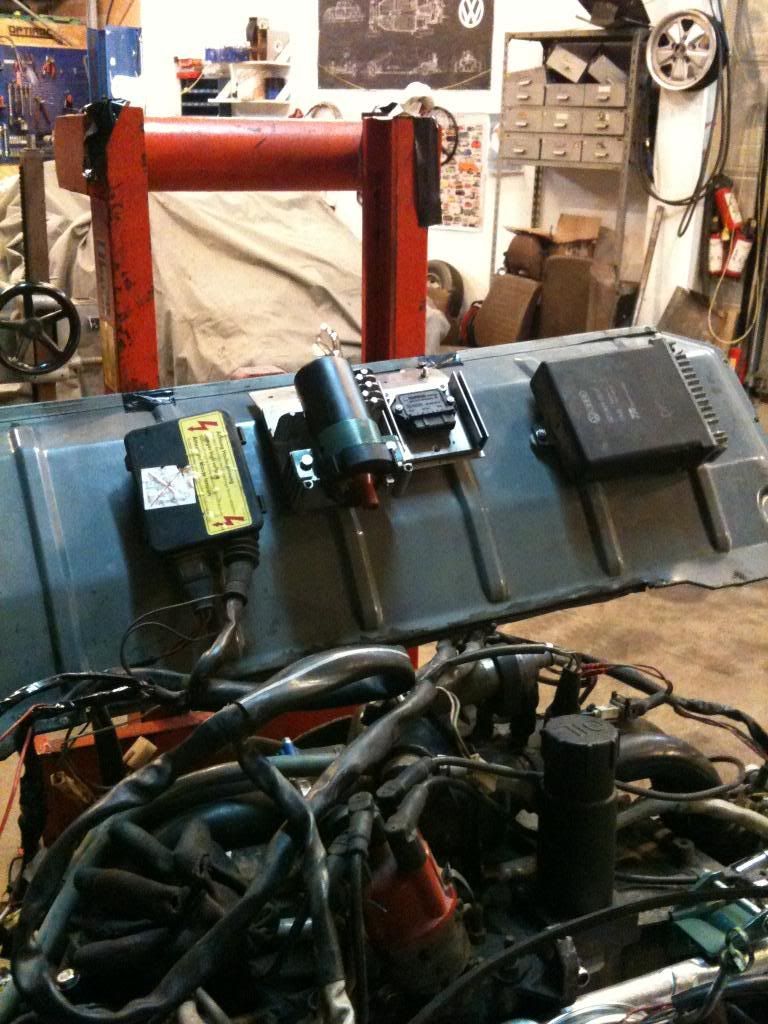
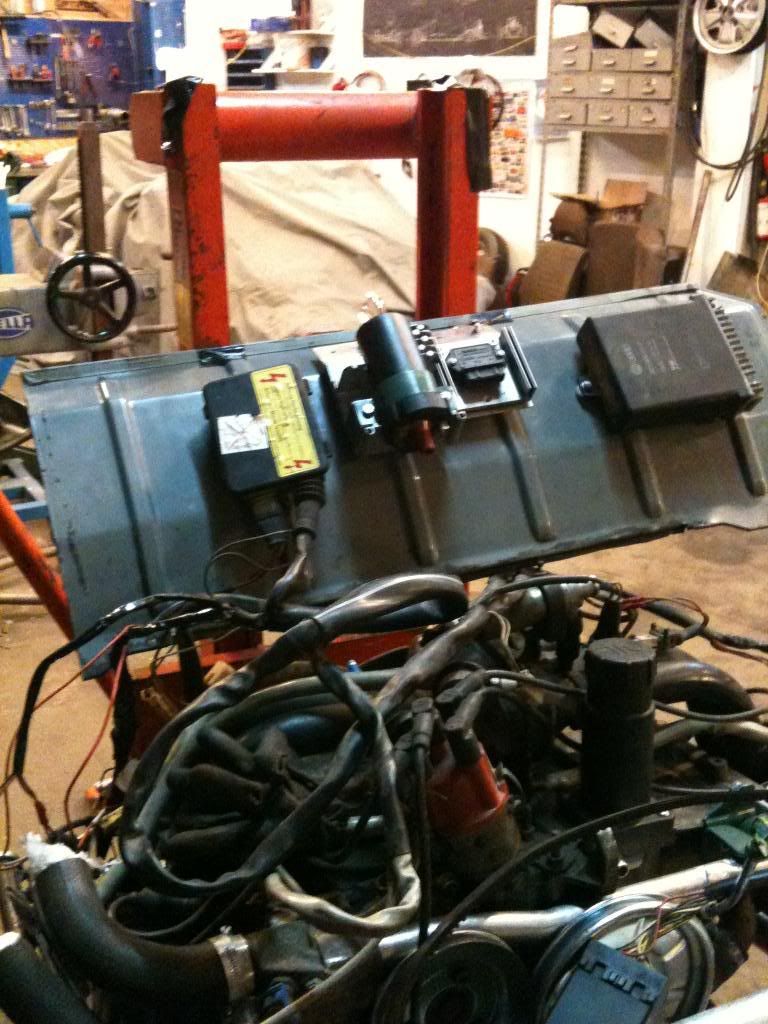
Also the holder for ignition coil and sontrol box are ready to go on the rear wall above the engine.
IMG_0372.jpg

IMG_0373.jpg

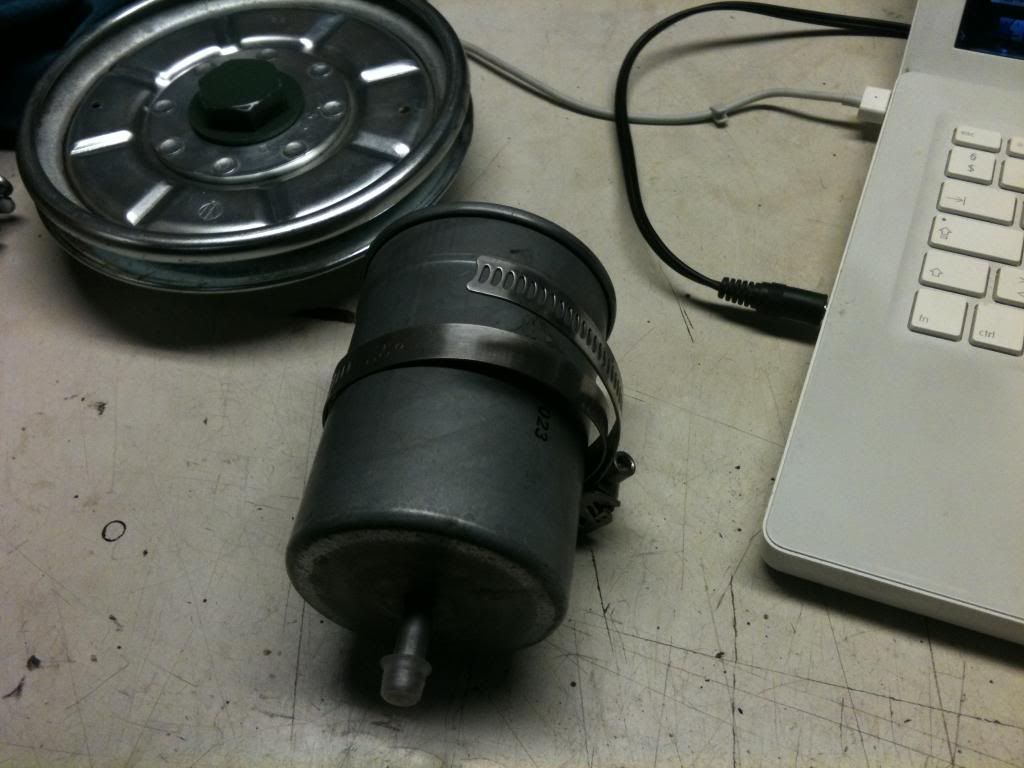
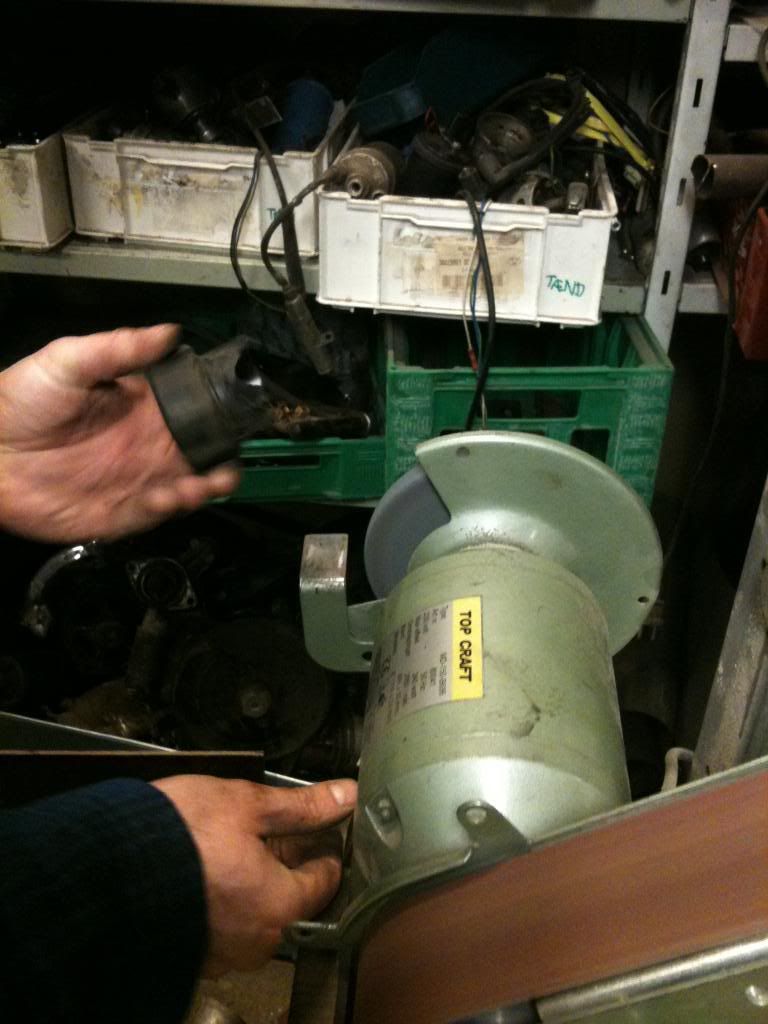
Nice big filter: being placed tomorrow :
IMG_0377.jpg


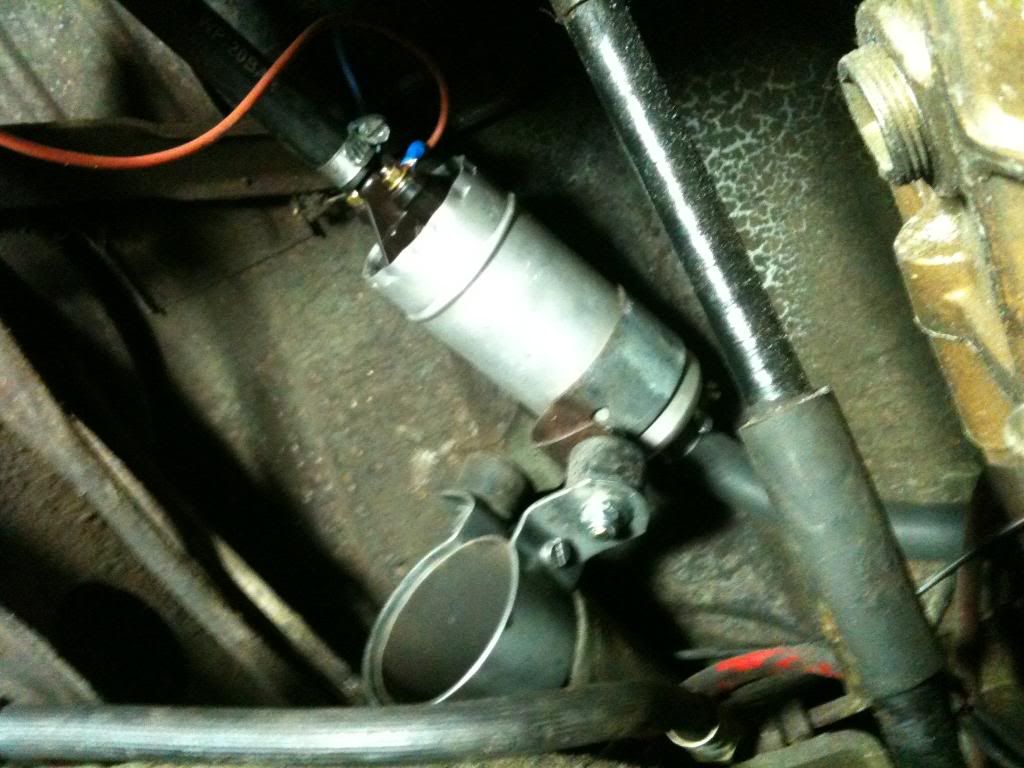
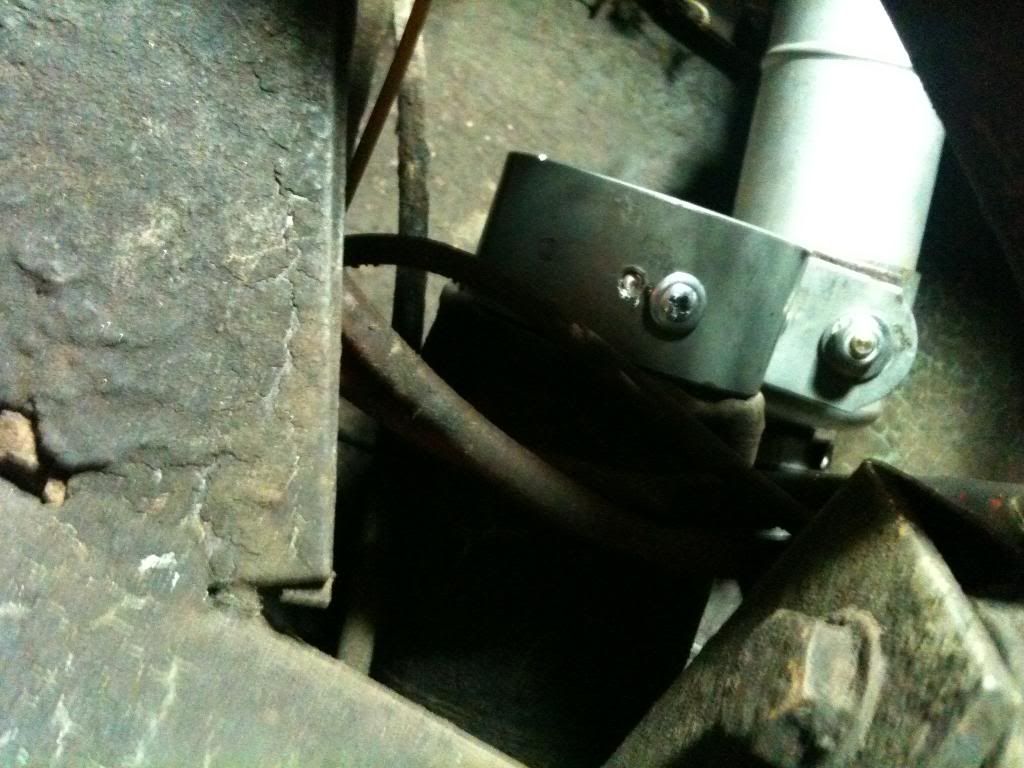
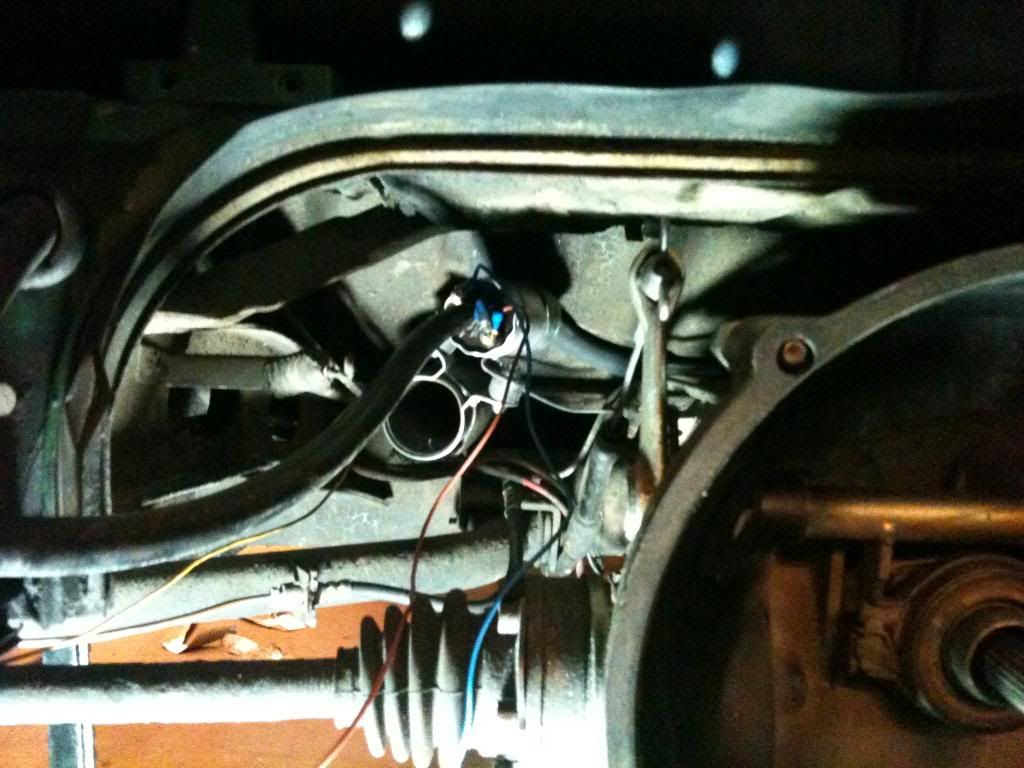
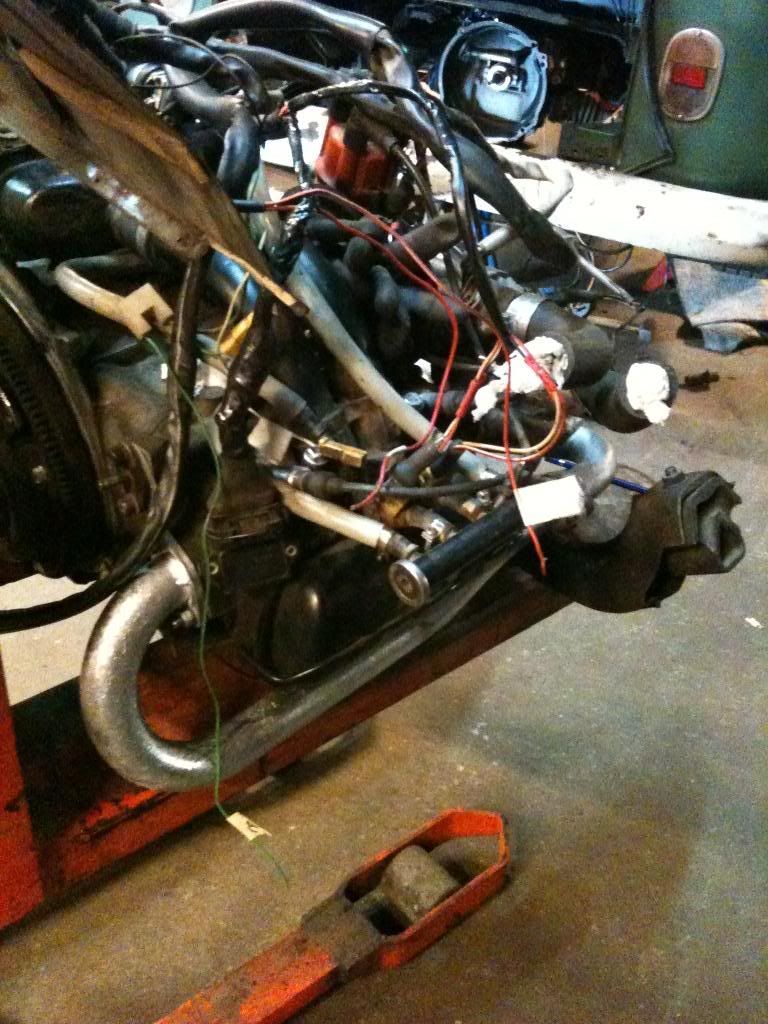
And i had to figure out where to put the high pressure petrol pump , the 12mm outlet from the tank is mounted,
was lying underneath looking for the best spot and realized that im not needing the old heather channels anymore and the size is equal to the coil holder, soo .. two rubber mounts and two coil holders and just as extra precaution a screw through in the buttom to hold it in place two-directional. done deal and a good position as well.

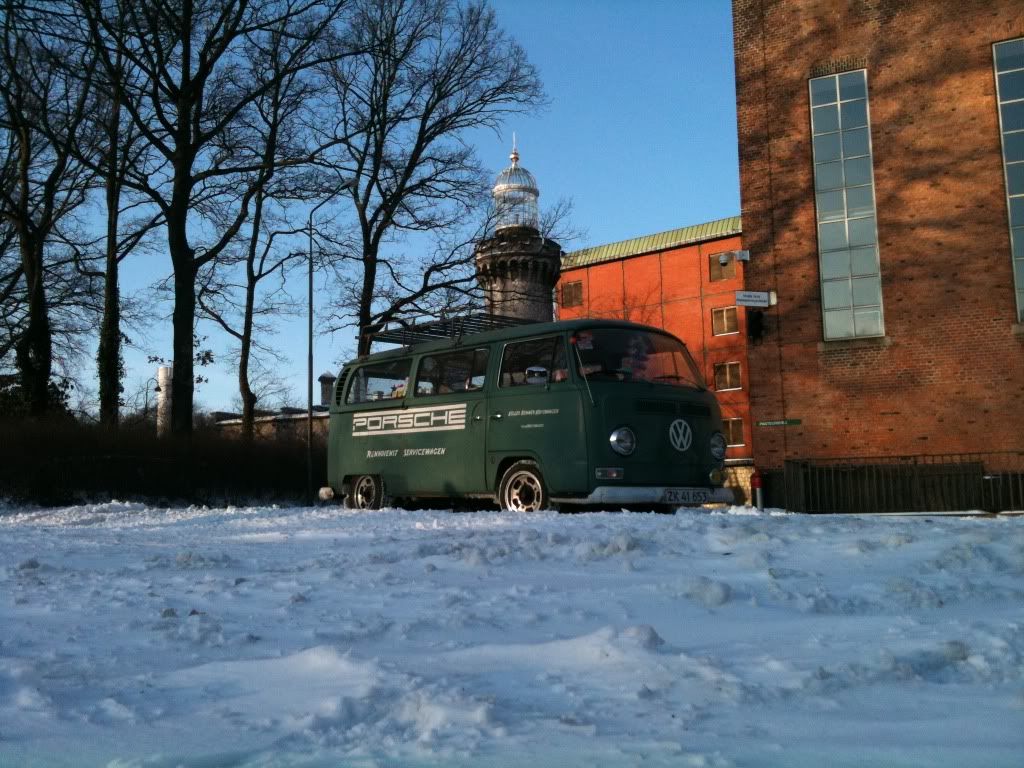
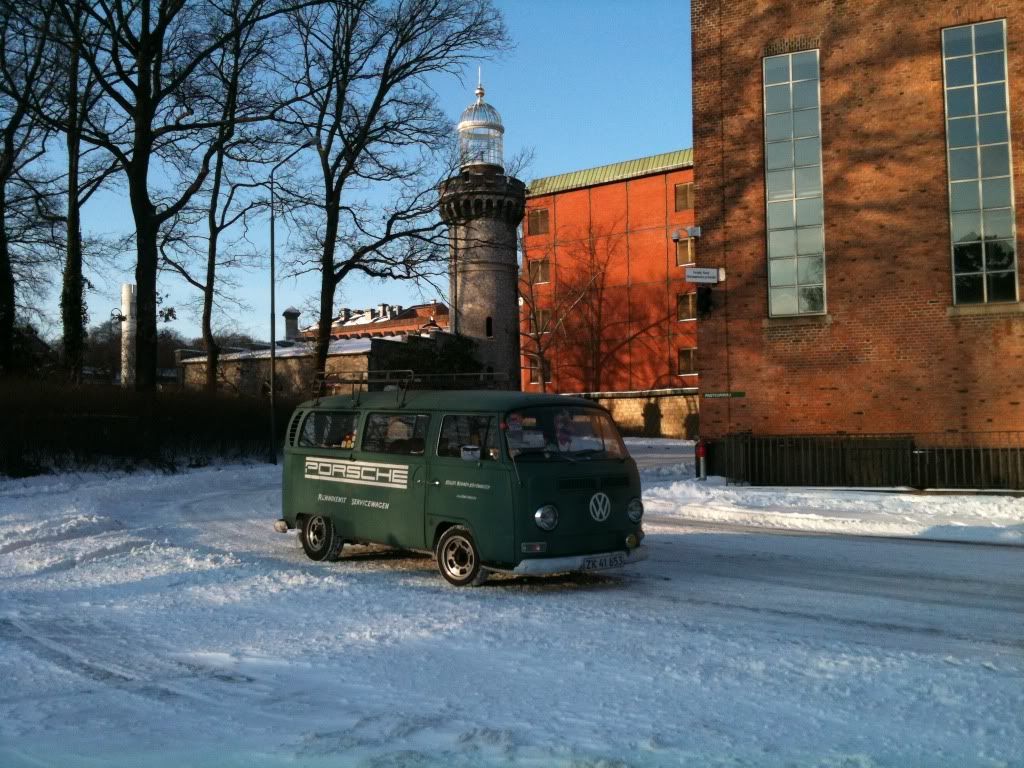
Here's the pics from today : .. looool iphone qual again , sorry

IMG_0359.jpg

IMG_0365.jpg

IMG_0366.jpg

IMG_0367.jpg

IMG_0360.jpg

IMG_0361.jpg

IMG_0362.jpg

IMG_0363.jpg

IMG_0364.jpg


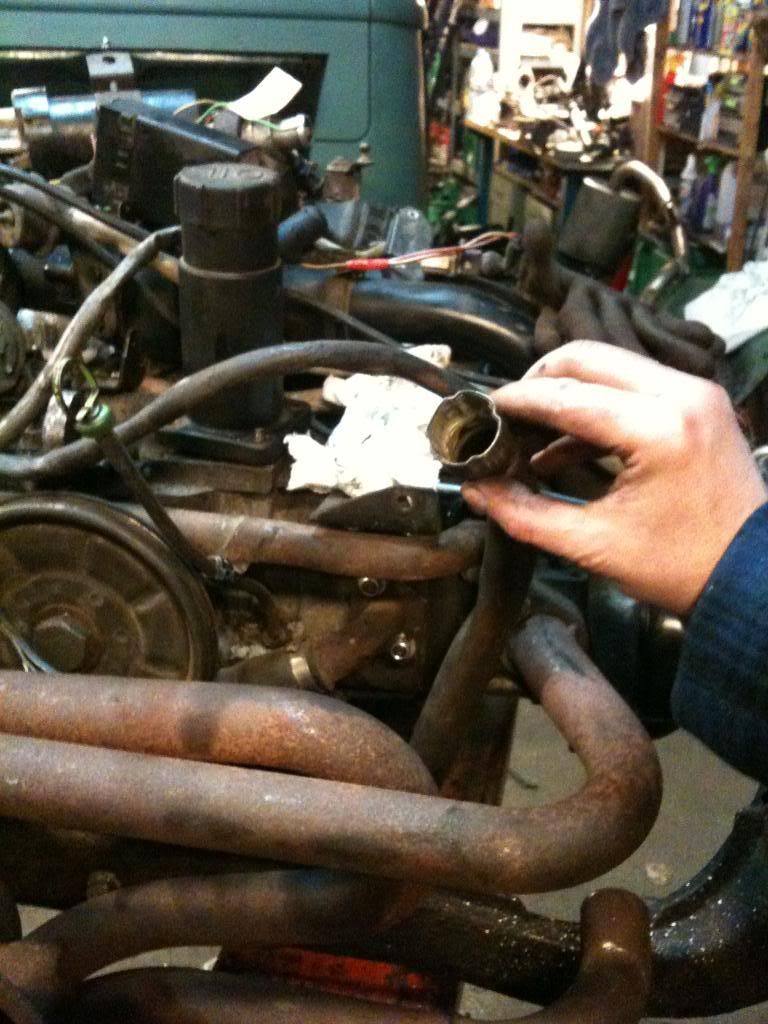
Also the pics i never got round to add from the oil filler re-configuration from front buttom placed to CT style top with cap.:
Here is how its done.:
( text is a little earlier in the tread: imagine this is a black and white charles chaplin movie only with funny music ( ohh add the music yourself as well ))
IMG_0345.jpg

IMG_0346.jpg

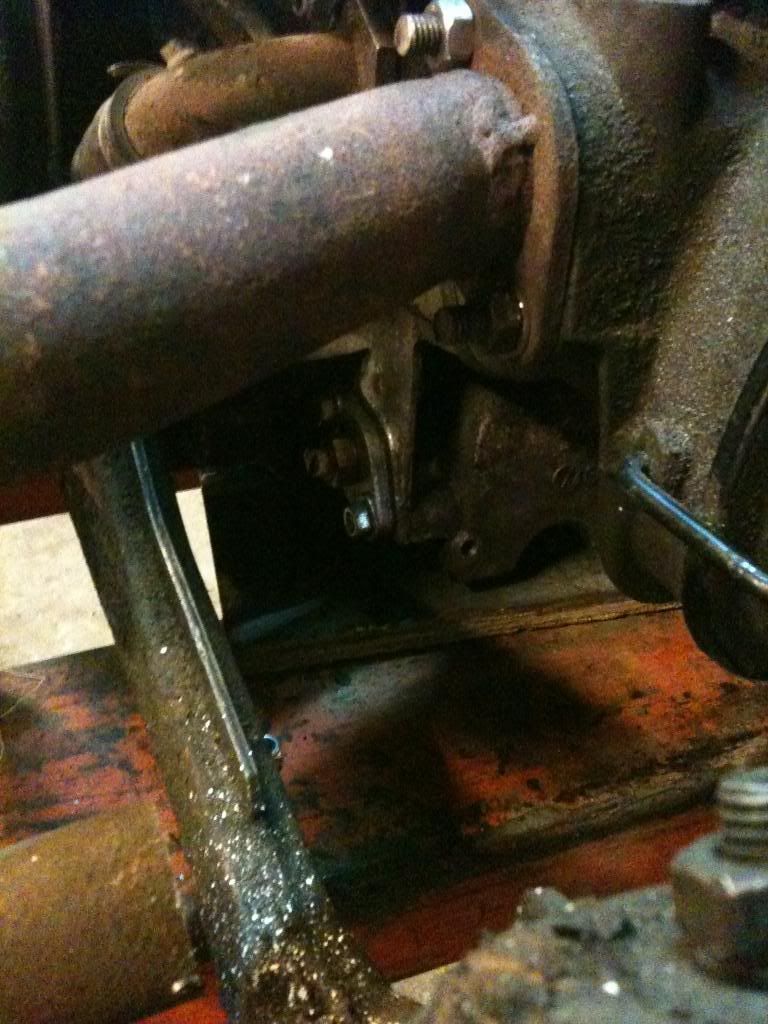
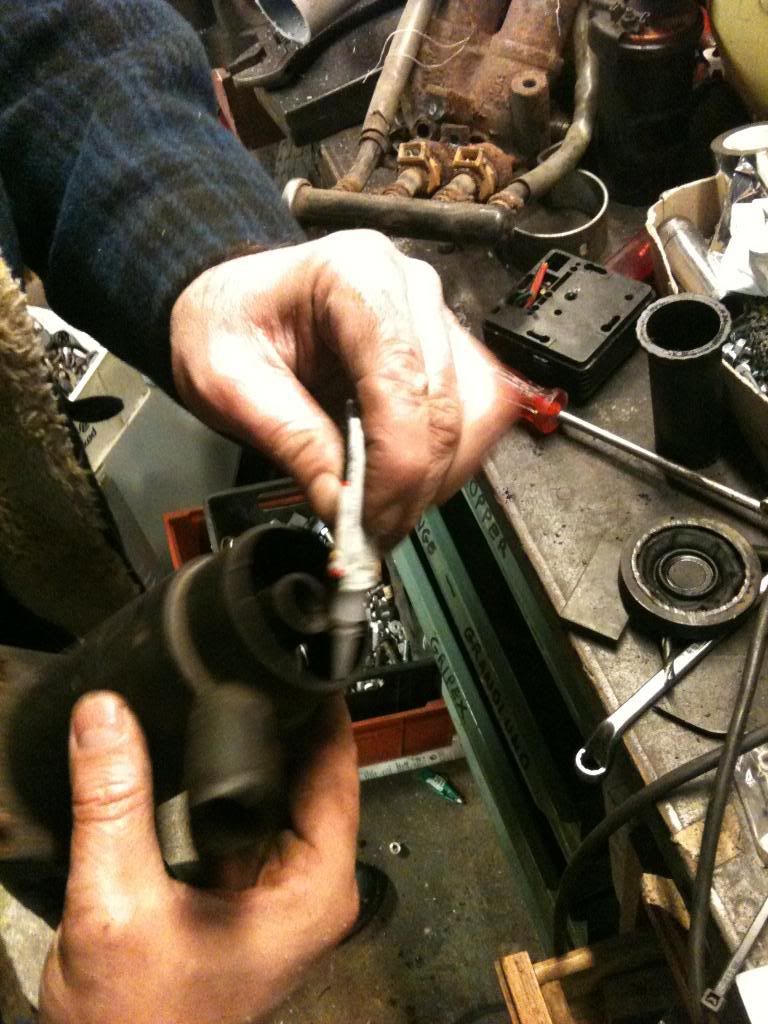
Temp gauge sensor added :
IMG_0325.jpg

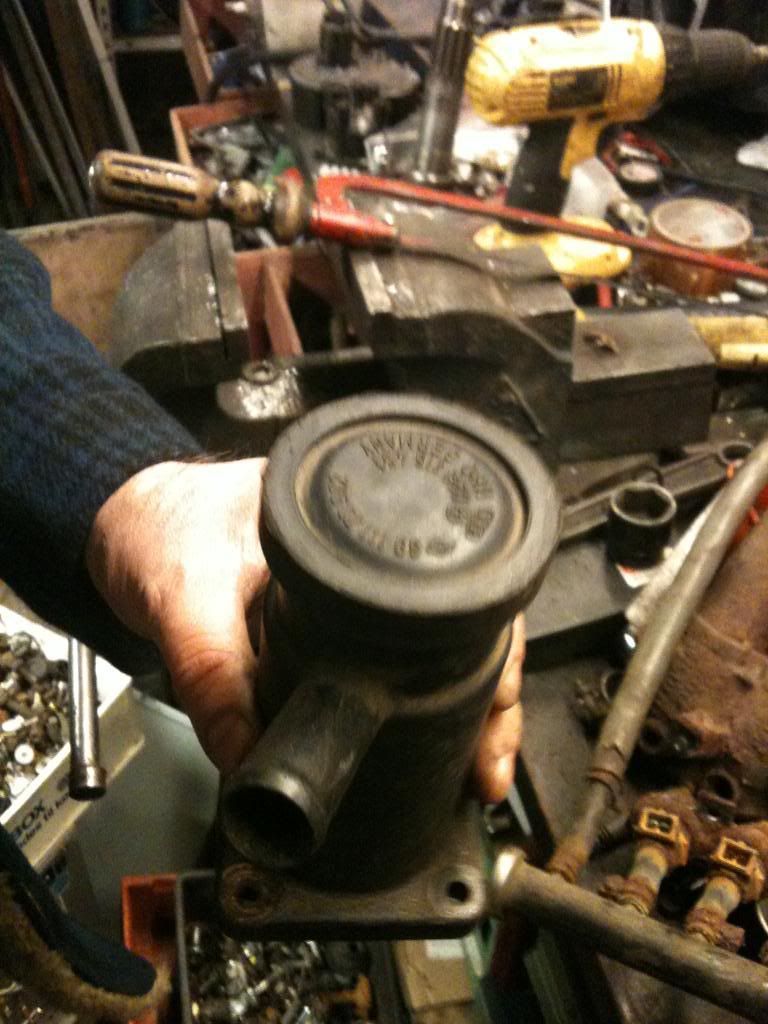
Orignal oil pressure relief houseing[
IMG]http://i266.photobucket.com/albums/ii241/PeterBrauner/Green%20Bay/IMG_0324.jpg[/IMG]
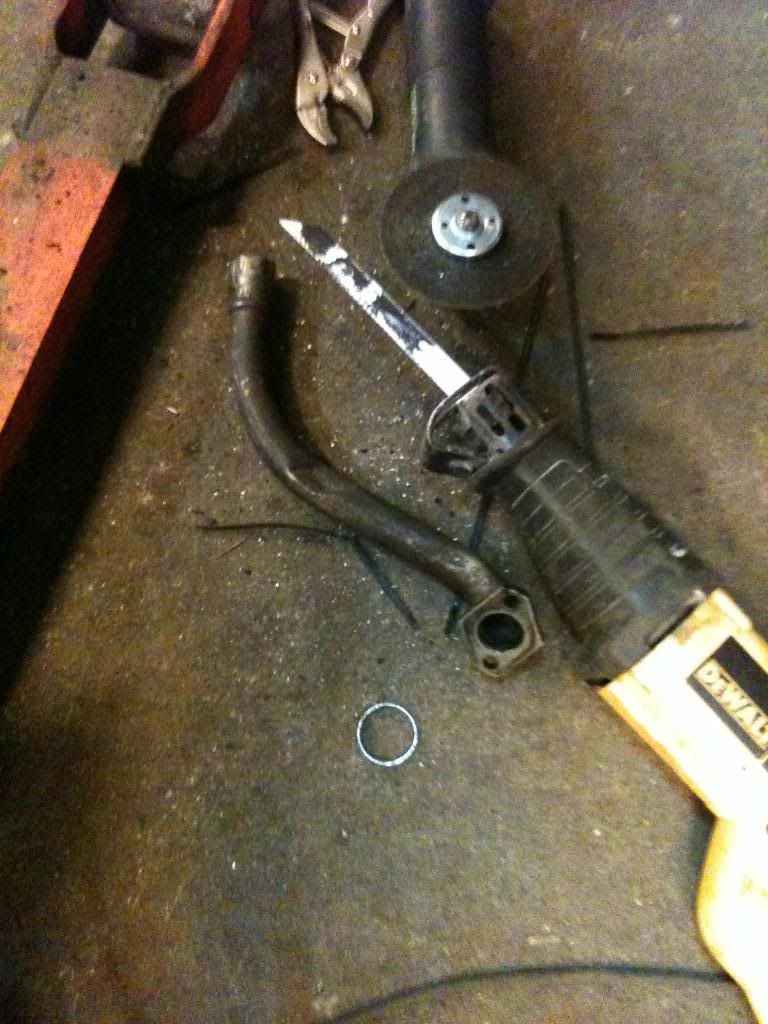
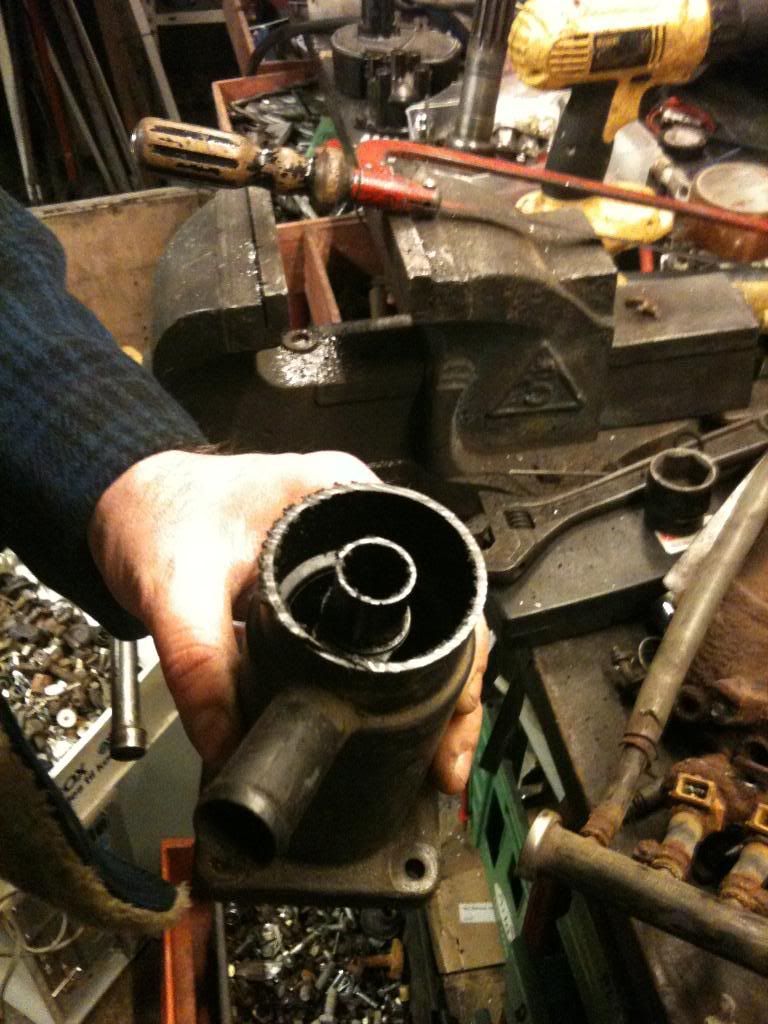
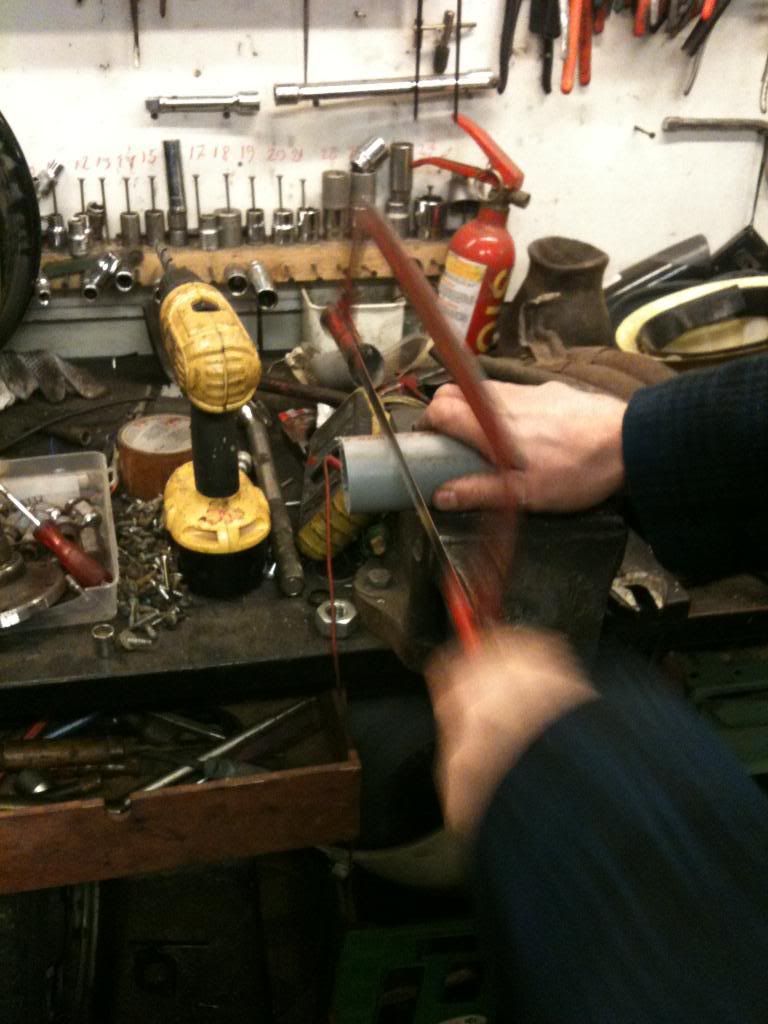
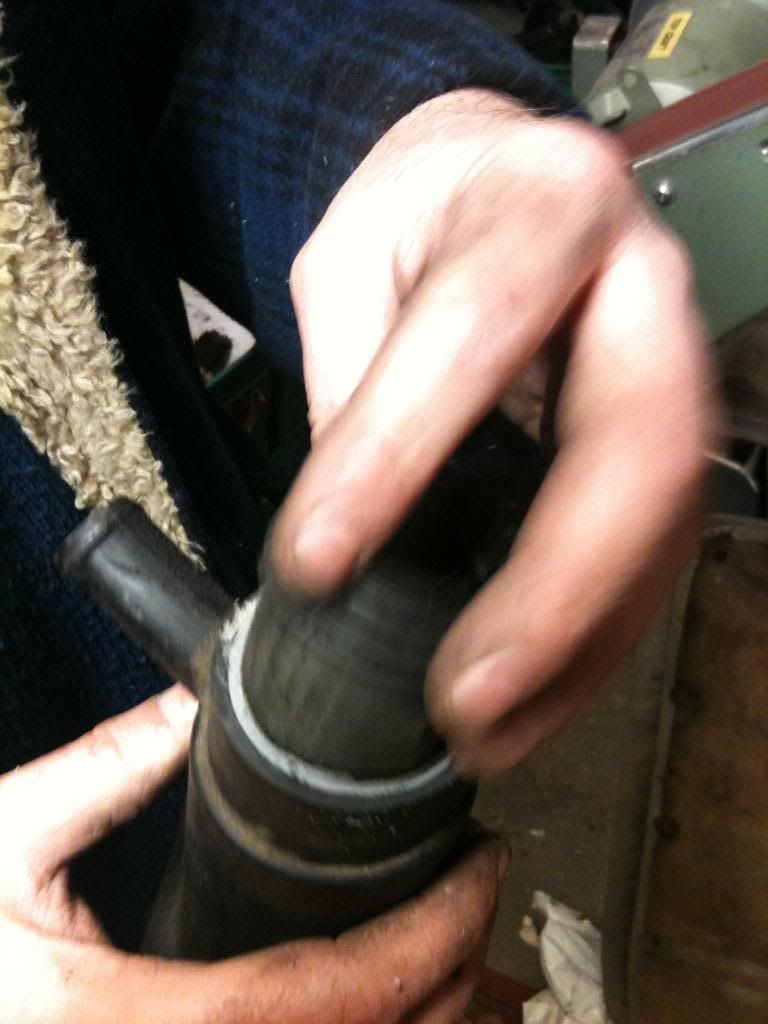
The cutting :
IMG_0326.jpg

Look pre cut:
IMG_0327.jpg

Post cut:
IMG_0328.jpg

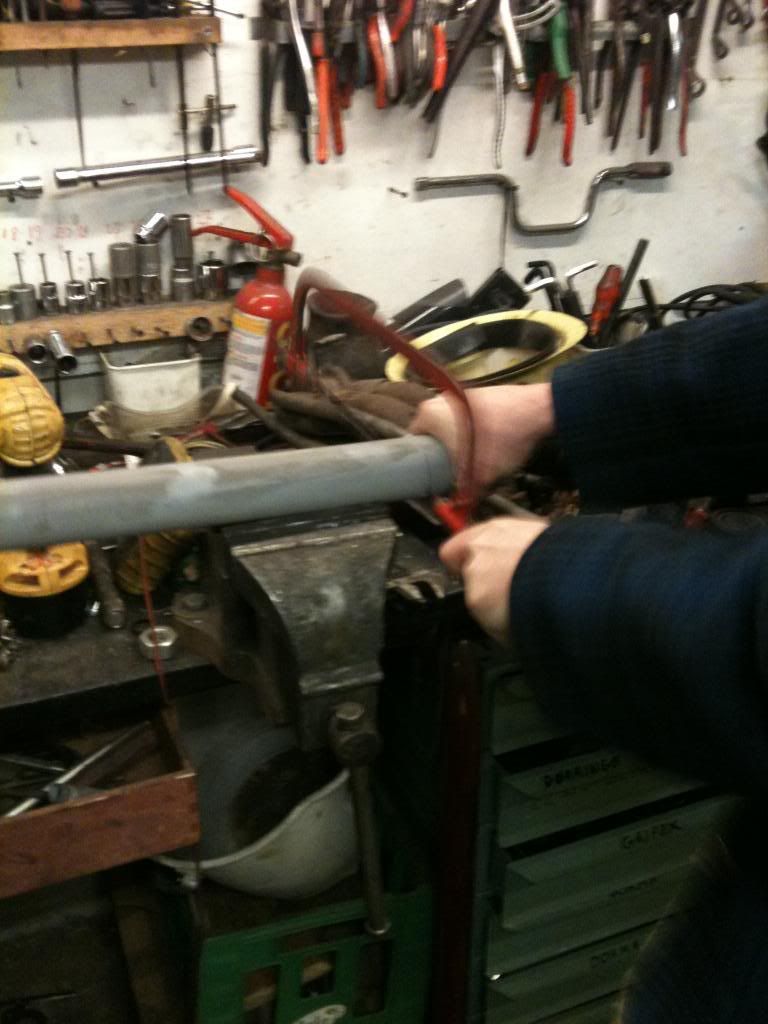
Cut the CT upright filler down to required lenght:
IMG_0329.jpg

Grind for relief outlet:
IMG_0330.jpg

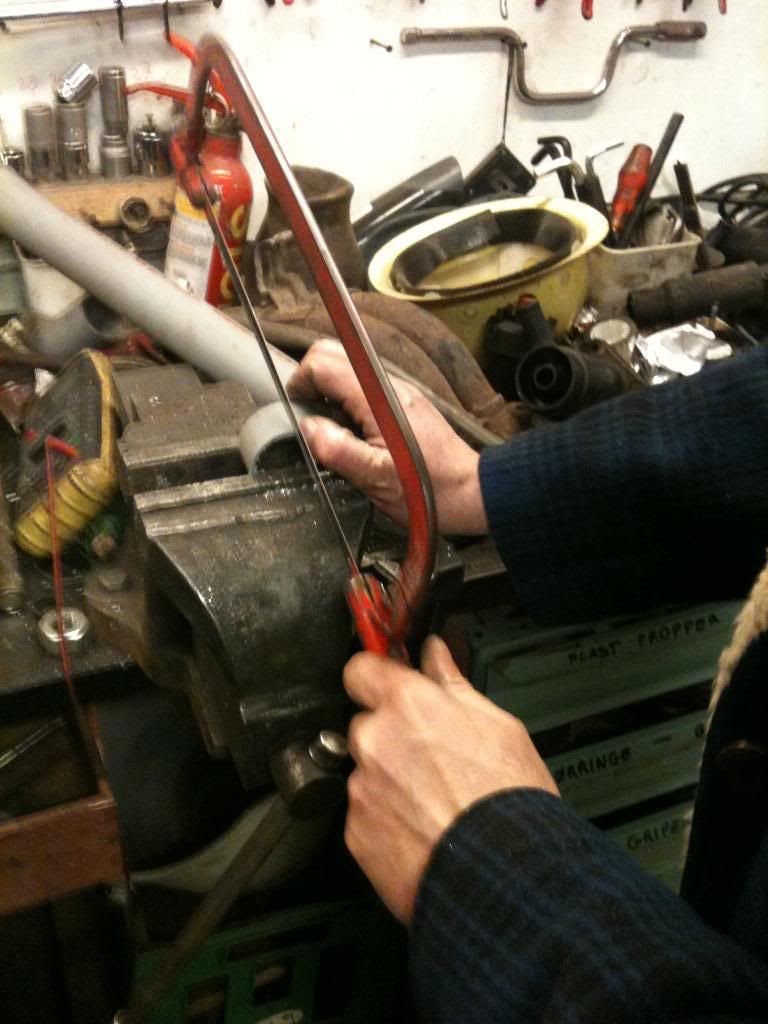
Cut a piece of drain pipe in correct size and thickness and grind for relief outlet as well.:
IMG_0331.jpg

IMG_0332.jpg

Custom size it if needed:
IMG_0333.jpg

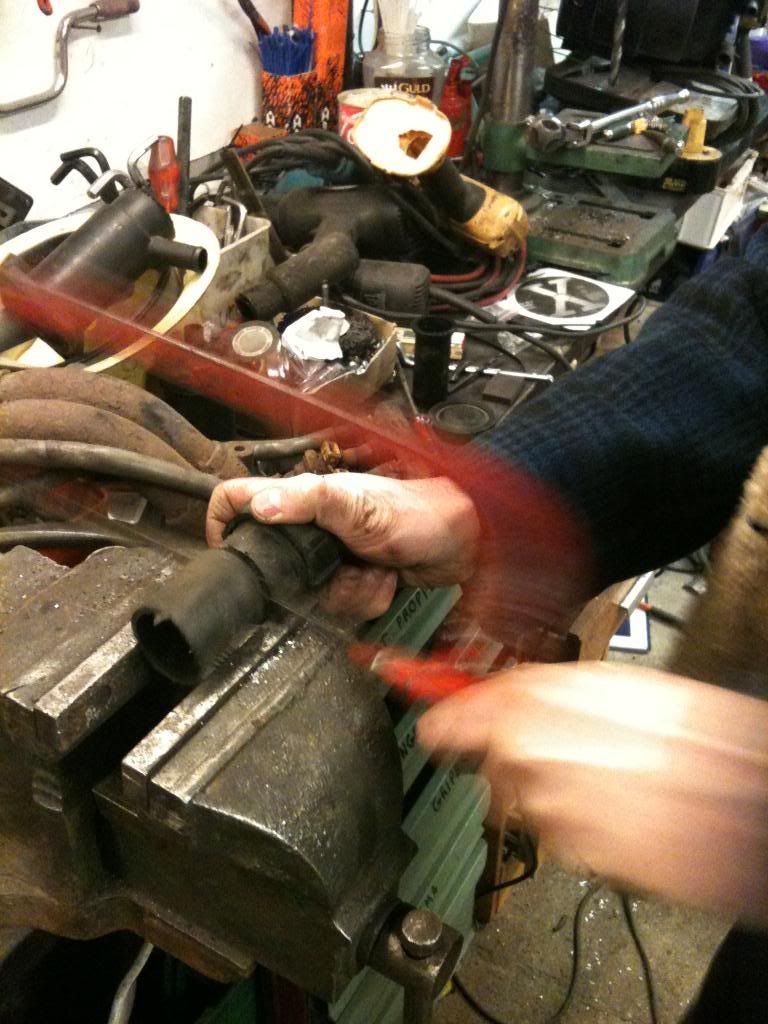
Make sure it alligns , clue it and smack it together:
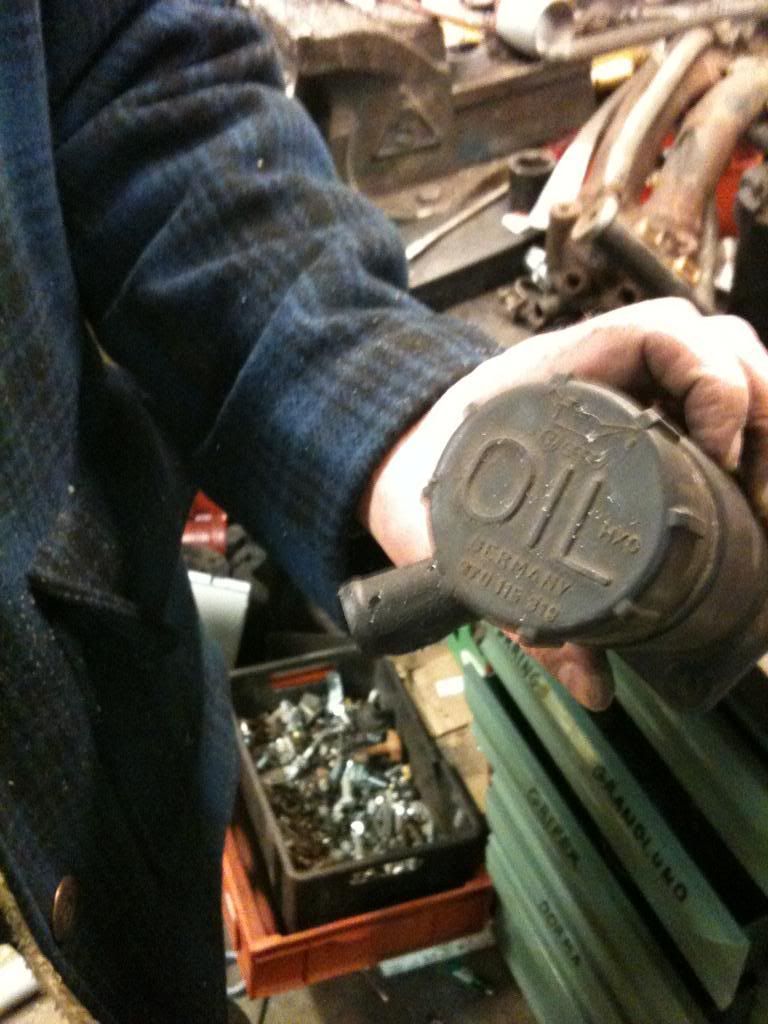
IMG_0337.jpg

IMG_0339.jpg

Done deal :
IMG_0343.jpg

Put oil filler cap on ... AFTER ITS DRIED.... looool Or feel stupid ...your choice.. lol
IMG_0344.jpg


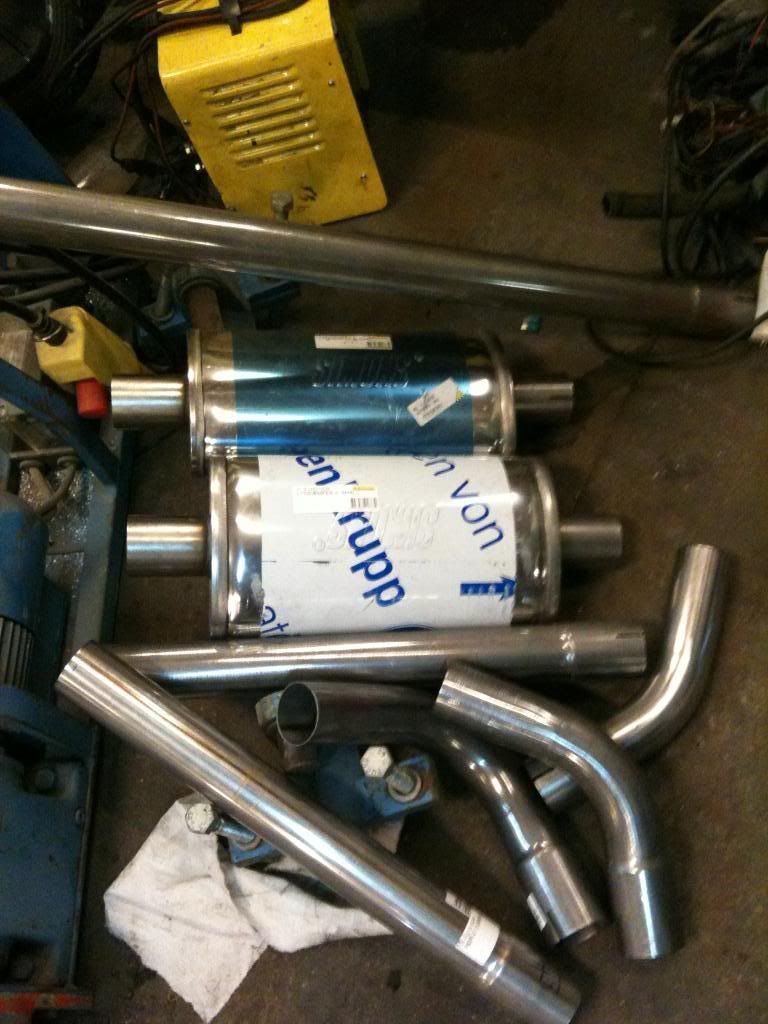
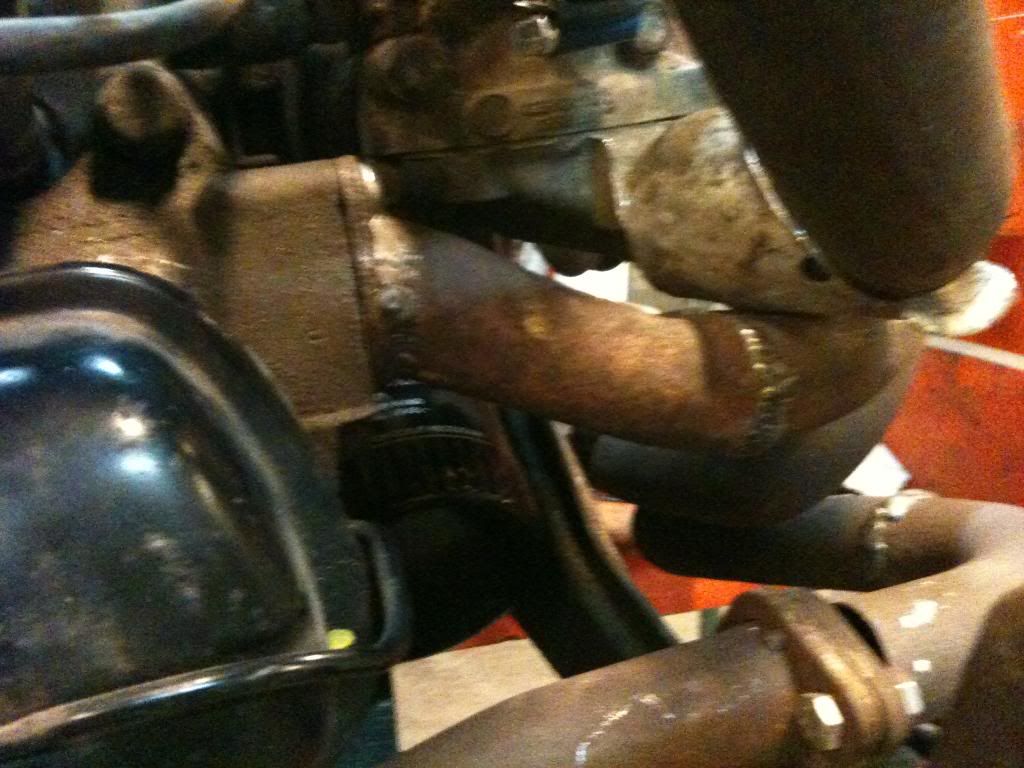
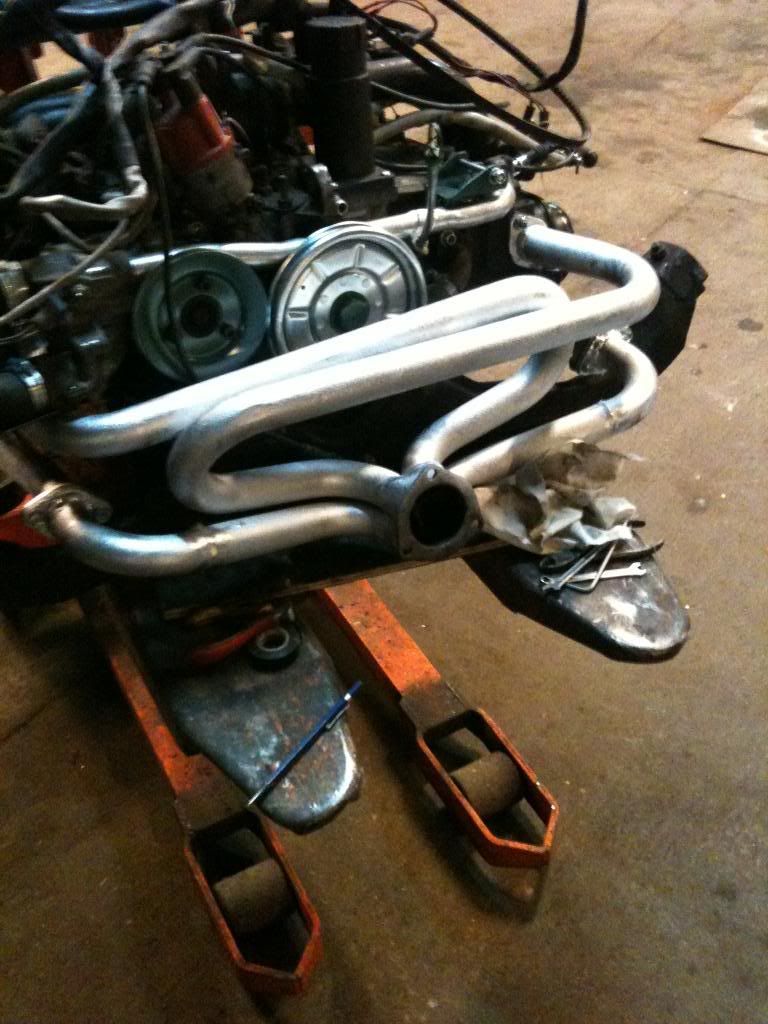
Also have to custom build a exhaust system for it to be a tight fit that leaves me with good ground clearance
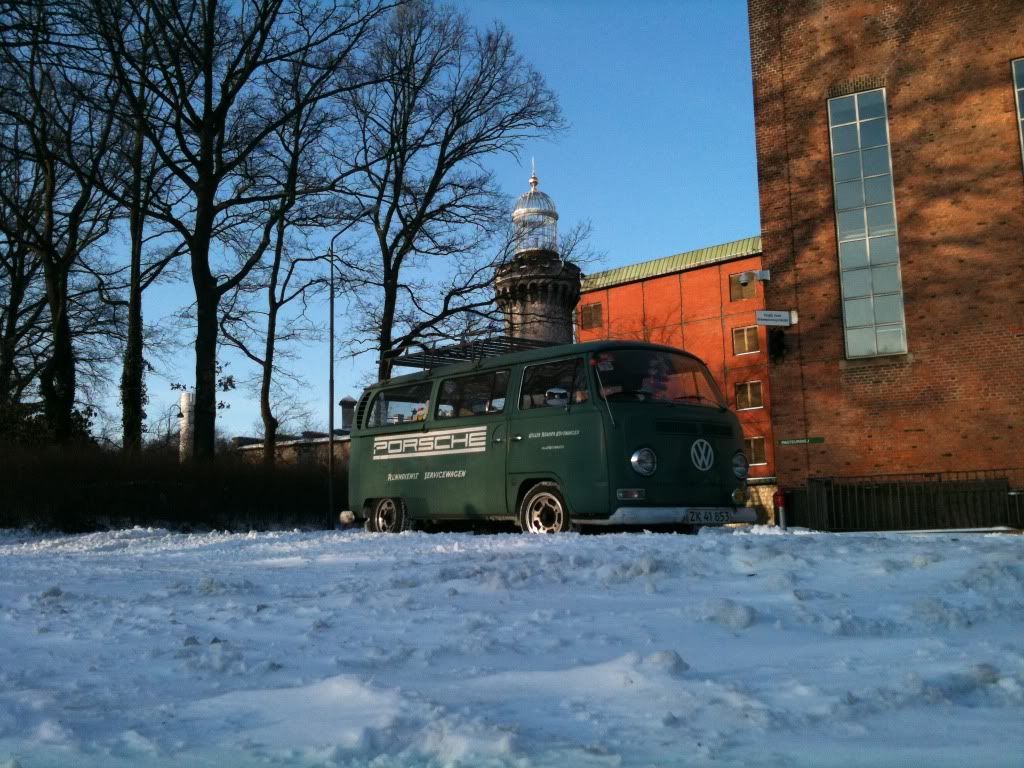
being a bit slammed as we all like :
So out of this bunched of metal comes .. vroom vrroooom vrrooooooooooooom ..just deeper.-:)
IMG_0368.jpg


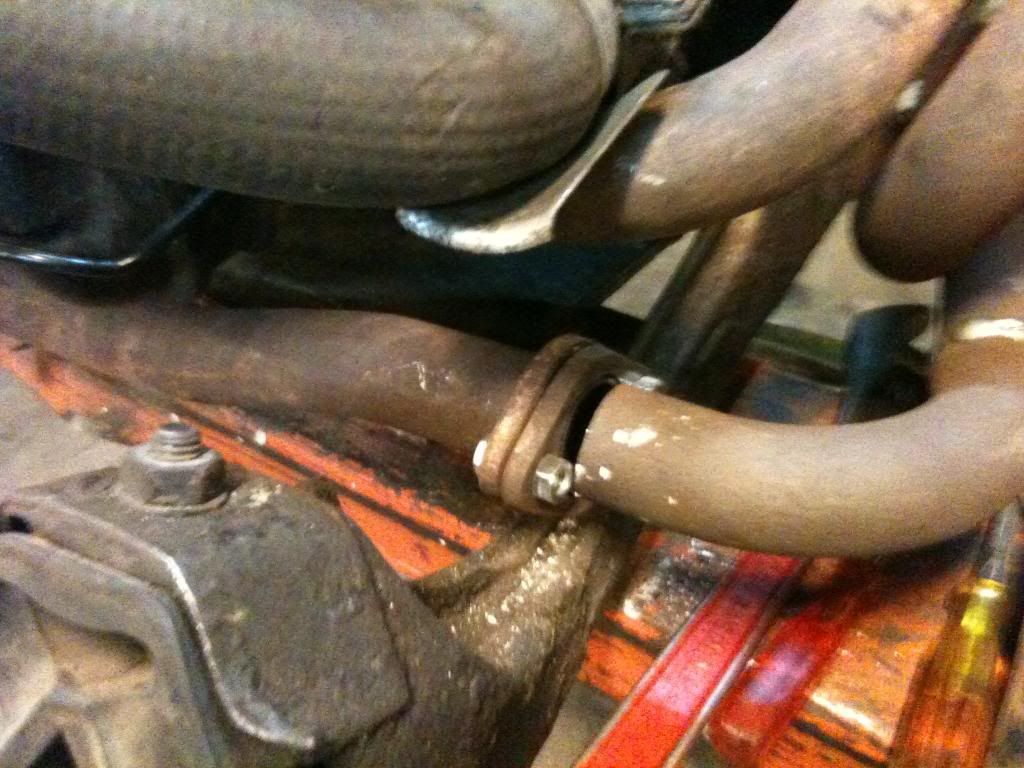
The type 1 exhaust have to be altered a bit on cyl4 for better clearance:
IMG_0369.jpg

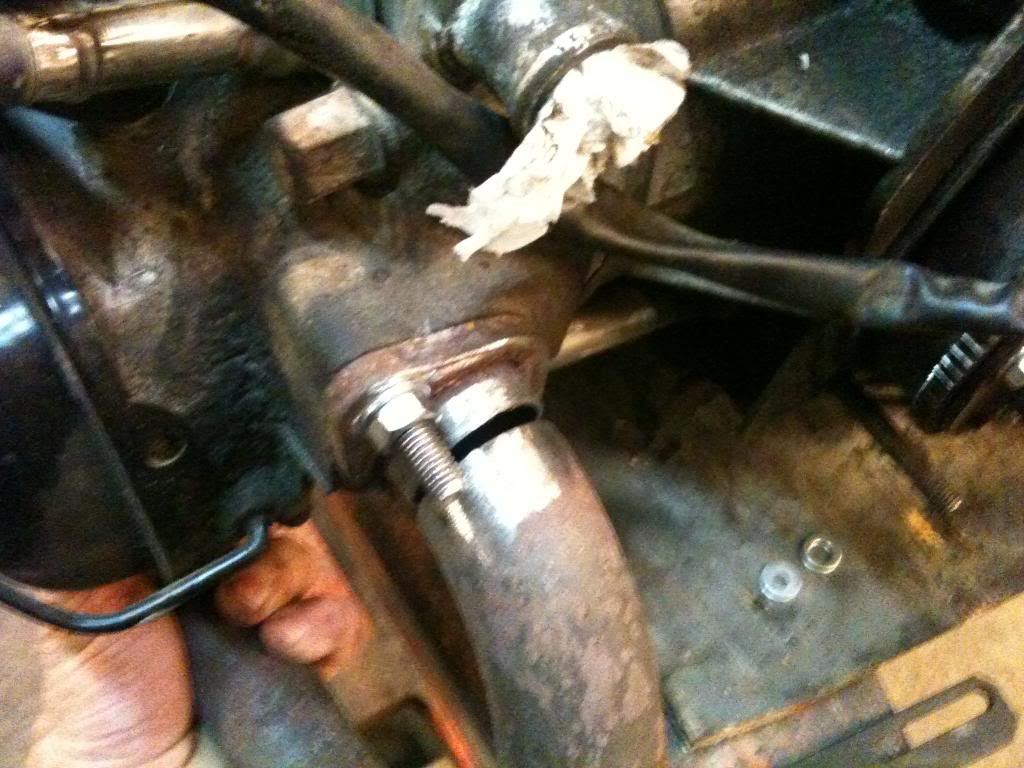
And have flanges added to fit properly:
IMG_0370.jpg

useing type 1 also means the flange has to be tilted to fir on cyl 1: o cut , turn and weld.!
IMG_0371.jpg


Thats all folks .. more tomorrow :
 
Soooo....

I have been soo lazy its simply not true. but i guess i'll get there soon .

Got a little done the past days.
We got the exhaust welded up , grinded and painted with AL-800 aluminium spray to see what that looked like.
And it fits. . nice
IMG_0381.jpg

IMG_0382.jpg


Then i got bolts inserted from the back side of the firewall to provide fixing points for the wiring and different boxes
ignition coil and so ... hopefully providing a somewhat tidy engine bay
IMG_0380.jpg

IMG_0379.jpg


Now its in the hole but i'd really like NOT to cut into the plates either side of the engine and right now
the injectors haven't got enough albowroom .... hmm shit.
So without cutting the initial plan is to raise the engine by 10mm on the mounts in the rear and also to change to two
rubber hoses from the injection brigde into the injectors ad replace them with slightly longer ones.
Hopefully that'll do it., really don't want to cut into the bus.

I'll have some more pictures up soon ...
Also a few things like a radiator placed underneath , hoses and so i forgot to take pictures of.
we'll have to see how its functions in real life ..hopefully soon.
 
Had a little vacation in the caribean ocean in Bahamas doing some diving for 6 weeks but home again and getting the bus ready for Hannover 1st of may meet..

Anyone from the UK going to there????

So now the bus is running with the WBX installed and boy what a difference.!!
112hk with lots of buttom torque on the 1500 type 1 gearbox and you have a bus that drives like a much newer car. Plus people wander why i can keep up Looool.
If only they knew.
The exhaust sounds nice and low, rumbles a bit nut makes little noise and lets me drive without causing to much attention .. plus on the motorway its a nice quiet ride... perfect
Got a sandwich plate yesterday with new hoses so i can have a lower oiltemp , the Vaxhaul watercooler seem to work as planned.
Hearter installed under the rear set. have a extra little cooler to make an extra one for the front of the bus.
And on top of that My chief mechanic Jesper Danborn has a water heater to install on the fuel/water lines...
Perfect if needed for the cold nights at V-dubs meets throughout summer.
The Porsche steering wheel still isnt in but i was busy diving . lool

Here are a few pics after the engine got installed.:
Looks quite nice and looks very suttle.

Heater under rear seat:
foto-8.jpg


Opel 2.0 radiator
foto-7.jpg


Engine installed
foto-1-1.jpg

foto-2-1.jpg


Tried to get the new exhaust tugged in so it didnt scape on the ground with all our high speed bumps throught town .loool
foto-3-1.jpg

foto-4.jpg

foto-5.jpg

foto-6.jpg
 
A few winterpics from the test run just before i crawled into a airplane and went to Bahamas.*S*

Setting : The now closed down old Carlsberg Brewery

IMG_0421.jpg

IMG_0420.jpg

IMG_0419.jpg

IMG_0418.jpg

IMG_0417.jpg


Buses rocks .. no matter when and where..-:)
 
Thank You very much
Its got high jacker from monroe on the front and they were pumped a bit more than usual .
And i have a set i need to put on th erear as well and then i have adjustable spring plates lying i need to mount as well.
After that i should be able to go lower for standing still and higher if needed to drive perfectly.!!

Taking it to Hannover 1st of May meet to have fun ..!!
Are you going there this year ??

Peter
 

Latest posts

Top