

After just a few short months I'm pleased to announce that Dexter is ready to roll.
I appreciate that what we've done to him may not be to everyone's tastes, especially the traditionalists amongst you, but our vision from the outset was to have a traditional looking van from the outside, but something a little more contemporary on the inside. We're chuffed with what we've achieved.
We decided that we'd do as much work on Dexter ourselves as we could. In the end we did EVERYTHING besides fit the leisure battery, this was mainly due to time constraints and the fact that the existing wiring was a complete mess.
Apologies for the quality of these pics, the iPhone camera is not the best.
Hope you like...
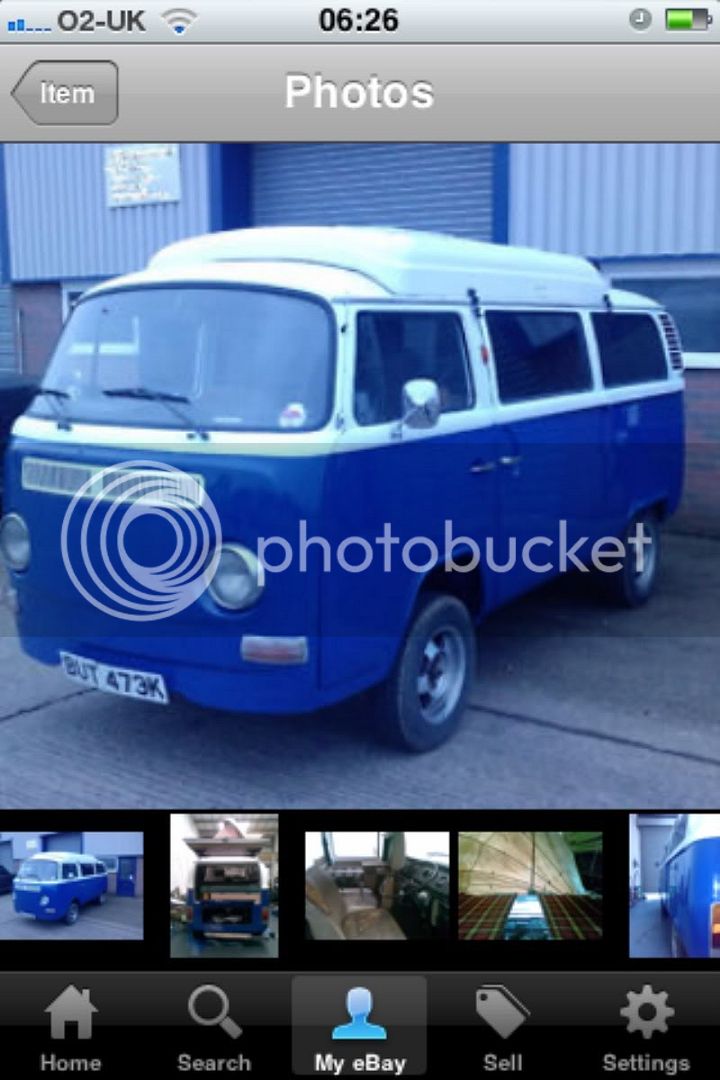
Screengrab of the eBay ad.
We had a vision of what we wanted, and set out to buy a mechanically and bodily sound early bay, but weren't overly bothered about the state of the interior. We found one on eBay that looked ideal and ended up getting it for the kind of price we had in mind. Body looks sound, and the engine seems good (So far!)
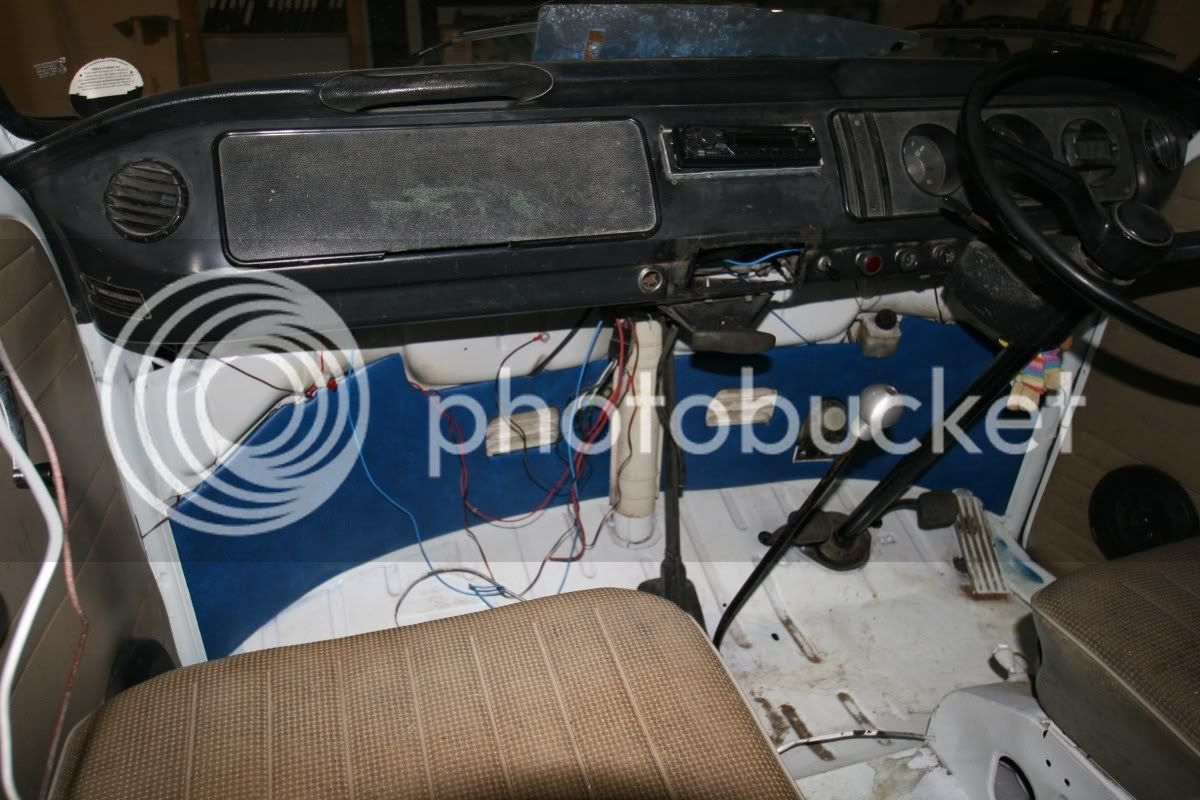
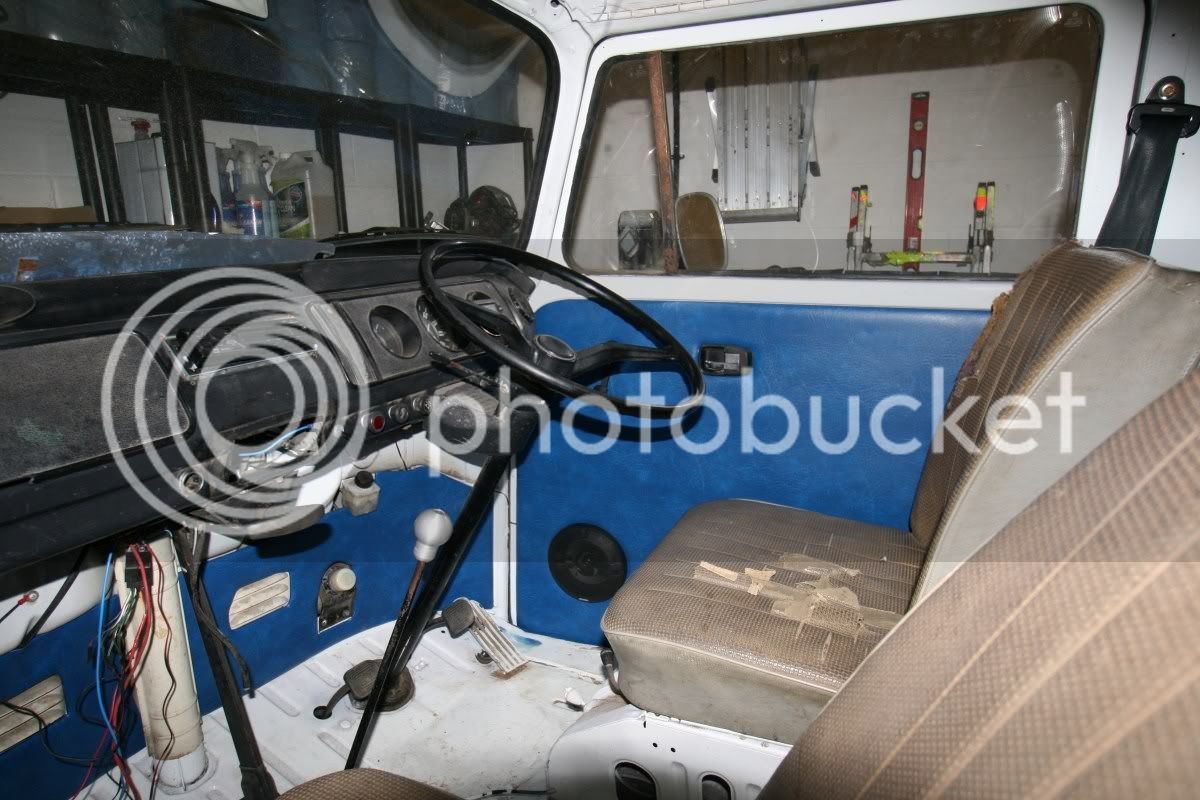
First job after driving home was to rip out the existing Dormobile interior in it's entirety. Everything behind the front bulkheads was removed, most of it went straight to the tip, with the exception of the cupboard front, as this would be used to save a little time when measuring and cutting the new items.
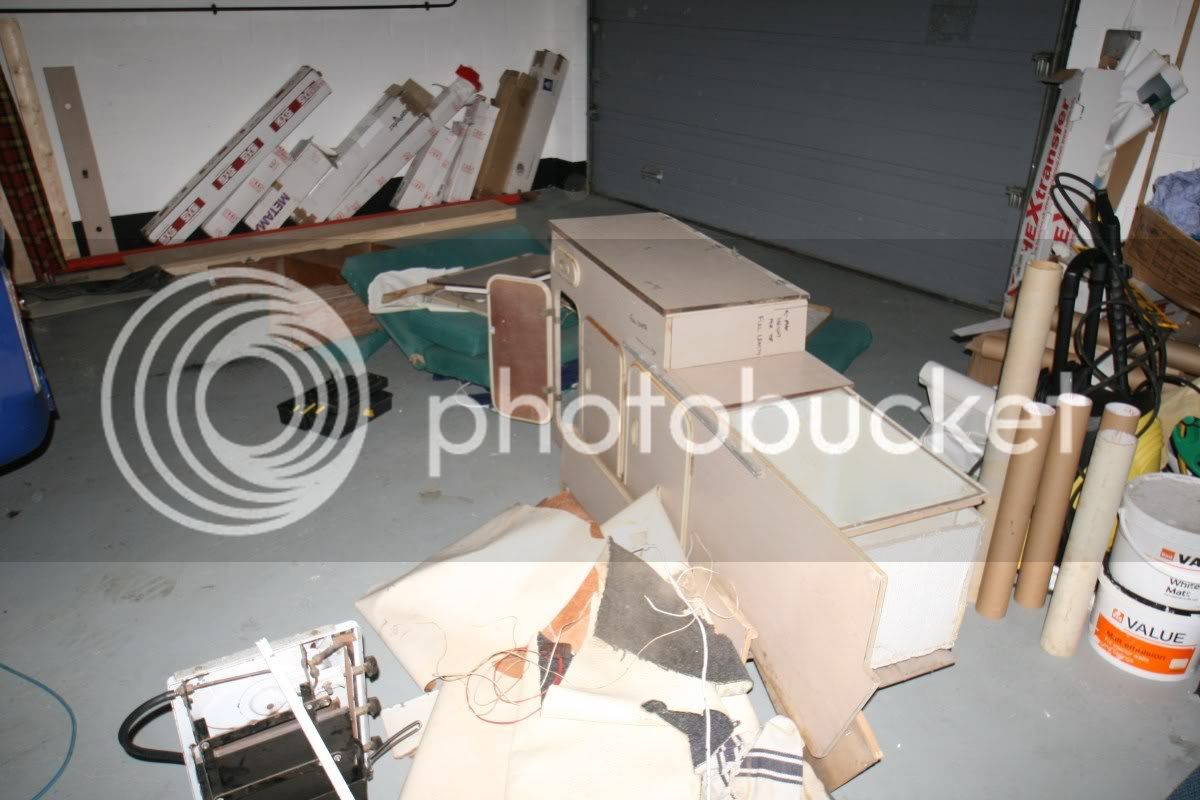
We have kept the original bunks, which are a little tatty, and the under-seat cooker. If anyone wants them then give us a shout.
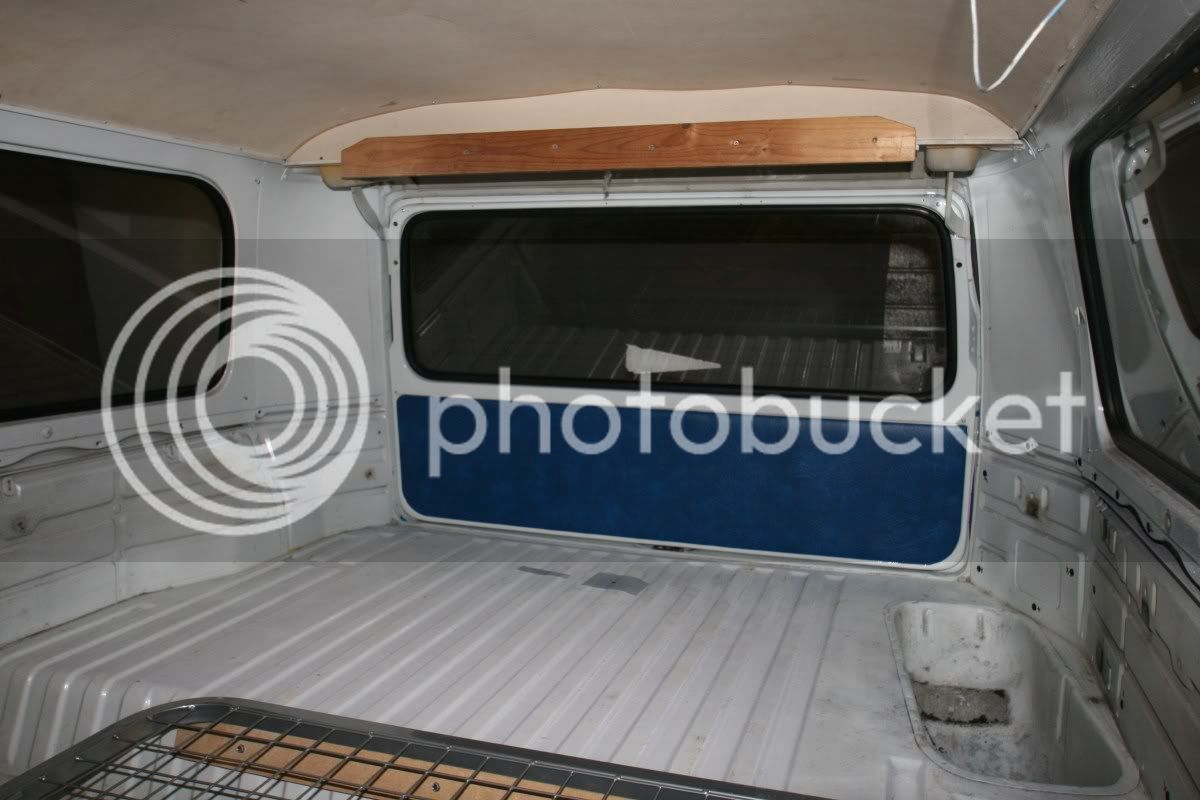
We also removed the front kick panels and all door / panels cards.
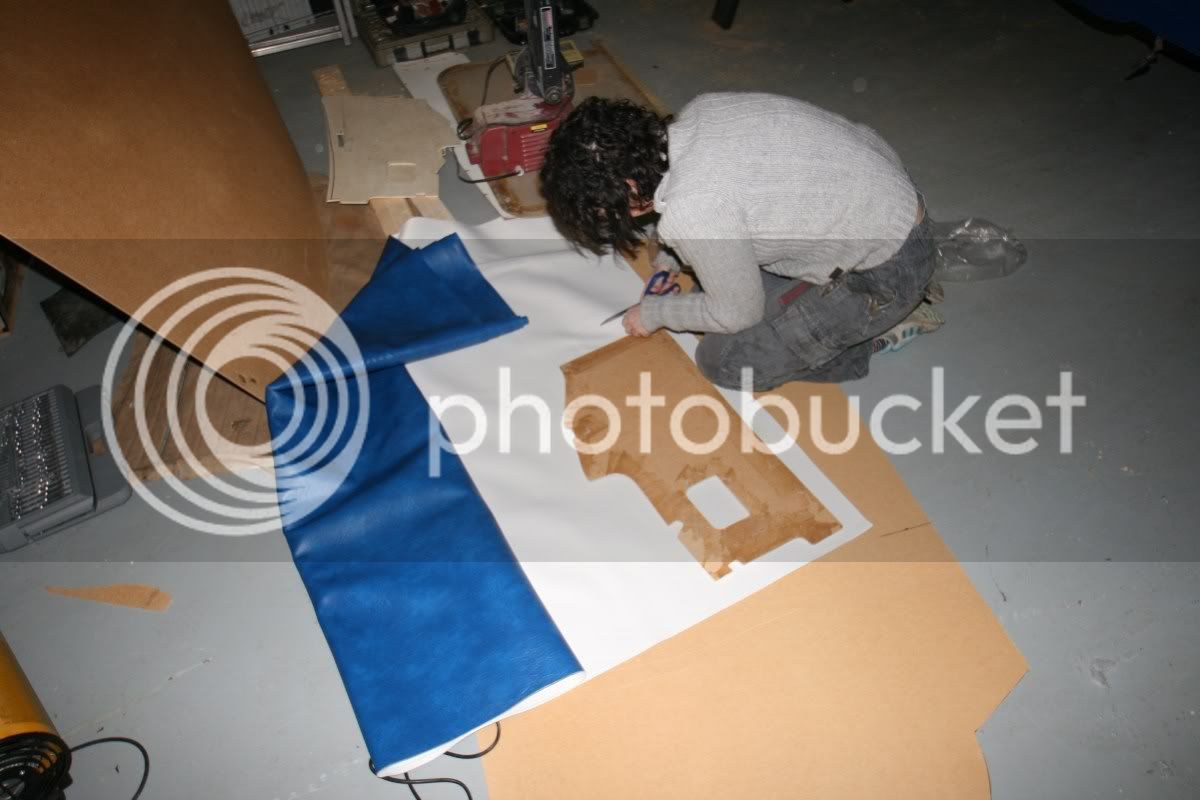
New items were cut from 3mm hardboard and covered in foam & vinyl before re-fitting
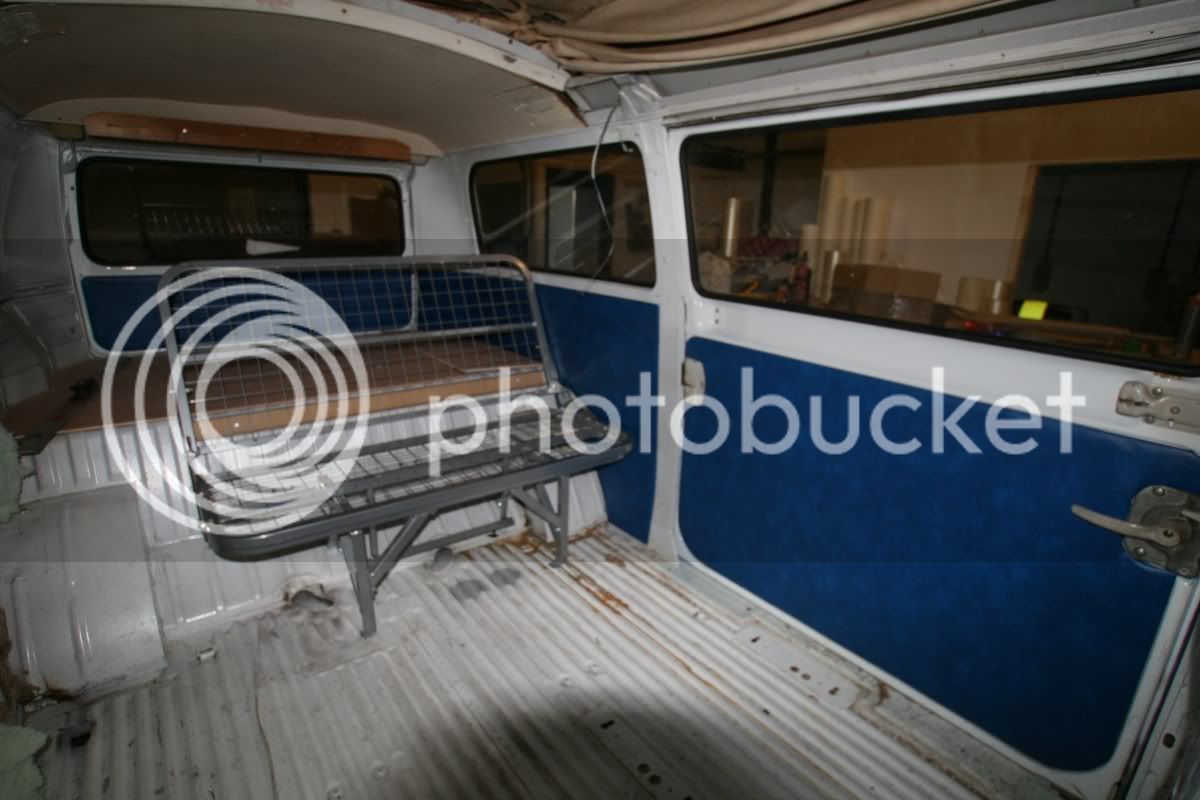
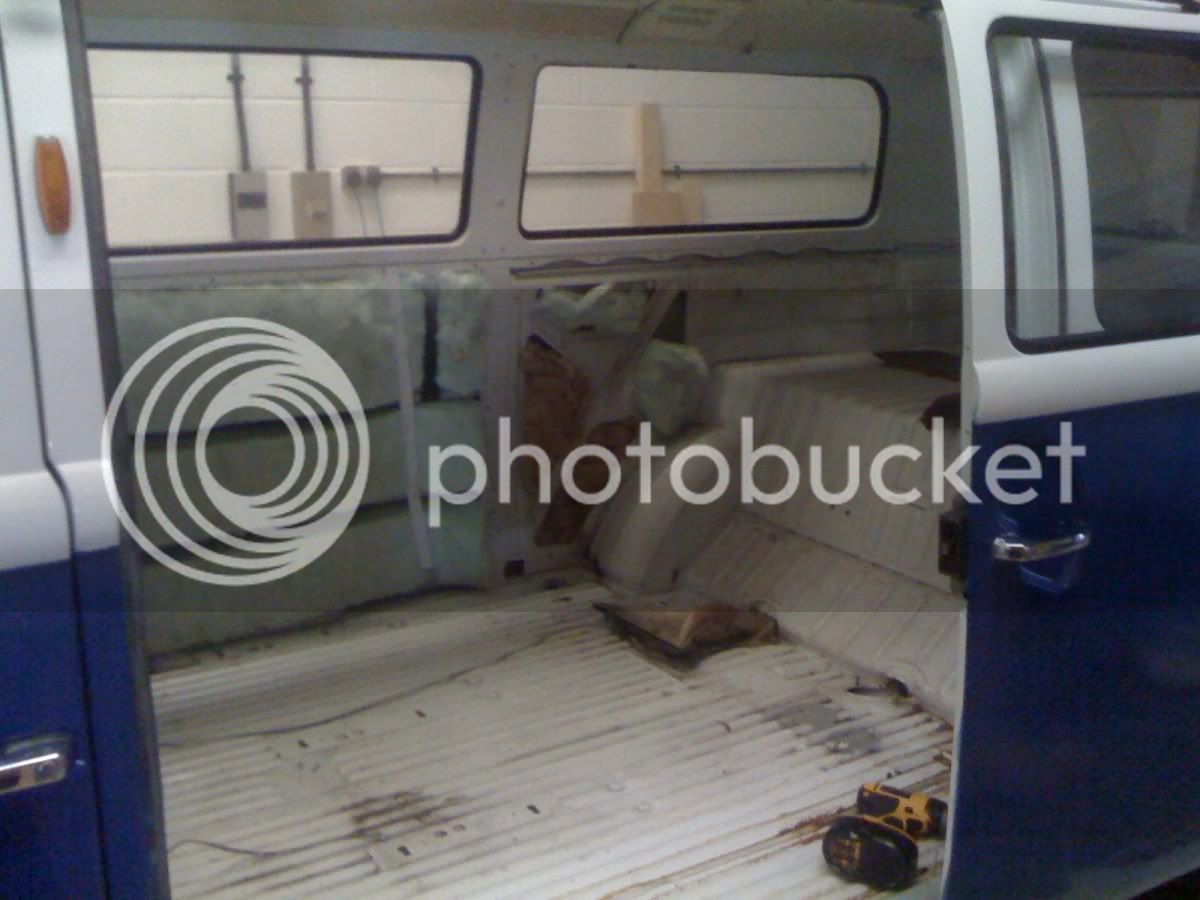
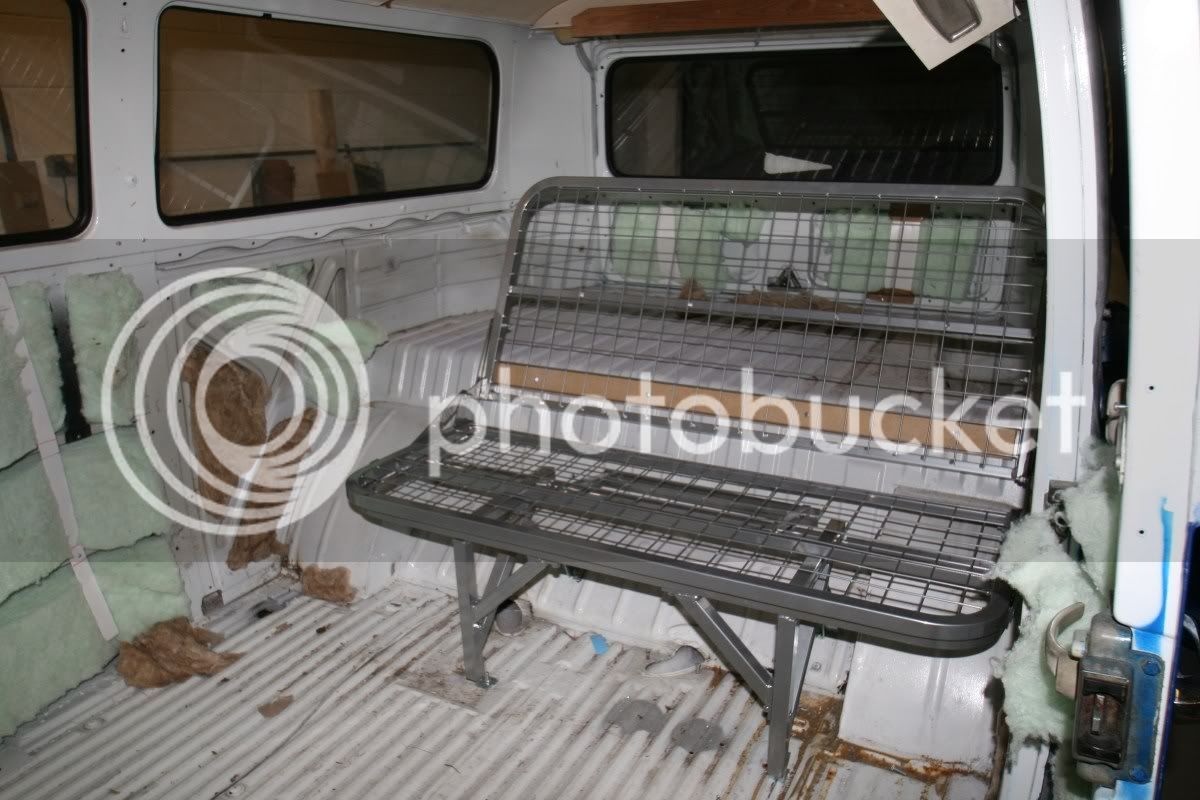
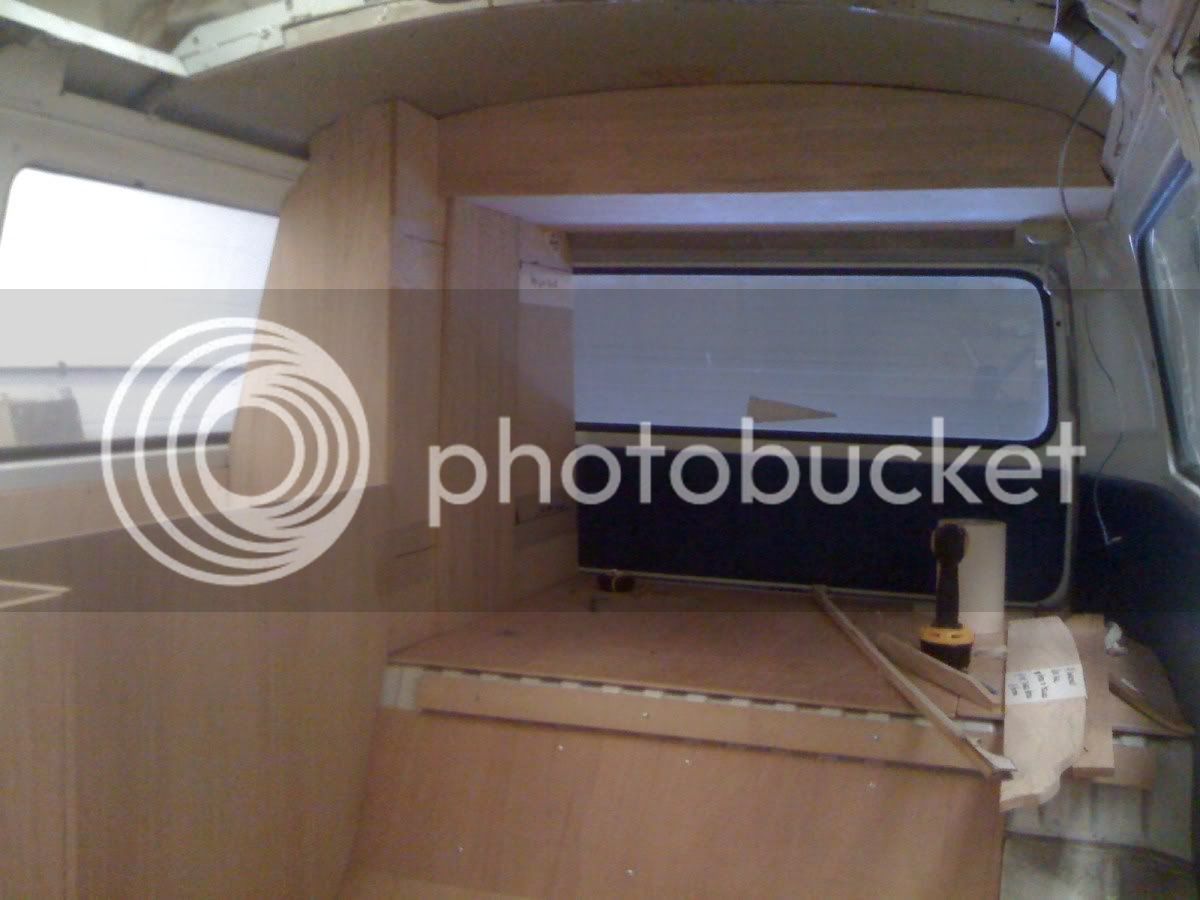
We also purchased a 3/4 Rock 'n' Roll bed. Here it is being test-fitted
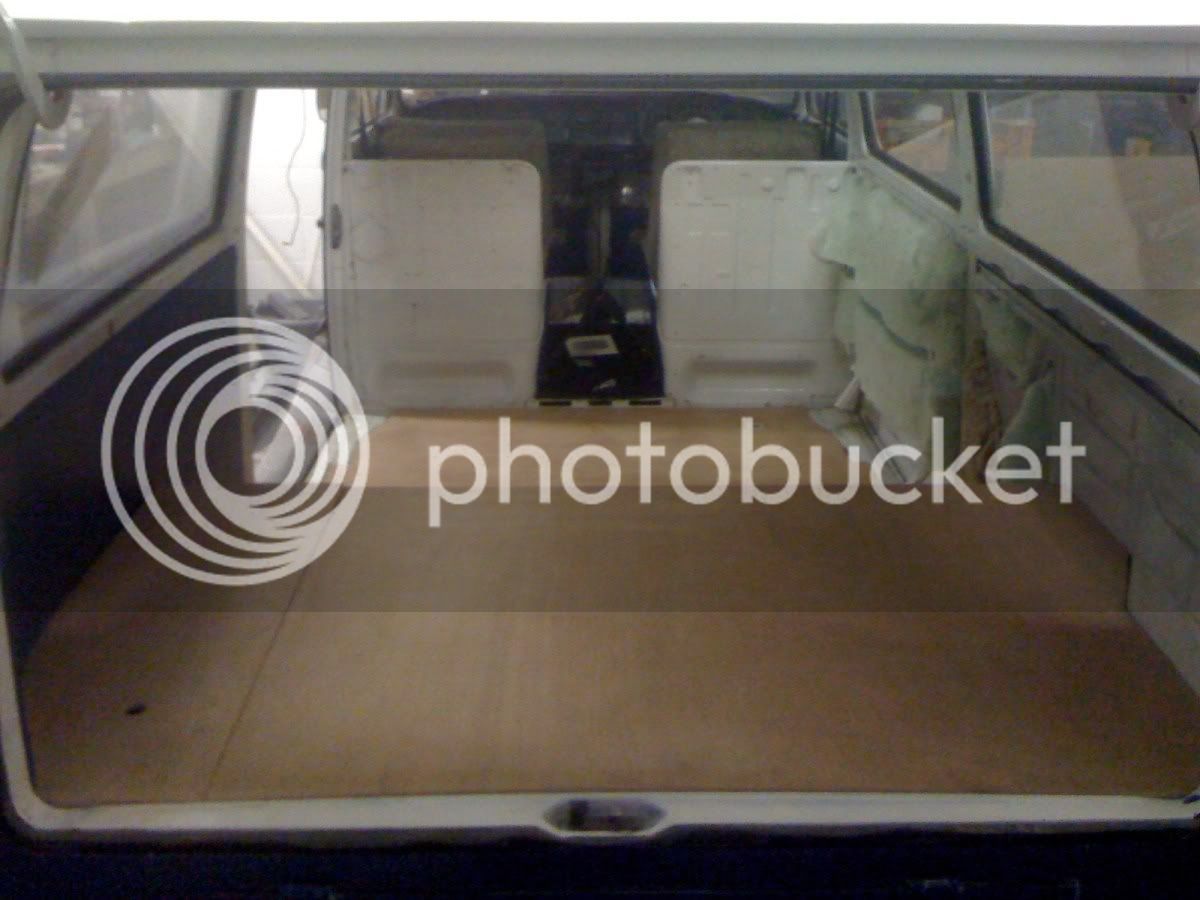
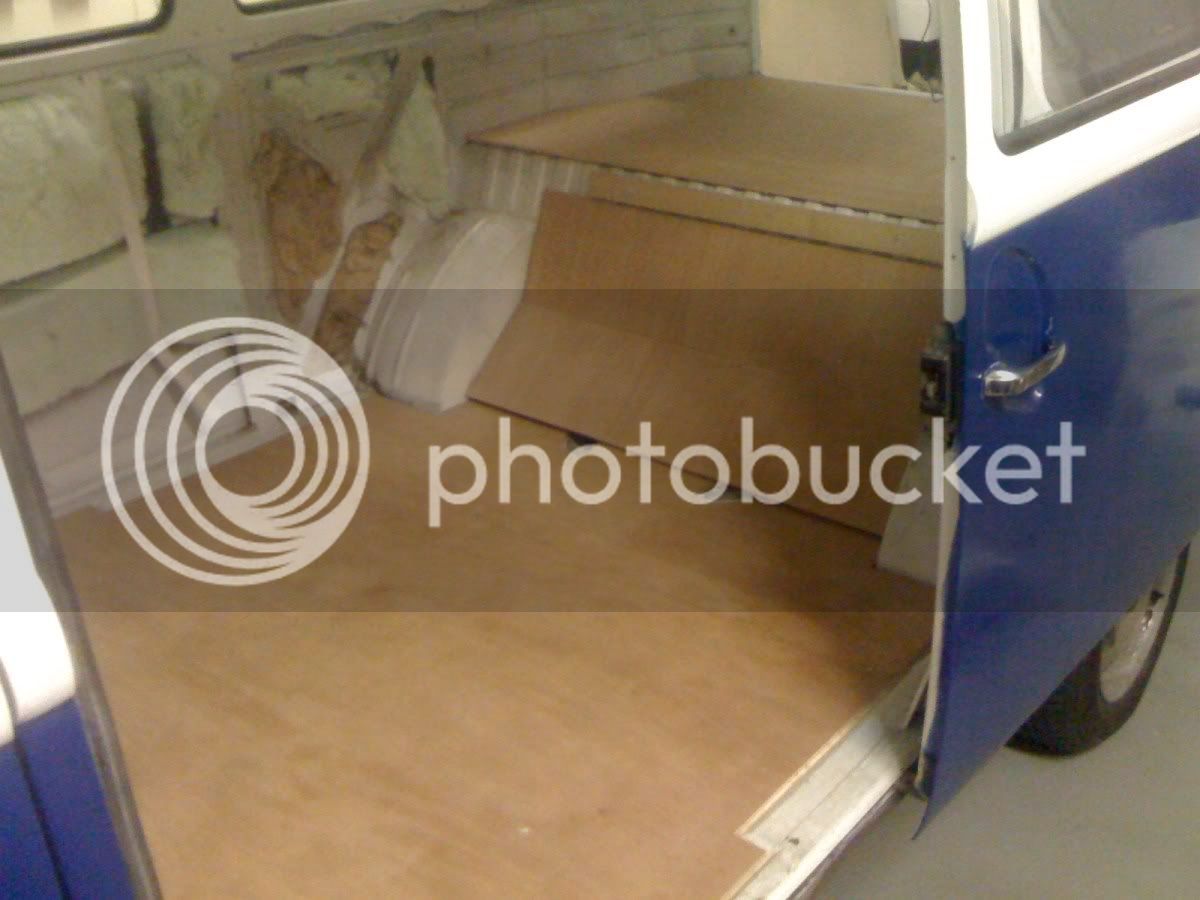
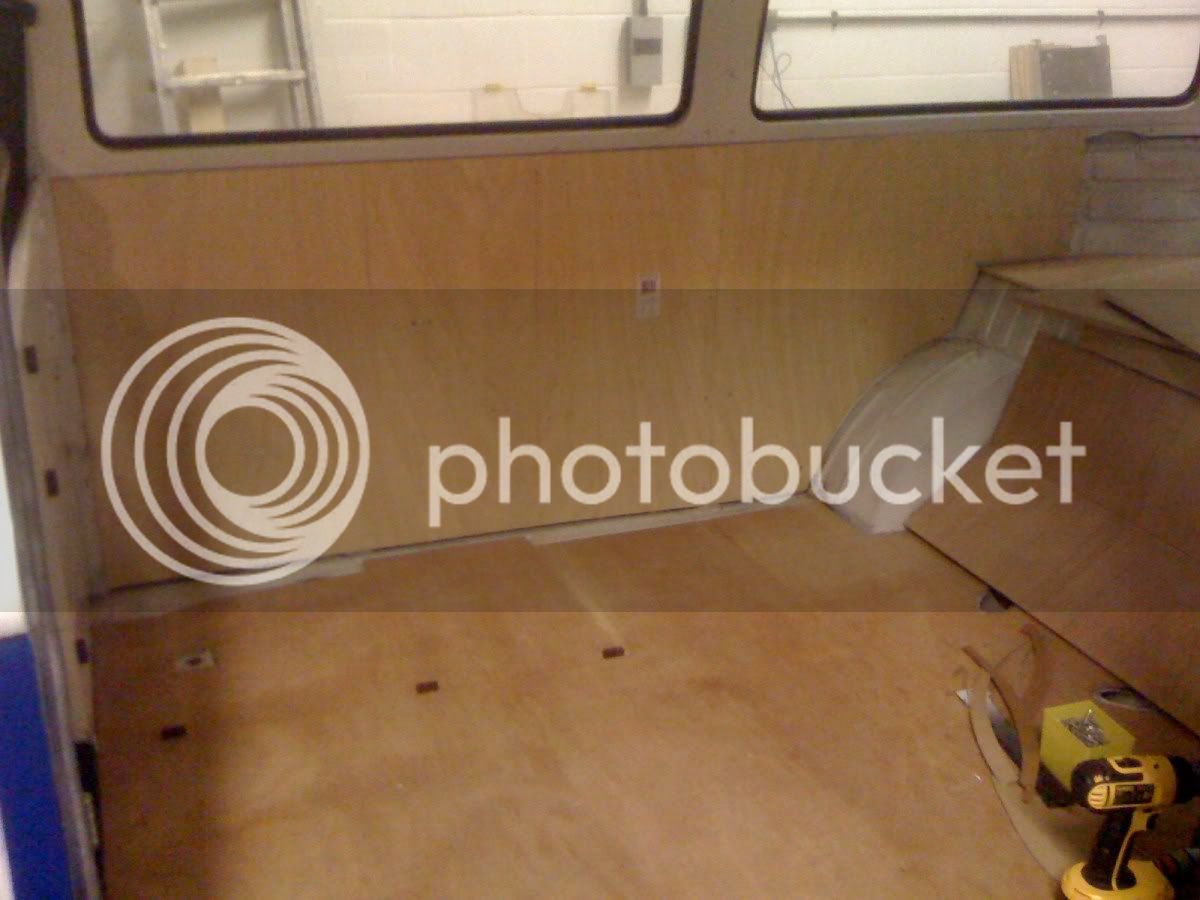
This was then removed to enable ply lining all round
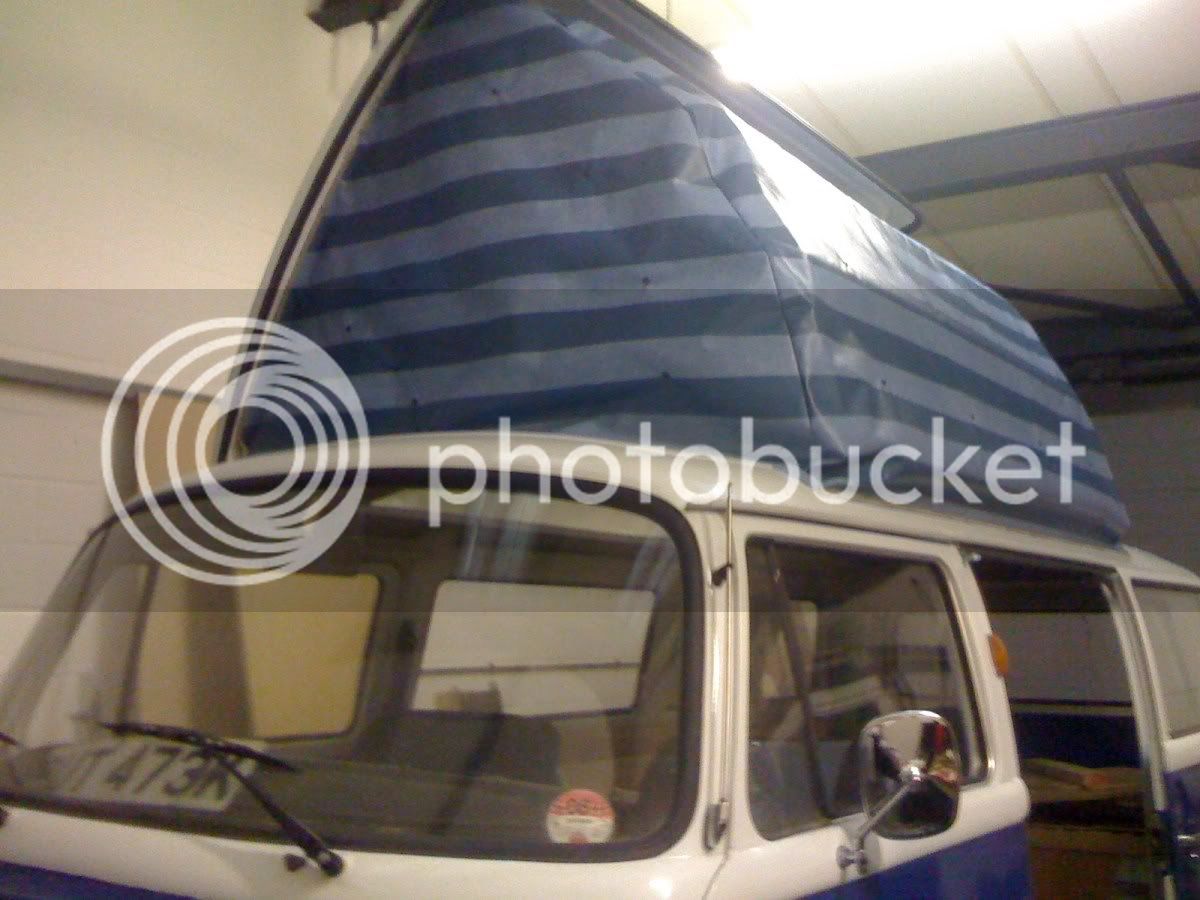
We gave the roof vinyl a damned good clean, but it was still showing signs of age, so a replacement was ordered in dark blue / mid blue stripes
At this time we also ordered a Smev cooker / sink combo, front carpets, eyelids, replacement roof & skylight seals, table leg, roof hooks, seat / bed foam, cupboard door trim, and assorted other little bits and bobs.
We then set about making the replacement units. Rather than just re-do the Dormobile interior layout we decided to go for something bespoke.
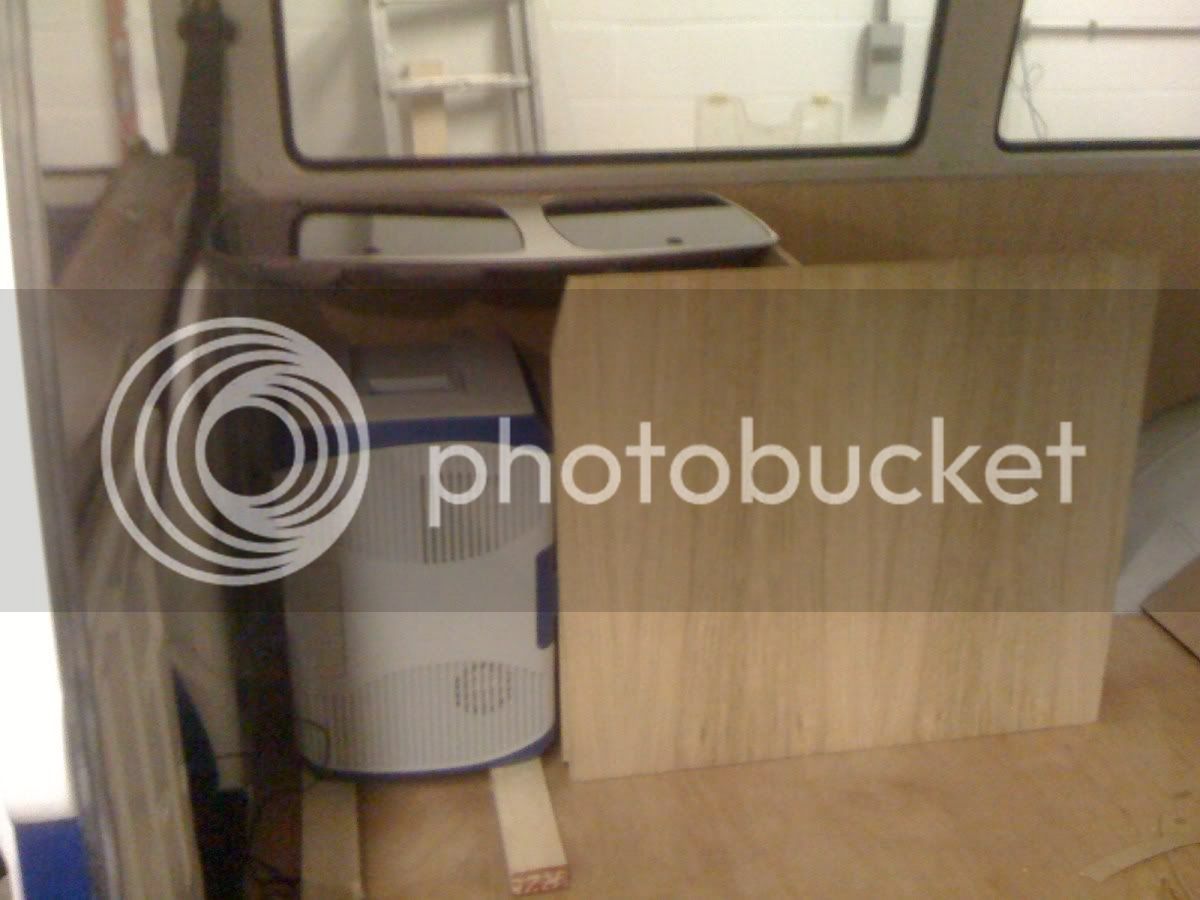
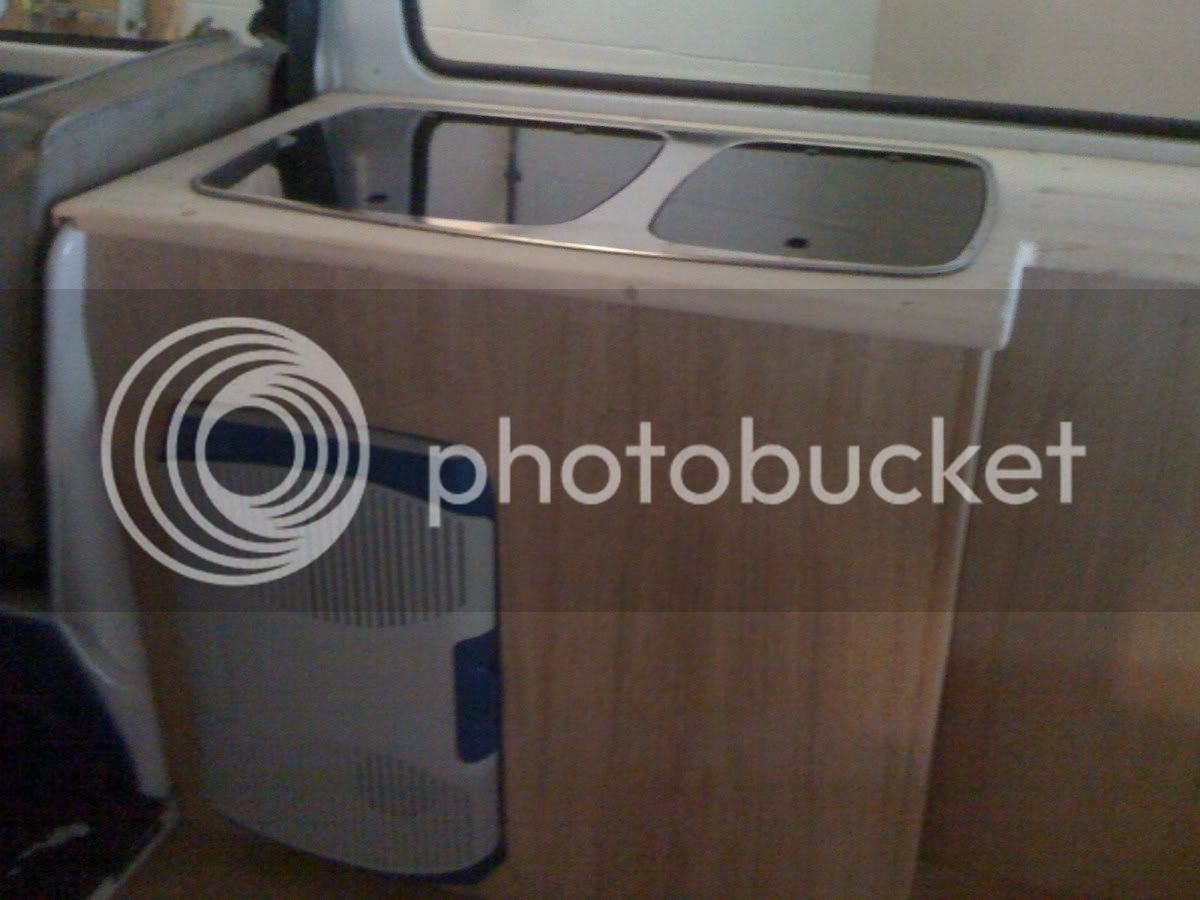
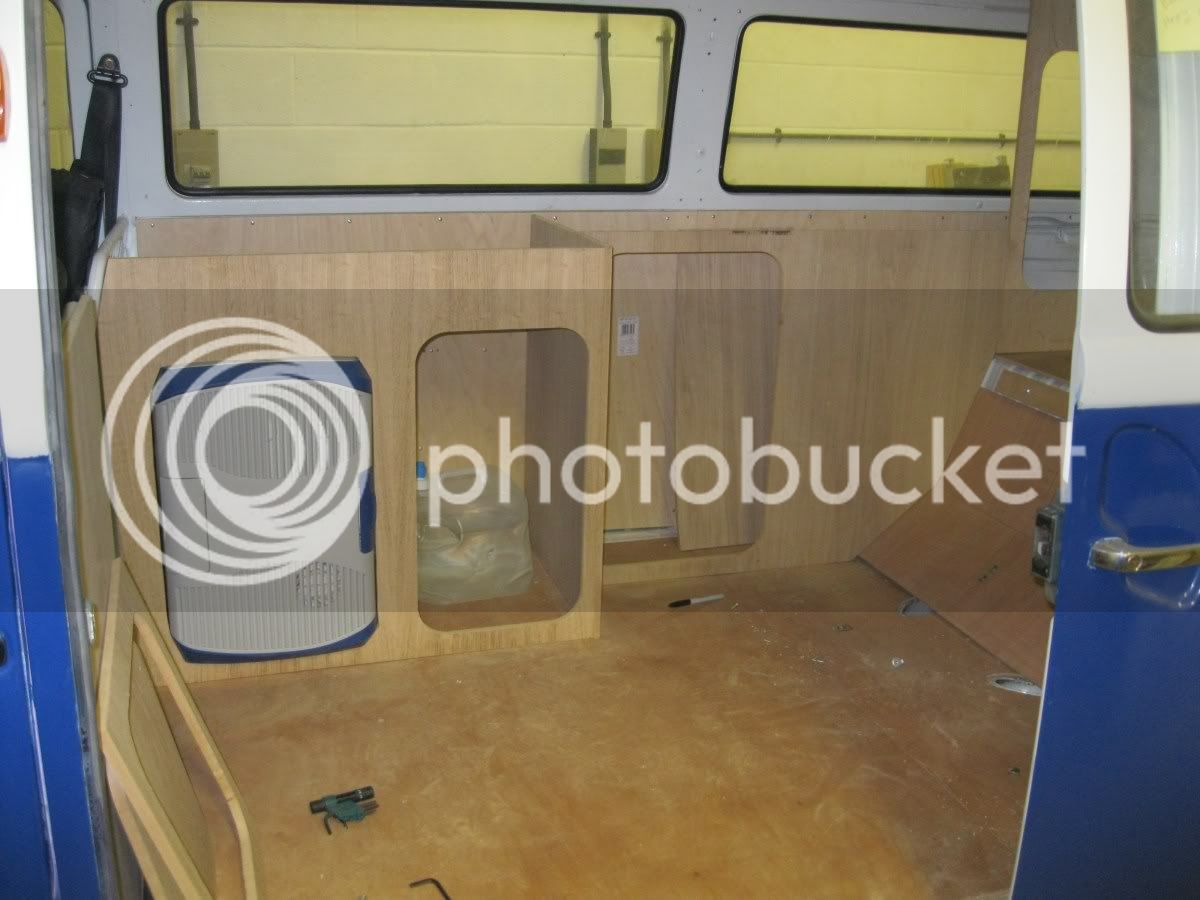
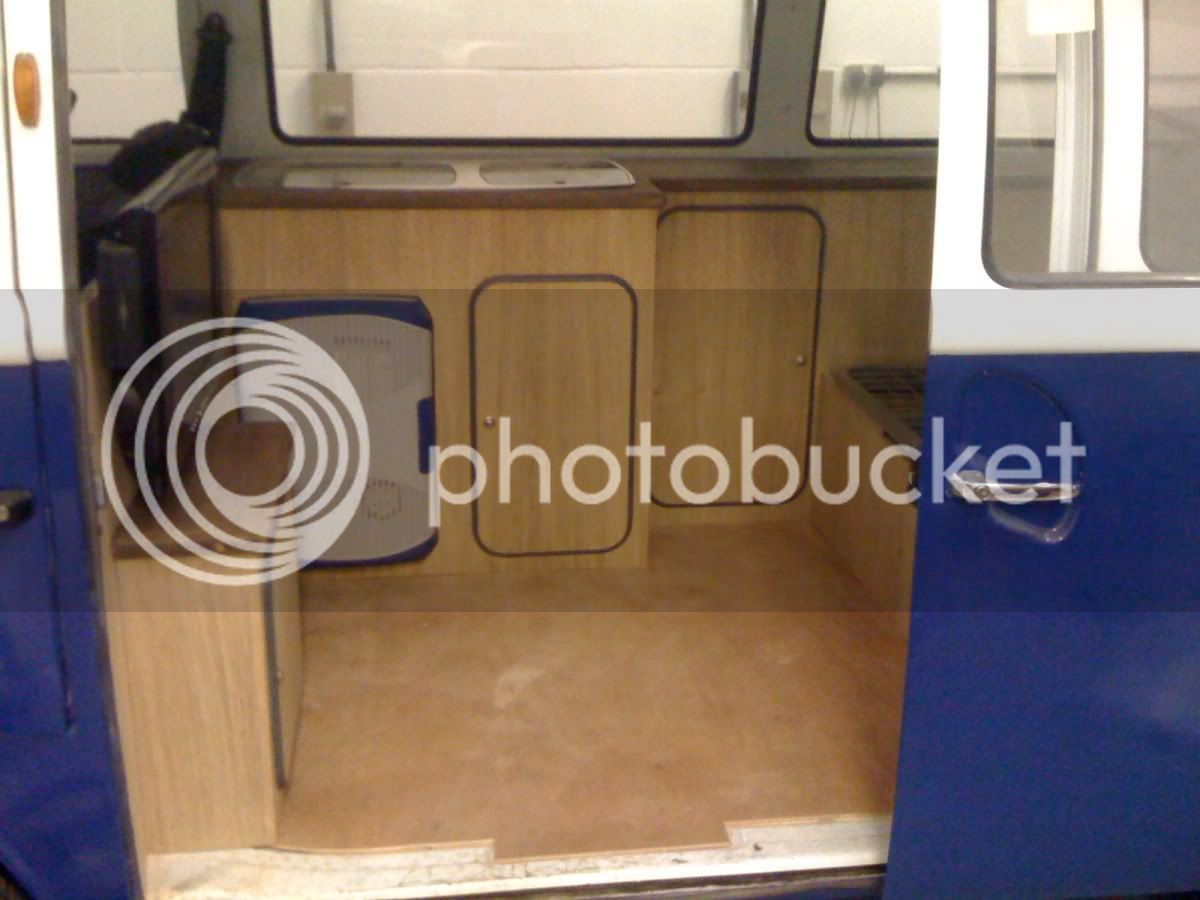
First job was to decide on a basic layout. Instead of spending a fortune on a fridge we bought a 12/240v cool box which could be used on it's end. This was placed roughly in the correct position and everything else was designed to fit around it.
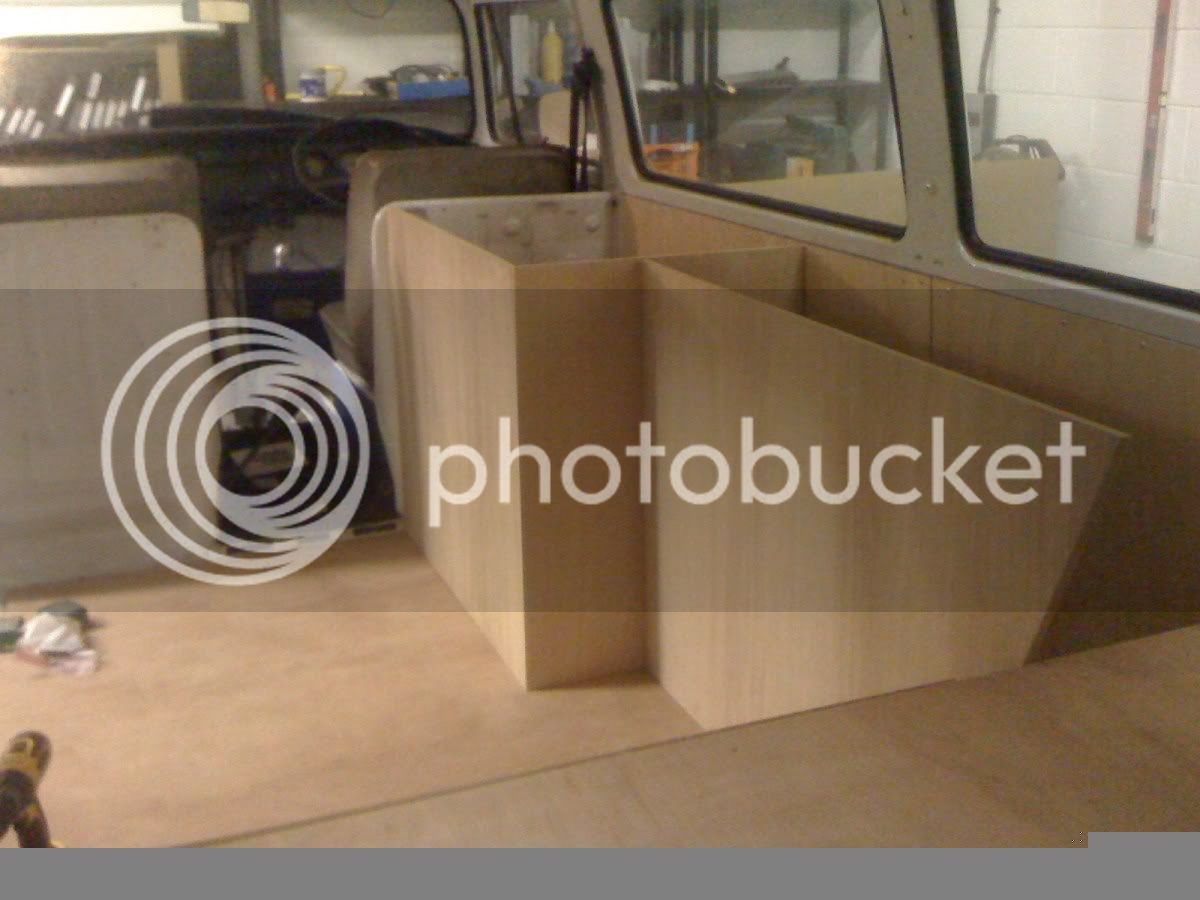
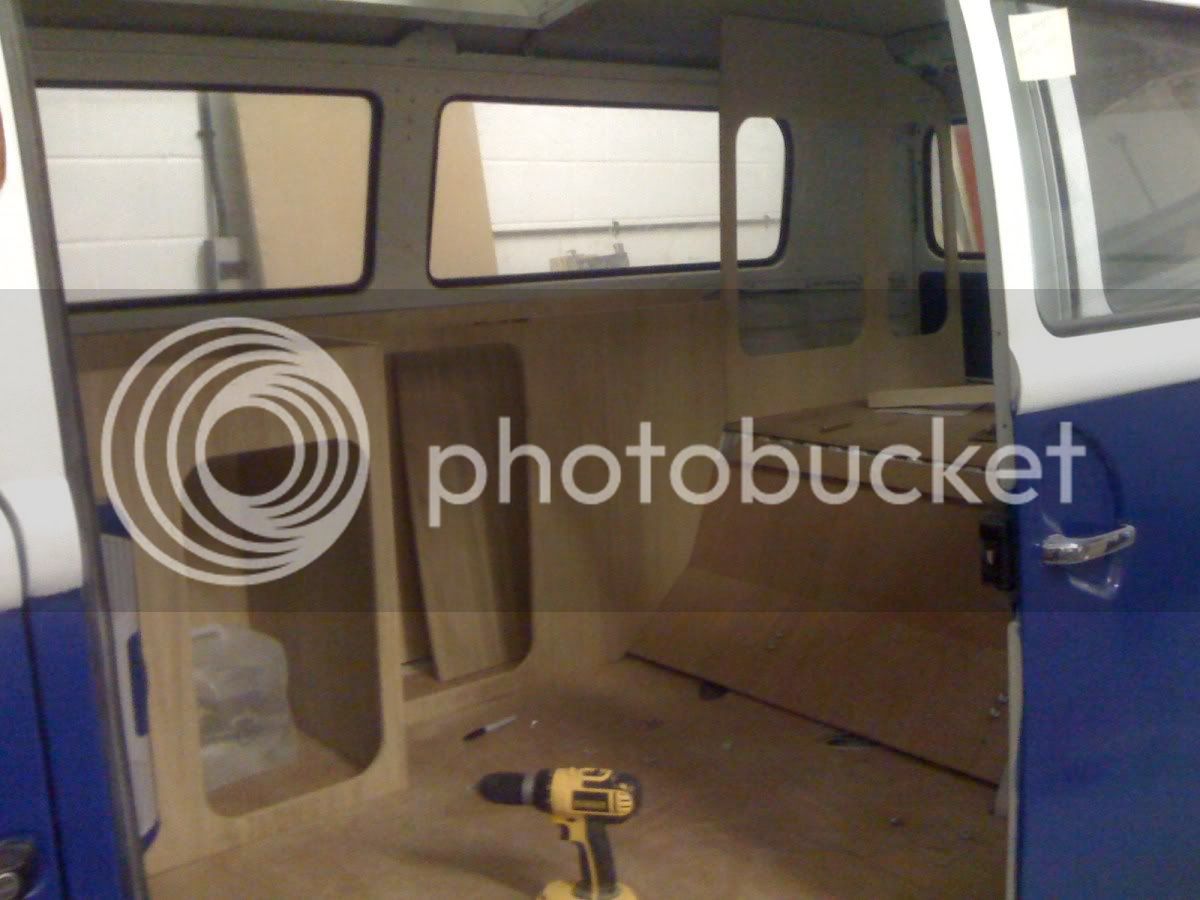
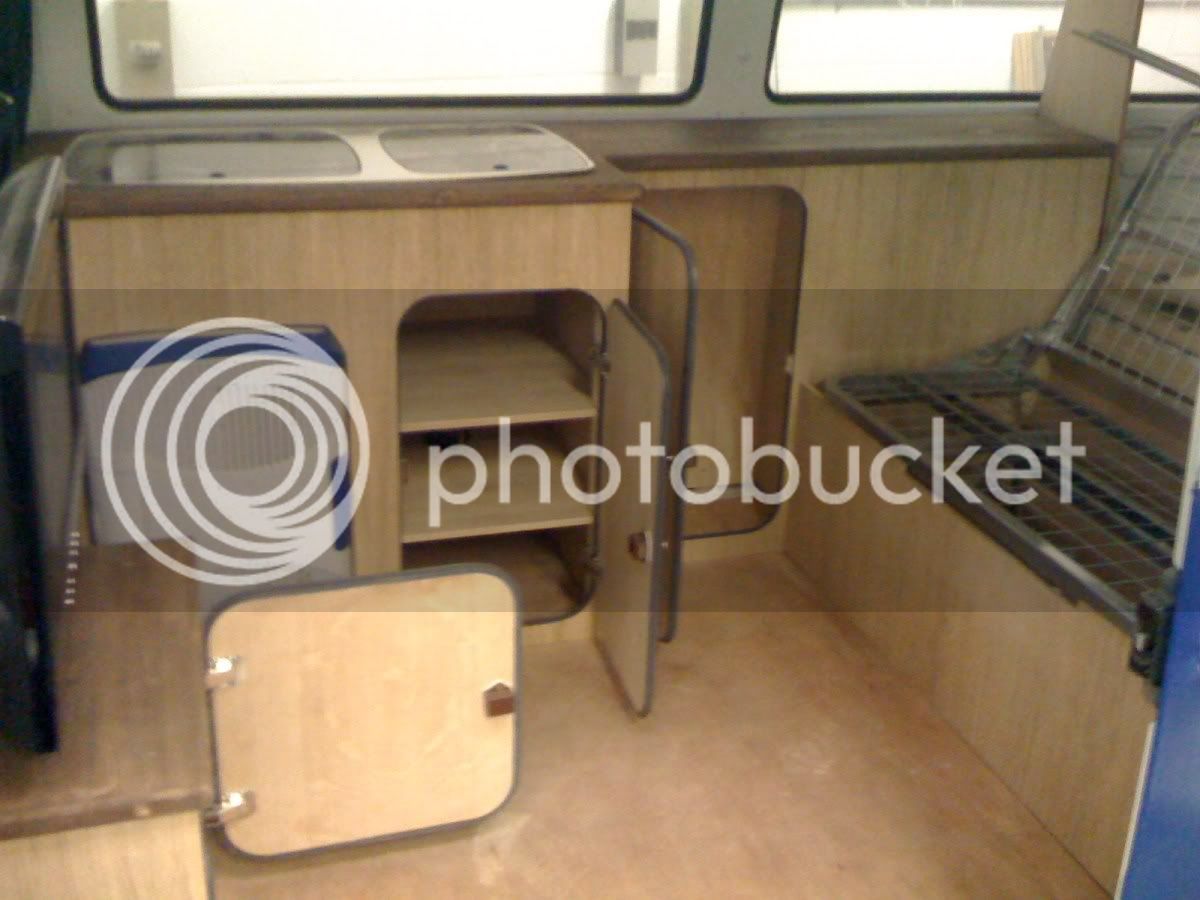
It was then out with the woodworking tools, and over the course of a weekend everything started to take on a basic layout.
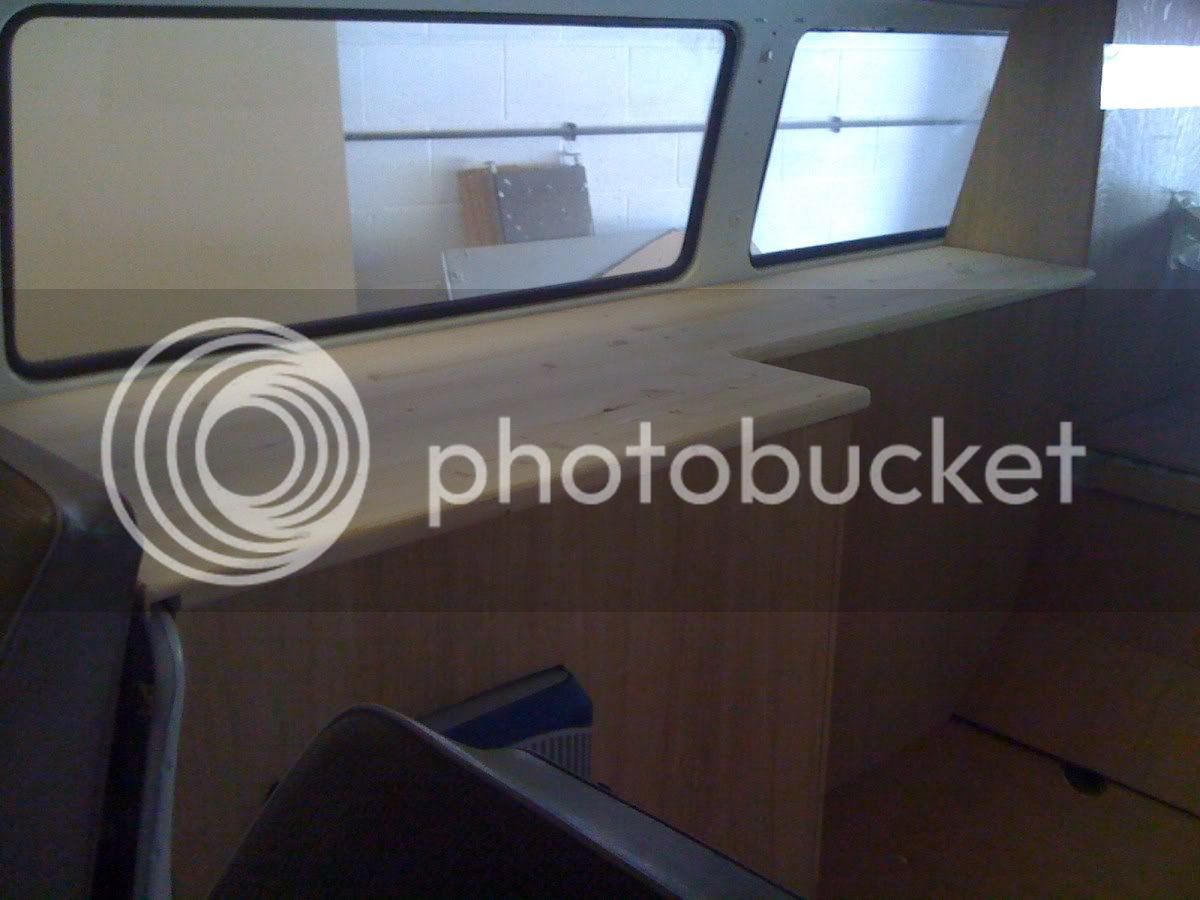
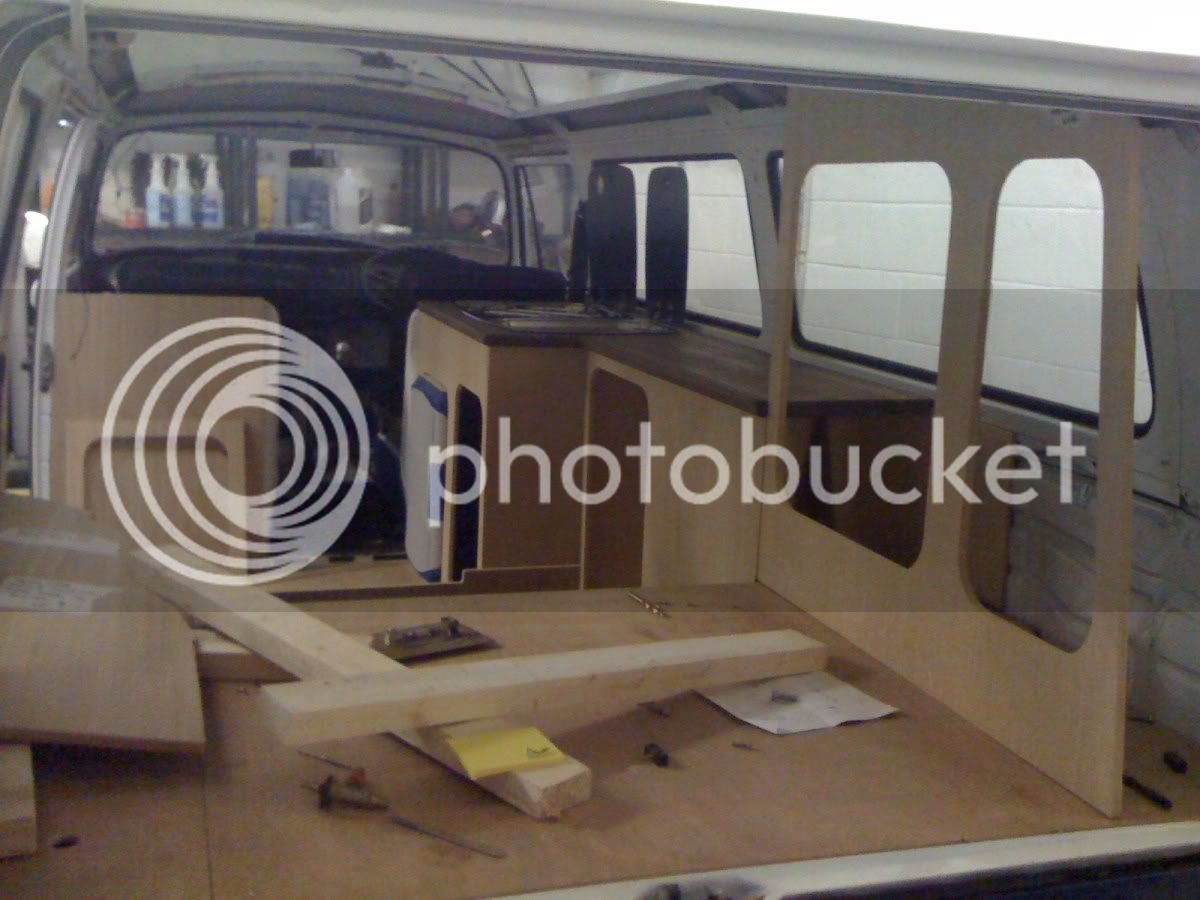
Then a worktop was made from solid pine, routered 20mm on the underside so it just 'slotted' onto the units with a satisfying click
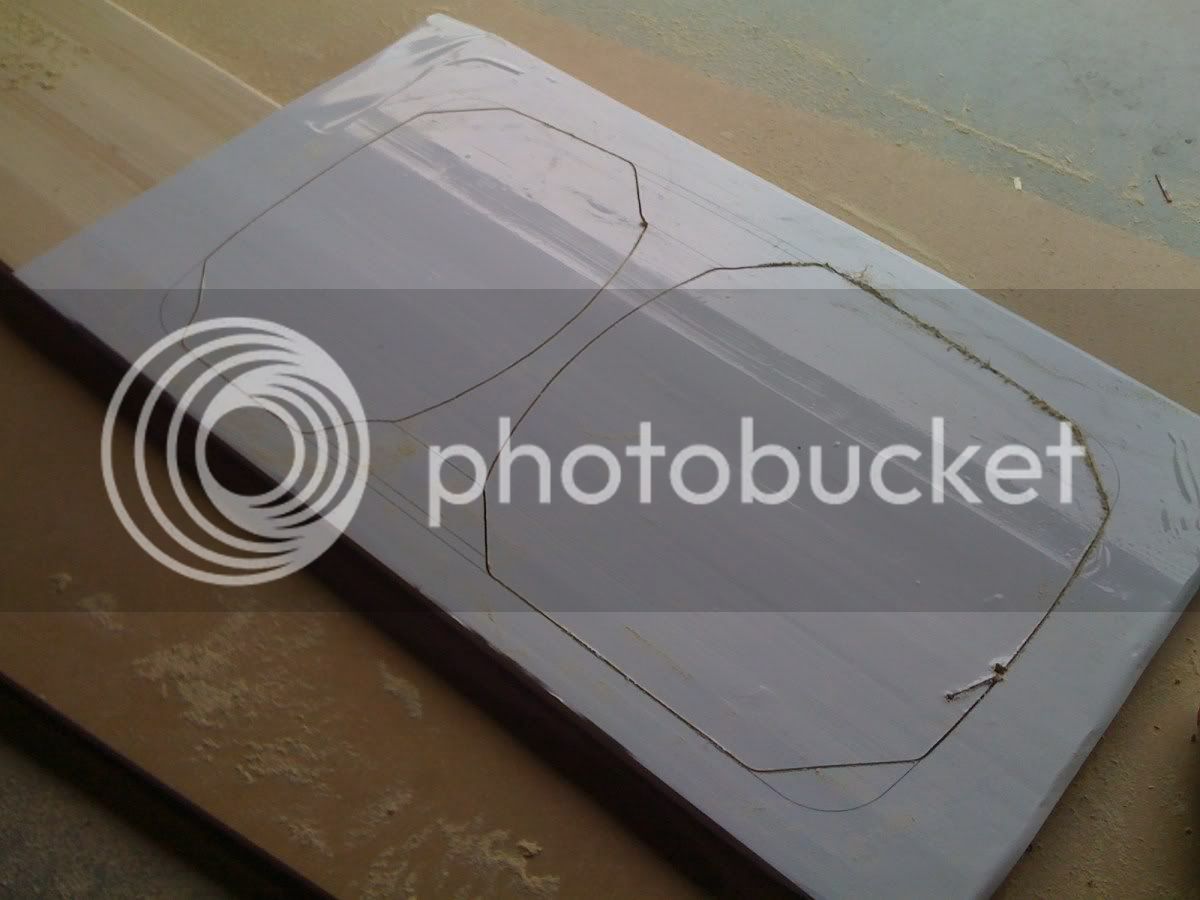
One of the trickiest parts was routing the worktop for the Smev unit. The scale drawing at the back of the manual was a mass of angles, radii and measurements. Certain parts had to be cut out completely, others had to be routered to certain depths, it was a bit of a nightmare. I had a bit of a think and decided to use some of my 'proper job' tools to help out. I'm a sign maker, and as such have access to large-format printing equipment. A quick PDF download of the manual lead to the drawing for the routing / cutting being printed onto vinyl at full scale, and this was then used for a guide. I reckon this saved a good hour or so of measuring and drawing, and avoided any cock-ups along the way.
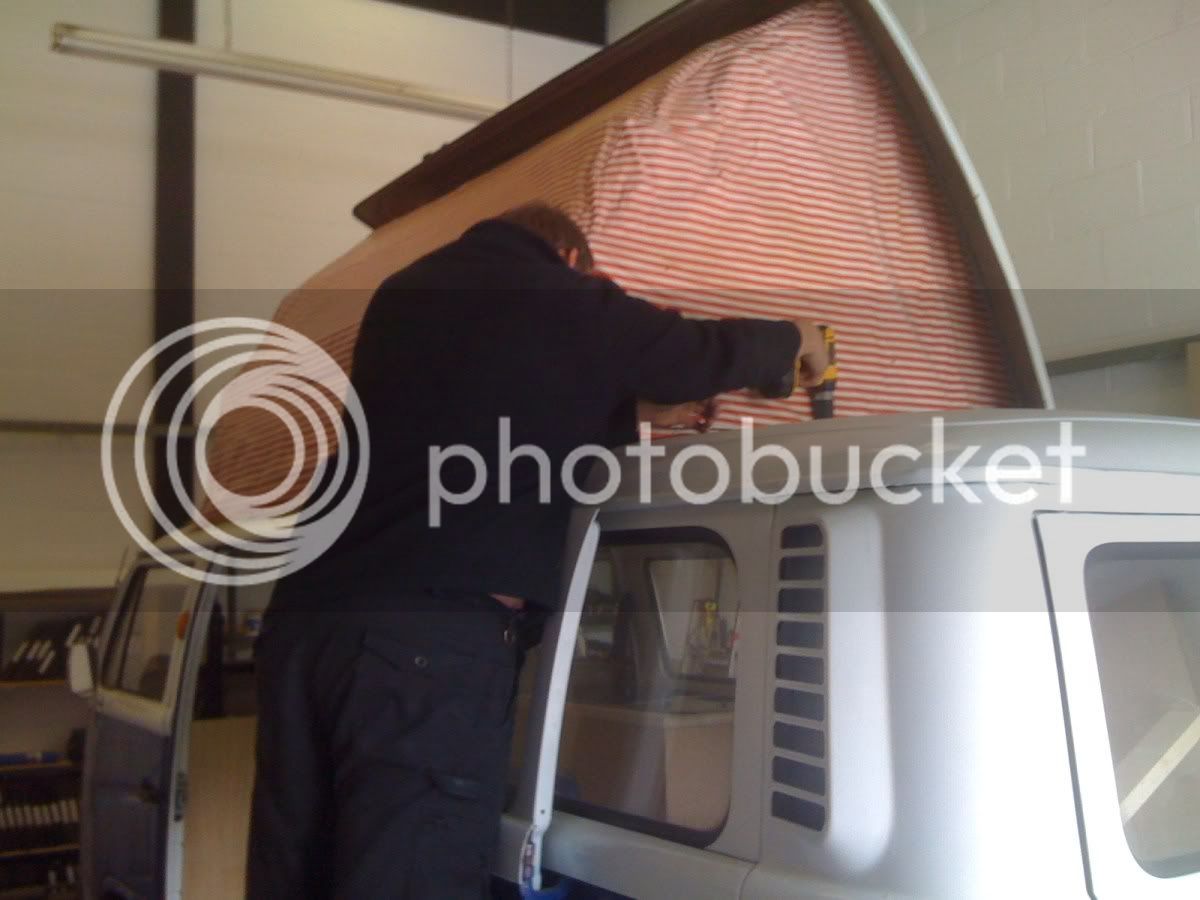
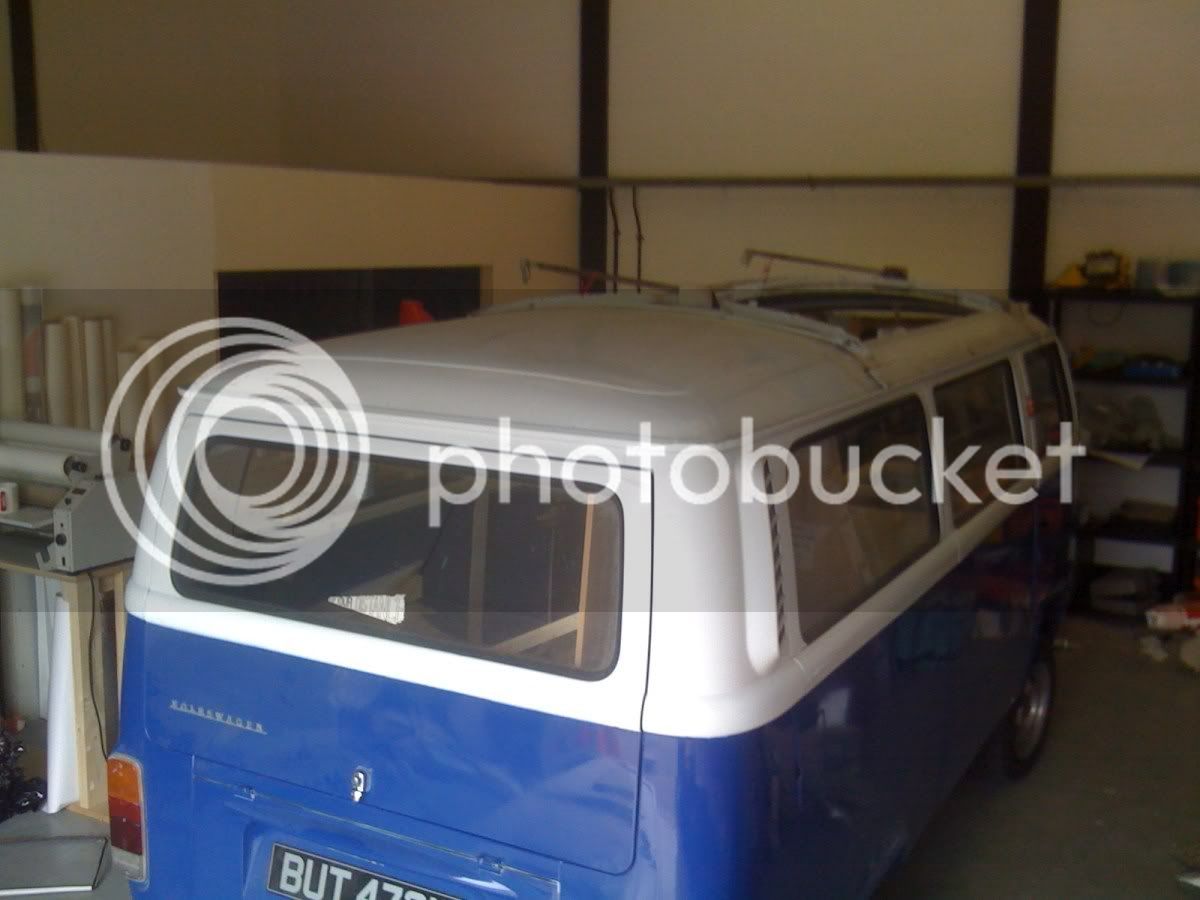
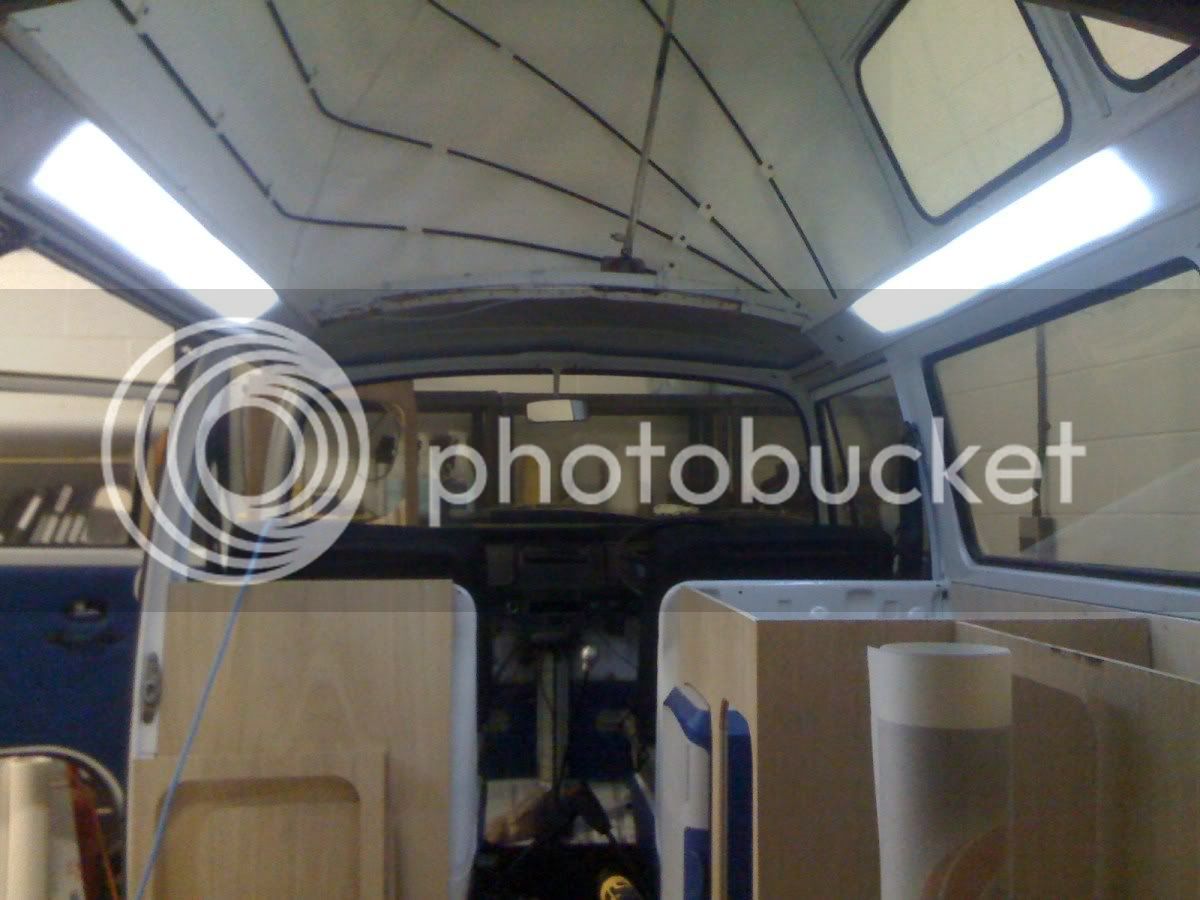
At this point the new roof canvas turned up, so we decided to have a go at fitting it.
The tatty original canvas was removed, along with the whole of the poptop roof.
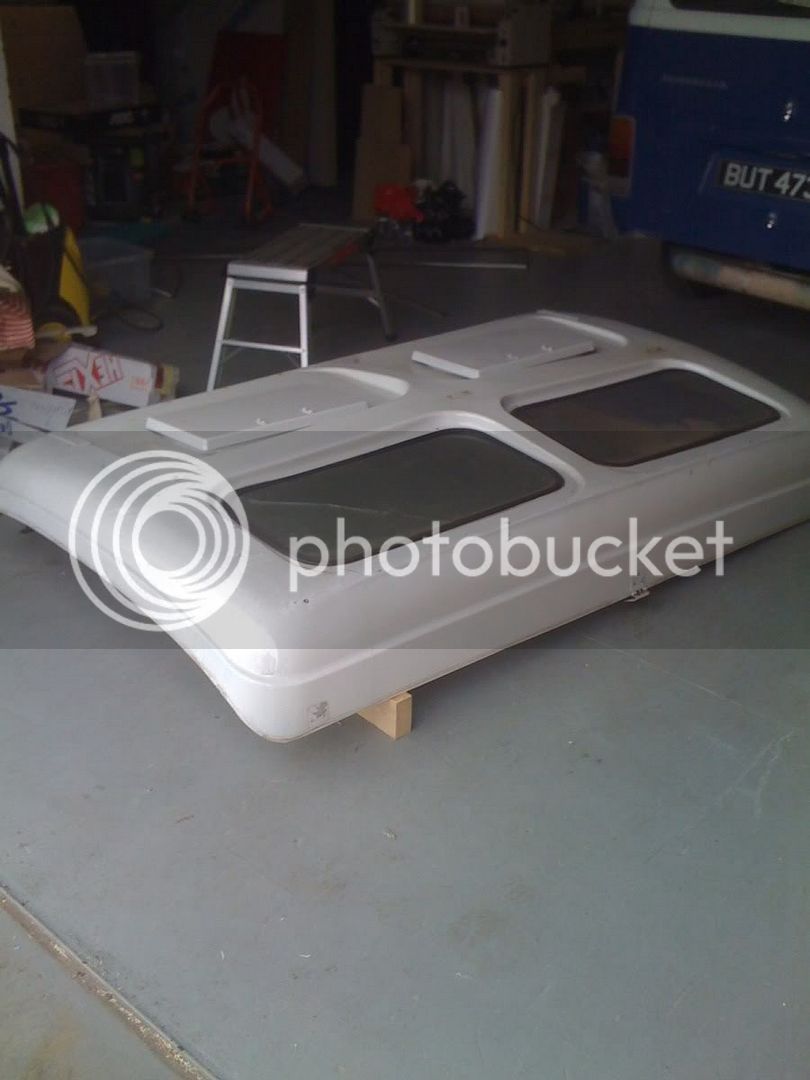
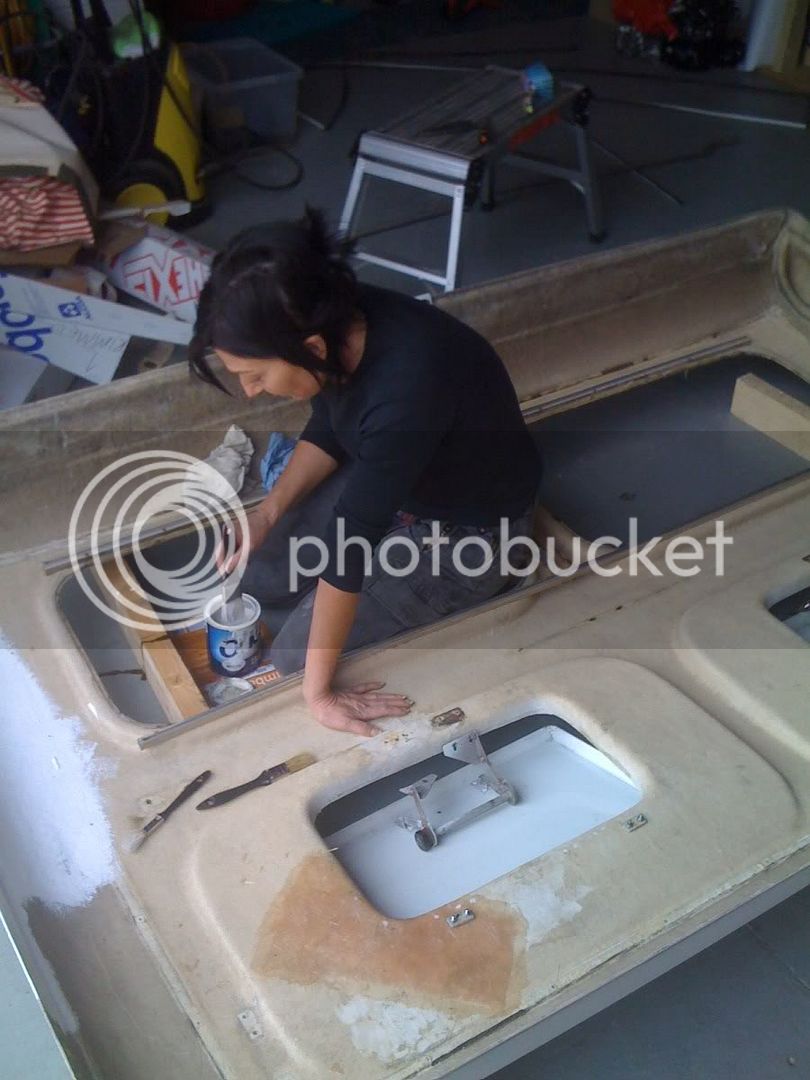
We then painted the mucky coloured bare fibreglass with a couple of coats of satin white
While the top was off we replaced a broken window (Never again!)
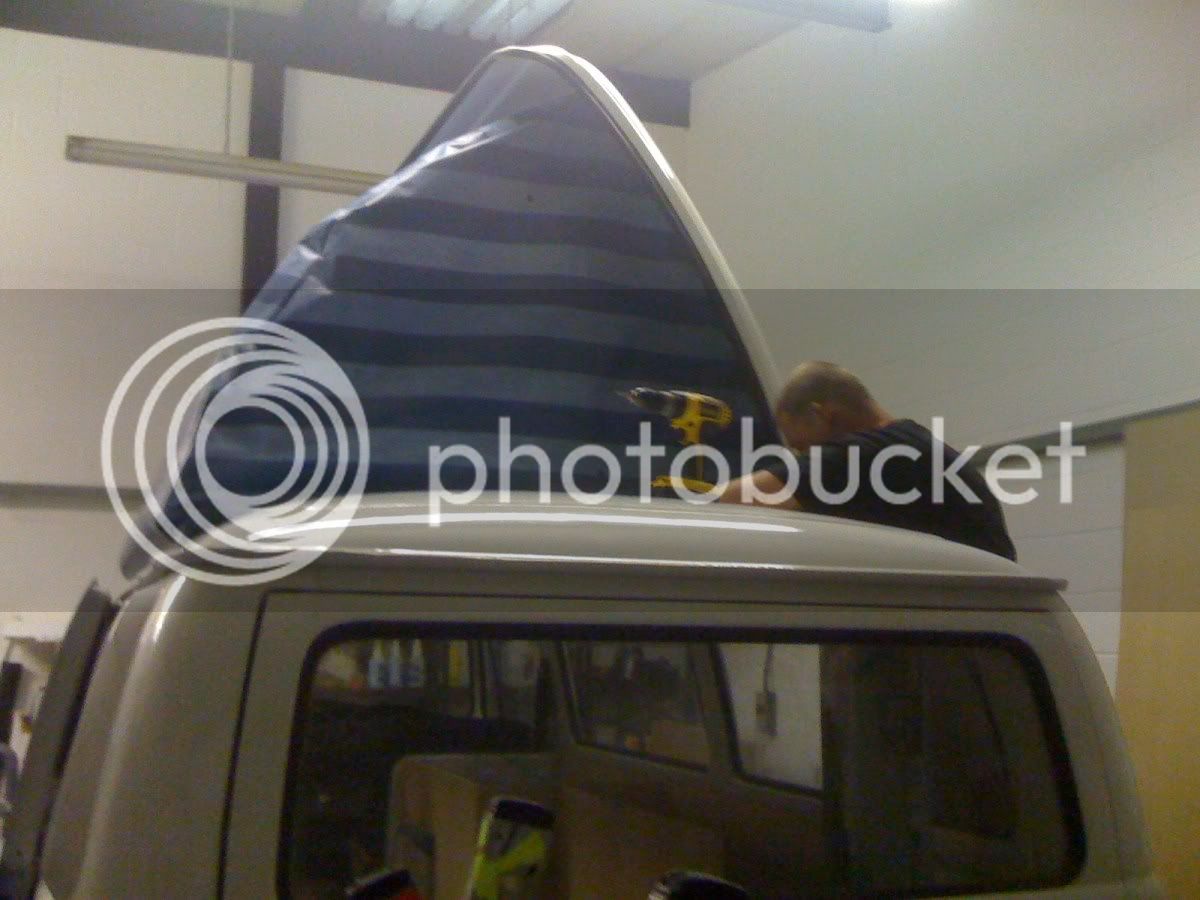
Then it was back on with the top, and after a little head scratching the new canvas was fitted. Perfect!
Whilst it was off we also painted the hoops in matt black.

Roof done it was time to strip the cupboards back out in order to cut out the doors
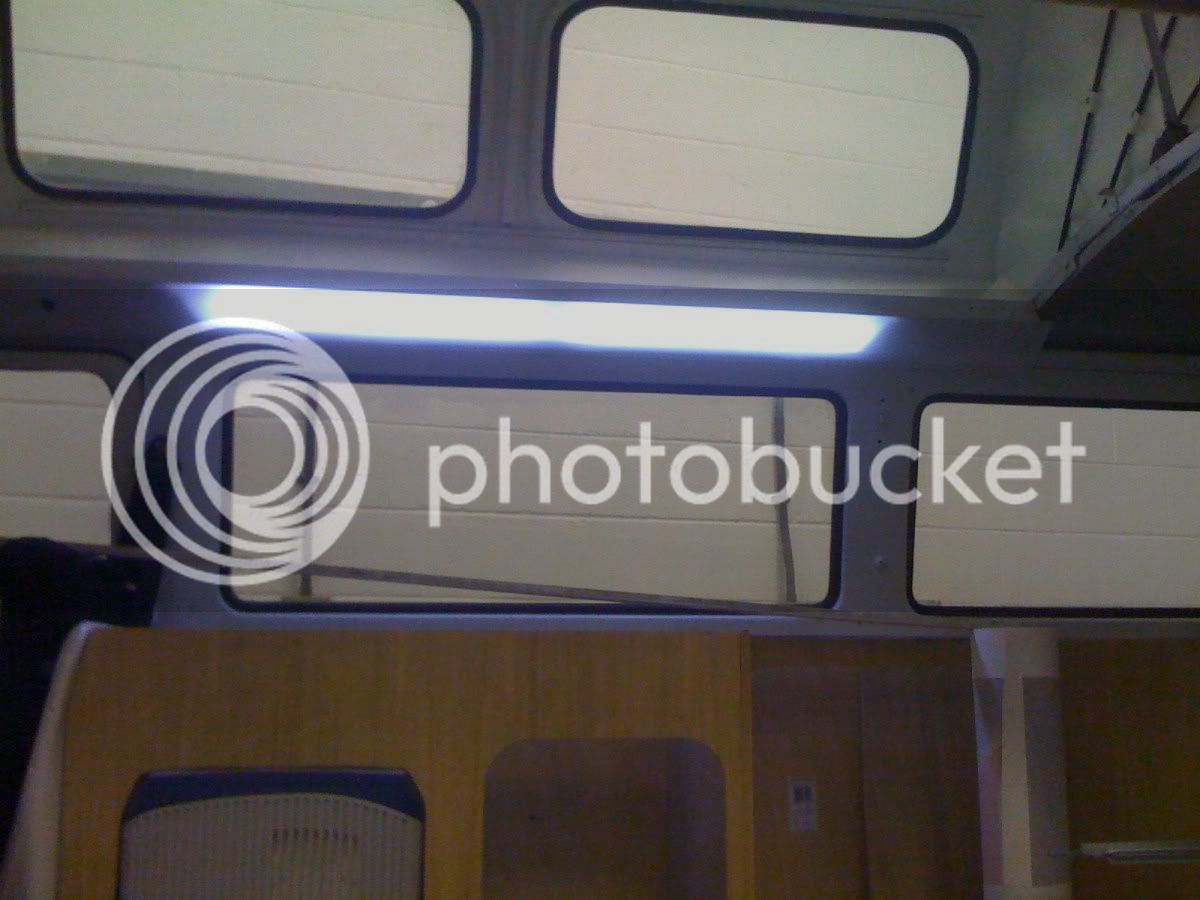
During this time the LED lights were fitted, and the hardboard trim was replaced with 2mm opal perspex cut to slot into the existing channels
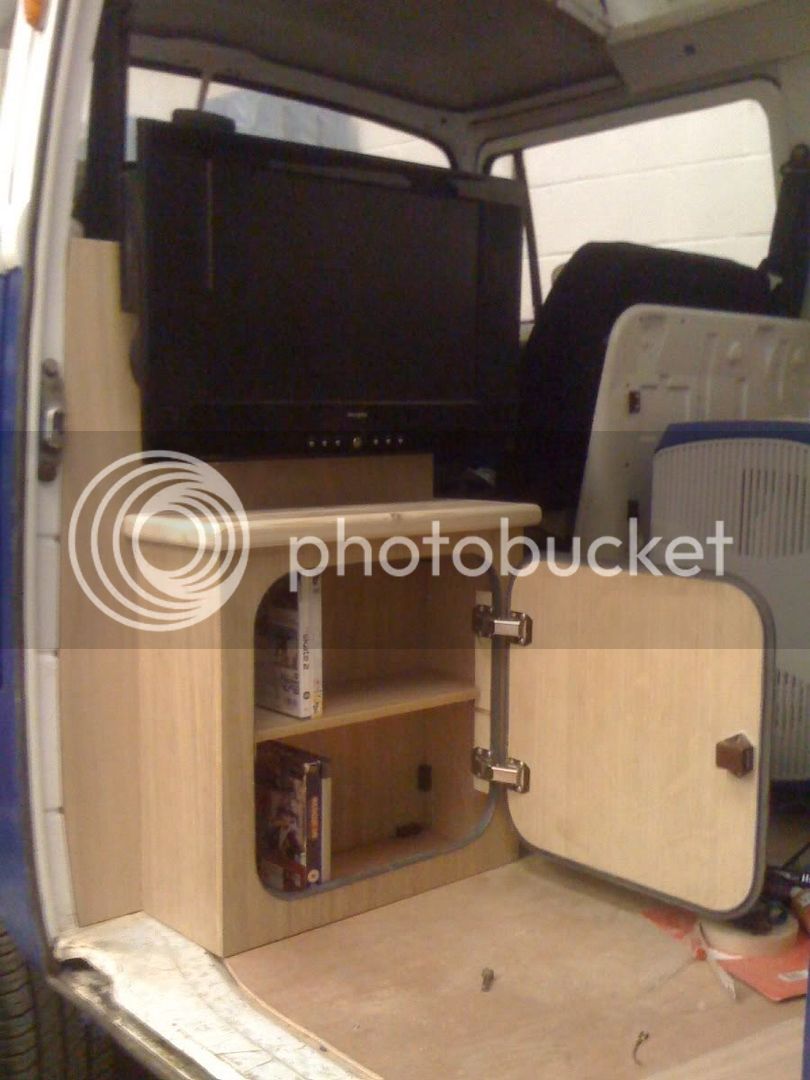
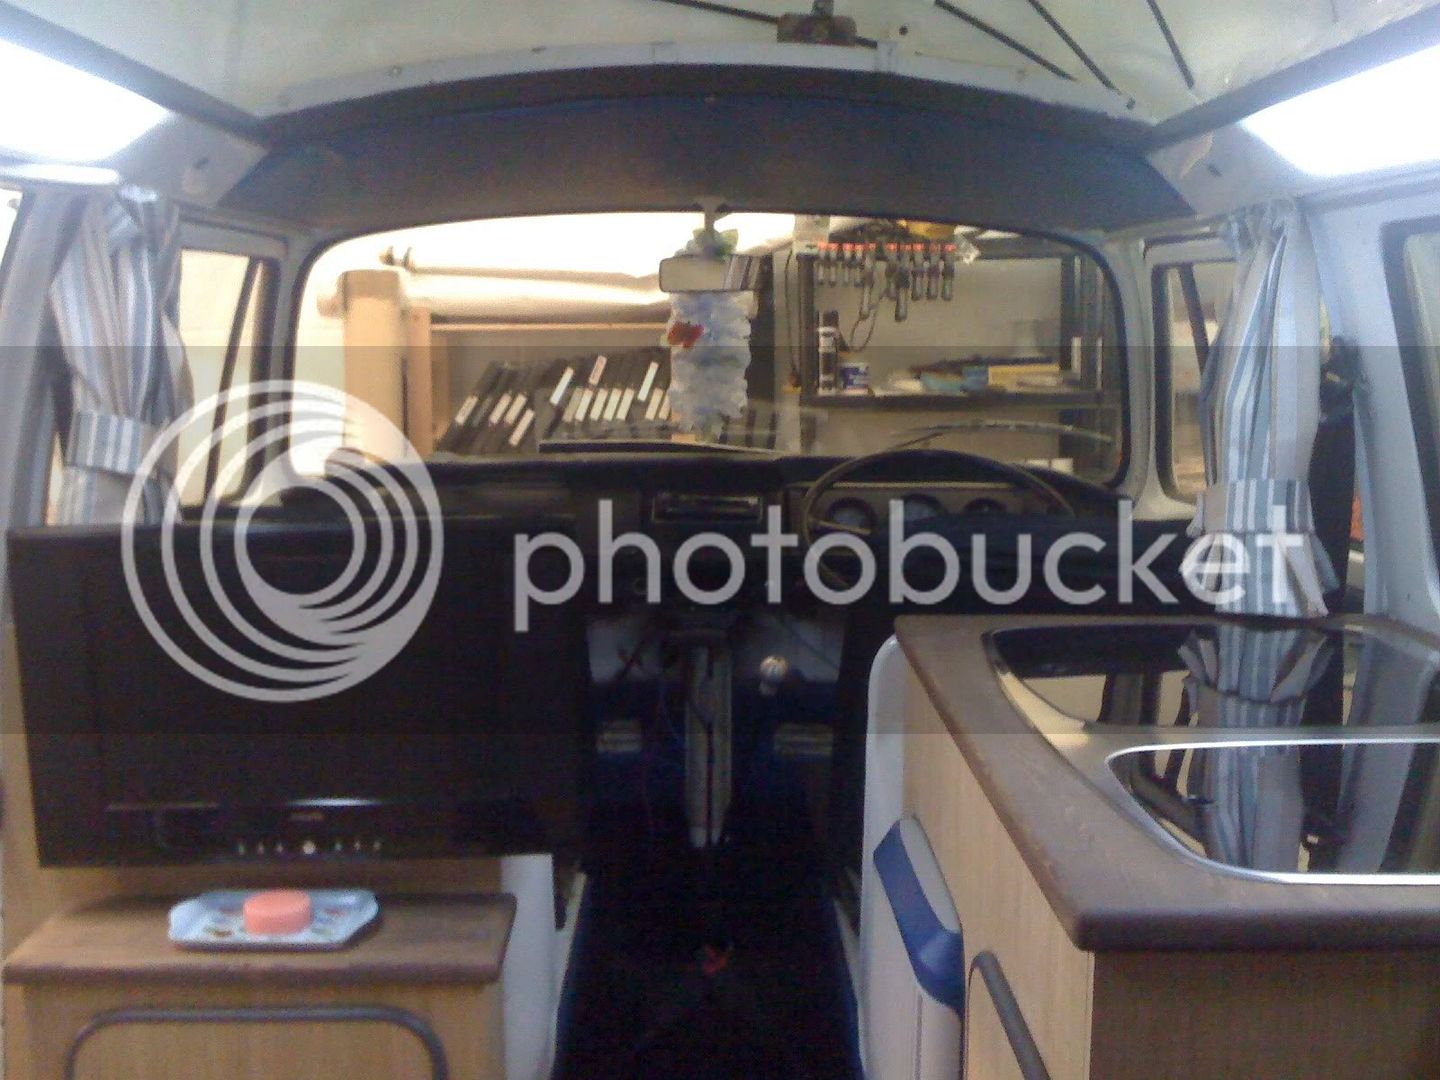
And here we are with the cupboard doors fitted and working, and the worktop stained and in position. We also fitted the TV / DVD combo at this time. This is slotted into place and has just one lead to it, meaning it can be removed and placed out of sight in dodgy areas.
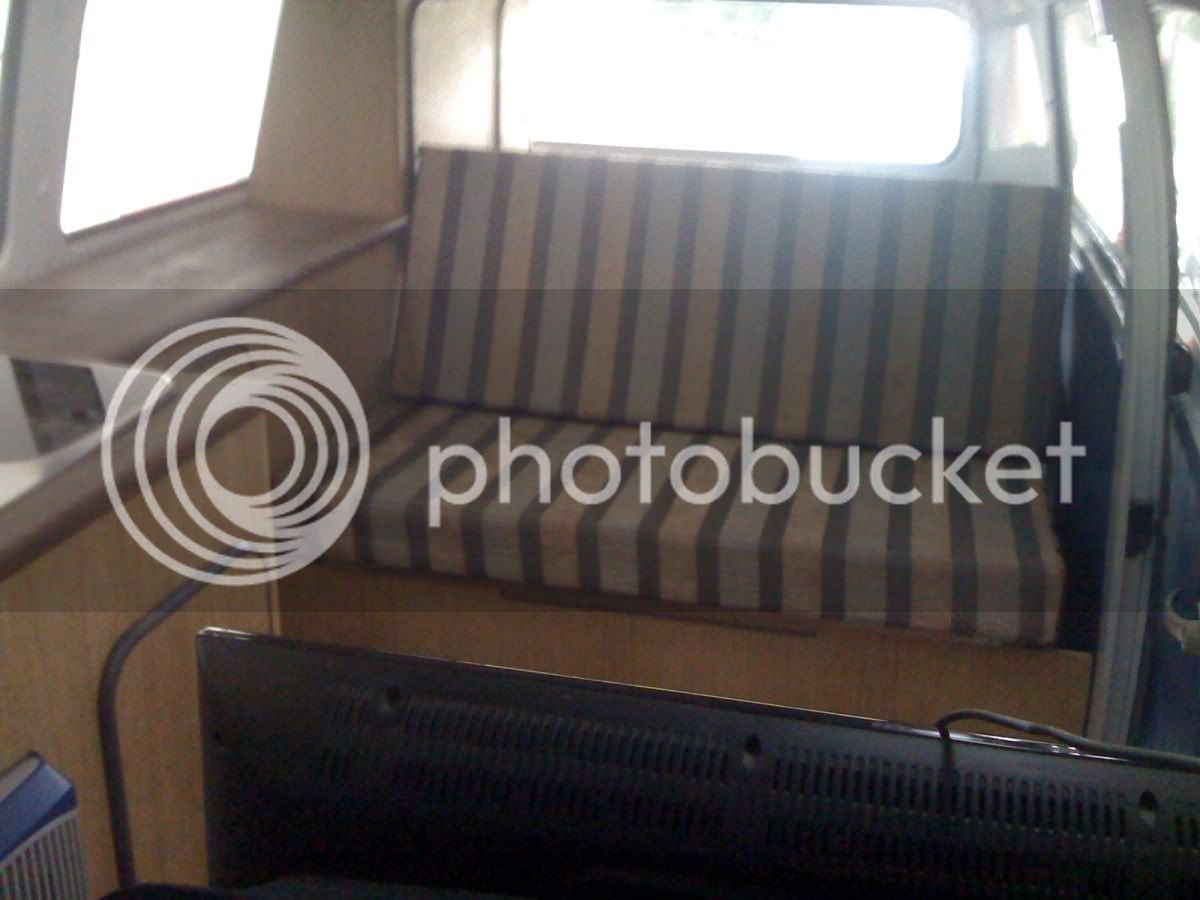
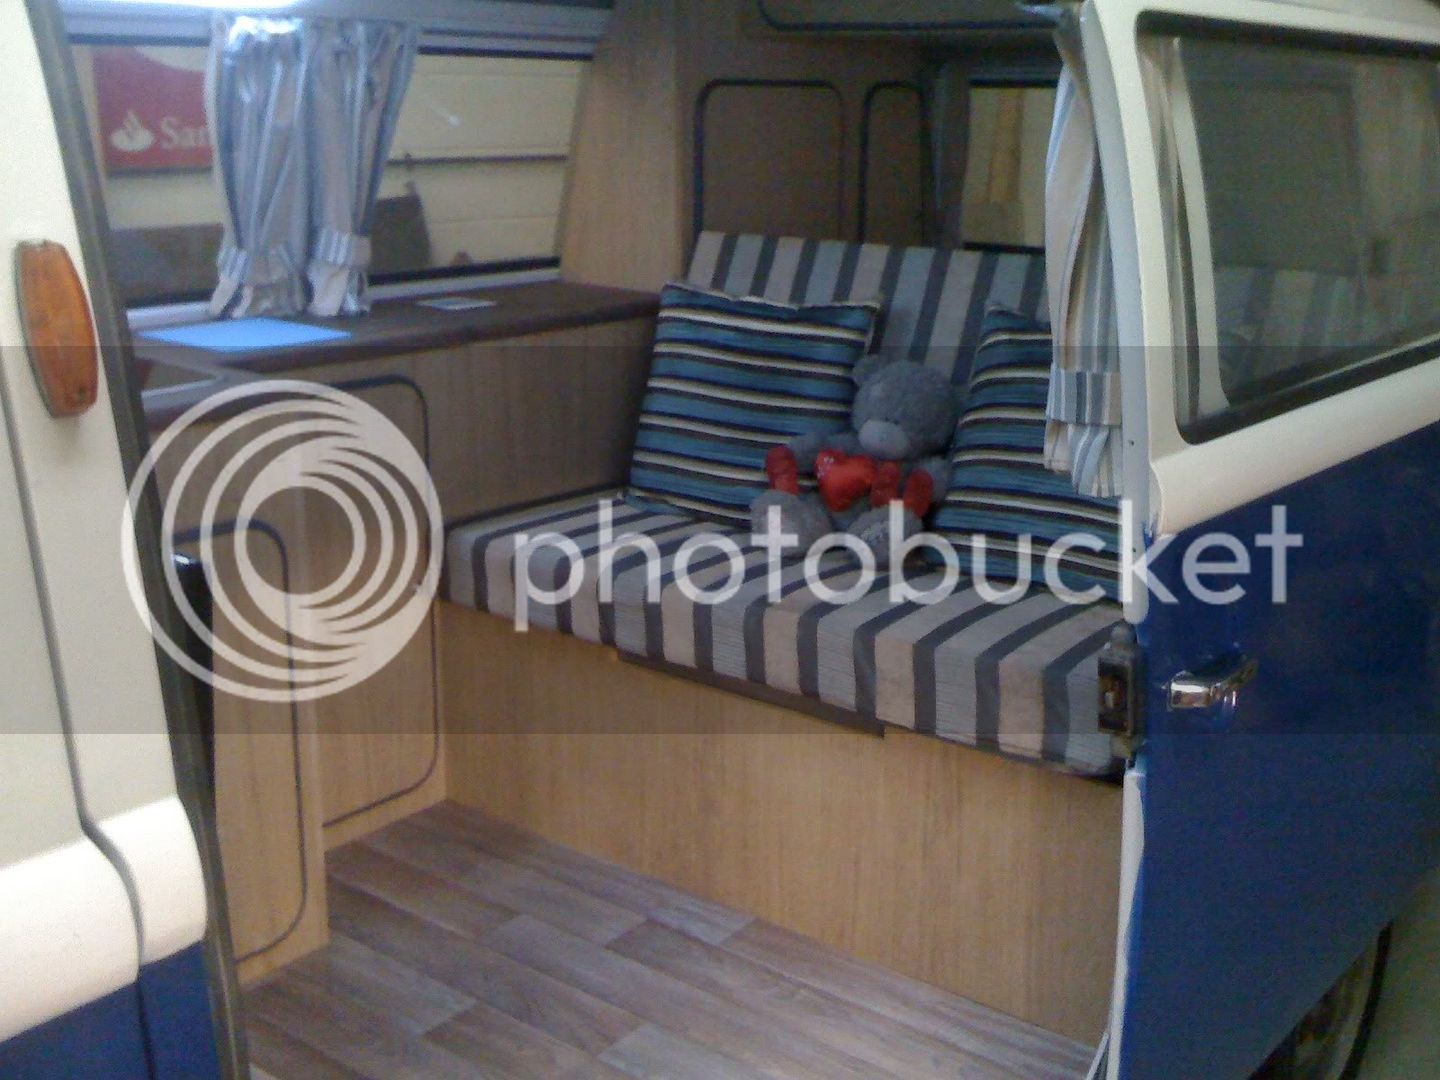
The bed was then fitted, and the foam covered in the material we chose
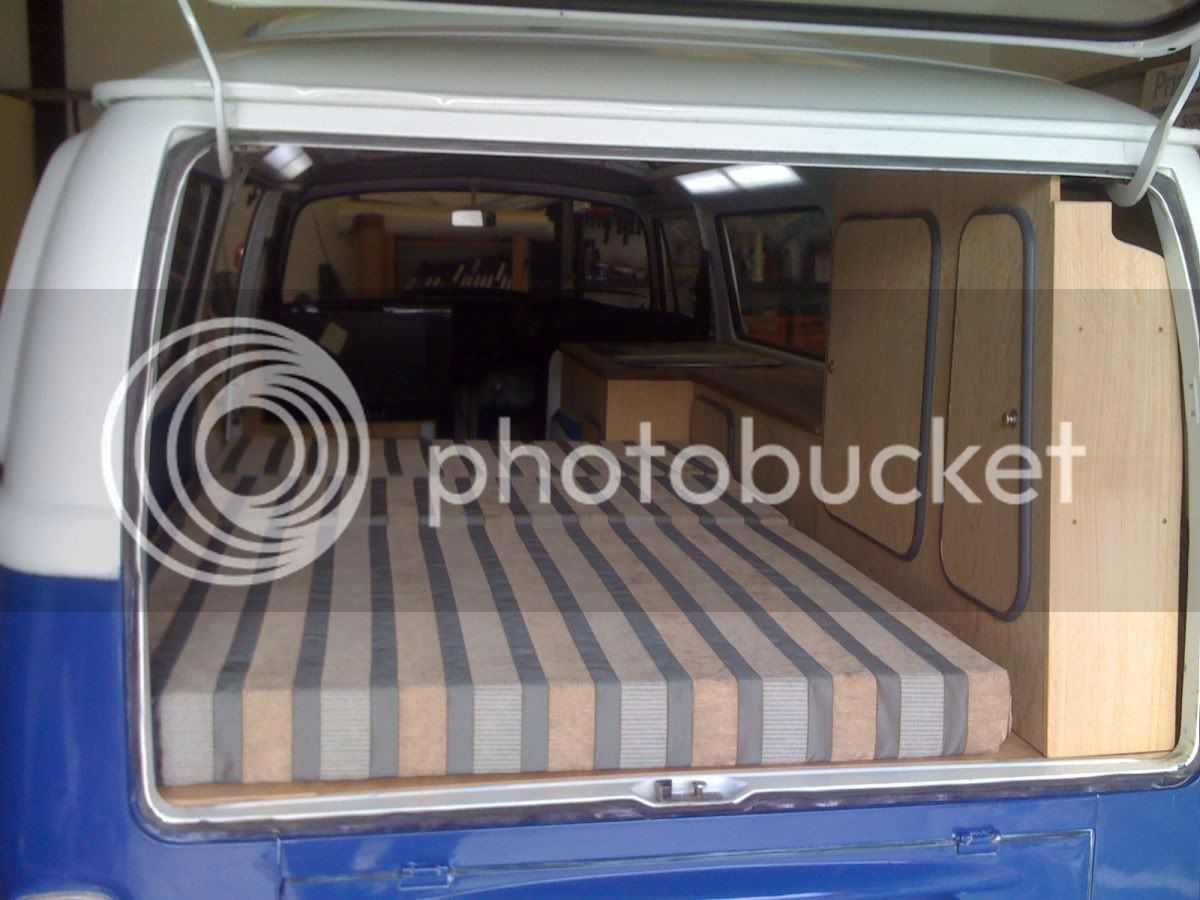
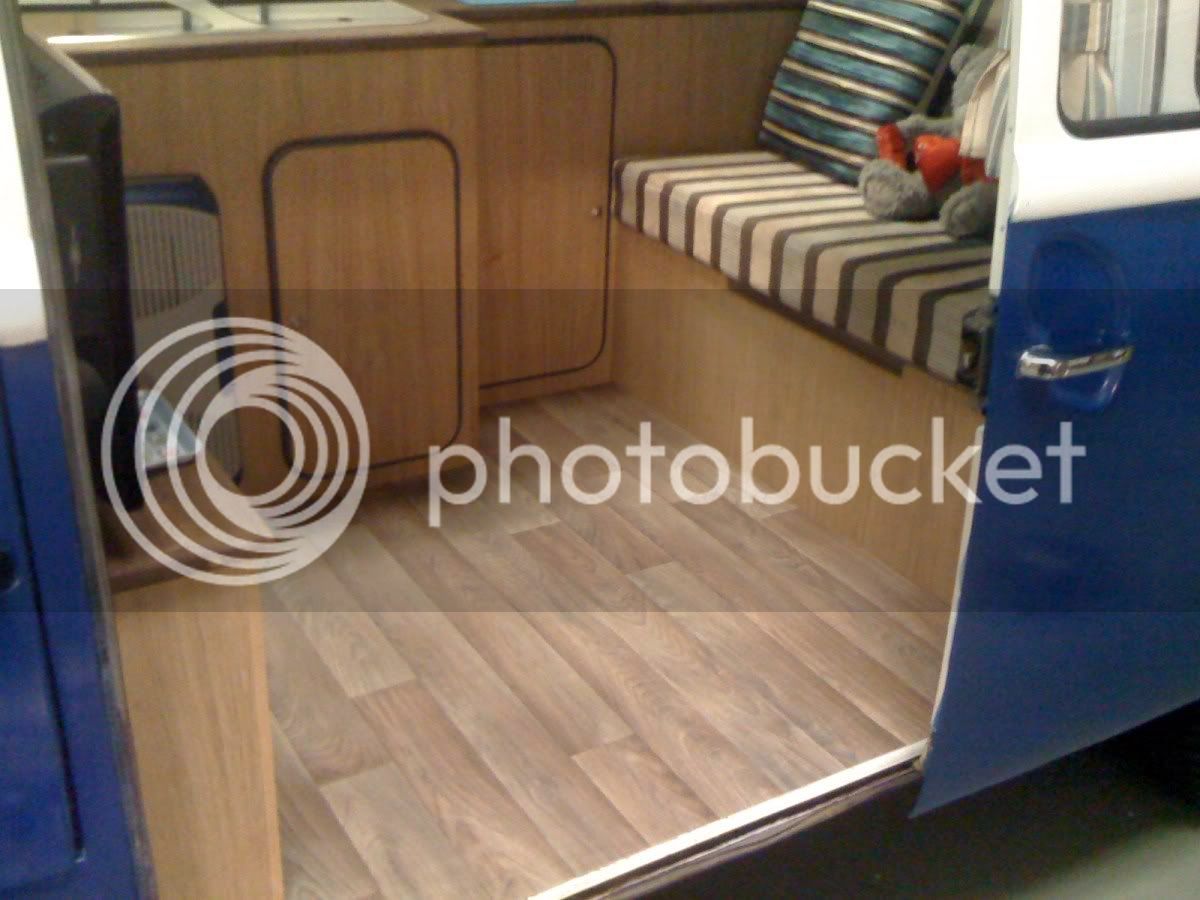
And then the flooring went down.
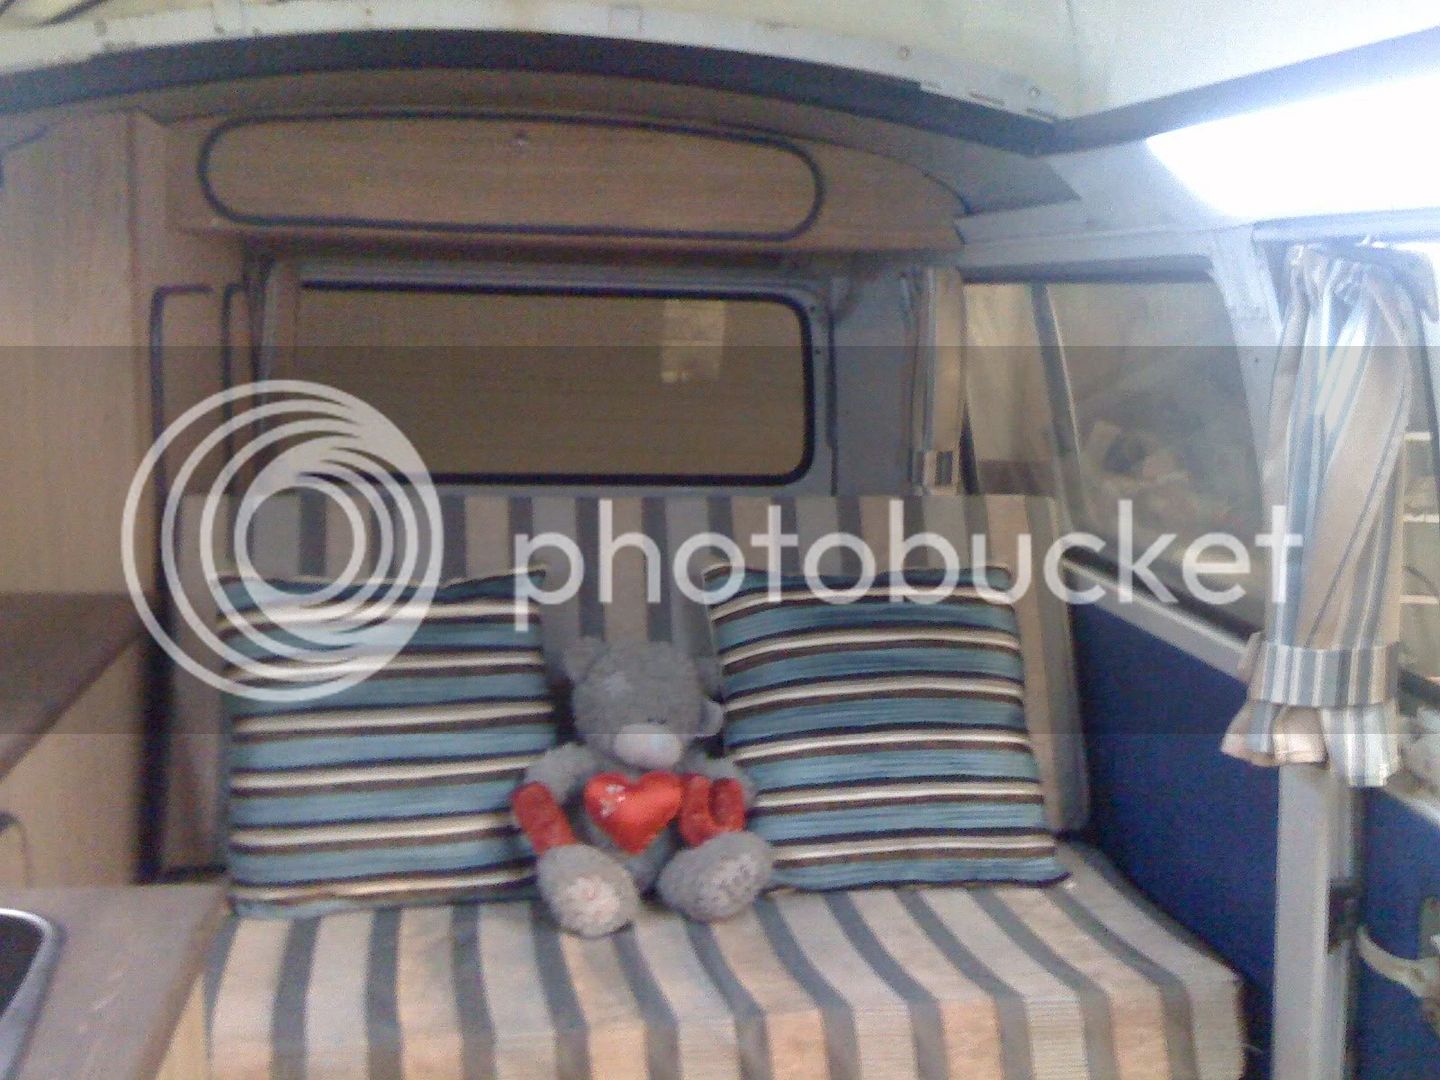
So here we are up to date, with curtains, cushions and carpets, and all his cupboards stocked.
All that remains to do is to fit the rear head lining, which should be done tomorrow, and he's all ready to go.
Sticky & Tracy
...and Ashleigh (She only fitted one curtain, but insists on being mentioned)
I appreciate that what we've done to him may not be to everyone's tastes, especially the traditionalists amongst you, but our vision from the outset was to have a traditional looking van from the outside, but something a little more contemporary on the inside. We're chuffed with what we've achieved.
We decided that we'd do as much work on Dexter ourselves as we could. In the end we did EVERYTHING besides fit the leisure battery, this was mainly due to time constraints and the fact that the existing wiring was a complete mess.
Apologies for the quality of these pics, the iPhone camera is not the best.
Hope you like...
Screengrab of the eBay ad.
We had a vision of what we wanted, and set out to buy a mechanically and bodily sound early bay, but weren't overly bothered about the state of the interior. We found one on eBay that looked ideal and ended up getting it for the kind of price we had in mind. Body looks sound, and the engine seems good (So far!)
First job after driving home was to rip out the existing Dormobile interior in it's entirety. Everything behind the front bulkheads was removed, most of it went straight to the tip, with the exception of the cupboard front, as this would be used to save a little time when measuring and cutting the new items.
We have kept the original bunks, which are a little tatty, and the under-seat cooker. If anyone wants them then give us a shout.
We also removed the front kick panels and all door / panels cards.
New items were cut from 3mm hardboard and covered in foam & vinyl before re-fitting
We also purchased a 3/4 Rock 'n' Roll bed. Here it is being test-fitted
This was then removed to enable ply lining all round
We gave the roof vinyl a damned good clean, but it was still showing signs of age, so a replacement was ordered in dark blue / mid blue stripes
At this time we also ordered a Smev cooker / sink combo, front carpets, eyelids, replacement roof & skylight seals, table leg, roof hooks, seat / bed foam, cupboard door trim, and assorted other little bits and bobs.
We then set about making the replacement units. Rather than just re-do the Dormobile interior layout we decided to go for something bespoke.
First job was to decide on a basic layout. Instead of spending a fortune on a fridge we bought a 12/240v cool box which could be used on it's end. This was placed roughly in the correct position and everything else was designed to fit around it.
It was then out with the woodworking tools, and over the course of a weekend everything started to take on a basic layout.
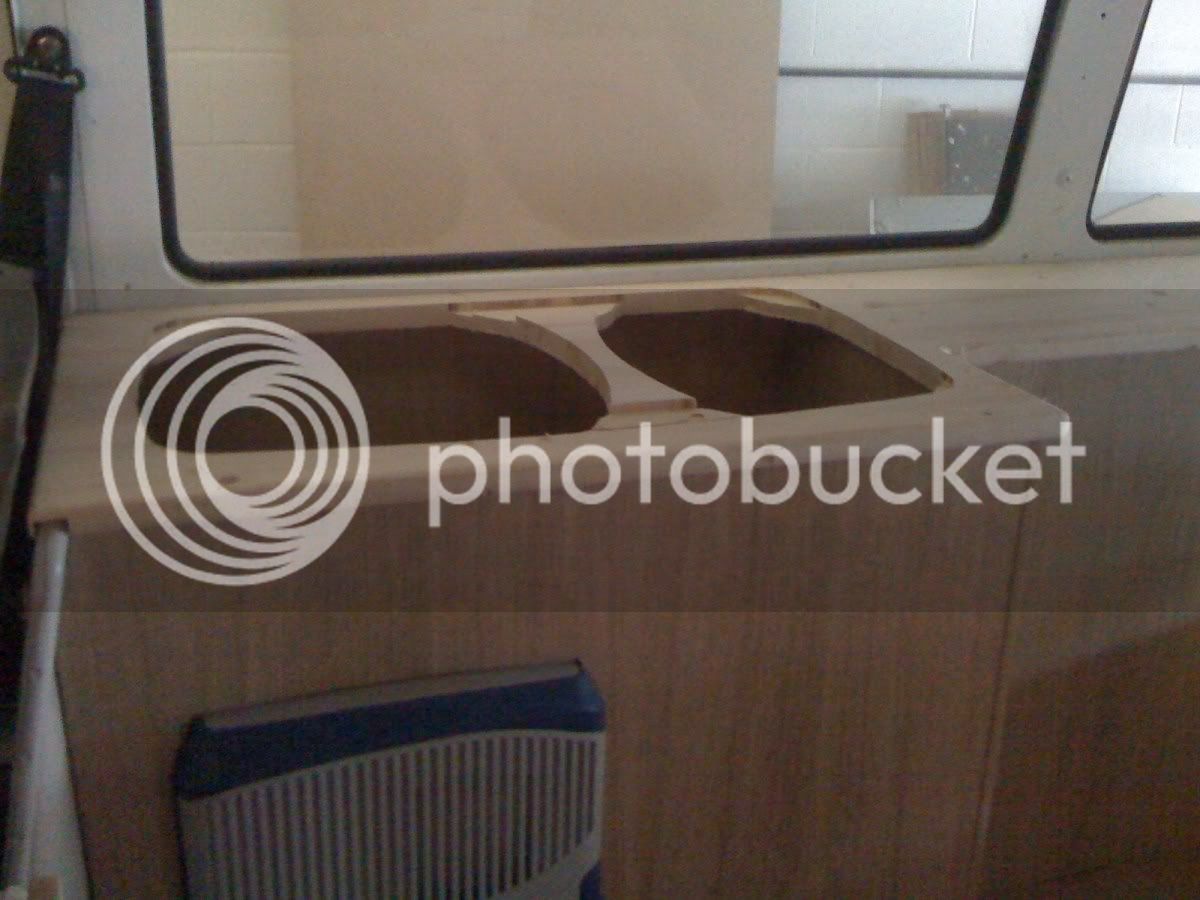
Then a worktop was made from solid pine, routered 20mm on the underside so it just 'slotted' onto the units with a satisfying click
One of the trickiest parts was routing the worktop for the Smev unit. The scale drawing at the back of the manual was a mass of angles, radii and measurements. Certain parts had to be cut out completely, others had to be routered to certain depths, it was a bit of a nightmare. I had a bit of a think and decided to use some of my 'proper job' tools to help out. I'm a sign maker, and as such have access to large-format printing equipment. A quick PDF download of the manual lead to the drawing for the routing / cutting being printed onto vinyl at full scale, and this was then used for a guide. I reckon this saved a good hour or so of measuring and drawing, and avoided any cock-ups along the way.
At this point the new roof canvas turned up, so we decided to have a go at fitting it.
The tatty original canvas was removed, along with the whole of the poptop roof.
We then painted the mucky coloured bare fibreglass with a couple of coats of satin white
While the top was off we replaced a broken window (Never again!)
Then it was back on with the top, and after a little head scratching the new canvas was fitted. Perfect!
Whilst it was off we also painted the hoops in matt black.
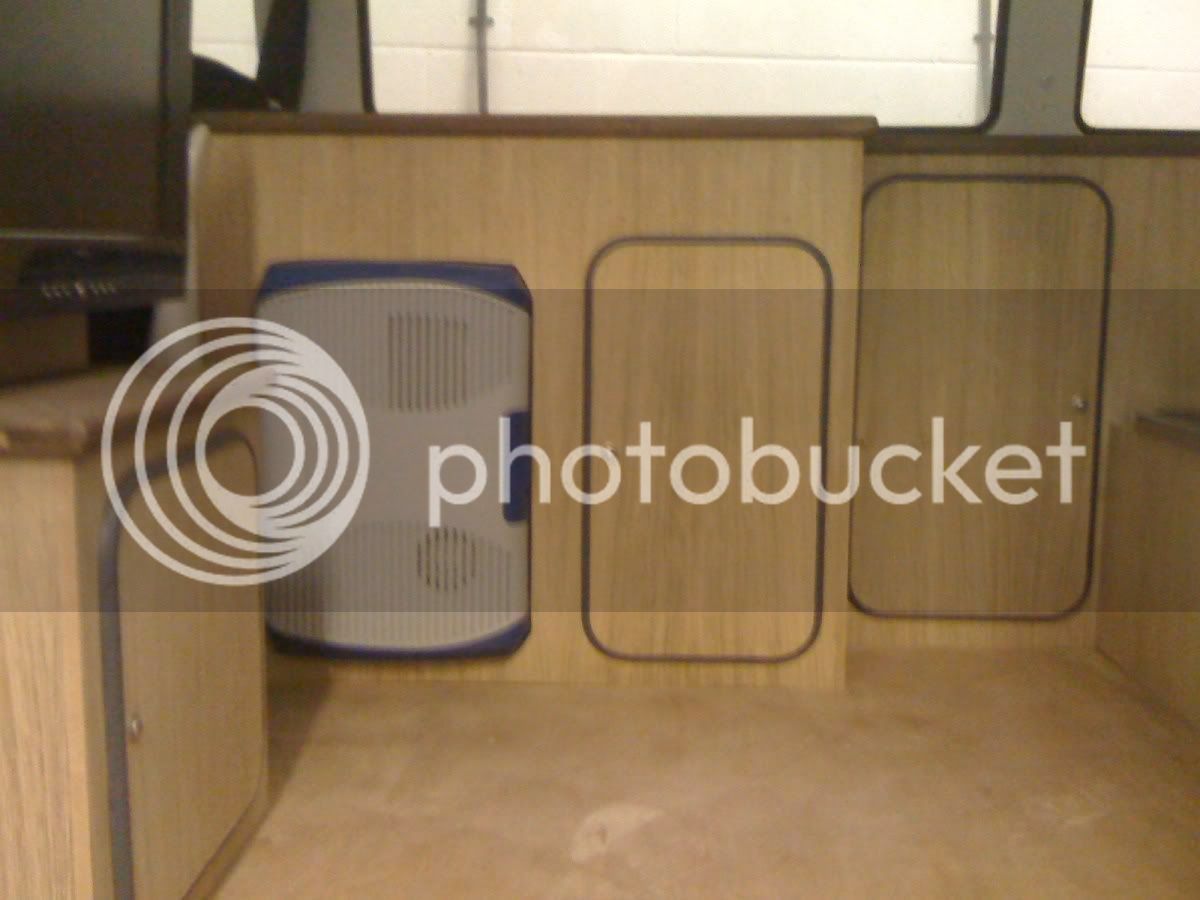
Roof done it was time to strip the cupboards back out in order to cut out the doors
During this time the LED lights were fitted, and the hardboard trim was replaced with 2mm opal perspex cut to slot into the existing channels
And here we are with the cupboard doors fitted and working, and the worktop stained and in position. We also fitted the TV / DVD combo at this time. This is slotted into place and has just one lead to it, meaning it can be removed and placed out of sight in dodgy areas.
The bed was then fitted, and the foam covered in the material we chose
And then the flooring went down.
So here we are up to date, with curtains, cushions and carpets, and all his cupboards stocked.
All that remains to do is to fit the rear head lining, which should be done tomorrow, and he's all ready to go.
Sticky & Tracy
...and Ashleigh (She only fitted one curtain, but insists on being mentioned)
