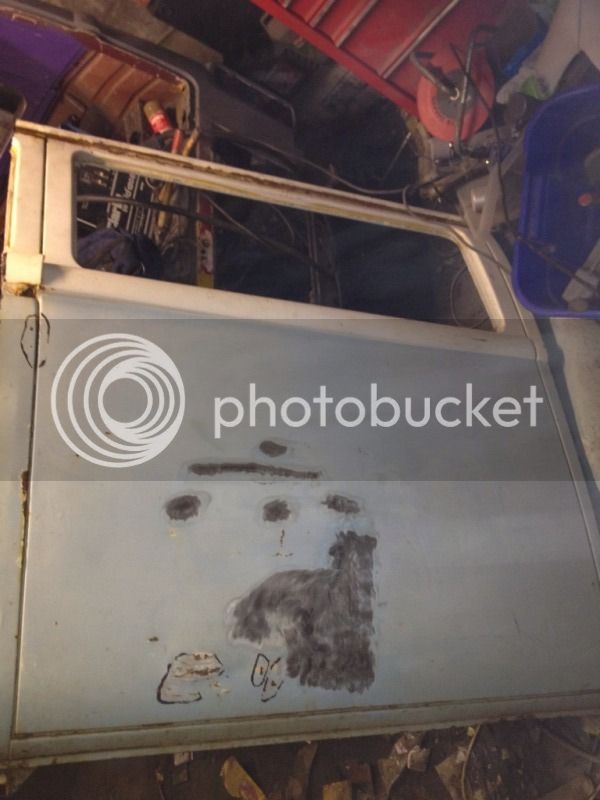
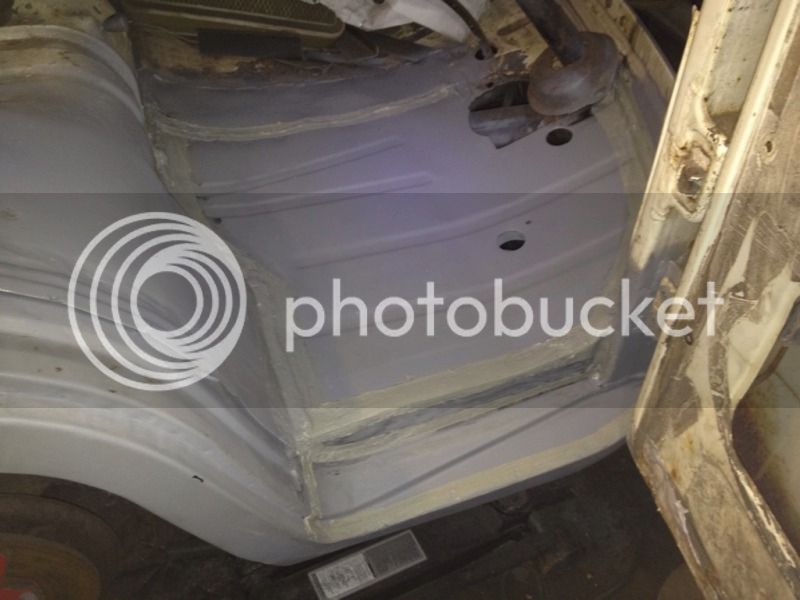
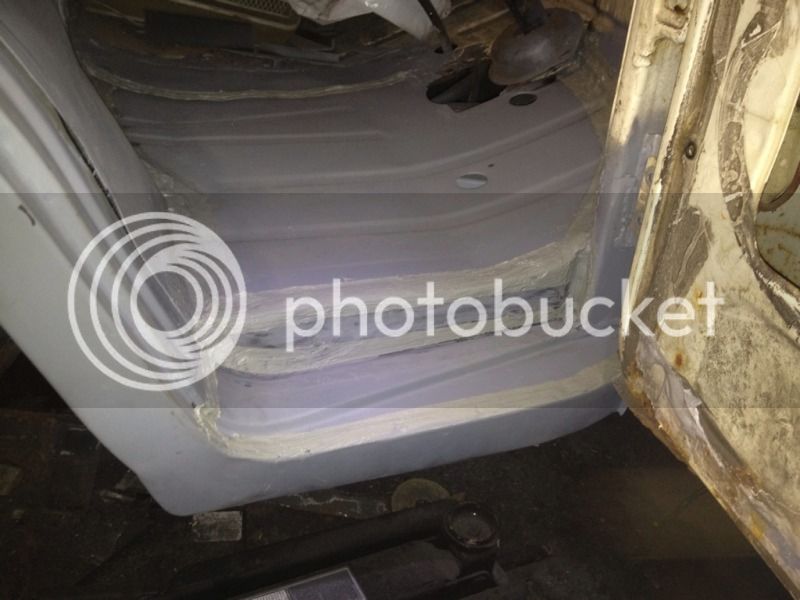
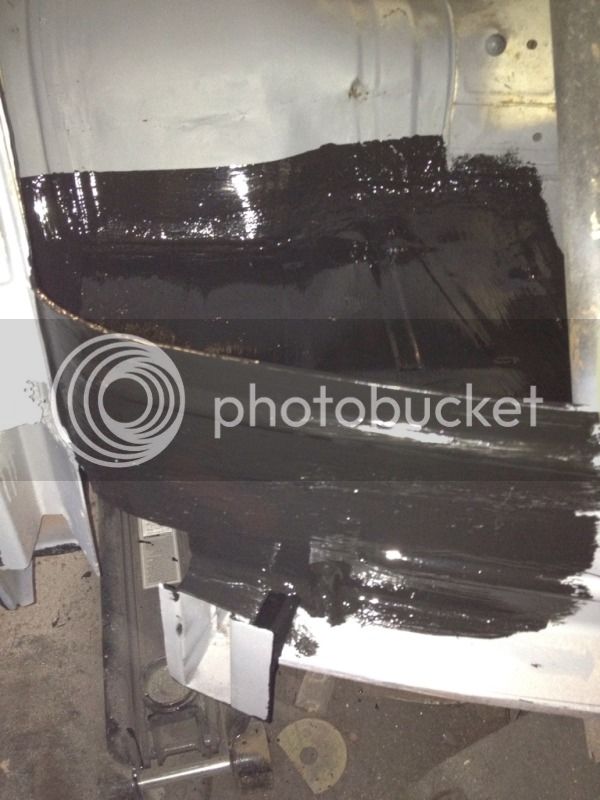
Spent about 4 hours up the garage today. I didn't like the edge of the floor as the edge wasn't very defined and was a bit of a NON edge due to my welding so I decided to run a weld along it's edge then ground the upper face and the side face to make a nicer edge.
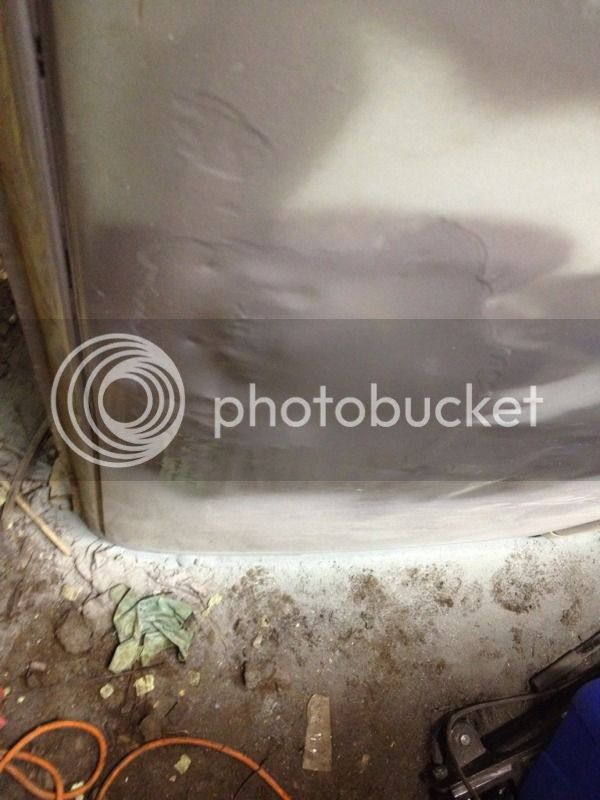
I then masked around the edges I wanted to seam seal to there was a clean edge not just a slap happy brushed finish.
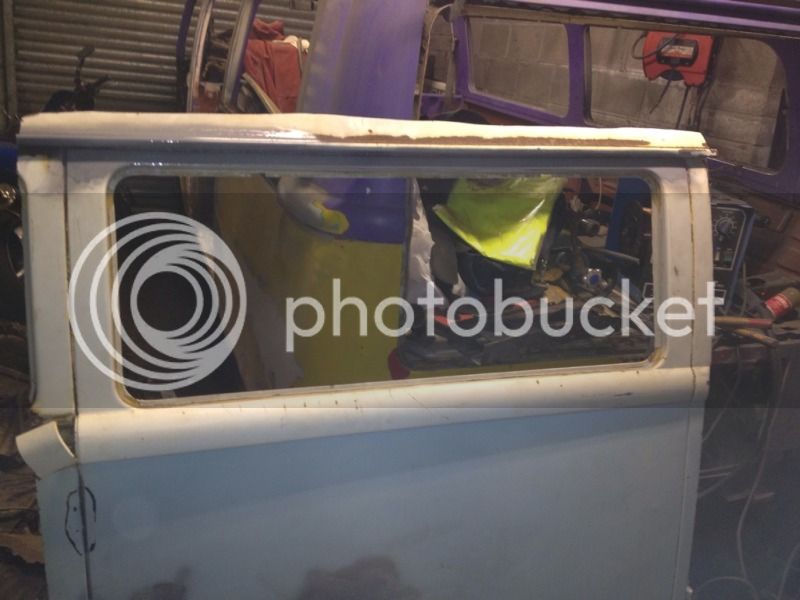
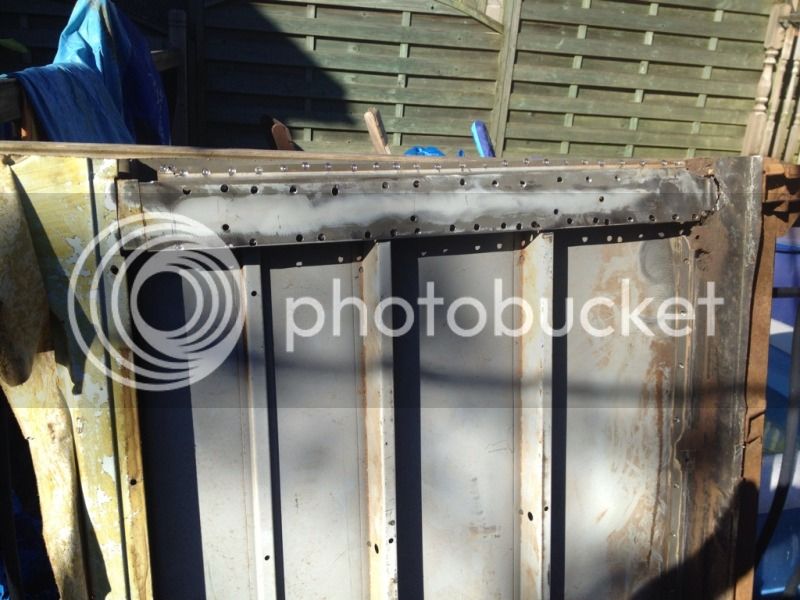
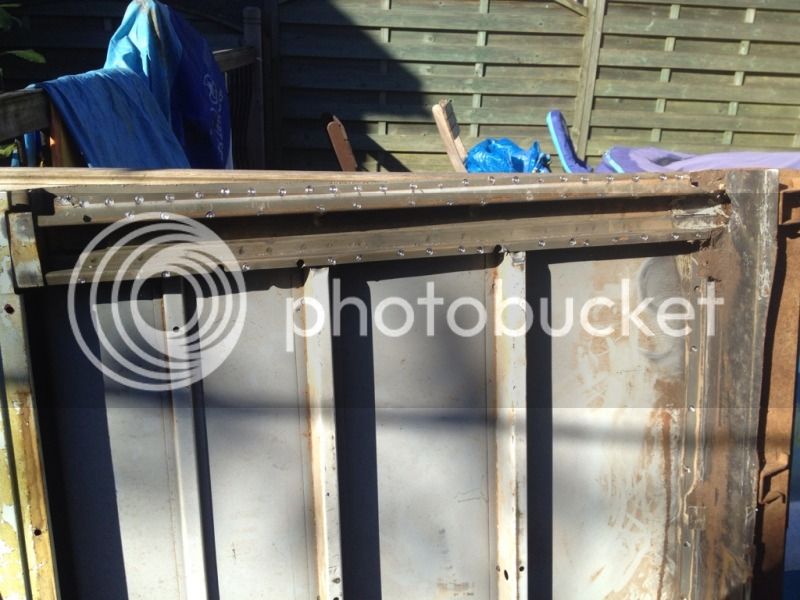
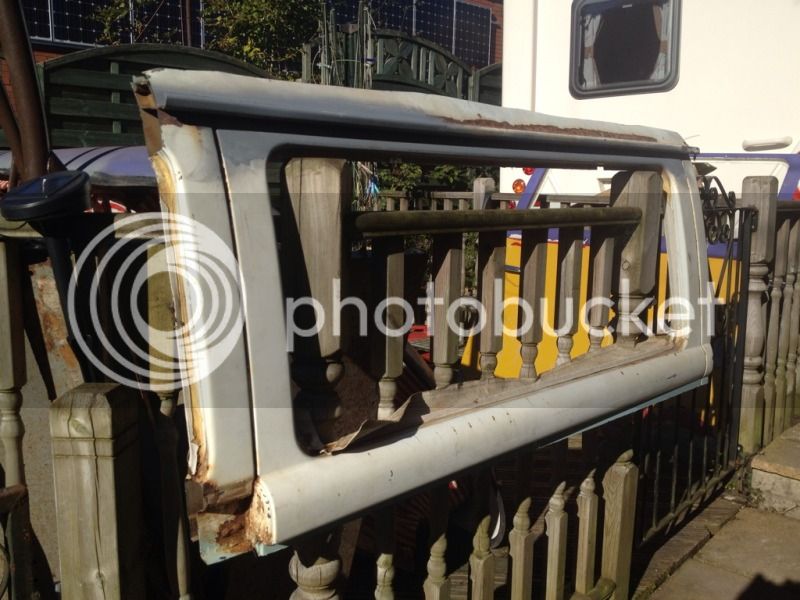
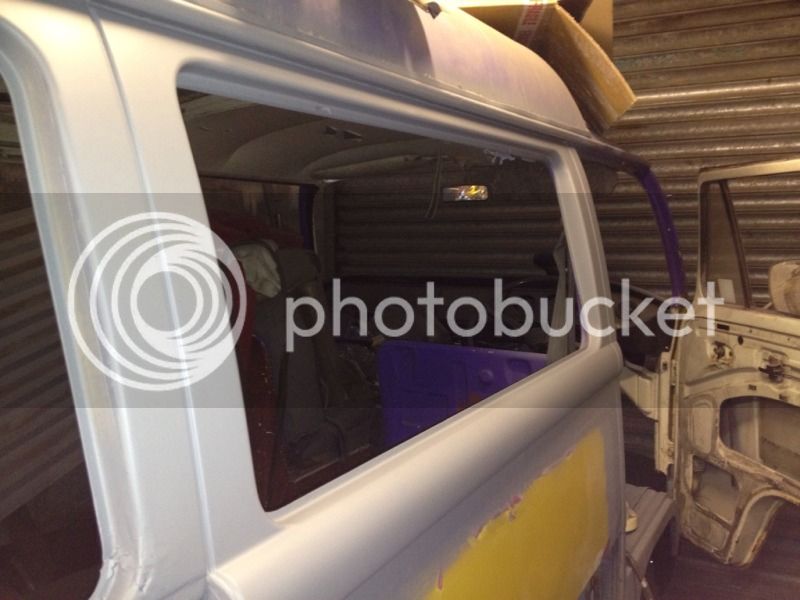
Spent around an hour with a grinder mounted wire wheel and cleaned up the OS window frame and B and C pillar uppers back to the metal and then gave it all a coat of etch. REALLY impressed with a flat finish and fresh paint. I can't wait until this thing is done and all in primer.
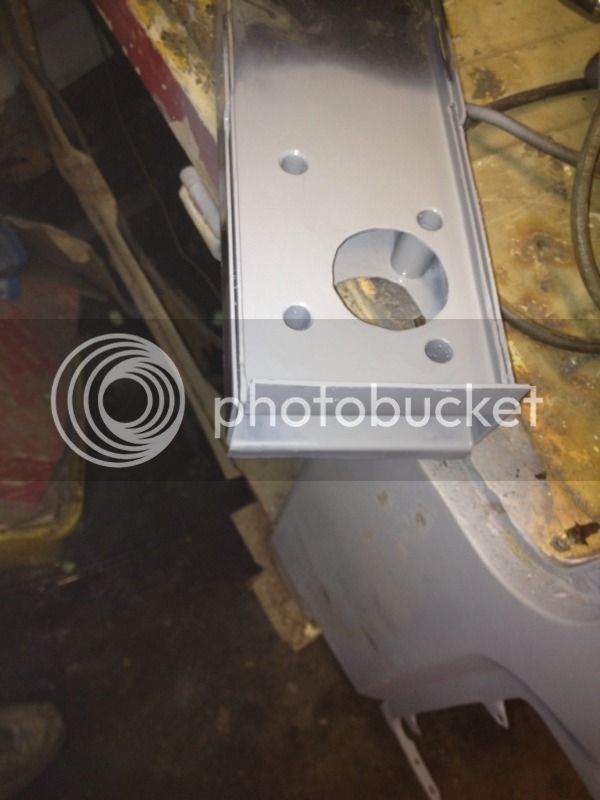
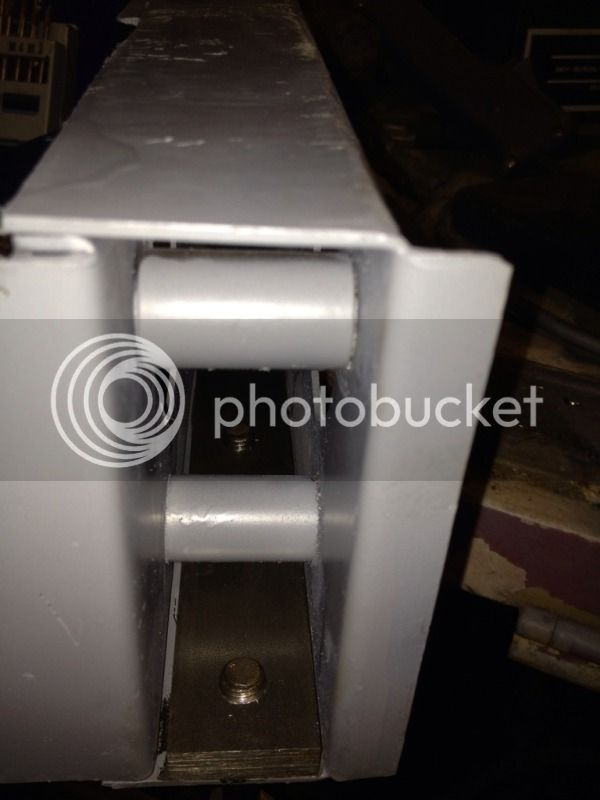
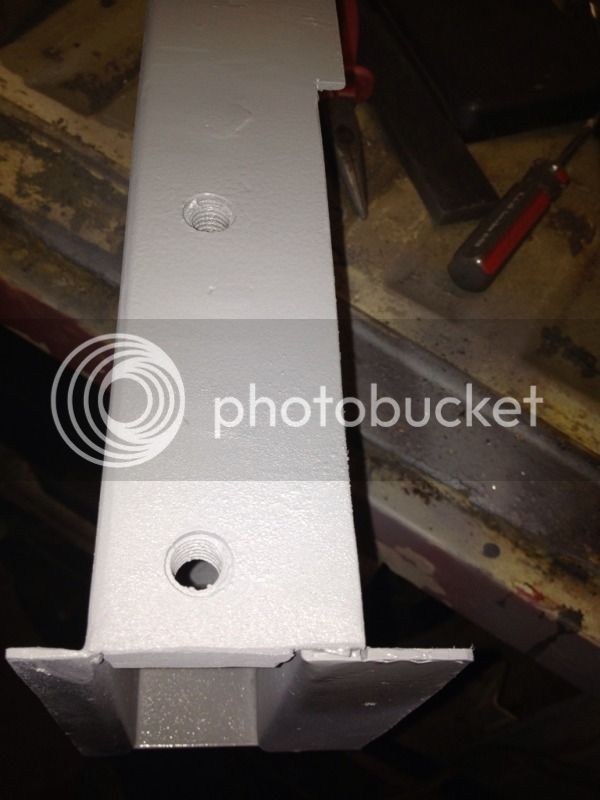
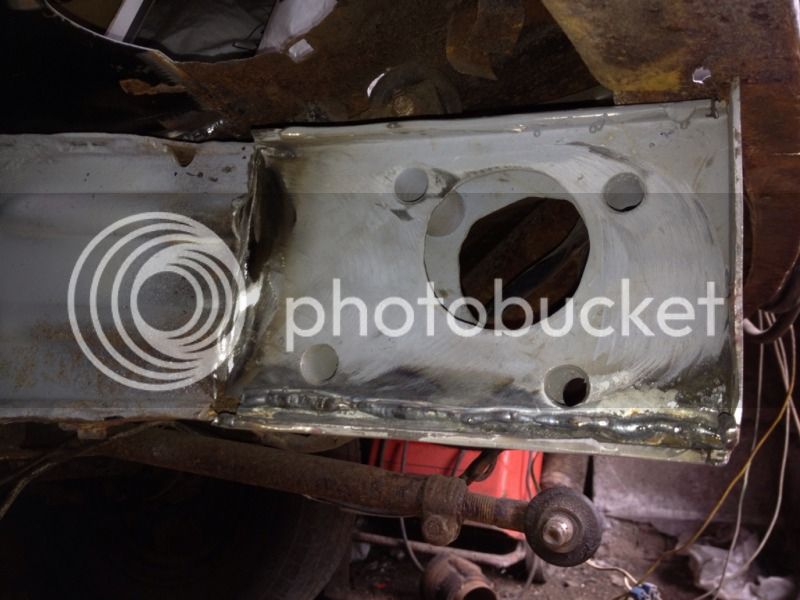
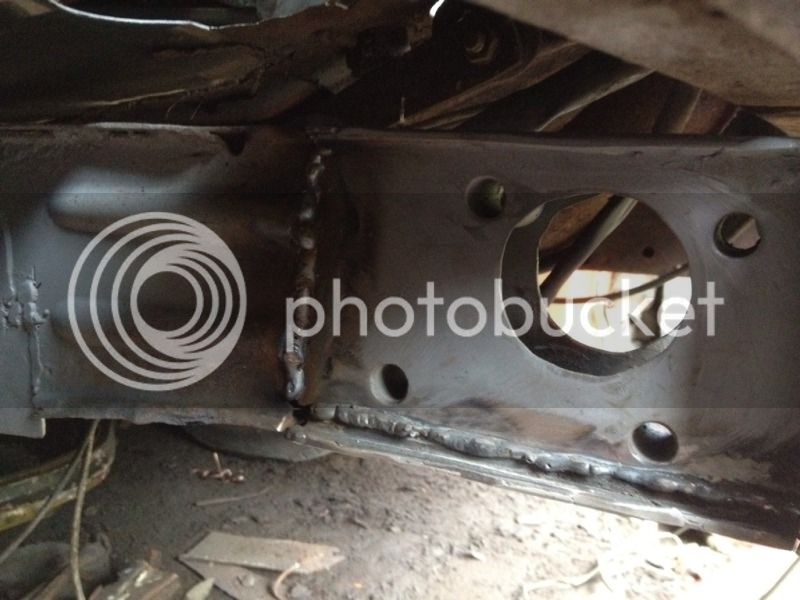
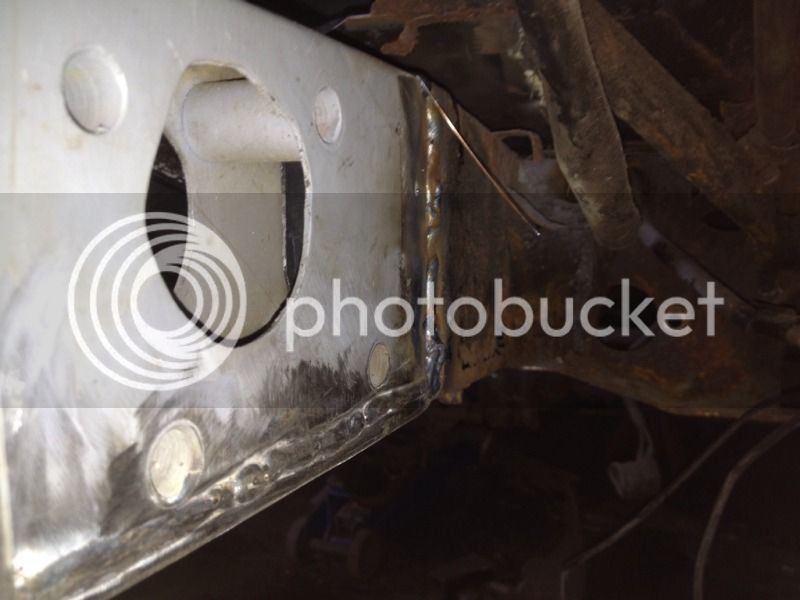
Mixed up some epoxy mastic 121 and gave the floor and arch step a coat. What I had left, I painted onto the new chassis section I replaced. No waste.") )
)
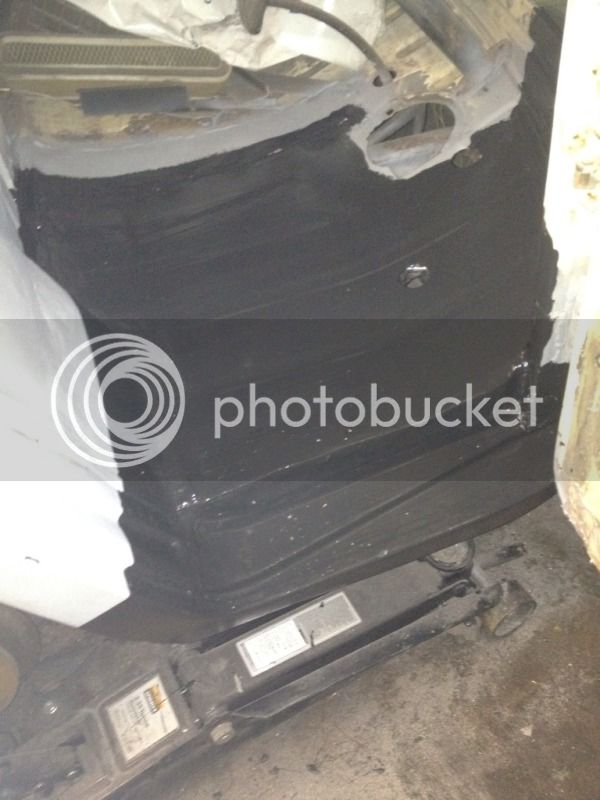
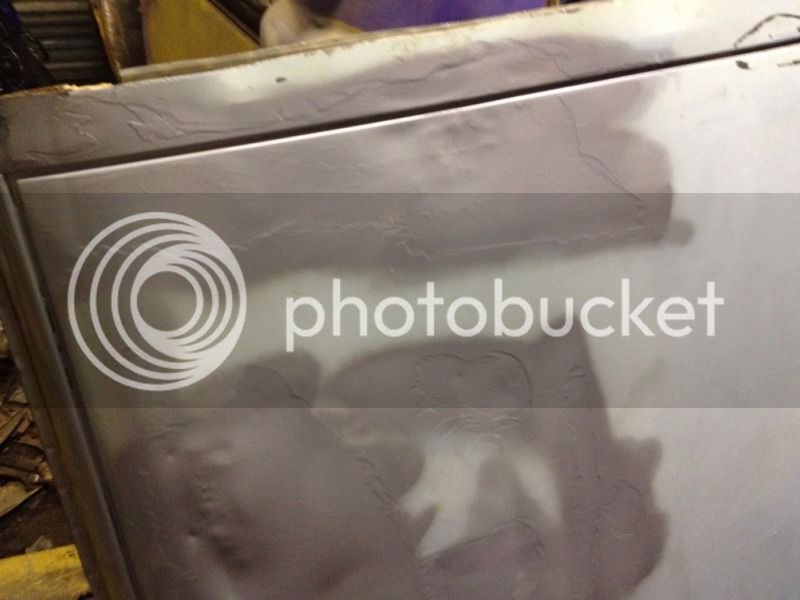
I then masked around the edges I wanted to seam seal to there was a clean edge not just a slap happy brushed finish.
Spent around an hour with a grinder mounted wire wheel and cleaned up the OS window frame and B and C pillar uppers back to the metal and then gave it all a coat of etch. REALLY impressed with a flat finish and fresh paint. I can't wait until this thing is done and all in primer.
Mixed up some epoxy mastic 121 and gave the floor and arch step a coat. What I had left, I painted onto the new chassis section I replaced. No waste.
)