You are using an out of date browser. It may not display this or other websites correctly.
You should upgrade or use an alternative browser.
You should upgrade or use an alternative browser.
My 1970 Danbury Resto
- Thread starter niklee1
- Start date

Help Support Early Bay Forum:
This site may earn a commission from merchant affiliate
links, including eBay, Amazon, and others.
Thought I had better get on with finishing the interior unit, covered the top in fablon and finished off the painting. Got the cooker out and added some heat proofing where I have installed the sink (don't really want a melted sink!!! lol).
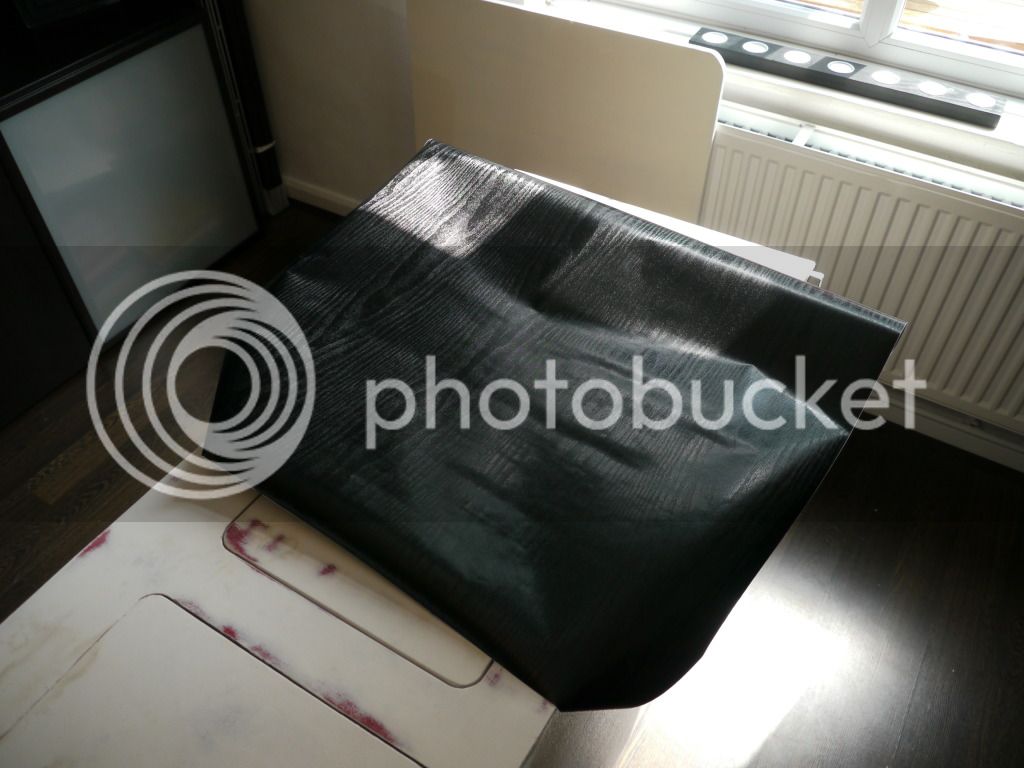
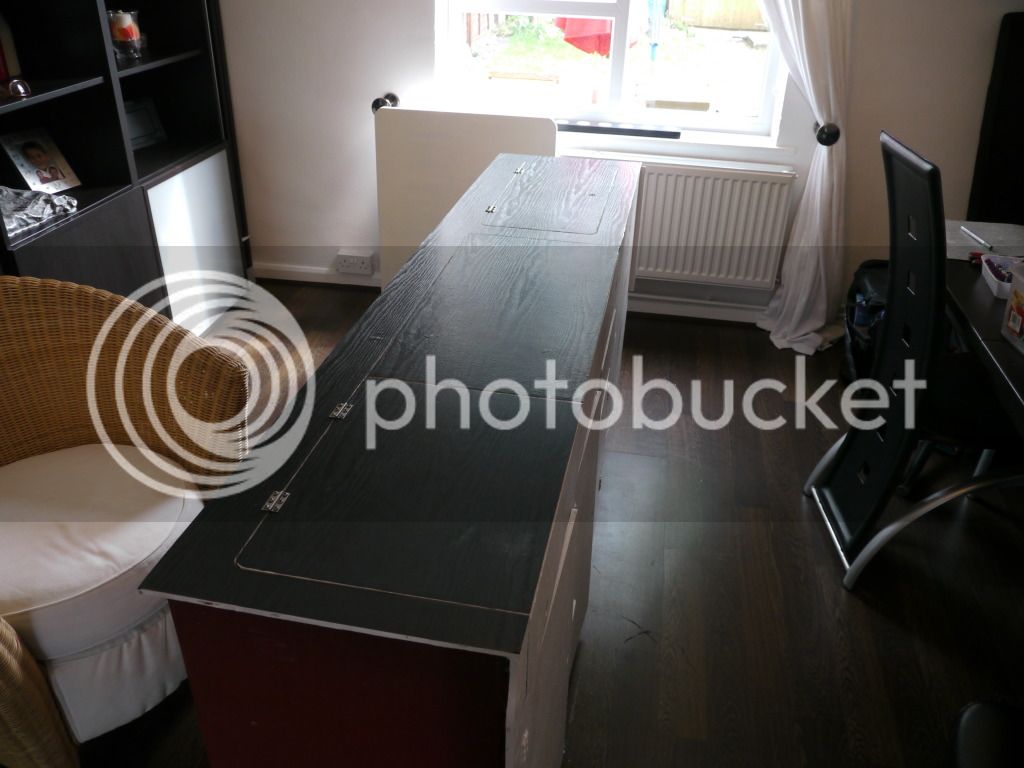
Note some bubbling where I had to add additional adhesive as it wasn't that sticky.
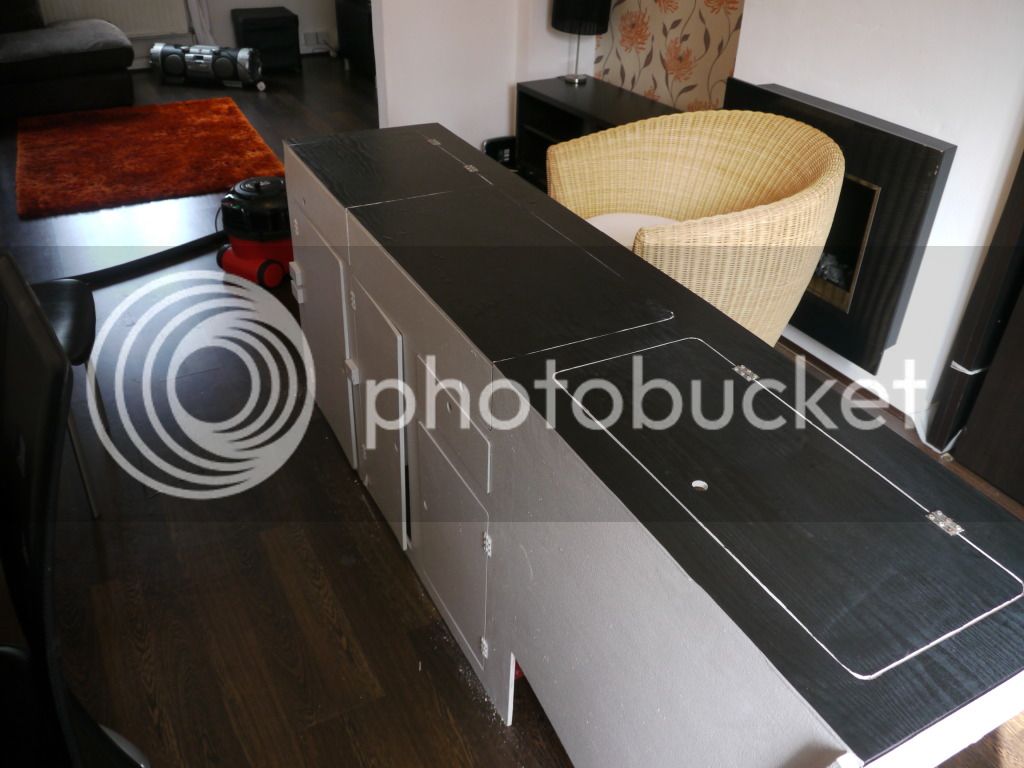
Got the bubbles out but realised that the white shows up too much so out came the black paint!!!
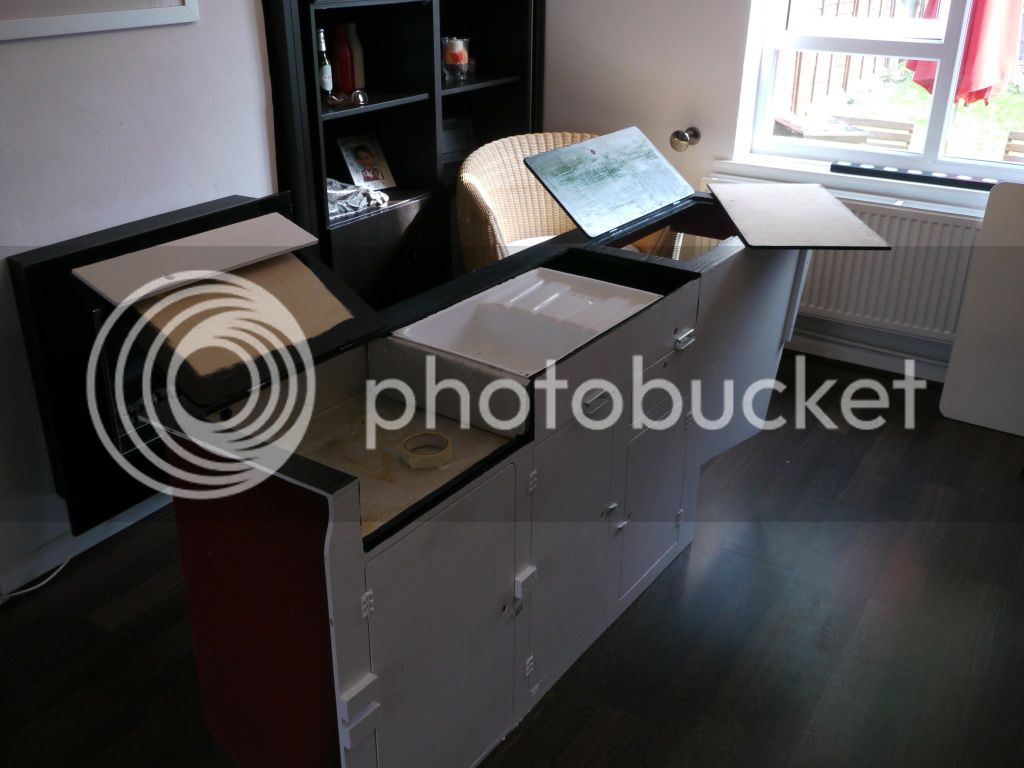
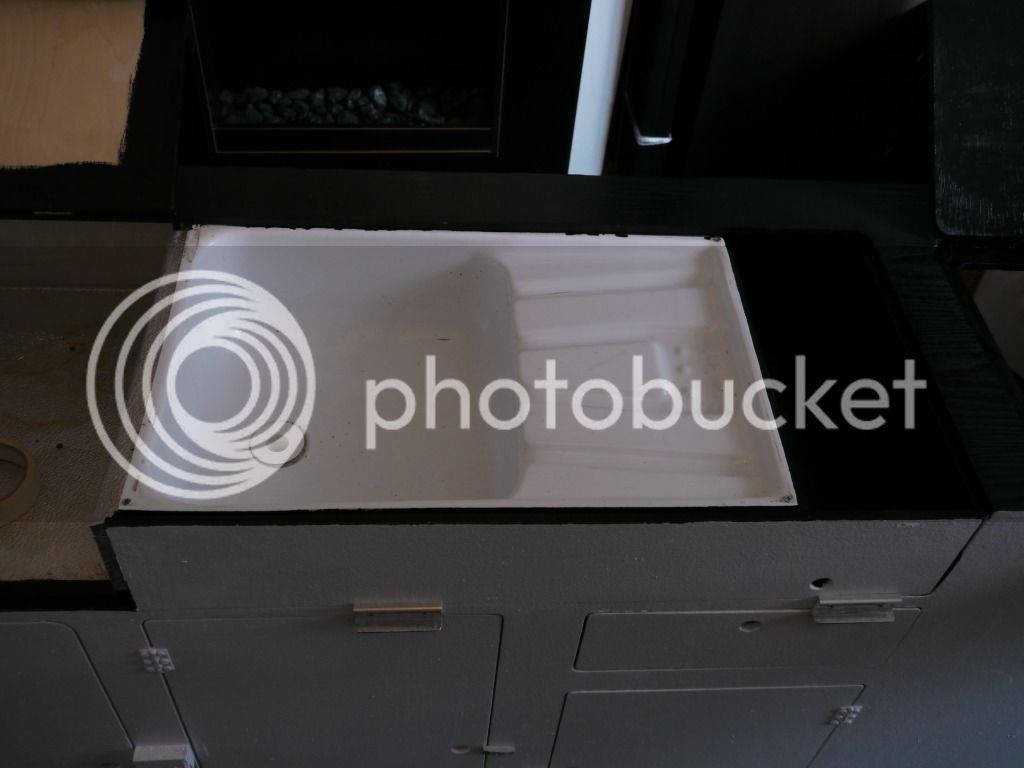
A little paint ran under the masking tape will get a sharp blade to it when dry.
Refitted the table supports and toggles, I must say I am quite happy with the results so far. I will reserve final judgement until it is dry and installed back in the van.


Note some bubbling where I had to add additional adhesive as it wasn't that sticky.

Got the bubbles out but realised that the white shows up too much so out came the black paint!!!


A little paint ran under the masking tape will get a sharp blade to it when dry.
Refitted the table supports and toggles, I must say I am quite happy with the results so far. I will reserve final judgement until it is dry and installed back in the van.
Dash looking finished, note the cardboard template.
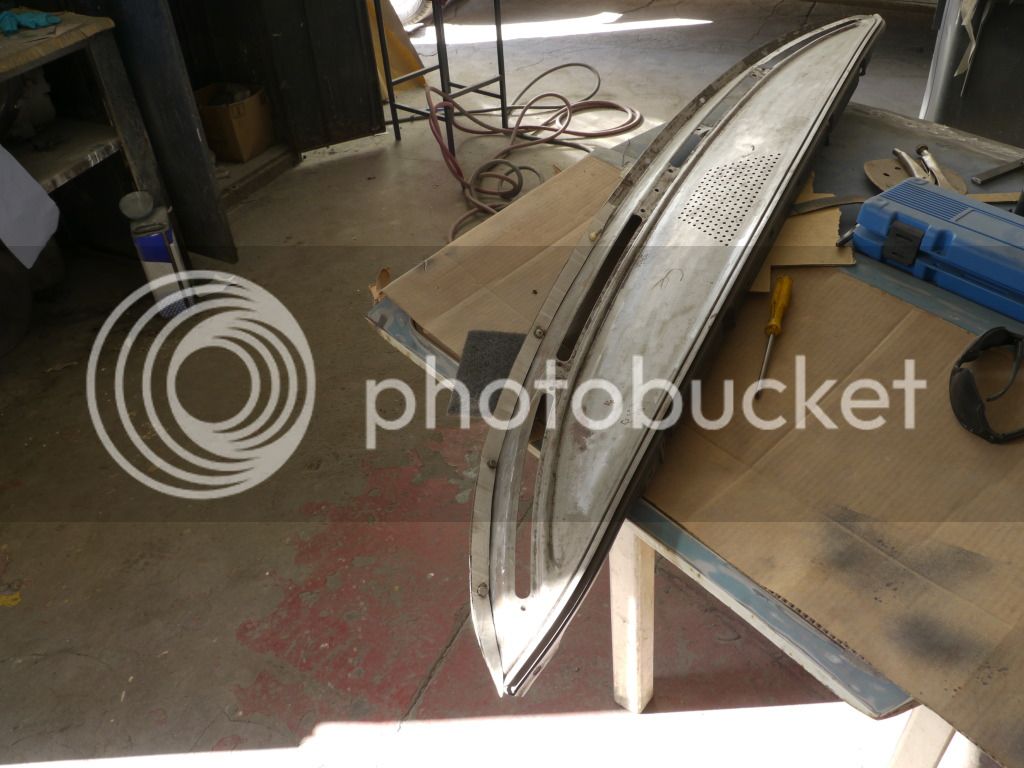
This is looking better!!!
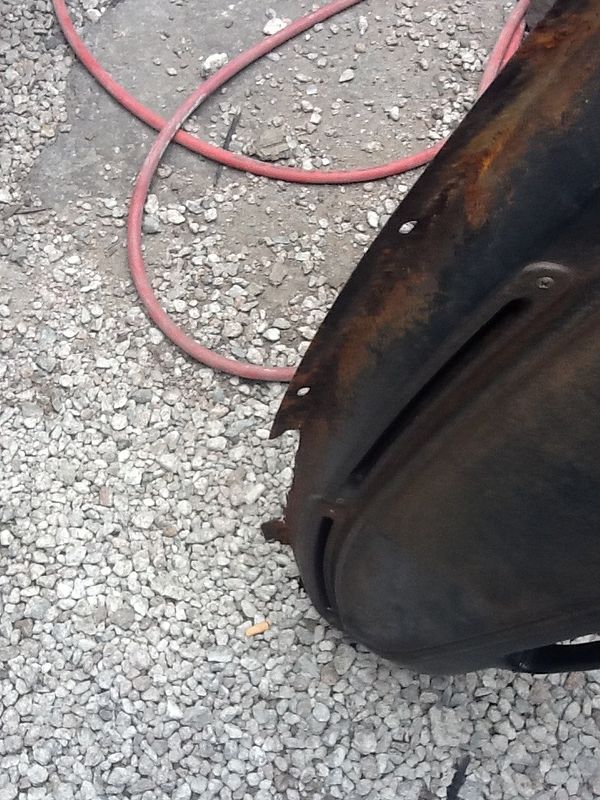
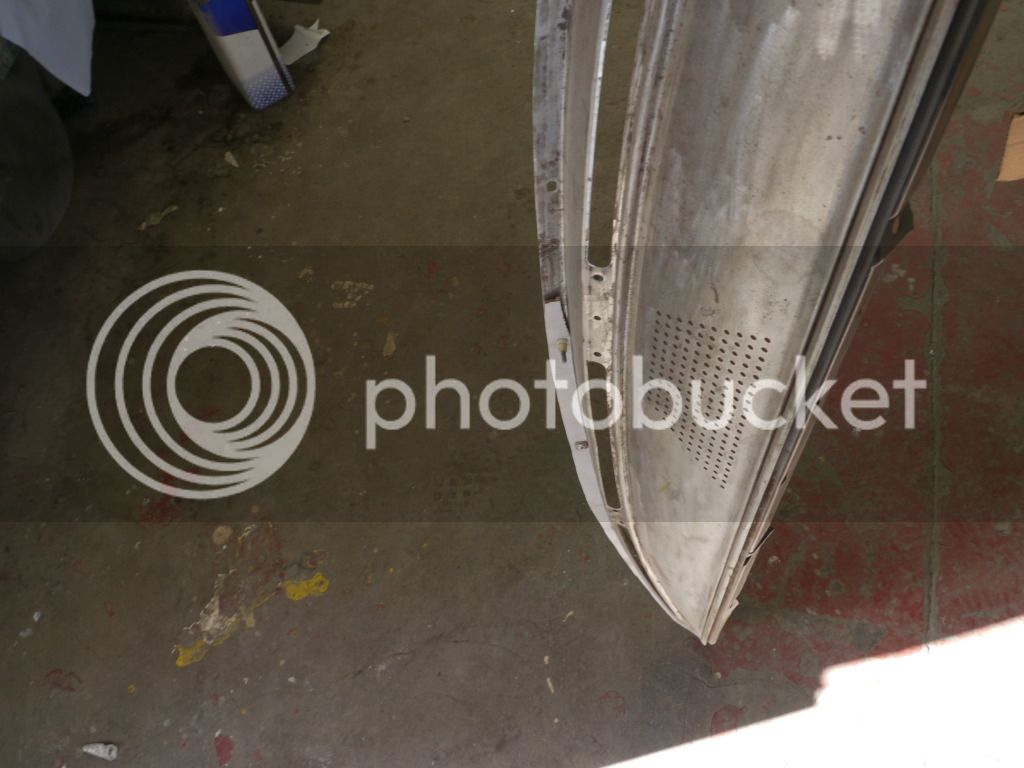
New metal hoorah!
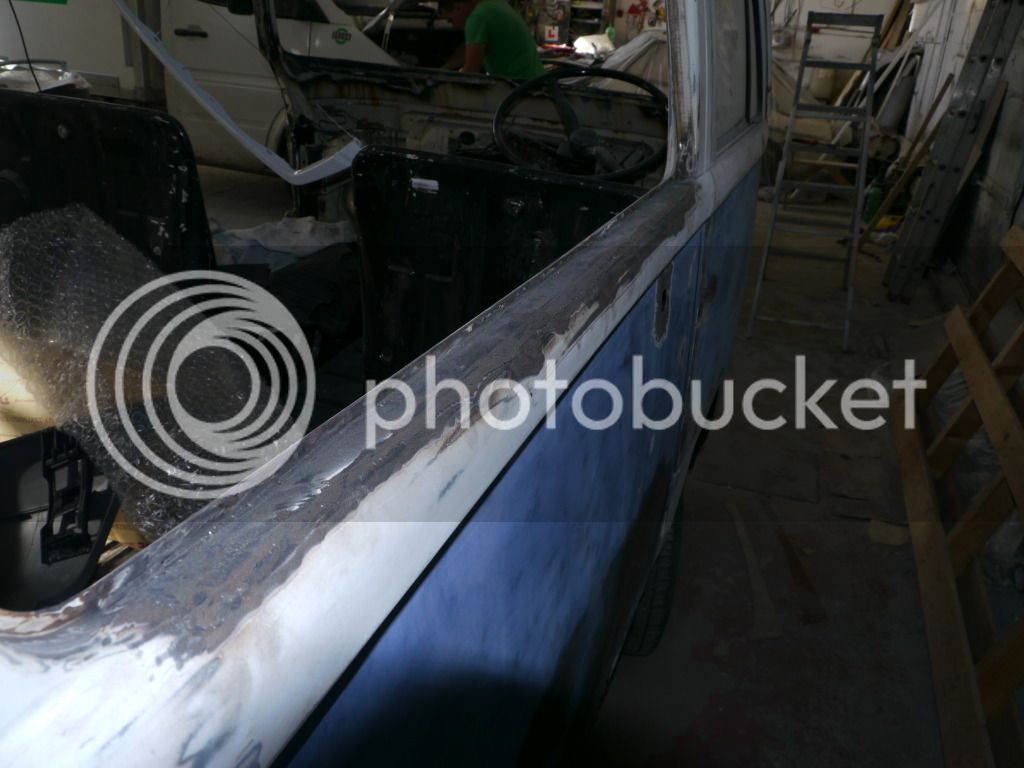
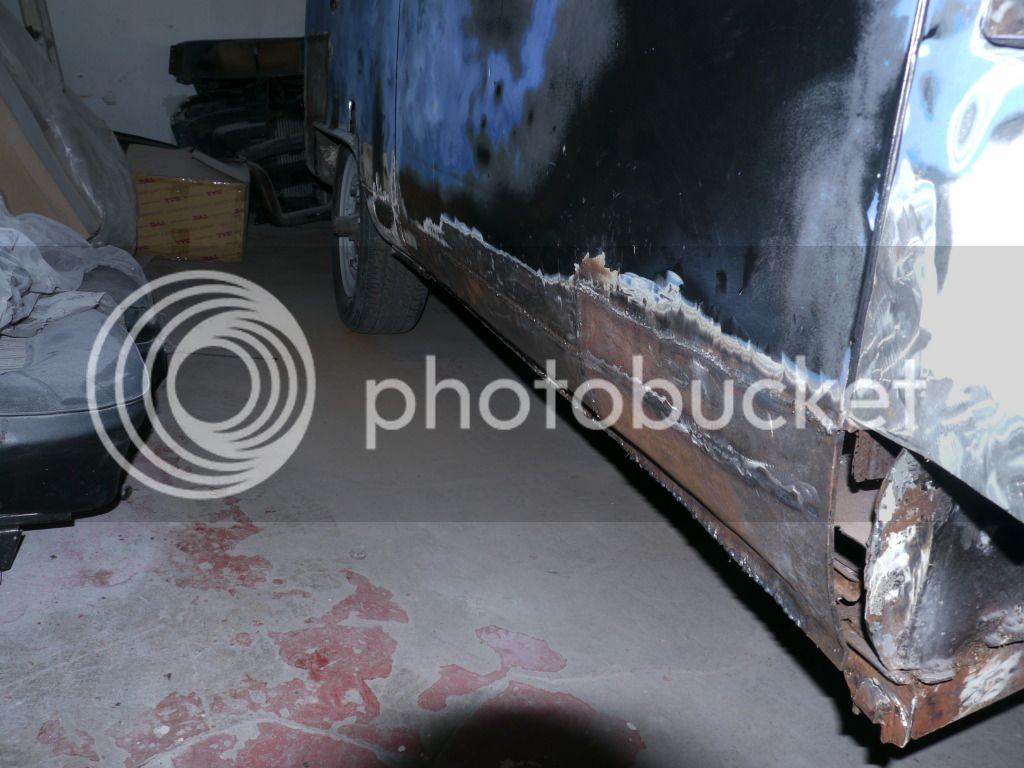
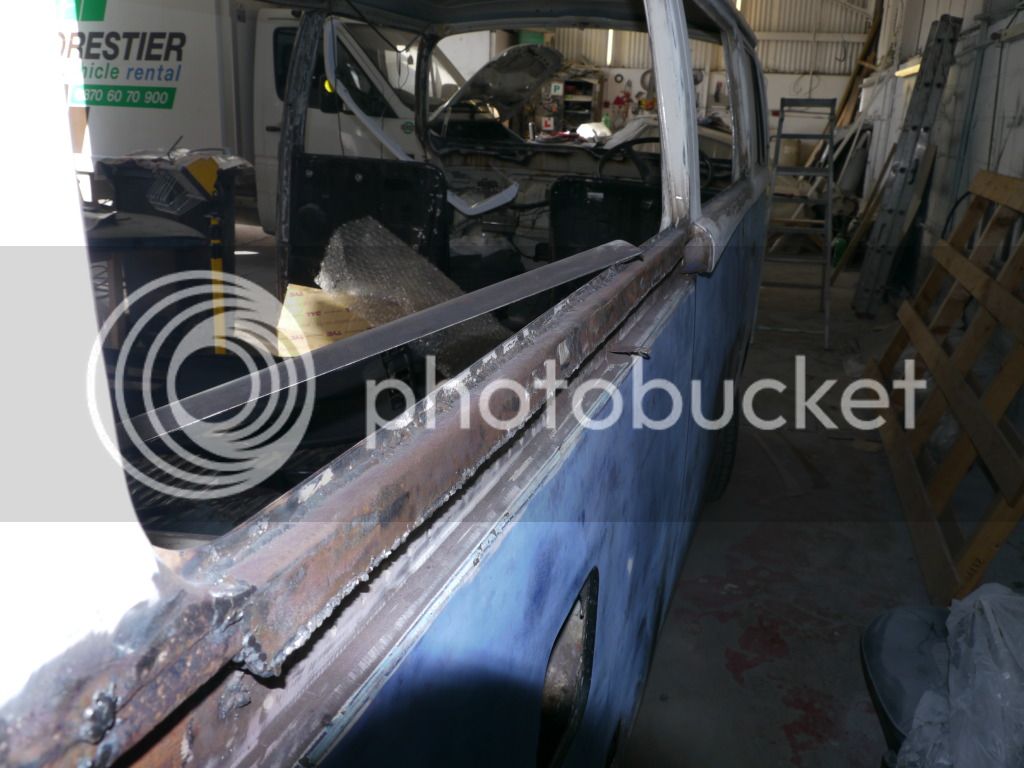
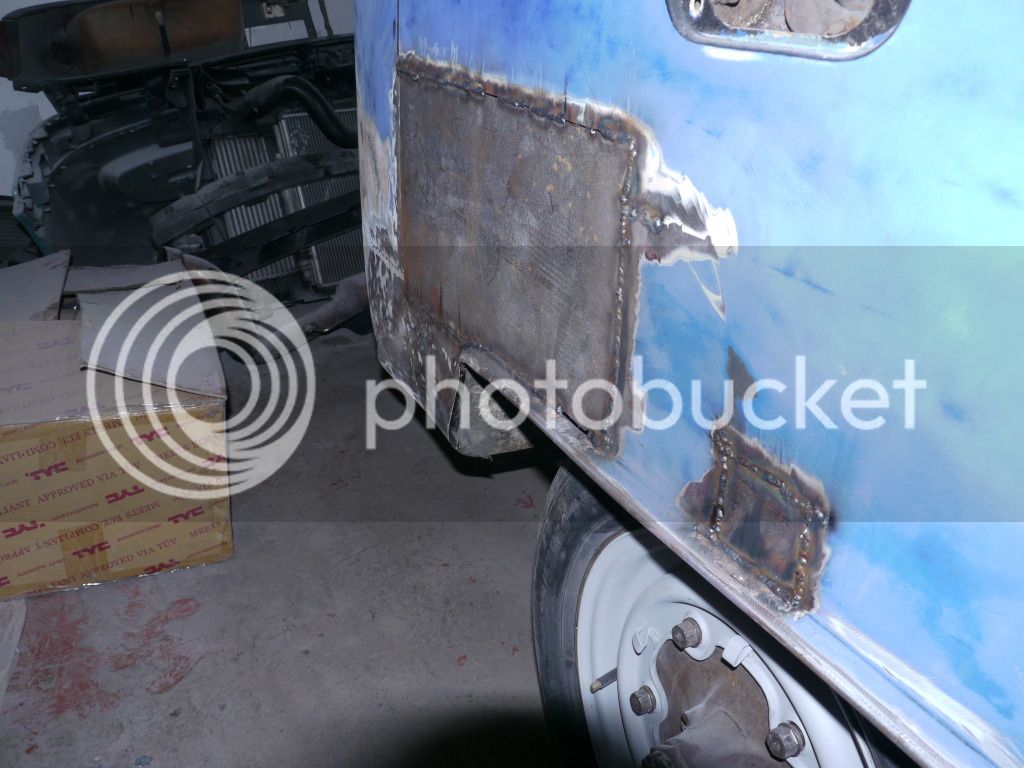

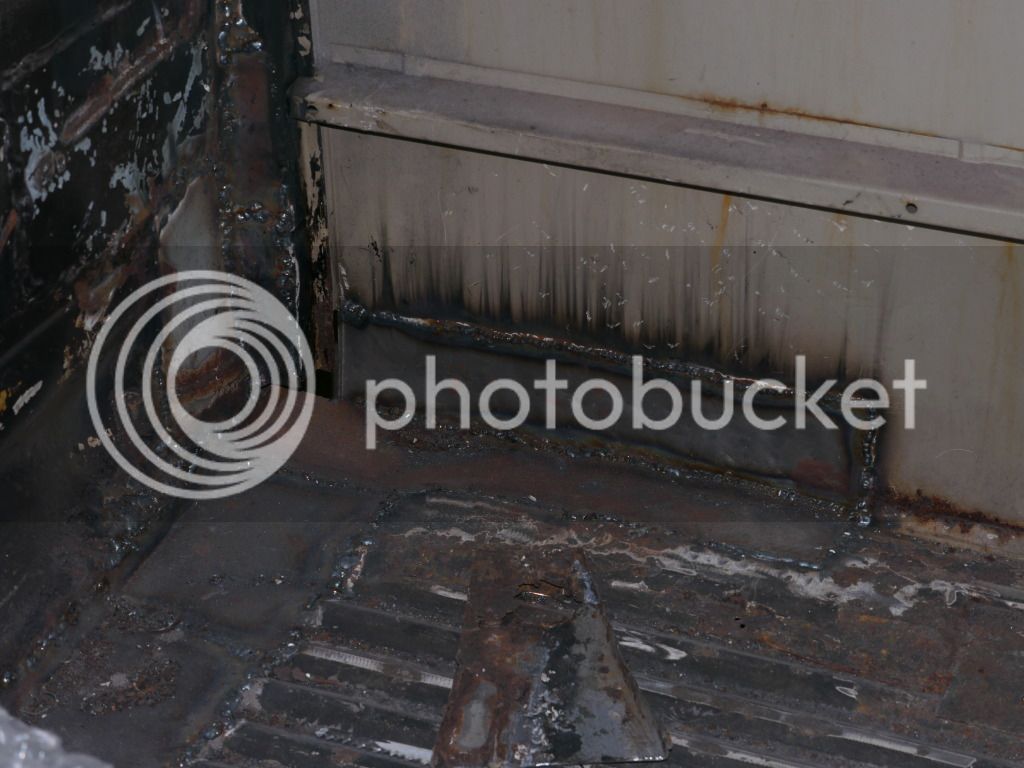
Very happy with the progress thus far, even if it is a tad slow!!! Should be ready for paint prepping in the next week or so so maybe, just maybe get her back by the end of the month. :shock:

This is looking better!!!


New metal hoorah!


Very happy with the progress thus far, even if it is a tad slow!!! Should be ready for paint prepping in the next week or so so maybe, just maybe get her back by the end of the month. :shock:
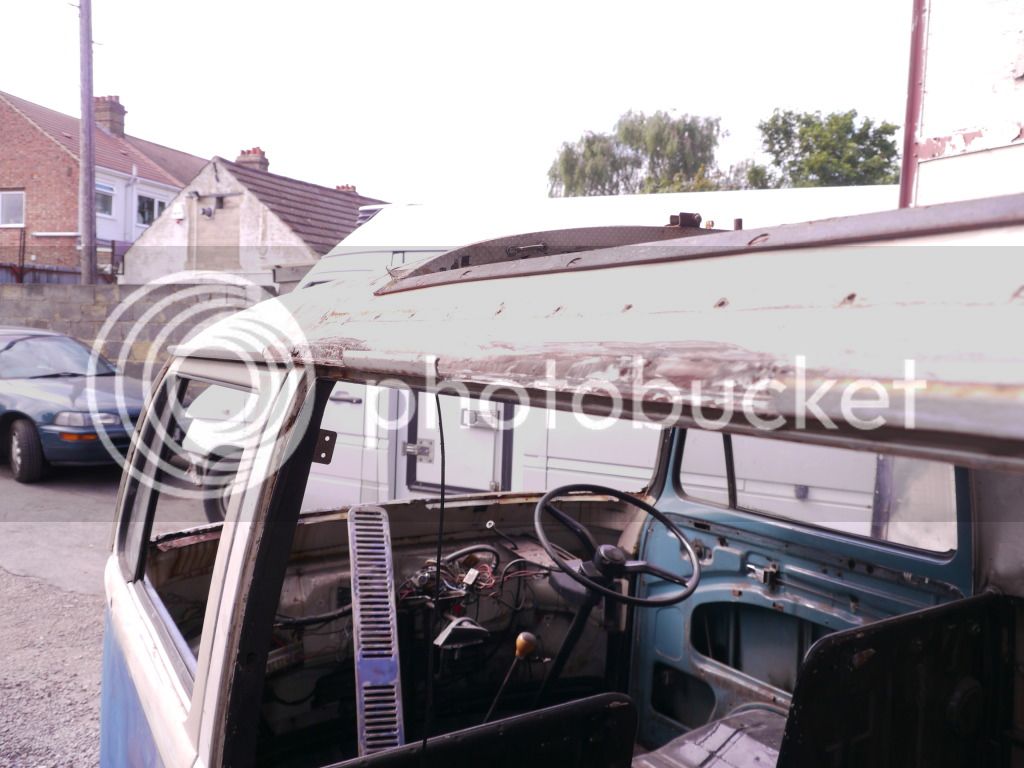
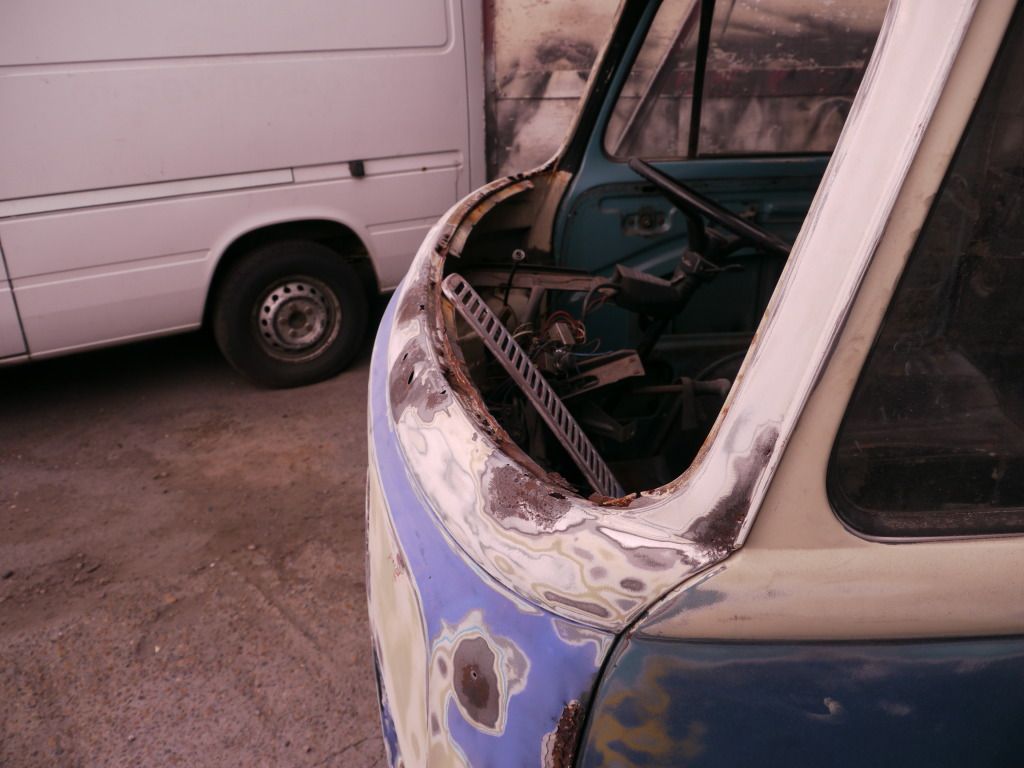
Got to the garage to find my bus with her eyes in the sunlight...
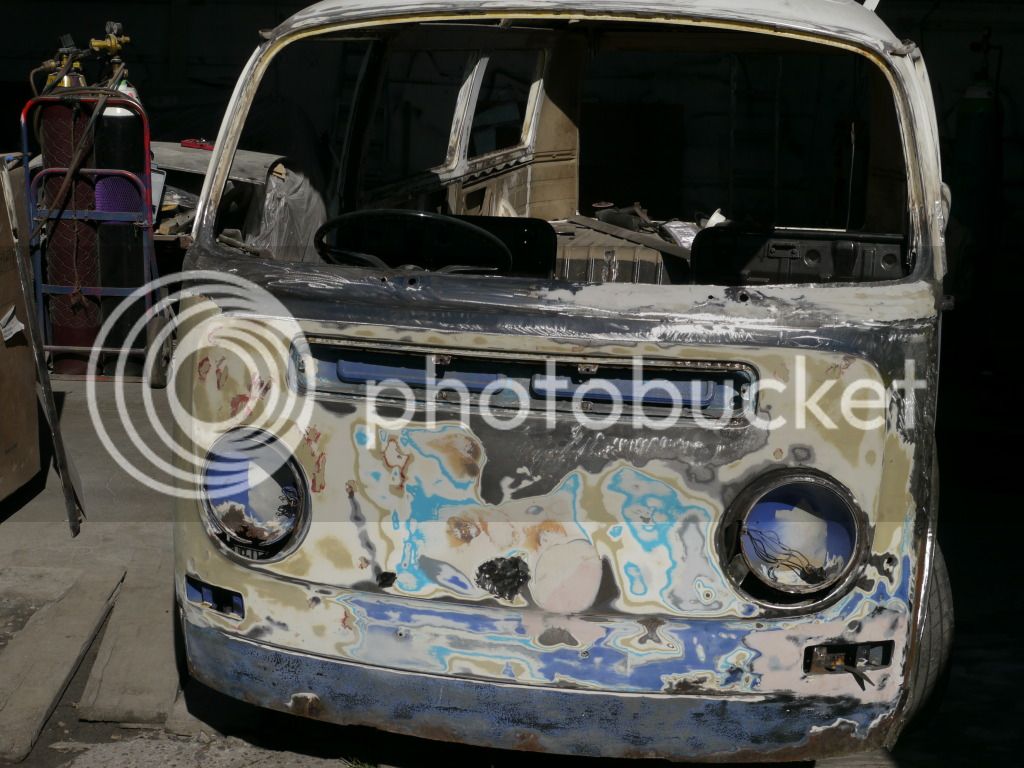
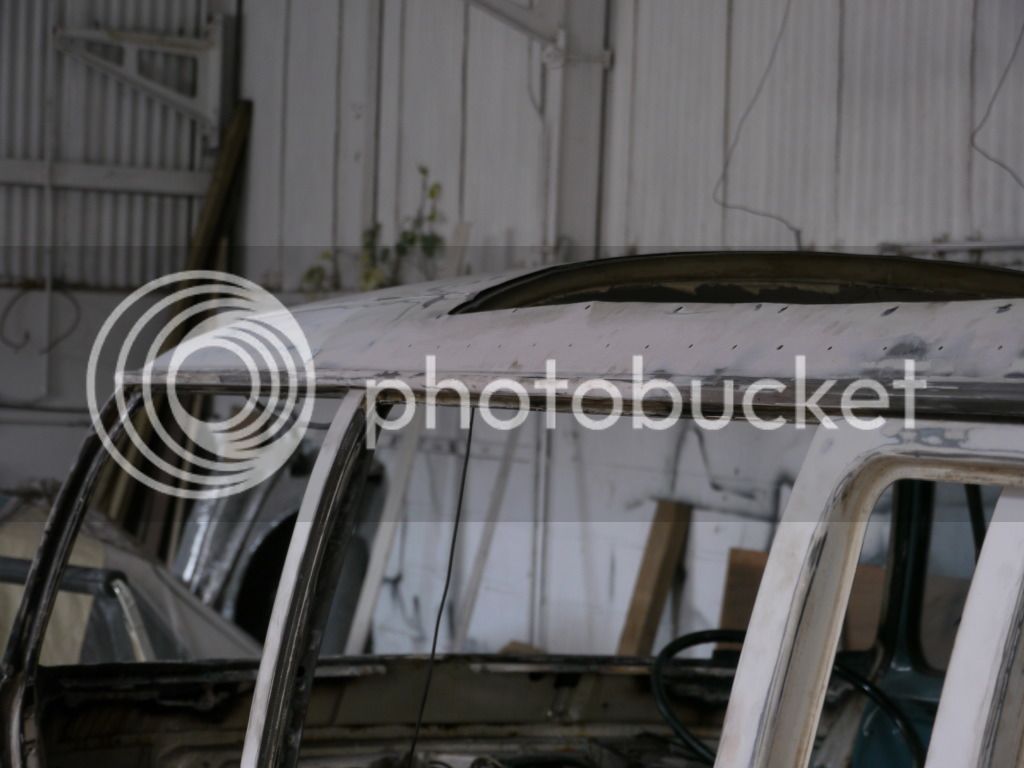
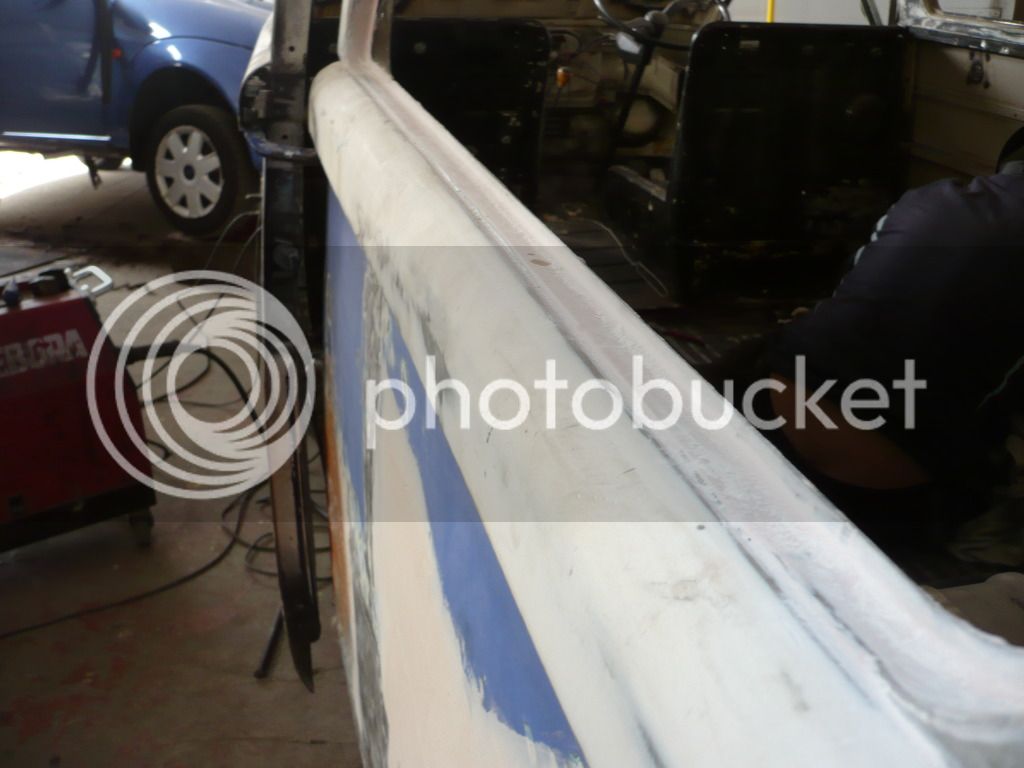
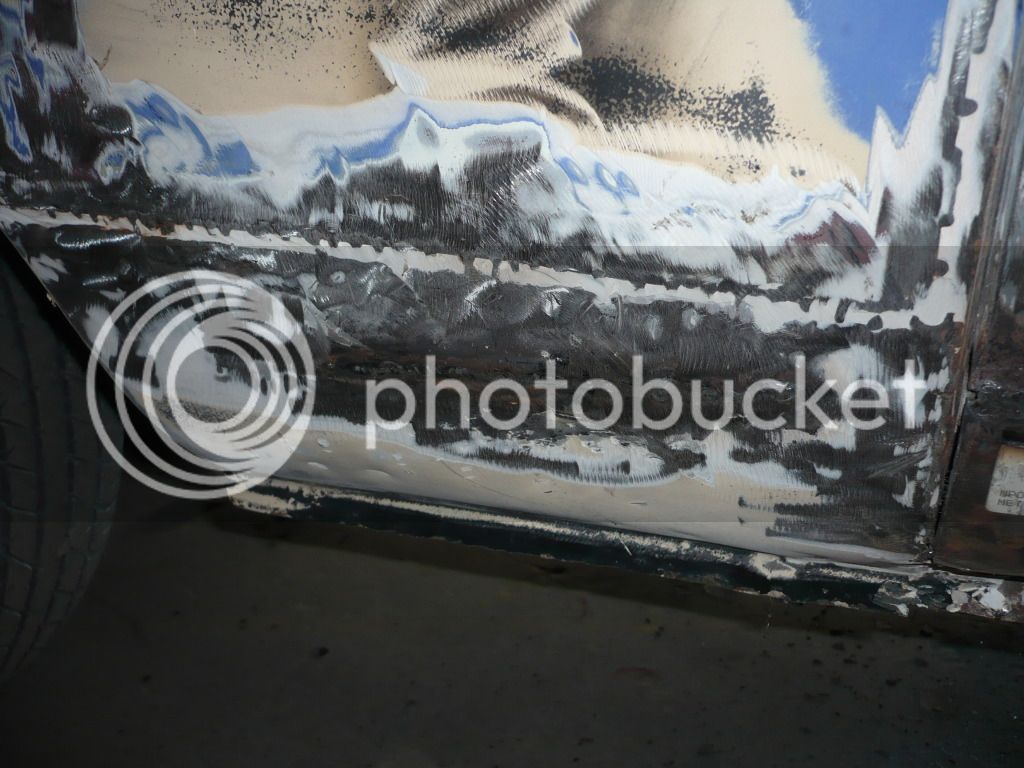
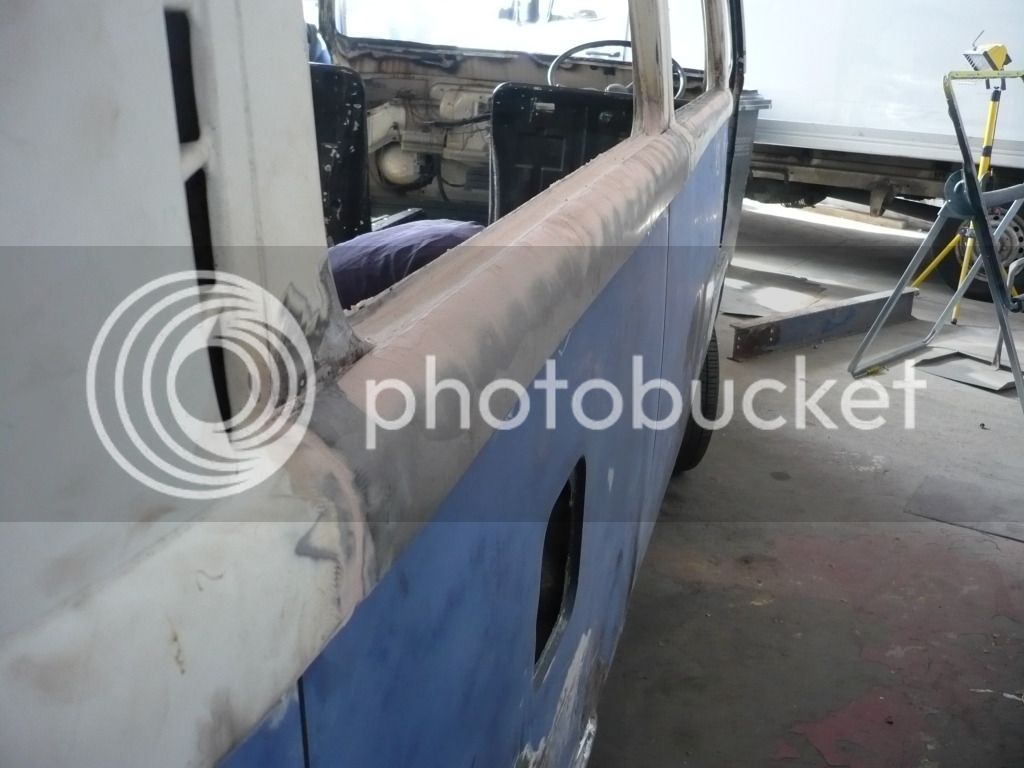
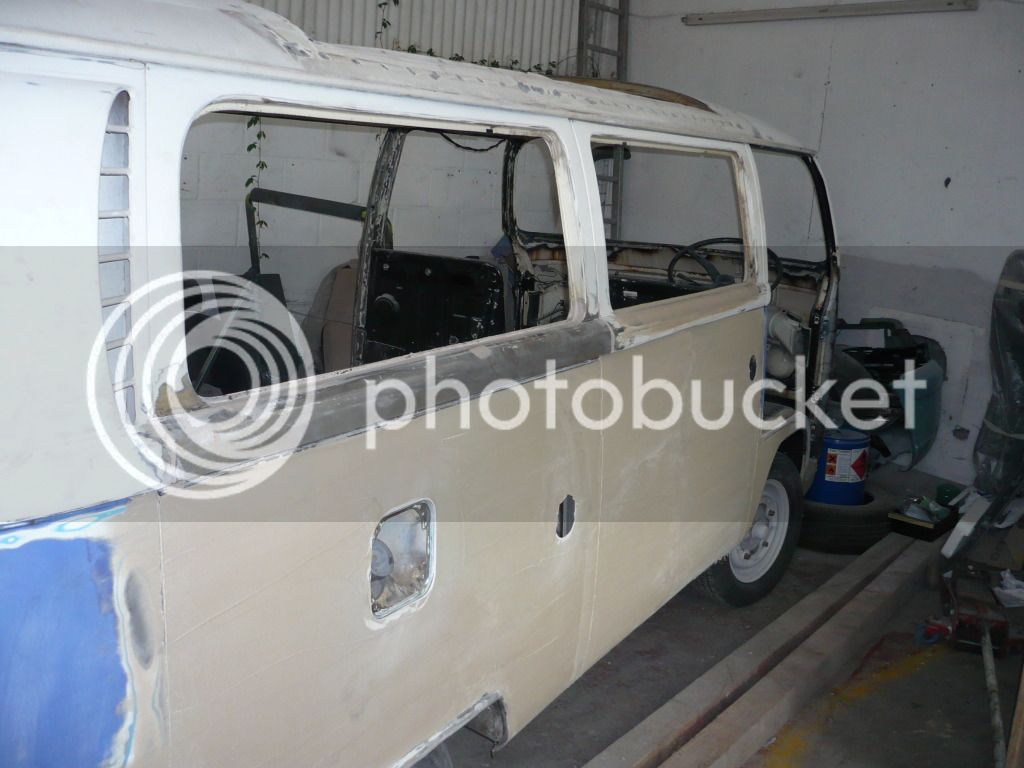
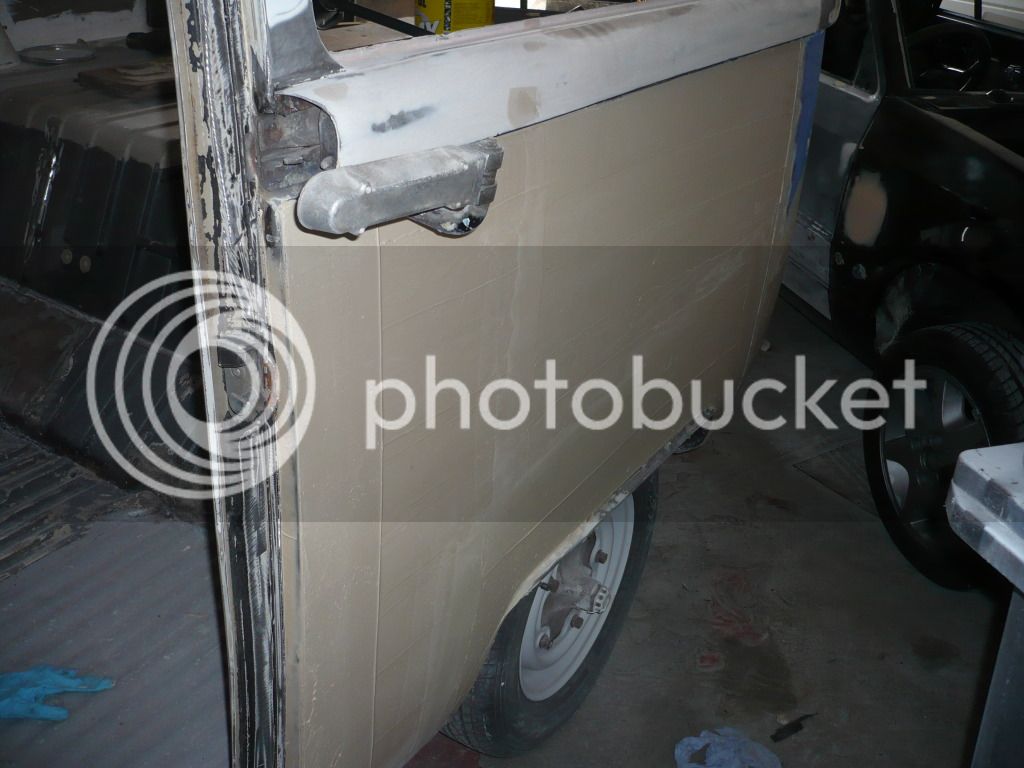
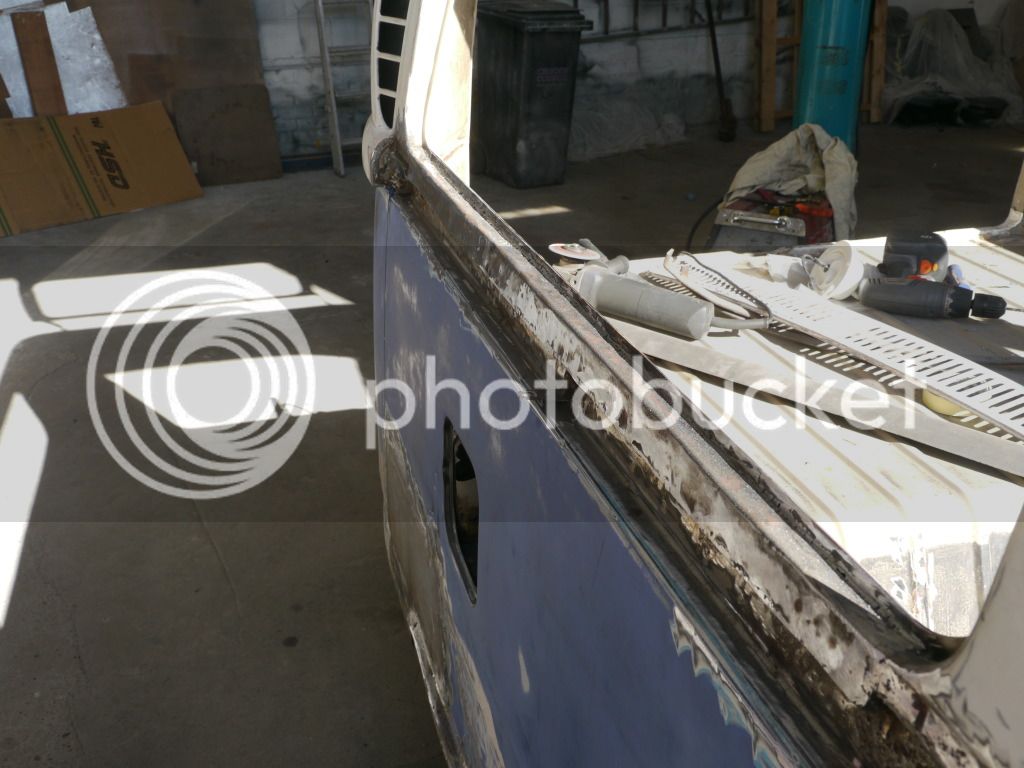
Found the window edges all welded and ready for a skim...
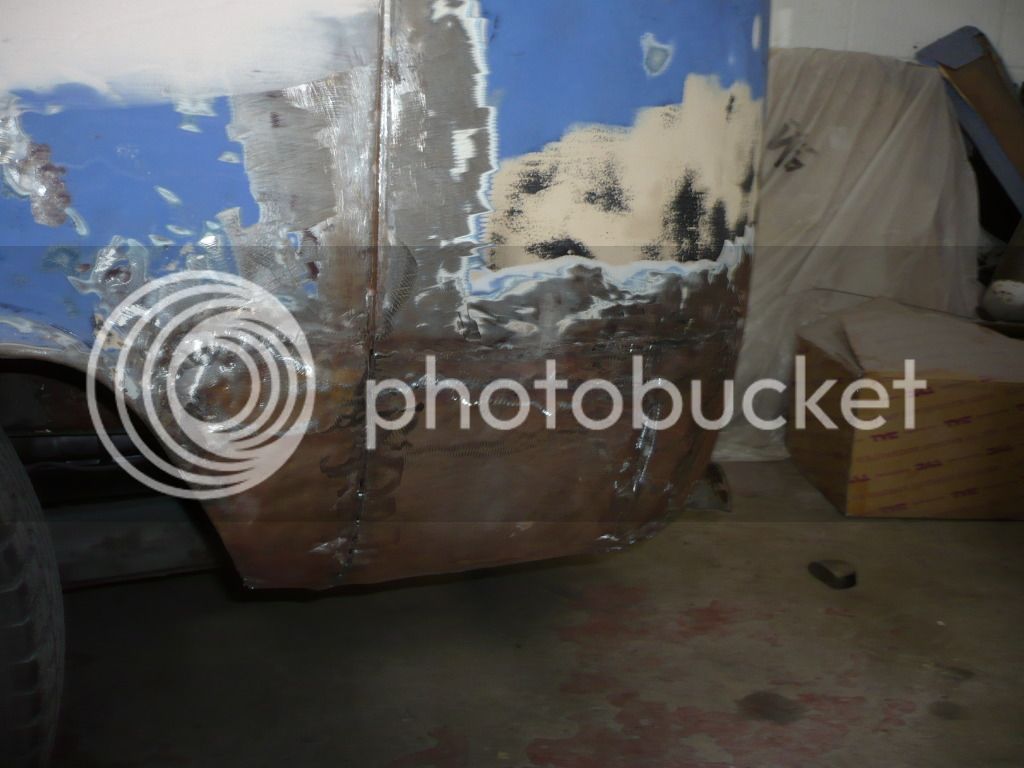
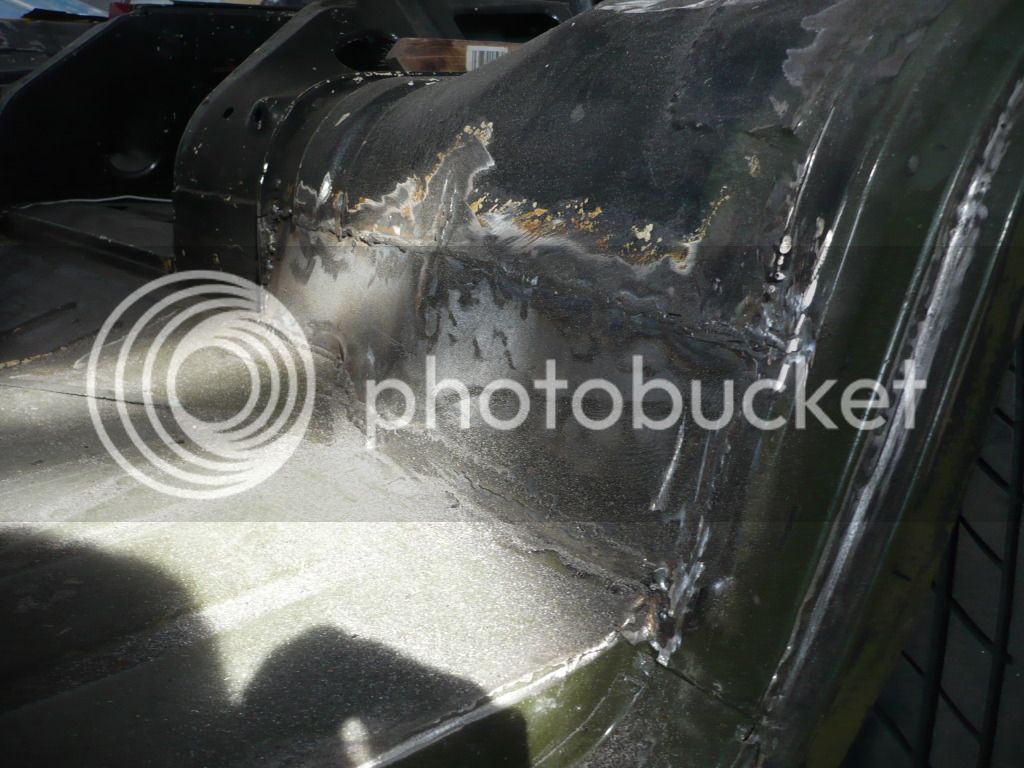
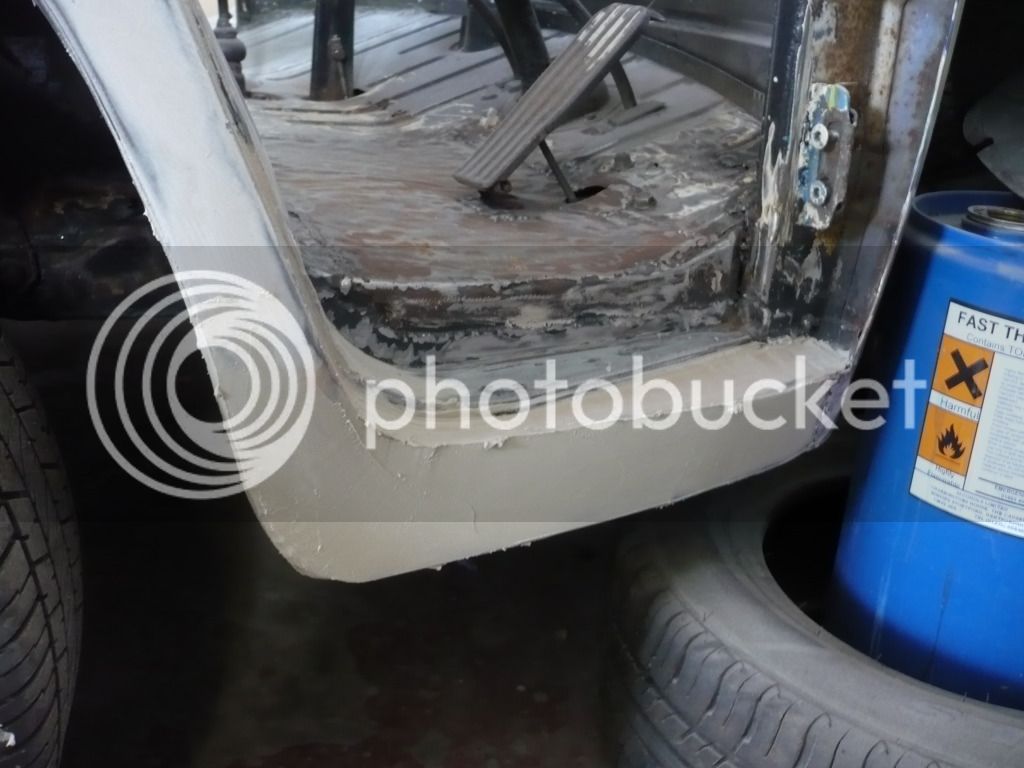
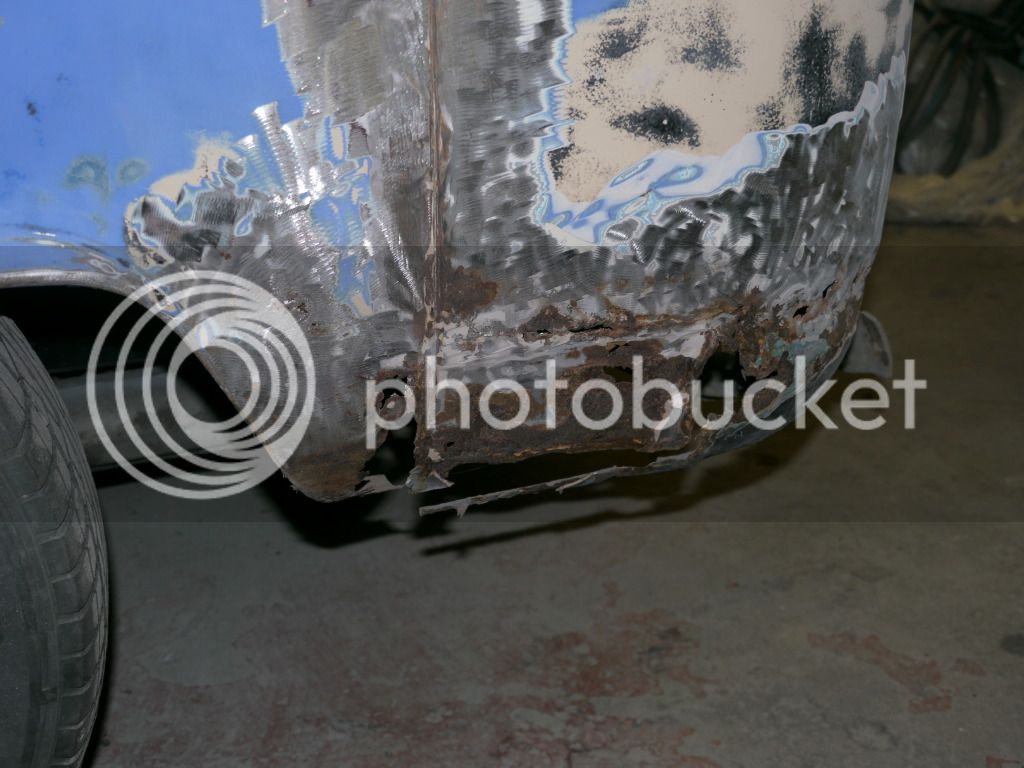
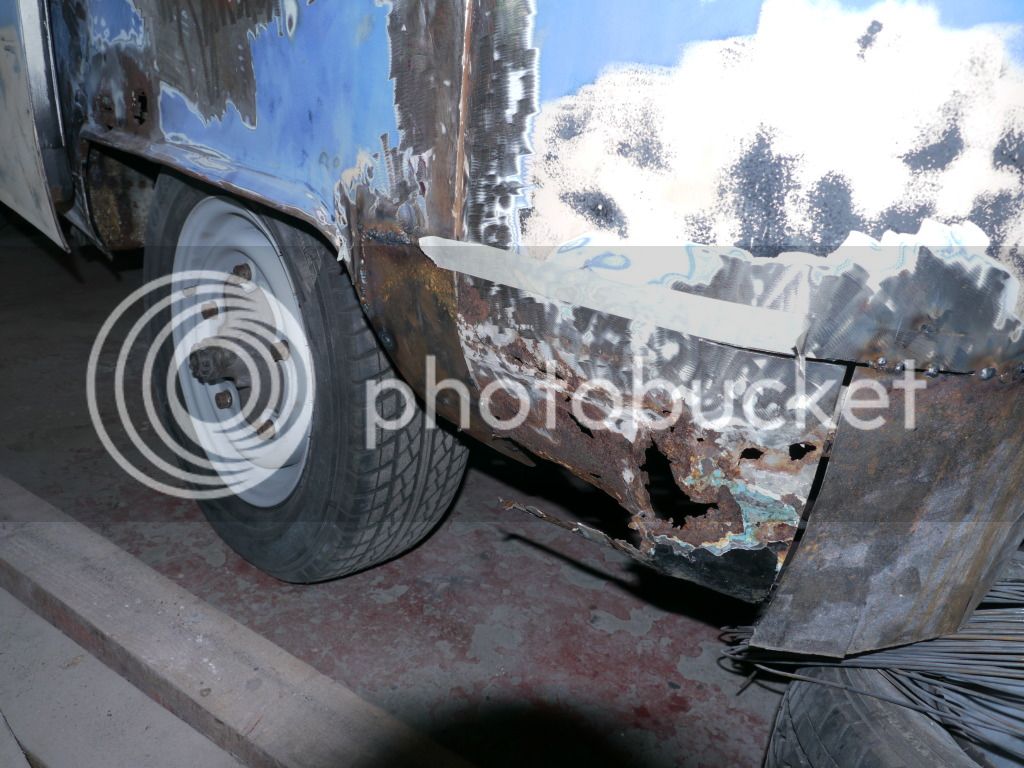
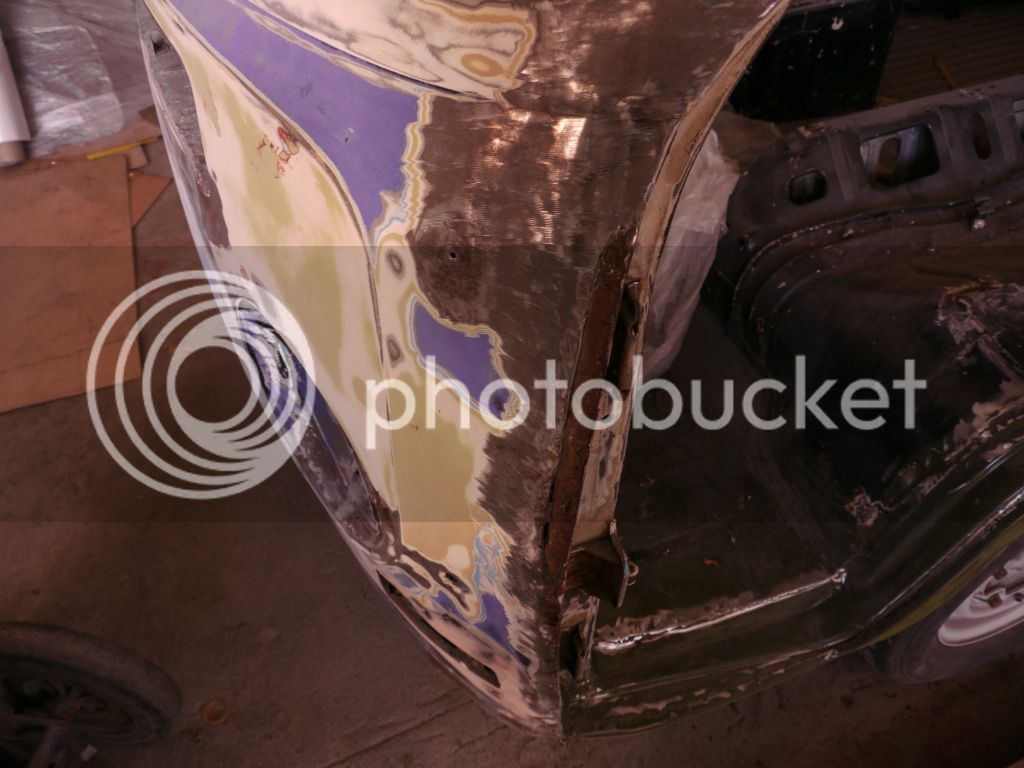
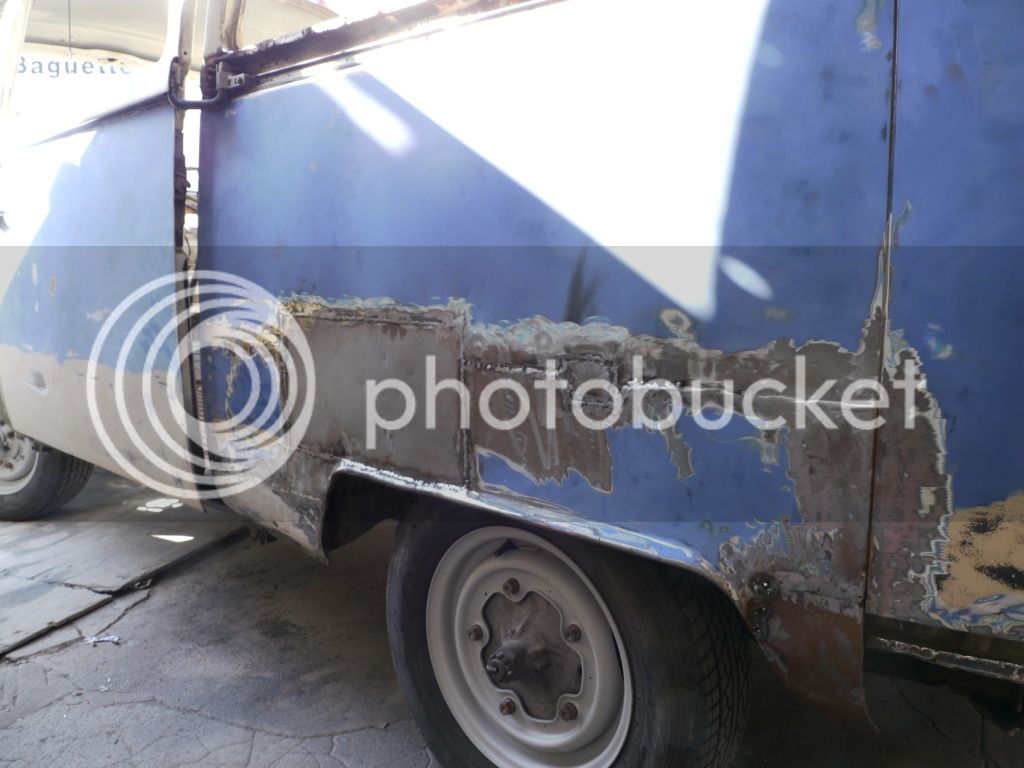
and some extensive work over the wheelarches (not expected but hey ho!)
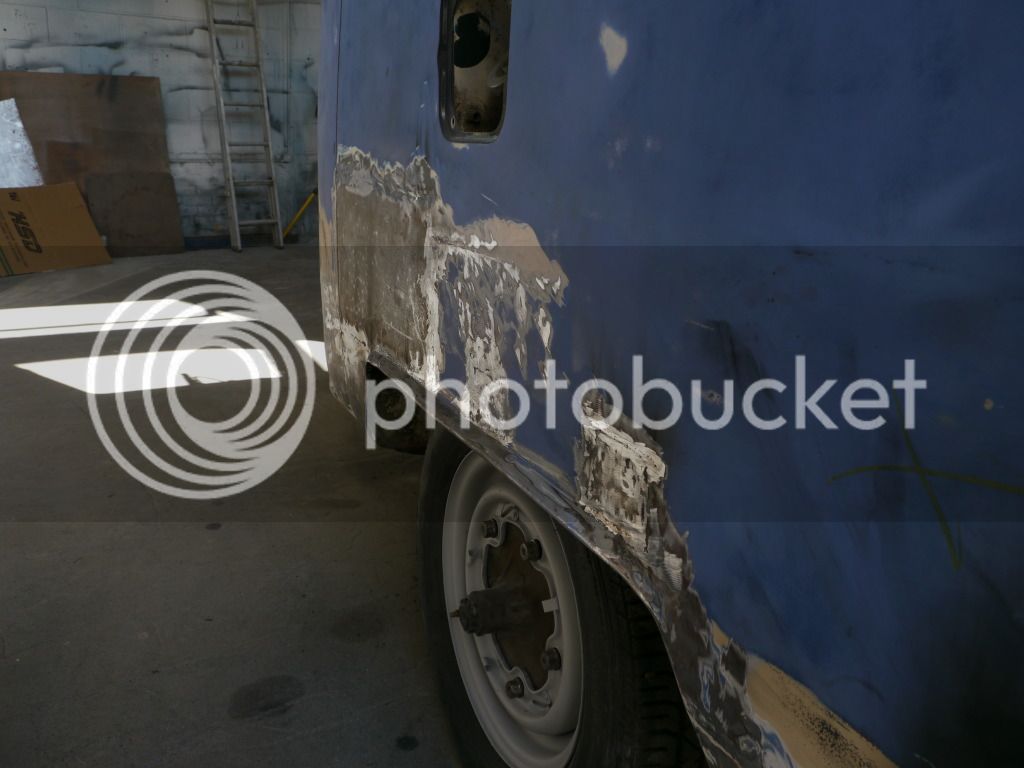
The other wheelarch is looking good now again ready for a skim.
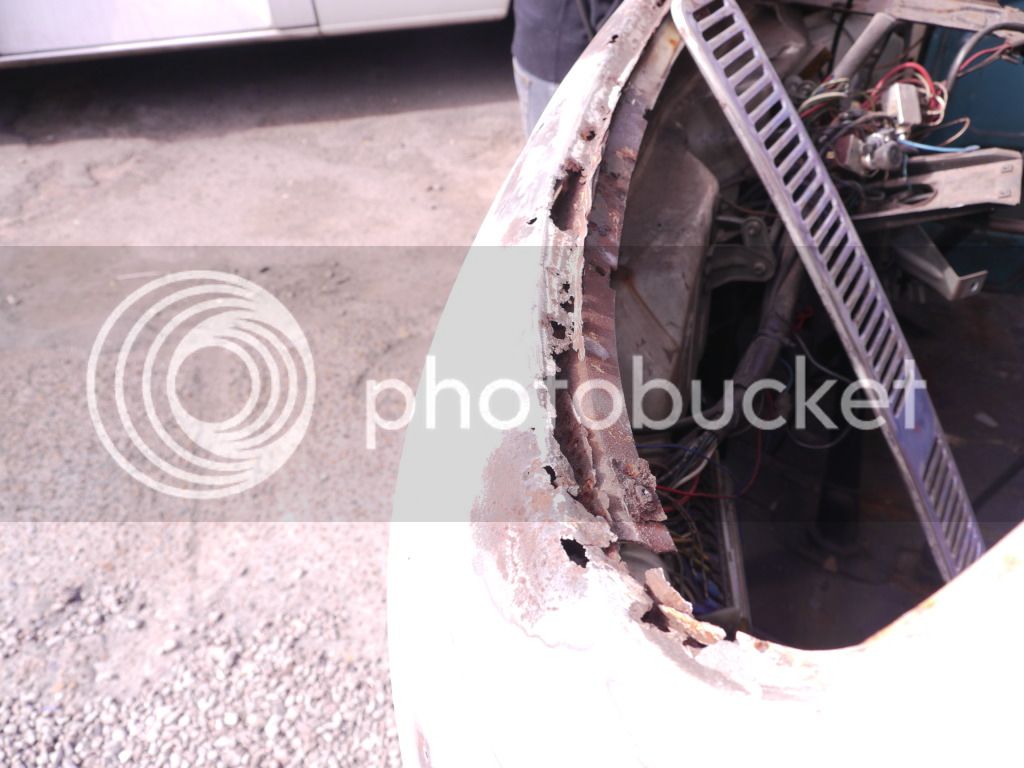
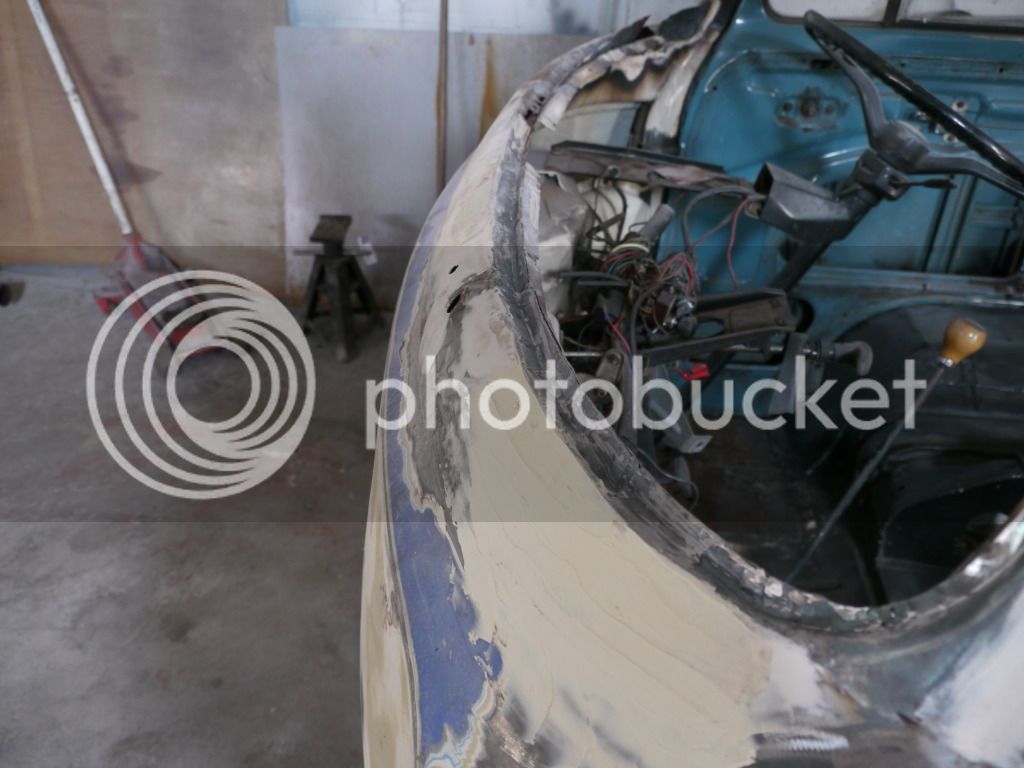
The windscreen edge looks like it has metal rather than rust!!!
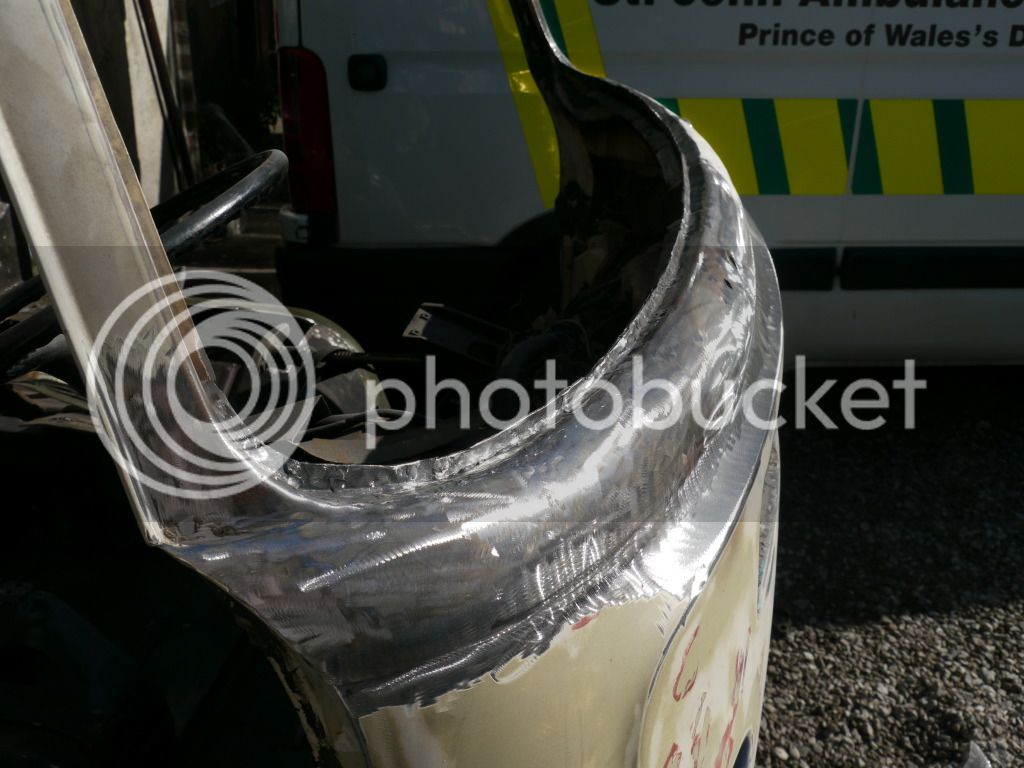
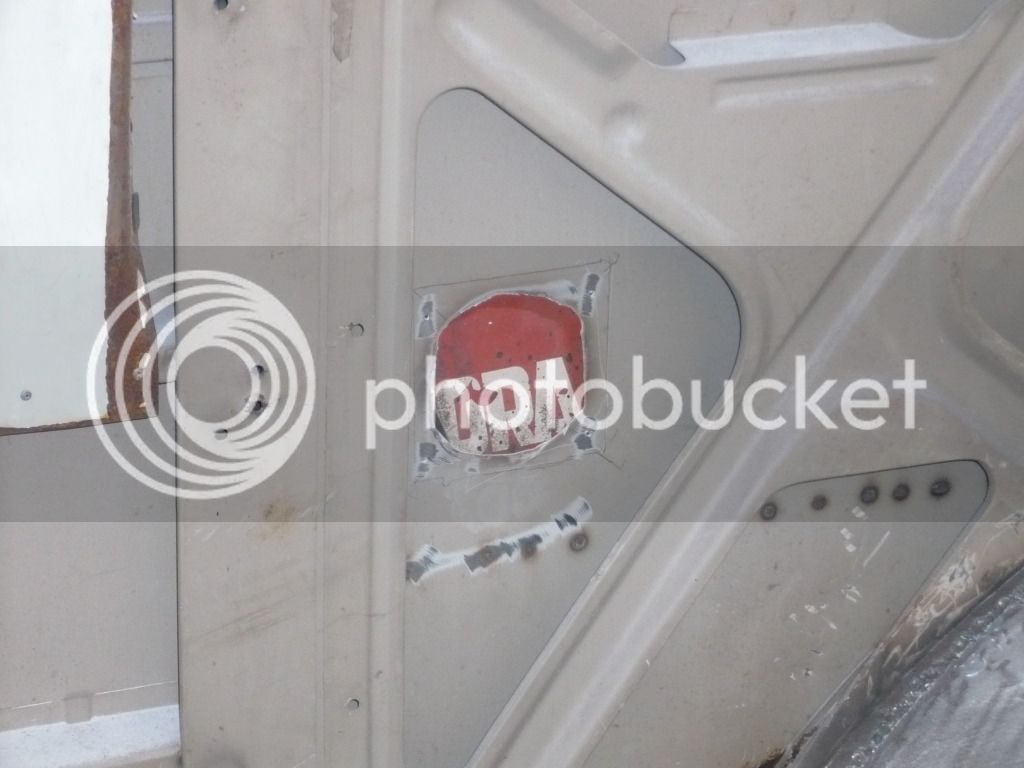
Someone has been at the grinder again cutting more holes as he wasn't very happy with the previous repair work
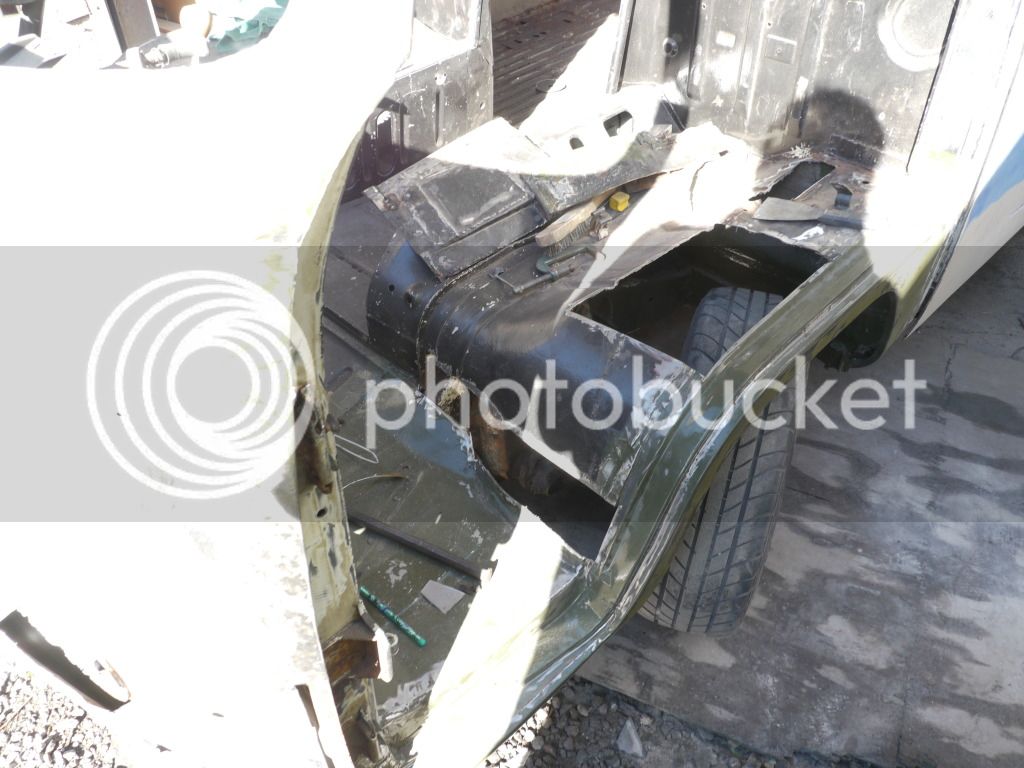
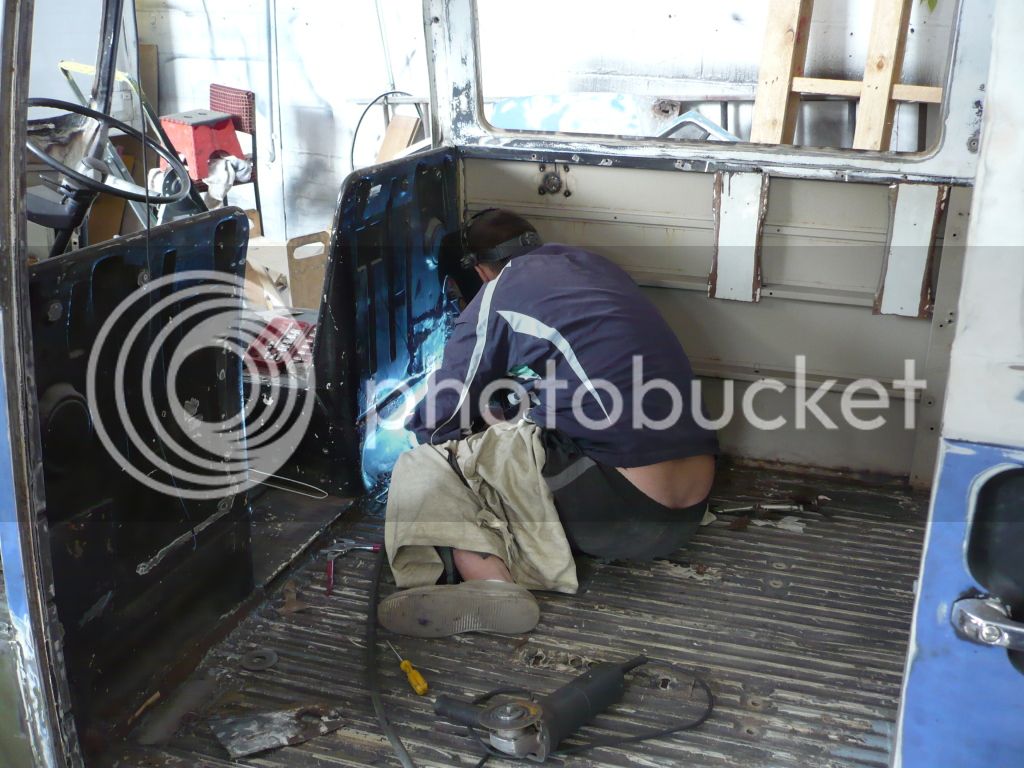
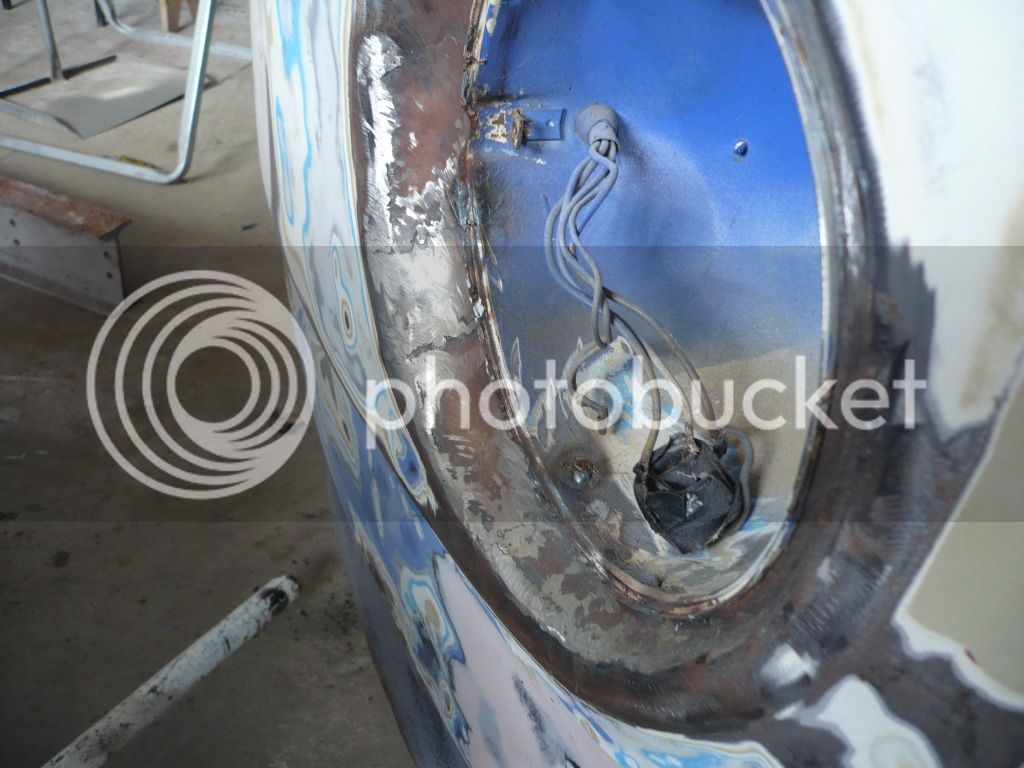
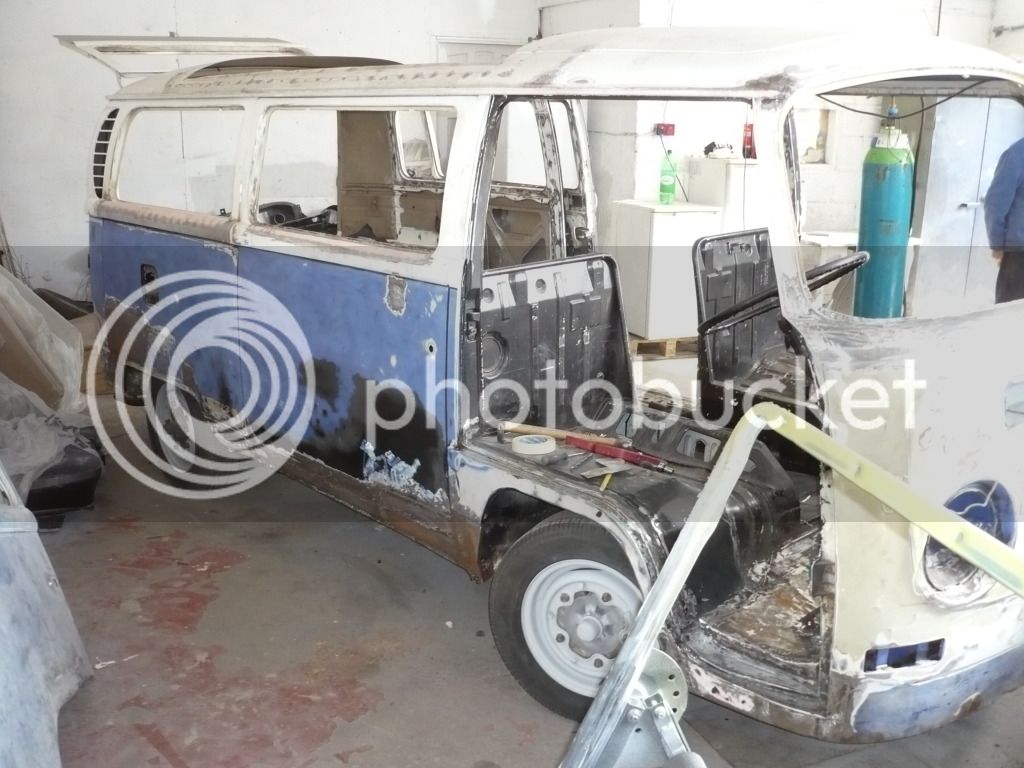
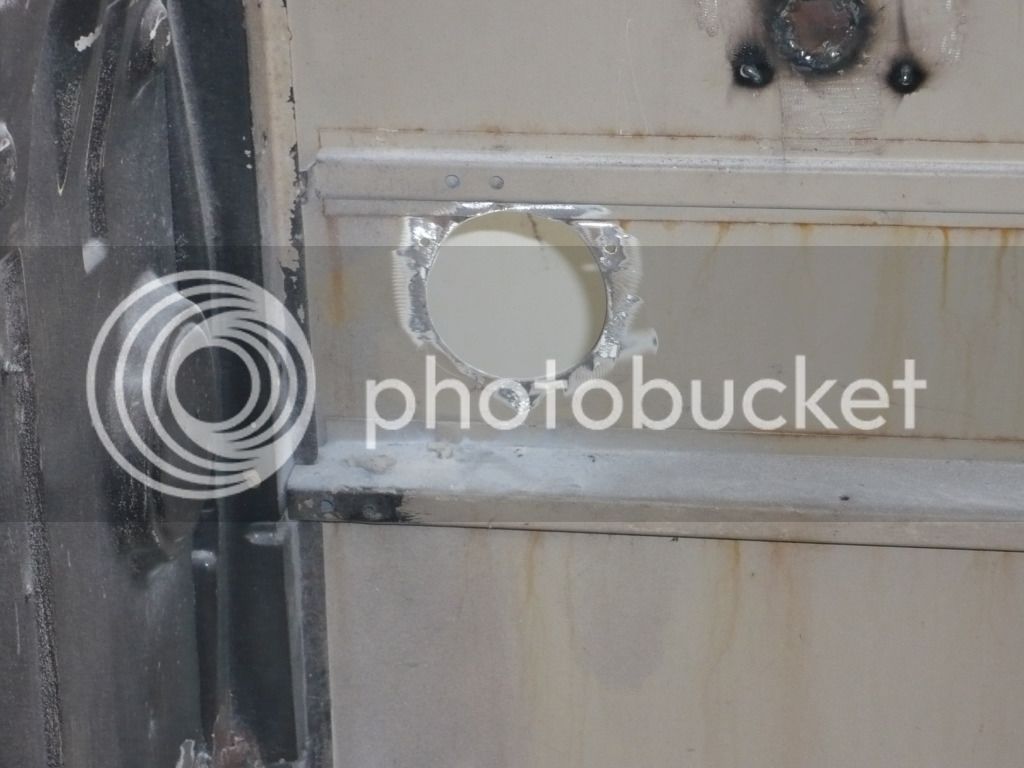
Headlights are cut ready for new metal...
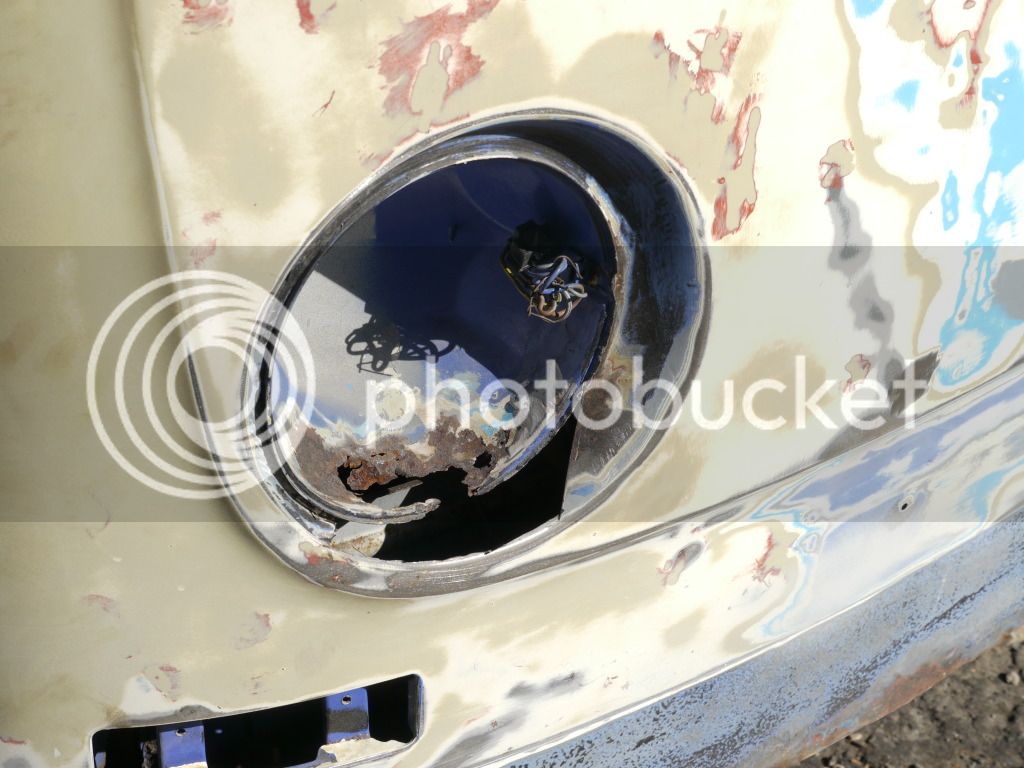
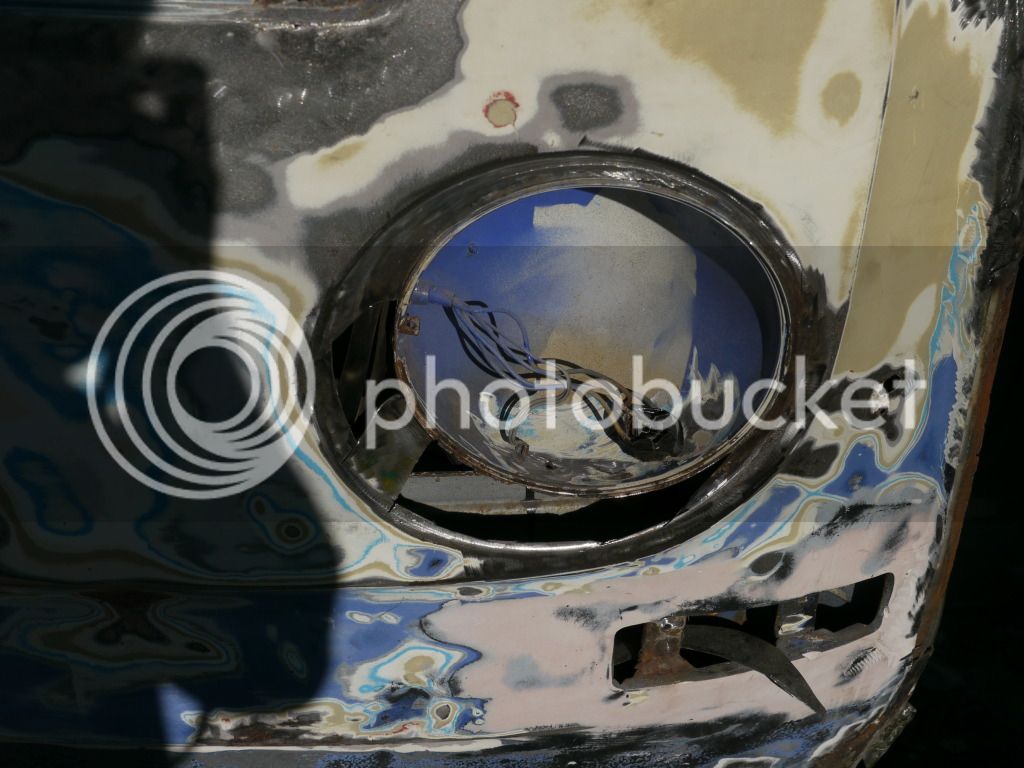
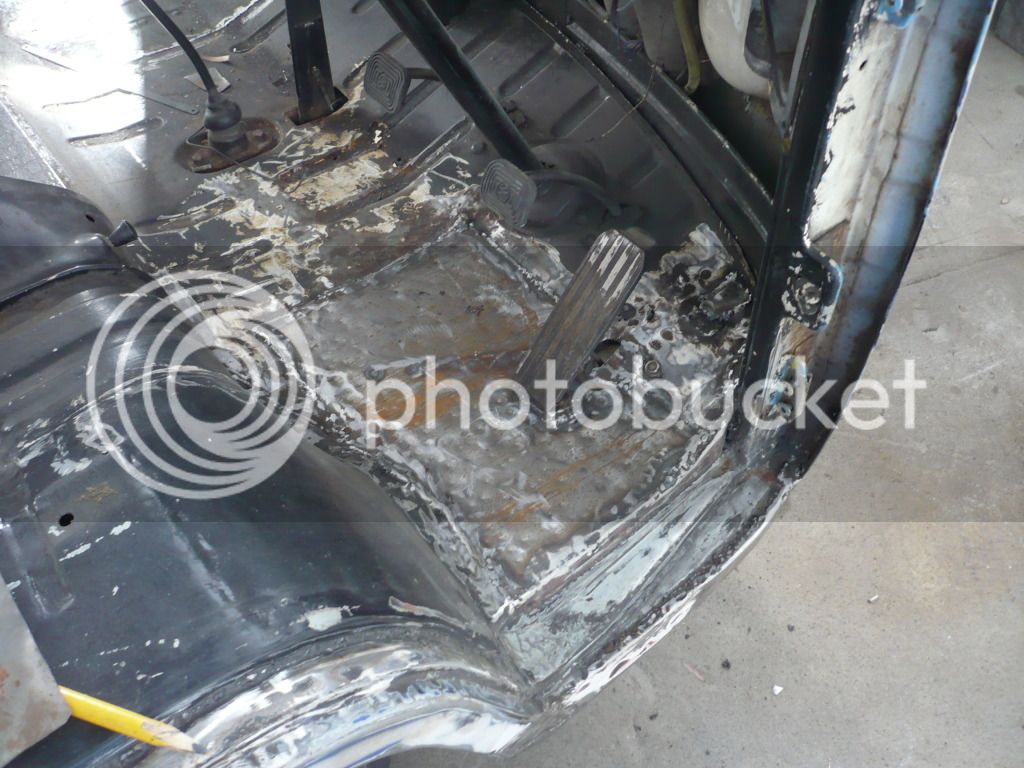
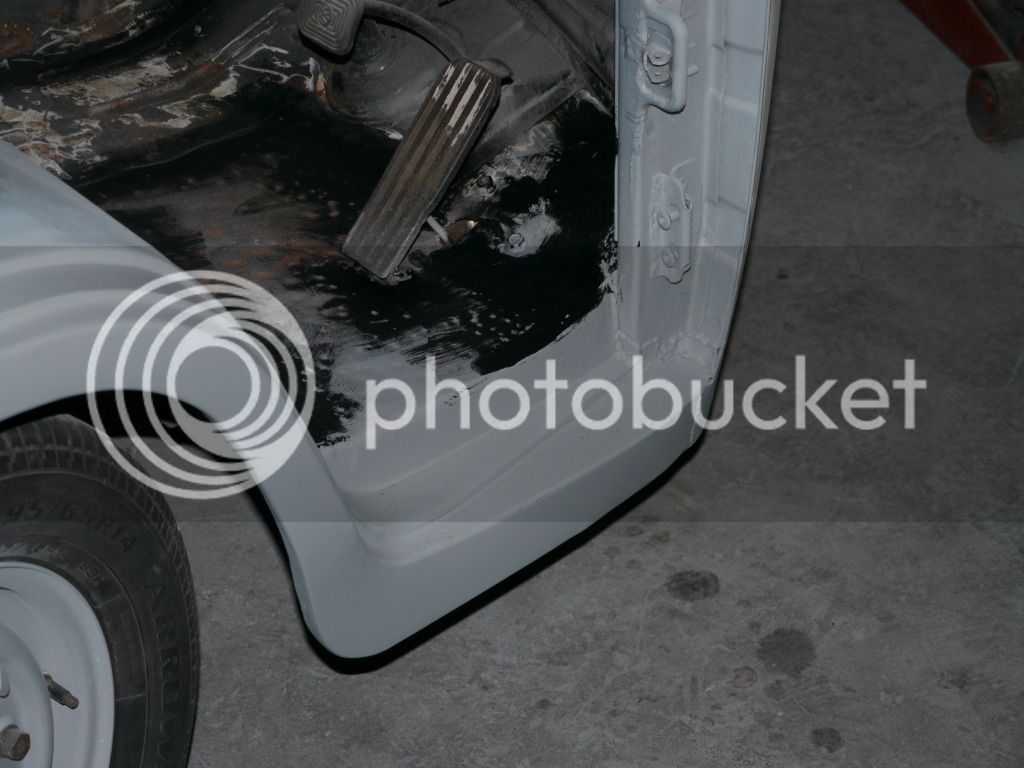
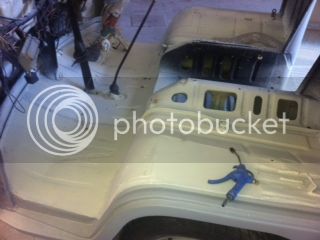
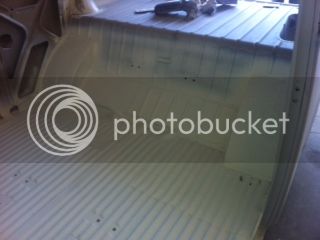
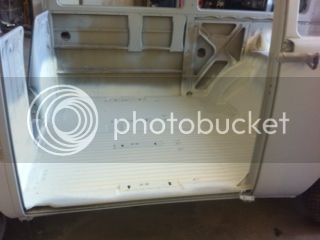
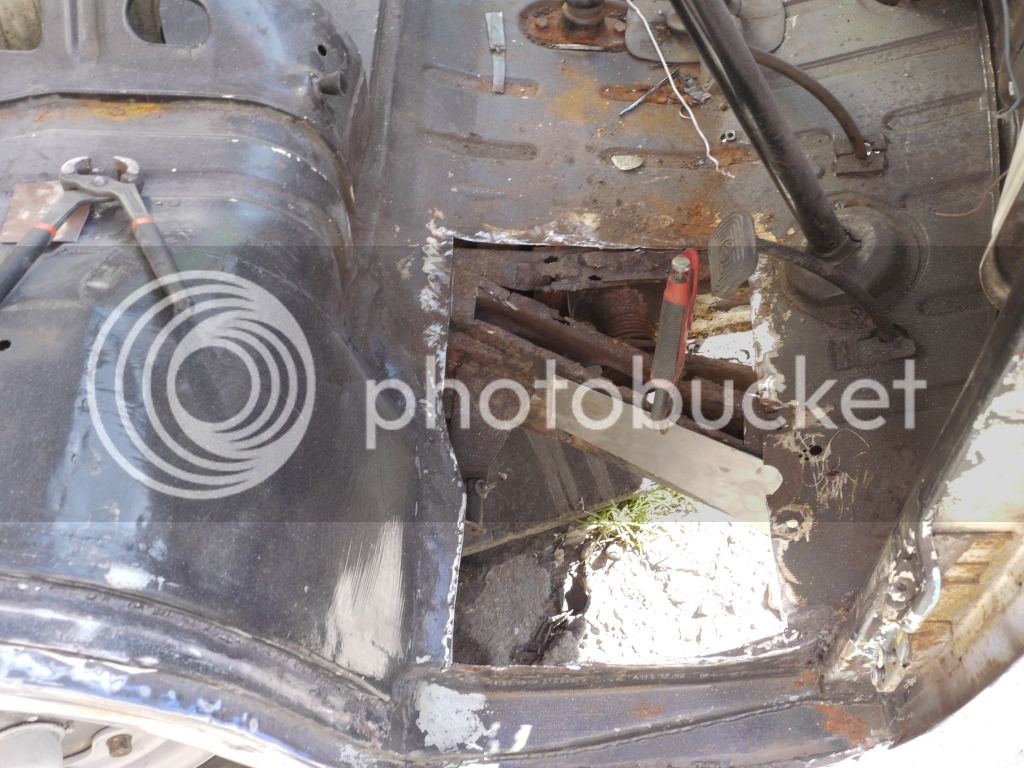
...as is the drivers floor.
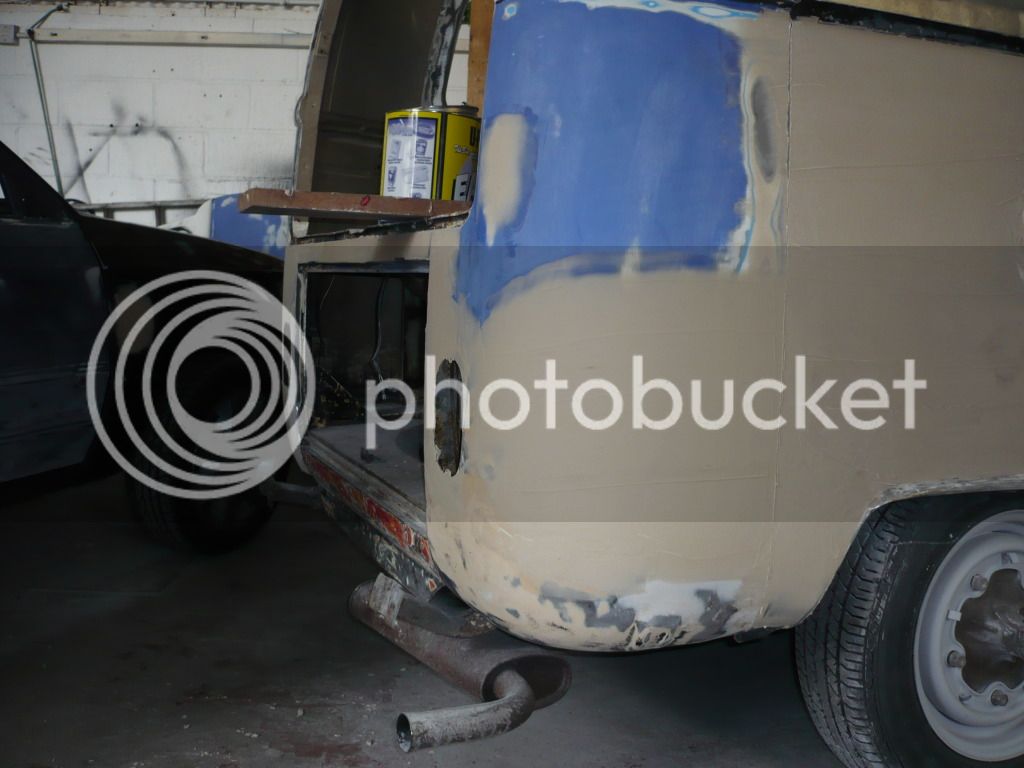
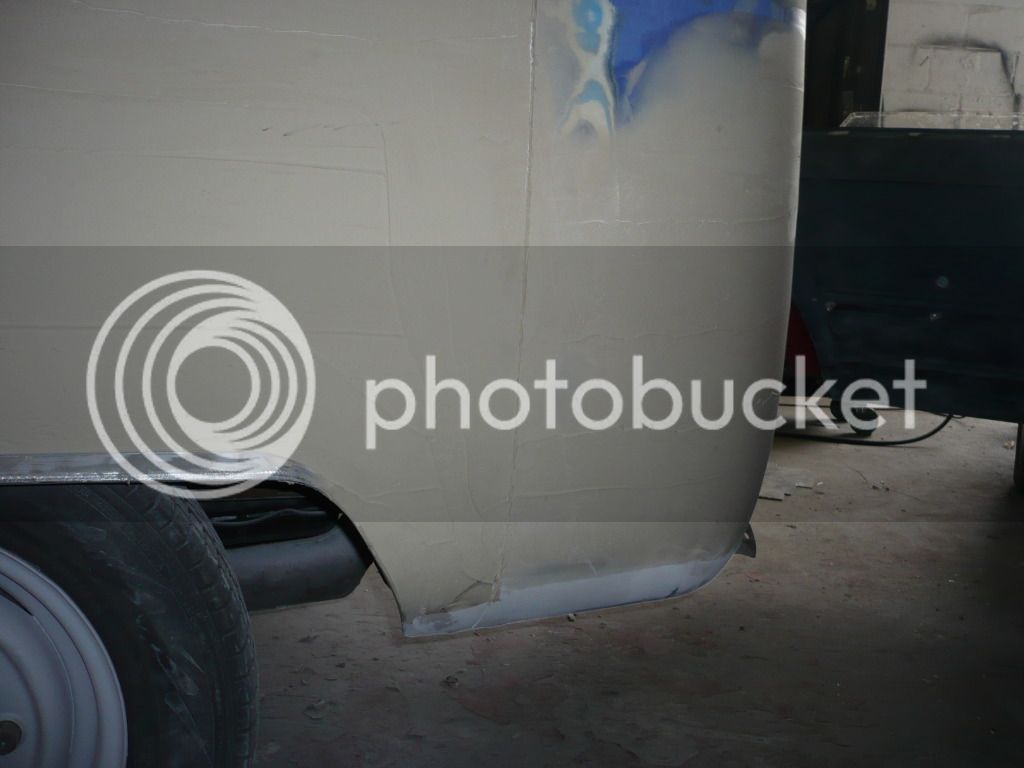
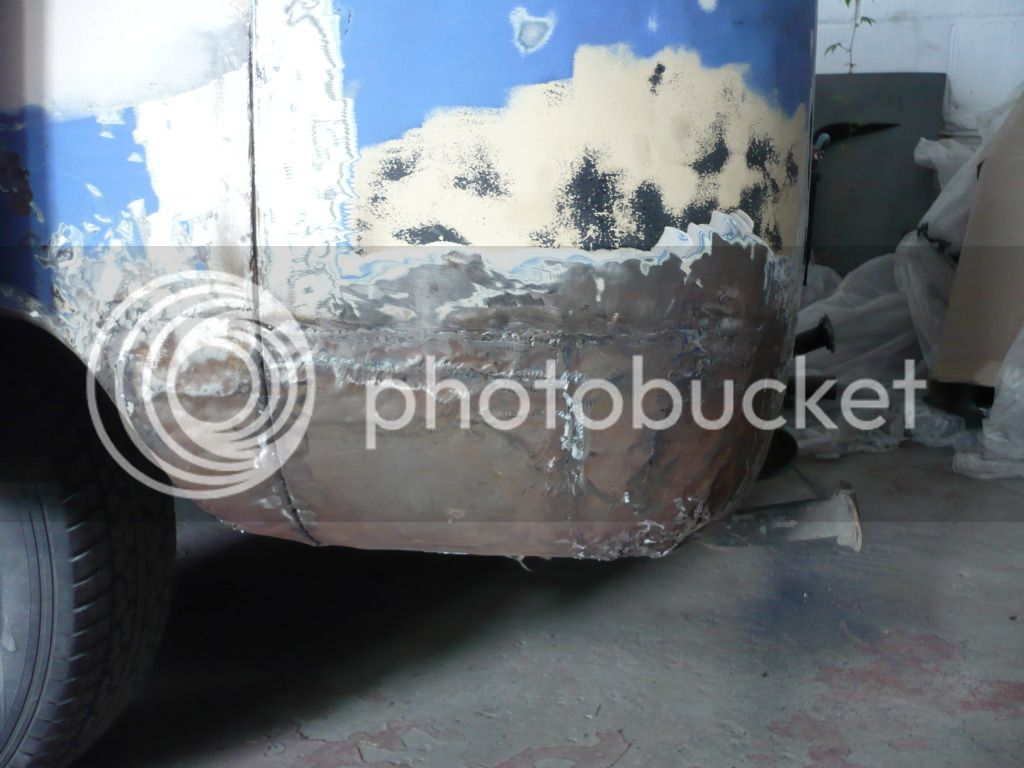
New pieces in the back and just showing the bottom rear quarter which is a "bit tricky" apparently!?!?! :lol:
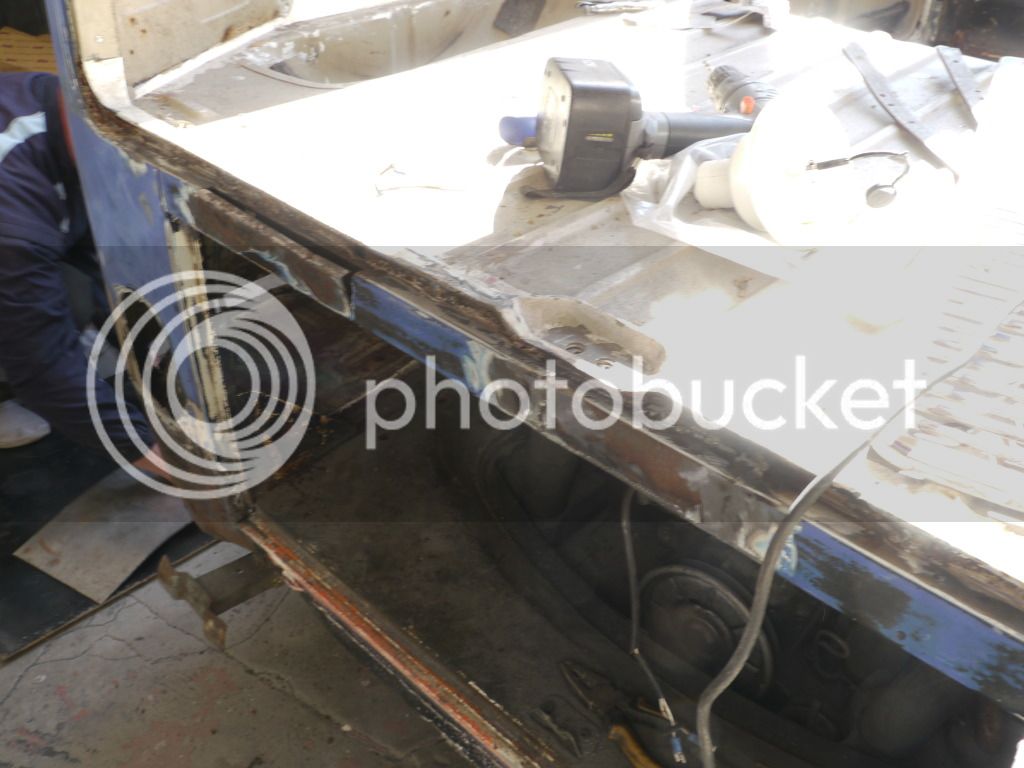

Found the window edges all welded and ready for a skim...

and some extensive work over the wheelarches (not expected but hey ho!)

The other wheelarch is looking good now again ready for a skim.

The windscreen edge looks like it has metal rather than rust!!!

Someone has been at the grinder again cutting more holes as he wasn't very happy with the previous repair work

Headlights are cut ready for new metal...


...as is the drivers floor.

New pieces in the back and just showing the bottom rear quarter which is a "bit tricky" apparently!?!?! :lol:


$9.37
Empi 4429 Ivory Sun Visor Clips for Vw Bug 1965-1967/ Vw Bus 1968-1979, Pair
MOORE PARTS SOURCE

$7.94
$15.18
Door Panel Clips, for VW Aircooled Door Panels, 50 Pieces, Compatible with Dune Buggy
Appletree Automotive

$9.94
$10.95
Empi 00-4428-B VW Bug, Beetle, Sun Visor Clips, Type 1, 68-79, Black, Pair
MOORE PARTS SOURCE

$10.00
Volkswagen Genuine VW Driver Gear VW Logo Specifications T-Shirt Tee - X-Large - Black
wolframitersqga

$41.88
$46.95
Billet Window Crank, for All Years VW Beetle, Pair, Compatible with Dune Buggy
✅ Dune Buggy Warehouse
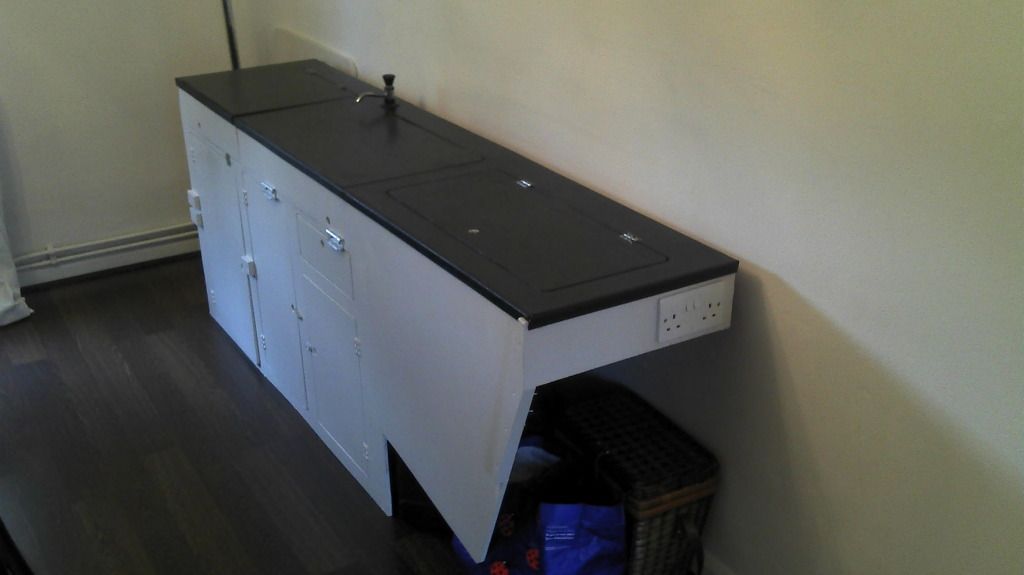
Thought I would add some pics of the interior unit, finished now with maybe a few tweaks once installed in the van. Electric socket wired to a consumer unit ready to be wired to the skin fitting electric hook-up. Tap connected to the on-board water tank again just needs to be connected to the skin fitment.
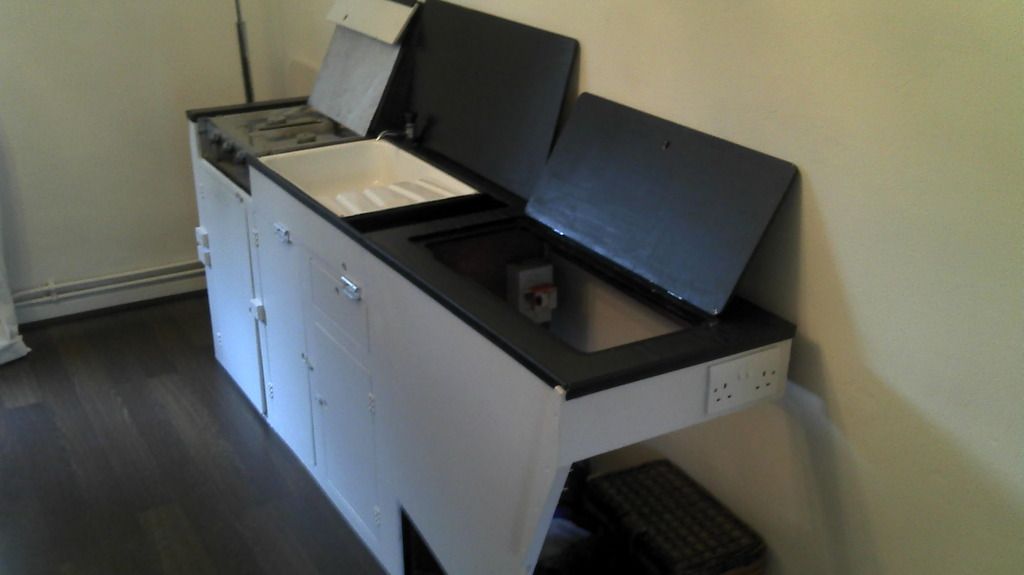
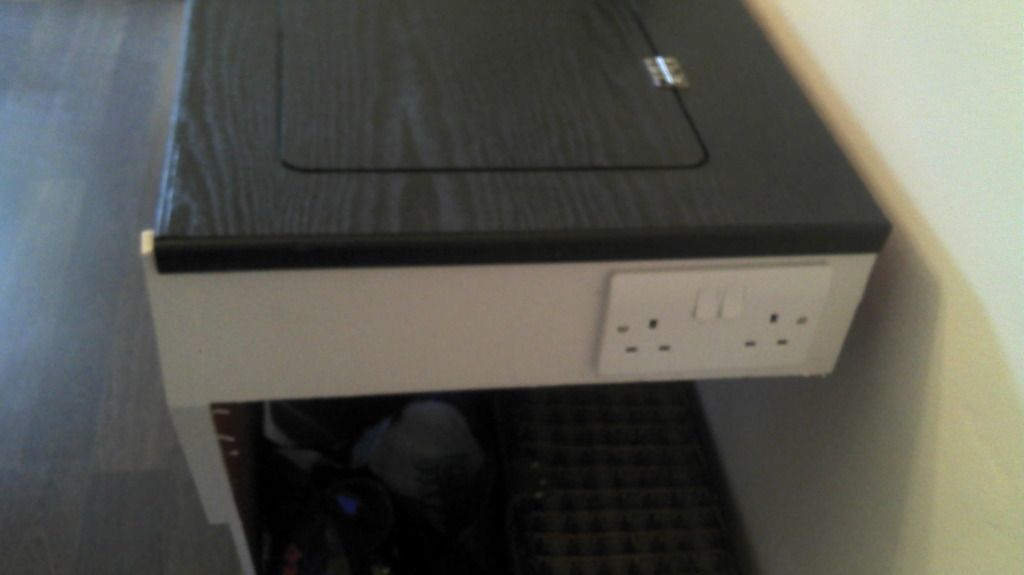
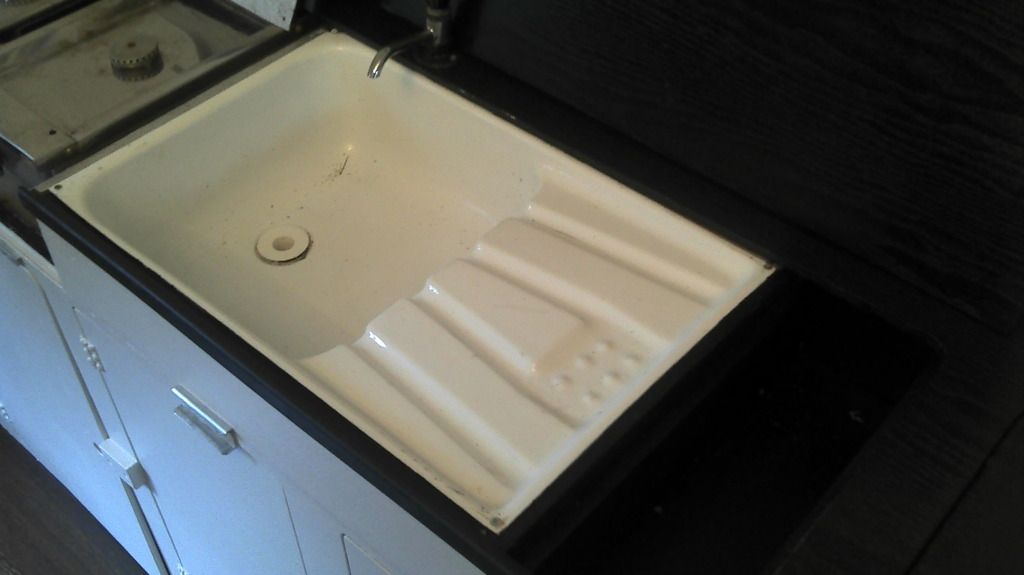
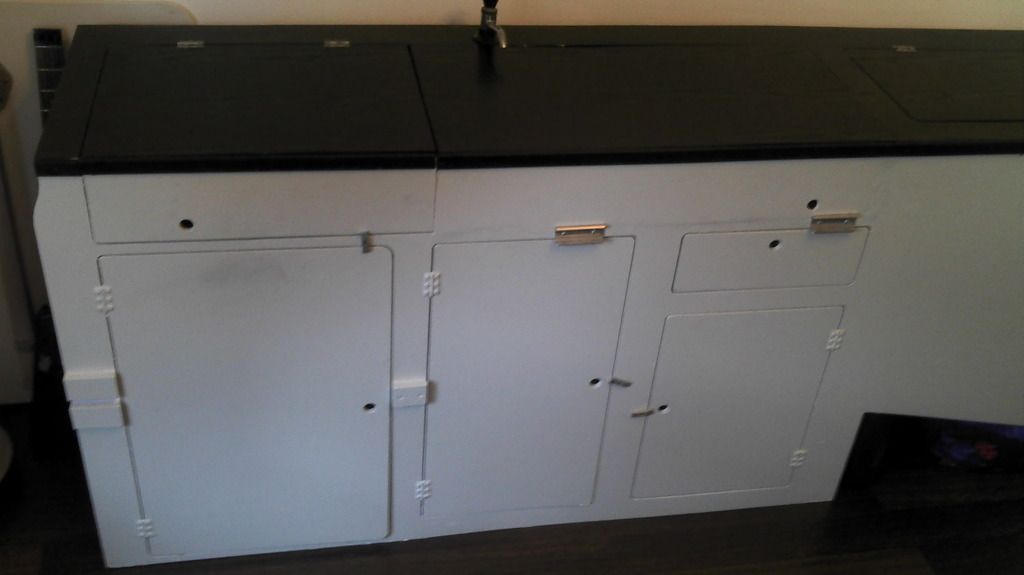
While I had the cooker out I decided to rub it down and re-paint.
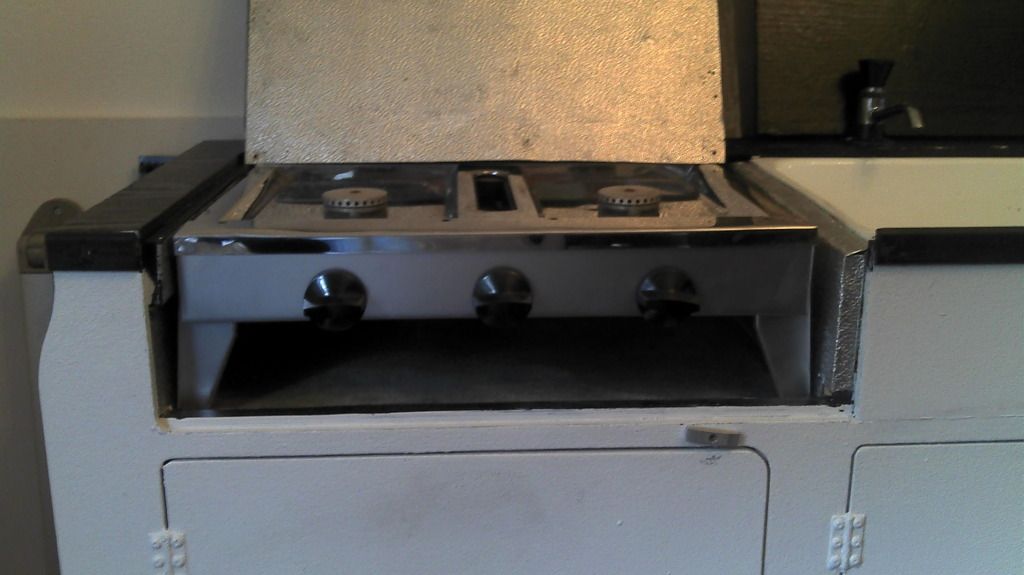


While I had the cooker out I decided to rub it down and re-paint.

benveedub
Well-known member
great work mate!
you really showed that rust whos bus it is!!! 8)
you really showed that rust whos bus it is!!! 8)
benveedub said:great work mate!
you really showed that rust whos bus it is!!! 8)
Thanks Ben, just a bit of a skim of filler and sand and paint!!! Then the refit, install the interior, textiles, then it may be close to finishing :lol:
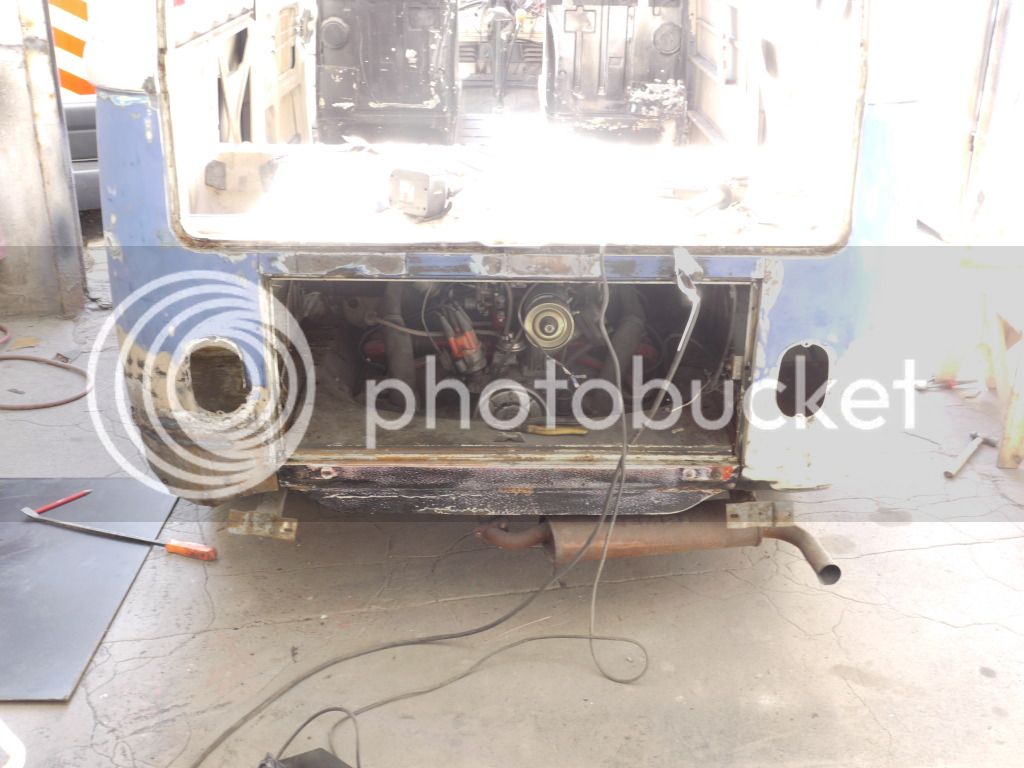
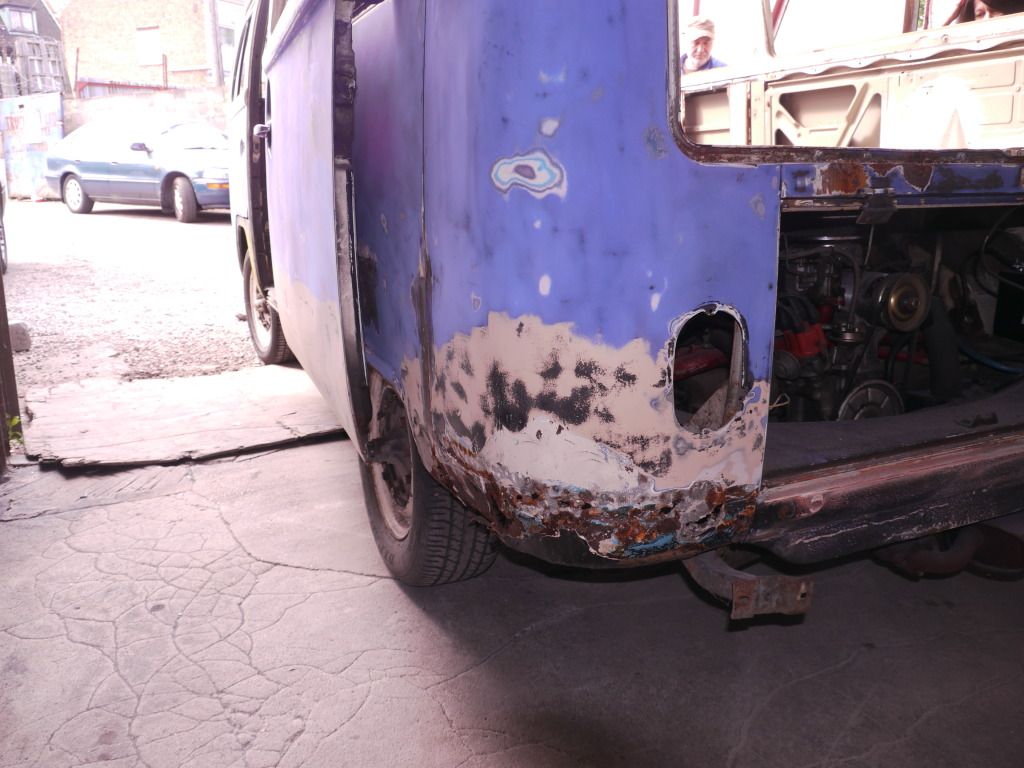
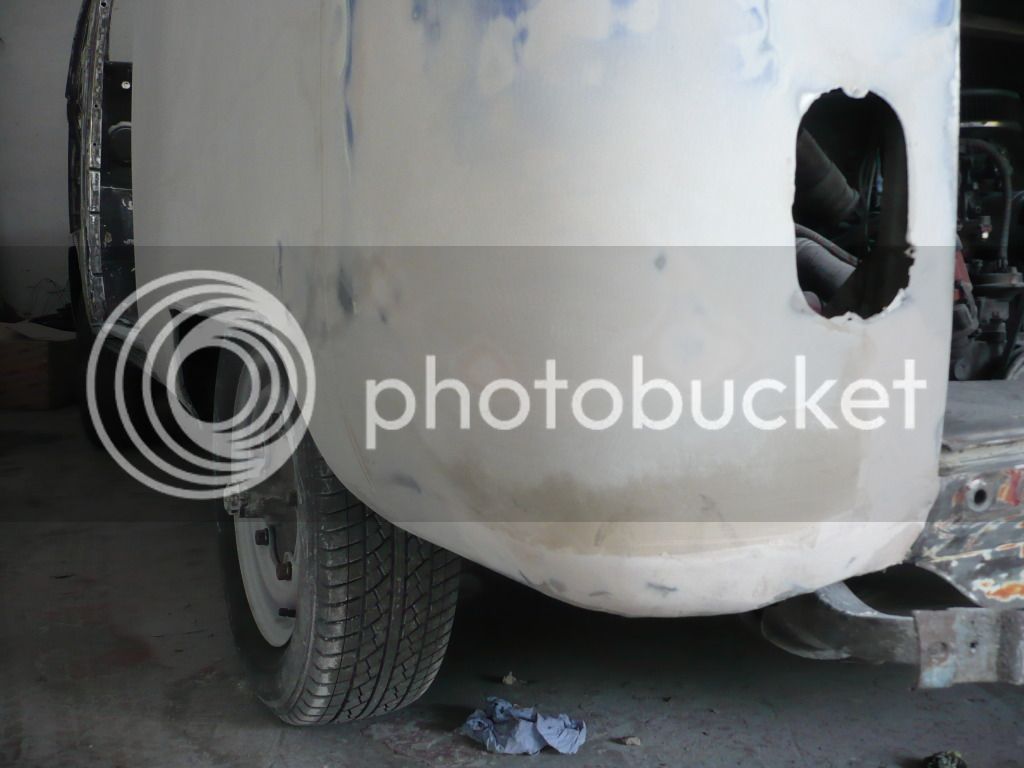
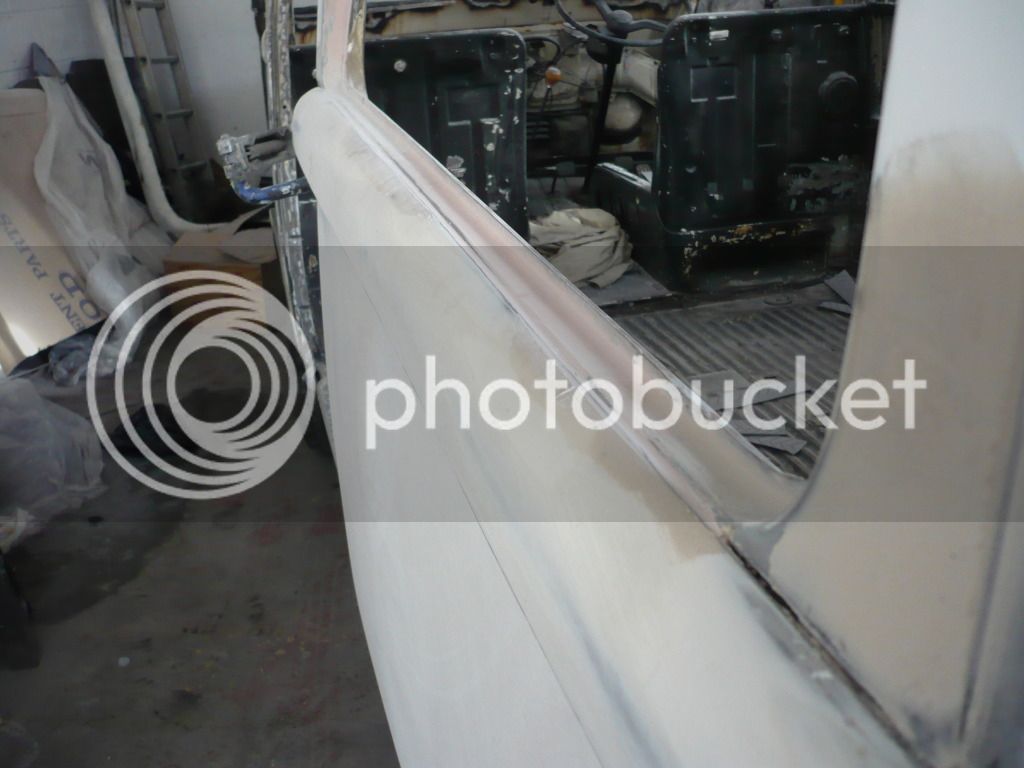
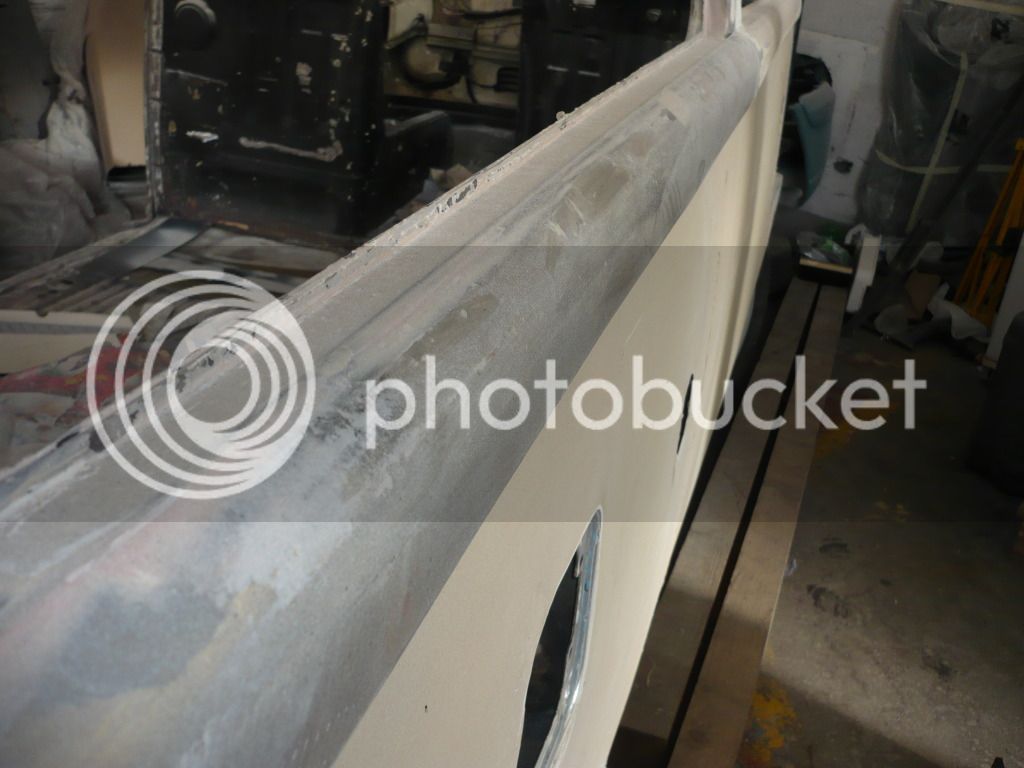
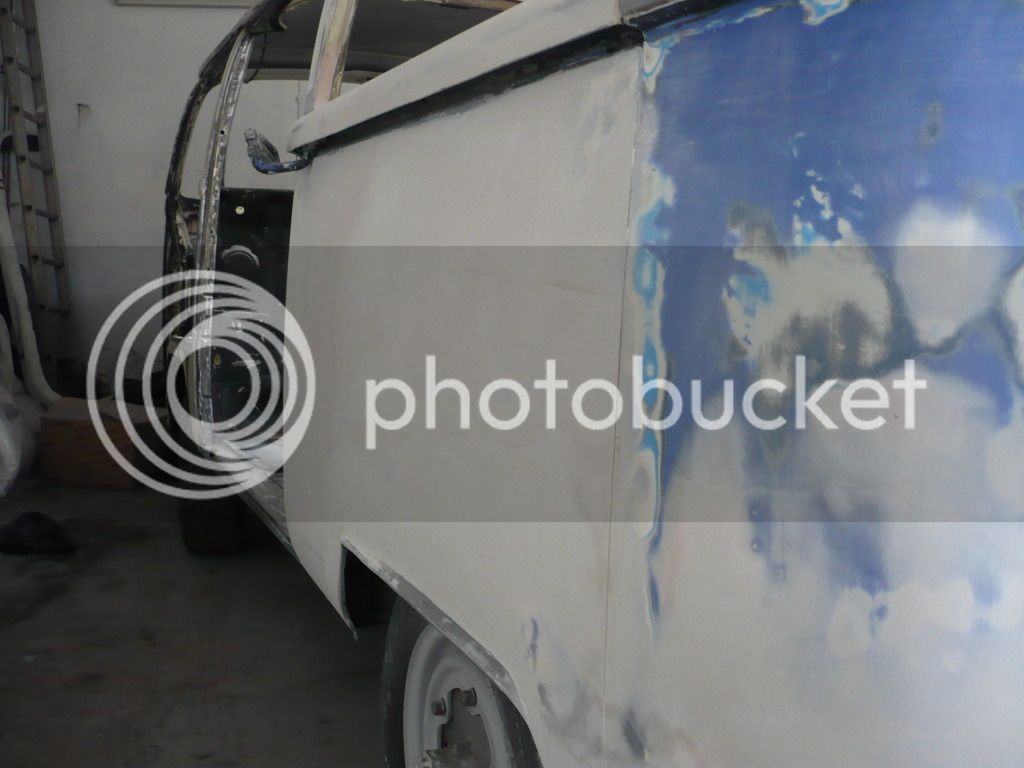
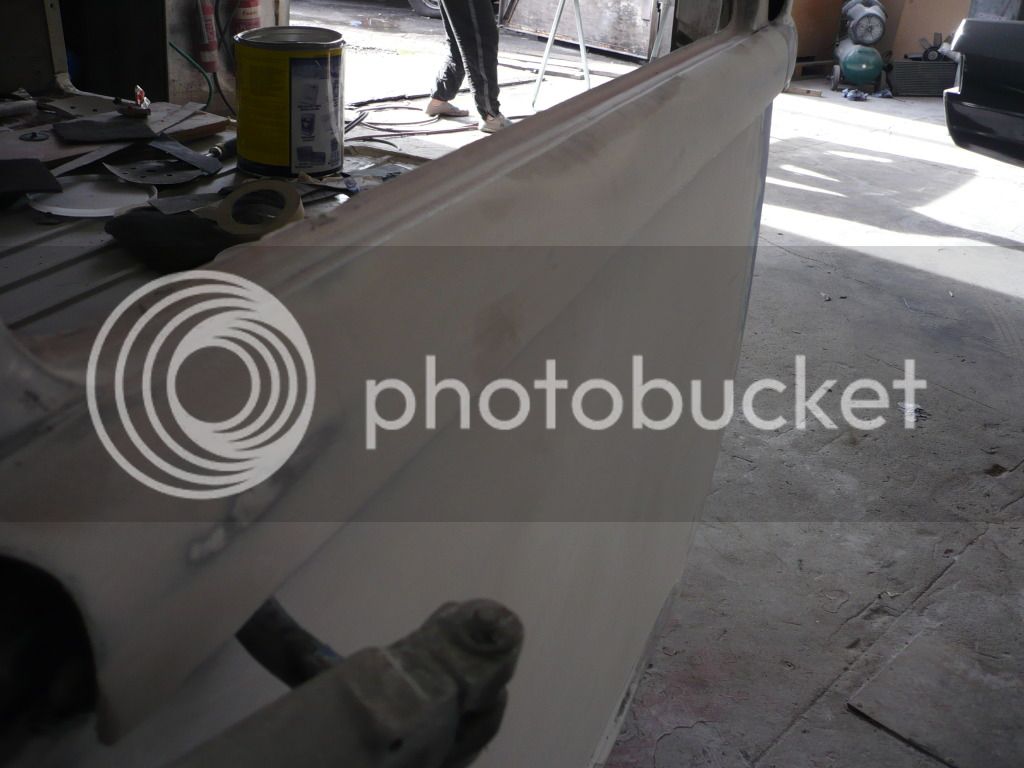
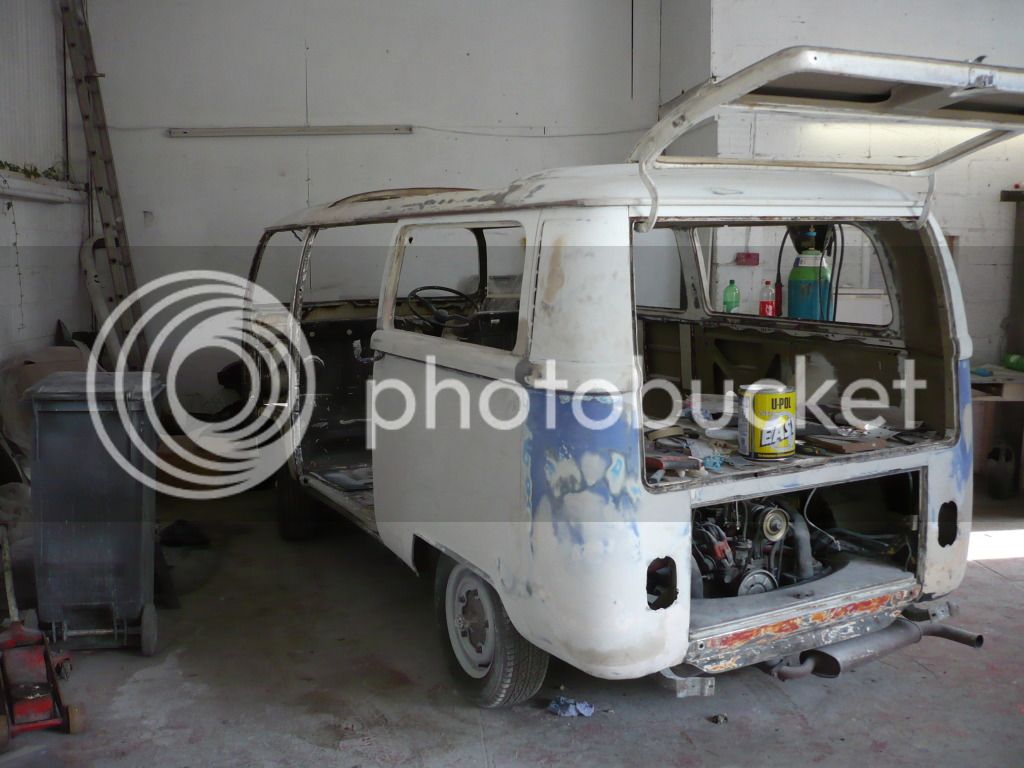
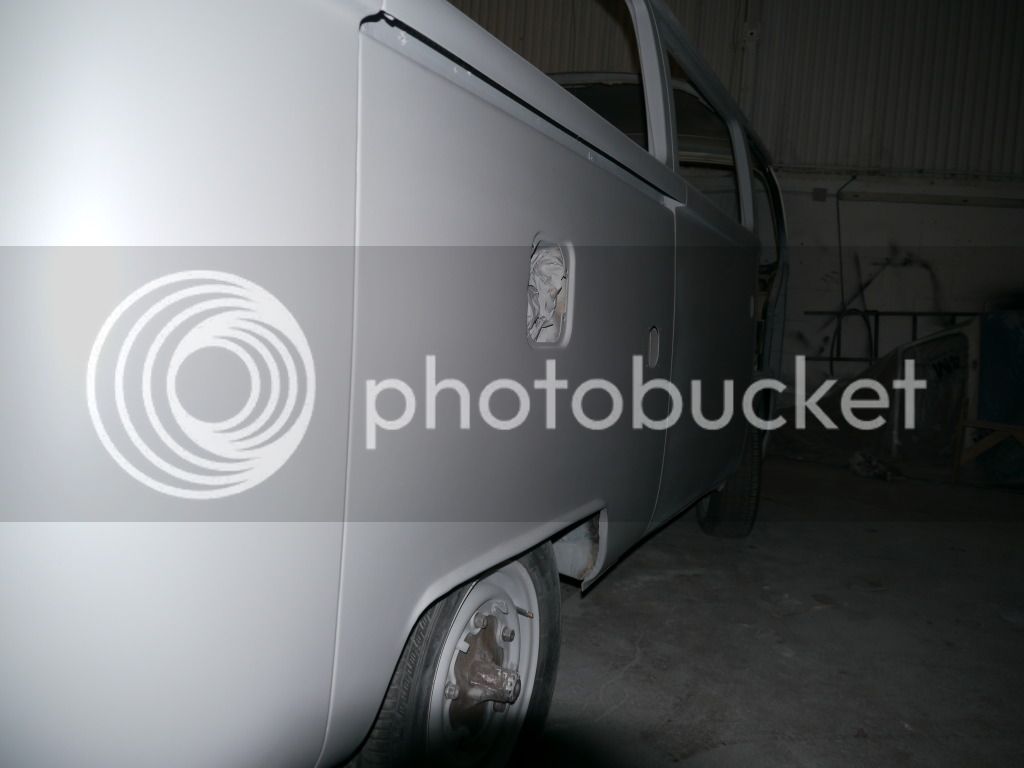
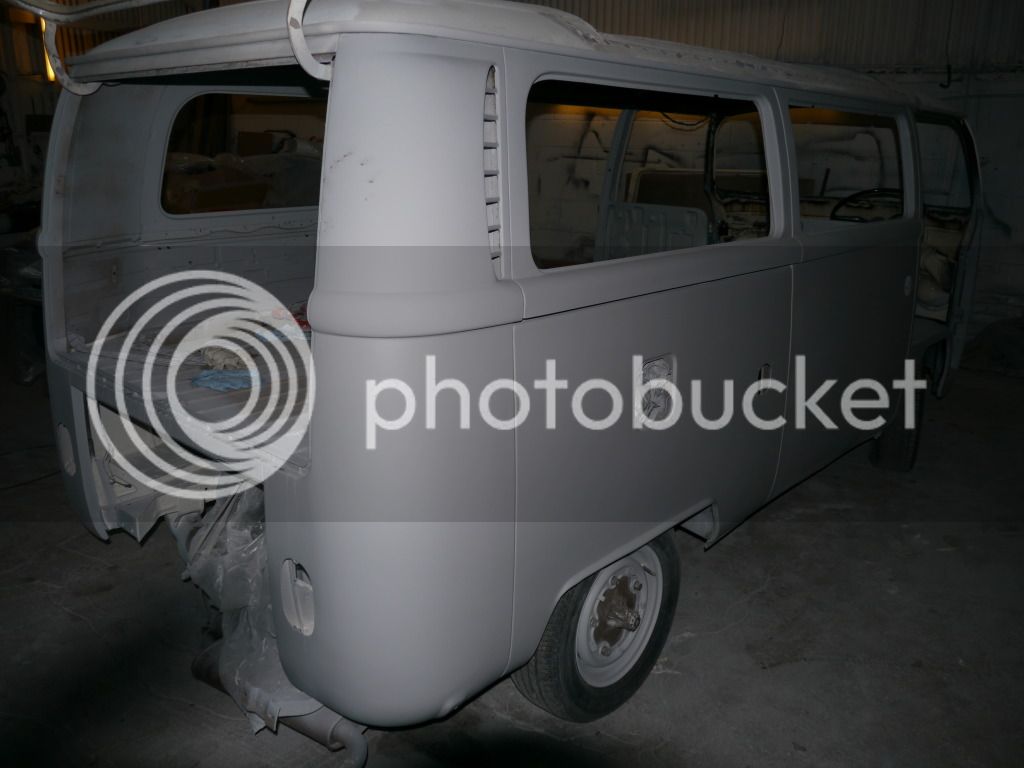
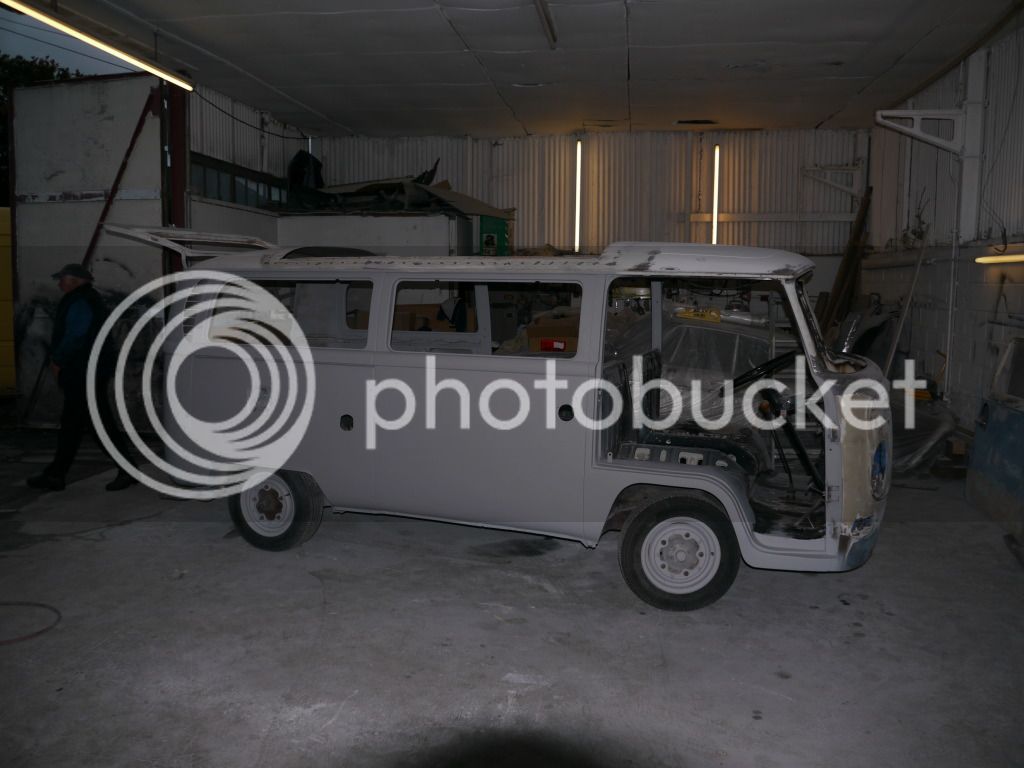
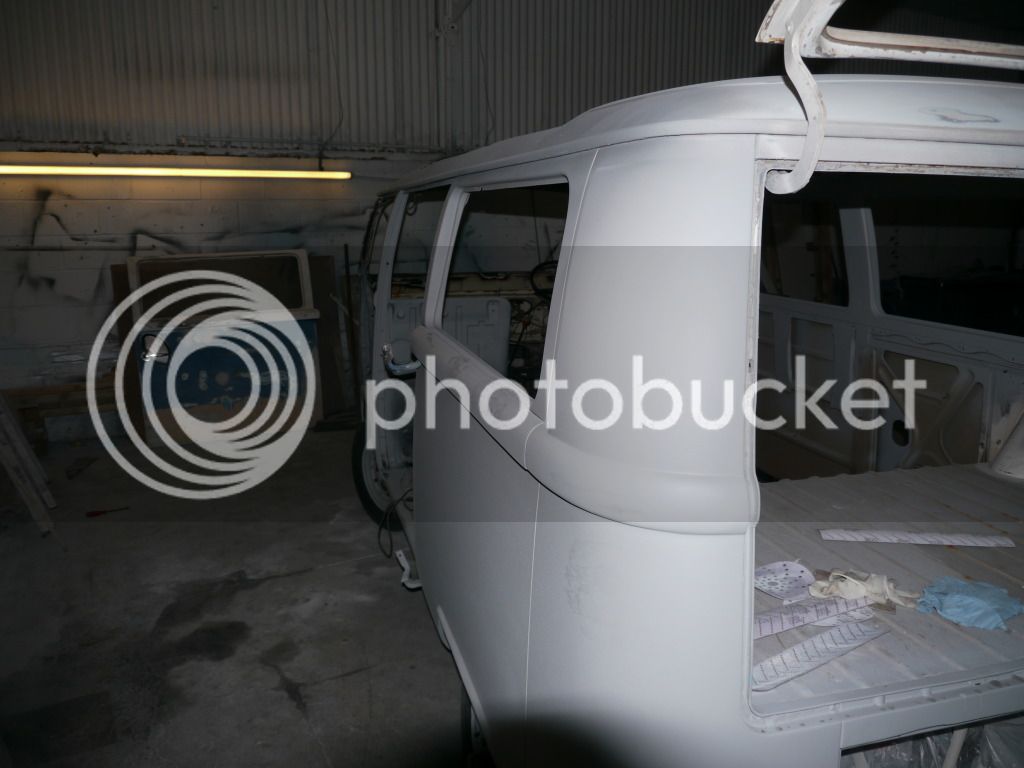
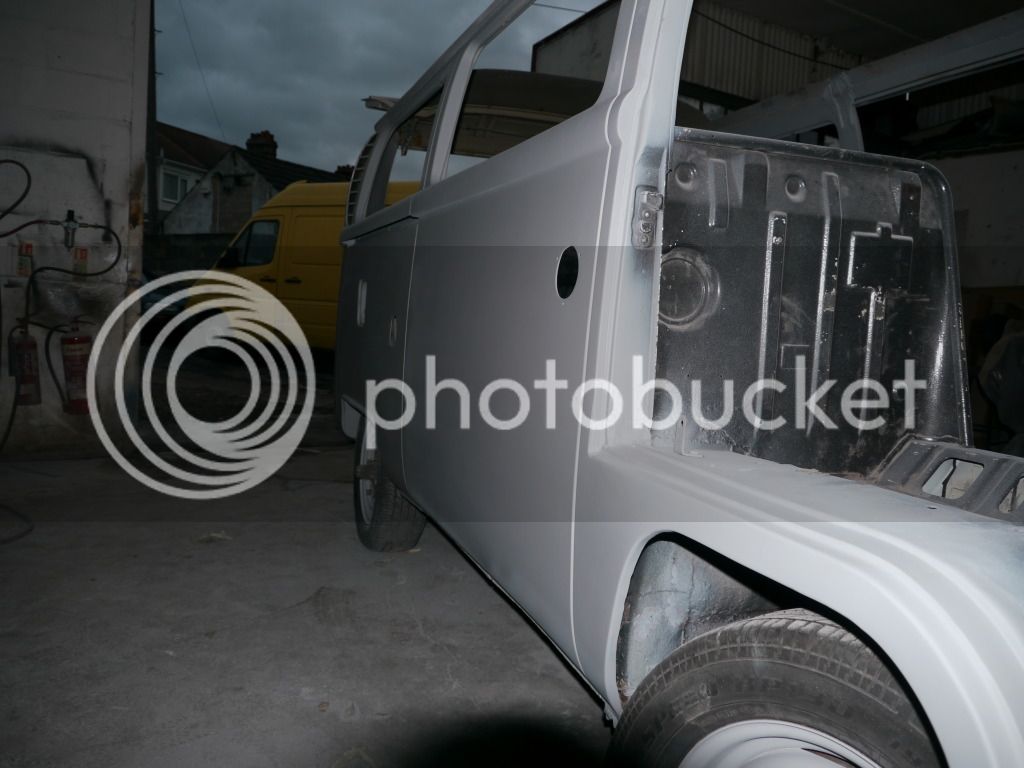
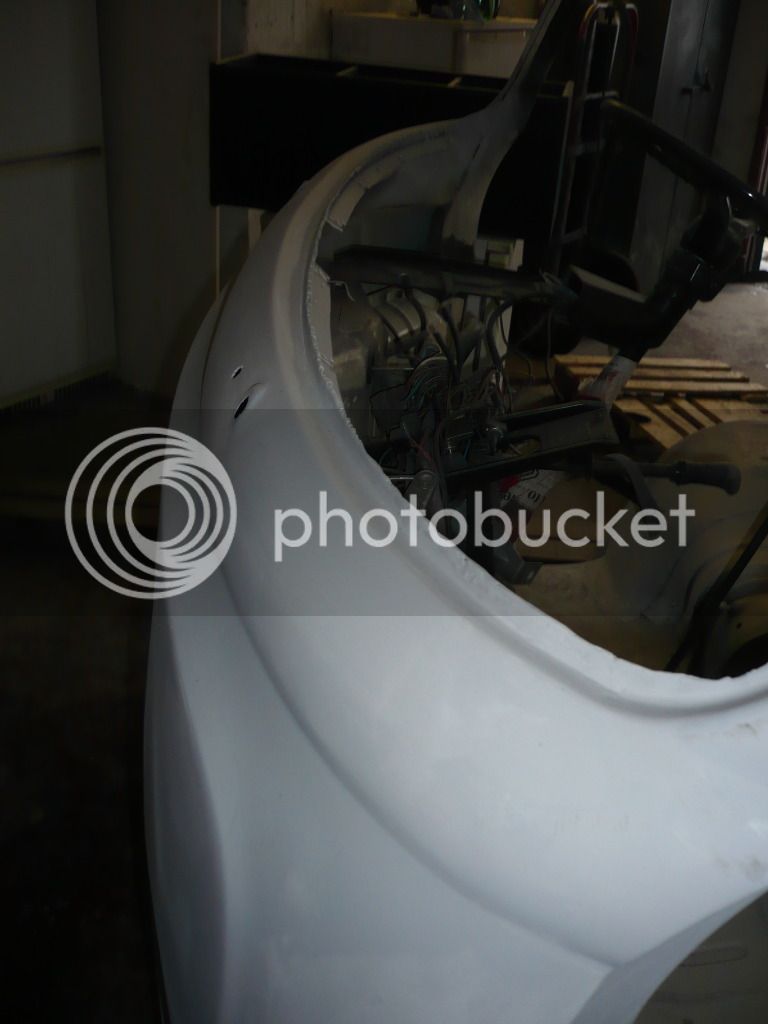
Few more pics of the resto, got to say that it is looking rather good. Nearly ready for some proper colour which will be very exciting!!! :bliss:
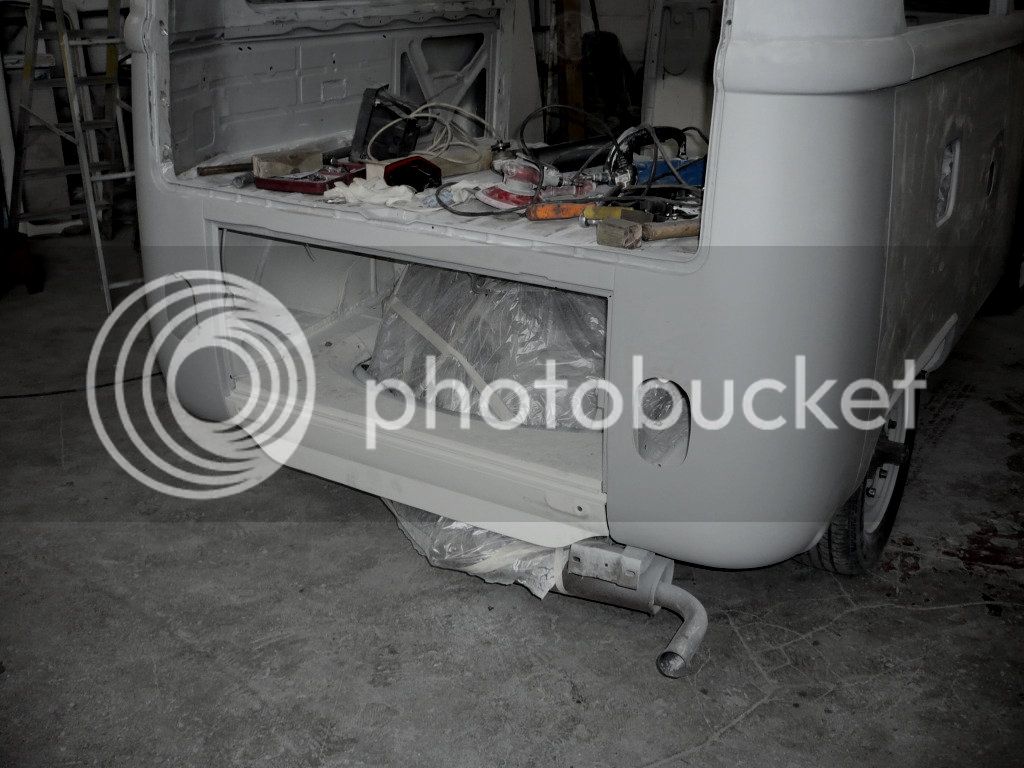
Think the engine hatch may have been changed at some point!!!
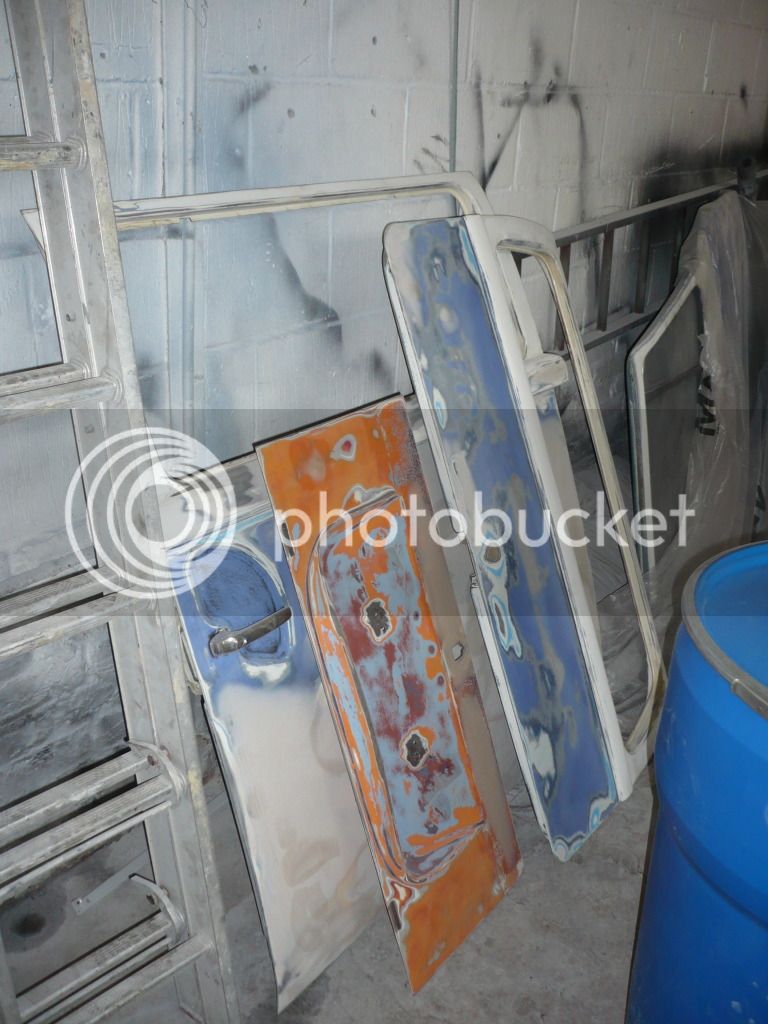
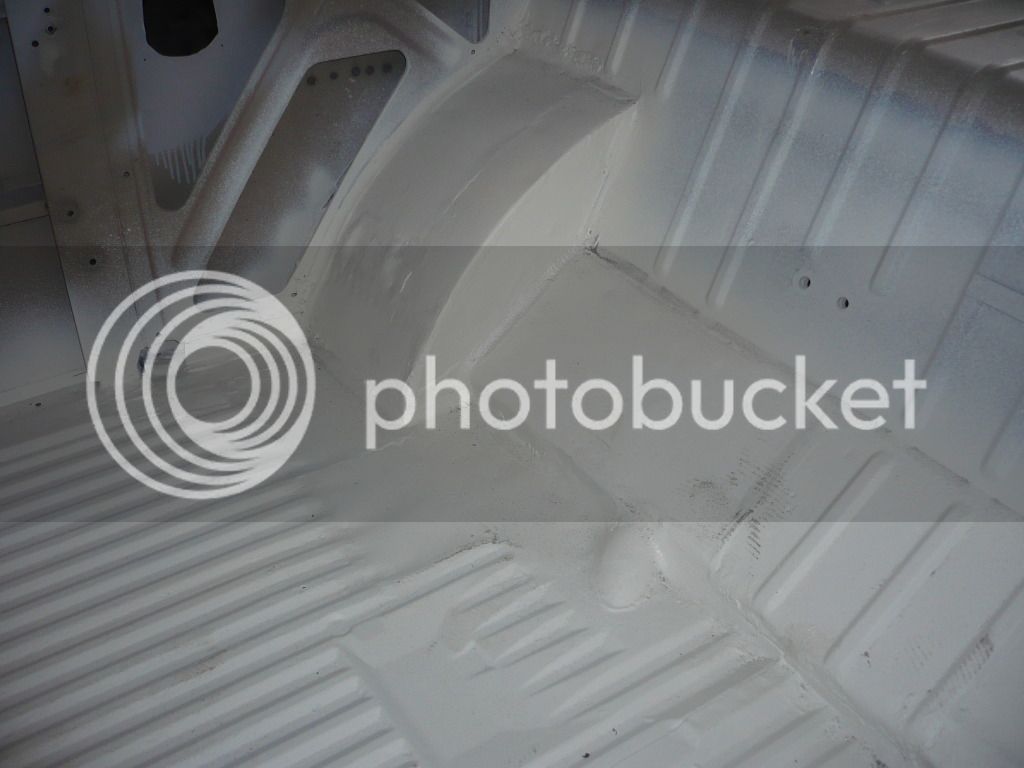
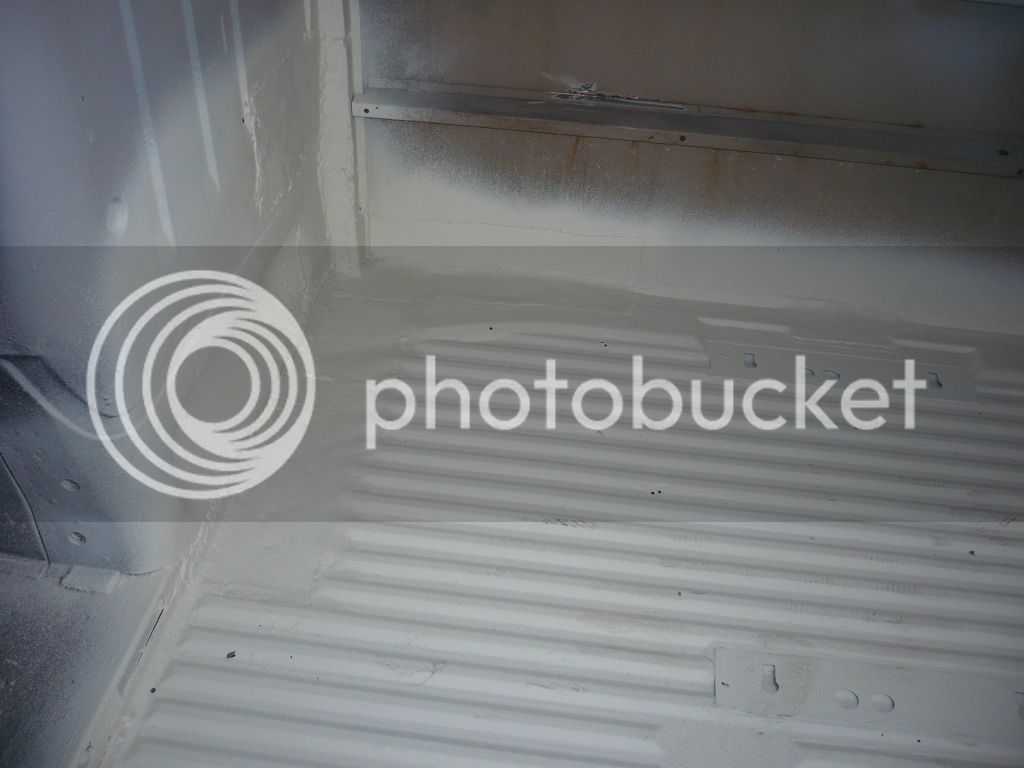
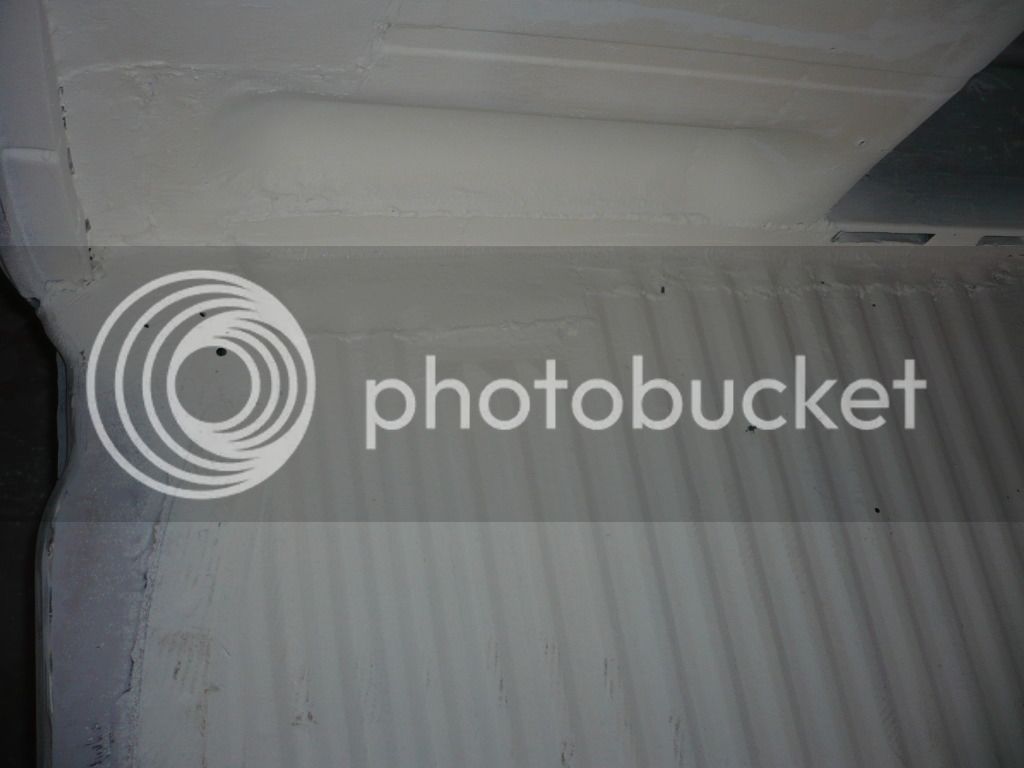
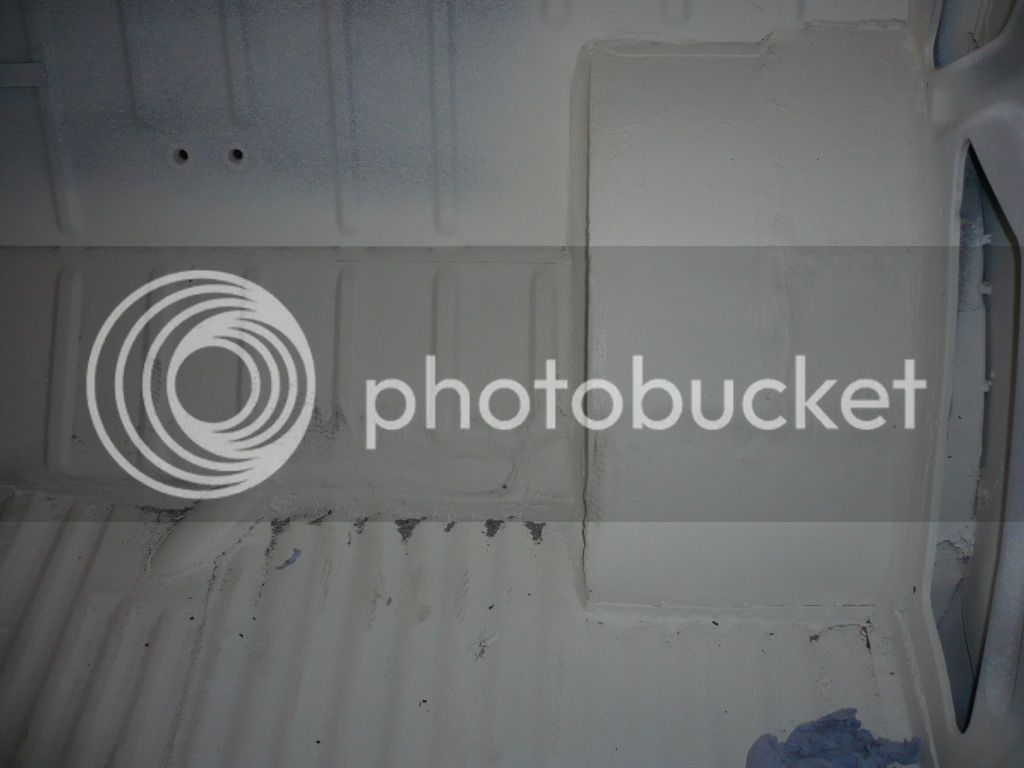
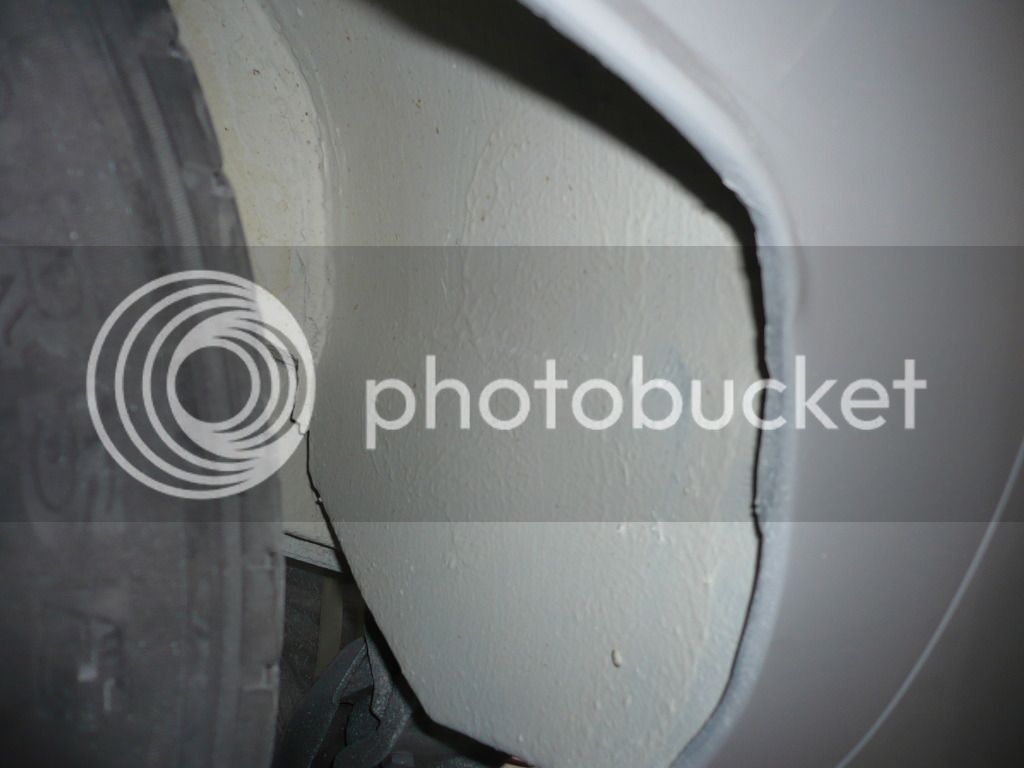
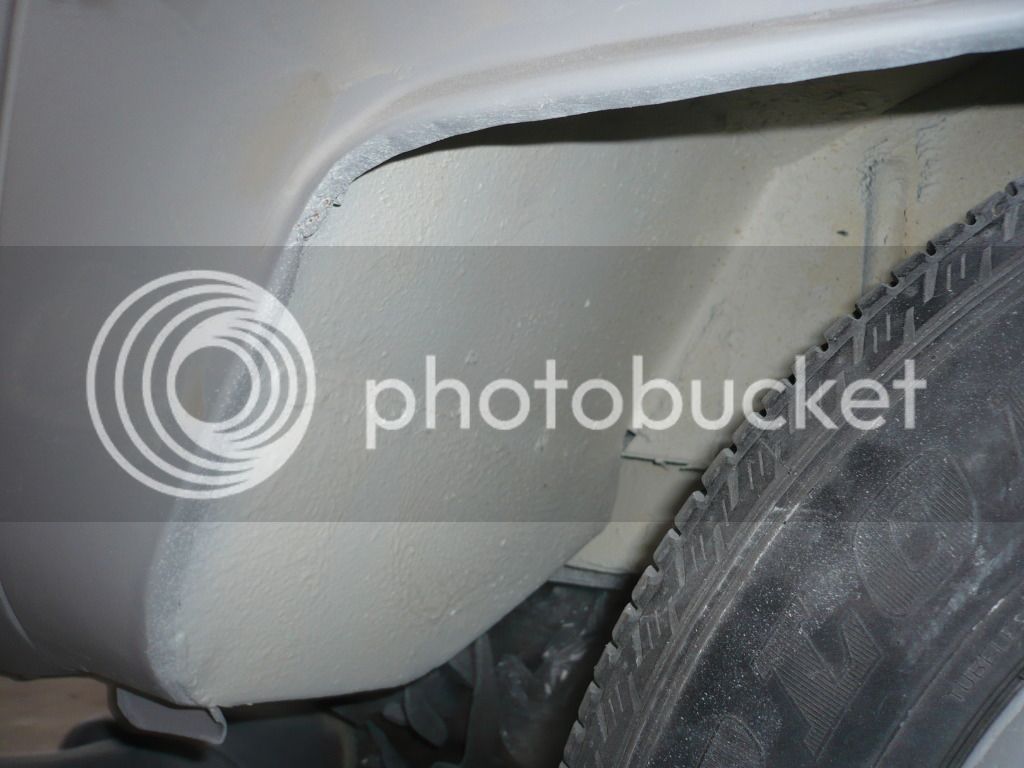
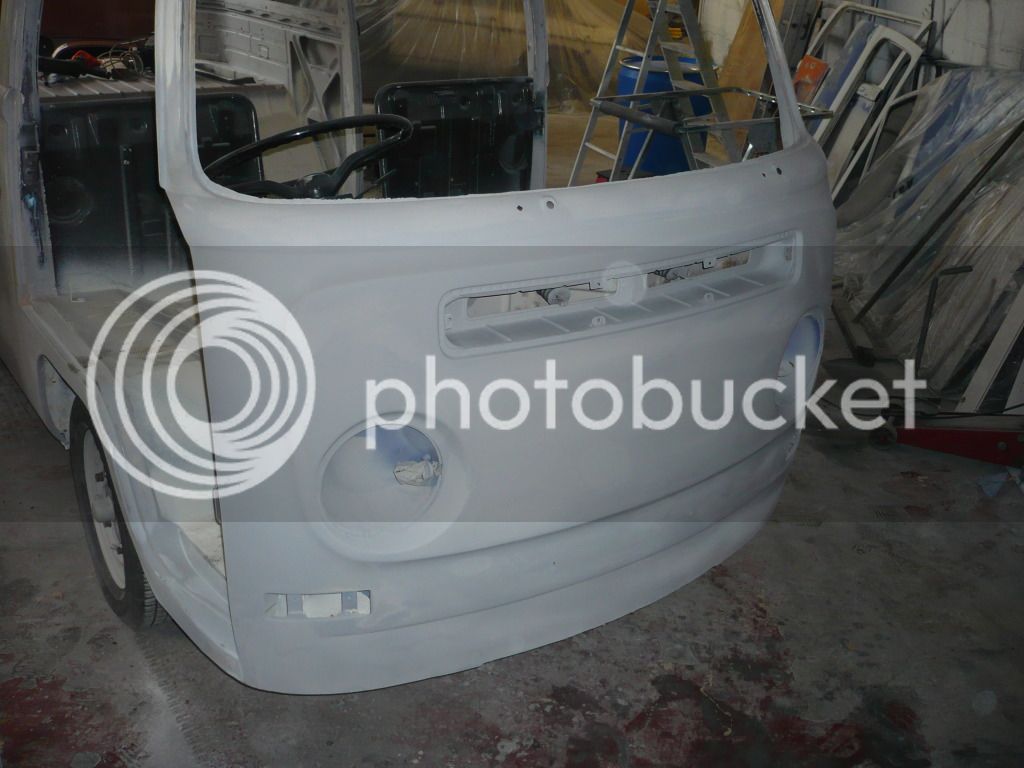
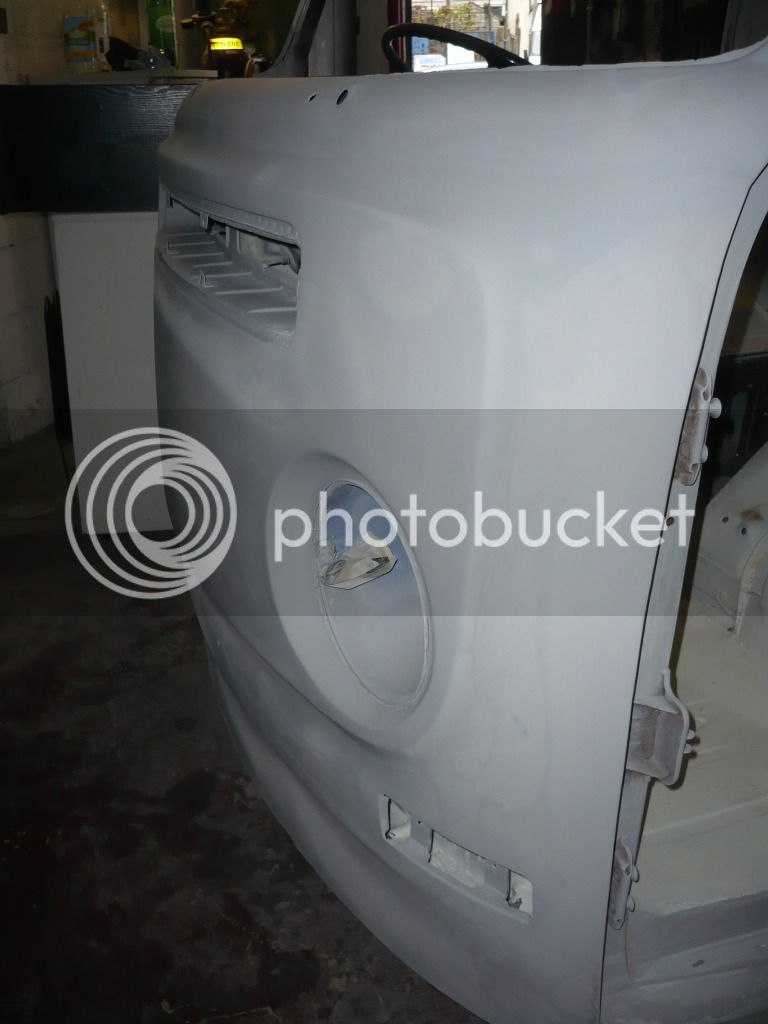
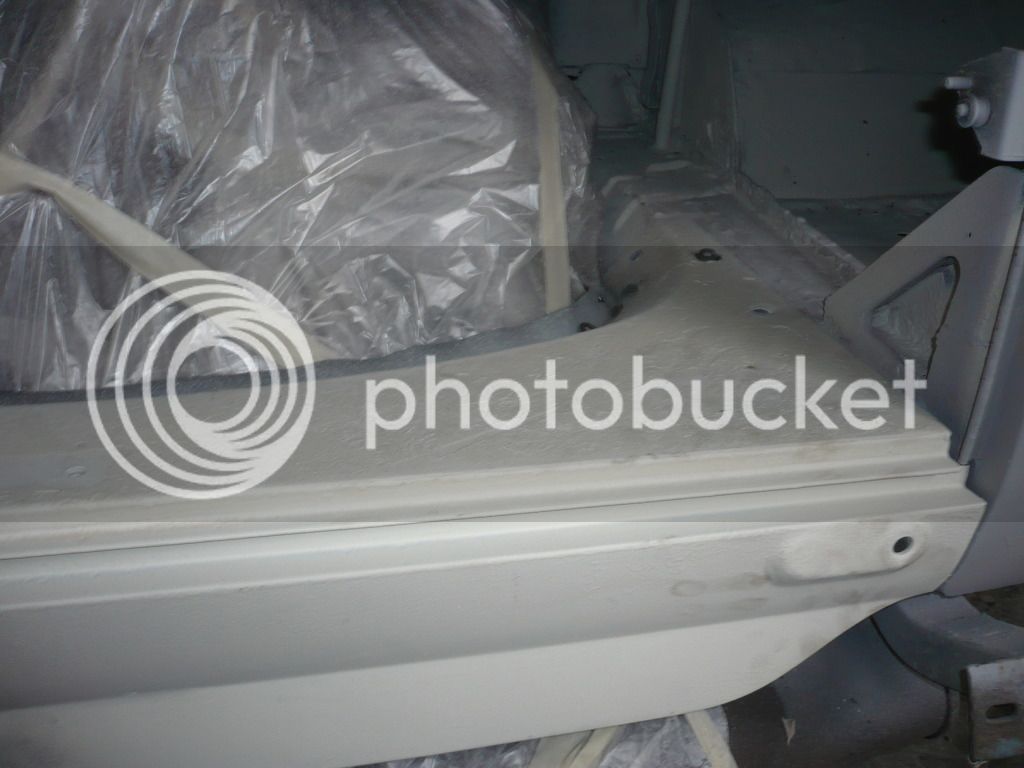

Think the engine hatch may have been changed at some point!!!


Similar threads
Vehicle For Sale
1971 Danbury £14,500
- Replies
- 0
- Views
- 391
- Replies
- 17
- Views
- 2K


