

deanomavro
Active member
I have recently, (July 2011), bought a 72 Crossover bay with a factory Hi-top fitted with the full intensions of restoring it. I've got my eye on one of my least favourite children and have warned him I am going to sell him in order to raise the funds. :lol: I'm currently awaiting a reply from DVLA after sending a V888 request in order to contact all the prev owners and build a comprehensive history of the van.
I initially thought the factory Hi-Top was original fitment but it turns out upon removal it started out with a pop top, (found rivet holes around roof aperture), The chassis starts with 2222 indicating it started life as a microbus, which then I believe was converted by Danbury, I initially thought it could be a Devon but someone pointed out the curtain tie backs they spied in one of the pictures on my photobucket looked like original Danbury equipment.
I'm currently house bound after having an operation to my left knee so currently the restoration is more of a project management situation from home. When I get back to the van again I have been instructed to scrape paint around the tailgate latch area and look for filler holes as this is where the Danbury badge will have been.
The original colour, found behind the headlights etc, was Sierra Yellow. I'm going back to this colour as its one of my fave colours anyway. I initially suspected the pop-top fitted was a Devon early turret type but as mentioned I now suspect it was a Danbury turret style as more evidence presented itself leaning towards this scenario regarding the size of the roof aperture which is approx 5" wider than that of a Devon and a couple of inches longer, (it's a big hole). I've compared measurements to another Danbury and it seems conclusive.
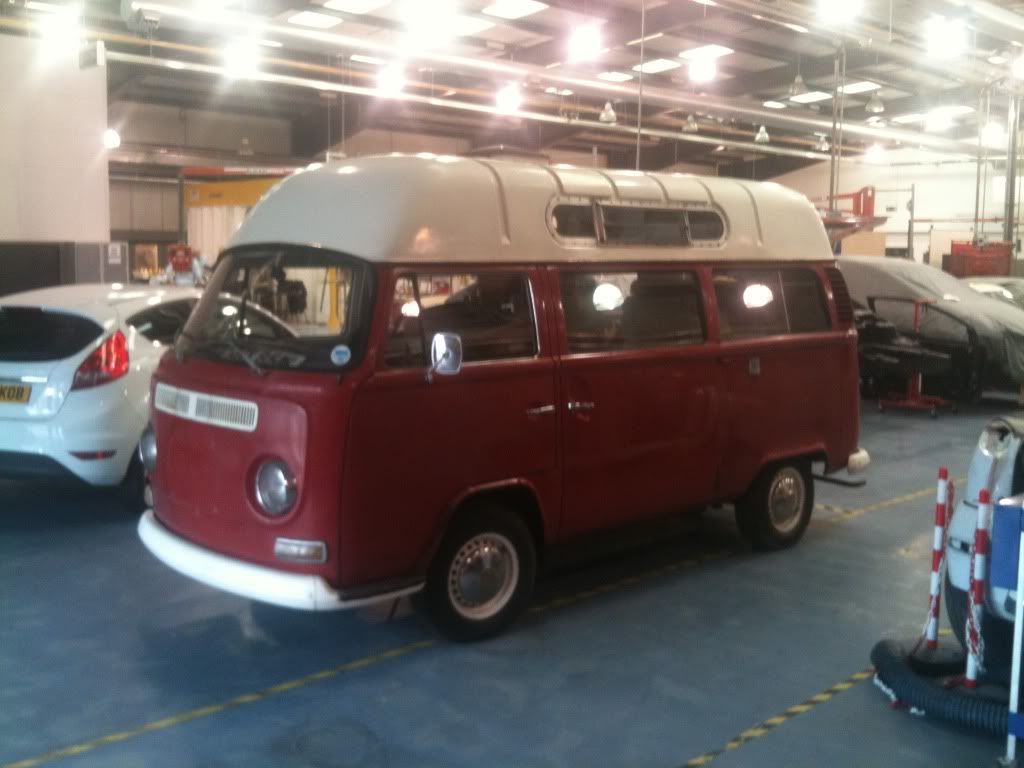
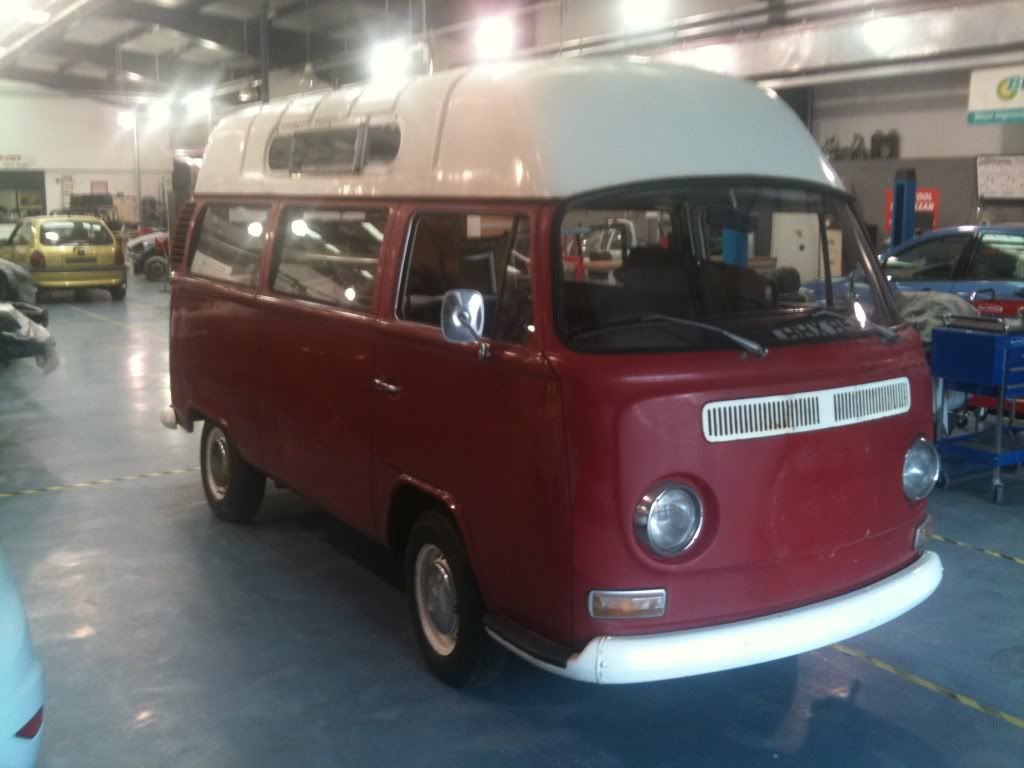
I have so far completely stripped the van including removal of the Factory Hi-Top. I have seen a few factory tops with windows, but not louvers like mine so I believe it’s quite a rare one. The van is now down at VW Welding services in Salford Manchester with John.. He's **** hot and undertaking the mammoth task of completely ripping out any tin worm and replacing with new. The job is simply too big for me to take on at the mo. Once welded it will be returning to me at The Manchester College workshops where I work as an automotive tutor. Once back with me the van will be receiving a full rewire, I'm gonna sort the engine and running gear out whilst the van is being fully prepped and painted both underneath using a body roller and up top by the level 3 paint students and tutors.
The resto progress can also be viewed at my photobucket where the pics will be updated throughout the project. Thanks for looking and any advice/opinions always welcome.
PHOTOBUCKET ALBUM HERE---> http://s1119.photobucket.com/albums/k624/deanomavro/" onclick="window.open(this.href);return false;
Deano.
Edit:- I have since decided to update this thread on a constant basis throughout the restoration and I'm beginning with a new start and telling the story of my van from the beginning.
So here goes..
Earlier this year I was actually in the market for a T4 as a friend has one and I really liked the idea of economical travel and trouble free camping. I had a late bay Westy a couple of years ago but unfortunately I only managed to get one season out of it before coming to the realisation that I simply wasn't in the position both financially and timewise to save it as it wanted a hell of a lot of work undertaking. So as MOT time rolled round I had to begrudgingly sell it. Had a great time in it though.
I sold the van to a couple from darn sarth.. and I still hope to bump into it, and them, one day.
So a couple of years past without a van then I started looking at T4's and was getting quite G'd up at the thought of attending shows n fest's once again, albeit in a T4.. :?
Then my good friend and work collegue, Rick, tells me he's stumbled across a nice looking bay on a driveway near his place in South Manchester, although it has got a Hi-top on it currently, 'but you could just take that off..', his words, and I agreed, not into Hi-tops myself particularly either.
We went along and doorstepped the guy and by chance he was actually thinking about selling it.

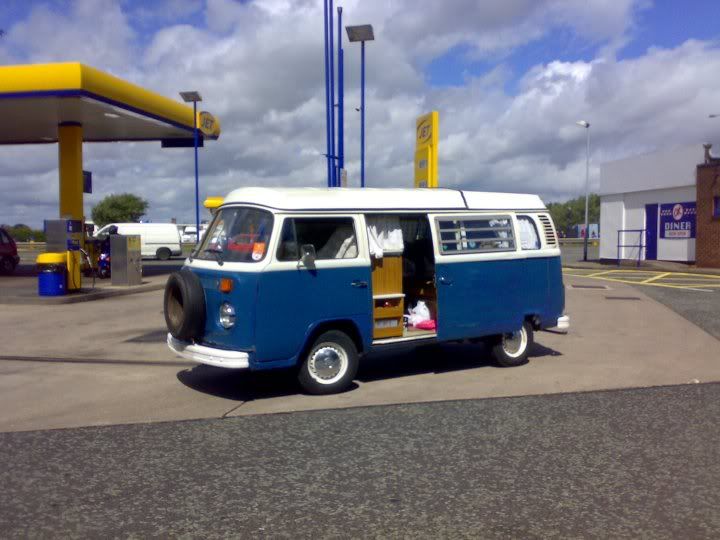
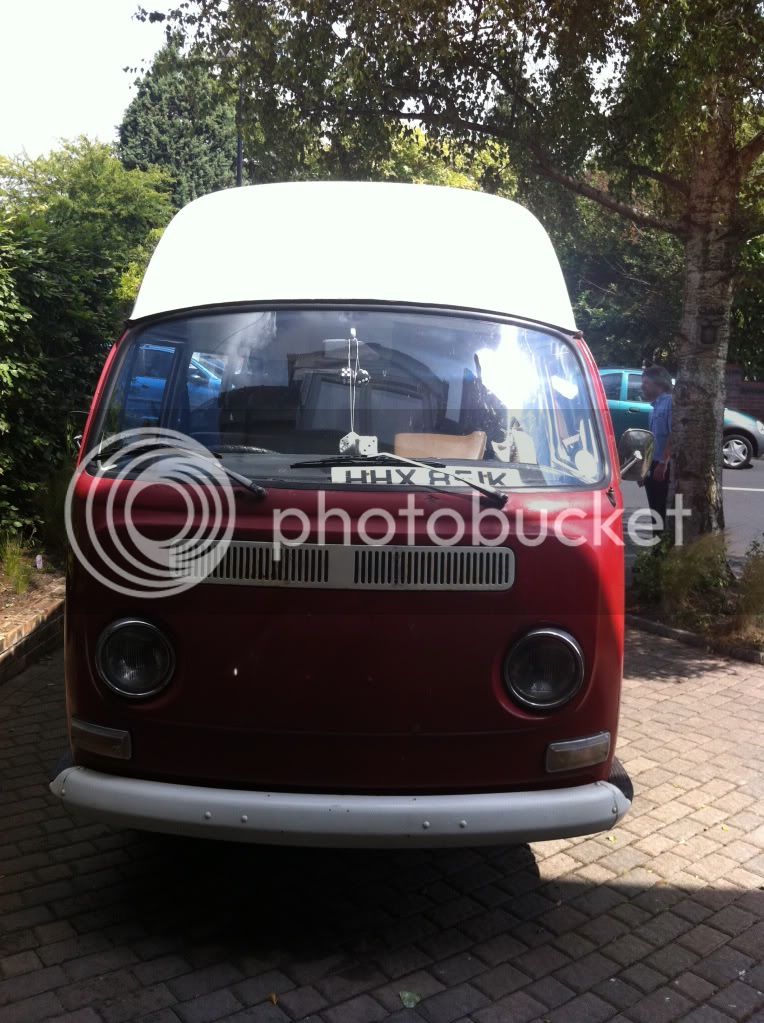
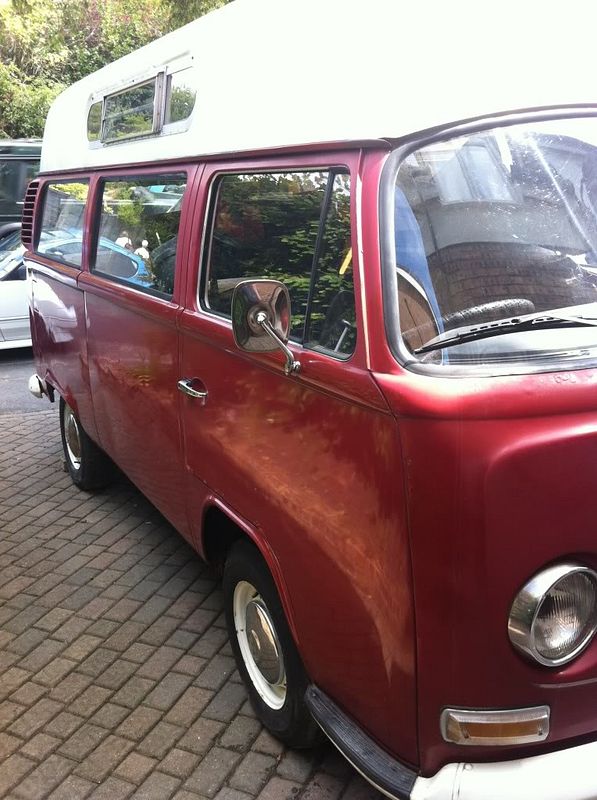
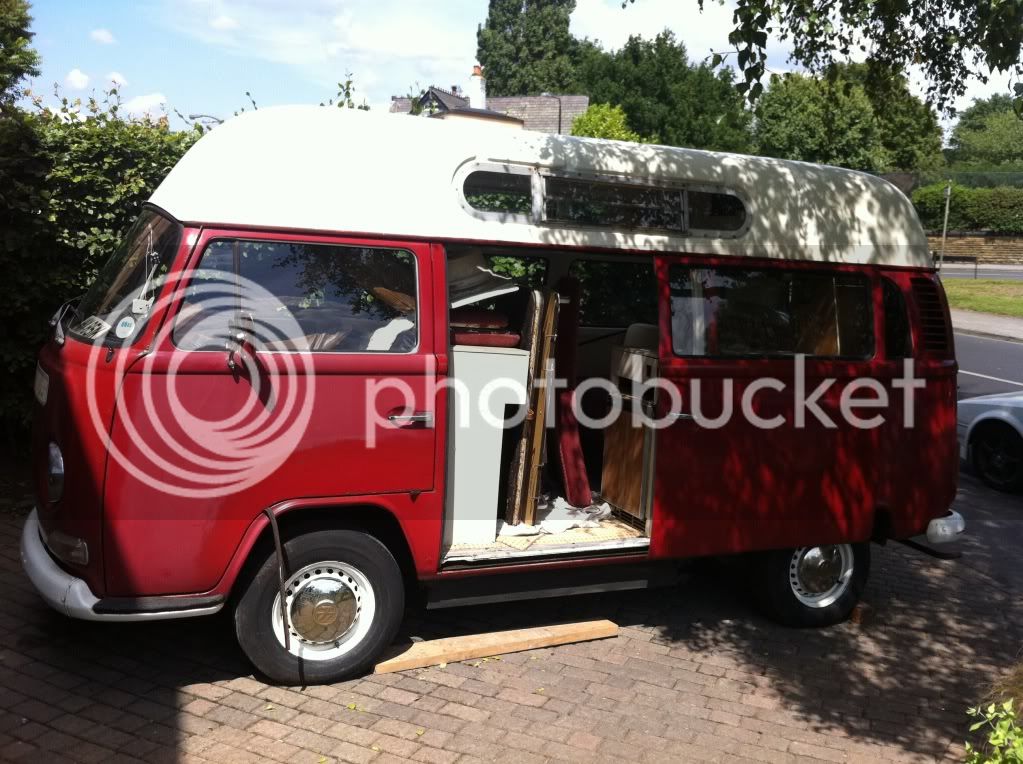
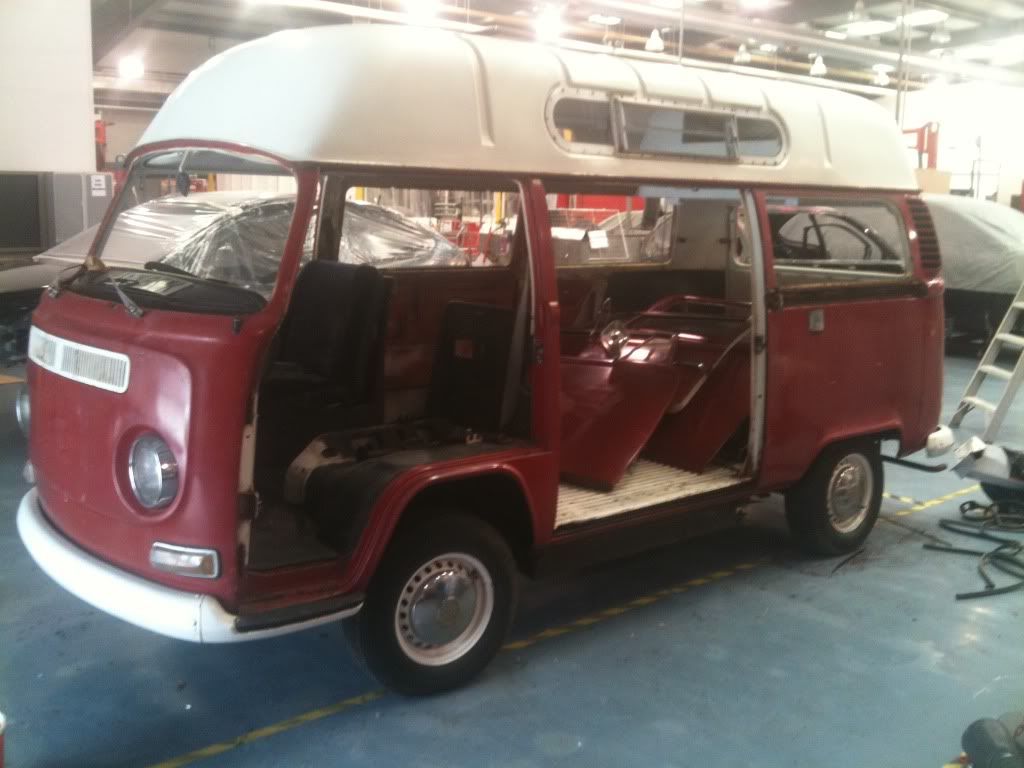
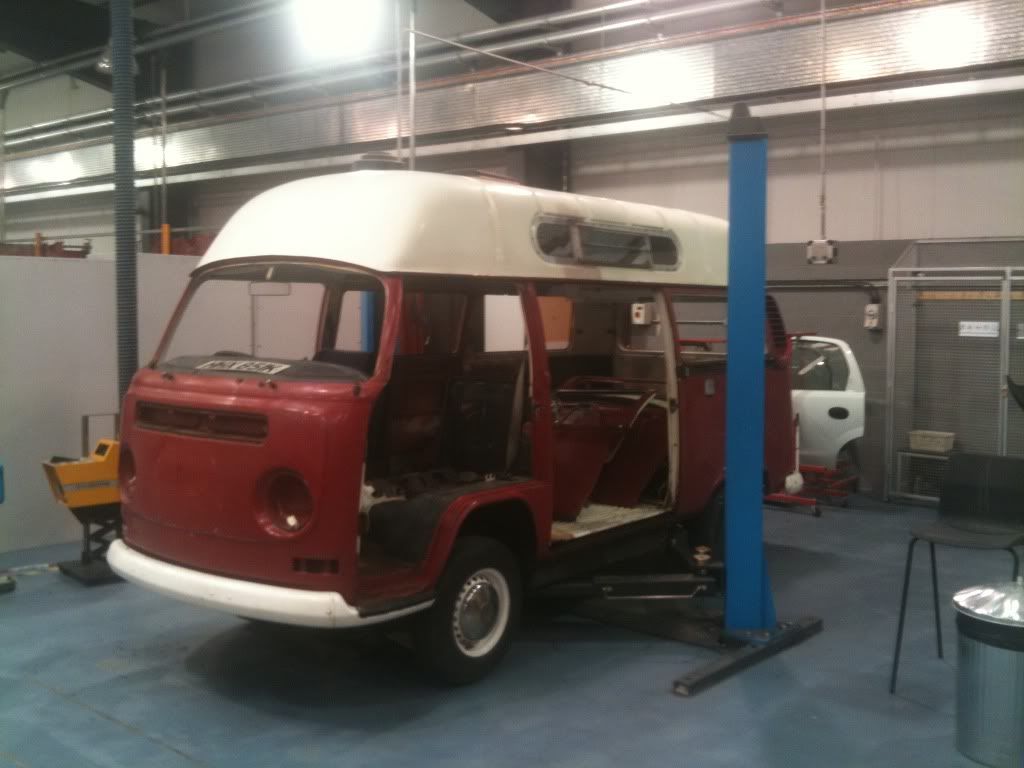
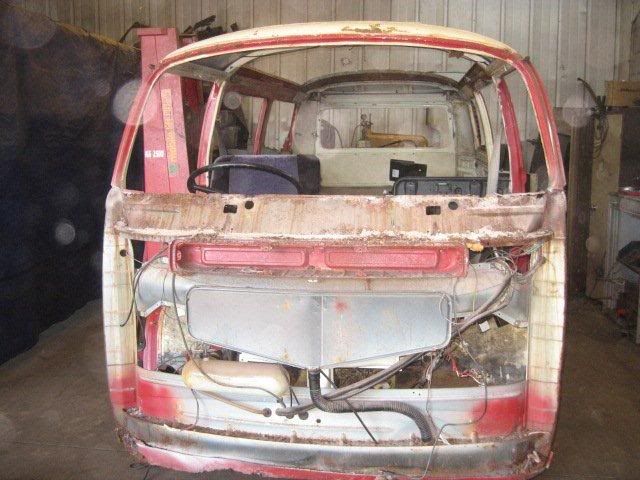
This is how we found the van. It turned out that the van had been in his garage for 7 years (which he had built on to the side of his house with extra height especially for the van) :lol: and it had been there since he used it as his wedding vehicle, which was proven by all the confetti I found under the units and the bed when I started to strip it.
I immediatly fell in love with the van and forgot all about the easy ride with a T4.. :shock:
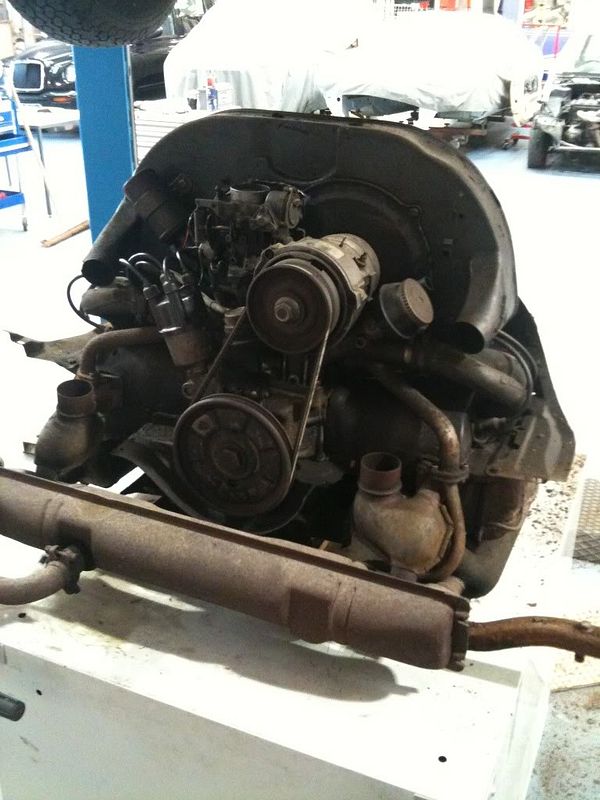
The owner told me he had blown the original engine up when pushing the van to a staggering 65mph. and went on to purchase a donor van for the engine. He fitted the engine, which is the current engine, (a gold block recon) and kept all the interior out of it also which can be seen here piled up inside the van on top of the fitted interior.
I made an offer on the van and also bartered for the extra interior inside the van and struck a deal. Time to get it loaded up and drag it back to the college where the majority of the resto is going to take place. And yes I do consider myself very lucky to be able to use the college facilities and lending hands/expertise of my work collegues to carry out the resto to this van which is also going to be a great project for the students to take part in, both body and mechanical wise.
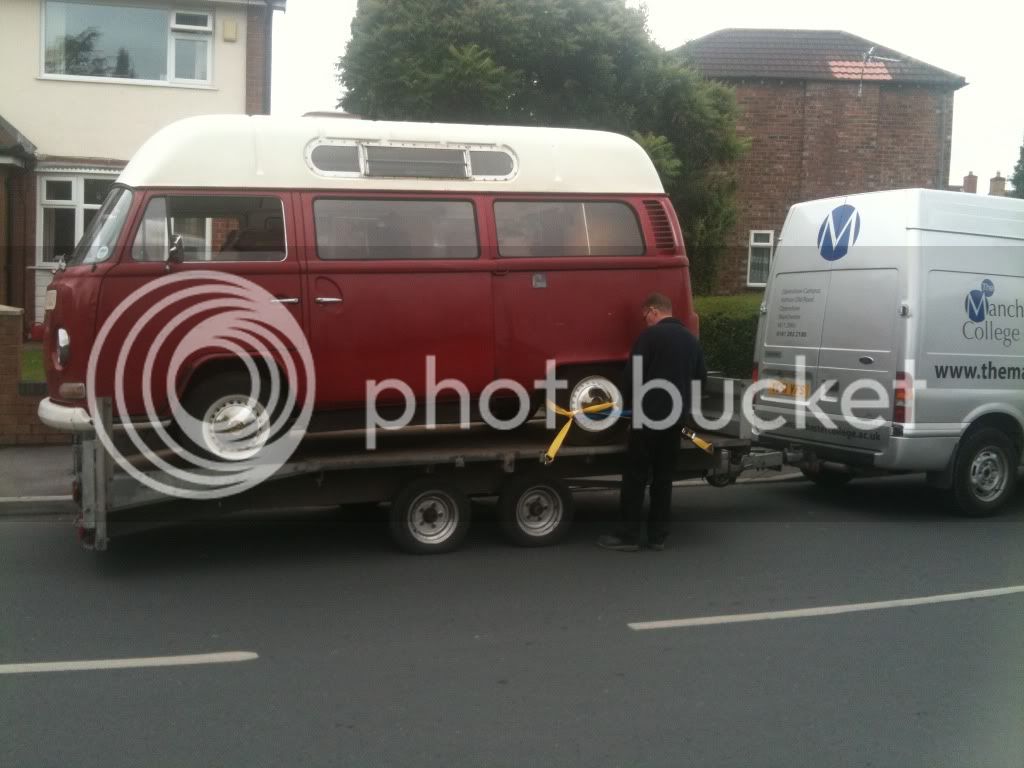
Was quite scary taking a run up with it to get it on the trailer as the winch was inoperative, as too where the brakes and clutch on the van.. (7 years sat about idle will do that..)
One thing I will say though, after all this time stood, I popped the fuel pipe out of the filter and into a can of fresh fuel, fitted a battery, reset the choke on the carb and turned the key with no acceleration... It fired and purred like a kitten immediatly. Unbelievable.. :mrgreen:
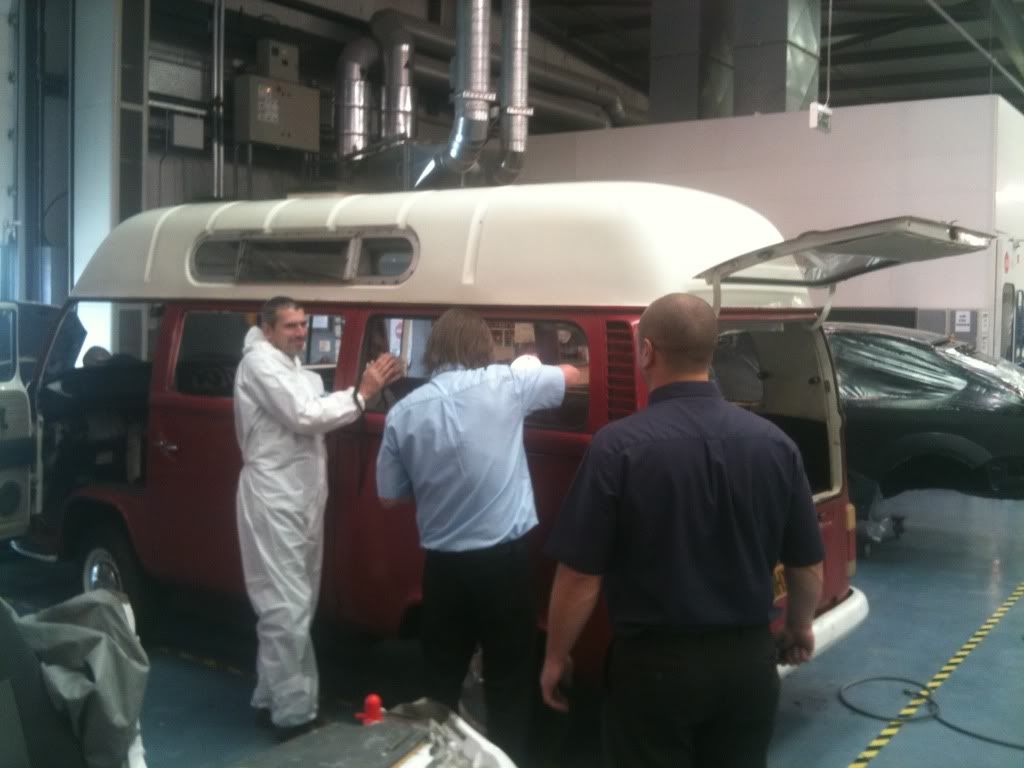
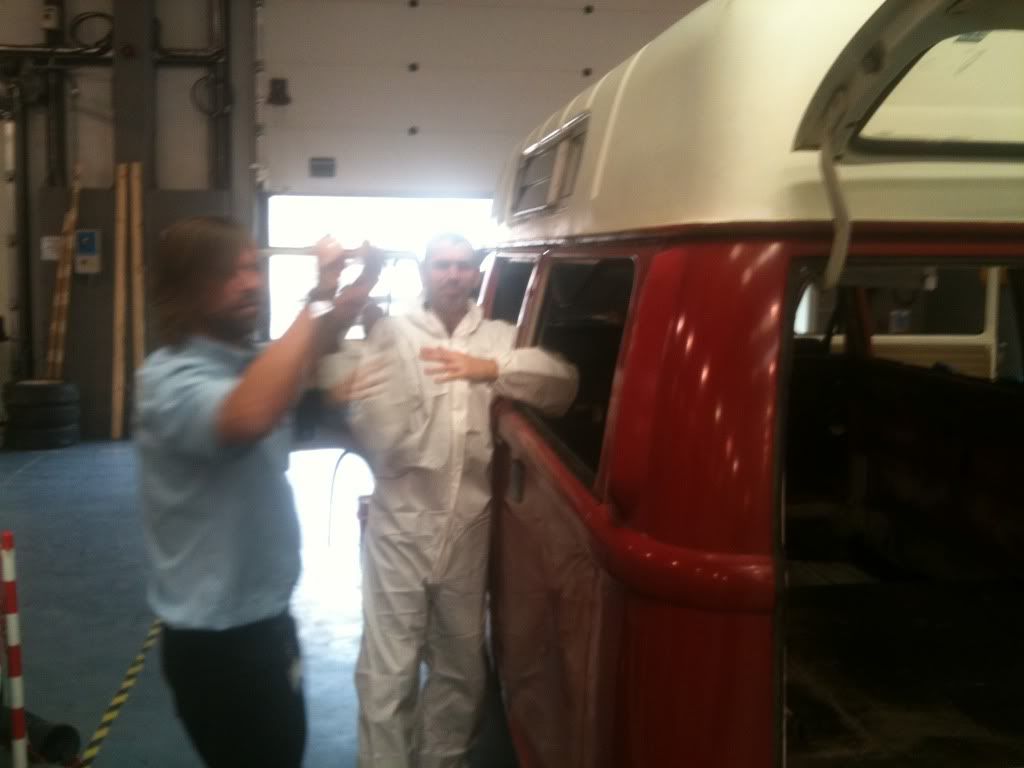
Once back at the college it was time for me and my chums to have a good look round it and unload the bounty that was piled up inside.
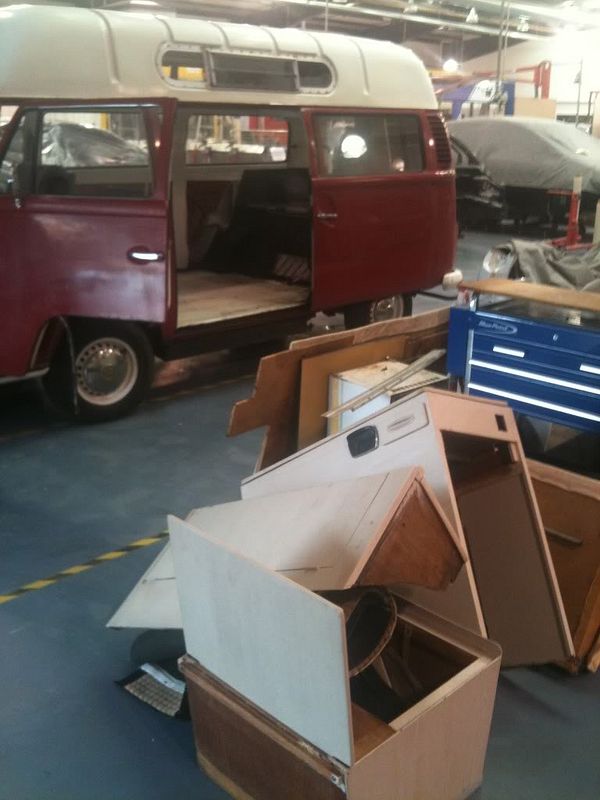
I have stowed most of the extra stuff in little nucks and crannys around the workshop and filled my garage at home untill I decide what to do with the interior upon completion of the remedials. The next thing on the agenda was to strip the van of all its removable bits n bobs.
Doors off..
Windows out...
Eyeballs out...
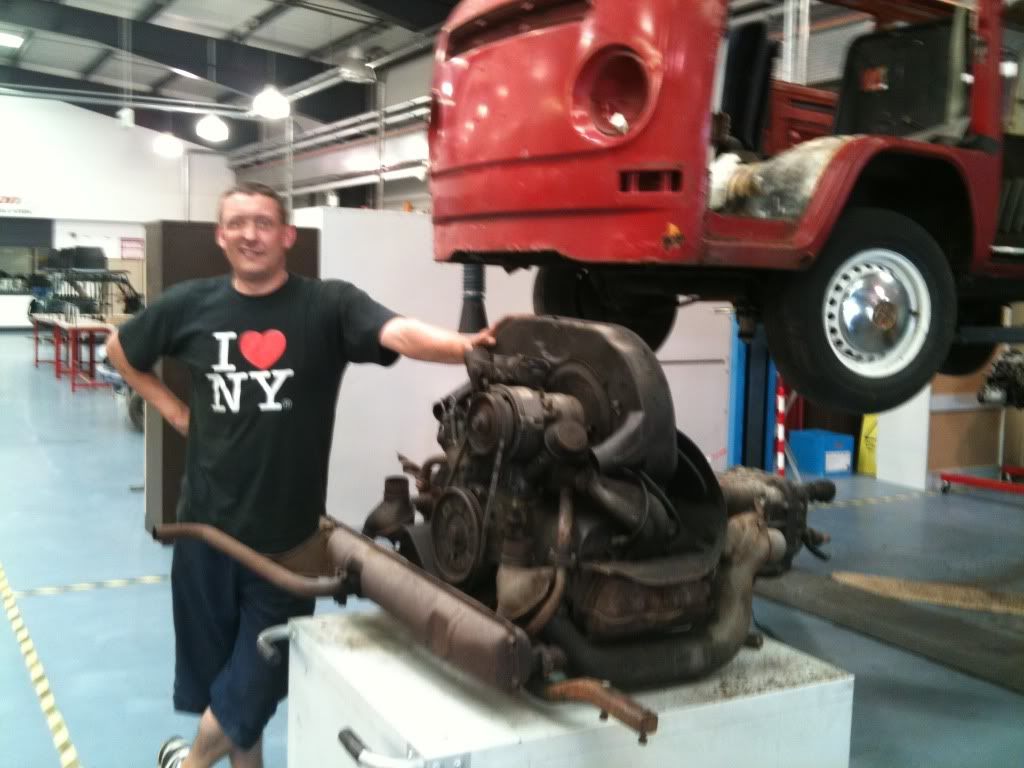
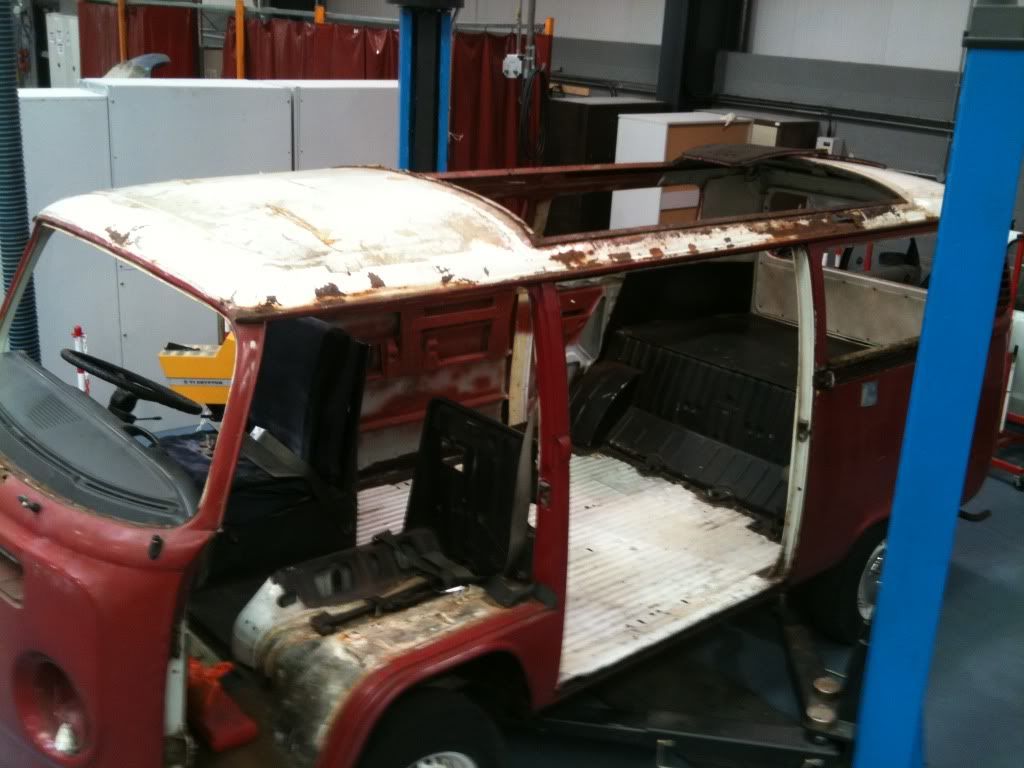
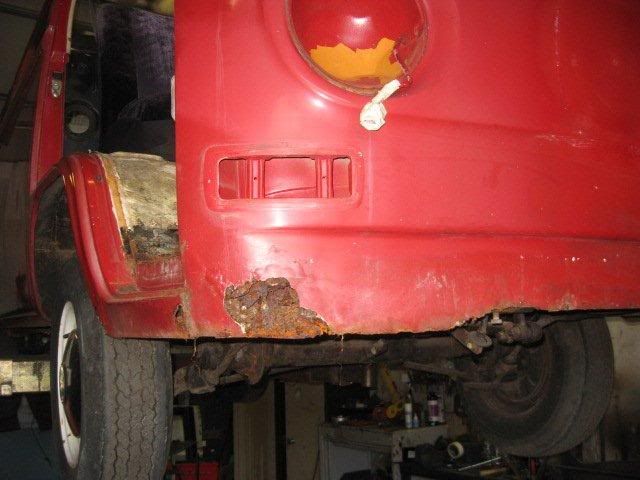
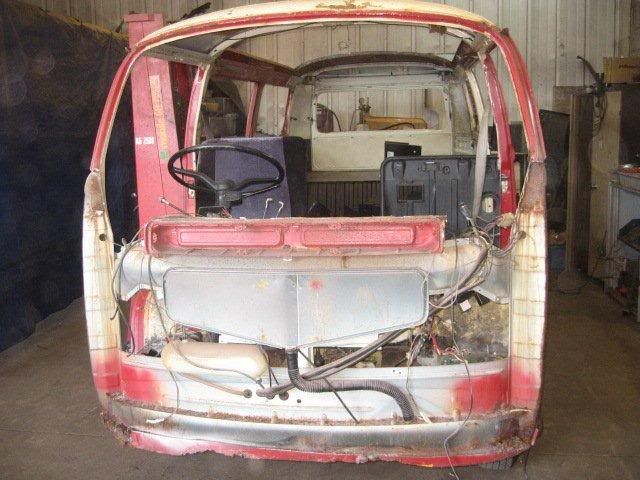
Time to sweep up about 3 or 4 pound of the van that had fell off and get it on the lift for an underside inspection, what horrors await.. :?:
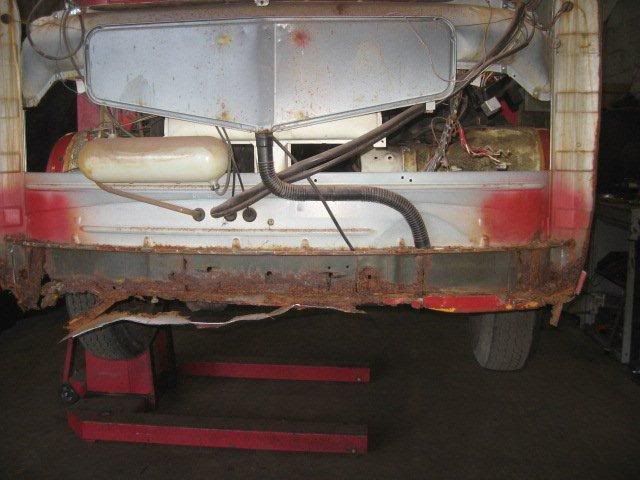
I found the usual suspects were all present, rotton sills, outriggers, osf chassis member, front panel, rear valance, wheel arch tubs, steps and arches.. oh yes, and it wasn't over as the van had full belly pans fitted, time to get the grinder out... :!:
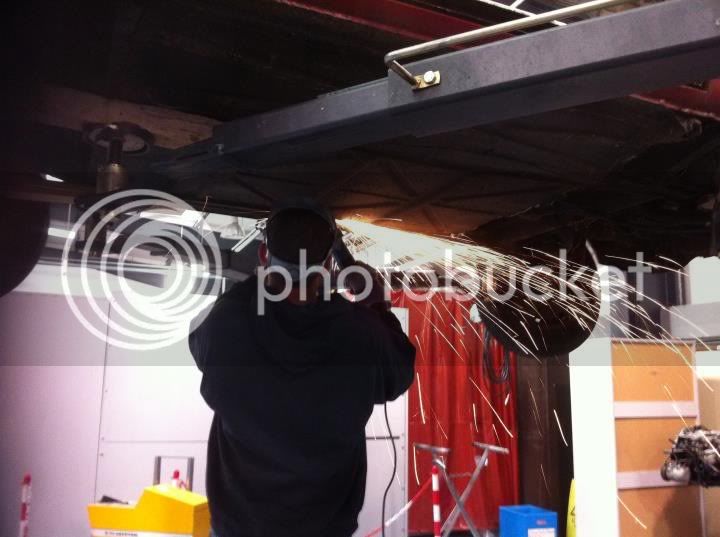
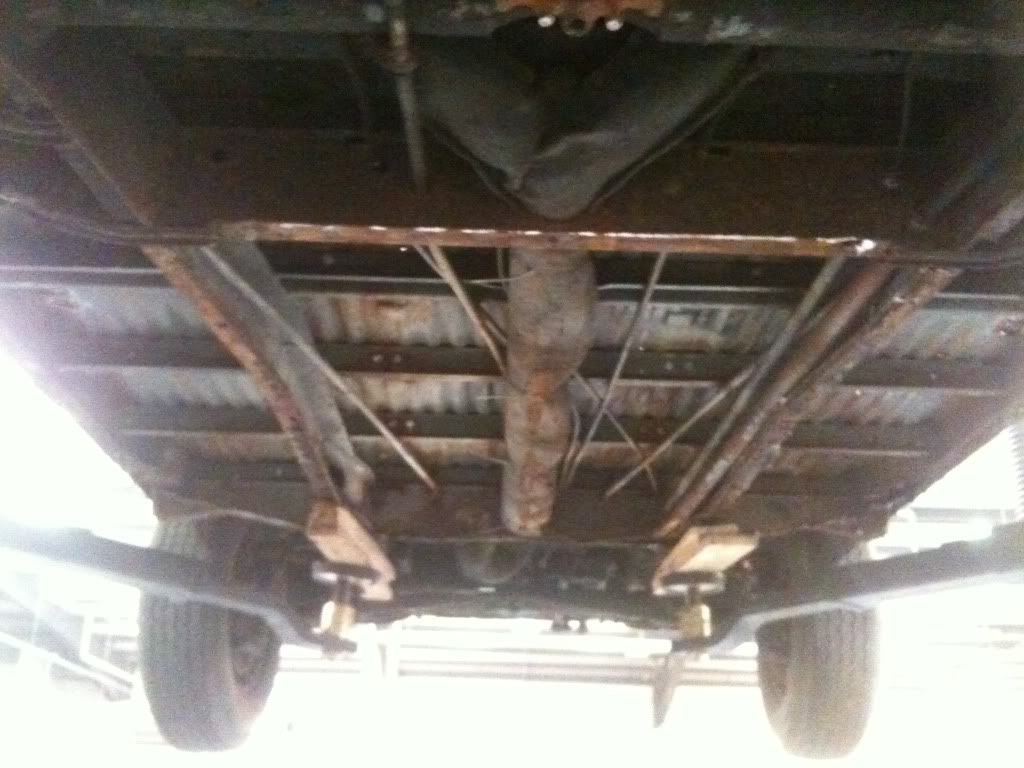
Once the belly pans were off I could see all, not too much more, just rotton cross members and loom tube. Next I took the decision to remove the Hi-top.. yuk..! wasn't looking forward to this at all.
Thankfully it came off without too much of a fight, more importantly, it came off intact.
Now for the engine and box...
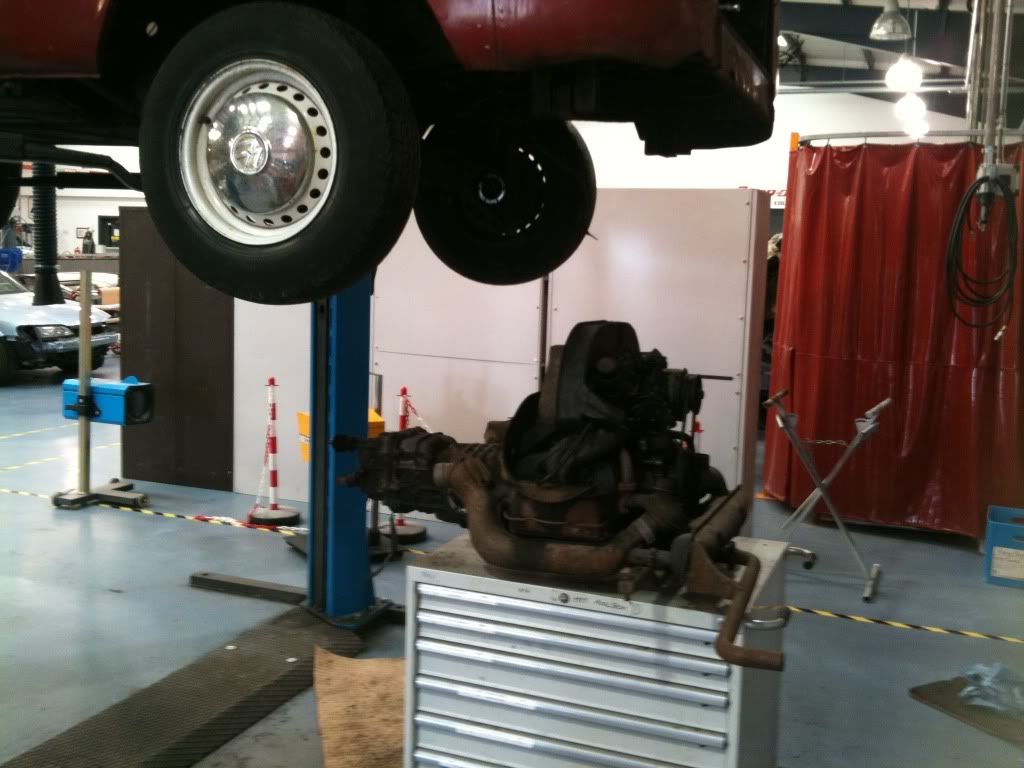
As per expected, it fell out a piece of p**s.. 8)
Dirty and knackered... I mean me, not the engine..!
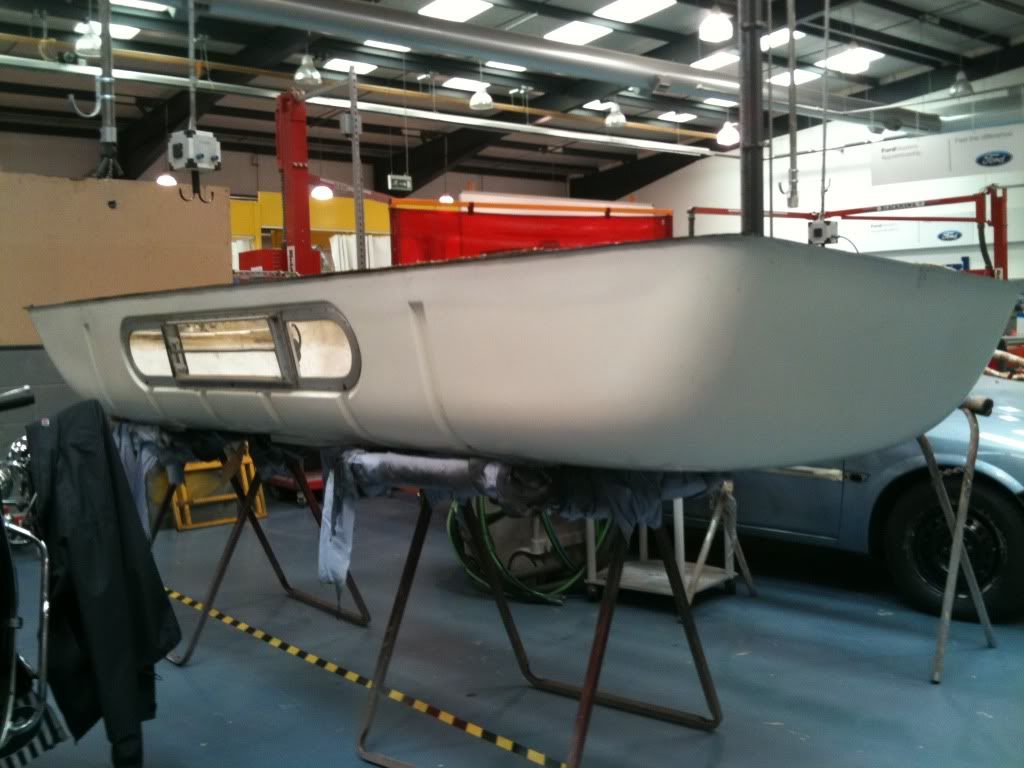
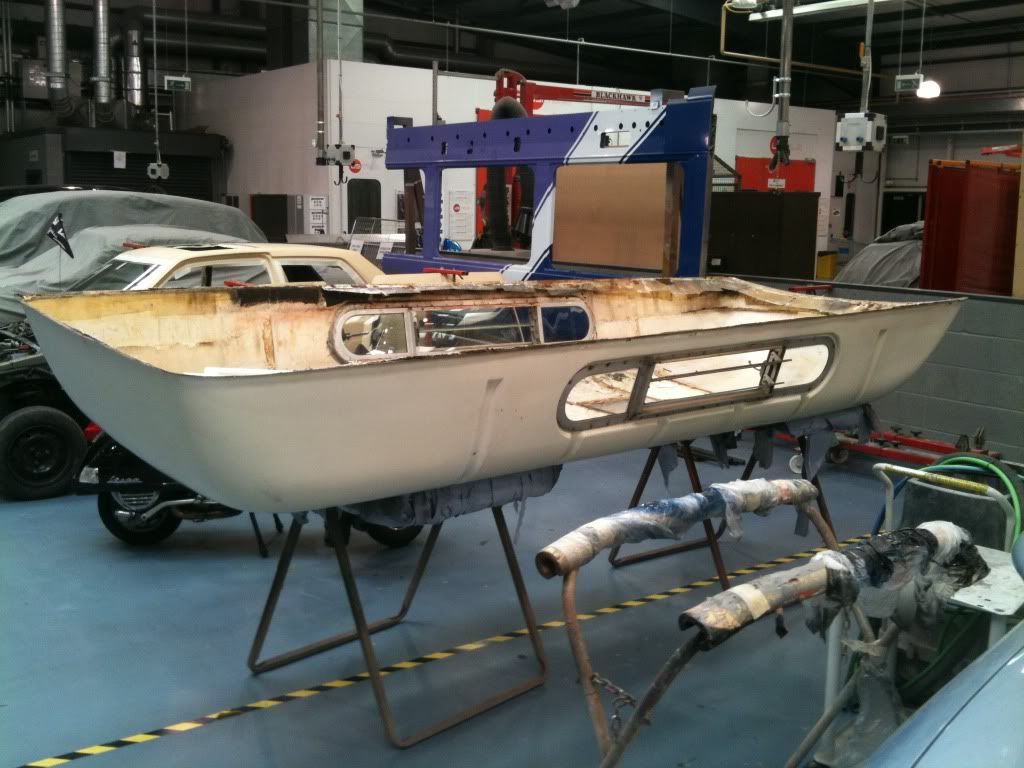
The van looks totally different without the Hi-top, at this point I was really fixed on leaving it off and returning to a Pop-top. I found more scares under the Hi-top, rot to both the front and rear roof sections, not too bad, easily salvagable.
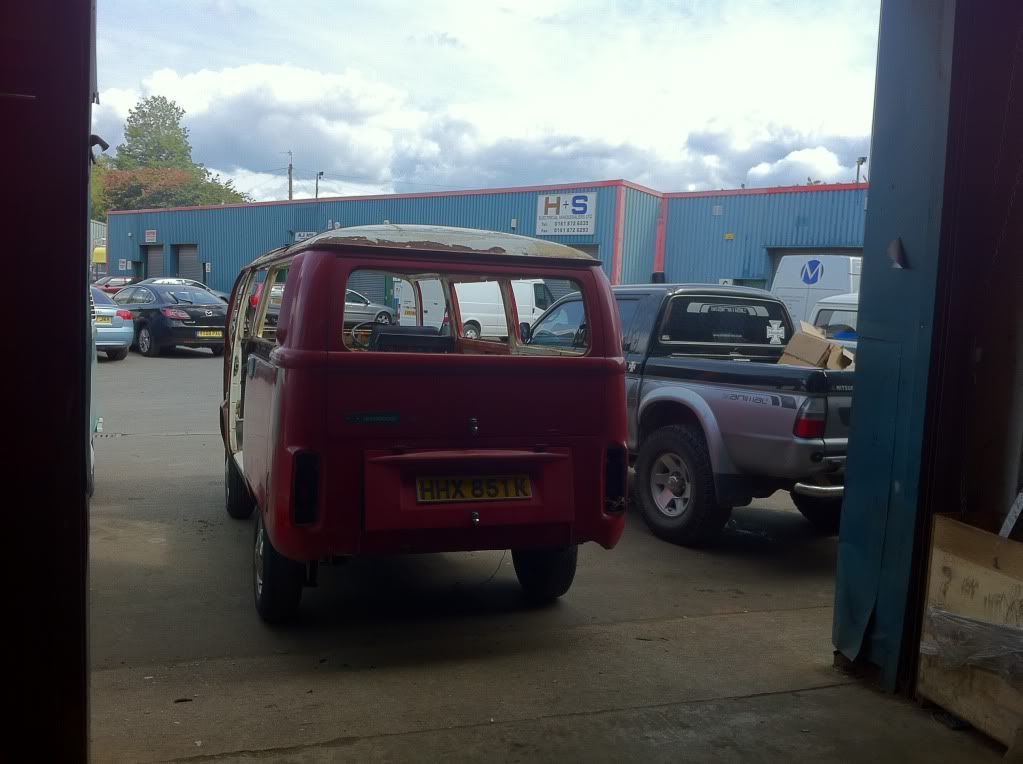
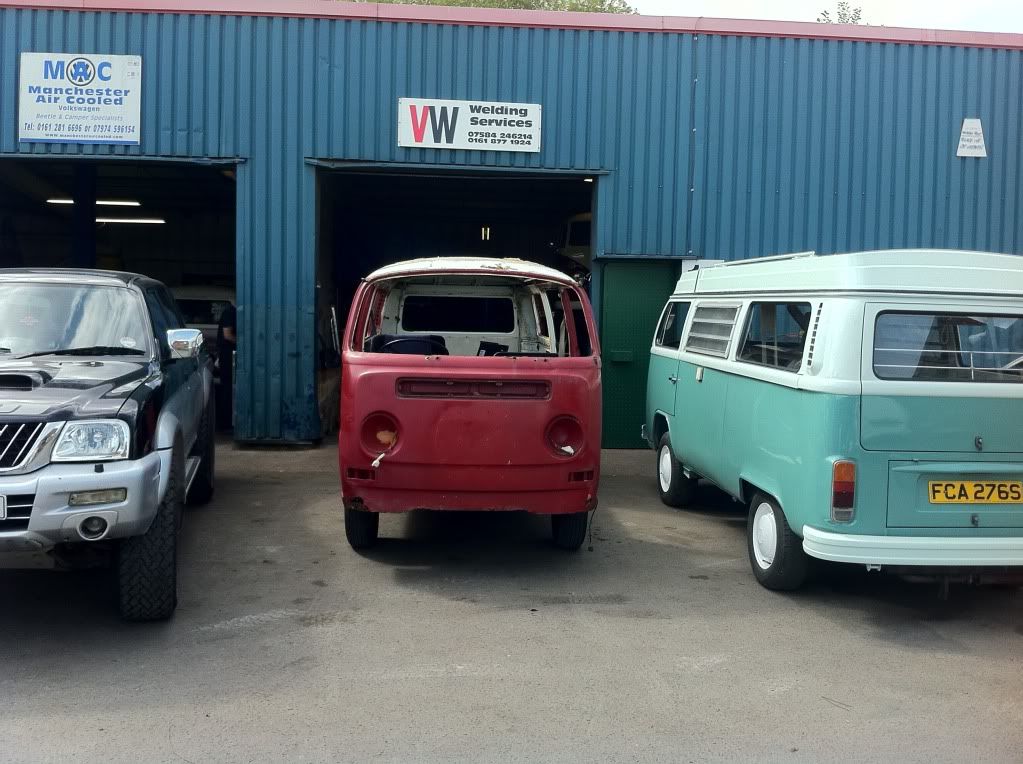
I had now gone as far as I needed to go to enable John down at VW Welding services Salford to start the major rebuilding of the vans bottom half. On the day that this was happening, (the van being loaded up on the trailer once again to be delivered to John), at this exact moment, I was lay in hospital, out cold, having my left knee injury repaired. Bone-tendon-bone grafting which will hopefully repair a long term problem of hyper extension in my knee. Ironic really, both me and the van set off on a journey of repair and recovery at the same point in time. Bet I'm up and about before the van though...! :lol:
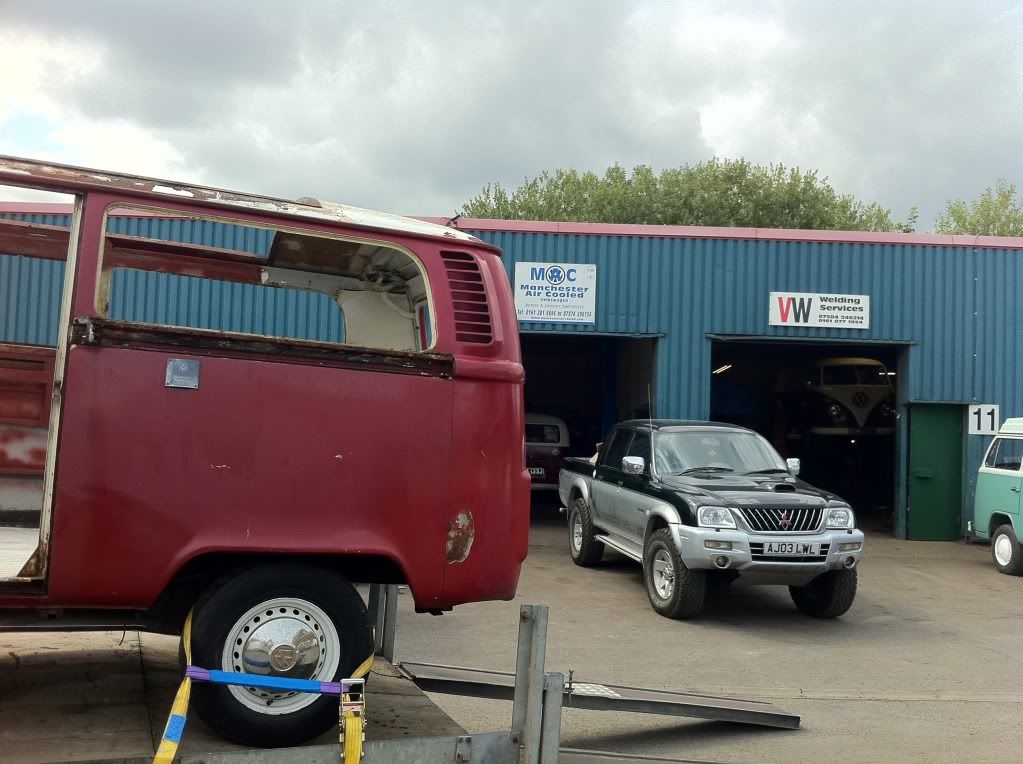
These are shots of the van arriving at Johns place.
And so it begins, the following shots are early pics John sent to me whilst I was in hospital of the assessment of the job and early stages of repair.
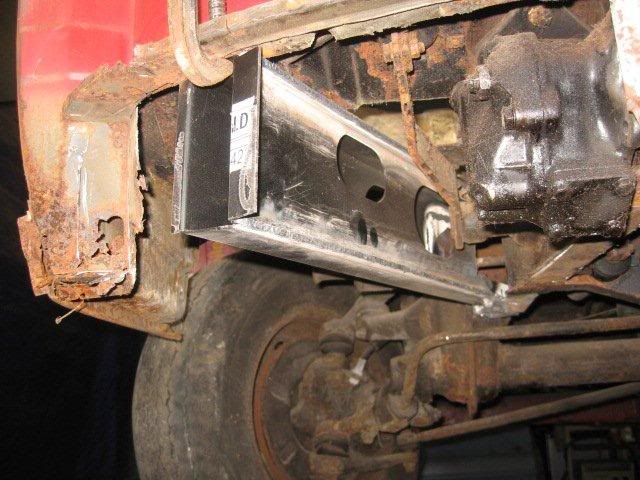
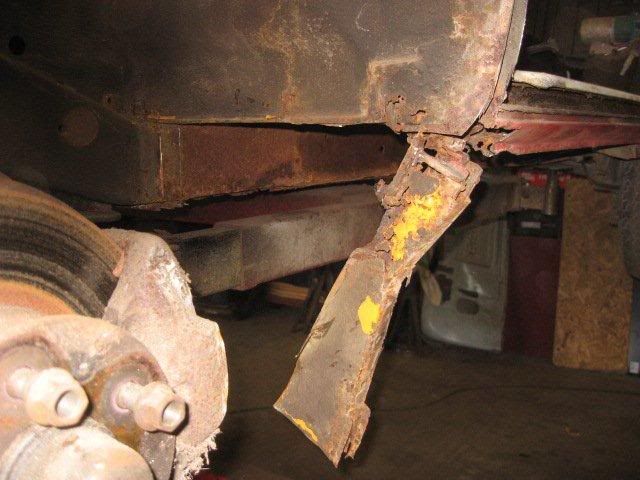
Rotton O/S/F dogs leg.
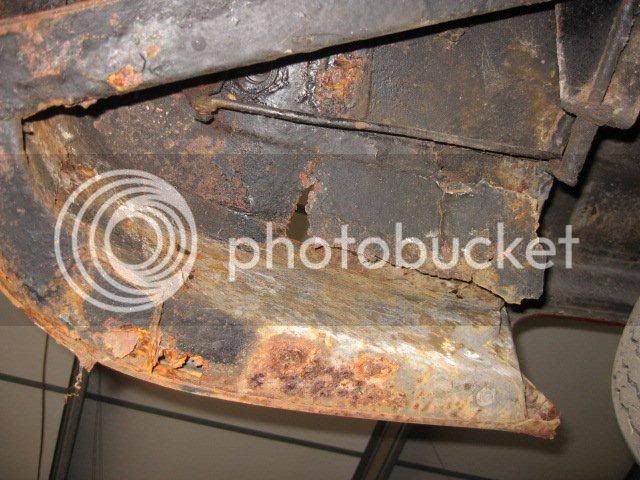
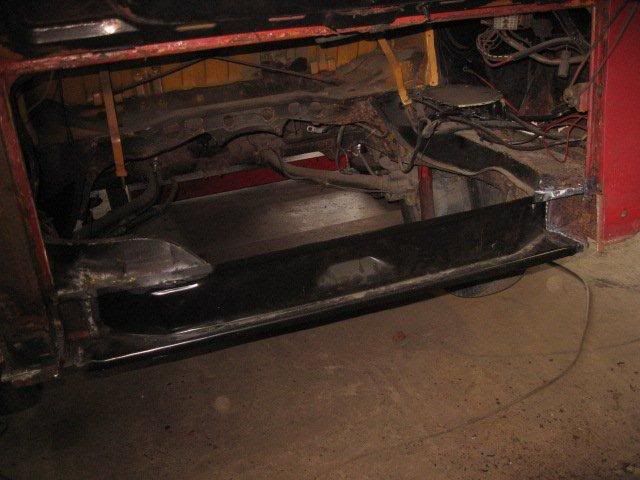
Front inner valance and step underside.
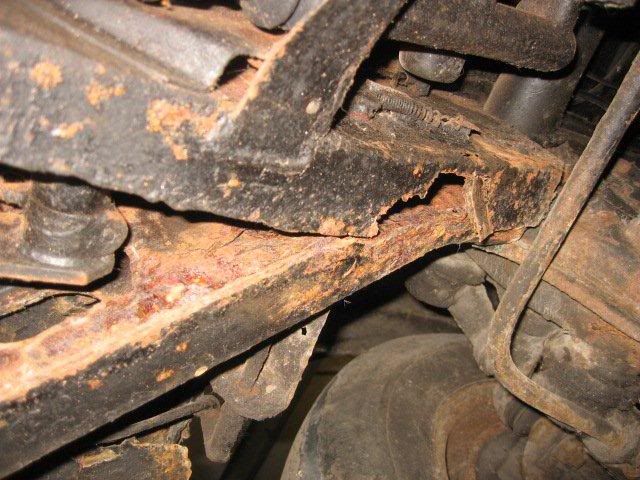
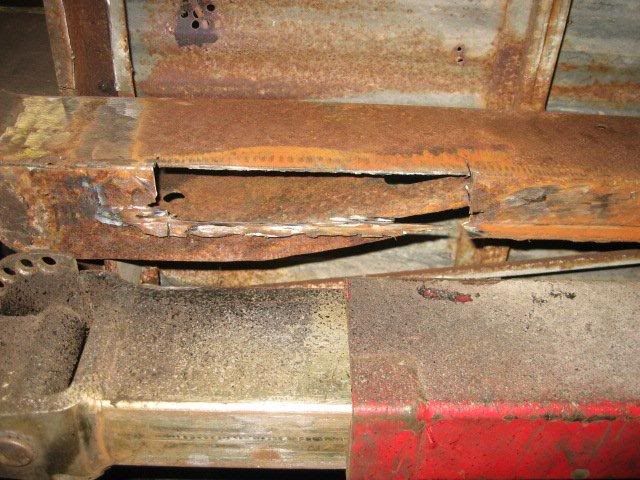
O/S/F chassis member holed.
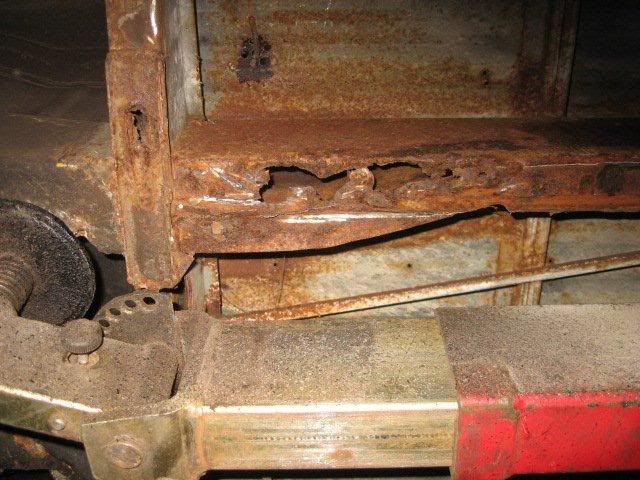
O/S/F sill and outrigger.
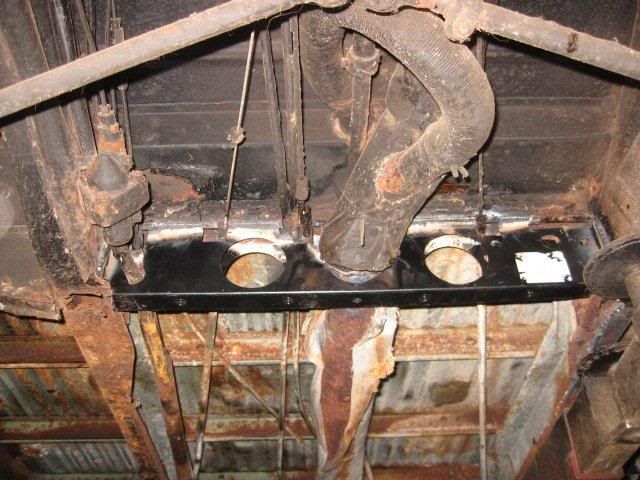
Rear cross member.
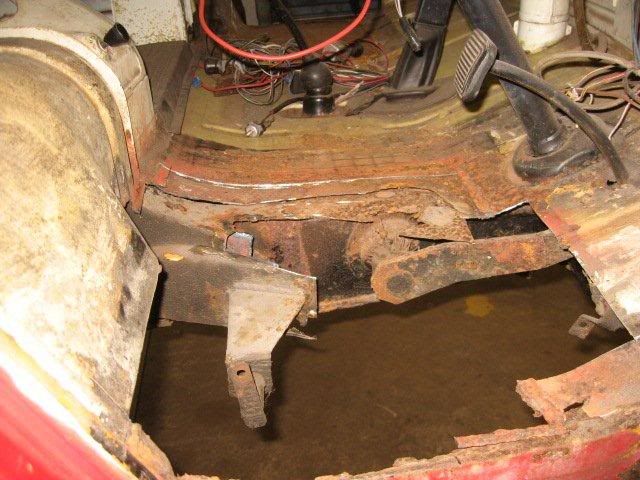
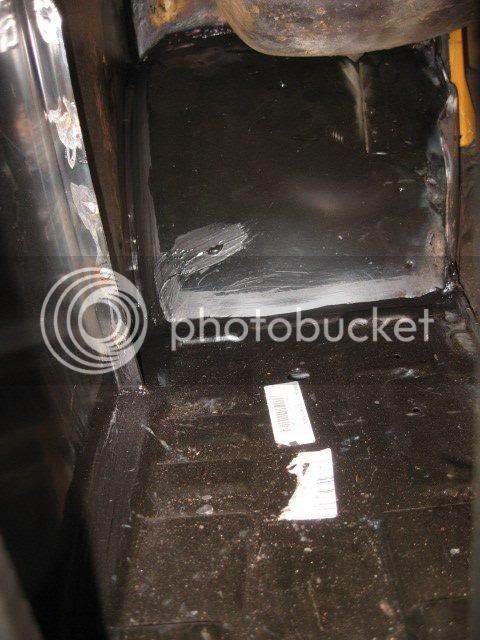
Cab floor.
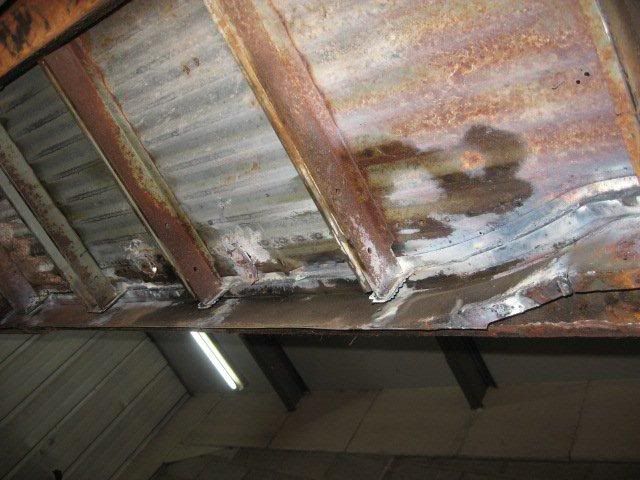
Winscreen bulge and inner panel both rotton.
The strip and repair of the front and N/S of the van begins from here. Every day John sends me more pictures of progress and as I sit at home I wait for 6pm to roll around like an excited school kid waiting for another 3 or 4 pics of the days progress.
Front panel removed.
Inner windscreen panel removed.
Front lower inner panel removed.
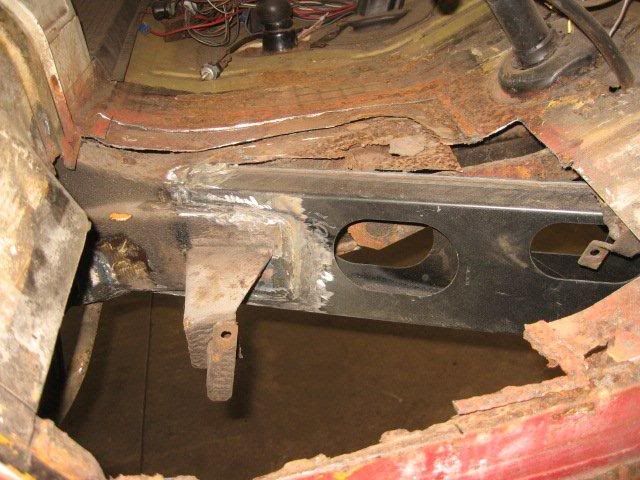
O/S/F cab floor and dog leg chassis member removed.
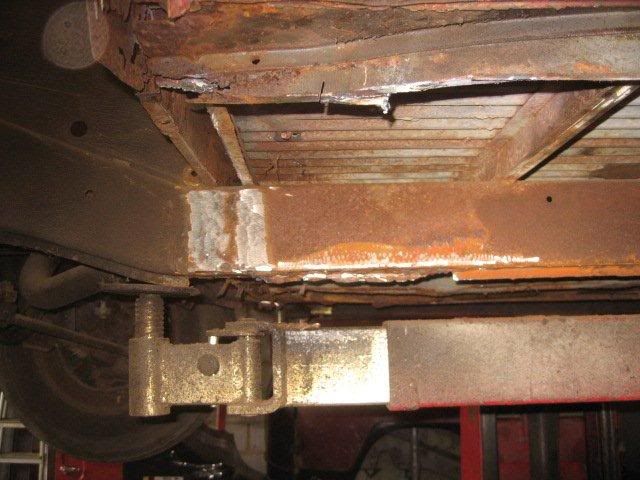
O/S/F dogs leg chassis member fitted.
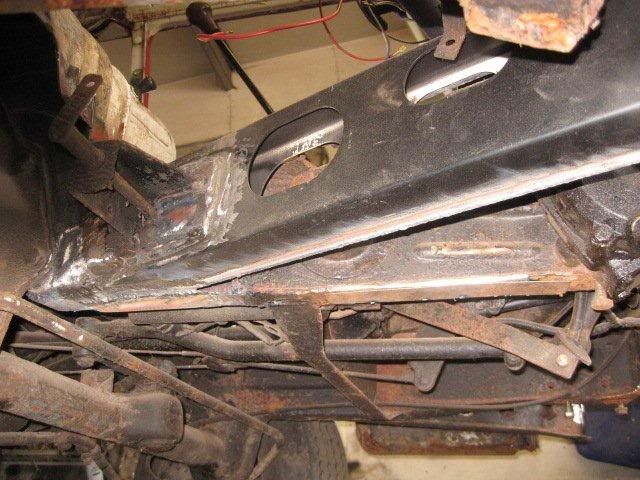
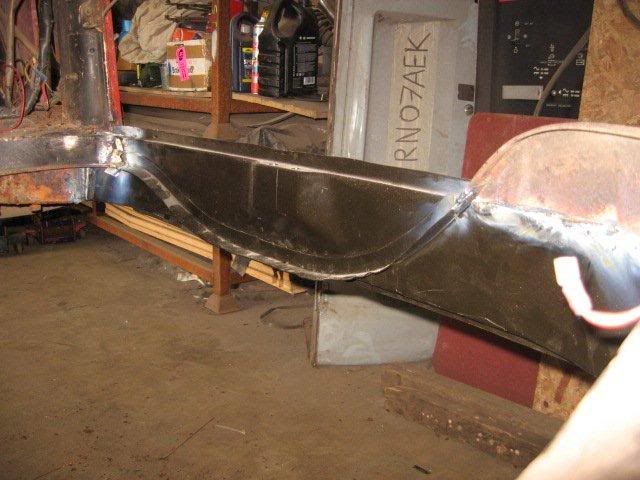
View from underside of new dogs leg chassis member attatched to new lower inner valance.
And on the N/S.

New front inner valance.
N/S Cab floor.
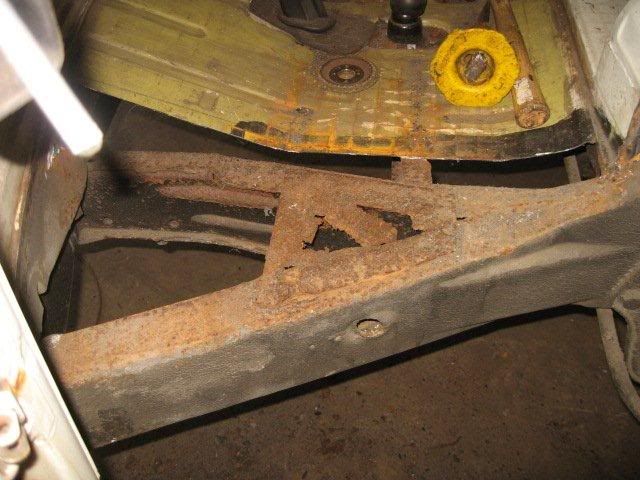
N/S cab floor removed exposing chassis members with rotton strengthener piece.
Strengthener piece replaced.
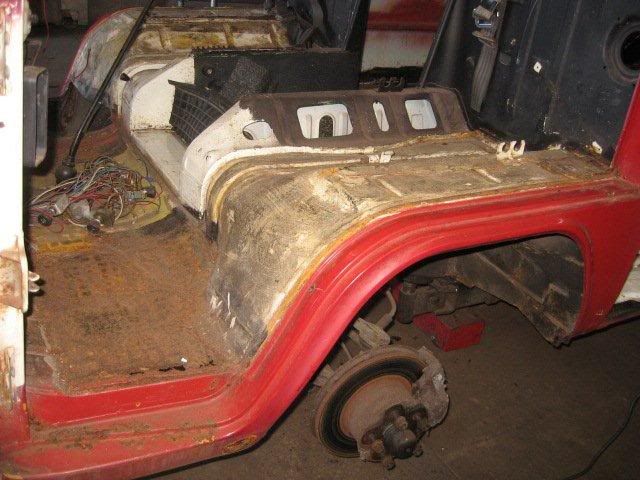
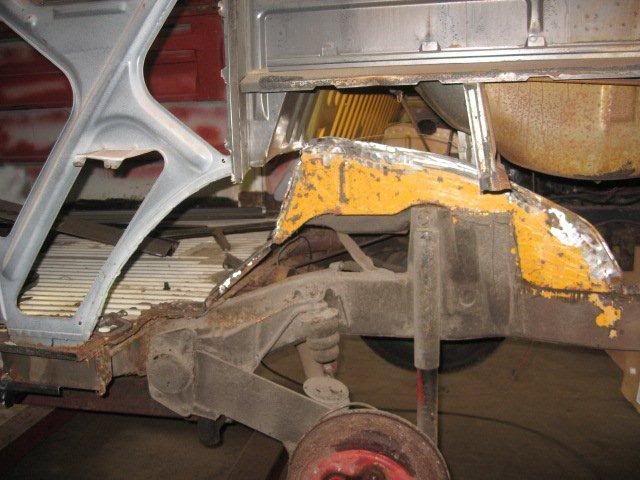
N/S tub, arch and step completely removed.
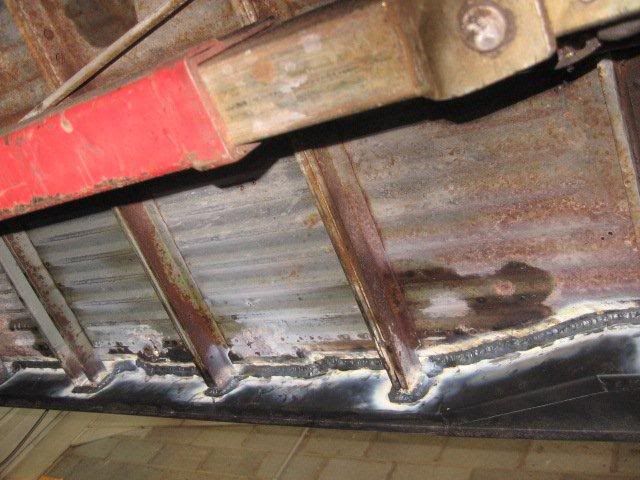
Rotton N/S/F outrigger and jacking point.
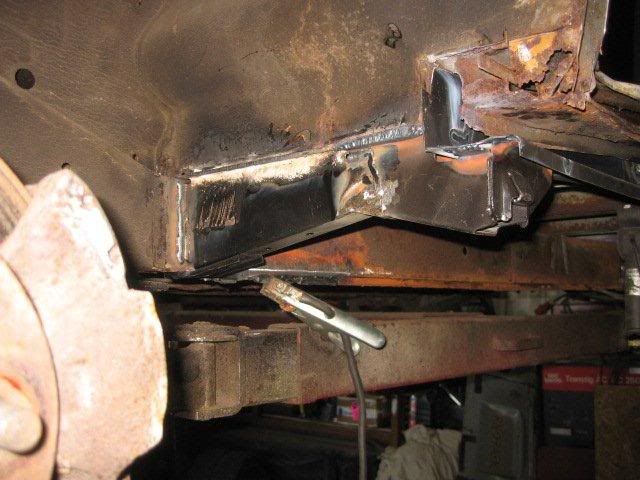
N/S/F outrigger removed and cleaned up. At this point the job moves forward to a small chassis member repair and inner sill replacement to allow correct refitment of outrigger and jacking point.
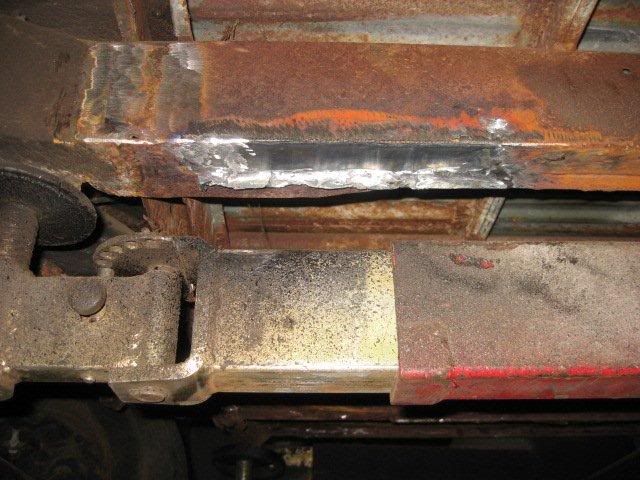
Chassis leg repair.
N/S Inner sill replacement.
N/S/R arch/panel removed to ease sill replacement.
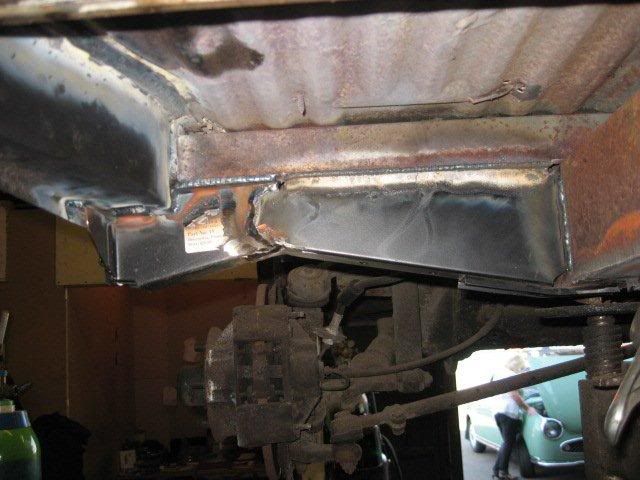
Inner sill now welded in place.
N/S/F outrigger and jacking point now welded in place.
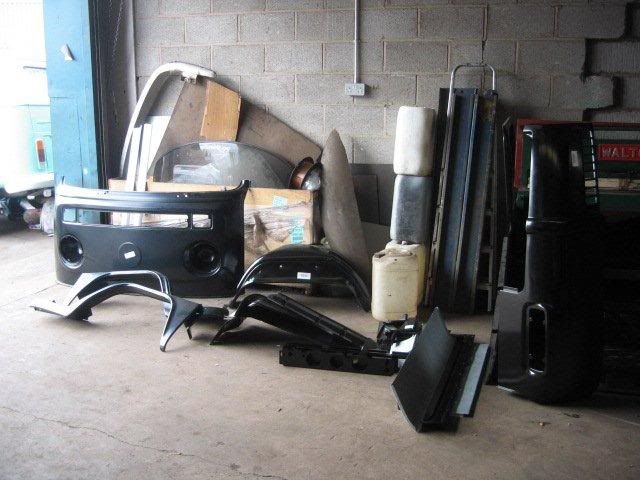
The arrival of some of the parts from Mr Schoefields.
N/S cab floor welded in place.
Windscreen inner panel fitted.
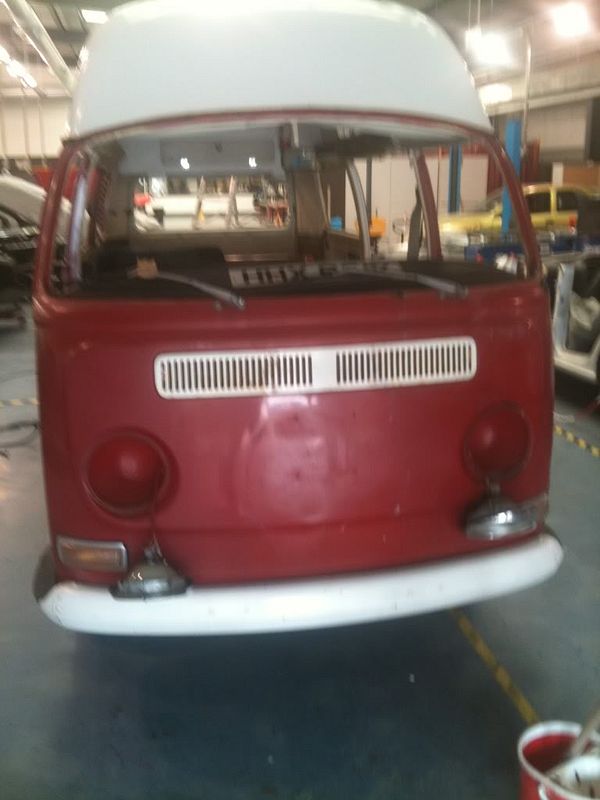
Front panel fitted, it's got its smiley face back..!
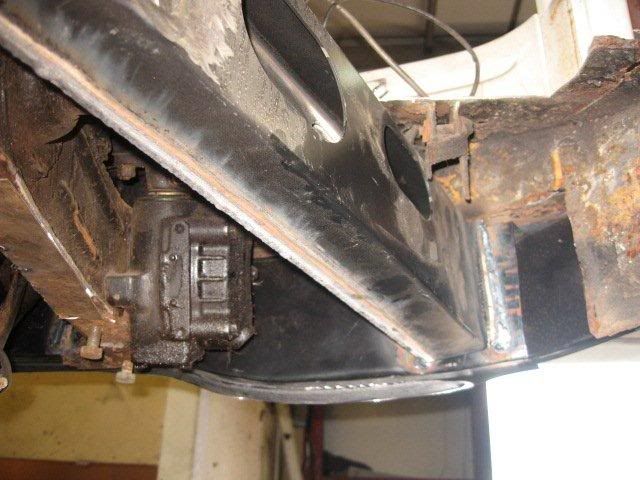
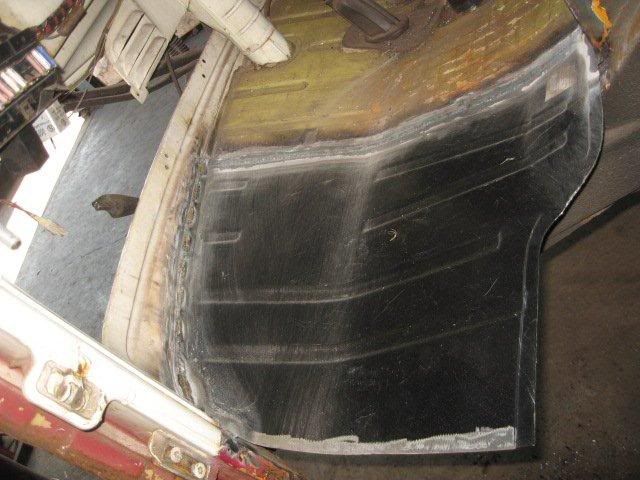
Whilst waiting for centre sills John moved on to fit the rear valance.
Front cross menber.

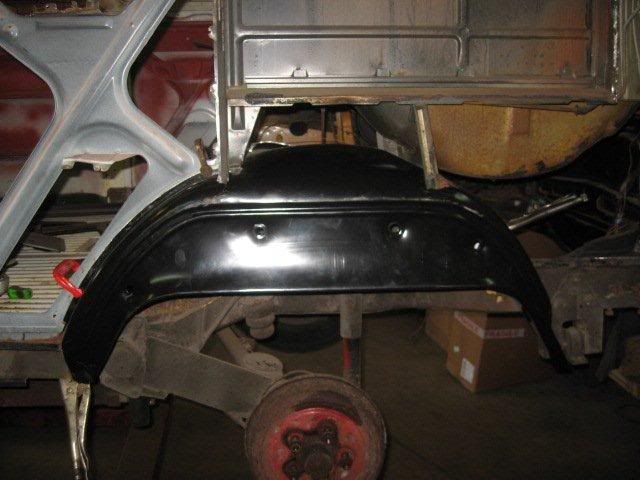
N/S/R wheel arch tub removed.
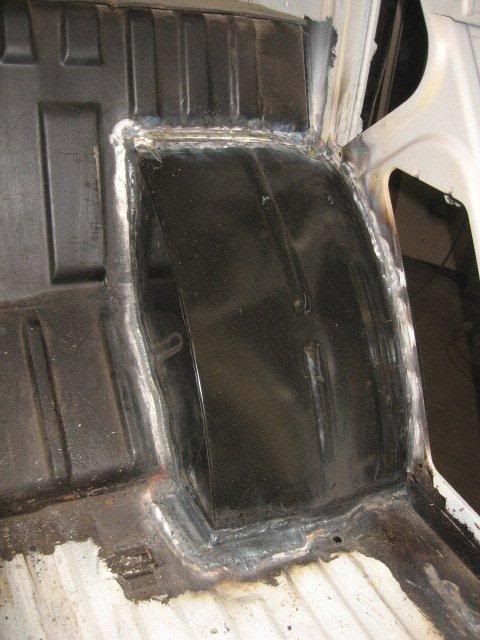
N/S/R wheel arch tub fitted.
N/S/R battery tray fitted.
Inner section of N/S/R complete enabling fitment of arch/panel.
Sliding door track fitted to panel.
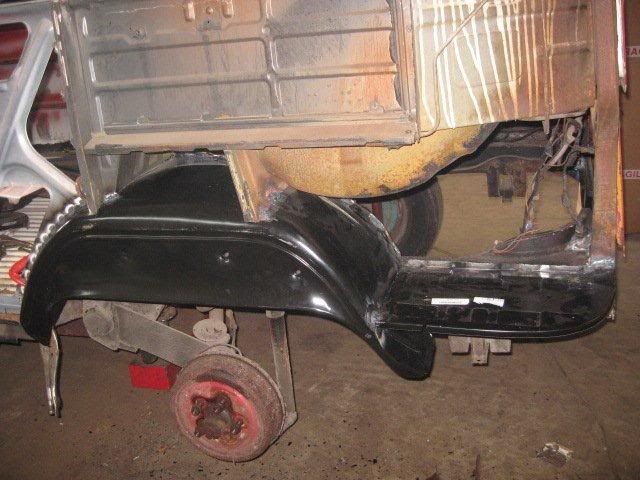
N/S/R corner fitted, only used section upto swaze as upper section in fine condition.
View through N/S/R light aperture of wheel arch tub and battery tray closed off.
And that brings it right up to date. I have just sat up (still nursing a poorly knee, so no work) till 6am writing this thread. I will be continuing to update it on a regular basis until the van is finished. By which time I will probably be a lot older and uglier, definatly poorer..! :shock:
I hope this thread can act as an inspiration to any new comers to this forum as so many other resto threads were to me. Hopefully I am going to save another van from the great scrappers in the sky..
As far as decisions made so far, Yes I am going to keep the hi-top. I have arrived at this decision by comments made on this here forum where approx 10 out of 14 cats preferred it as long as I lower it, which I am going to do, not mental low, just nice.. 8)
Secondly, I am currently researching the pro's of going down the subaru conversion route, I know this is scorned upon by many, but I lifted that Hi-top off with two other dudes and it was ******* heavy man. I reckon scooby power is the only way for a good pull when loaded and faced with some seriouse wind resistance, hope this doesn't turn too many people off my van... :roll:
Anywayz, gonna go get some shut eye.. I'm bolloxed.
Well a little while has passed, some sleep has been had and theres been more progress...
N/S inner sill welded

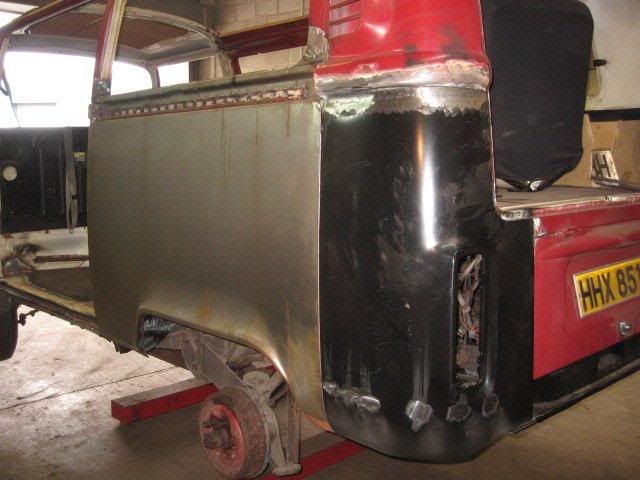
O/S/R corner and full arch panel. Cut out to keep fuel filler as its in tip top condition.
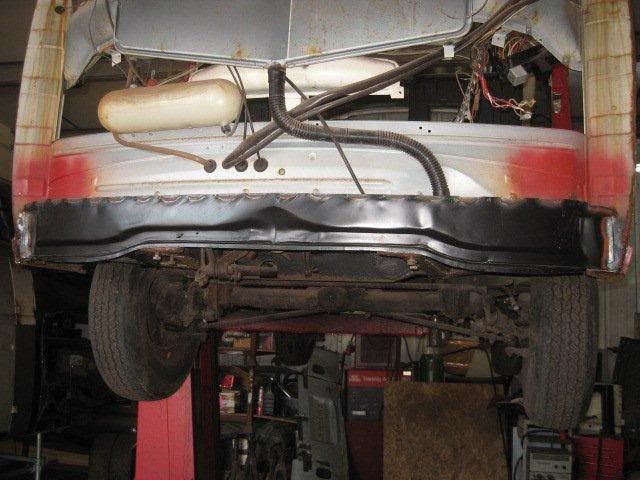
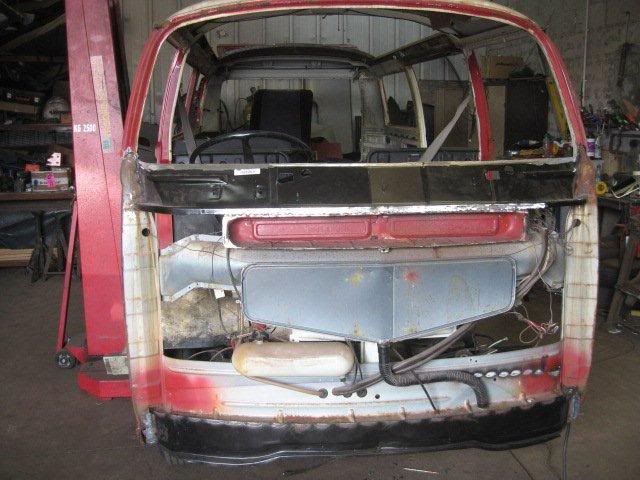
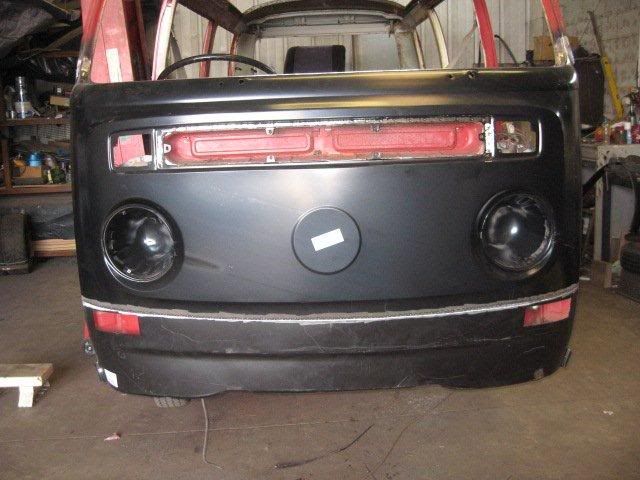
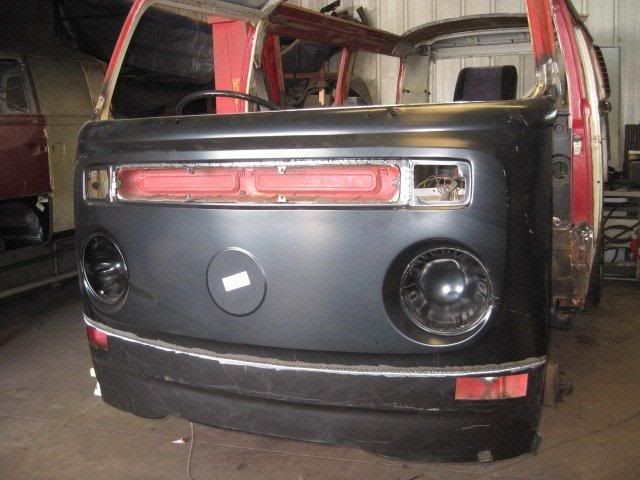
View from rear showing both corners and inner rear valance.
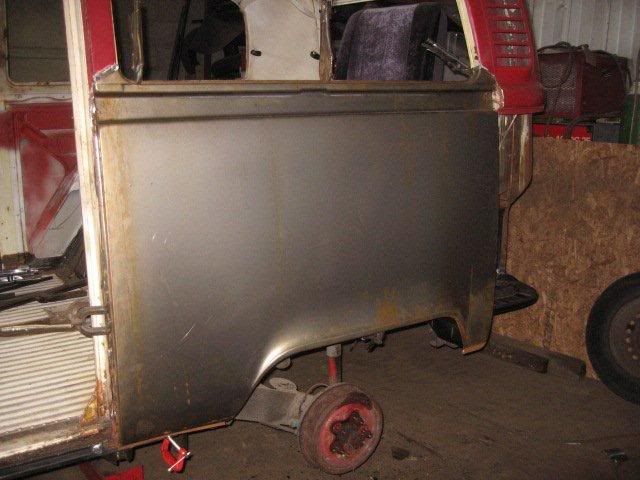
O/S side panel fitted.
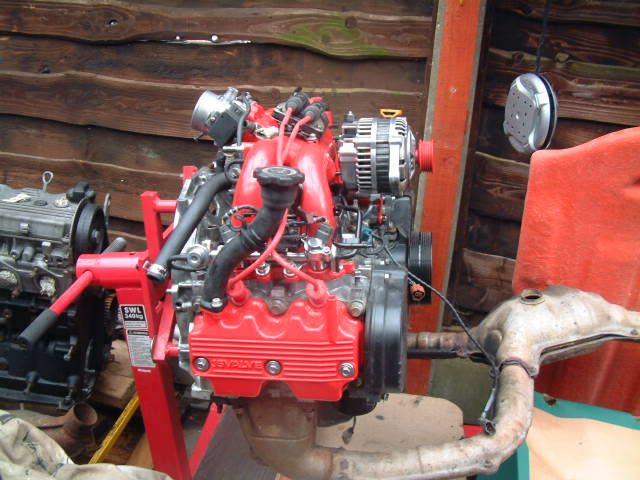
OO-er Matron, picked this up the other day, scooby 2.2 lump for an extra bit of poke due to the Hi-Top weighing as much as a house and I'm guessin the wind resistance is gonna be even worse, if thats possible.. haha.

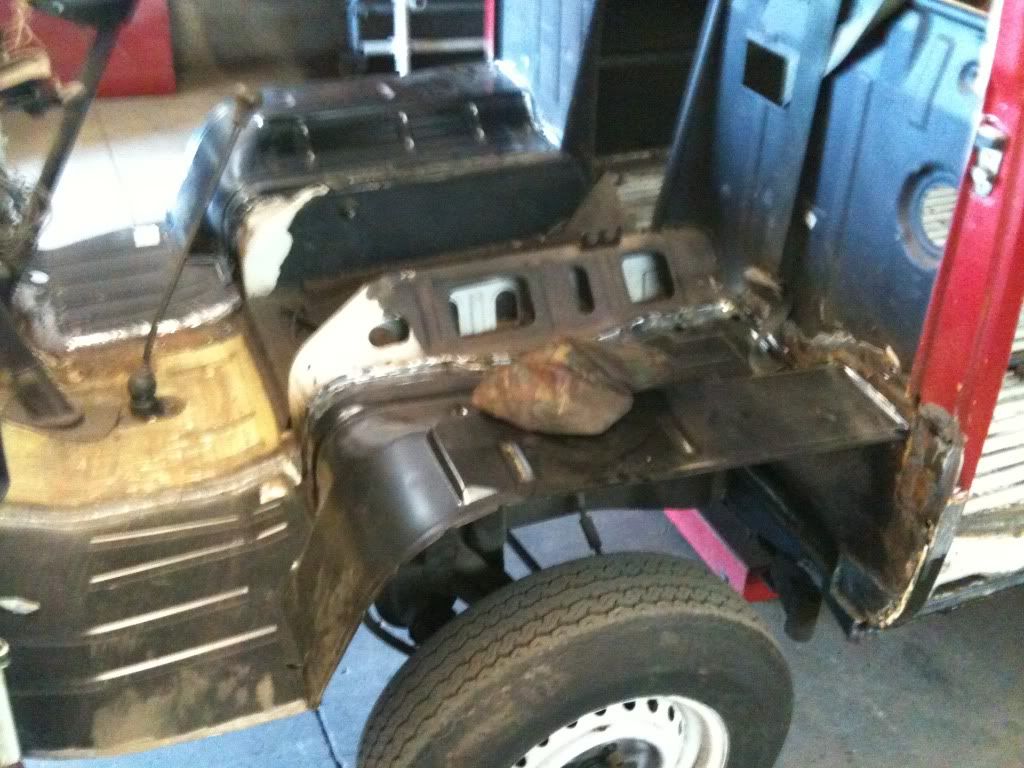
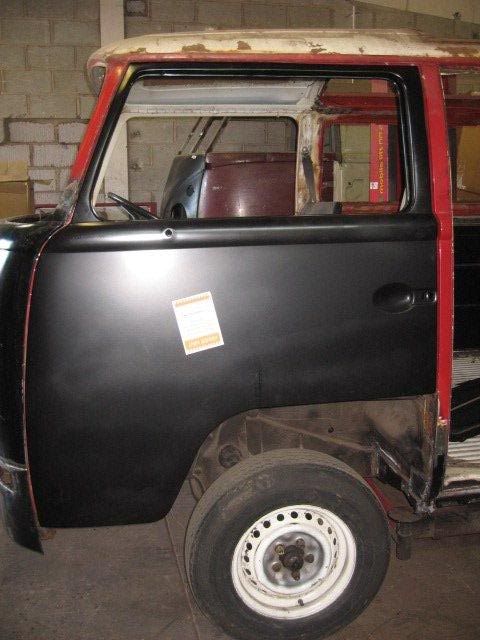
N/S Tub n cab floor, awaiting delivery of new cab doors to enable finishing off (correct positioning) of arch and step etc.
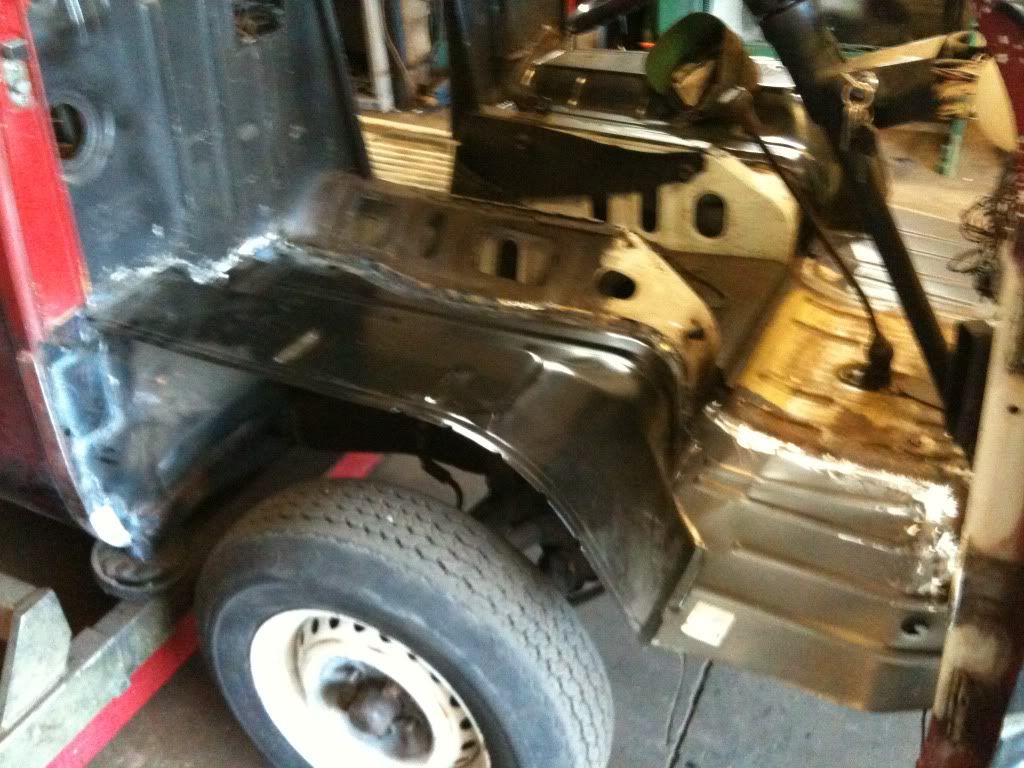
O/S Tub n cab floor, same again, awaiting delivery of cab doors to finish.
Coming together nicely...

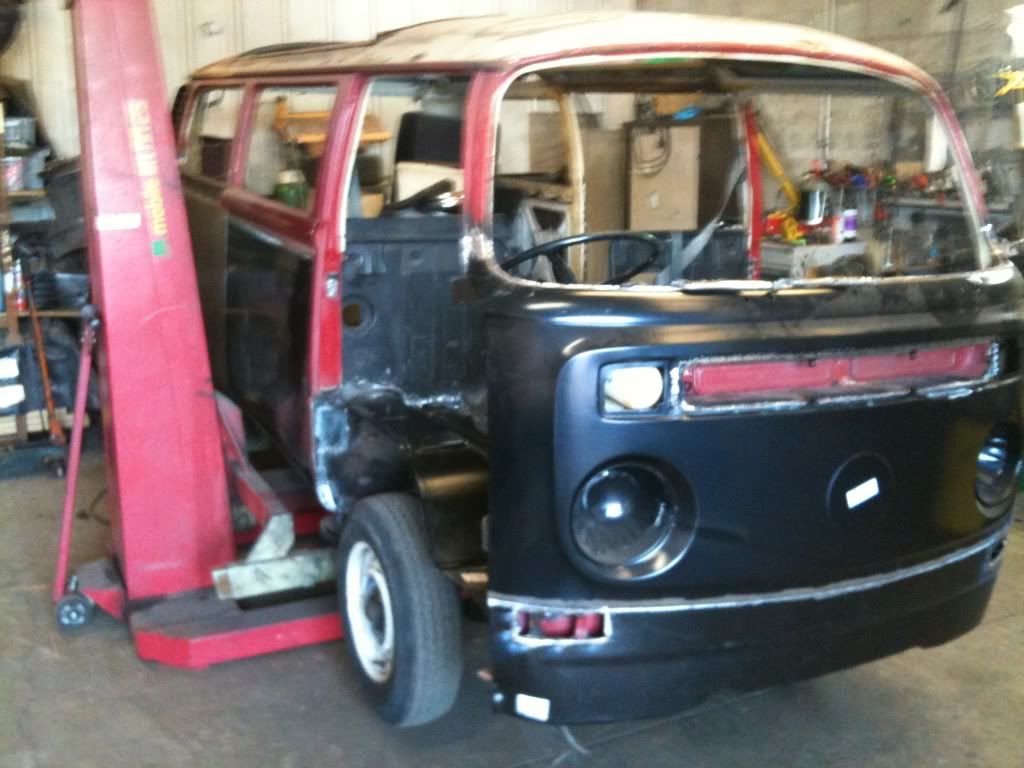
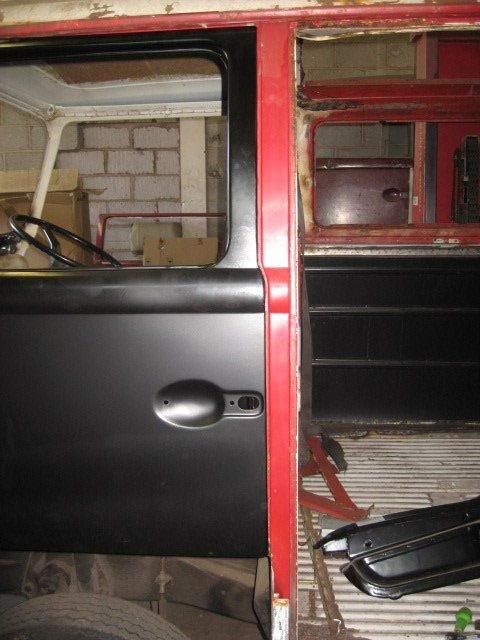
Yay. Doors arrived, opted for the delux kit comprising of two doors and best quality German seals... price = ouch!
Door has lined up nicely with a little adjustment, nice line to 'B' post.
Thats it for now folks.. will update again soon with completed step and arches etc...
I initially thought the factory Hi-Top was original fitment but it turns out upon removal it started out with a pop top, (found rivet holes around roof aperture), The chassis starts with 2222 indicating it started life as a microbus, which then I believe was converted by Danbury, I initially thought it could be a Devon but someone pointed out the curtain tie backs they spied in one of the pictures on my photobucket looked like original Danbury equipment.
I'm currently house bound after having an operation to my left knee so currently the restoration is more of a project management situation from home. When I get back to the van again I have been instructed to scrape paint around the tailgate latch area and look for filler holes as this is where the Danbury badge will have been.
The original colour, found behind the headlights etc, was Sierra Yellow. I'm going back to this colour as its one of my fave colours anyway. I initially suspected the pop-top fitted was a Devon early turret type but as mentioned I now suspect it was a Danbury turret style as more evidence presented itself leaning towards this scenario regarding the size of the roof aperture which is approx 5" wider than that of a Devon and a couple of inches longer, (it's a big hole). I've compared measurements to another Danbury and it seems conclusive.
I have so far completely stripped the van including removal of the Factory Hi-Top. I have seen a few factory tops with windows, but not louvers like mine so I believe it’s quite a rare one. The van is now down at VW Welding services in Salford Manchester with John.. He's **** hot and undertaking the mammoth task of completely ripping out any tin worm and replacing with new. The job is simply too big for me to take on at the mo. Once welded it will be returning to me at The Manchester College workshops where I work as an automotive tutor. Once back with me the van will be receiving a full rewire, I'm gonna sort the engine and running gear out whilst the van is being fully prepped and painted both underneath using a body roller and up top by the level 3 paint students and tutors.
The resto progress can also be viewed at my photobucket where the pics will be updated throughout the project. Thanks for looking and any advice/opinions always welcome.
PHOTOBUCKET ALBUM HERE---> http://s1119.photobucket.com/albums/k624/deanomavro/" onclick="window.open(this.href);return false;
Deano.
Edit:- I have since decided to update this thread on a constant basis throughout the restoration and I'm beginning with a new start and telling the story of my van from the beginning.
So here goes..
Earlier this year I was actually in the market for a T4 as a friend has one and I really liked the idea of economical travel and trouble free camping. I had a late bay Westy a couple of years ago but unfortunately I only managed to get one season out of it before coming to the realisation that I simply wasn't in the position both financially and timewise to save it as it wanted a hell of a lot of work undertaking. So as MOT time rolled round I had to begrudgingly sell it. Had a great time in it though.
I sold the van to a couple from darn sarth..
and I still hope to bump into it, and them, one day. So a couple of years past without a van then I started looking at T4's and was getting quite G'd up at the thought of attending shows n fest's once again, albeit in a T4.. :?
Then my good friend and work collegue, Rick, tells me he's stumbled across a nice looking bay on a driveway near his place in South Manchester, although it has got a Hi-top on it currently, 'but you could just take that off..', his words, and I agreed, not into Hi-tops myself particularly either.
We went along and doorstepped the guy and by chance he was actually thinking about selling it.
This is how we found the van. It turned out that the van had been in his garage for 7 years (which he had built on to the side of his house with extra height especially for the van) :lol: and it had been there since he used it as his wedding vehicle, which was proven by all the confetti I found under the units and the bed when I started to strip it.
I immediatly fell in love with the van and forgot all about the easy ride with a T4.. :shock:
The owner told me he had blown the original engine up when pushing the van to a staggering 65mph.
and went on to purchase a donor van for the engine. He fitted the engine, which is the current engine, (a gold block recon) and kept all the interior out of it also which can be seen here piled up inside the van on top of the fitted interior.
I made an offer on the van and also bartered for the extra interior inside the van and struck a deal. Time to get it loaded up and drag it back to the college where the majority of the resto is going to take place. And yes I do consider myself very lucky to be able to use the college facilities and lending hands/expertise of my work collegues to carry out the resto to this van which is also going to be a great project for the students to take part in, both body and mechanical wise.
Was quite scary taking a run up with it to get it on the trailer as the winch was inoperative, as too where the brakes and clutch on the van.. (7 years sat about idle will do that..)
One thing I will say though, after all this time stood, I popped the fuel pipe out of the filter and into a can of fresh fuel, fitted a battery, reset the choke on the carb and turned the key with no acceleration... It fired and purred like a kitten immediatly. Unbelievable.. :mrgreen:
Once back at the college it was time for me and my chums to have a good look round it and unload the bounty that was piled up inside.
I have stowed most of the extra stuff in little nucks and crannys around the workshop and filled my garage at home untill I decide what to do with the interior upon completion of the remedials. The next thing on the agenda was to strip the van of all its removable bits n bobs.
Doors off..
Windows out...
Eyeballs out...
Time to sweep up about 3 or 4 pound of the van that had fell off and get it on the lift for an underside inspection, what horrors await.. :?:
I found the usual suspects were all present, rotton sills, outriggers, osf chassis member, front panel, rear valance, wheel arch tubs, steps and arches.. oh yes, and it wasn't over as the van had full belly pans fitted, time to get the grinder out... :!:
Once the belly pans were off I could see all, not too much more, just rotton cross members and loom tube. Next I took the decision to remove the Hi-top.. yuk..! wasn't looking forward to this at all.
Thankfully it came off without too much of a fight, more importantly, it came off intact.
Now for the engine and box...
As per expected, it fell out a piece of p**s.. 8)
Dirty and knackered... I mean me, not the engine..!
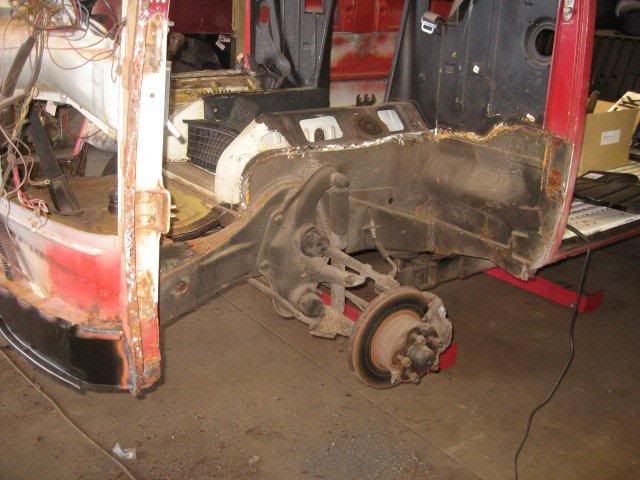
The van looks totally different without the Hi-top, at this point I was really fixed on leaving it off and returning to a Pop-top. I found more scares under the Hi-top, rot to both the front and rear roof sections, not too bad, easily salvagable.
I had now gone as far as I needed to go to enable John down at VW Welding services Salford to start the major rebuilding of the vans bottom half. On the day that this was happening, (the van being loaded up on the trailer once again to be delivered to John), at this exact moment, I was lay in hospital, out cold, having my left knee injury repaired. Bone-tendon-bone grafting which will hopefully repair a long term problem of hyper extension in my knee. Ironic really, both me and the van set off on a journey of repair and recovery at the same point in time. Bet I'm up and about before the van though...! :lol:
These are shots of the van arriving at Johns place.
And so it begins, the following shots are early pics John sent to me whilst I was in hospital of the assessment of the job and early stages of repair.
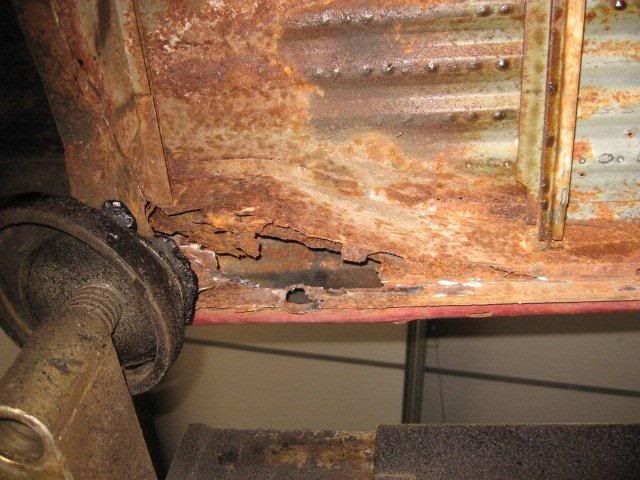
Rotton O/S/F dogs leg.
Front inner valance and step underside.
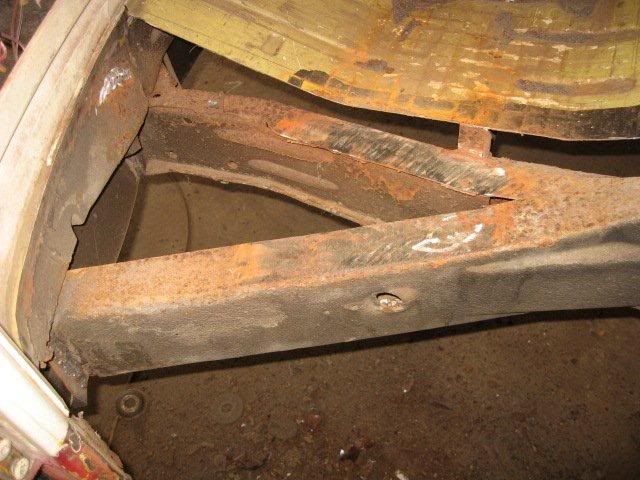
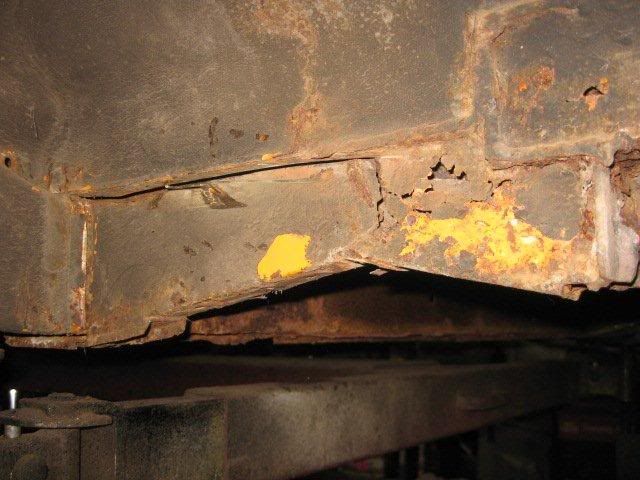
O/S/F chassis member holed.
O/S/F sill and outrigger.
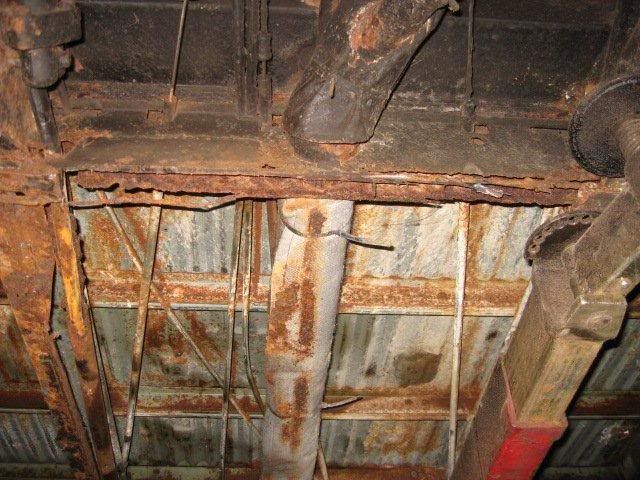
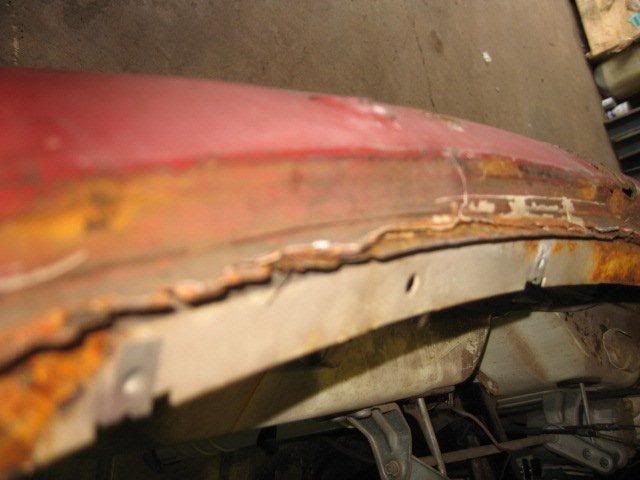
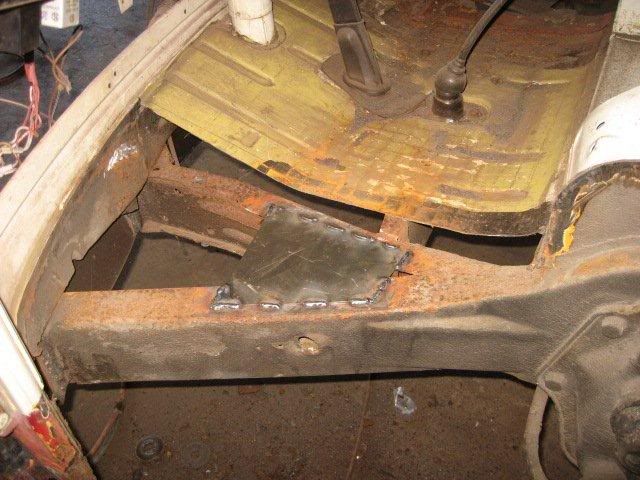
Rear cross member.
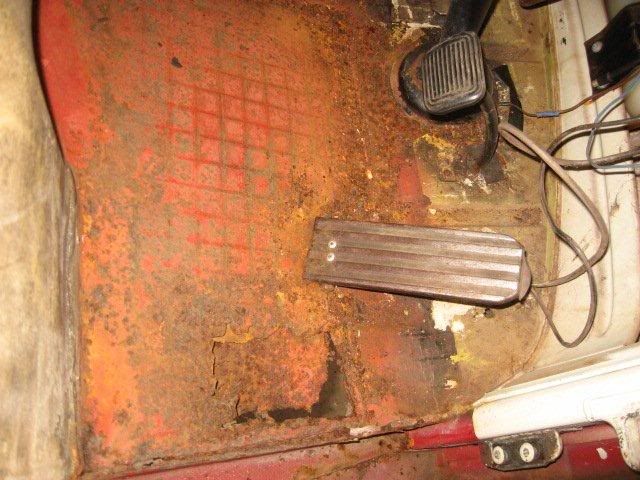
Cab floor.
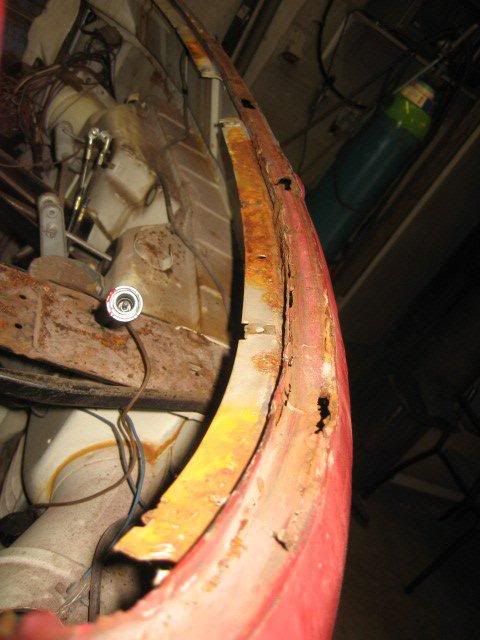
Winscreen bulge and inner panel both rotton.
The strip and repair of the front and N/S of the van begins from here. Every day John sends me more pictures of progress and as I sit at home I wait for 6pm to roll around like an excited school kid waiting for another 3 or 4 pics of the days progress.
Front panel removed.
Inner windscreen panel removed.
Front lower inner panel removed.
O/S/F cab floor and dog leg chassis member removed.
O/S/F dogs leg chassis member fitted.
View from underside of new dogs leg chassis member attatched to new lower inner valance.
And on the N/S.
New front inner valance.
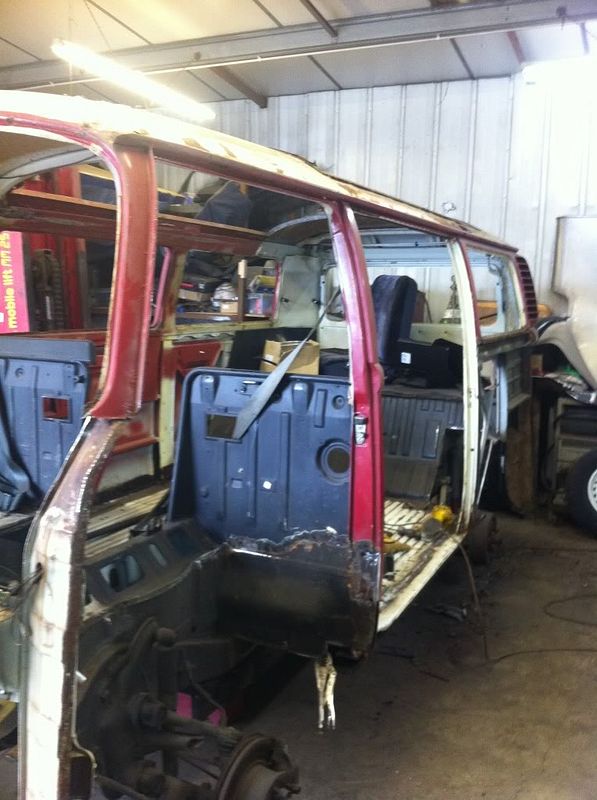
N/S Cab floor.
N/S cab floor removed exposing chassis members with rotton strengthener piece.
Strengthener piece replaced.
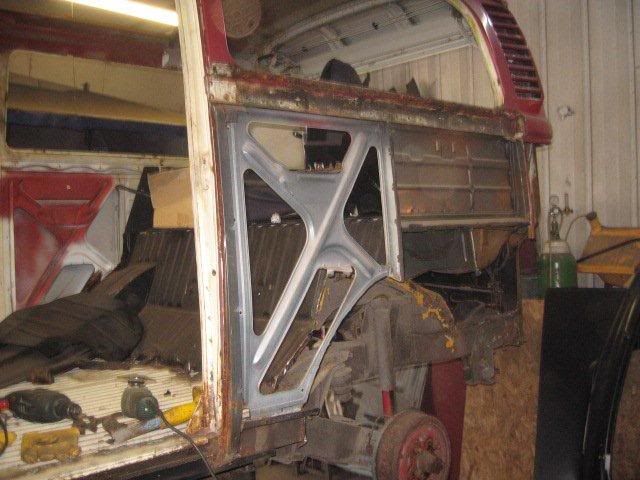
N/S tub, arch and step completely removed.
Rotton N/S/F outrigger and jacking point.
N/S/F outrigger removed and cleaned up. At this point the job moves forward to a small chassis member repair and inner sill replacement to allow correct refitment of outrigger and jacking point.
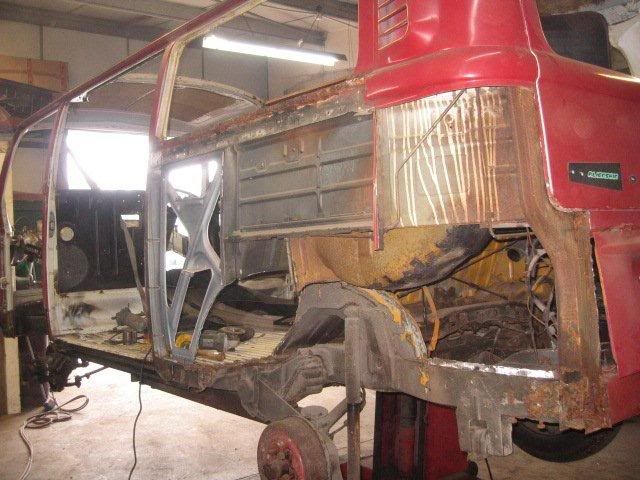
Chassis leg repair.
N/S Inner sill replacement.
N/S/R arch/panel removed to ease sill replacement.
Inner sill now welded in place.
N/S/F outrigger and jacking point now welded in place.
The arrival of some of the parts from Mr Schoefields.
N/S cab floor welded in place.
Windscreen inner panel fitted.
Front panel fitted, it's got its smiley face back..!
Whilst waiting for centre sills John moved on to fit the rear valance.
Front cross menber.
N/S/R wheel arch tub removed.
N/S/R wheel arch tub fitted.
N/S/R battery tray fitted.
Inner section of N/S/R complete enabling fitment of arch/panel.
Sliding door track fitted to panel.
N/S/R corner fitted, only used section upto swaze as upper section in fine condition.
View through N/S/R light aperture of wheel arch tub and battery tray closed off.
And that brings it right up to date. I have just sat up (still nursing a poorly knee, so no work) till 6am writing this thread. I will be continuing to update it on a regular basis until the van is finished. By which time I will probably be a lot older and uglier, definatly poorer..! :shock:
I hope this thread can act as an inspiration to any new comers to this forum as so many other resto threads were to me. Hopefully I am going to save another van from the great scrappers in the sky..
As far as decisions made so far, Yes I am going to keep the hi-top. I have arrived at this decision by comments made on this here forum where approx 10 out of 14 cats preferred it as long as I lower it, which I am going to do, not mental low, just nice.. 8)
Secondly, I am currently researching the pro's of going down the subaru conversion route, I know this is scorned upon by many, but I lifted that Hi-top off with two other dudes and it was ******* heavy man. I reckon scooby power is the only way for a good pull when loaded and faced with some seriouse wind resistance, hope this doesn't turn too many people off my van... :roll:
Anywayz, gonna go get some shut eye.. I'm bolloxed.
Well a little while has passed, some sleep has been had and theres been more progress...
N/S inner sill welded
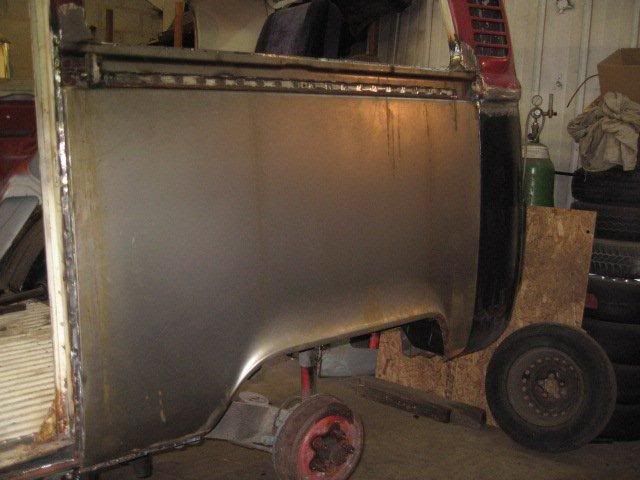
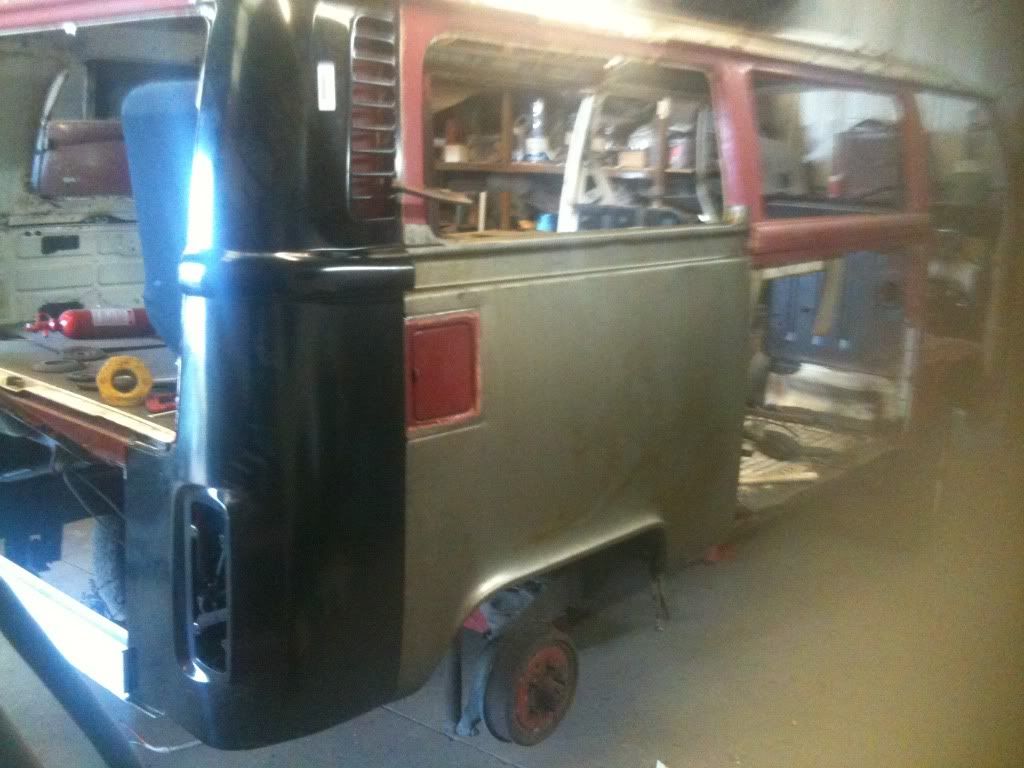
O/S/R corner and full arch panel. Cut out to keep fuel filler as its in tip top condition.
View from rear showing both corners and inner rear valance.
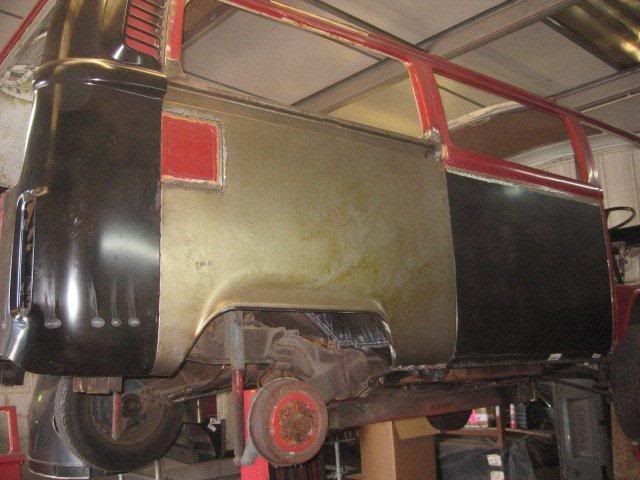
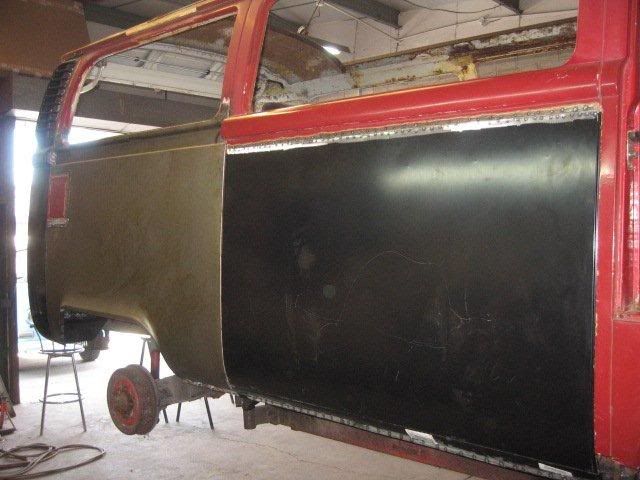
O/S side panel fitted.
OO-er Matron, picked this up the other day, scooby 2.2 lump for an extra bit of poke due to the Hi-Top weighing as much as a house and I'm guessin the wind resistance is gonna be even worse, if thats possible.. haha.
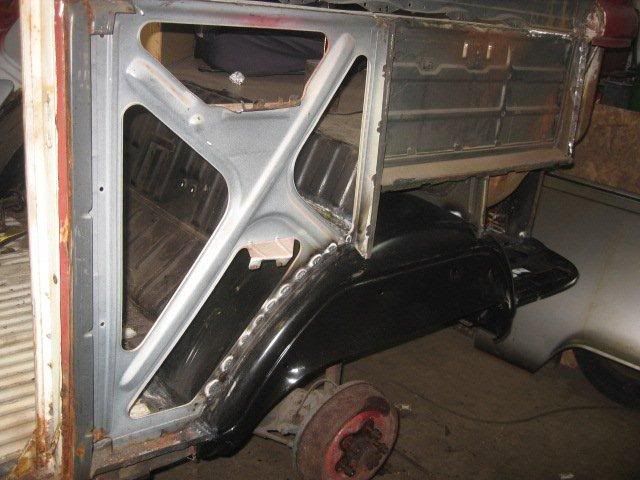
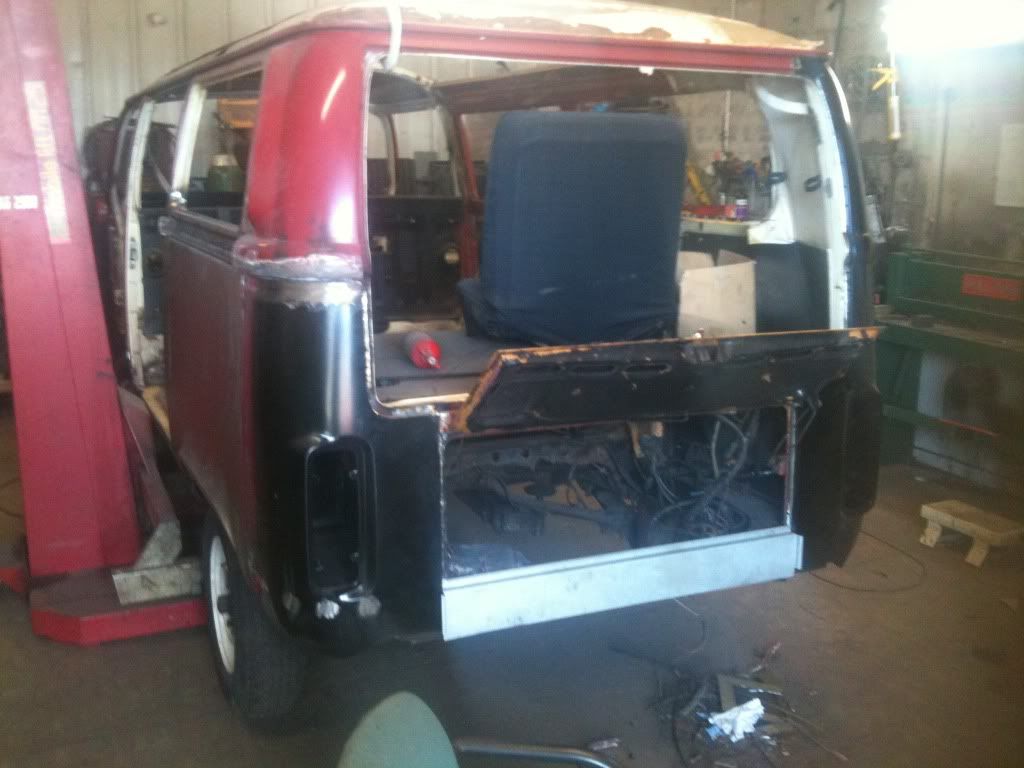
N/S Tub n cab floor, awaiting delivery of new cab doors to enable finishing off (correct positioning) of arch and step etc.
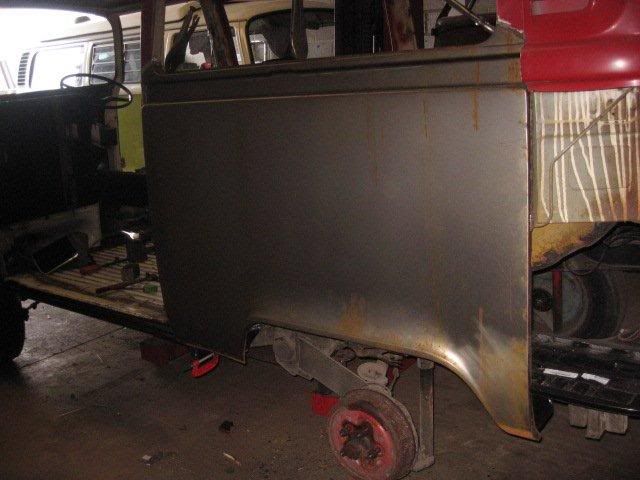
O/S Tub n cab floor, same again, awaiting delivery of cab doors to finish.
Coming together nicely...
Yay. Doors arrived, opted for the delux kit comprising of two doors and best quality German seals... price = ouch!
Door has lined up nicely with a little adjustment, nice line to 'B' post.
Thats it for now folks.. will update again soon with completed step and arches etc...