You are using an out of date browser. It may not display this or other websites correctly.
You should upgrade or use an alternative browser.
You should upgrade or use an alternative browser.
My 72 Danbury
- Thread starter Camperdan
- Start date


Help Support Early Bay Forum:
This site may earn a commission from merchant affiliate
links, including eBay, Amazon, and others.
- Joined
- Apr 2, 2007
- Messages
- 478
- Reaction score
- 26
- Location
- Berkshire
- Year of Your Van(s)
- 1972
- Van Type
- Danbury
Very pleased indeed!
Can't wait to get stuck into the rebuild.... although I'm loosing the workshop so will have to manage in my single garage.... which will not be as easy as I'll no doubt need to push it out each time to get access... and therefore good weather too :roll:
Can't wait to get stuck into the rebuild.... although I'm loosing the workshop so will have to manage in my single garage.... which will not be as easy as I'll no doubt need to push it out each time to get access... and therefore good weather too :roll:
- Joined
- Apr 2, 2007
- Messages
- 478
- Reaction score
- 26
- Location
- Berkshire
- Year of Your Van(s)
- 1972
- Van Type
- Danbury
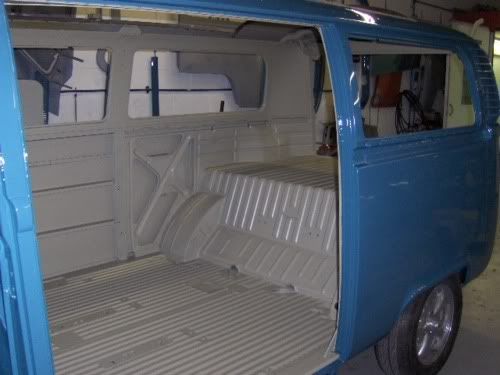
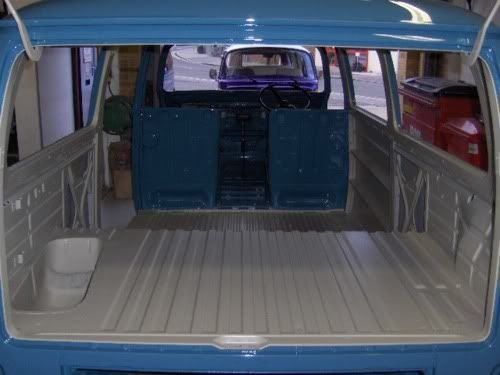
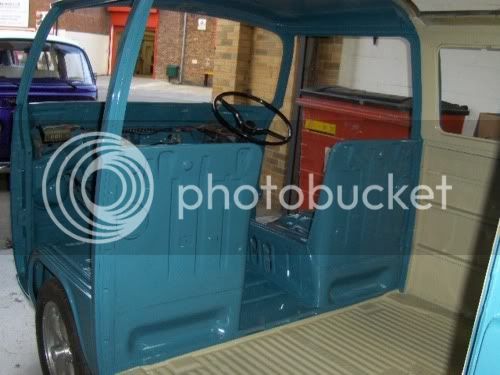
Few more pictures:


- Joined
- Sep 24, 2009
- Messages
- 1,556
- Reaction score
- 65
- Location
- Warwickshire
- Year of Your Van(s)
- 1970
- Van Type
- Microbus
Looking absolutely superb, so pleased for you
How long till its gets home ready to start being out back together?
How long till its gets home ready to start being out back together?
56 pumper
Well-known member
Nice paint
- Joined
- Apr 2, 2007
- Messages
- 478
- Reaction score
- 26
- Location
- Berkshire
- Year of Your Van(s)
- 1972
- Van Type
- Danbury
Thanks for the comments guys.
Should be home in a week or two!
Cheers
Dan
Should be home in a week or two!
Cheers
Dan


$42.47
Tamiya 51616 VW Bus Type 2 (T1) Remote Control Car Accessory Body RC Model Making
Hobby Etc | Authorized ✅


$49.65
Revell 07677 VW T1 Dr. Oetker 1:24 Scale Unbuilt/Unpainted Plastic Model Kit
Modellbahn Ott Hobbies, Inc.


$21.60
$29.91
ハセガワ Hasegawa HMCC11 1:24 Scale VW Type 2 Pick-Up Truck Model Building Kits
Amazon Japan

$27.95 ($13.98 / Count)
Marketplace Auto Parts Window Crank Handle Set of 2 - Chrome with Black Knob - Compatible with 1968-1978 Volkswagen Beetle
Parts Geek LLC


Danbury Doug
Well-known member
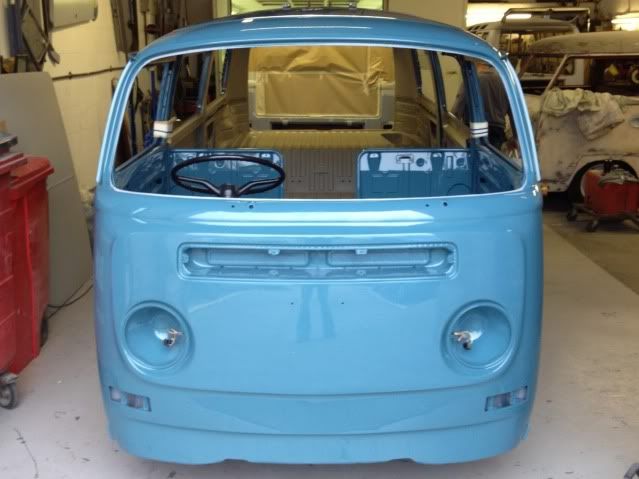
That is stunning Dan!
Great to see the original beige colour retained inside, too. 8)
Do I spot the Danbury badge still there, but now body colour?
I forget, is the plan to put anything of the original interior back in, or will it be a complete fresh start in that department?
Whichever it is, I can't wait to see it when it's complete!
Doug
- Joined
- Apr 2, 2007
- Messages
- 478
- Reaction score
- 26
- Location
- Berkshire
- Year of Your Van(s)
- 1972
- Van Type
- Danbury
Hi Doug,
Thanks for the nice comments.
The Danbury badge is currently residing in the top of my toolbox and will soon be returned to its rightful place! I drilled out the rivets and took it off a while back to be sure it wasn't painted over or masked round.
Not entirely sure what to do with the interior.... I sold the original Danbury interior a few years back in favour of a home made job... but the guilt soon set in so I picked up an exact replacement Danbury interior of eBay a short while later and put it into storage. Only problem was I gained a sink and lost a table as neither my original or the replacement was entirely complete!
Quite fancy something new and modern with a bit more practicality but I guess it will all come down to available funds?
Looking forward to getting stuck in though!
- Joined
- Apr 2, 2007
- Messages
- 478
- Reaction score
- 26
- Location
- Berkshire
- Year of Your Van(s)
- 1972
- Van Type
- Danbury
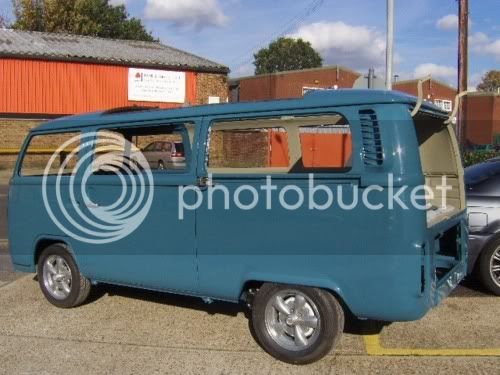
Fresh paint meets fresh air:
Picking it up next week!
Picking it up next week!
Danbury Doug
Well-known member
Camperdan said:The Danbury badge is currently residing in the top of my toolbox and will soon be returned to its rightful place! I drilled out the rivets and took it off a while back to be sure it wasn't painted over or masked round.
That's good to hear Dan! The bus will still have a trace of its roots!
Looking good in the fresh air, too. 8)
- Joined
- Apr 2, 2007
- Messages
- 478
- Reaction score
- 26
- Location
- Berkshire
- Year of Your Van(s)
- 1972
- Van Type
- Danbury
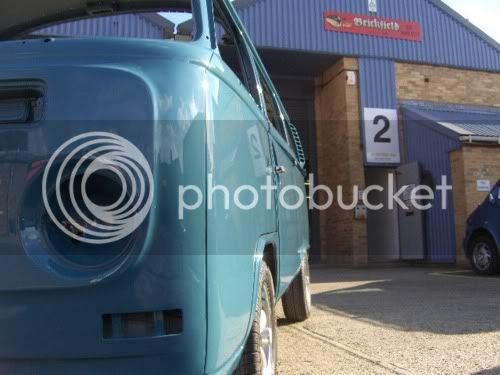
Collected the Bus today!
As the shutters rolled up at the shop look who was waiting to come home:
Like a shiny new penny:
Nearly had a disaster on the way home, the transporter had a puncture but thankfully being a twin wheeler there was no drama and the bus is now safely tucked away in the garage!
Next is....... reassembly!
Robb
Well-known member
paint looks great!
how is it lowered?
how is it lowered?
- Joined
- Apr 2, 2007
- Messages
- 478
- Reaction score
- 26
- Location
- Berkshire
- Year of Your Van(s)
- 1972
- Van Type
- Danbury
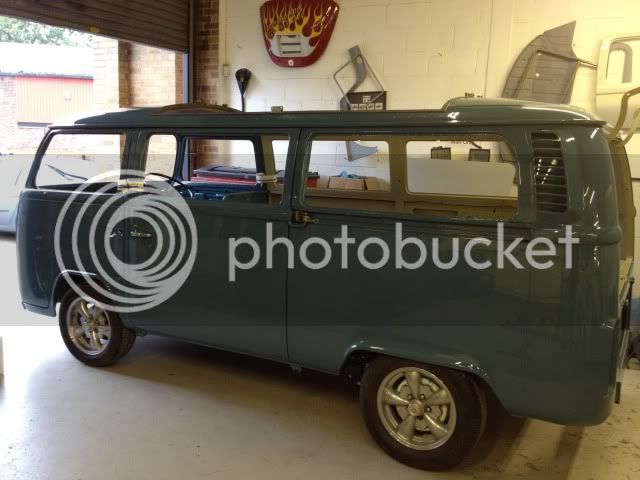
Thanks Robb.
Front beam has been cut-and-turned, and the rear has 3" stepped Red 9 spring plates plus a few tweaks to the inner and outer splines to drop it a bit more. It normally sits a fair bit lower than in the above pictures as currently it's an empty shell with no interior, engine, gearbox or fuel tank... plus the pop top adds a fair bit of weight too! If you look at the picture I posted on Tues April 10th 2007 on page one of my thread you'll get a better idea of how it normally sits with everything fitted.
In the reassembly I plan to change the front axle for an imported beam with welded in T2d adjusters as mine is pretty rusty. Just can't decide whether to add some dropped spindles also for a better ride as currently the front is pretty harsh?
Dan
jacks906
Well-known member
Defo worth getting some dropped spindles dude ride returns to stock an it makes driving it a pleasure :-D
- Joined
- Apr 2, 2007
- Messages
- 478
- Reaction score
- 26
- Location
- Berkshire
- Year of Your Van(s)
- 1972
- Van Type
- Danbury
What with the weather and work, added to a lack of funds, progress has been a bit slow..... however I did manage to get the bus out of the garage the other weekend..... if only to look at my face in the paint
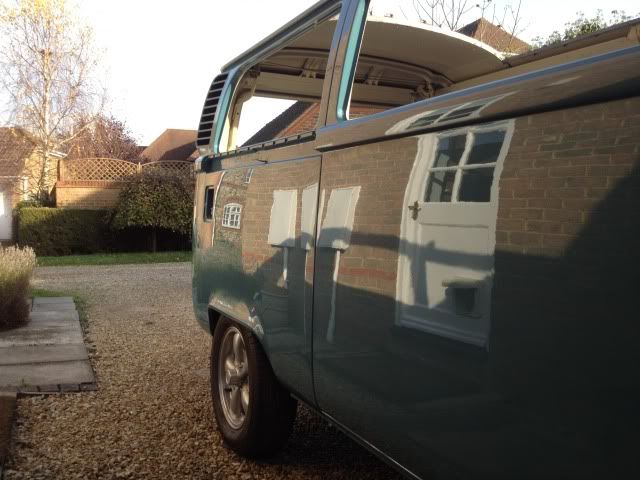
The sliding door wasn't shutting properly so had a play with the catches and adjustments, managed to get it working ok but discovered that in all the disassembly and reassembly I've lost a spring from the catch that holds the door in the open position.... could have sworn I had a complete spare one kicking about from an old van I scrapped.... but can I find it.... can I hell? :roll:
Looks like I may have to trawl eBay instead.... more money!
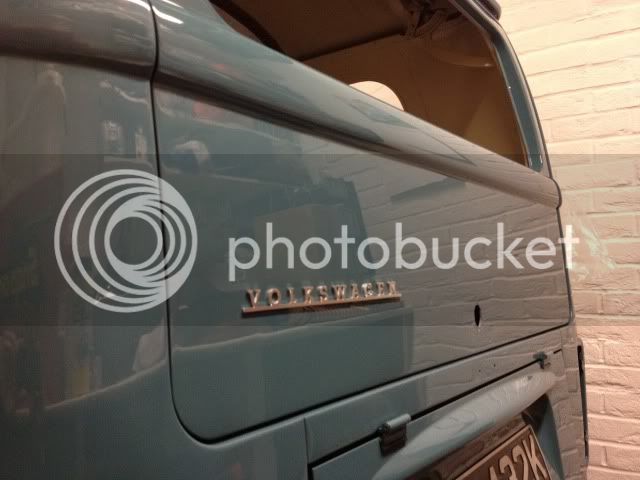
So after a wasted hunt, I finished off my short lived tinkering session by refitting the tailgate, engine lid, rear number plate and just for fun.... My shiny new script:
The sliding door wasn't shutting properly so had a play with the catches and adjustments, managed to get it working ok but discovered that in all the disassembly and reassembly I've lost a spring from the catch that holds the door in the open position.... could have sworn I had a complete spare one kicking about from an old van I scrapped.... but can I find it.... can I hell? :roll:
Looks like I may have to trawl eBay instead.... more money!
So after a wasted hunt, I finished off my short lived tinkering session by refitting the tailgate, engine lid, rear number plate and just for fun.... My shiny new script:
andewilson
Well-known member
8)
rallye dale
Well-known member
Coming along nicely
- Joined
- Sep 24, 2009
- Messages
- 1,556
- Reaction score
- 65
- Location
- Warwickshire
- Year of Your Van(s)
- 1970
- Van Type
- Microbus
Its all them little jobs that will slowly piece it all back together.
Also recommend drop spindles, i fitted mine along with horshoes last week, same comfy ride as stock, just got a bit uf rubbing as i have 205/70x14 tyres on at the mo.
Let me know if you go for Danbury interior as i have a few bits (no spare table though) I bought all the bits for my crossover in a couple of goes and ended up with more than the full package. Gunna fit it in my import bus as not being sided it will happily fir in a LHD too
Keep the updates coming, it can make me fantasise about where i would have got to following you had my crossover not had the fire incident
Similar threads
- Replies
- 12
- Views
- 645