- Joined
- Sep 24, 2009
- Messages
- 1,556
- Reaction score
- 65
- Location
- Warwickshire
- Year of Your Van(s)
- 1970
- Van Type
- Microbus
August Part 2
Well after a few weeks break its back to the hard work, and on with the inner and outer front panel. As I don’t want to go to high up with the outer panel (intention of losing it on the pressing just below the indicators) I was stuck with how to replace the inner. 1st option was to cut the old one in half along the width and do the same with the new one. Then I decided to cut the top lip off the new front panel and weld it back up
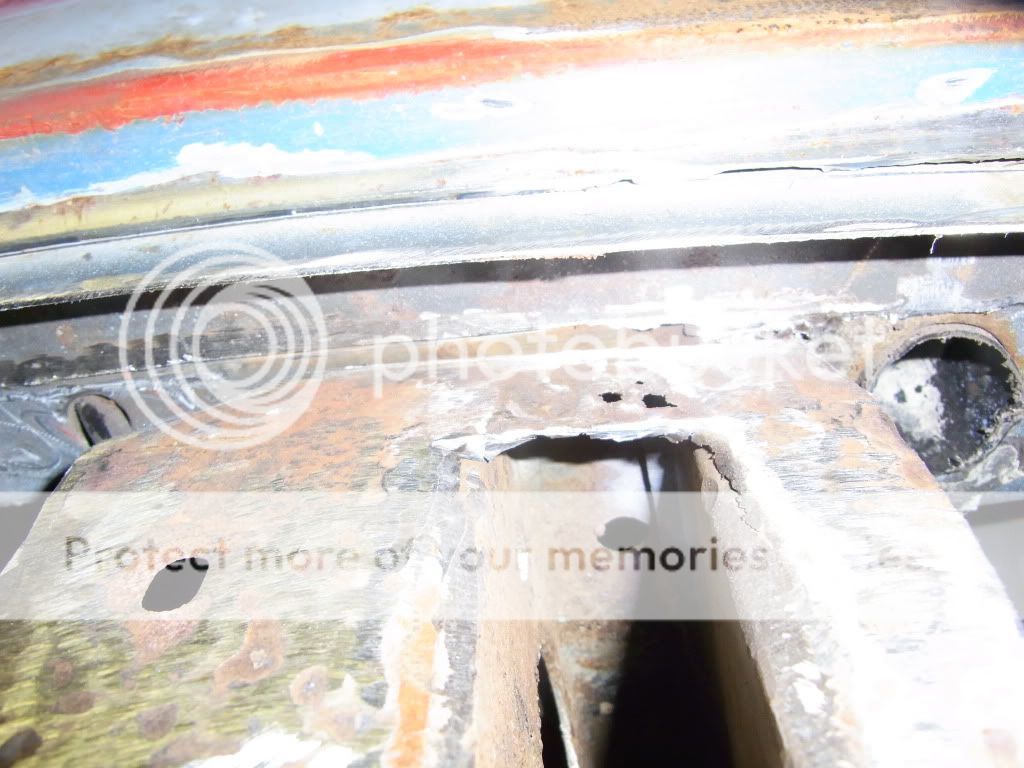
cut away all of the old inner panel apart from about 1 inch of the front section
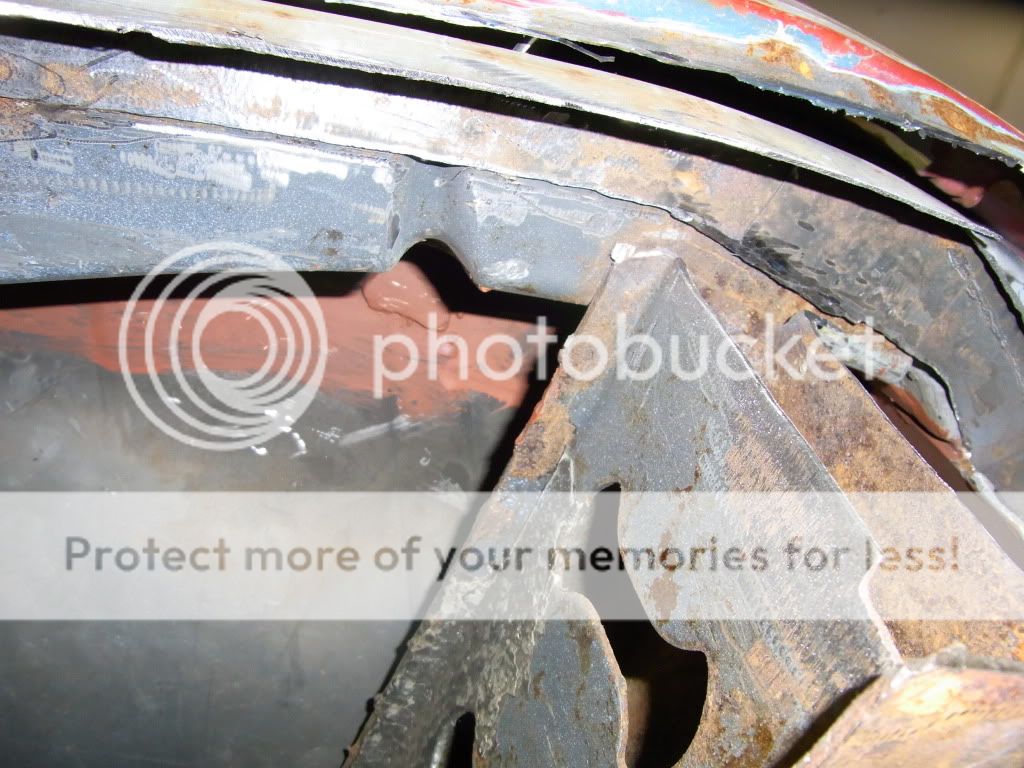
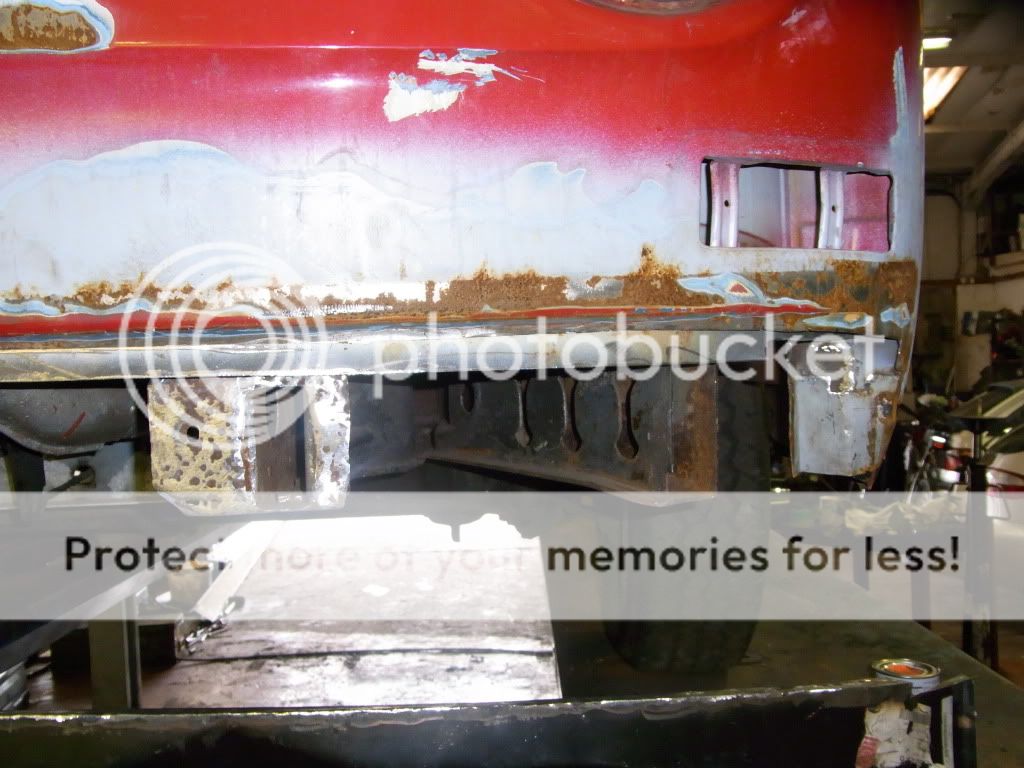
Tidied up the ends of the two inner chassis rails and cut the rot of the end of the two outer legs, and offered the panel up
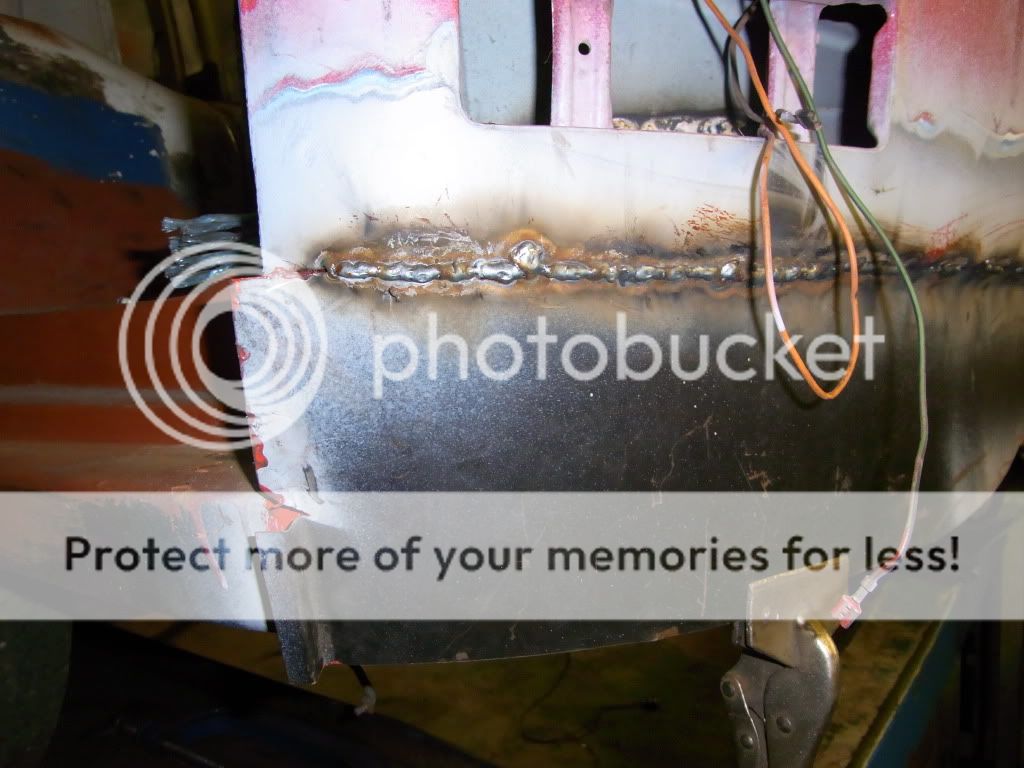
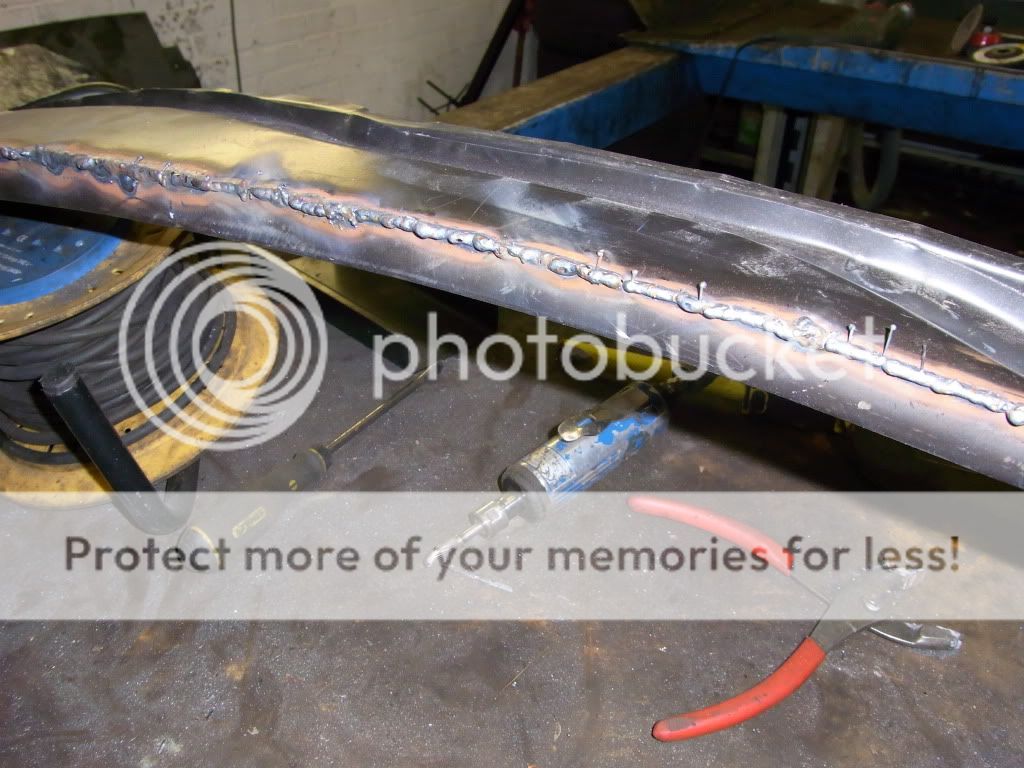
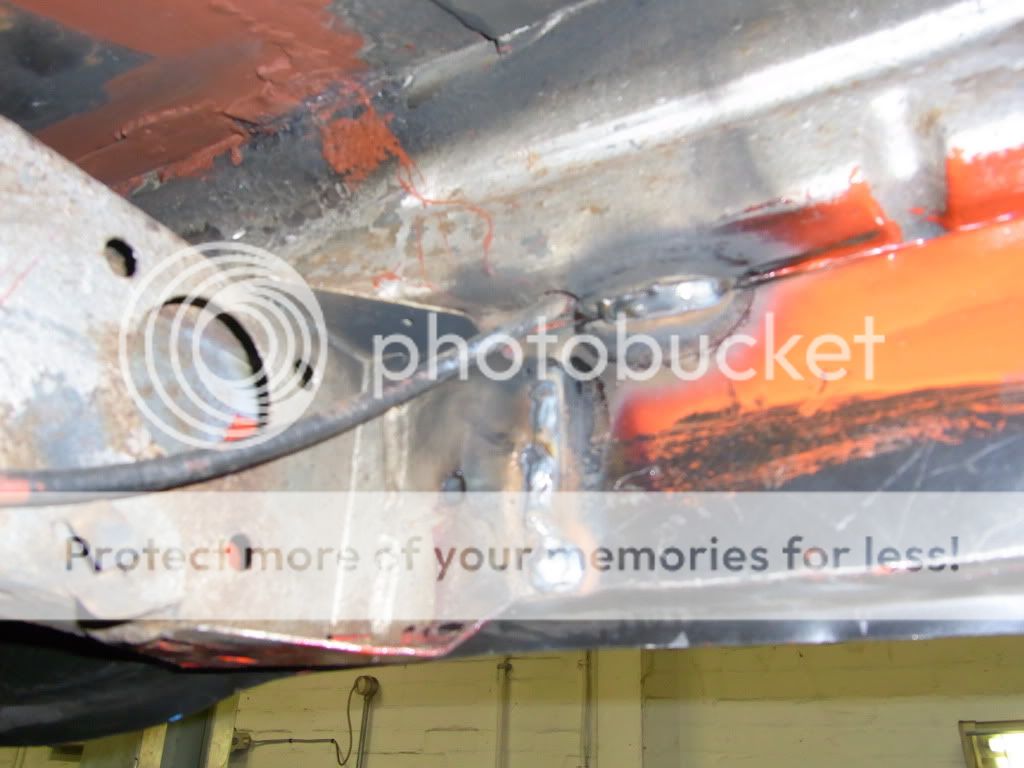
Hammered it up into place, quite a ight fit as it is sandwiched between the main chassis legs and the 1†remnant of the old panel. Used a jack to force it up the last bit, and then got a few heavy welds on it to hold it in place
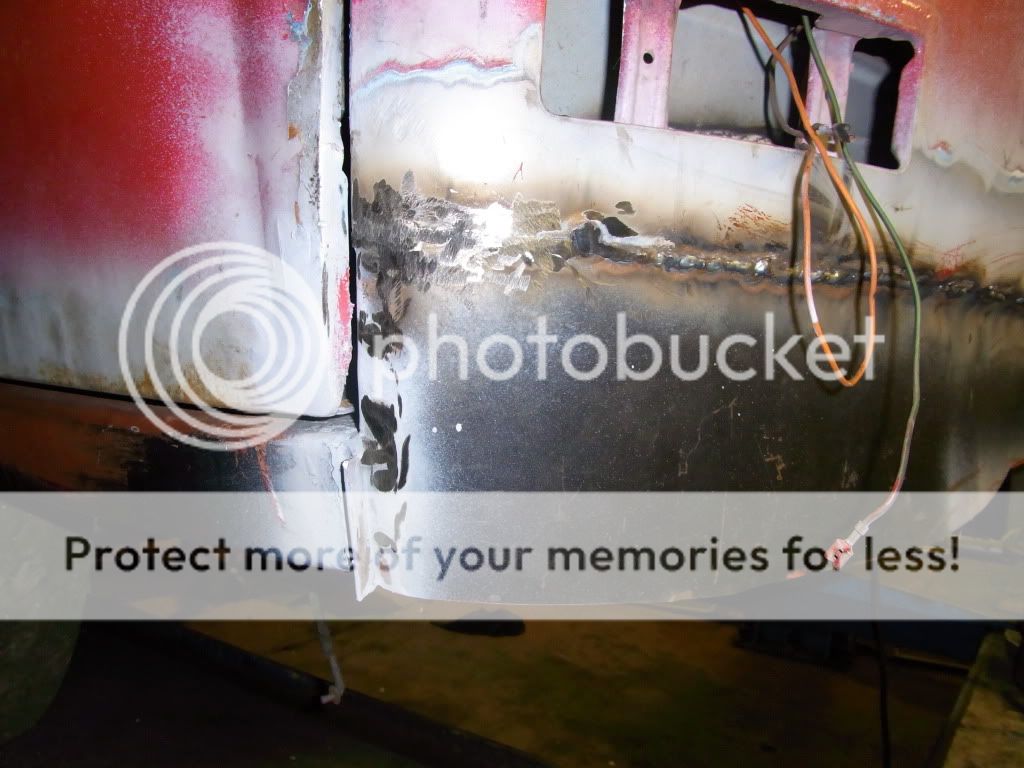
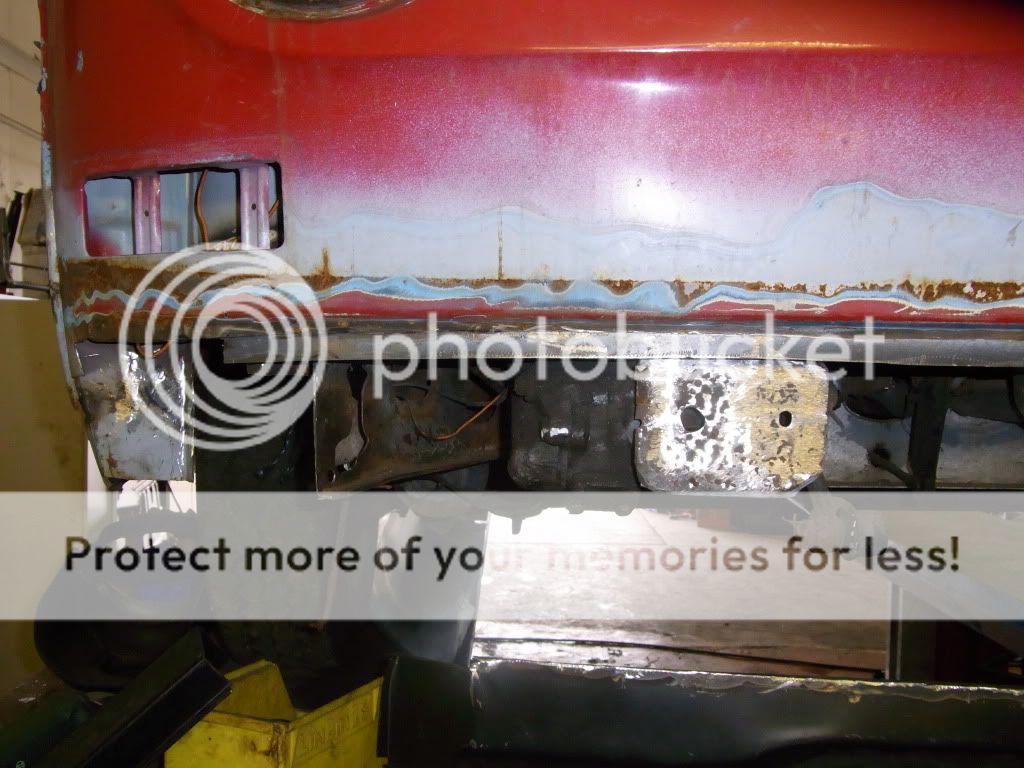
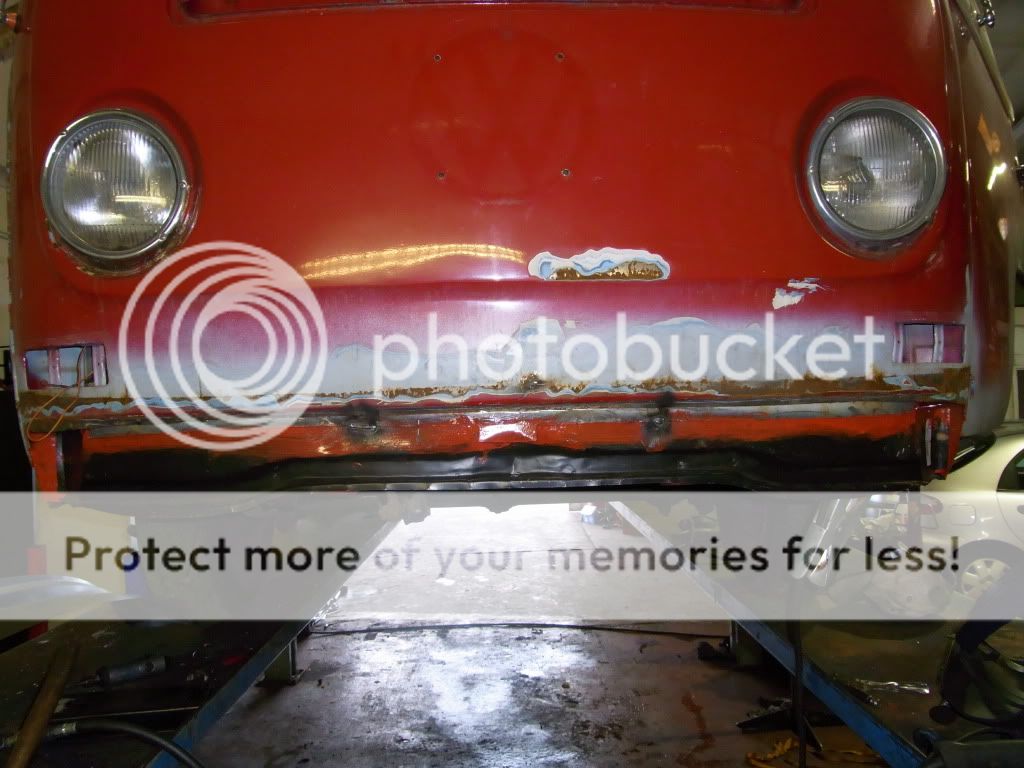
And this is how it ended up looking. I have offered the new outer up and it fits jus as I had wanted it to. Hopefully next weekend we'll get the outer on and the repairs to the outer chassis legs sorted
Well after a few weeks break its back to the hard work, and on with the inner and outer front panel. As I don’t want to go to high up with the outer panel (intention of losing it on the pressing just below the indicators) I was stuck with how to replace the inner. 1st option was to cut the old one in half along the width and do the same with the new one. Then I decided to cut the top lip off the new front panel and weld it back up
cut away all of the old inner panel apart from about 1 inch of the front section
Tidied up the ends of the two inner chassis rails and cut the rot of the end of the two outer legs, and offered the panel up
Hammered it up into place, quite a ight fit as it is sandwiched between the main chassis legs and the 1†remnant of the old panel. Used a jack to force it up the last bit, and then got a few heavy welds on it to hold it in place
And this is how it ended up looking. I have offered the new outer up and it fits jus as I had wanted it to. Hopefully next weekend we'll get the outer on and the repairs to the outer chassis legs sorted