Doris
Well-known member
due to the state of my front panel, my top dash had een eaten away by 'tin worm'. rather than try and source and buy a rust free job I decided to repair the original. I managed to find an OK one and cut the parts from it to graft into my otherwise mint one.Thisa is the first time I've used my welder on job. the only other time has been practicing on old wings, the plan is to gradually get get good enough to tackle the front panel myself!!
any way back on topic.......This is how it looked to start with............

after taking the top dash out,the rusty bits basically crumbled in my hands, to leave this......
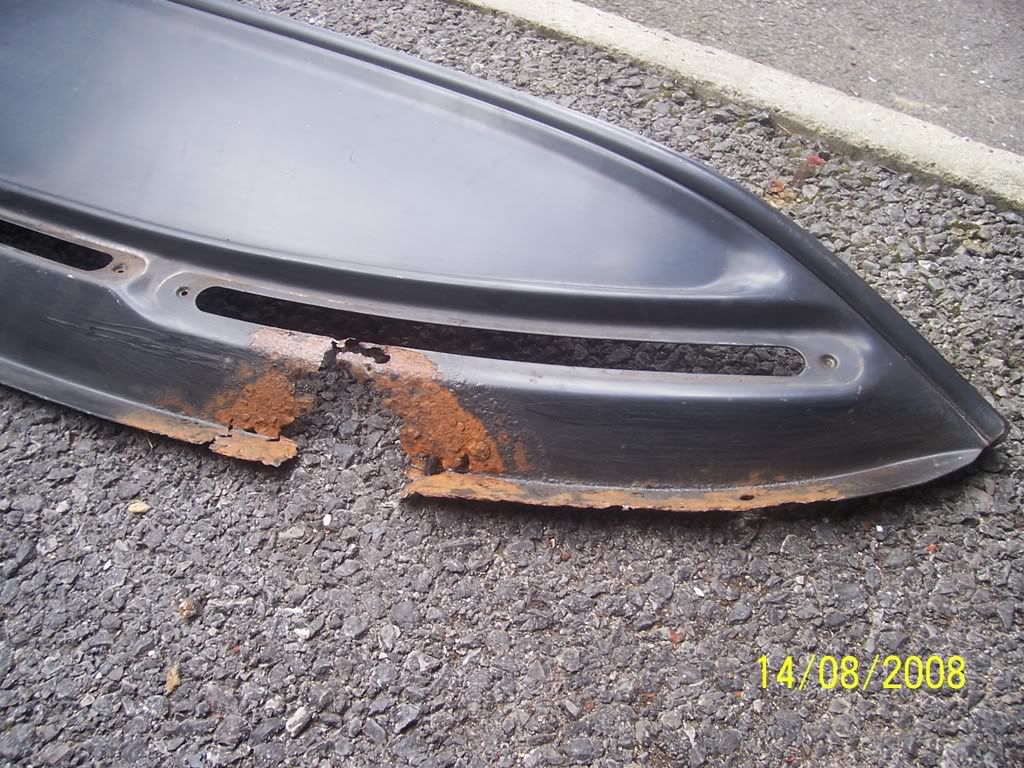

So, out come the grinder and out come the rust........


with the edges ground back to clean metal,it was ready for the new corrosponding donor piece to go in.
I used the piece I had cut out as a template for the donor piece and after clamping it in the correct place,
The fun of welding it took place. I tacked, then checked, tacked then checked until it was solid and the
welds all joined up to form a continuous bridge between original and donor metal.

when I was sure of good penetration, I came back outside and continued on welding the dash
No, seriously,when I was sure of good weld penetration, I ground back the tops of the welds using my angle grinder and 120 grit flap disc....but I've accidentally deleted these pictures - doh!
As I am not a skilled welder , there where a few imperfections in the join, aslo the donor dash had been pitted with surface corrosion so it wasn't perfect. I used some Isopon 'Metalik' body filler just to ensure there was a smooth transition over the joins and pitting, after rubbing it back and a couple more thin skims and a light coat of primer to identify any problem spots, it was lookin good (to me)!


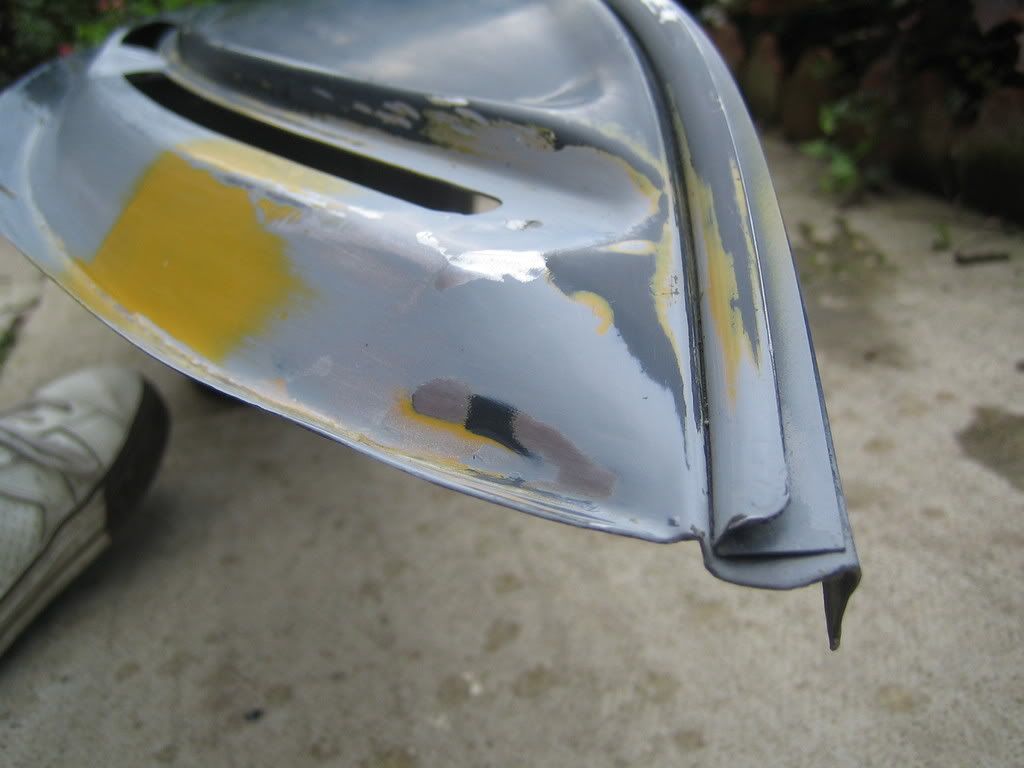
If you look closely at the winscreen edge you can see the join....
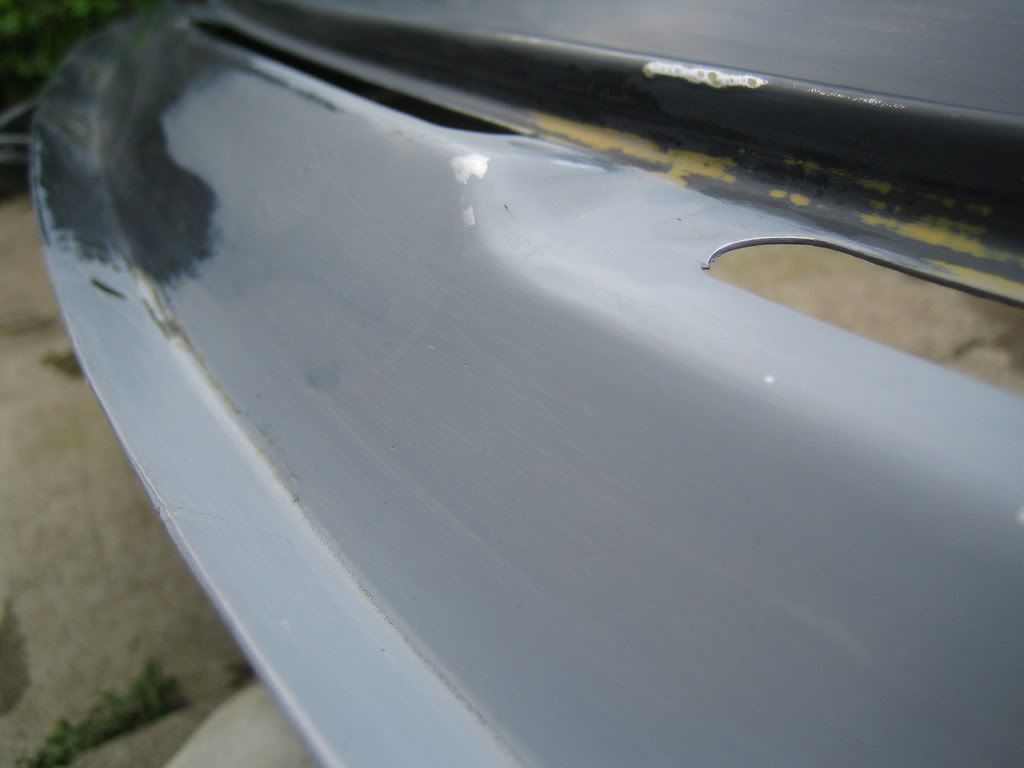
next was filler primer to ensure a smooth finish.....
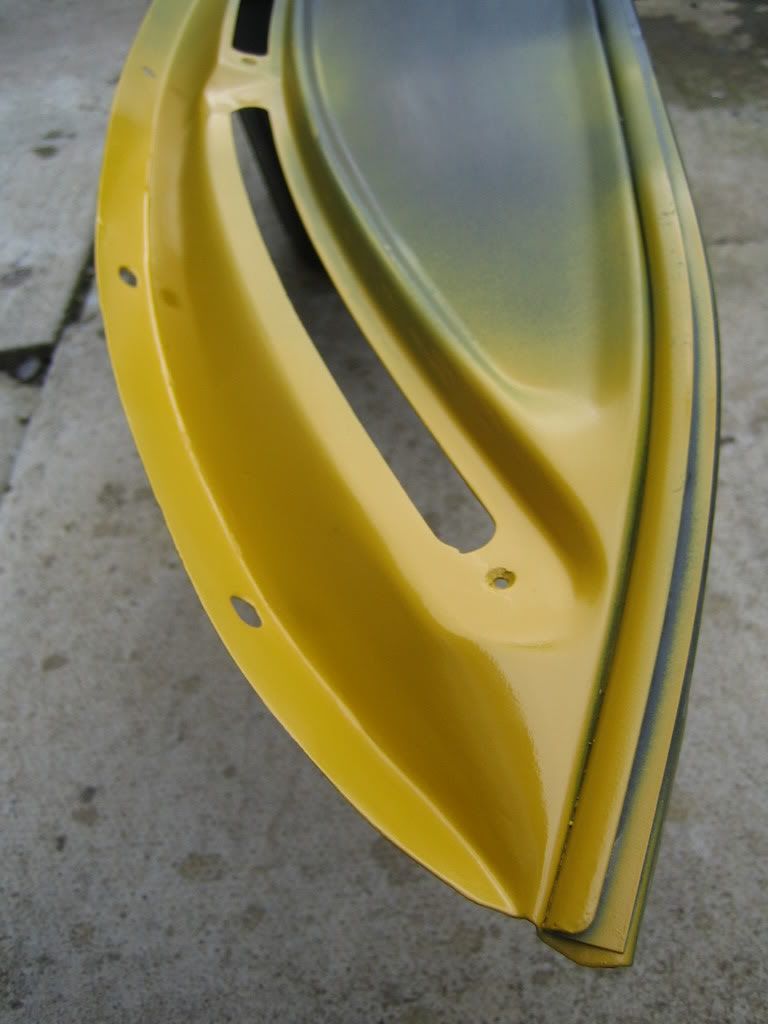
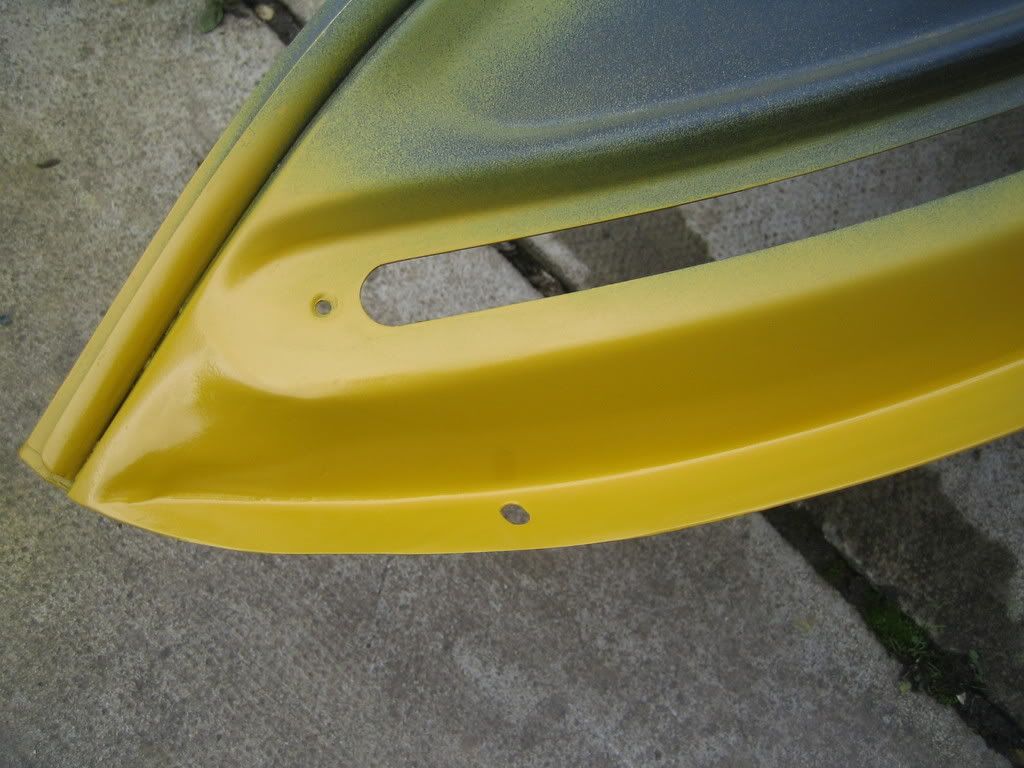
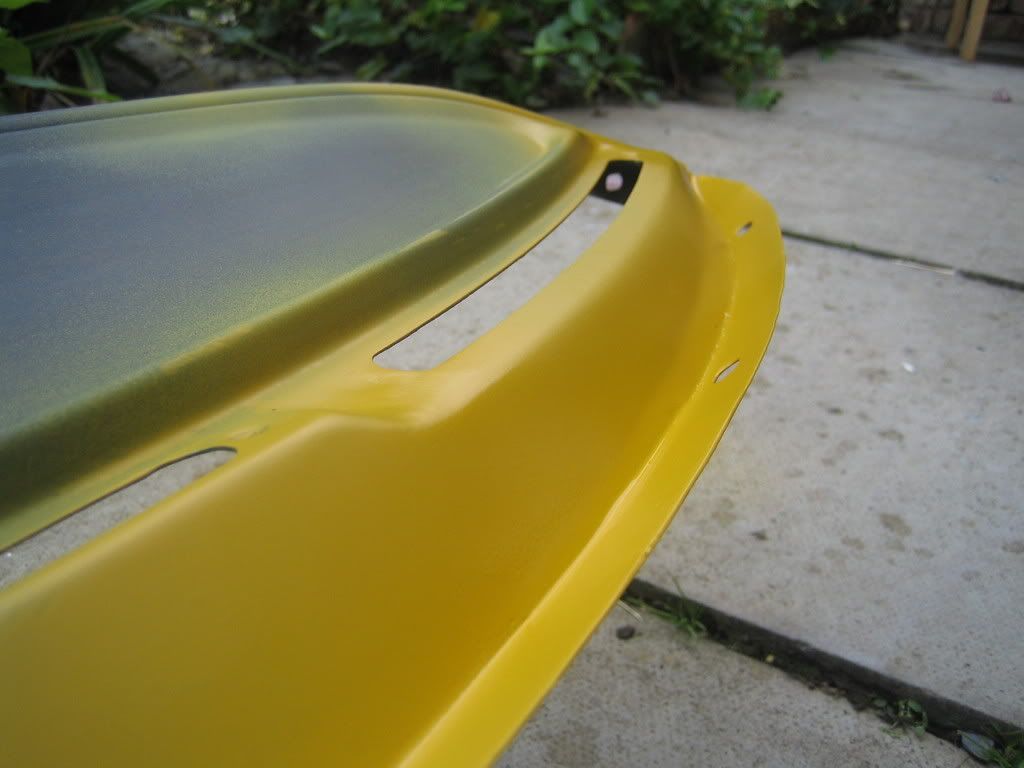
And finally...... ta dah !. The finished job. I've used satin black to try and match the original VW finish
although, I suppose if you knew what you where looking for you'd be able to tell,otherwise I think its acceptable
for a first time welder. feel free to add any constructive comments. next job is to take the vent trims to my local chrome platers. watch this space.......
any way back on topic.......This is how it looked to start with............

after taking the top dash out,the rusty bits basically crumbled in my hands, to leave this......


So, out come the grinder and out come the rust........


with the edges ground back to clean metal,it was ready for the new corrosponding donor piece to go in.
I used the piece I had cut out as a template for the donor piece and after clamping it in the correct place,
The fun of welding it took place. I tacked, then checked, tacked then checked until it was solid and the
welds all joined up to form a continuous bridge between original and donor metal.

when I was sure of good penetration, I came back outside and continued on welding the dash
No, seriously,when I was sure of good weld penetration, I ground back the tops of the welds using my angle grinder and 120 grit flap disc....but I've accidentally deleted these pictures - doh!
As I am not a skilled welder , there where a few imperfections in the join, aslo the donor dash had been pitted with surface corrosion so it wasn't perfect. I used some Isopon 'Metalik' body filler just to ensure there was a smooth transition over the joins and pitting, after rubbing it back and a couple more thin skims and a light coat of primer to identify any problem spots, it was lookin good (to me)!


If you look closely at the winscreen edge you can see the join....

next was filler primer to ensure a smooth finish.....


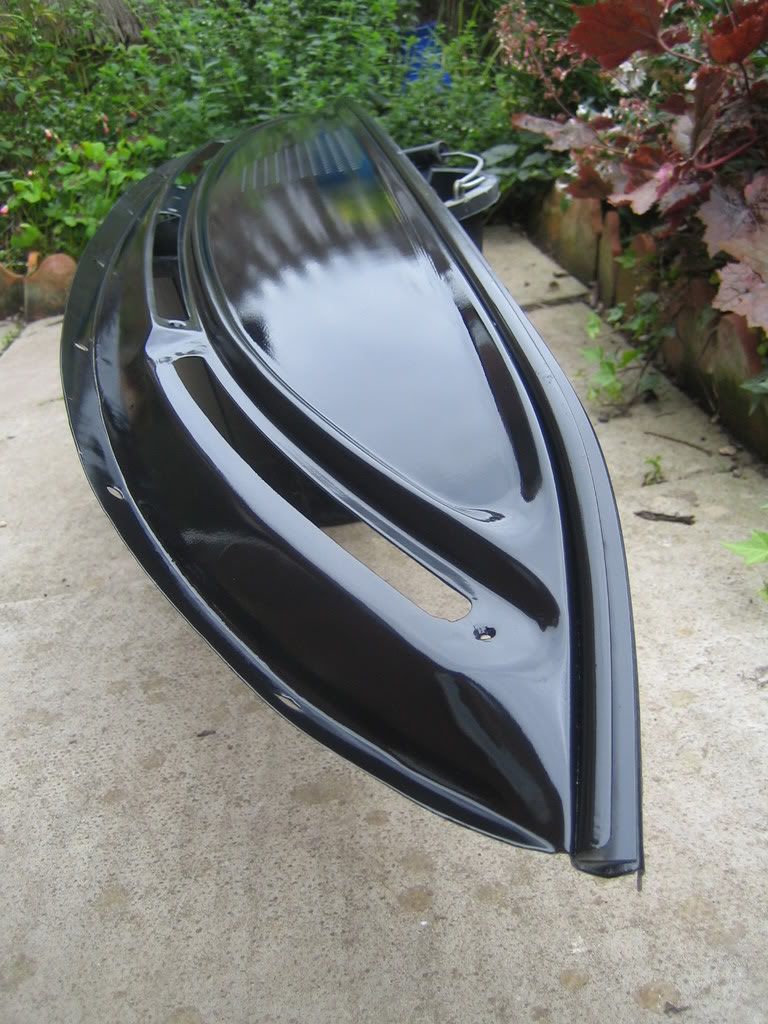
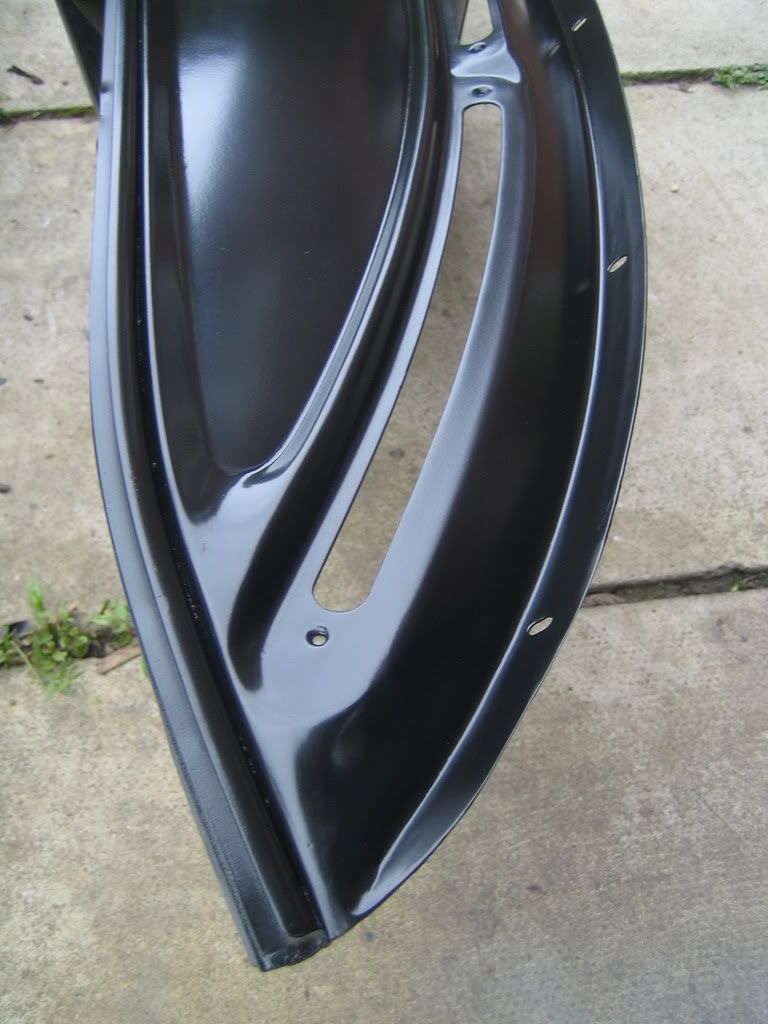
And finally...... ta dah !. The finished job. I've used satin black to try and match the original VW finish
although, I suppose if you knew what you where looking for you'd be able to tell,otherwise I think its acceptable
for a first time welder. feel free to add any constructive comments. next job is to take the vent trims to my local chrome platers. watch this space.......


