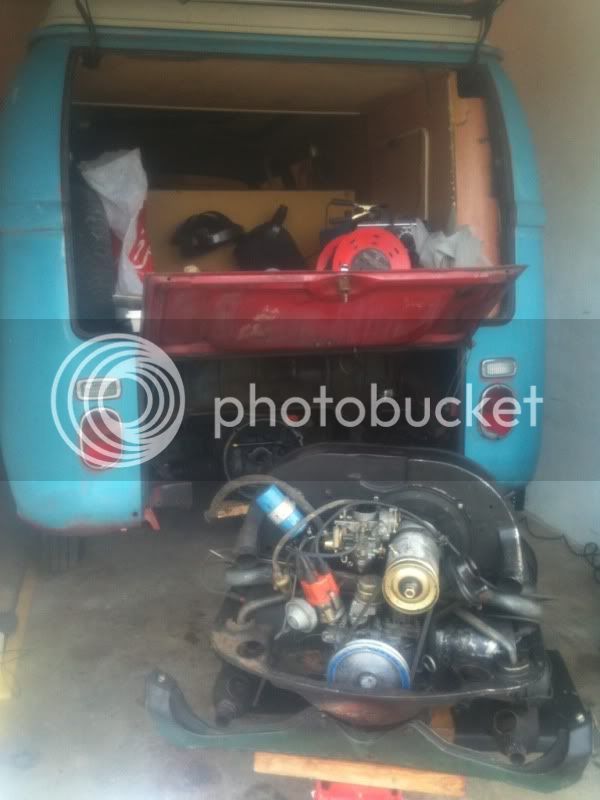
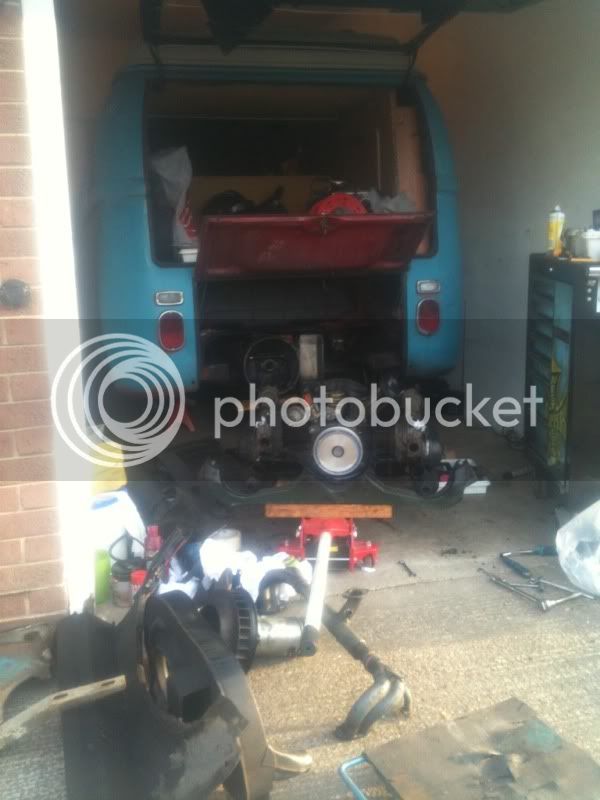
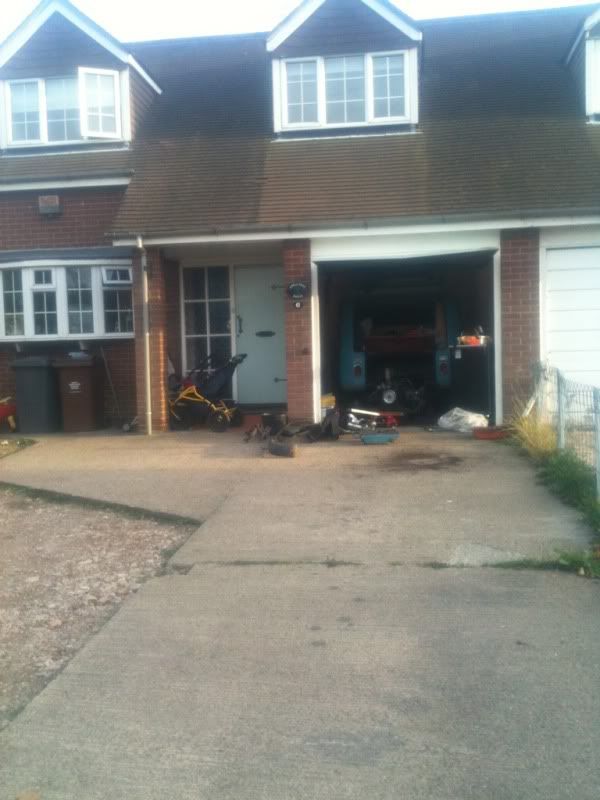
piece of **** (71 westy)

Early Bay Forum

Help Support Early Bay Forum:

This site may earn a commission from merchant affiliate links, including eBay, Amazon, and others.
thanks for all your nice comments 8)

during this build you will see how little I know about early bays. I know I like the look of them. But I don't know much about the engines of what year parts are or when handles they have or westie interiors etc. I knew what I wanted on my last bus, but paid for any major work. I'm quite handy, but have the shortest concentration span and a memory like a siv. I don't listen when I should and I don't read up on thing. I have to do them to learn them to learn them. So this bus is the keeper so I want to do all my own work and how I want it. So I will be asking loads of stupid and simple questions :? :D I know slamwerks did my lower, but I wanted running gear, seat belt holders and chassis notch's to be done safely and correctly, here goes

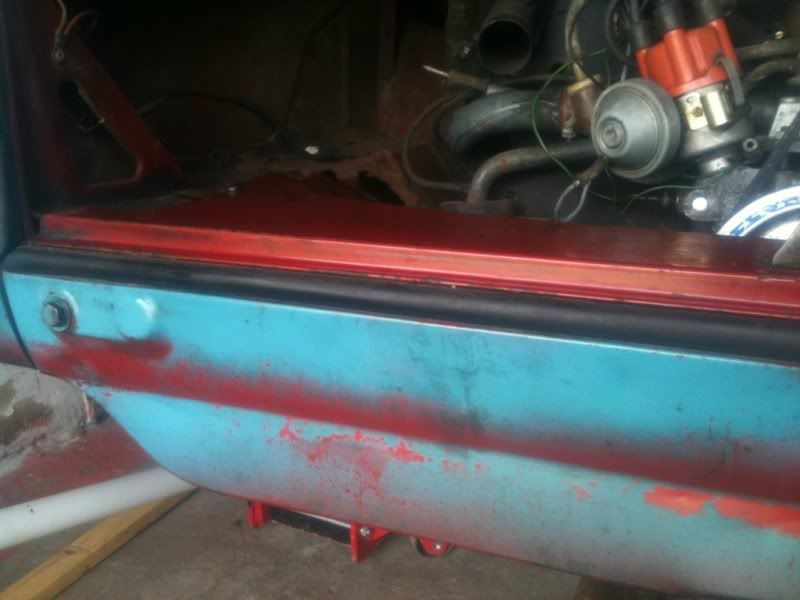
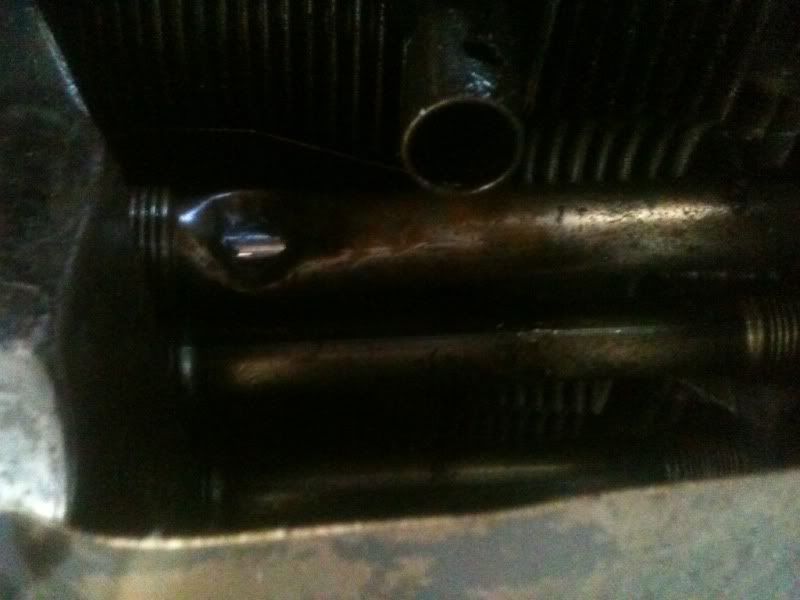
I was looking round the bus and spotted this hole in the push rod tube (think it's called that) so first set of stupid question, do I change all 8 of them, do they have / come with seals. best place to get them.
Do i need to remove the heads to change them ? anything to watch out for ? I do own a Haynes manual :oops:
381c7dee.jpg

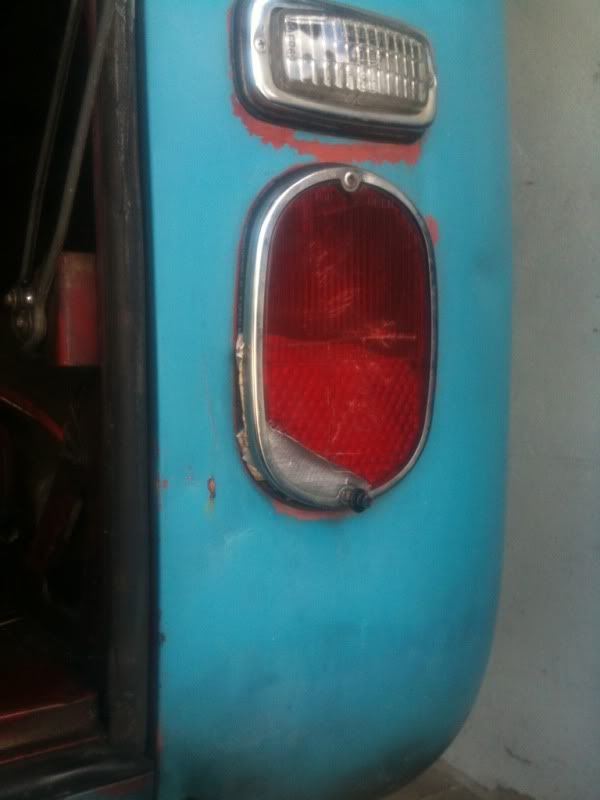
its quality repairs like this that inspire confidants :D
0a21a2f9.jpg

the colour coming up a treat
b58a281e.jpg

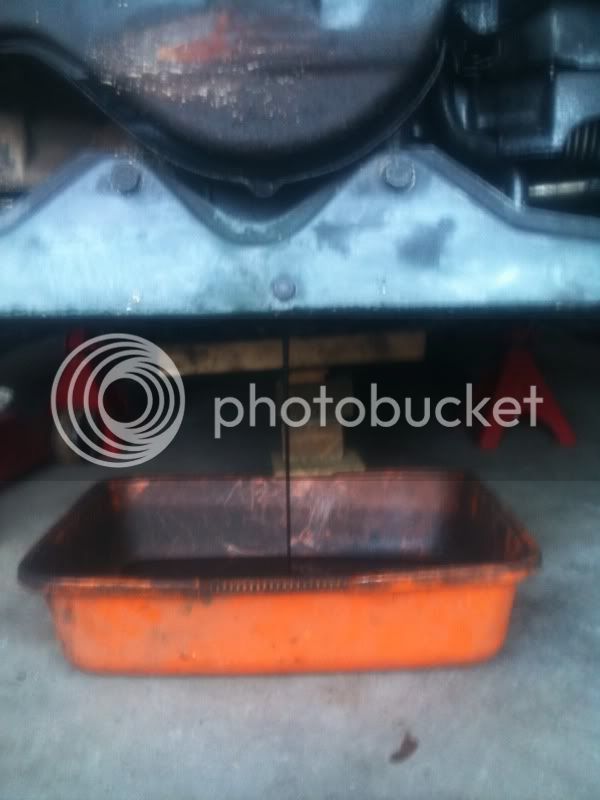
drained before dropped, you can also see how shaved the engine bar is
da738b63.jpg

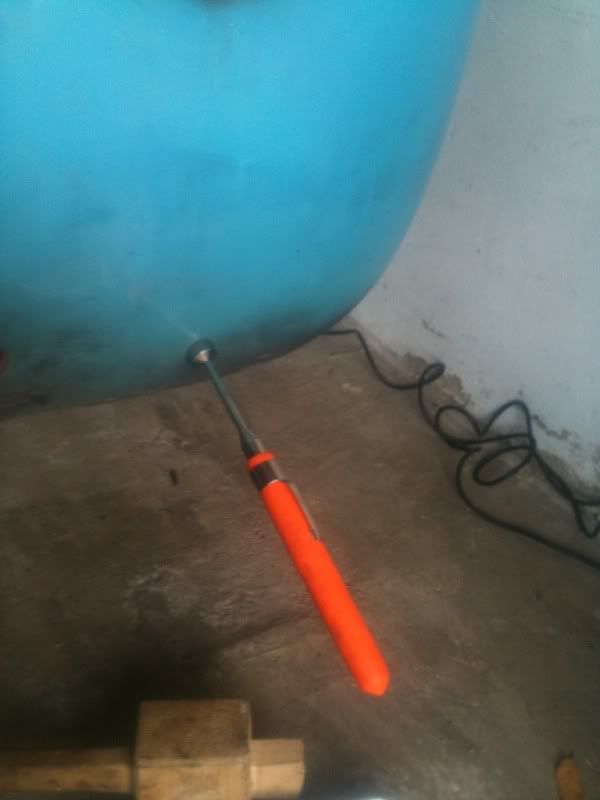
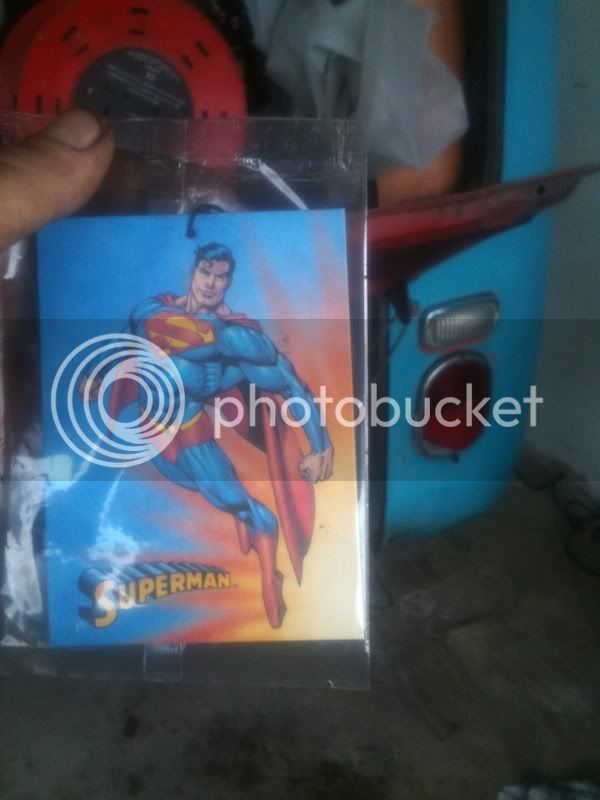
me wife bought me this. matching colours and 19p from home bargains. Proper little bobby dazzler !
a96511fc.jpg

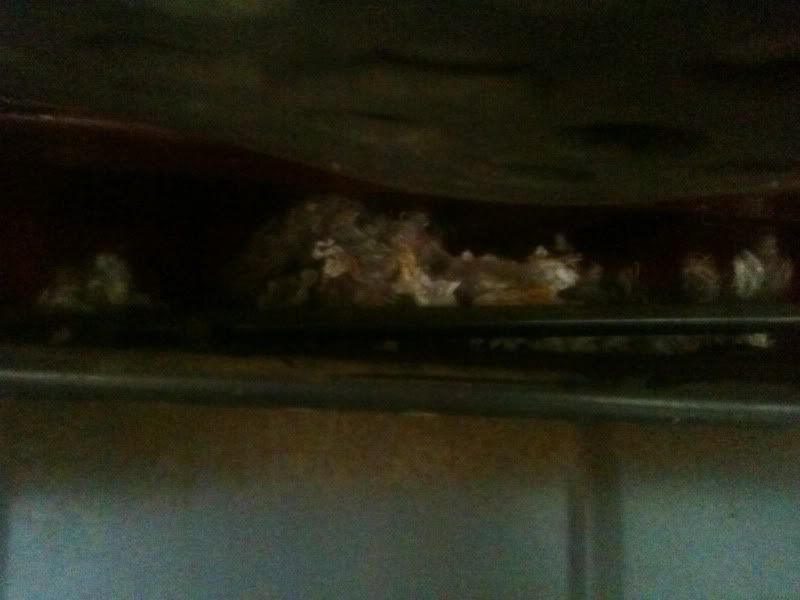
not sure what's nesting in there
7bc2f1c7.jpg

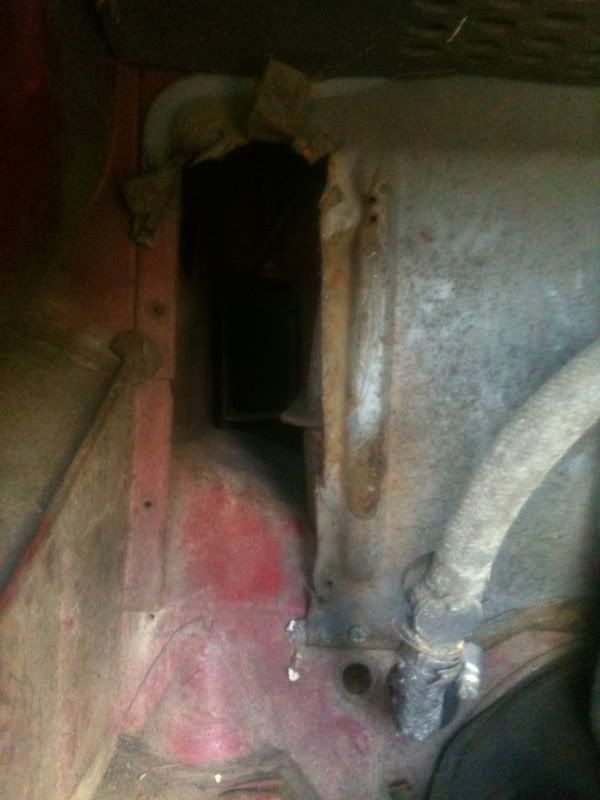
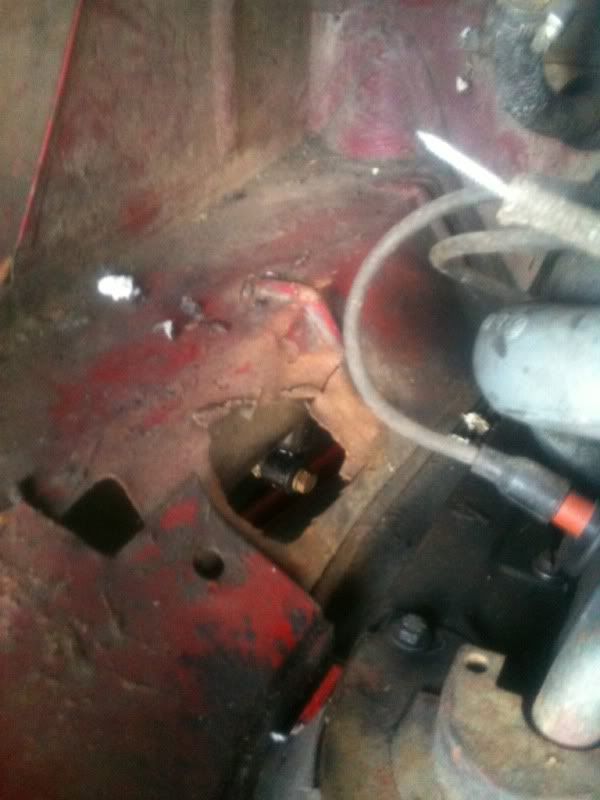
not sure what these crazy cuts are for ? maybe a heater as the rear light wires have been tapped into too
7139e66b.jpg

60c3a55e.jpg

metal :D
ae87f4f9.jpg

engine out
fa0504c7.jpg

fc291251.jpg

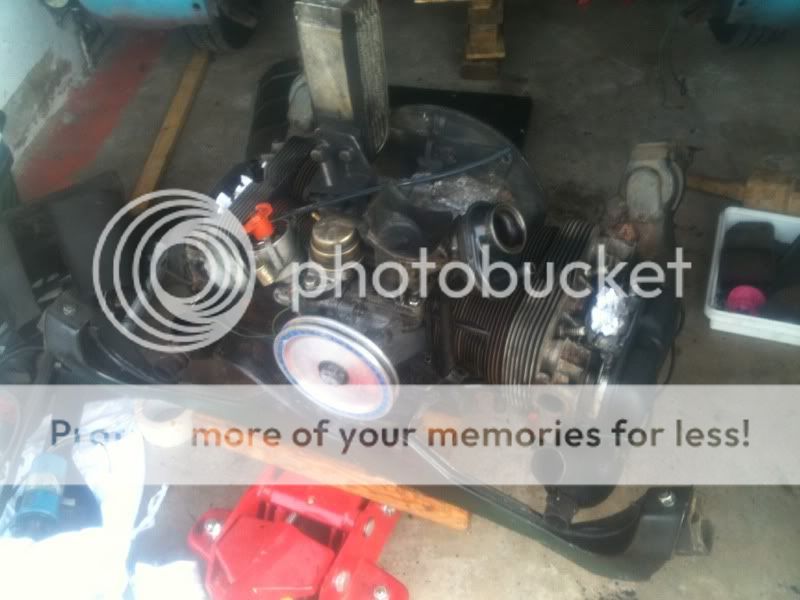
I take it the "scat" bottom pulley thing, when 0 is at the top piston 1 is at top dead centre or something, I left it on in case i messed something up. if I mark it up take it off remove the piece of tinware and put it back. all will be right ?
156100ab.jpg

8)
528ec2ec.jpg
 
Lovely jubbly Ashley, you know where I am if you need any help/advice.

Regarding the Scat pulley; my engine builder said that he has come across a few where the degree ring has been stuck on slightly out, so they do not always time up properly. Not saying yours is out, but just bear it in mind.

Oh yeah, the pic of Mert in drag on FB is possibly the worst thing I have ever seen. I have already puked twice but I keep going back for another look... :msn4: :lol:
 
dubscum said:
thanks for all your nice comments 8)

during this build you will see how little I know about early bays. I know I like the look of them. But I don't know much about the engines of what year parts are or when handles they have or westie interiors etc. I knew what I wanted on my last bus, but paid for any major work. I'm quite handy, but have the shortest concentration span and a memory like a siv. I don't listen when I should and I don't read up on thing. I have to do them to learn them to learn them. So this bus is the keeper so I want to do all my own work and how I want it. So I will be asking loads of stupid and simple questions :? :D I know slamwerks did my lower, but I wanted running gear, seat belt holders and chassis notch's to be done safely and correctly, here goes

I was in the same situation as you 2 years ago, I knew chuff all, but 2 years of scanning the technical section, Bentley book, aircooled section of VZI and http://www.vw-resource.com , which is really a great help have done wonders for me. I've even found myself answering questions for some people.

I know naff all on spraying wheels, so you're a step ahead of me in that respect :mrgreen:

BTW, I'm also going to get in on this race for Ninove lark, although I'm just waiting to refit my engine, seatbelts, and test everything. My problem is the wife won't stamp my 'work on the bus' card.

Des
 
cool, i'm looking forward to learning :D then I will spray my wheels stupid colours 8) anyone who's in should go to there first post "edit" and put race to Ninove in there thread title :D
 
Ash working on buses is a doddle mate , once You've done it ya never forget . A year ago Pete Gee couldnt take his own stock engine out of his bus , Now he can do it in 40 mins flat and thats with twin carbs too ;) .
Its best to replace all 8 pushrod tubes , I only use the Elring engine seal kits and to help I put a little smear of high temp silicone round each pushrod tube o ring , as It helps to stop them leaking . Yes the best way to do it is gentle ease the heads back on the engine . i see you've already stripped the engine to a short block are you doing an alternator conversion too ? You can buy new M6 x 10mm bolts in stainless from most places and it makes fitting the engine back together a easy job

I would really like to see this bus at Ninove 8)
 
The holes in the engine bay are from a petrol heater that your van must of had fitted at some time!!
Word of warning if you do go for an alternator MOST on the market today are **** and the bearing inside move backwards and jam the top pulley into the casting!!! so be on the look out....
 
Yeah ^^^^ What Ben has said is very true , i had a alternator from a certain internet distrubutor and found the same problem, when you did the top pully up it jammed solid . I had a little 4mm wide spacer made and it cured the problem but be aware ;)
 
thanks for the advise !

I did an alternator conversion on my last bus, an all bits included deal and I had to grind the back of the pulley true :? I'll test the generator first and if its giving out charge I'll leave it. As I'm skint so it's a DIY fingers crossed build :D

so I'll get a Elring engine seal kit, and some high temp silicon, m6 x 10mm bolts and the outer round engine seal as its perished.

Is there anything else I should be looking at, replacing ir testing while I'm at this stage ?
 
Tbh mate if it was mine , I would rebuild the stock carb, the kit is 12 quid from GSF, id also put a new flywheel oil seal in and little O ring , then a new clutch and a new release bearing too .... Also the seal above the gearbox its the front engine bay seal . And as you have a new engine gasket kit , Id put all new seals in the oil cooler too . There the little rubber donuts in the kit ;) Oh yes and new silicone manifold rubber boots too 8)

:mrgreen:
 
While the engine is out I'd check that the float in the fuel tank gives a reading, adjust the clutch cable and check the bowden tube is in good shape, if not replace it. you could of course do this with the engine in place but is much easier without.

Once you put the engine back, replace all the fuel lines and put the inline fuel filter above the gearbox and not in the engine compartment.

Des
 
looks awesome dude

loving the paint

just out of curiosity what suspension/tyre set up are you running? thats a killer stance.

matt
 
Thanks again Dean and Des 8) That's my weekend sorted :D

Mat is had a full slamwerks make over, full king and linkpin front end adjustable 4" narrow beam, flipped spindles, notches all around, a pair of tubs in the front, shaved rear engine bar all manually adjustable and it all on it's highest setting :? :D
 
wow that really is the works.haha

i wanna eventually get that on my 68 but money is tight at the mo.:(
im thinking i might buy a second hand spindle to spindle stock splitty beam so ive got the king n link then build it up from there.

whats the right like?
it looks sick dude,really does.
matt
 
cheers Matt 8) if you have the skills to do it yourself it will save you money. I now have neither :D

not drove this one as it's a non runner, slamwerks picked it up from the shippers who brought it in from the U.S. My last bus had the same set up and drove like a dream to say it was so low. Came back from Belgium in one run in about 9 hrs including euro tunnel crossing without a problem.

Ash
 

Latest posts

Top