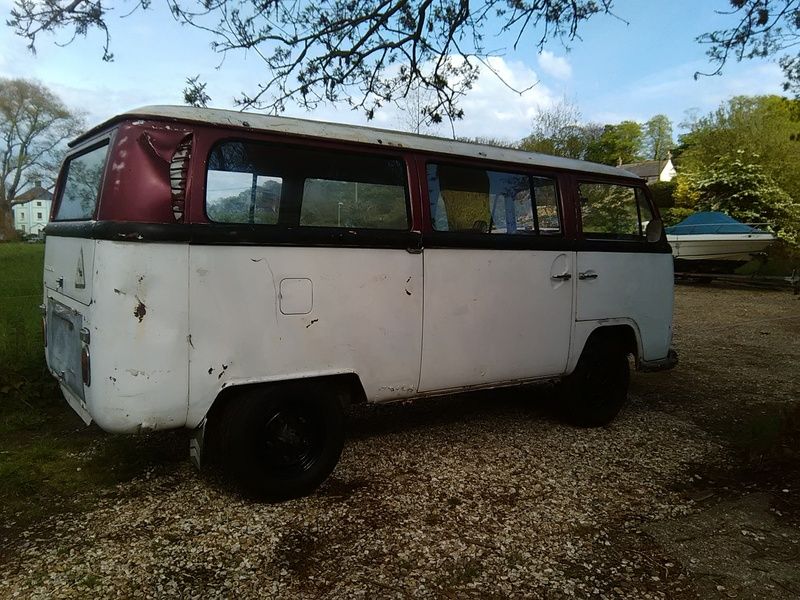
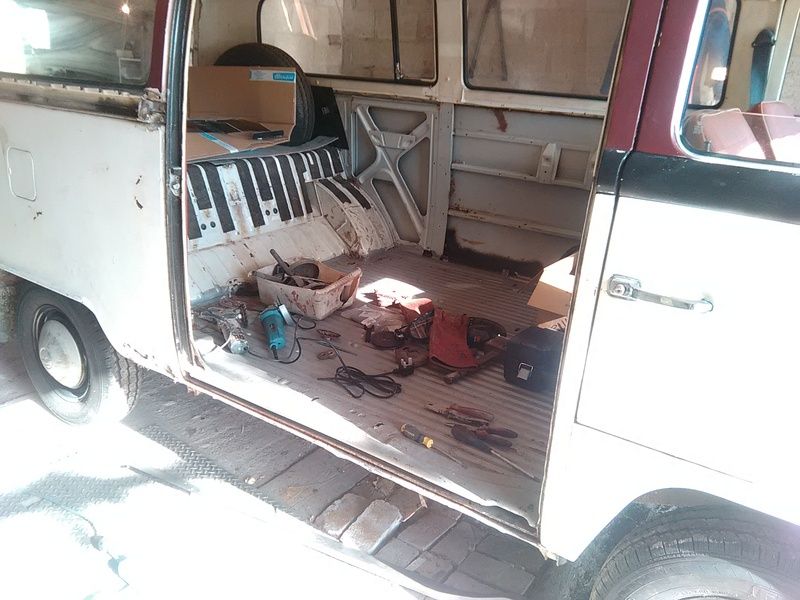
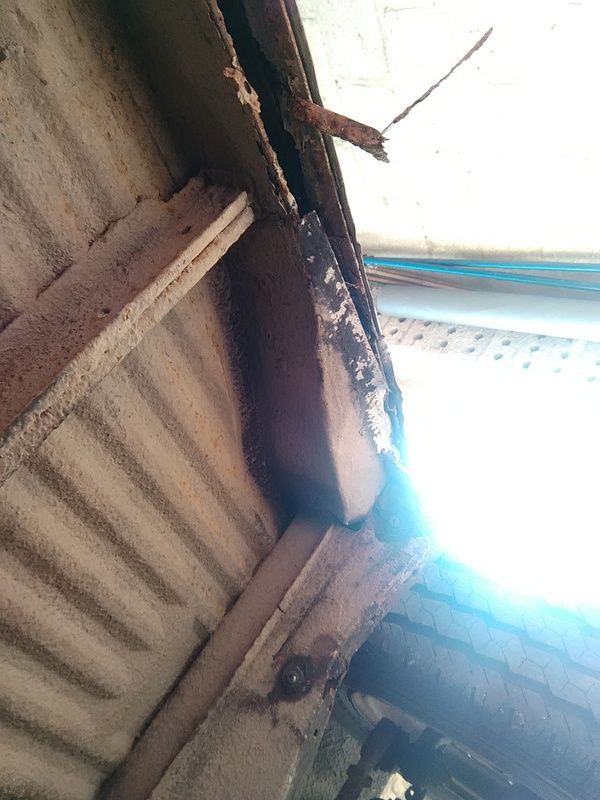
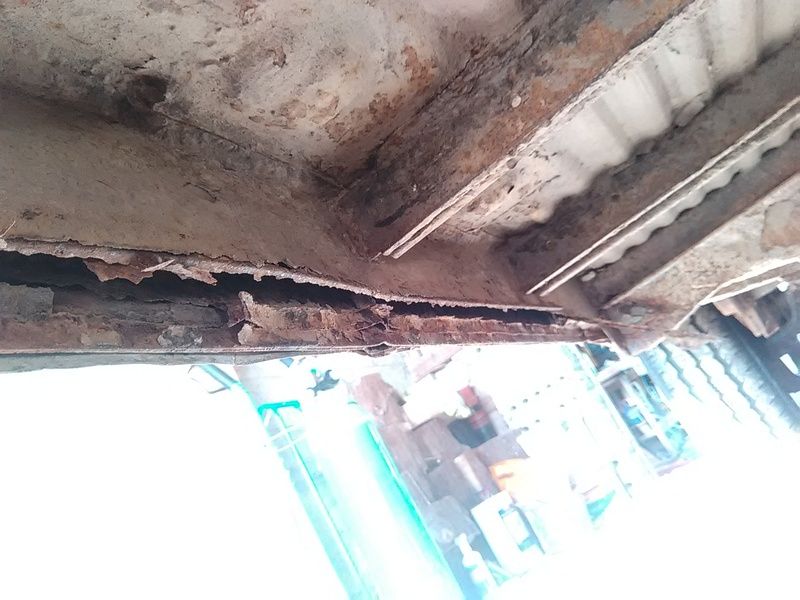
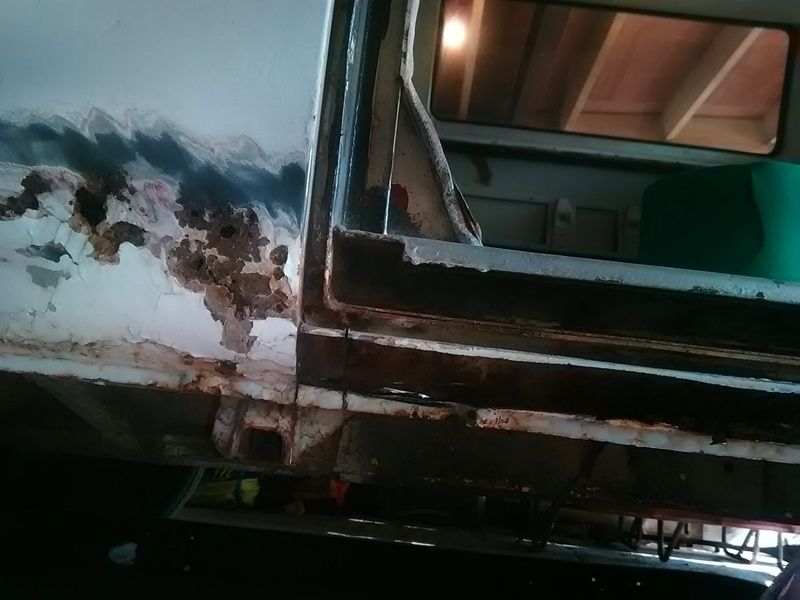
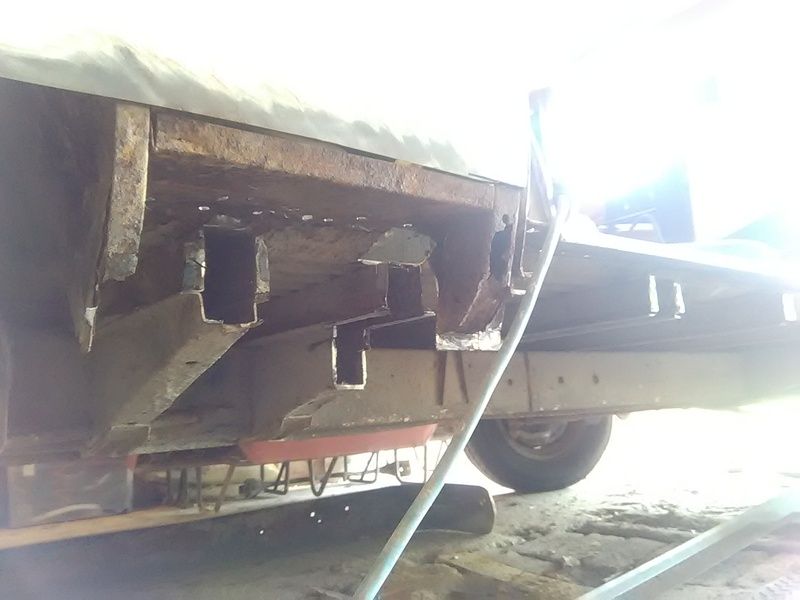
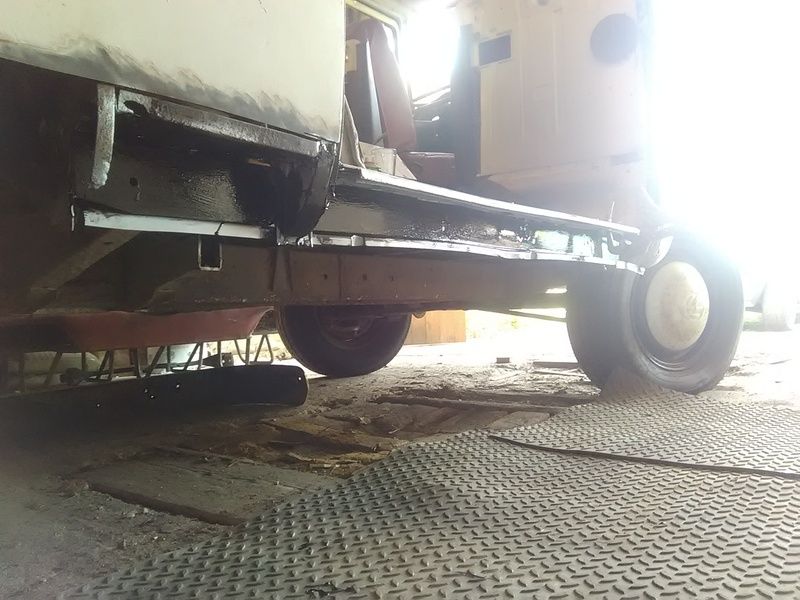
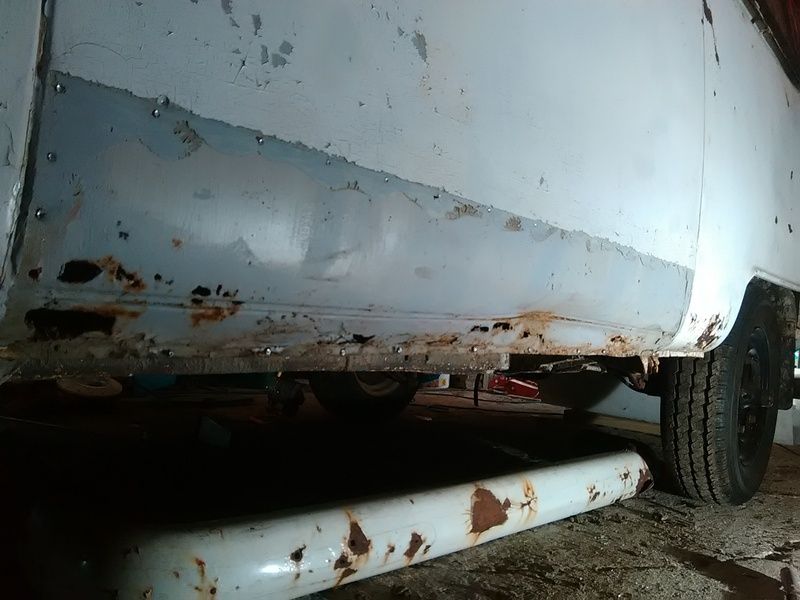
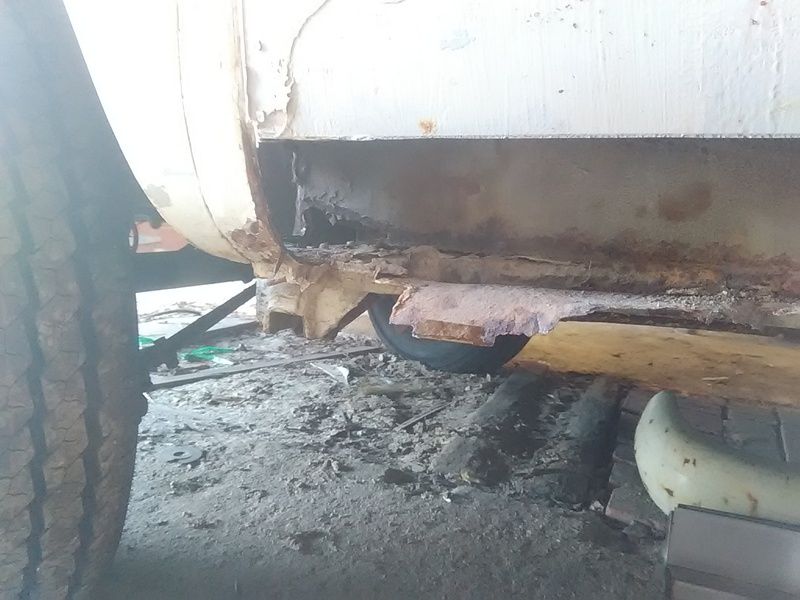
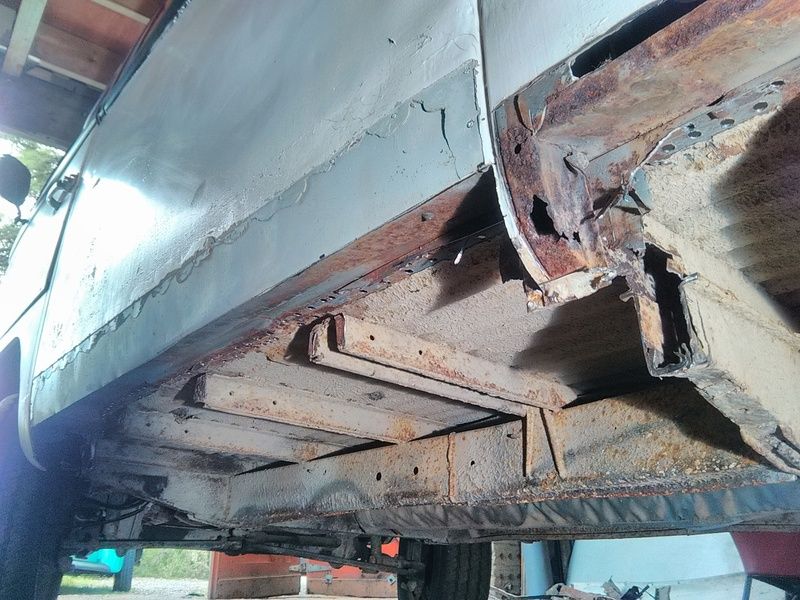
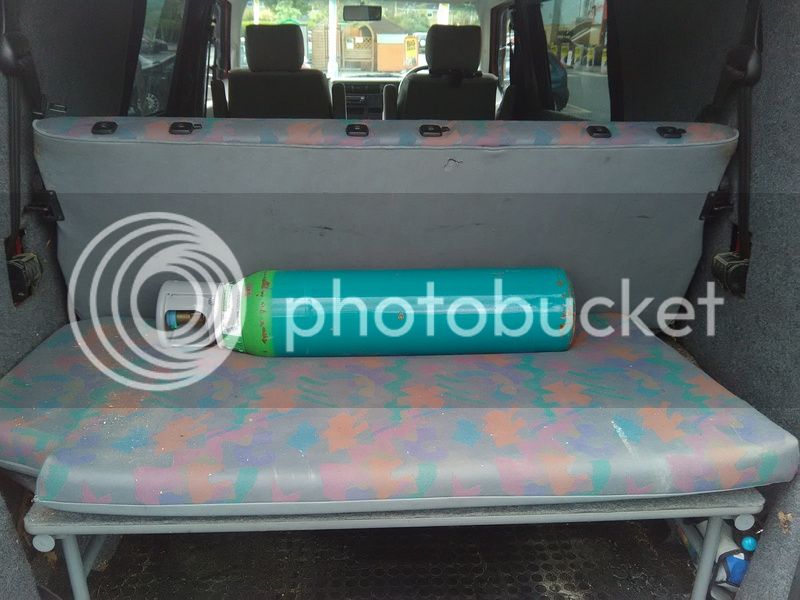
Inner, outer and strengthener sills all need replacing plus lots of small localised repairs needed aswell - hence the big bottle of welding gas!
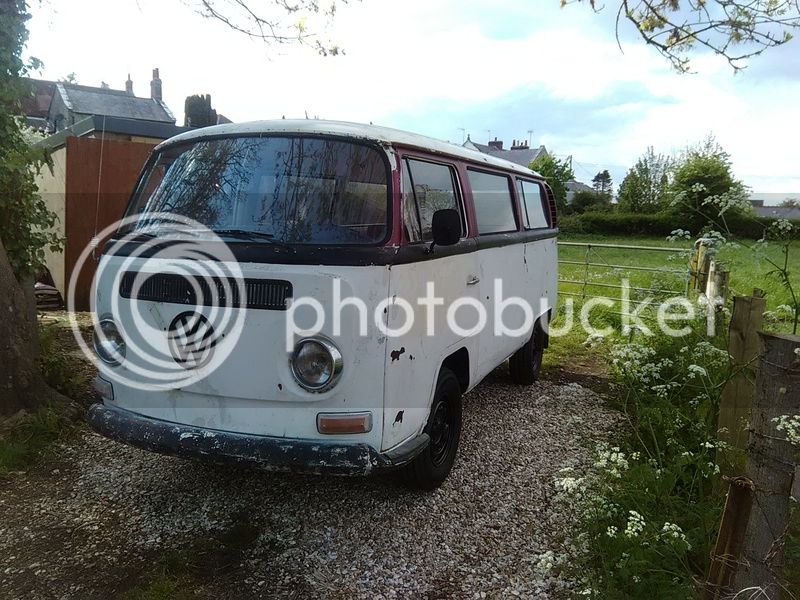
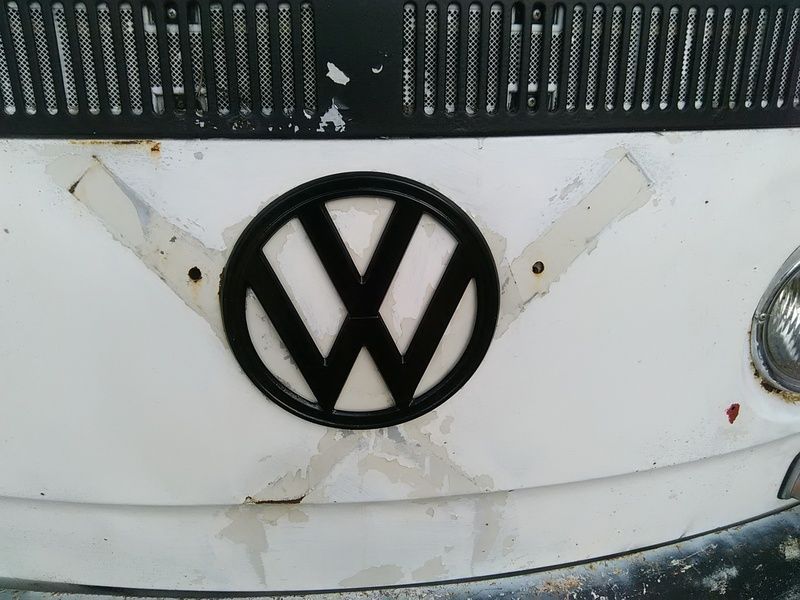
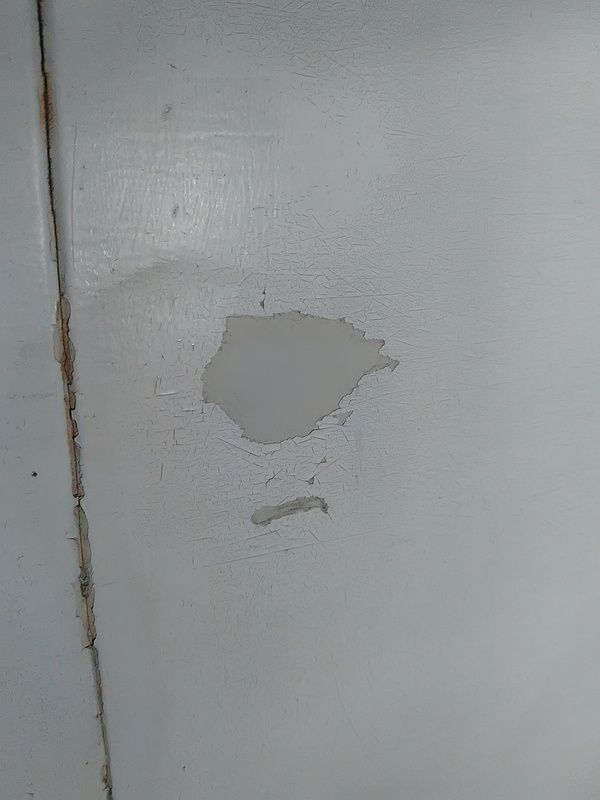
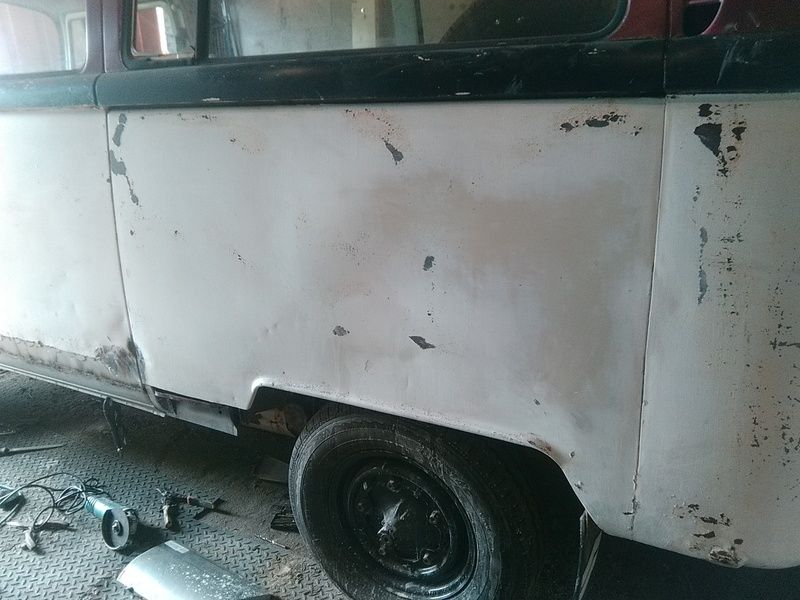
The original paint is there under the horrible brush painted stuff. Some of the paint flakes off and i couldn`t help taking some off with a razor blade and thinners to clean up. It will be alot of work to get it off, but i think there is definitely some hope there!
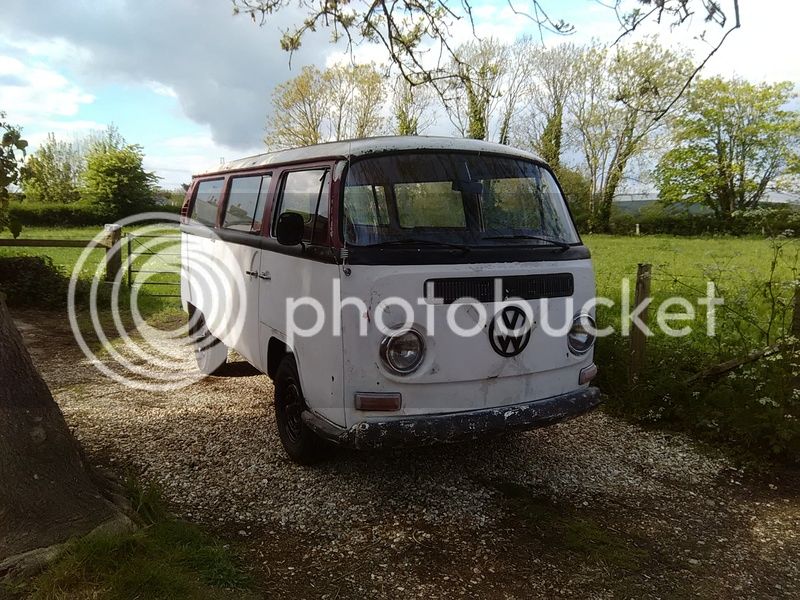
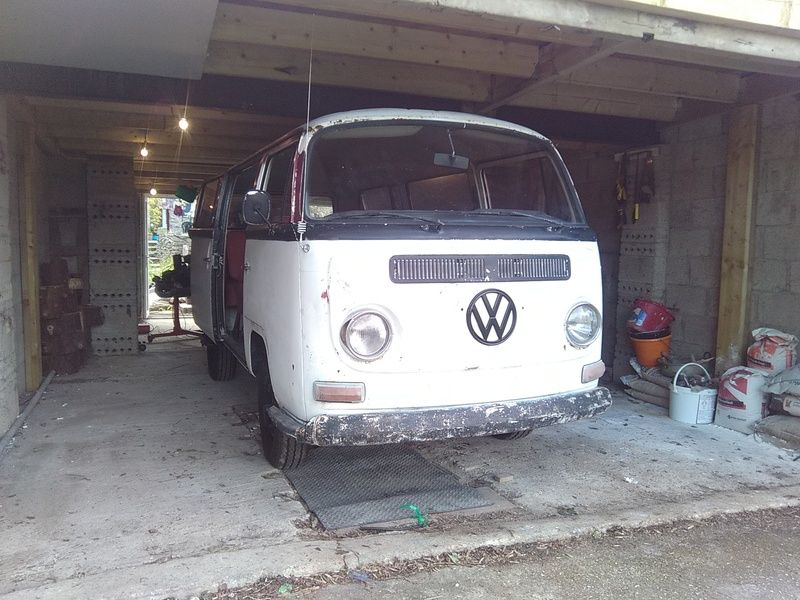
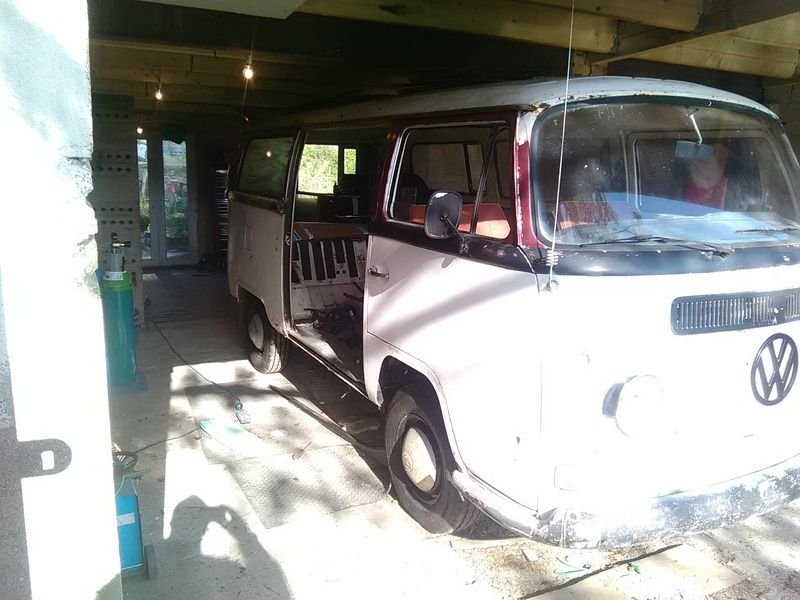
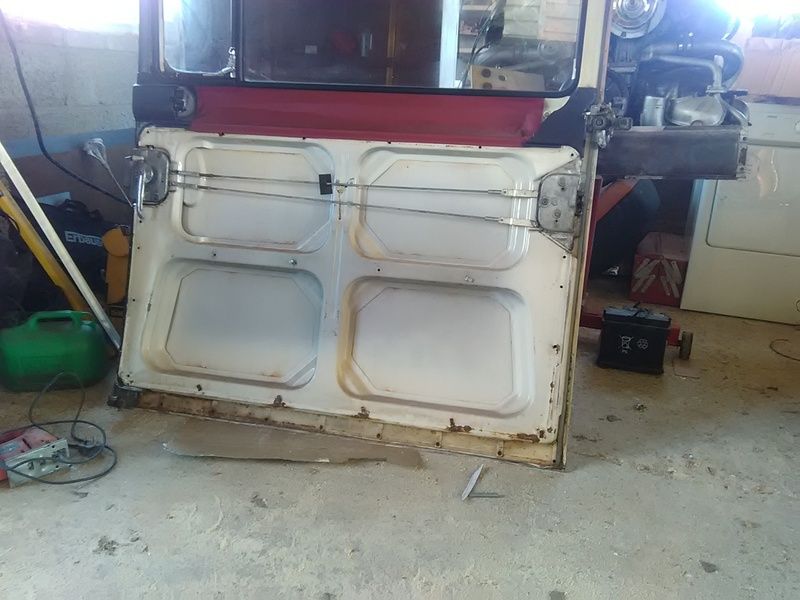
The van was originally lotus white. The interior is red and is all there is very good condition. Full headliner too and a pretty much unmarked dash.
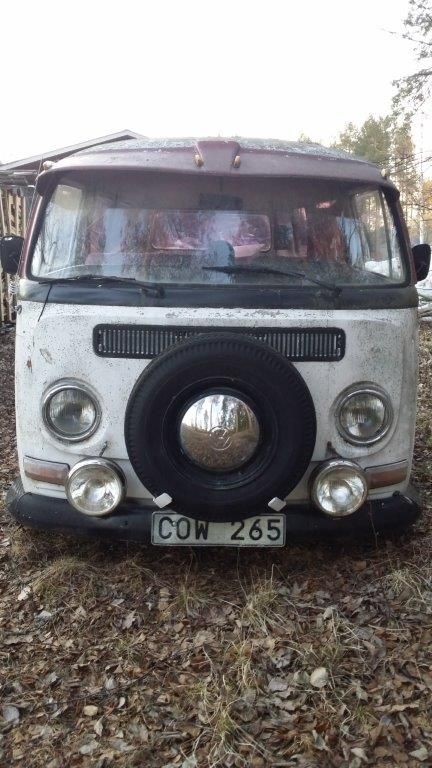
Alot of potential hopefully!
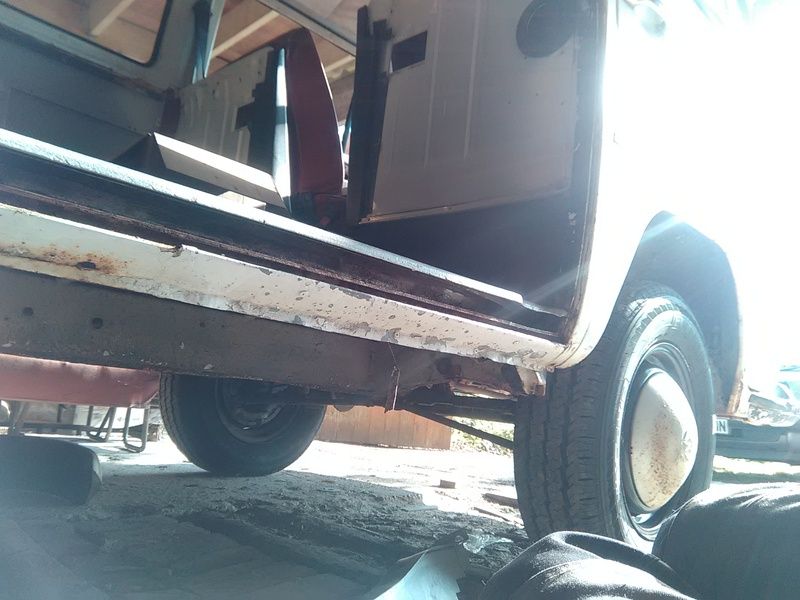
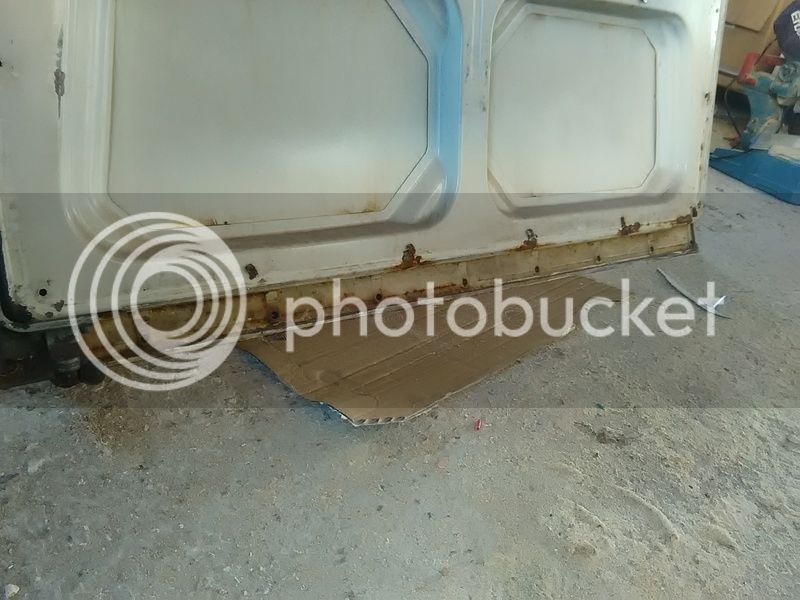
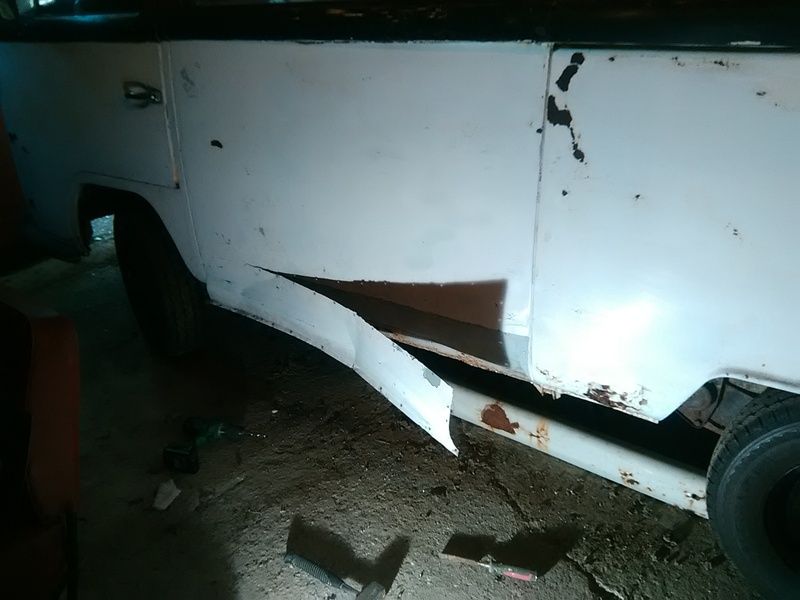
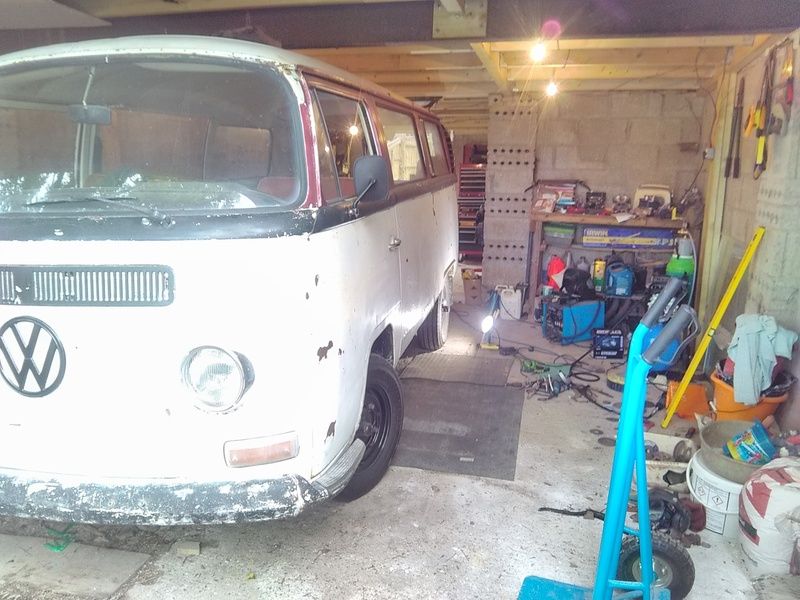
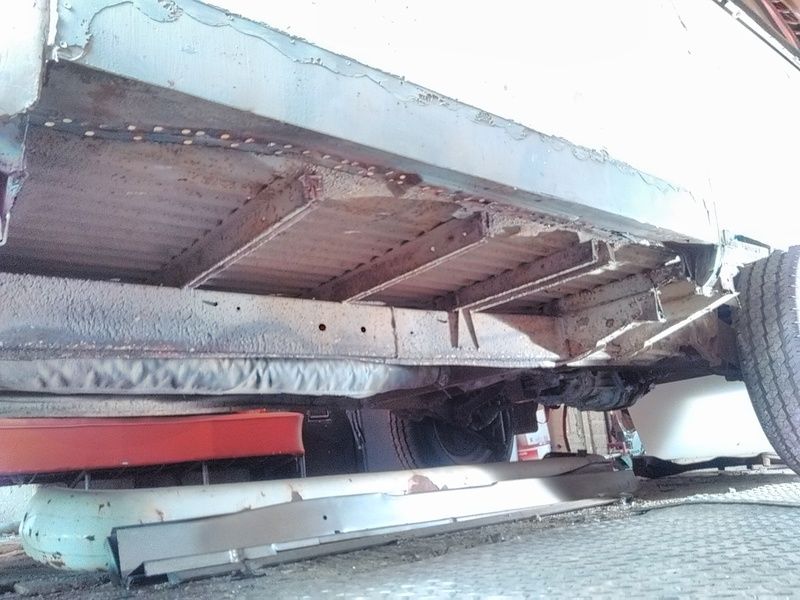
Here`s some pics - thought i`d better take a couple outside before the long haul inside the garage!
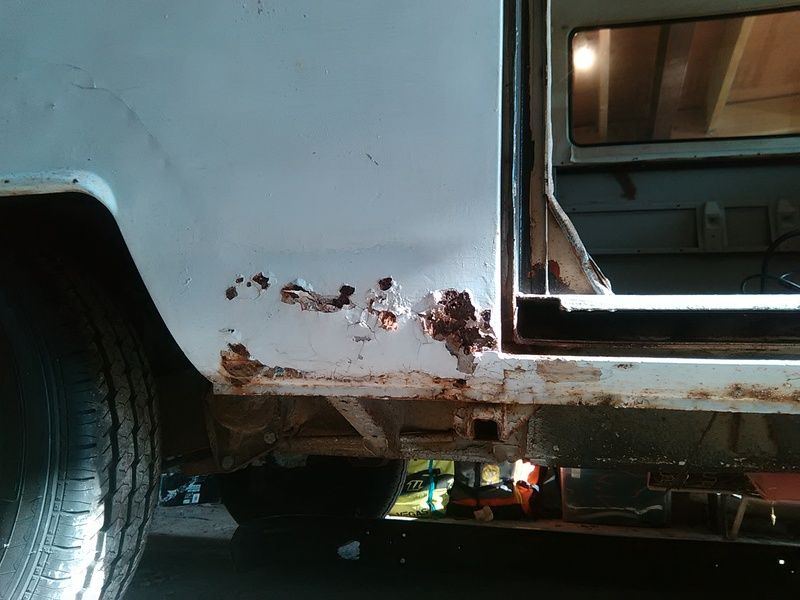
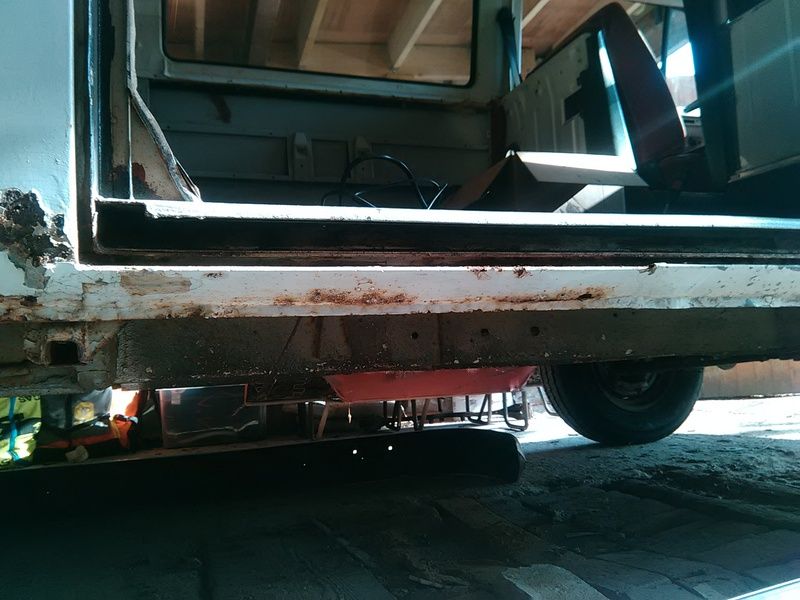
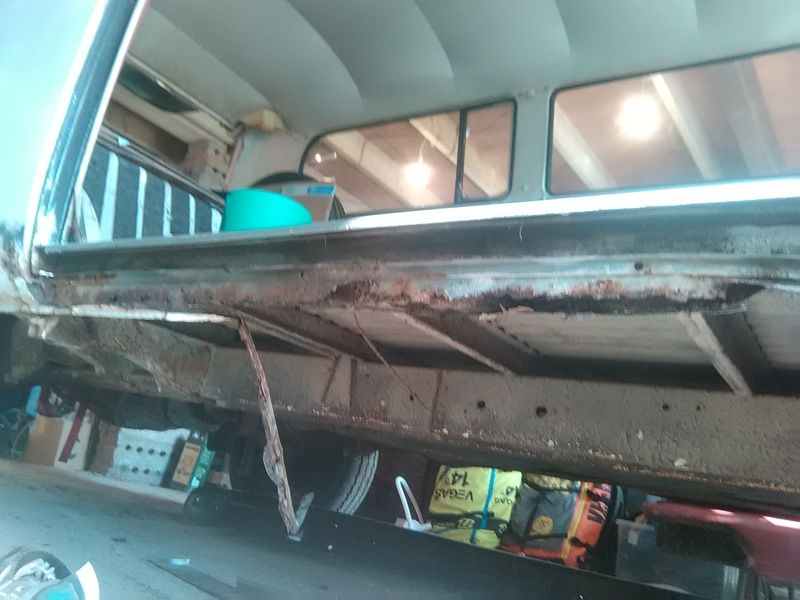
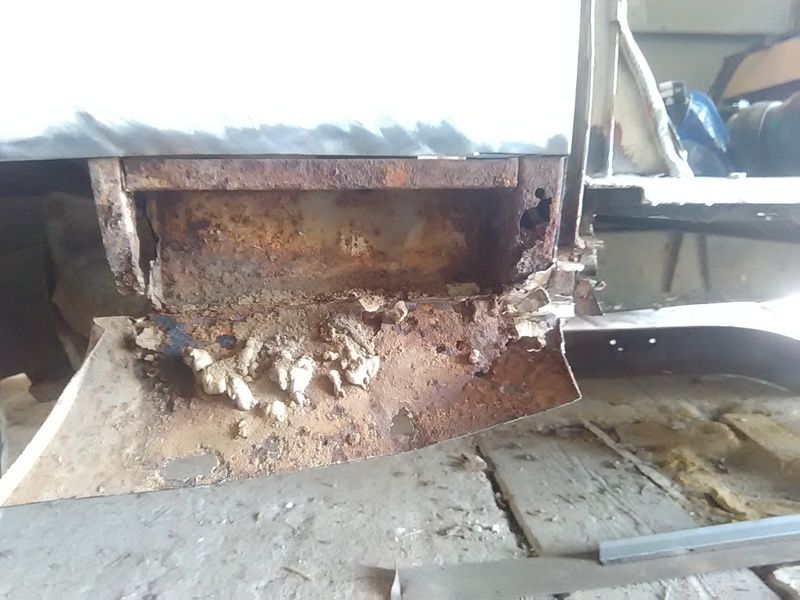
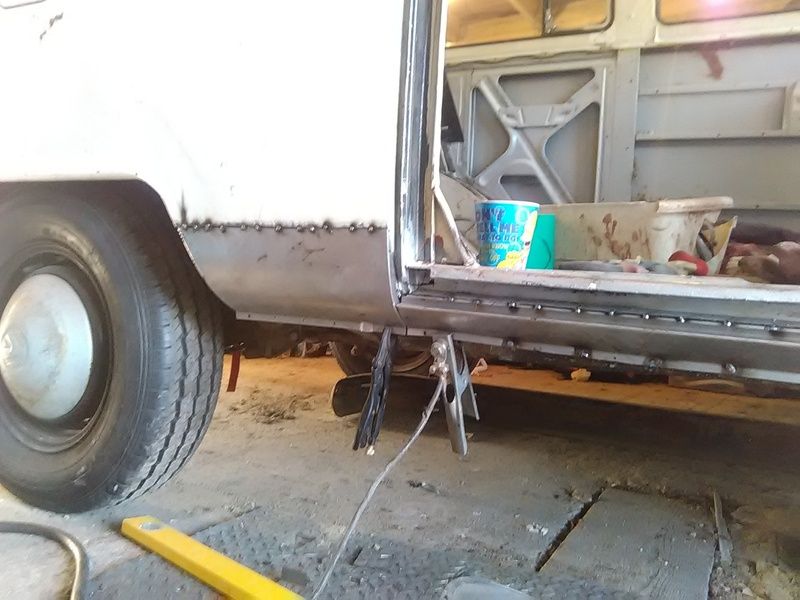
Lots of welding needed! The bottom 6 inches on both sides need renewing really, so straight into it. Never done the sills on a van before, so nothing like dropping myself in the deep end!
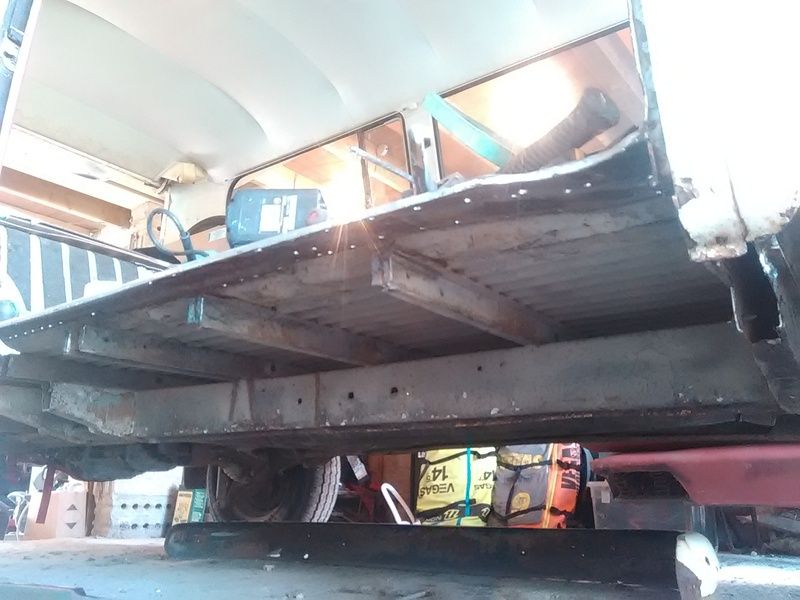
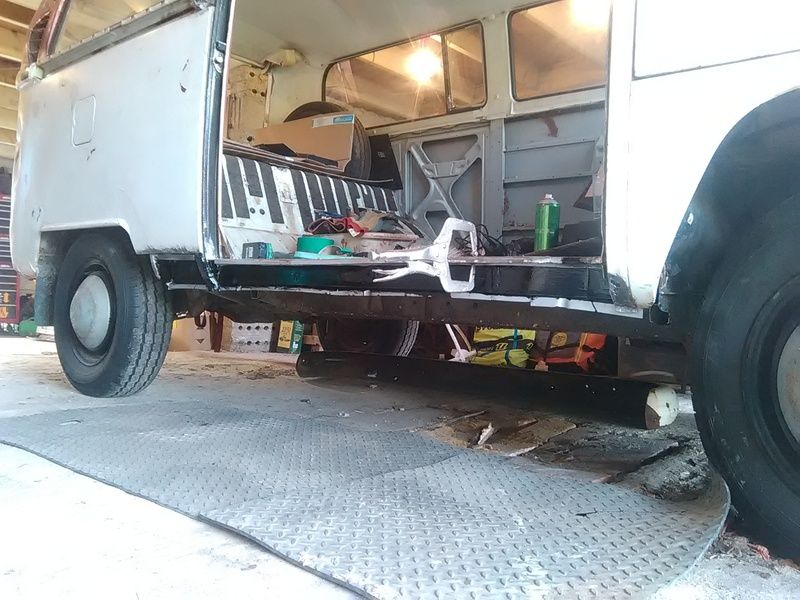
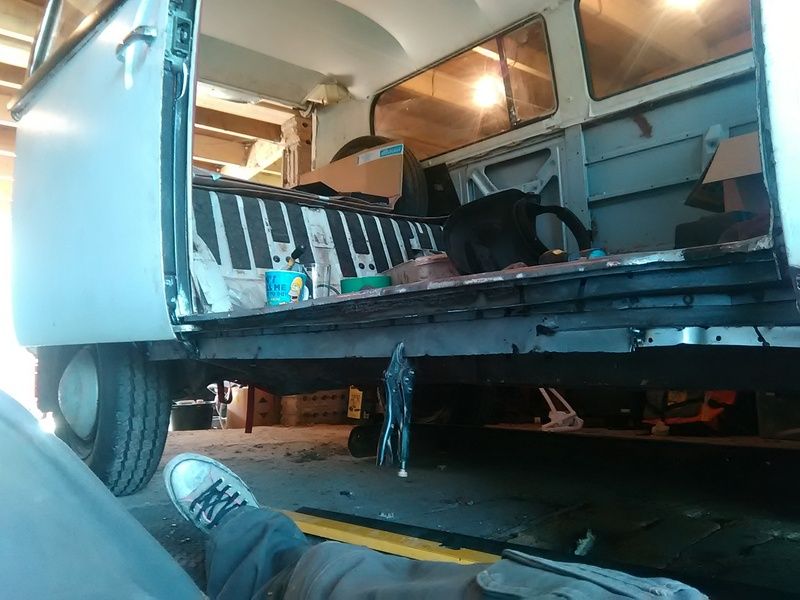
I`ll let the pics do the talking, but managed to cut most of the rot out of the sliding door side and got the inner sill welded in place pretty much.
Tomorrow, i`ll be tacking getting the sliding door runner located correctly - not something i`m looking forward to!
thanks guys - i`m not sure - pulling all those old rusty panels apart is quite time consuming.
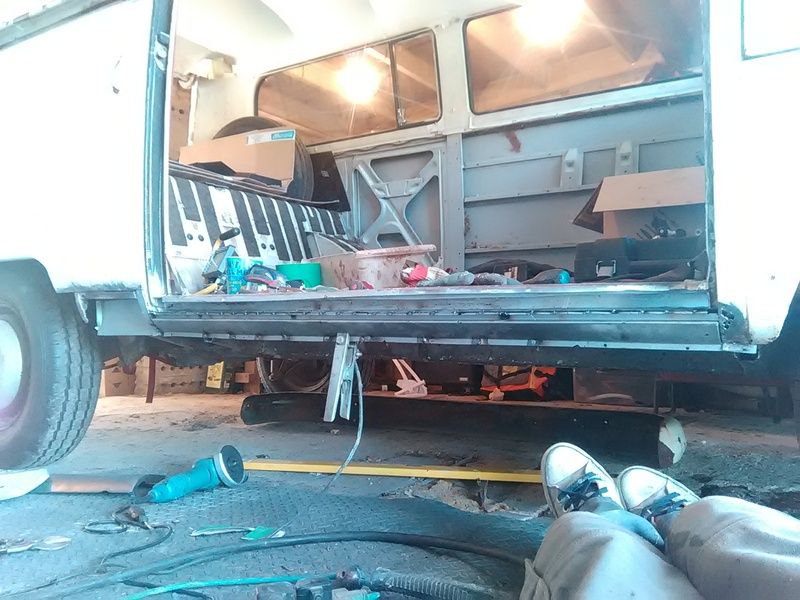
welder torch broke this morning so lost half day getting it sorted, but made some good progress this afternoon.
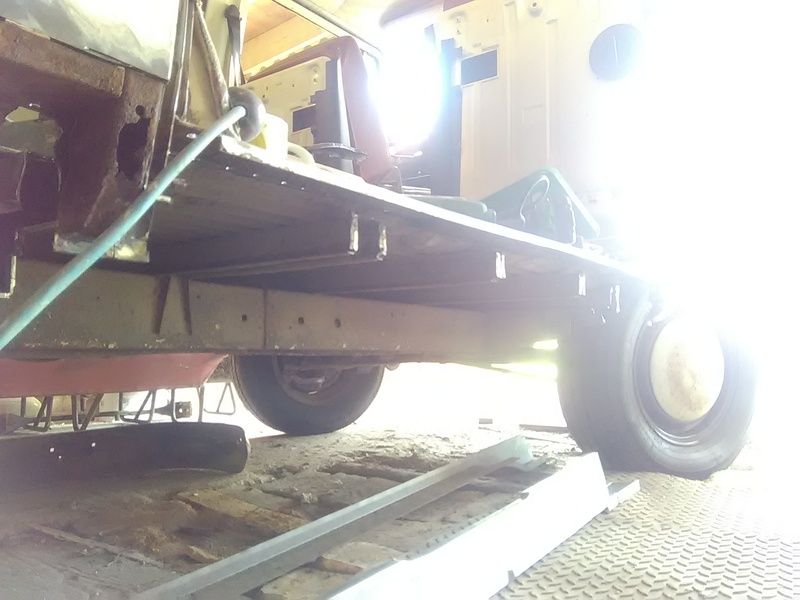
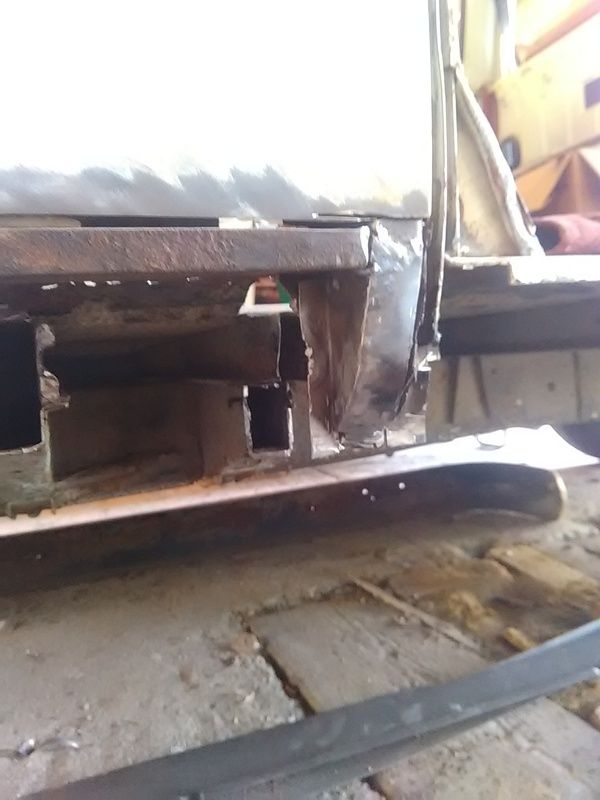
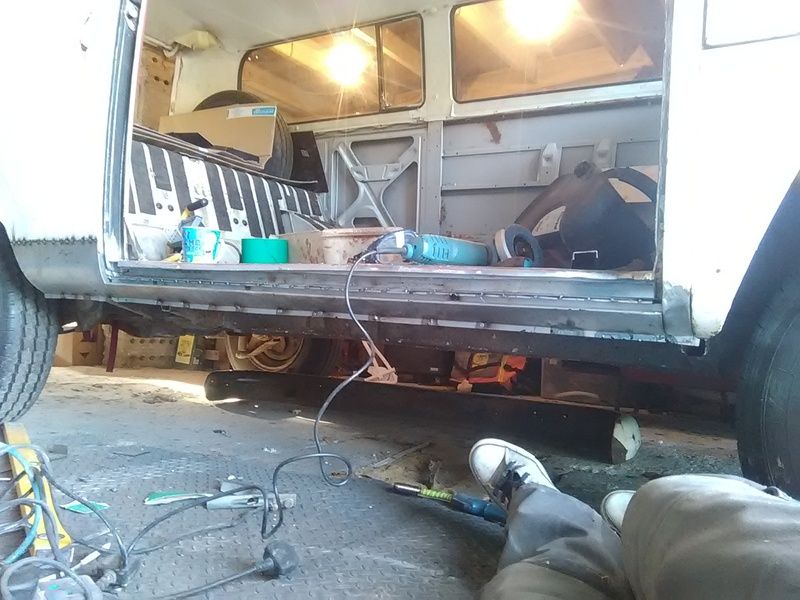
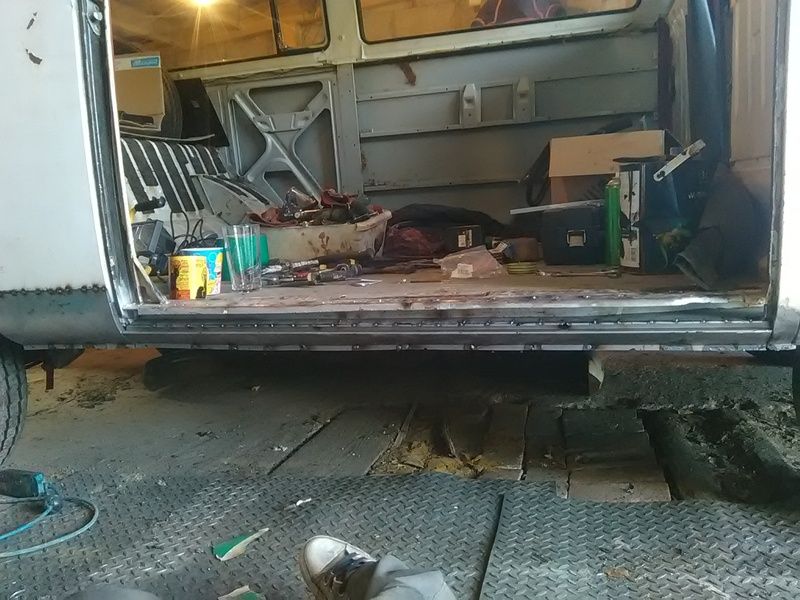
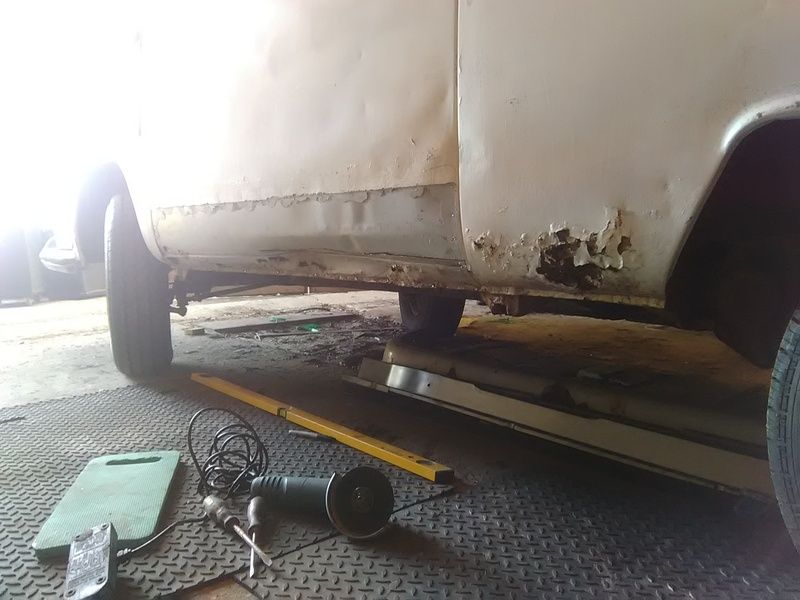
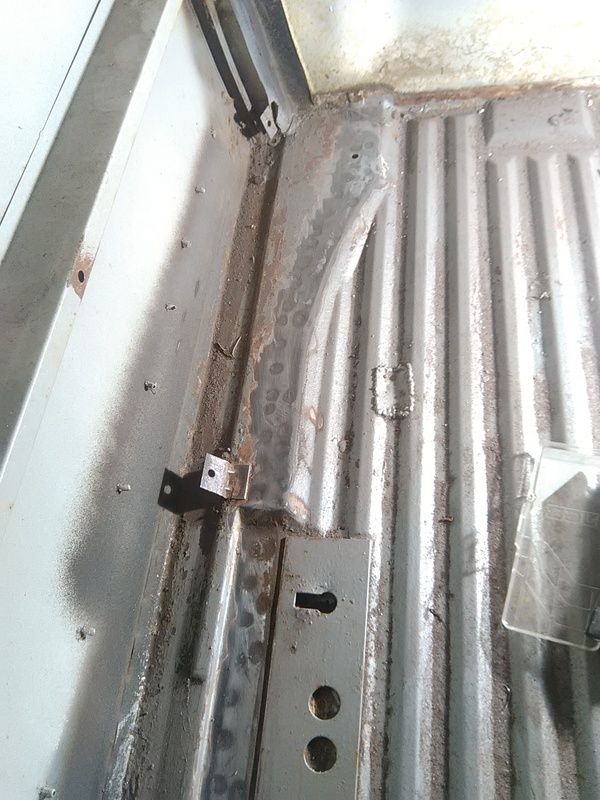
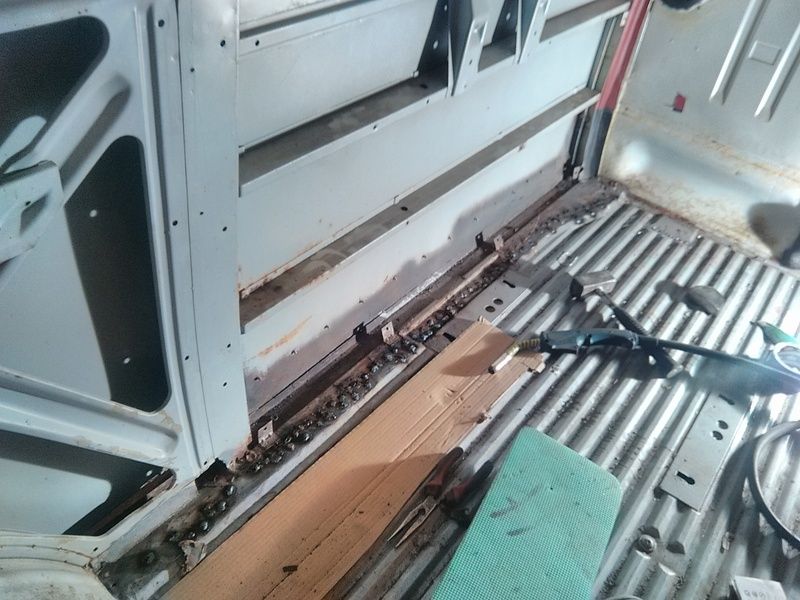
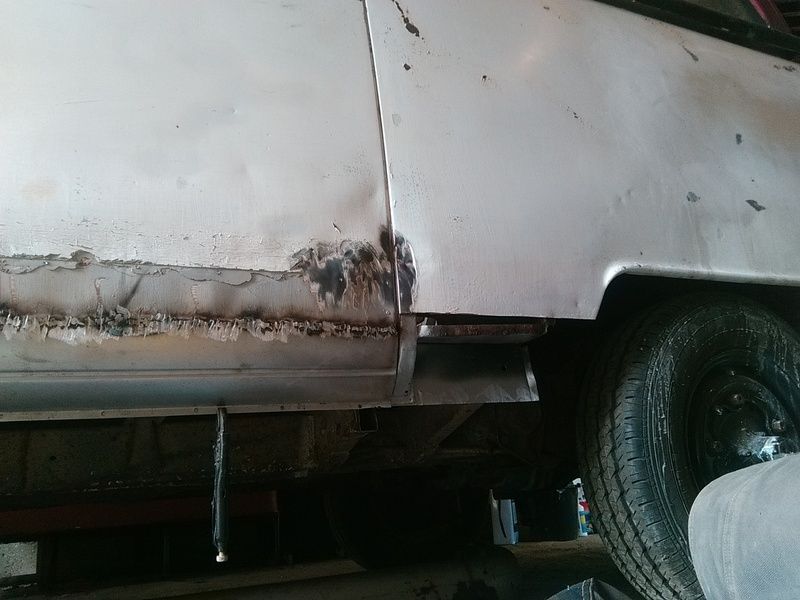
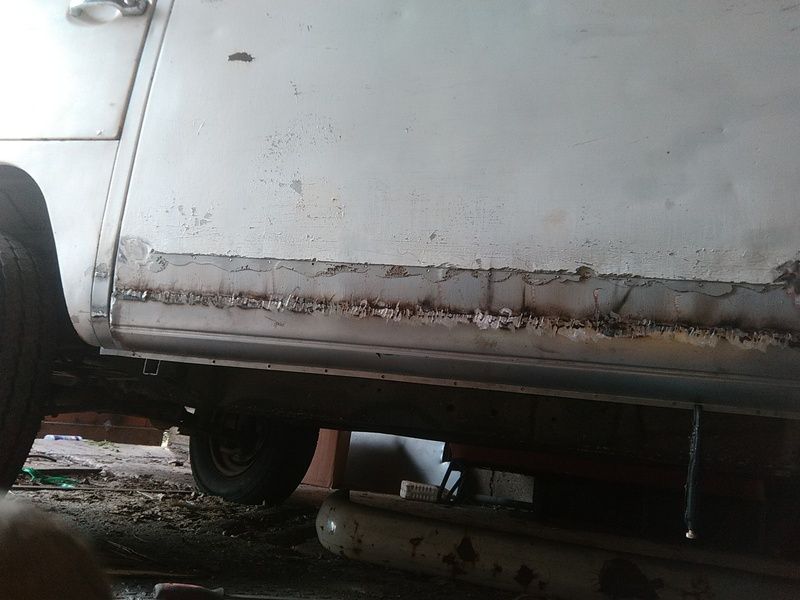
All 3 sill sections in (with sliding door on and off several times - that thing gets heavier each time you pick it up!). B post repaired and rear arch sill thing cut and tacked into place aswell. Going to have to order some jacking points and top hat repairs bits aswell i think!
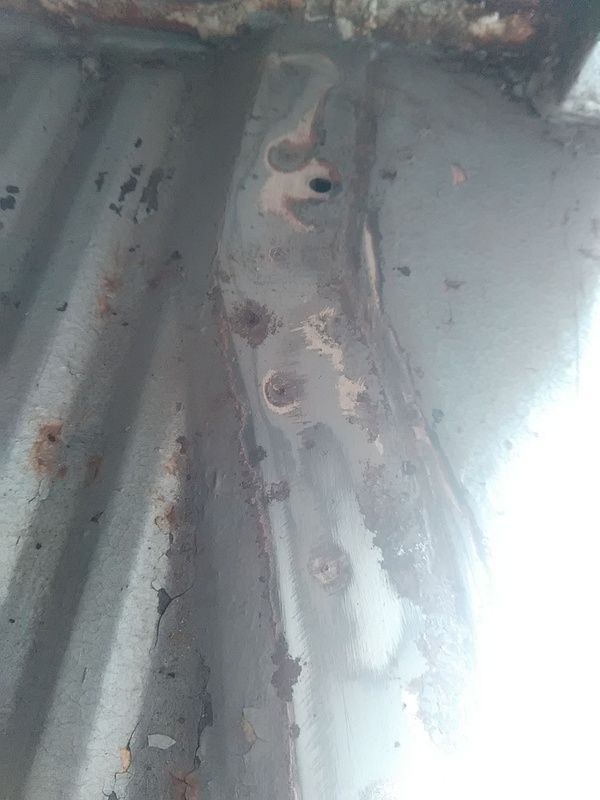
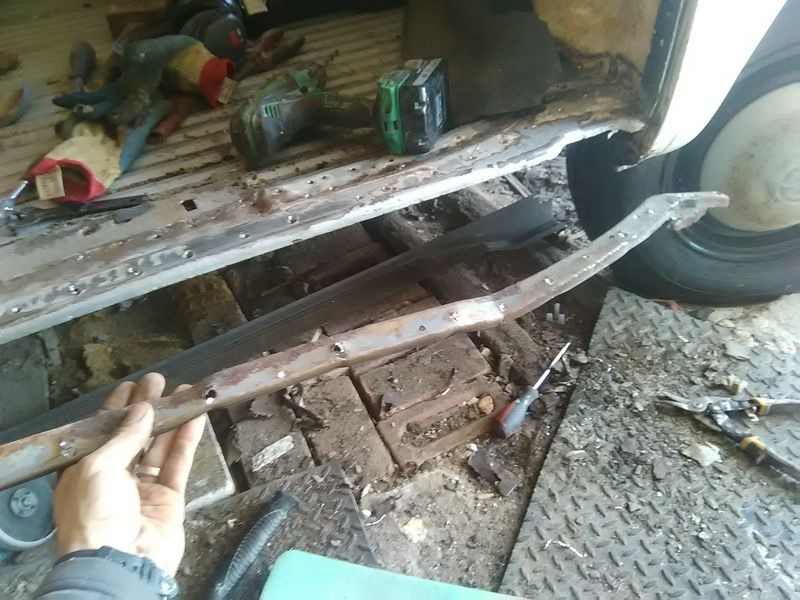
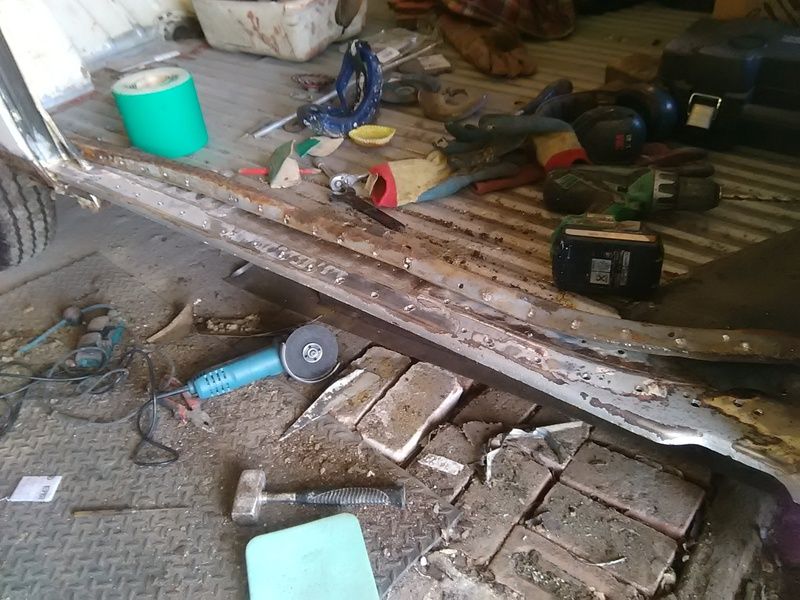
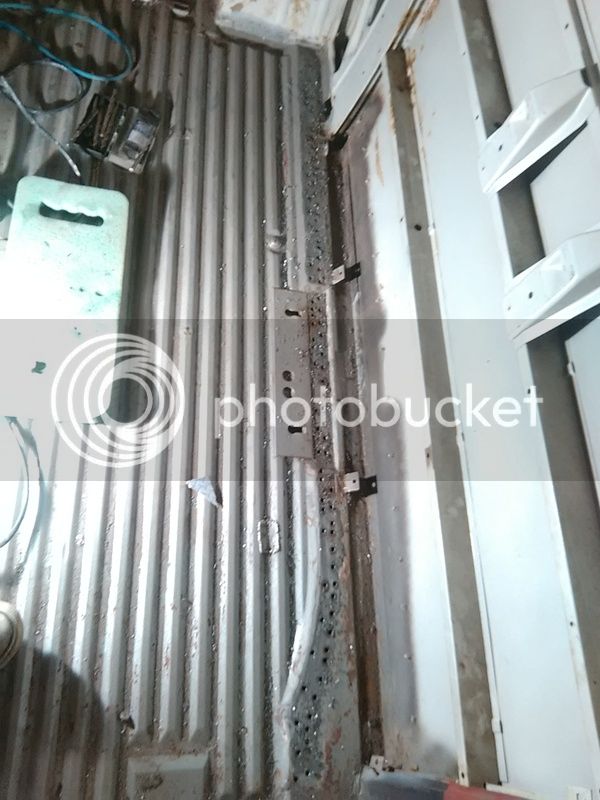
I took the original sliding door guide off, repaired and cleaned it up, then welded it to the new inner strengthener. The floor isn`t looking quite straight in a few photos as i`d not finished welding evrything up in those pics below.
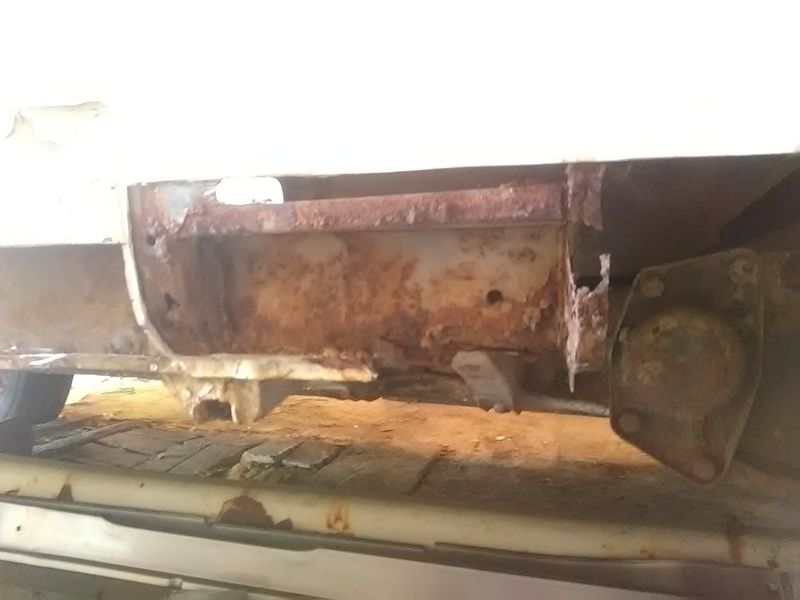
I had some time after work this evening, so i went round the other side of the van to start dismantling what was there - this mainly consisted of a few rivets holding aluminium panels on, quite a bit of rust and drilling out about a zillion spot welds.
I`ll hopefully get some time this weekend to make some progress
Managed to get some more done today and thought i`d crack on with the other side
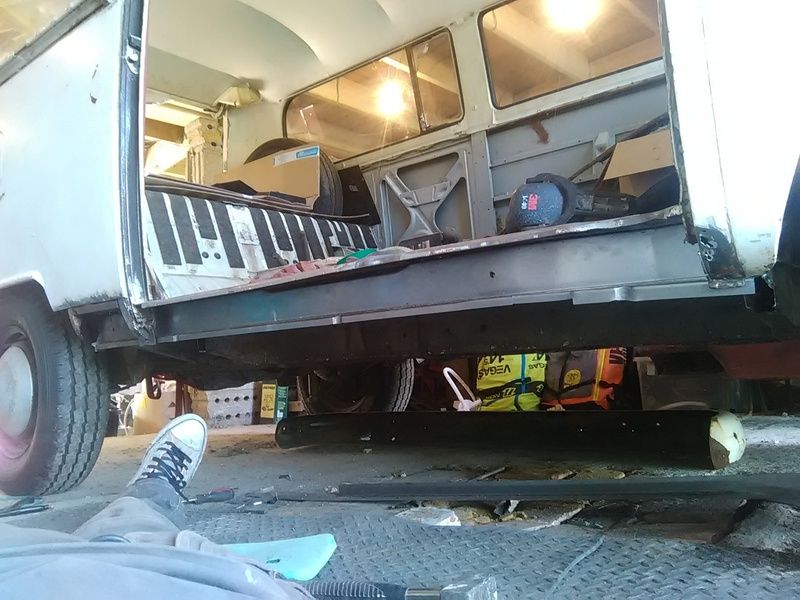
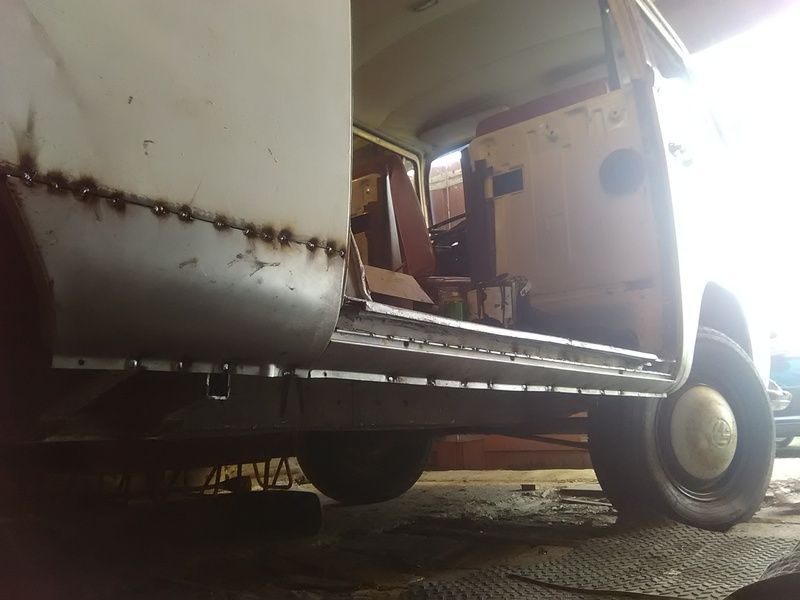
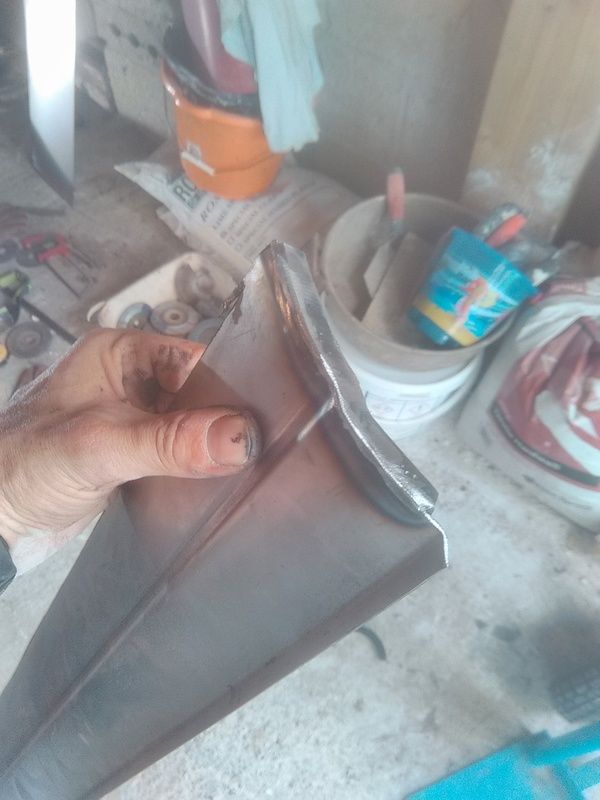
Only stumbling block was that my combined sill and side panel didn`t come with the edge bits so i had to cut it down and then weld a new edge on it so hopefully it will look factory - fingers crossed!
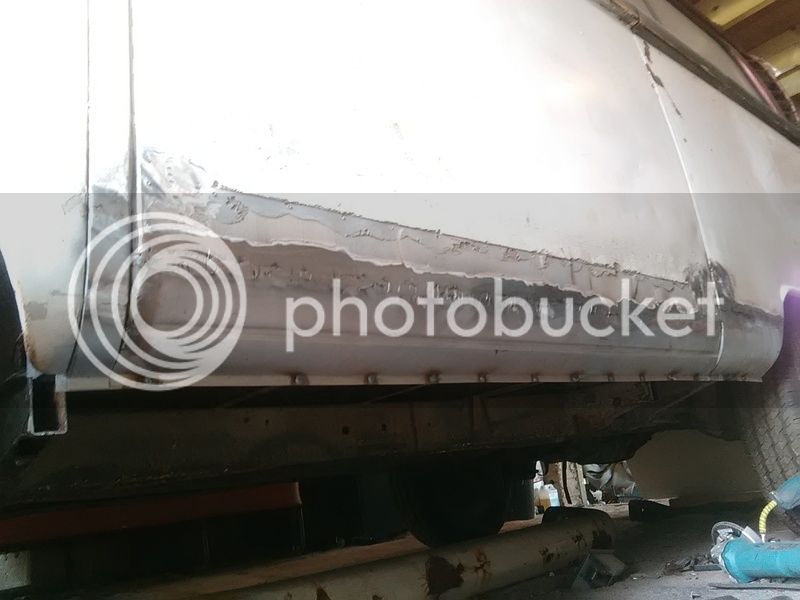
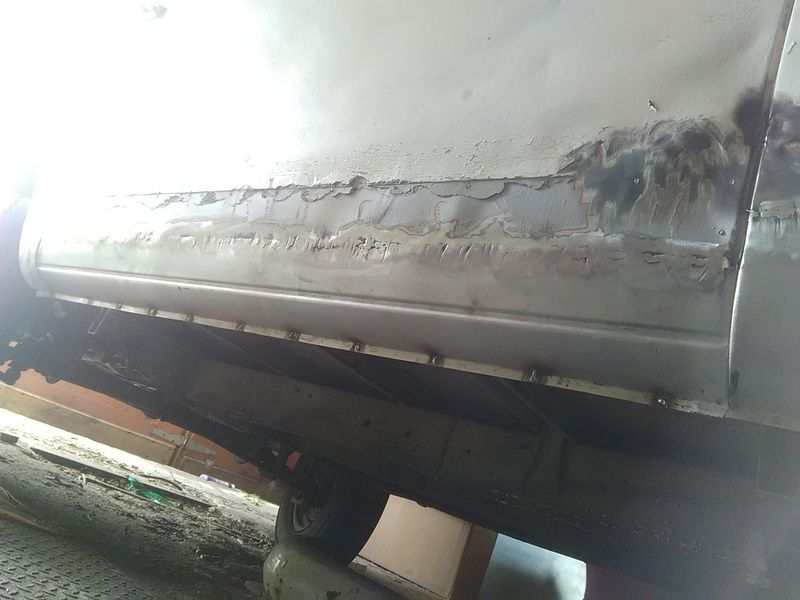
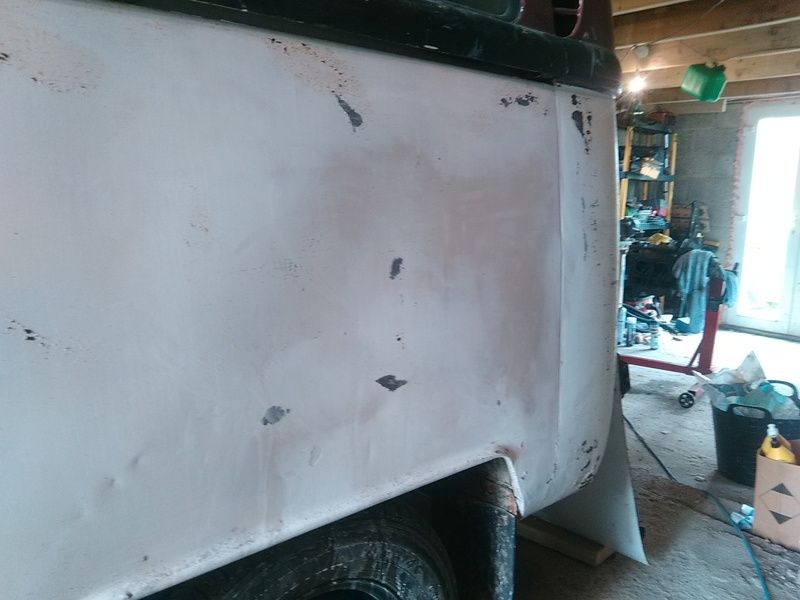
Finally got round to pretty much finishing the other side - butt welded the large panel which i was a little worried about the distortion. I found a new technique though which was as i tacked each little section, i`d grind the head of the weld straightaway. Theory being that normally, the weld cools and then shrinks. Being that it is predominantly on one side, it then pulls the metal, distorting it.
Using the method above, i found i got minimal distortion which was great. Obviously looks a bit rough in the photo, but needs minimal skim of filler over the top to just finish it hopefully.
To be honest, the panel is pretty beaten up anyway - it had another panel rivetted on top with plenty of filler in there ! I may well when i eventually paint it, beat a few dents into my new section and age it to blend in.
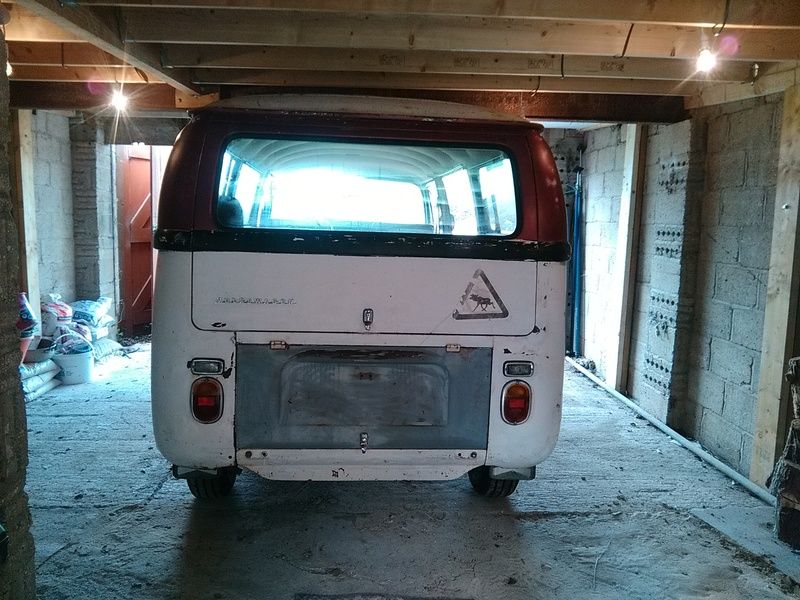
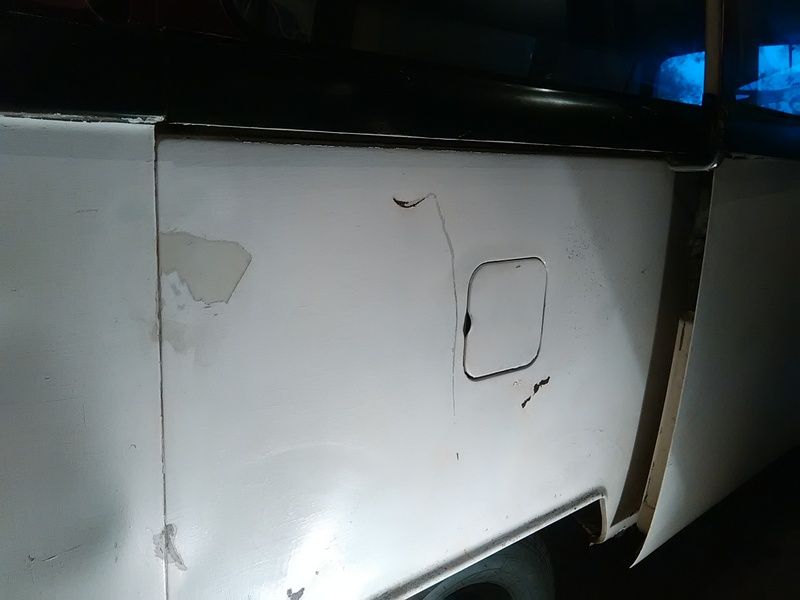
I also had a go at removing some of the brush paint on the back using wet and dry sandpaper with an air powered sander - seemed to work quite well although obviously it`ll be have to by hand on the curvy areas.


")