1971 Deluxe Import - A blank canvas

Early Bay Forum

Help Support Early Bay Forum:

This site may earn a commission from merchant affiliate links, including eBay, Amazon, and others.
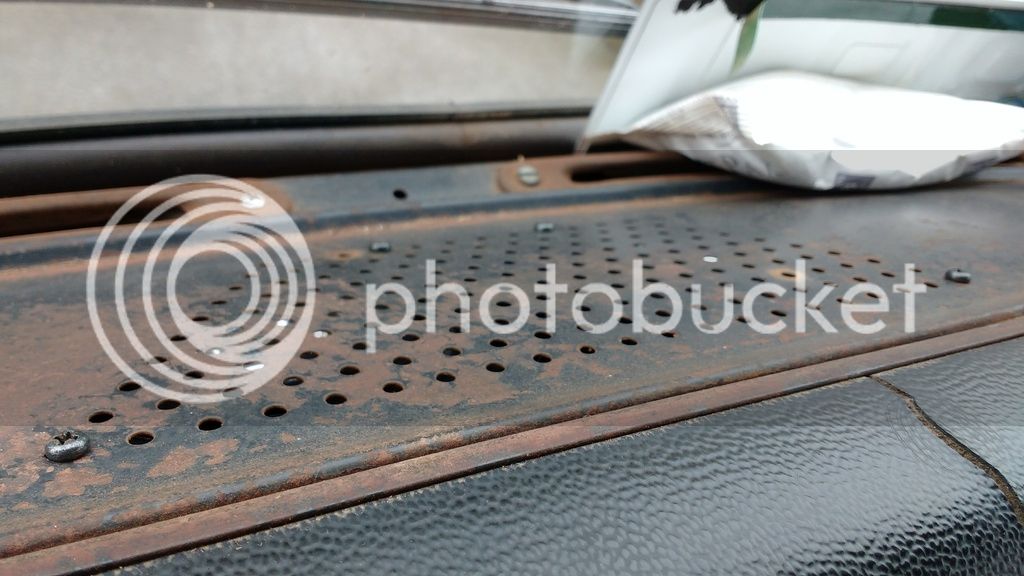
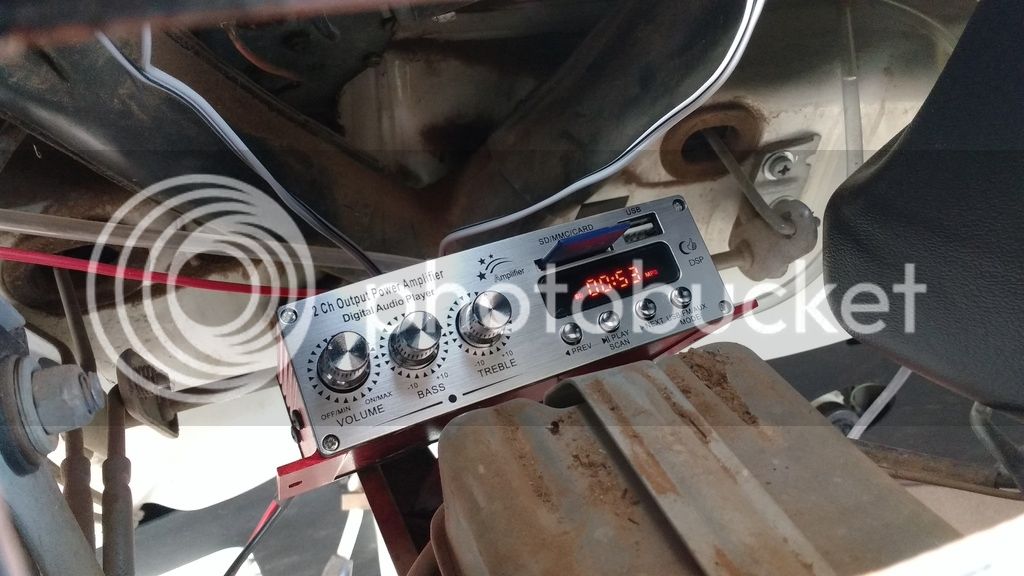
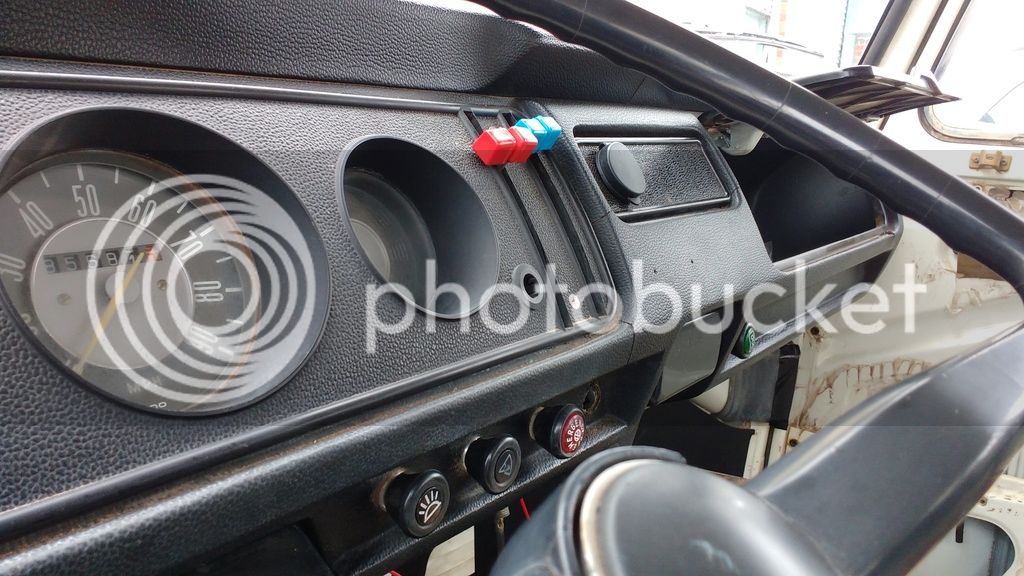
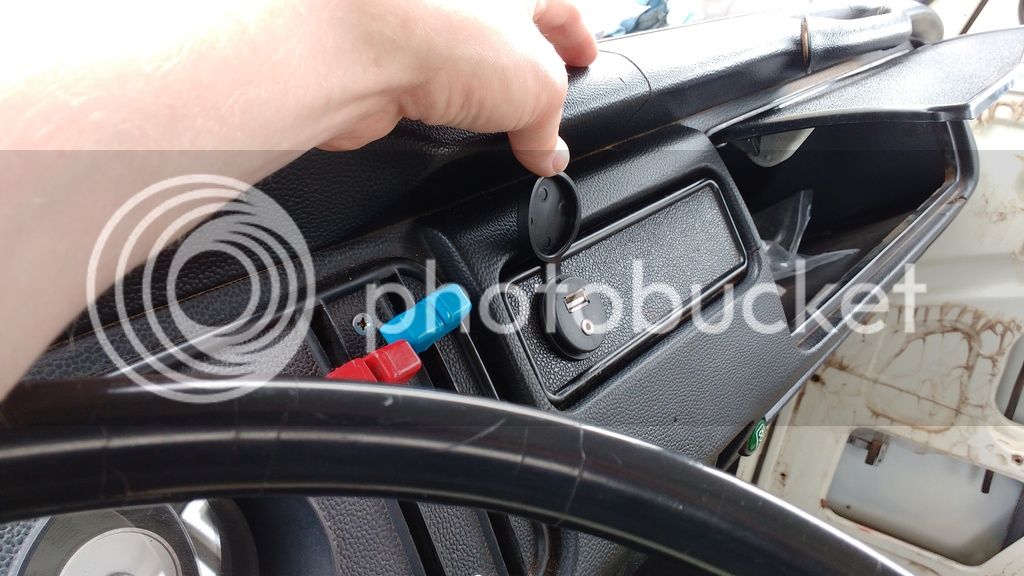
Had a spare half hour at work today so popped some small speakers in a temp location on the dash - If my amp/speaker set up works how I hope then I'll find somewhere more permanent - it'll do for now.

I've got a £12 ebay cheapy 12v mini amp with USB/Aux, powering a couple of 4 in pioneer speakers.

Just want some background music for driving, no need for super hi-fi in the van!

IMG_20160414_164045044_zpsigiotfyb.jpg


IMG_20160414_164037752_zpsu2aa56tl.jpg
 
Got it wired up and working, need to find a proper home for it rather than perched behind the ashtray! It comes with a remote so it can stay tucked away.

IMG_20160415_102719535_zpsnewoykgx.jpg
 
Picked these up yesterday -

IMG_20160420_124254457_zpsbjkehhga.jpg


Waiting to see if I can get them looking smart and then will fit them.
 
Got a flickering Generator light when driving the other day, have it pegged for a loose/slipping belt so have tightened it up.

IMG_20160421_194600278_zpsxtbqpv4j.jpg


Need to get myself a new vac hose - this one is so close to death! But they're about £50 on JK which is quite insane.

IMG_20160421_194748173_zpsm3i1aovb.jpg
 
Will them windows fit? look like van conversion windows?

I might be wrong like, just looking at photos
 
Apparently they will fit - the riviera conversions were done on microbuses not cut up panel vans. I think the outer lip of the window is the same size as the factory glass so they fit with a factory seal - though I've yet to test!
 
Had a spare hour at work today so had a bit of a fiddle, fitted an engine lid seal as I was missing one. Think this was from VWH? It's a half decent fit, a little bit too fat maybe but seems pretty good to me. Certainly beats rattling around without one!

IMG_20160506_143001185_zpszbw036gb.jpg


Also got the USB/3.5mm input fitted to my amp. Didn't want a headunit on display so just got this fitted to a radio blank. Will fit the little amp underneath the glovebox maybe so I can reach the controls if needed but it also has a remote which I'll stick somewhere easy to reach with a bit of velcro or something...

IMG_20160506_143158017_zpsjplwx5nx.jpg


IMG_20160506_143211280_zpsn6xump9x.jpg
 
Oops...

IMG_20160507_182732770_zpsnmqq0z6l.jpg


Bit of a random purchase as they came up for sale locally...

Need to strip and clean them and check the jets.

Plus side is the CSP linkage, downside is the empi manifolds.

Need to drill and tap for a vac feed for the brakes - not sure how to go about that just yet!
 
Had an hour stripping the carbs and checking them over. Jets are the wrong sizes and emulsion tube was the f78 that comes as stock that seems to be the main cause of issues that people have with them. Have ordered a new set of jets according to advice on vzi, hopefully will get me close and then a rolling road session will get them perfect.

The carbs are nice and clean and in good order - very happy with the purchase!

IMG_20160509_150438673_zpsjlpi8nhc.jpg


Also now we've had a warm few days the girls have been using it as a play house - suits me fine as trying to sell the idea of sleeping on a cab bunk to our 6 year old is proving difficult!

IMG_20160509_175817836_zpsdpnzzxdj.jpg
 
My daily is in for a bit of accident repair for a week or so which means the bus is currently the daily. Totally inconvenient but quite nice to have it on the road a bit! Certainly ironing out the problems!

I had all my electrics going over and over which turned out to be a short in the indicator blowing a fuse. An easy fix luckily.

Currently tidying up the back and cutting some foam to fit the seats. Going to have a friend upholster them for me hopefully in the next week or two.

IMG_20160517_163250941_zpstwamop77.jpg


I got a set of weber 34 ICT's at reasonable money from a lad who'd been running them in a splitty, I'm pretty sure he must have been having issues as they were jetted as factory which I believe was designed to be used singly on a bedford van - I've re-jetted them as per the advice on Volkszone, hopefully they'll give me a benchmark to work from when I get them fitted later in the year. As the bus is running OK at the moment on the single carb I'm going to keep pottering about in it. I'll be pulling the engine to fix the rear main seal and re-tap one of the sump studs which is perpetually loose.

IMG_20160518_110507602_zpsvitxgx6r.jpg


IMG_20160518_111248561_zpsdhszjnri.jpg


IMG_20160518_121207810_zpsqxjr6yyc.jpg


Currently having a good clean up, a damp cloth and cleaning all the dust that keeps settling - I should have power washed the inside when I bought it but I just cracked on with repairs - now anytime I fix something I find another big pile of new mexico dust!
 
Bus is currently sat vaguely unloved in the unit at work, haven't driven it for a week or so.

I did a few tiny jobs today, fitted some inner door pulls, fixed some of my dodgy 'it'll do' wiring to the sidelights and indicators, fitted some new pedal rubbers too - then decided the handprints left by the PO all down the side of the bus had to come off - even though I felt weirdly sentimental about them, they looked a bugger and after a couple of polishes they were full of compound and hardly resembled handprints. The peace sign on the front door was just a big streaky mess.

IMG_20160601_100022150_zpsvm1snsec.jpg


A rag and some gunwash and presto - gone!

IMG_20160601_100607452_zpsj5i9nmlw.jpg


IMG_20160601_100625120_zpsvz1akw8z.jpg


IMG_20160601_100617082_zps6dwsien7.jpg


looks much better without...

IMG_20160601_101025766_zpskjuvwa7y.jpg


IMG_20160601_135024577_zpsok5xlapp.jpg
 
Changed the sliding door seal today, took a punt on a gsf weekend bargain and it's pretty decent. Good profile, correct length and the corners are pretty decent. Doesn't push the door out like the cheap cab door seals.

IMG_20160606_113326592_zpsxtuzxkzm.jpg


old one was a bit dry and came off in a million pieces.

IMG_20160606_113336851_zpsw7iugjkz.jpg


IMG_20160606_120833085_zpsdlipbcx0.jpg


door lines up OK.

IMG_20160606_122342576_zpszdx7qnun.jpg


shame my track cover has been absolutely mullered...

IMG-20160606-WA0001_zpshvsacnem.jpeg
 
Lee C said:
This looks soooooo much like my old bus!!!!!!!!
I have to do a 2nd take when I check the thread!!!!!!

I wish mine was as clean as your old bus!
 
Well this job is making me want to top myself!

I removed the sump plate to change oil/oil screen - all the studs screwed out and brought some thread with them. Think they'd had some kind of chemical metal holding them in - tried to re-tap the thread and fit new studs but anything past finger tight and they popped straight back out.

I thought I'd see how it faired with all 6 fitted and tightened - It was like an oily circular waterfall.

I ended up ordering 5 m8-m6 repair studs, the extra long one still holds fine on the internal captive nut.

Got it up on some ramps so I could get under the sump with a drill / tap.

IMG_20160627_171351610_zpsj7wus6gq.jpg


So far I've drilled them out to 6.8mm and tapped with an M8 thread - just waiting on the studs to arrive and I'll test fit them permanent with a dab of loctite and a whole heap of praying and fingers crossed.

IMG_20160628_120435204_zpssxudx7kh.jpg


IMG_20160628_132552877_zpshvwjdvi2.jpg


Hopefully all finished and back together tomorrow! One of the threads is definitely on a tiny bit of a wonk - I'm hoping the studs are short enough for it to not mess anything up too badly!! haha.

Been cleaning the swarf out with a greasy coffee stirrer and a rag - will probably fill it with sacrificial oil to try flush any loose bits out too.

Kill me now.
 
Well, all seems to have gone to plan aside from a tiny technical hitch where the threads on the longer stud are a bit shitty, so couldn't get a domed nut on - will order a new one and replace when it arrives. One of the repair studs is wound in a bit too far so got an ordinary nut on too but still held on OK.

Was a horrible job, really didn't enjoy doing it!

IMG_20160630_095607080_zpspa8qfwbf.jpg


IMG_20160701_093419585_zpsphtvhkib.jpg


IMG_20160701_094838564_zps3e0ee5ib.jpg
 
Thanks to George as per usual for saving my bacon with the loan of a timing light, managed to get my accuspark dizzy installed and timed up.

I've kept the old Bosch points dizzy under the passenger seat just in case I have any bother.

IMG_20160810_123436_zps9nbjn7y4.jpg


Got the accuspark fitted and timed up fairly easily.

IMG_20160810_123441_zpsaqefsphf.jpg


Then had half an hour underneath removing more air con pipework from the system I removed when I bought it. Loads still to go just doing it bit by bit!

IMG_20160811_153522_zpsz0lbb1ar.jpg


Had some issues with the idle speed, wouldn't seem to drop below 1400 so took the idle adjust screw out to check it was still pointy, cleaned it up and re-set as per the book. Seemed to come down quite easily then to 1000 but struggles a little to idle when coming off the accelerator. It drives and pulls much nicer than before though!
 

Latest posts

Top