You are using an out of date browser. It may not display this or other websites correctly.
You should upgrade or use an alternative browser.
You should upgrade or use an alternative browser.
1971 T2 riviara project
- Thread starter gimp
- Start date


Help Support Early Bay Forum:
This site may earn a commission from merchant affiliate
links, including eBay, Amazon, and others.

gimp
Well-known member
- Joined
- Apr 12, 2012
- Messages
- 88
- Reaction score
- 0
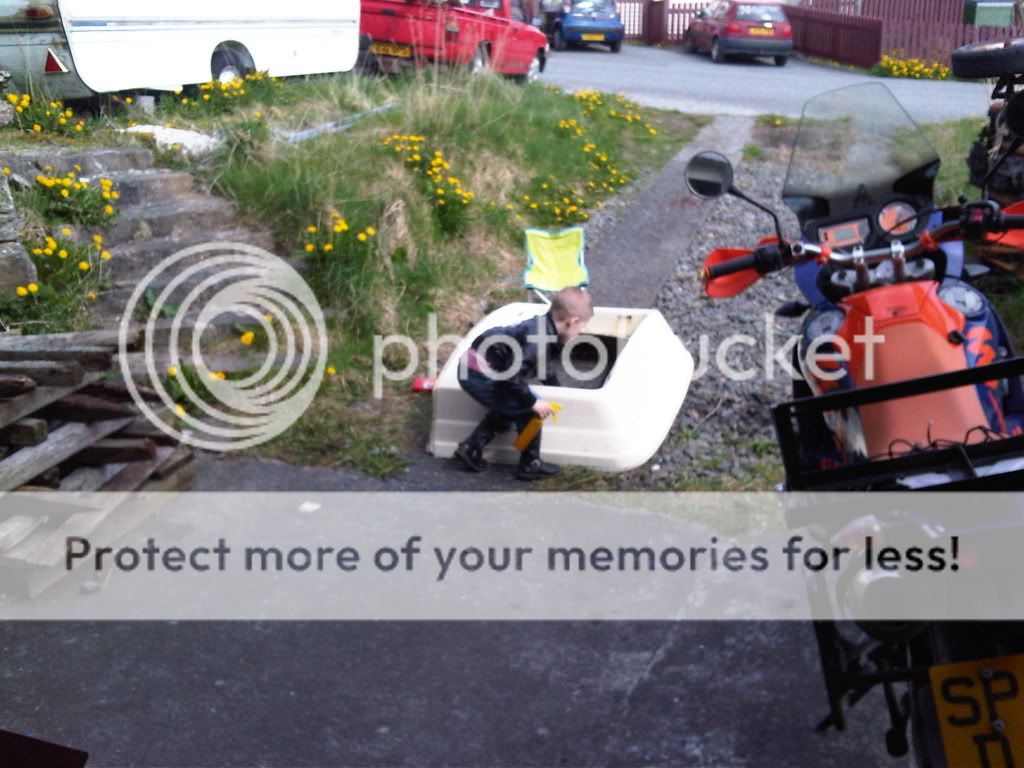
this is Audrey... this whole mess was her idea!!! i was looking at a beetle that Nick (the previous project manager of the bus) had. when i came home she said why do u want another beetle why not get the camper if hes selling it... i explained that it didnt have an engine or front screen or brakes or electrics.. i also said if she wants a camper i could get a nice working t25 for £4000 and we could be camping right away..oh lord not another project!!! this did not go down well as she does not like the boxy wedge. its got character she said.. and boosted my ego by saying "if anyone can get it on the road u can"...
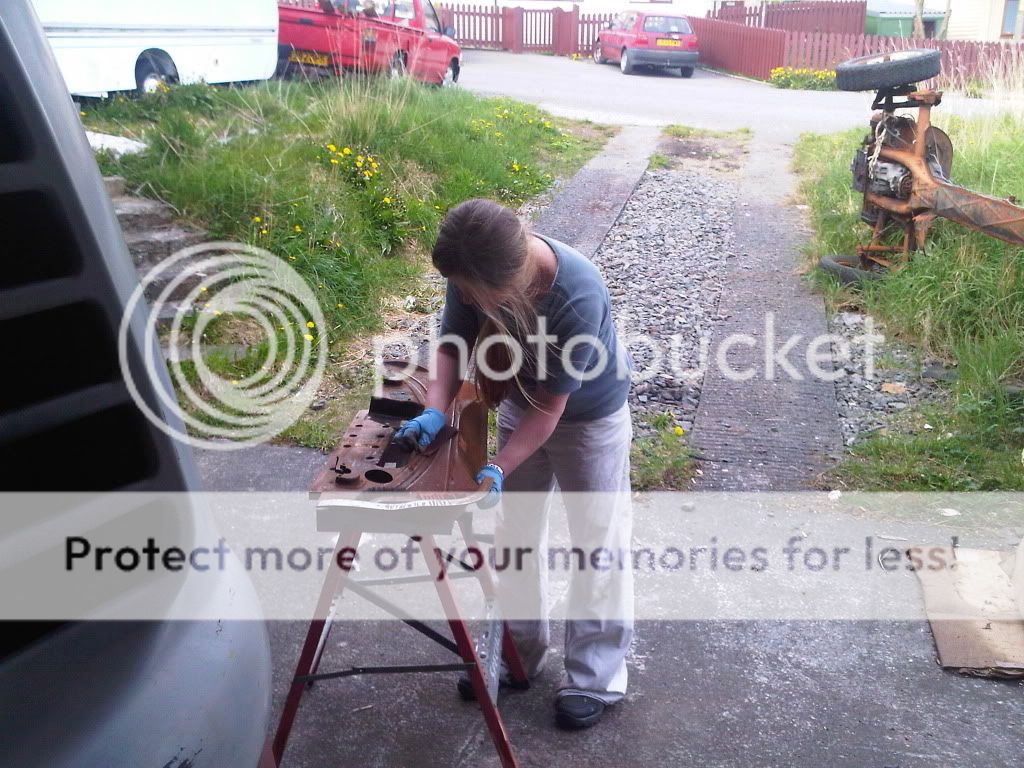
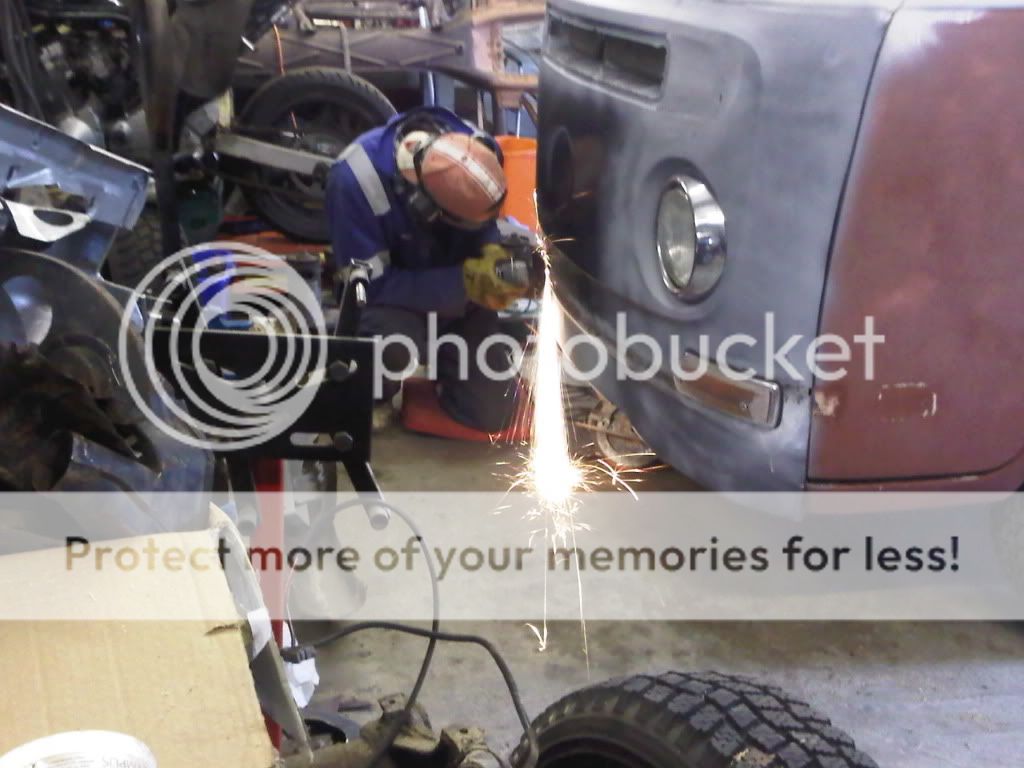
well that was it.. all we needed now was the money for nick.. being on the skint side we split the cost and she is my partner in crime. she assured me i would not be left alone in a freezing werk shop to go it alone. she would help in anyway she could.. i did not want to get too involved in the detail and just get the riviara on the road asap. but there is such a thing as doing a bus in this condition justice and trying to stay original for the most part. where do u stop.
gimp
Well-known member
- Joined
- Apr 12, 2012
- Messages
- 88
- Reaction score
- 0
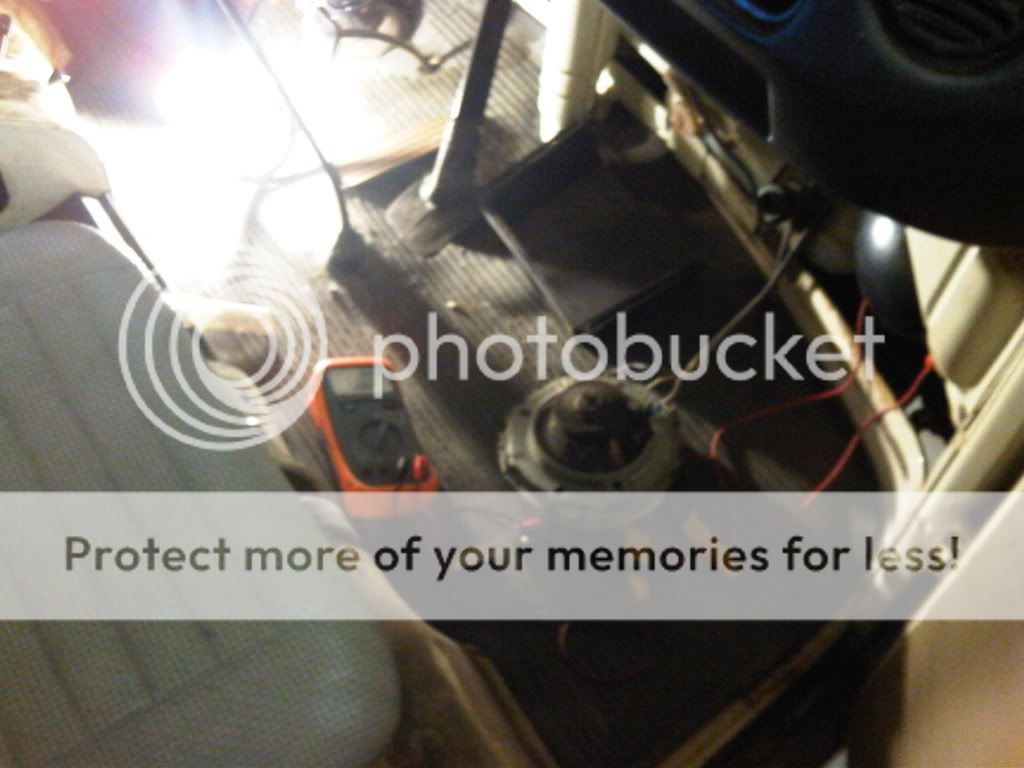
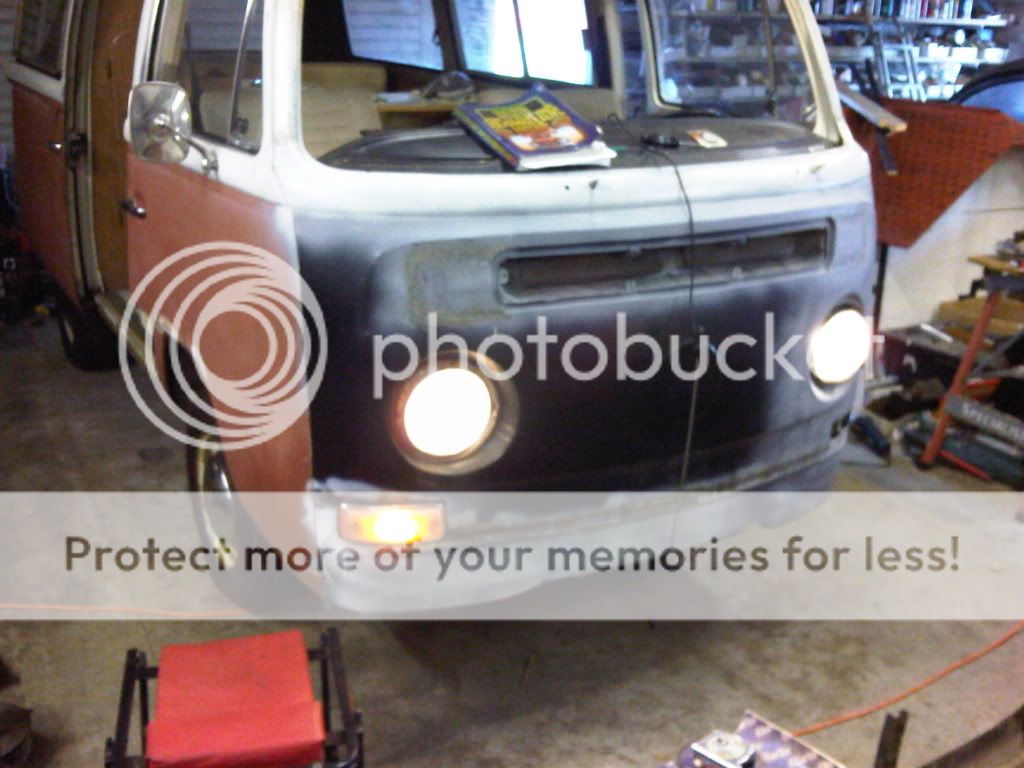
now its time to sort out the gremlins on the electrical side. U.S spec to U.K spec, head lights from my old beetle and move the indicator marker light to the parking light in the headlight housing. had to do a bit of drilling to mount the lights in the front end light buckets..


gimp
Well-known member
- Joined
- Apr 12, 2012
- Messages
- 88
- Reaction score
- 0

got the backs working too. now some advice. i bought brazil back lights. the quality of the connectors on the back was schiesse. for the extra money u are better off with german originals.. everytime i buy something from empi china or brazil i am let down, its just a waste of money. people making the good stuff need our support and we should avoid the cheap **** before thats all there is available.

gimp
Well-known member
- Joined
- Apr 12, 2012
- Messages
- 88
- Reaction score
- 0
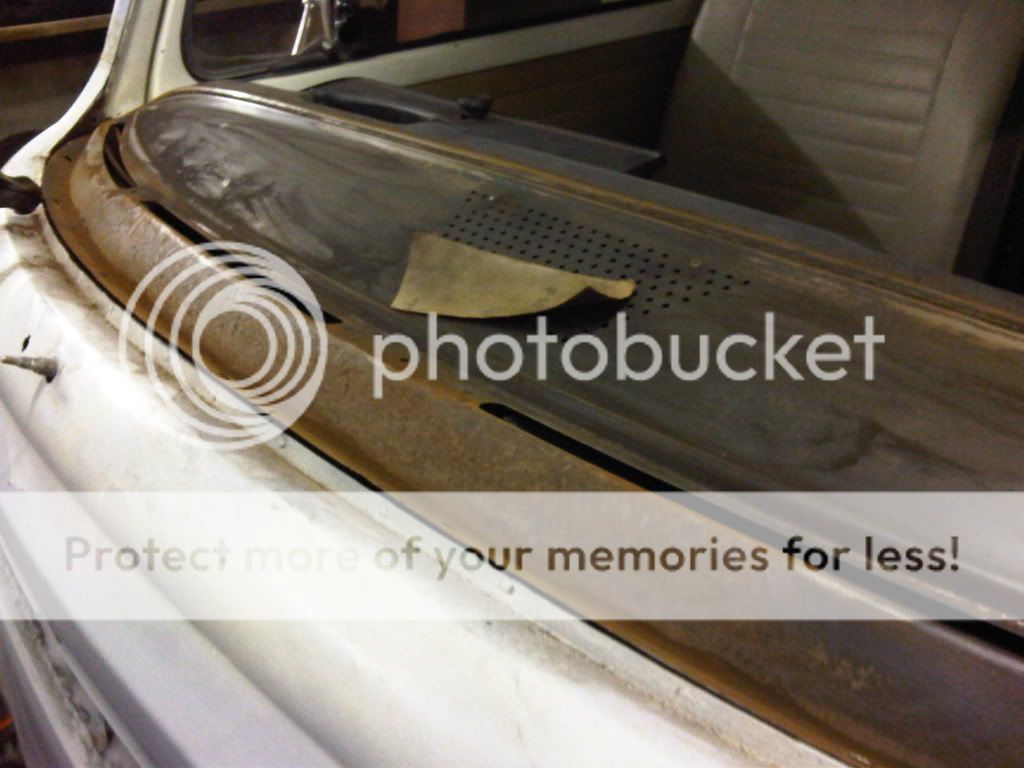
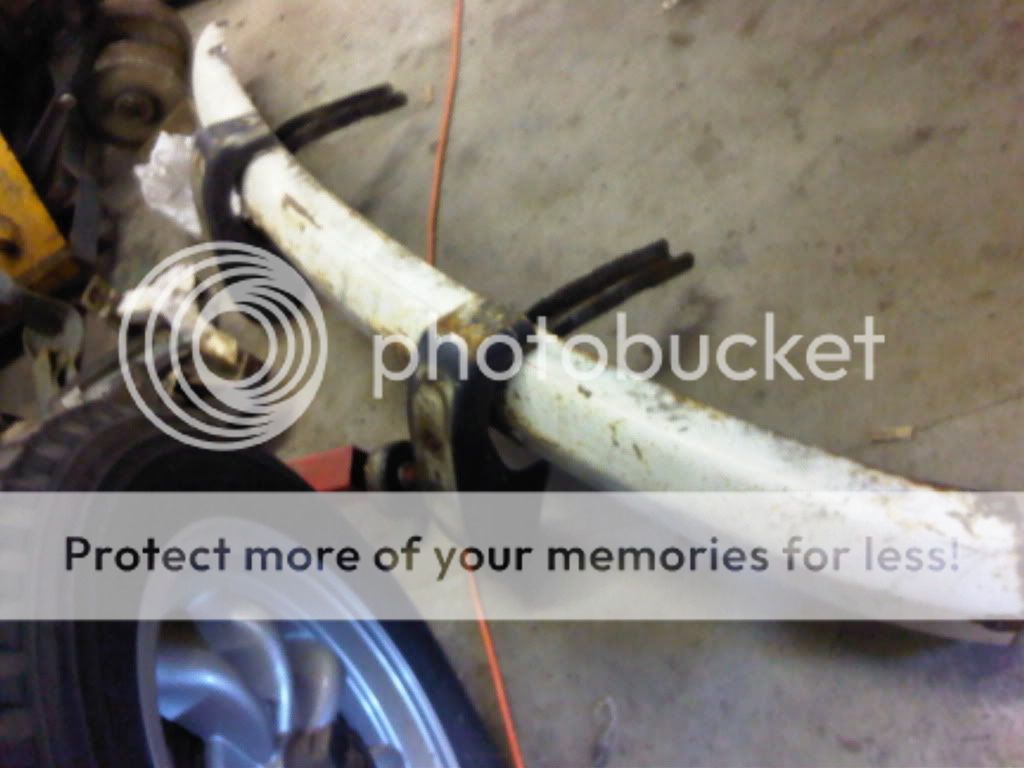
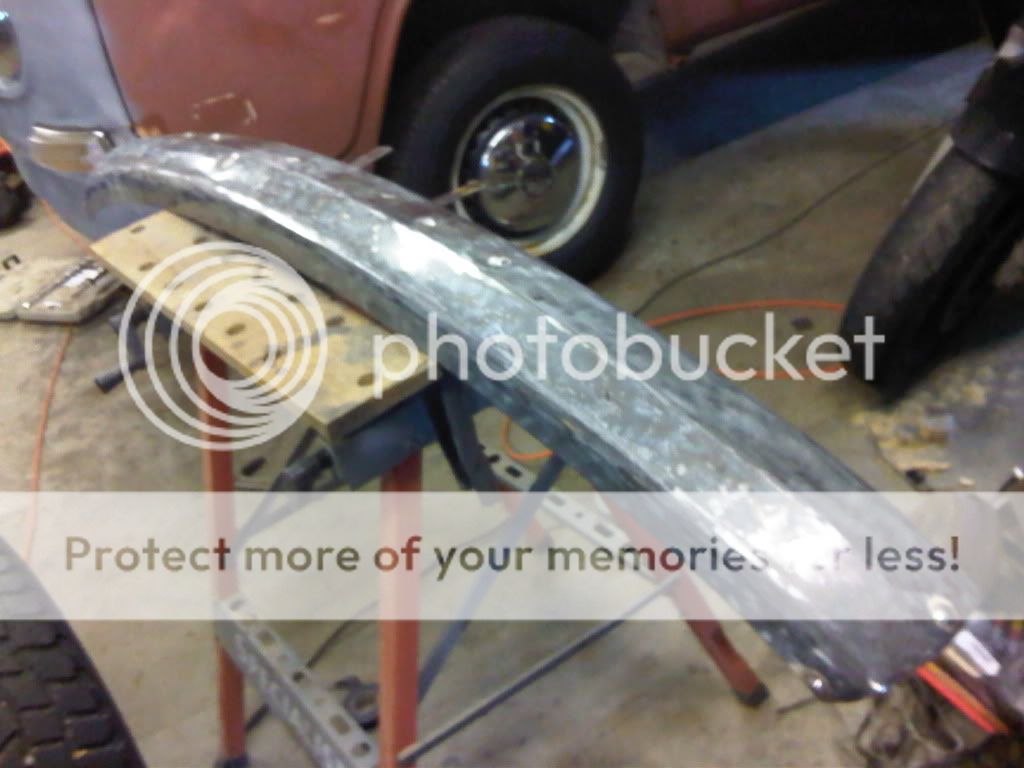
had to rub down the front top dash as she was rusty, could not remove the whole thing tho seems to be clamped to the soft dash. i really want this looking good before the screen goes in as its gonna be hard to get to once the wind screen is fitted. will rust coat before final black spray.
gimp
Well-known member
- Joined
- Apr 12, 2012
- Messages
- 88
- Reaction score
- 0

well dubbers here she is after a run around the car park. ive had a friend fit the Goodridch ss braided brake flexies and the copper nickle lines. the master cylinder is not in yet as have converted the servo to non servo and my new m/cylinder has a 100mm space between resovour holes and can only find 85mm ones.. any ideas? (the hand brake works good tho)
also the engine leaks oil from the back seal so have to muster the energy to pull the engine and sort that.
dont want to fit the front screen as ive never done one and would rather let someone else break it. Nick assured me the aperture is a good but im wimping out...
bottom rung
Well-known member
Lookin good Ernie, no doubt she will soon be in paint. What colour are you going for? Have you got a date in mind for her first trip to Gib?
gimp
Well-known member
- Joined
- Apr 12, 2012
- Messages
- 88
- Reaction score
- 0
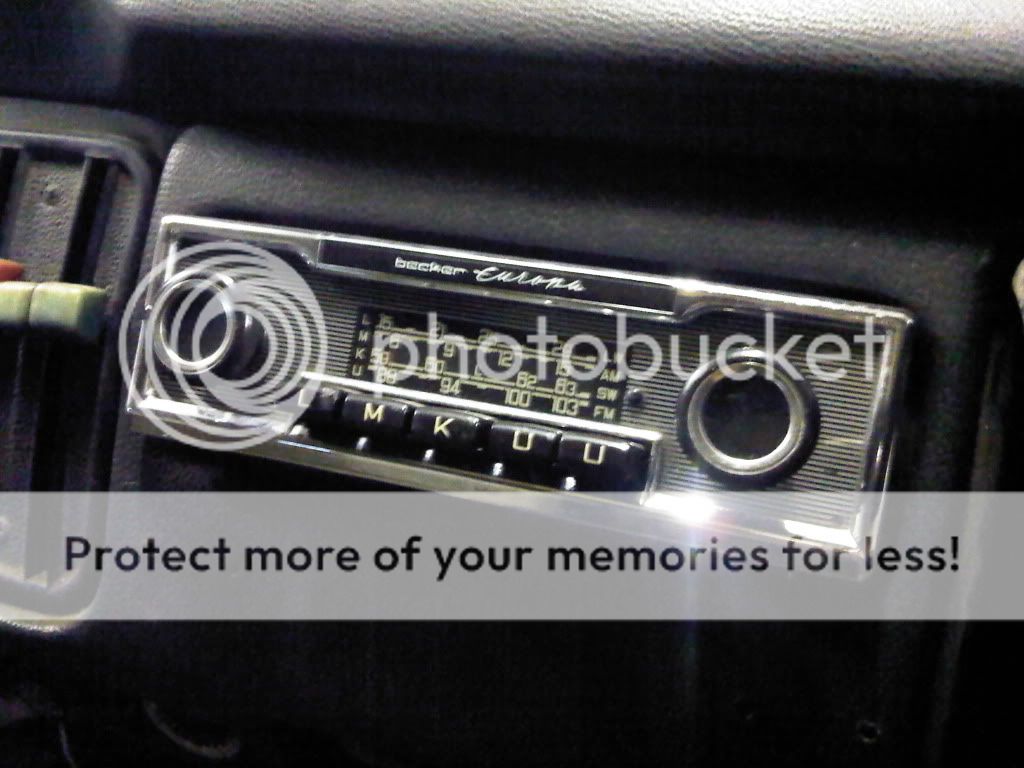
the radiomobile radio i found plugged into this old beast had to go as it only had LW and SW. i found a german Becker Europa from an old mercedes my dad used to drive. its got FM and the pre sets all work. she even puts out good bass.. i have an FM mp3 player plugged into the *** lighter and its a good way to keep things original and cheap.. with a micro 8G SD card who needs an ipod..ha ha.
gimp
Well-known member
- Joined
- Apr 12, 2012
- Messages
- 88
- Reaction score
- 0
hi nick no plans yet for any major trips.. i will give her a couple of months on the road and in use locally to sort out any gremlins that appear after a full overhaul like this. i need to find some trust in her first. will defo do Gibraltar but maybe next year.
progress is very slow now as i have limited mobility in my legs and right arm. friends have helped out with under body stuff. i managed the lights and radio as i had a roll around stool and its all light work involved.. our choice in colour was a medium grey body with a cream top and white bumpers. i also have some "RIVIARA" stickers ordered from flyawaydesigns they make some custom tents for t2 tail gates in america.
i would not like to say how long this project will take to get on the road. every time i have tackled one problem a host of new issues come to light, u know the way.. at a guess, with help, things should look very different in a month or so. but looking good and road worthy are very different. i wont have all the windows removed for a re spray (just want to go camping!! that is the point, right?)
but i will be taking out ALL the door rubbers before spraying and will replace with oem rubbers. i want to get Hurson down to do the front screen, that will make a world of difference.
bugcouple68
Well-known member
hi gimp,
could you send me a picture of the converted servo as i am trying to remove my servo but not sure the best way round it?!
could you send me a picture of the converted servo as i am trying to remove my servo but not sure the best way round it?!
gimp
Well-known member
- Joined
- Apr 12, 2012
- Messages
- 88
- Reaction score
- 0
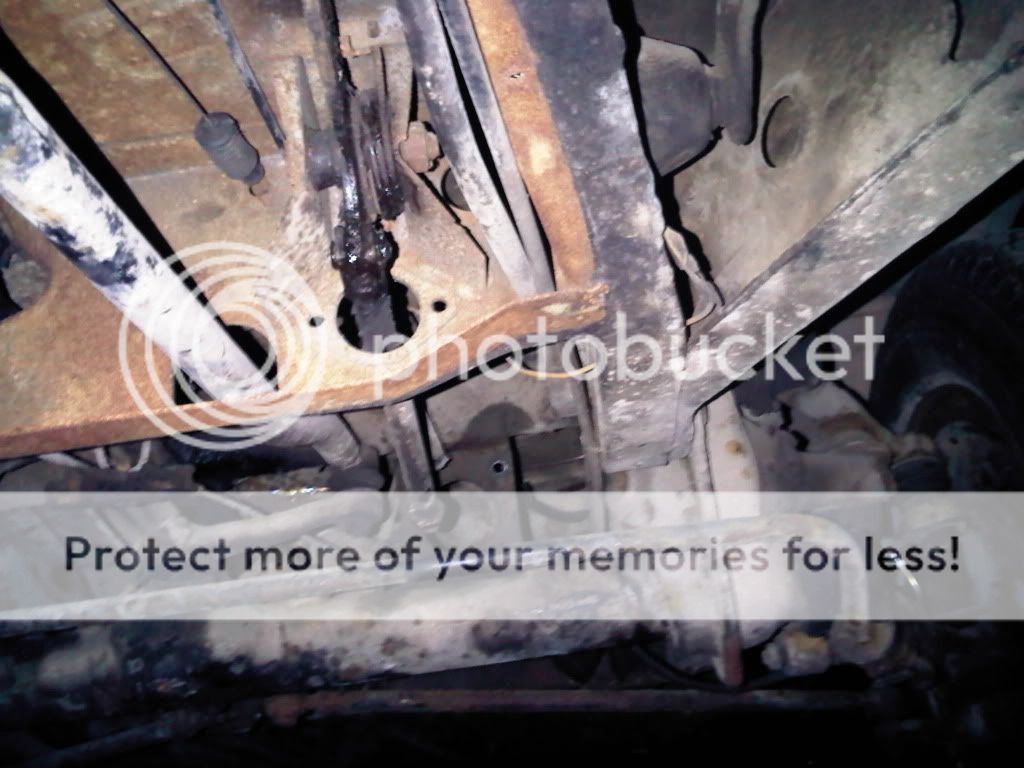
yes i will upload some pics its bamboozled me so far. what ive done is removed the servo with m/cylinder attached. if ur mounting a non servo master cylinder it mounts much closer to the brake linkage. have a look underneath there is a mounting flange. the large hole for it to mount into and two small holes either side are bolt holes. see the original rod for the servo passes through this hole. i will be using a brake pedal pushrod from a beetle. or i guess u could cut down weld and re-adjust the original push rod.
My servo has the hole spacing for the reservoir at 100mm i can only find resevoir bottles with 85mm spacings, whats urs like.
im getting rid of the servo on the grounds i dont want an induction leak as its a sure way to run lean and mean and that makes an old engine very hot..plus if the servo is gone its just one less thing to go wrong..
bottom rung
Well-known member
Cmon Ernie lets see the girl in paint...
Similar threads
- Replies
- 0
- Views
- 125