You are using an out of date browser. It may not display this or other websites correctly.
You should upgrade or use an alternative browser.
You should upgrade or use an alternative browser.
1971 T2 riviara project
- Thread starter gimp
- Start date


Help Support Early Bay Forum:
This site may earn a commission from merchant affiliate
links, including eBay, Amazon, and others.
gimp
Well-known member
- Joined
- Apr 12, 2012
- Messages
- 88
- Reaction score
- 0
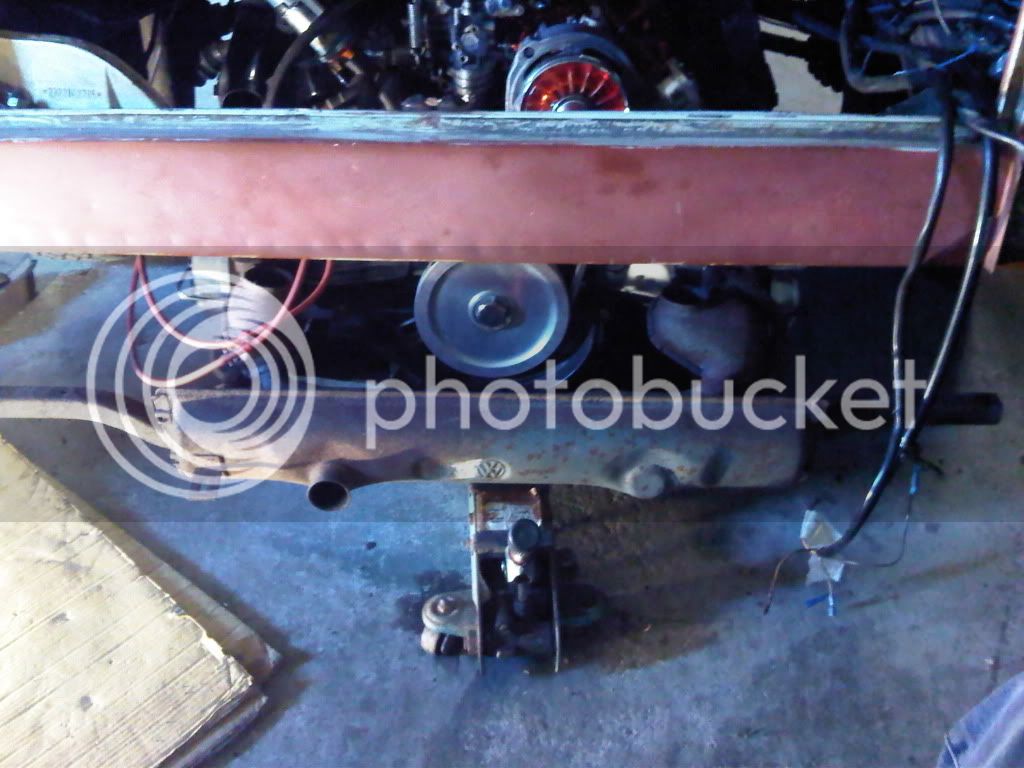
while the engine was out i put on the old intake manifold with the servo vacume pipe as i could not get the bits needed to run without a servo. ie the fluid bottle had the nozzles too far apart and i could not find one that fit.. power brakes it is then..
 [/photobucket]
gimp
Well-known member
- Joined
- Apr 12, 2012
- Messages
- 88
- Reaction score
- 0
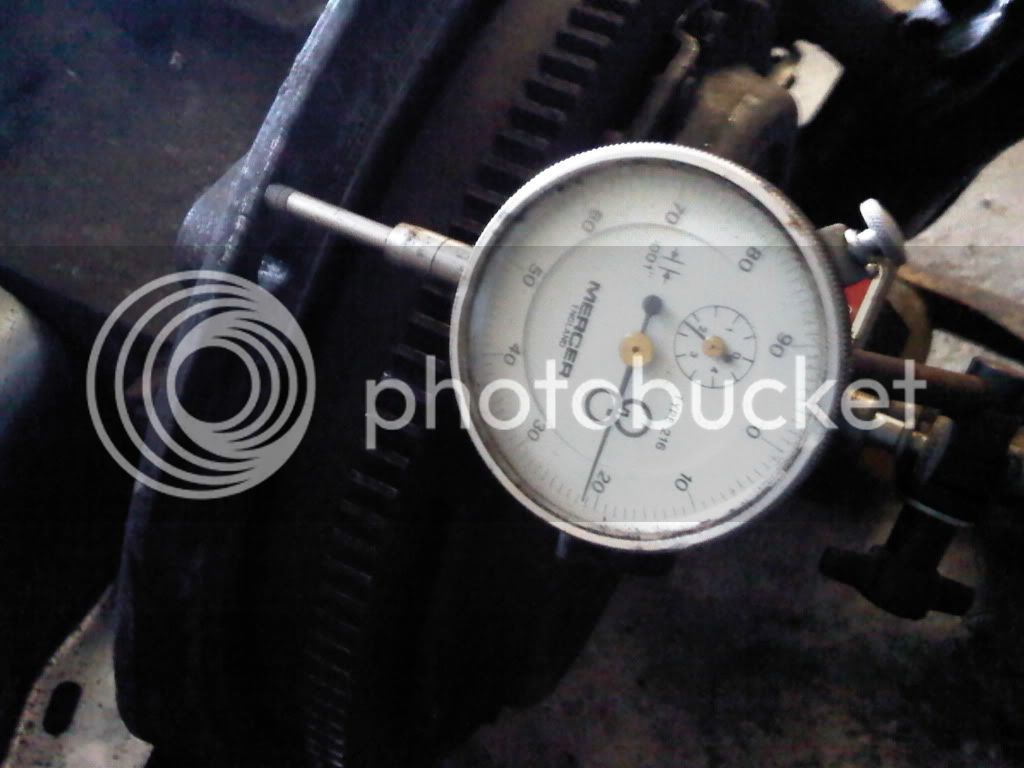
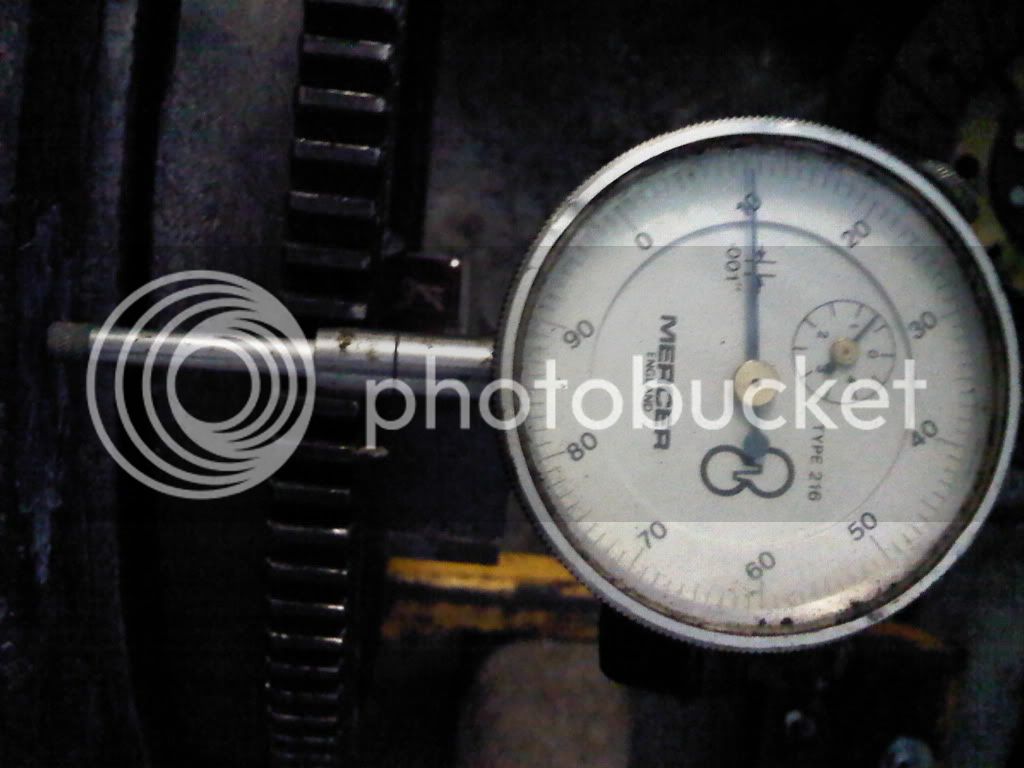
of course i had already put the £16 oil seal and "O" ring in place.. try and check the shim pack with that in. no chance. so i had to get the seal out without damaging it.. easy does it, but i got it out without chewing it up. guess what. there was only 2 shims in and not the min\max 3 shims like the manual says. well lucky i have plenty on T1 engines kicking about so i started palying with shims. if i got it to .004" the engine would not turn. strange.. i thought.. well i dont know any better so i set it to .010" and will have to live with it. at least its better than 20thow.


gimp
Well-known member
- Joined
- Apr 12, 2012
- Messages
- 88
- Reaction score
- 0
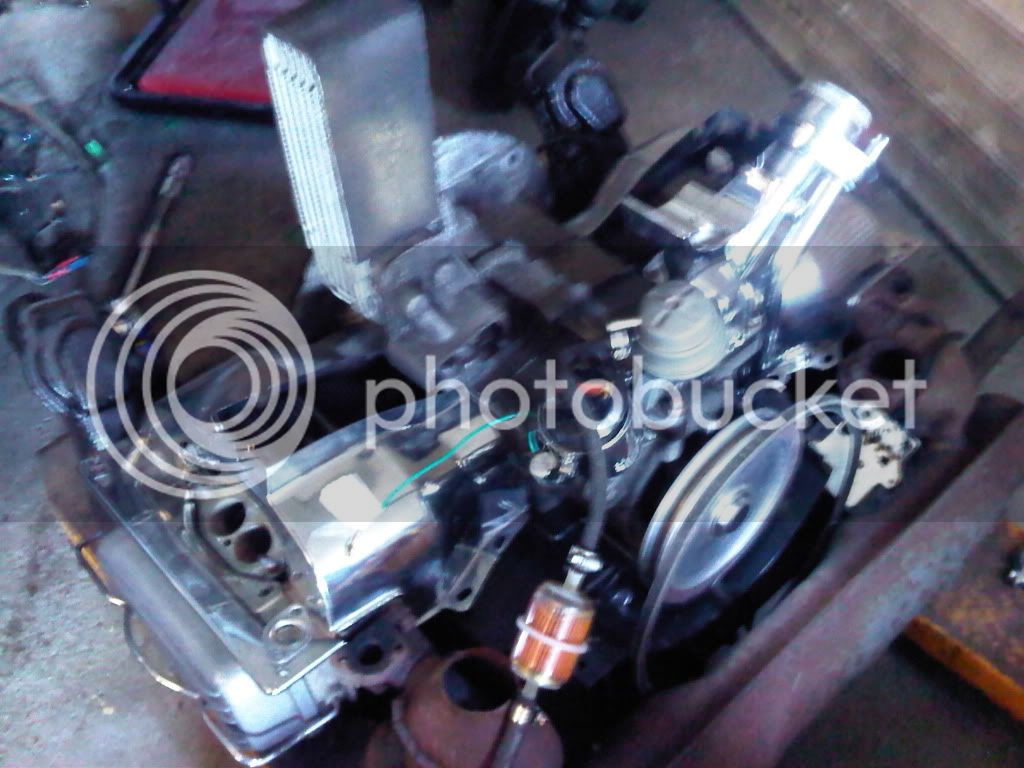
After paint the engine went back in. i used some stud bar to make guide rods. much better than just trying to line it up with a jack and a few poxy bolts. try it nex time it really does work a treat. of course i still used the jack but it made life so much easier.
sidecargezzer
Well-known member
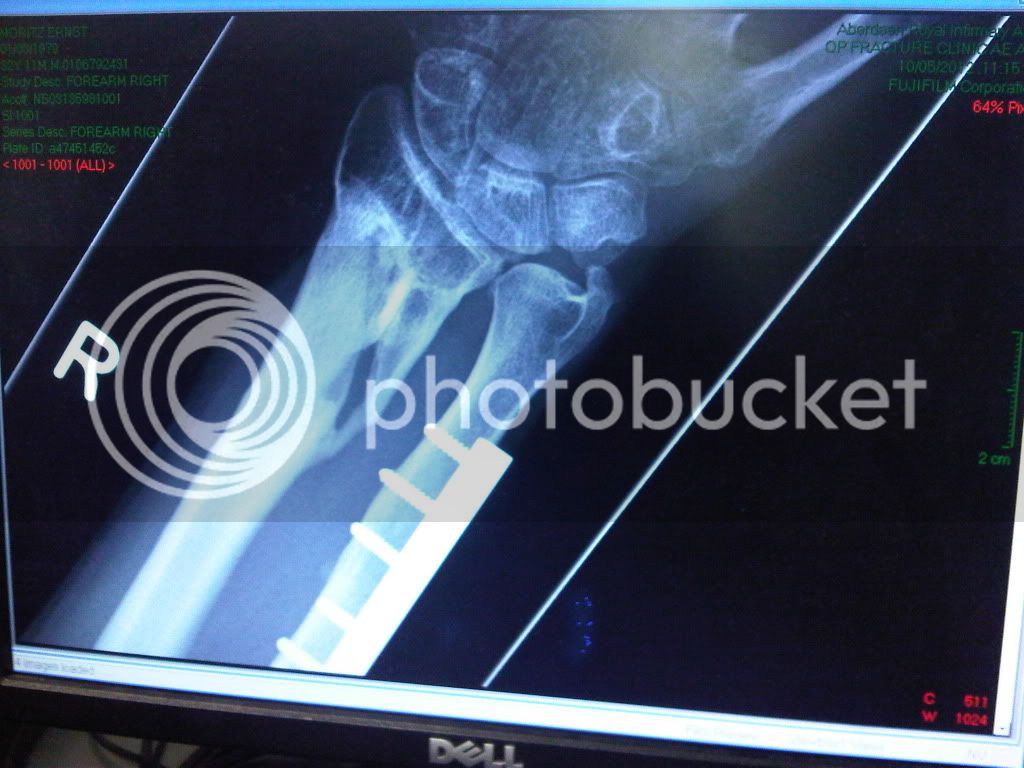
wow, looks like my arm from a get off on an MX sidecar back in the 70's, still have the hardware in my left arm,,,,,,gimp said:i find myself struggling without help from my friends. is it any wonder when after 10 months my wrist still looks like this.
gimp
Well-known member
- Joined
- Apr 12, 2012
- Messages
- 88
- Reaction score
- 0
the Xray was of my right wrist after my girlfriend and i were hit head on by another car that pulled into our lane. the ktm 990 adventure was a right off. and having still not been on a bike since i cant wait to go camping in the bus, enjoying this new found relaxing hobby.
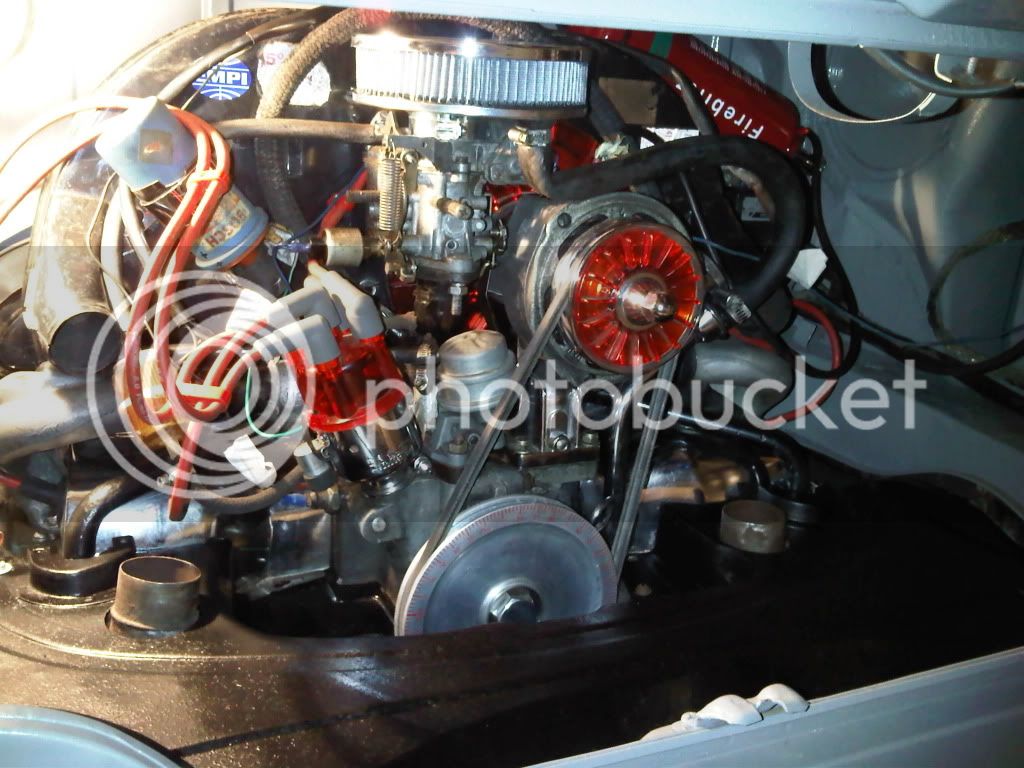
as u can see in the last shot i have my fire bottle at the correct angle so all the inert gas gets pushed out. im really not wanting to loose all my hard work in a silly fire. ive seen to many pictures of nice campers on fire. i also got a carbon monoxide detector and a gas detector and a fire alarm for the inside. should sleep better at night now.
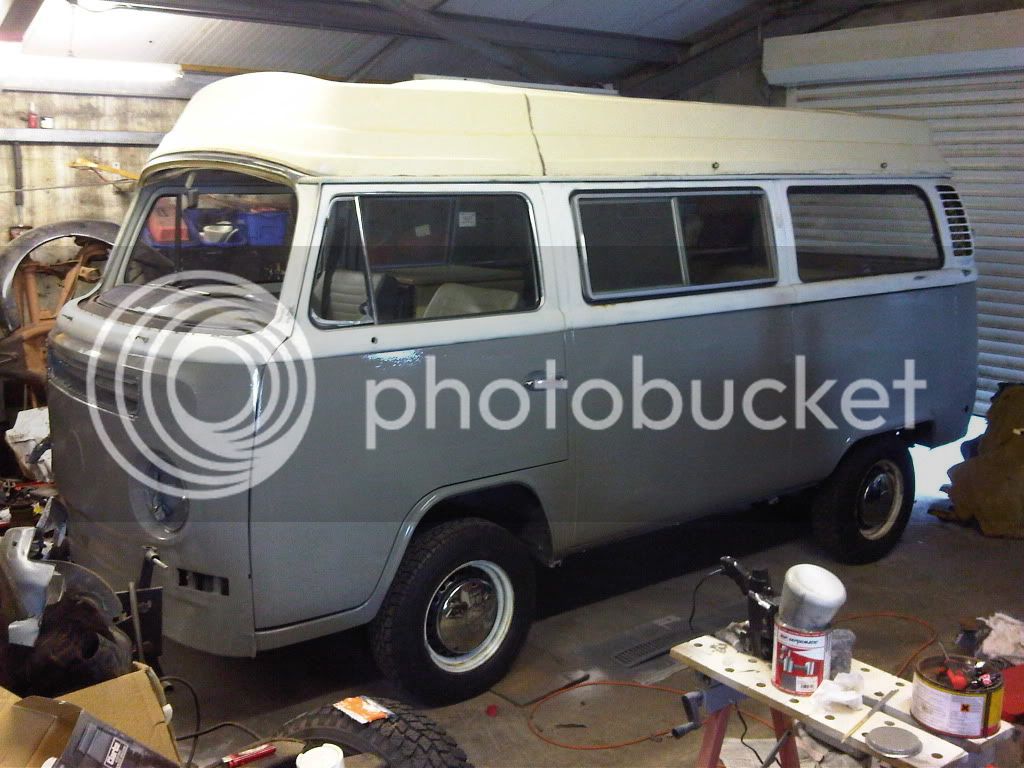
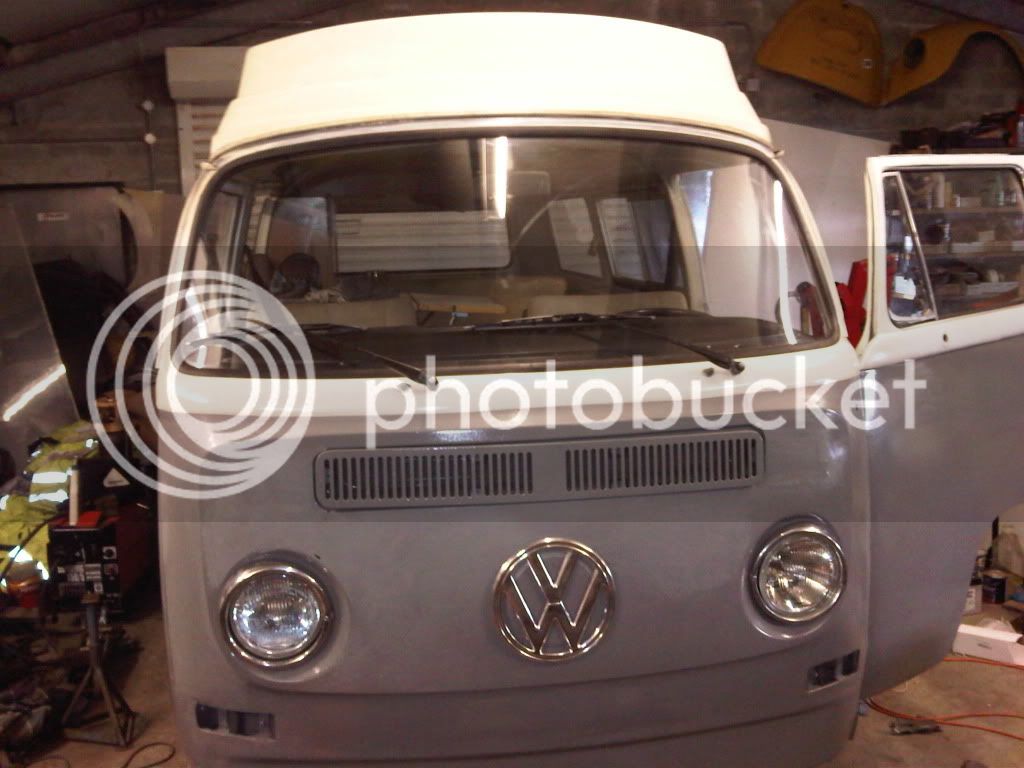
So the next big job was getting the front screen in. this was a tight moment as nic who welded on the front end already cracked one window before and had to re weld the front for a better fit. i sat inside with the string working from the bottom and pulling on both cords little by little and with a bit of heavy palm action from a friend it went in almost hassle free and no split windows on my bus..
as u can see in the last shot i have my fire bottle at the correct angle so all the inert gas gets pushed out. im really not wanting to loose all my hard work in a silly fire. ive seen to many pictures of nice campers on fire. i also got a carbon monoxide detector and a gas detector and a fire alarm for the inside. should sleep better at night now.
So the next big job was getting the front screen in. this was a tight moment as nic who welded on the front end already cracked one window before and had to re weld the front for a better fit. i sat inside with the string working from the bottom and pulling on both cords little by little and with a bit of heavy palm action from a friend it went in almost hassle free and no split windows on my bus..
gimp
Well-known member
- Joined
- Apr 12, 2012
- Messages
- 88
- Reaction score
- 0
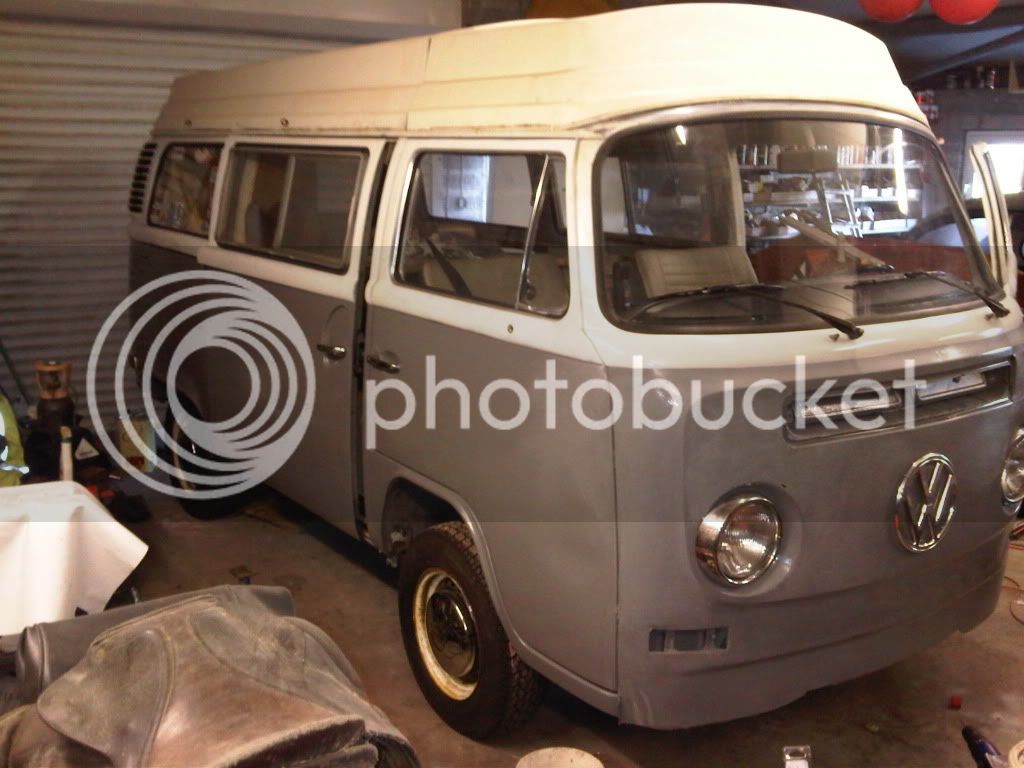
i love this shot of the bus. she is still not running right due to the carb... i have set the timing to 30 deg btdc when running at 3000rpm thats total advance on the 009. she still bangs a bit with after fire and i cant adjust the idle to less than 1500rpm without her dying. so i keep tweeking the volume control and the bypass screw but with no luck to dial her down to 900rpm. bit pissed off as i am normally good at this kind of thing. she was hunting a bit on the rpm but i tightened the carb and she got better. i still think there could be an induction leak from the servo pipe which is why i didnt want a servo brake system. well i will update when she is running sweet. neary done the brakes now and just have the bumpers to go on, the door seals, oh and i got the rpm counter going, some one had rigged it up to the starter motor... i have no idea why.
and the is ever such a small oil leak its about 3 drips a night after ive been playing with the engine. i hope it stops. do seals bed in? we will see.
good luck to everyone else here doing projects. i feel blessed that mine is on the home run now and i dont have rust issues like some of u poor people.
gimp
Well-known member
- Joined
- Apr 12, 2012
- Messages
- 88
- Reaction score
- 0
oh sweet. engine runs like a beaut now. it was an induction leak!!!! i pinched off the servo vacume hose by the carb and the engine ran smooth all of a sudden... now the hose costs £30 a meter. so ive used garden hose as it costs f@@k all and works a treat. i also replaces the servo non return valve its all clamped to the "front to back pipe" and we are good to put the new master cylinder on and bleed the brakes. i wonder what the MOT dude will say? ps use hot water in a cup on the ends of the hose. make ur life easy ")
gimp
Well-known member
- Joined
- Apr 12, 2012
- Messages
- 88
- Reaction score
- 0
last night i bled the brakes...on my own. Jesus, what a carry on. i found a gunson easy bleed under a pile of sawdust and grinding slag. cleaned it all up and went for it. at this point its worth reading the instructions that were covered in brake fluid...no i just hooked it up using the full tyre pressure of 30psi. bad idea as brake fluid squirted out everywhere and i began cursing my Audrey for not being there to help. in future dont use more than 20psi to pressurise the system. ok so from there i worked from the back right (furthest away from the bottle of fluid and worked my way forward slowly flooding the garage floor with brake juice.
i get more and more surprised as things work. i have no faith but i pressed the bake pedal and the van stops!! now with power assisted vacuum servo garden hose brakes!!
so i took her for a run around the square at 11pm last night.. everyones lights were off but these vans put a smile on peoples faces so i dont think anyone minded ha ha.
still a pile of niggly little jobs to do BUT i now have a van that starts runs goes back and forward does corners and stops when u want it to stop oh and did i mention the front screen is in so she is also secure from the elephants
bottom rung
Well-known member
Looking good Ernie. When are the bumpers and overriders going on? And I never doubted for one second that the screen wouldn't fit...........;-)
gimp
Well-known member
- Joined
- Apr 12, 2012
- Messages
- 88
- Reaction score
- 0
glad u like it. ive only got one bumper painted, just going to wizz the old paint off the rear and get that on asap(for that finished look). i was going to get them powder coated but i can always do that over the winter.
just now i need all my money for the last bits. im doing the leisure battery install at the mo with a new fuse box for all the gimmicks i have planned for the inside.
ive had the passenger seat out and sanded and painted the inner wheel arch. then i fitted all new seat belts front and rear and its all back together. ive got the bus jack and wheel nut box wrench under there too.
the other day i got nervous that i had hidden the paperwork from myself but found it in the filing cabinet were it should be. only thing is i dont have a bill of sale so there is no way of proving its mine? any ideas?
im trying to stay off the details right now and just concentrate on MOT pass points. My goal is the BigBannock at the end of August. one set back will be spending the whole of July in Gibraltar. but i am very close to being finished. ive got my fingers crossed that all the ball joints and tie rods will pass the inspectors torch. otherwise i'll be back in the werk shop for another month trying to figure out how to get all the work done.
gimp
Well-known member
- Joined
- Apr 12, 2012
- Messages
- 88
- Reaction score
- 0
I took her out for a spin and noticed there is alot of banging from the rear end going over bumps. i think it is one of the rear shocks is sticky. so ive ordered new Boge shocks front and rear i hope this sorts out the loud klunking. ive also had the doors off to paint in the seal groove and fit new door rubbers.
i had an old RM120 fridge that i took out my old caravan. ive hooked it up to the battery charger to see if it still works. its making heat out the back and the cooling pipes on the inside are ice cold so i think it will work on 12v. it also uses gas but my fridge unit is on the sliding door side so i think it will be hard to vent out to the outside. i dont fancy the idea of and old 70s fridge running on gas all night so i will use it on 12v only. it draws 70w and my leisure battery is 90Ah. if its too much drain i will revert back to the coleman ice box that was originally fitted to the Riviara.
i had an old RM120 fridge that i took out my old caravan. ive hooked it up to the battery charger to see if it still works. its making heat out the back and the cooling pipes on the inside are ice cold so i think it will work on 12v. it also uses gas but my fridge unit is on the sliding door side so i think it will be hard to vent out to the outside. i dont fancy the idea of and old 70s fridge running on gas all night so i will use it on 12v only. it draws 70w and my leisure battery is 90Ah. if its too much drain i will revert back to the coleman ice box that was originally fitted to the Riviara.
Similar threads
- Replies
- 0
- Views
- 125