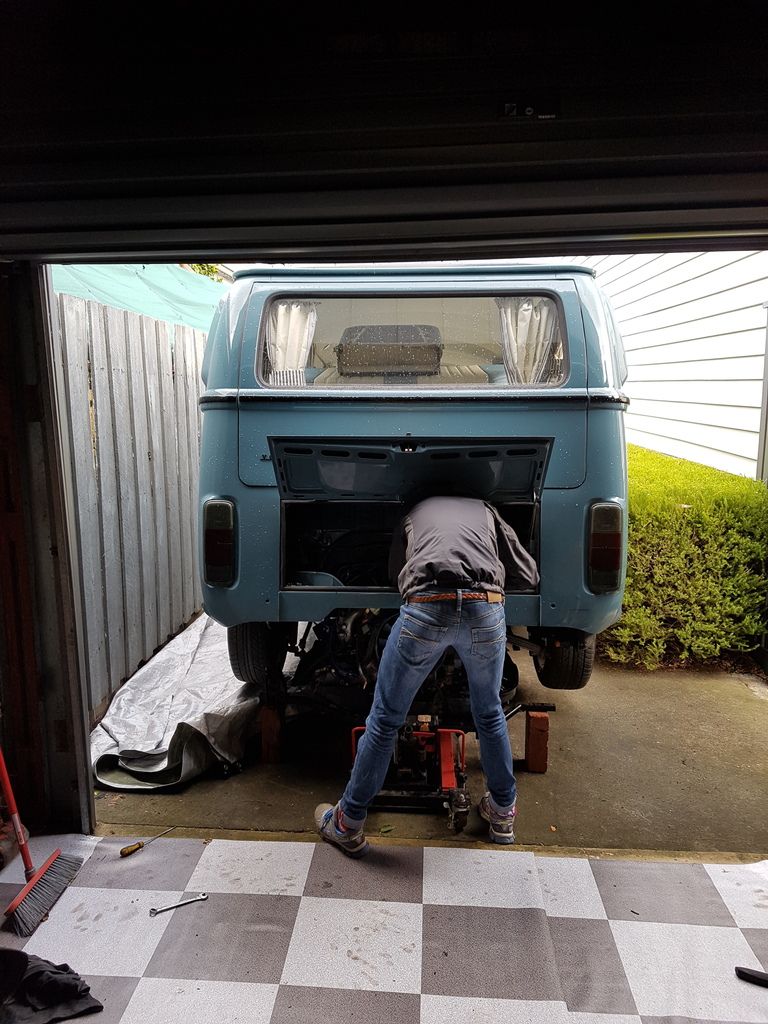
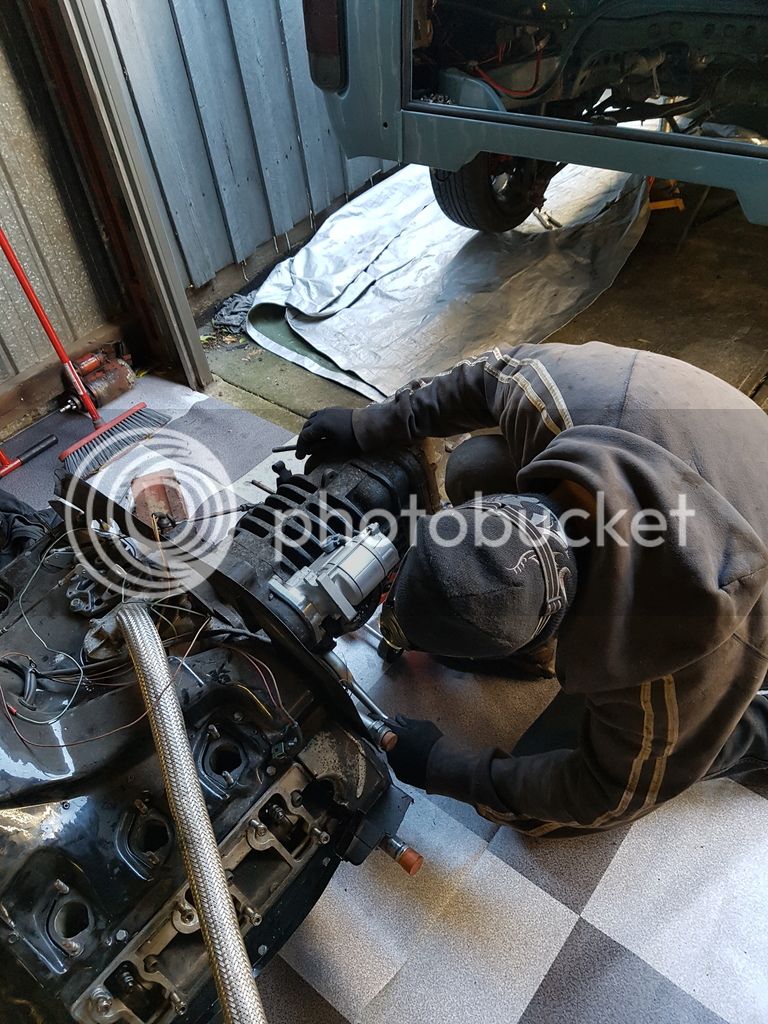
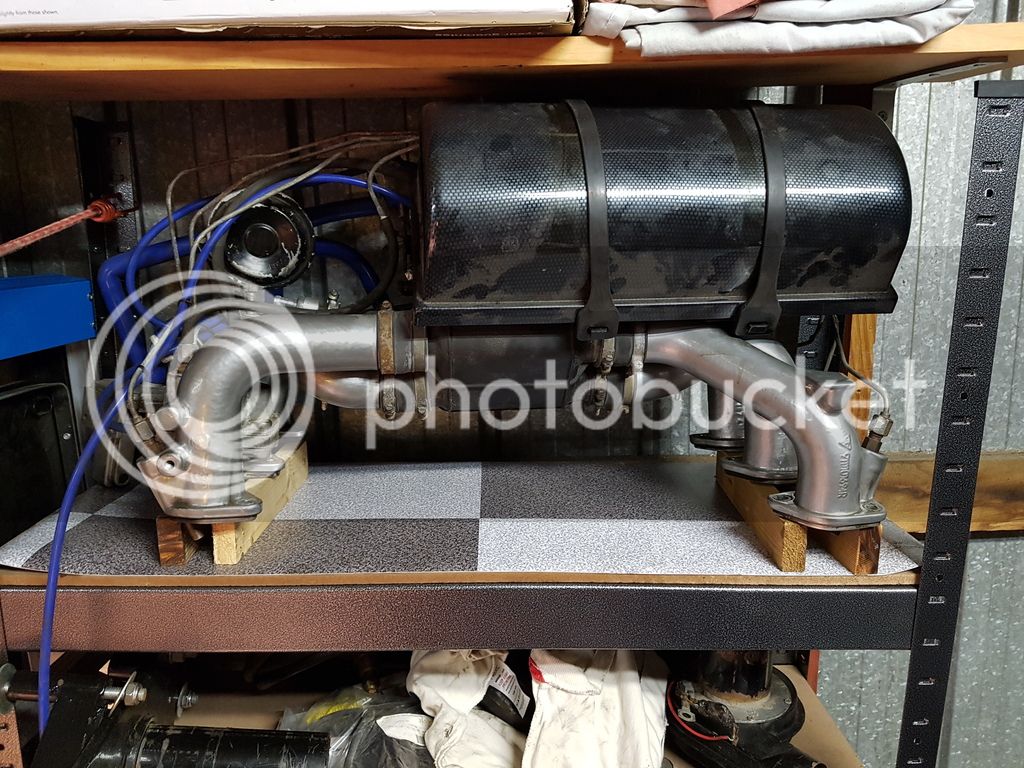
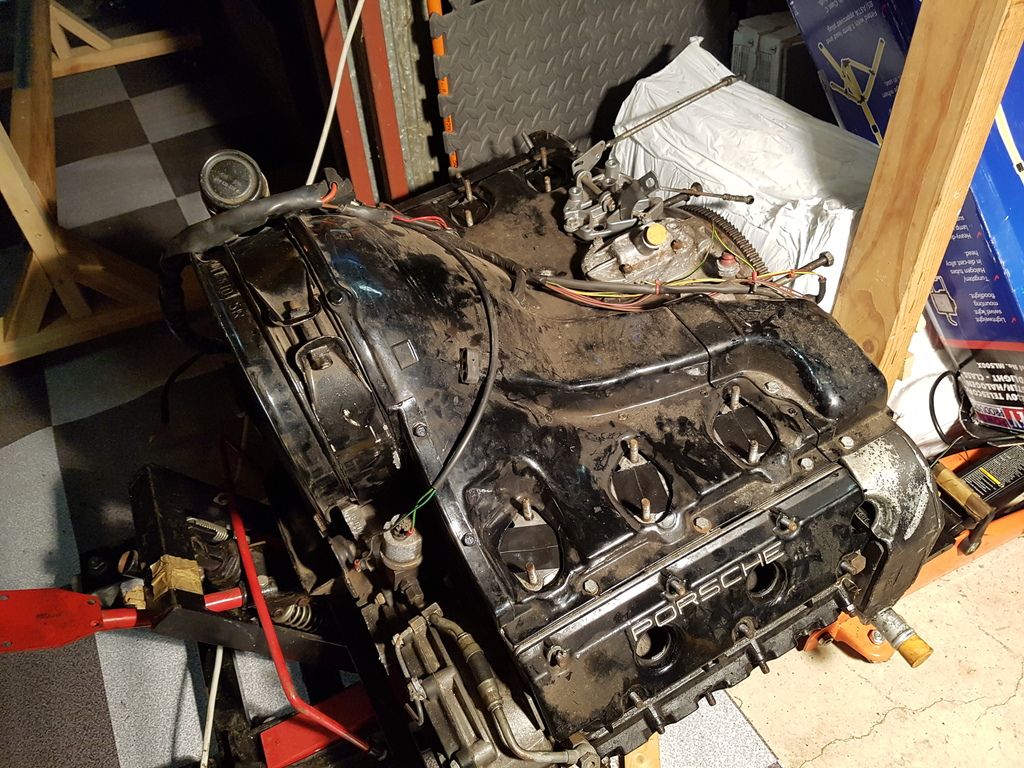
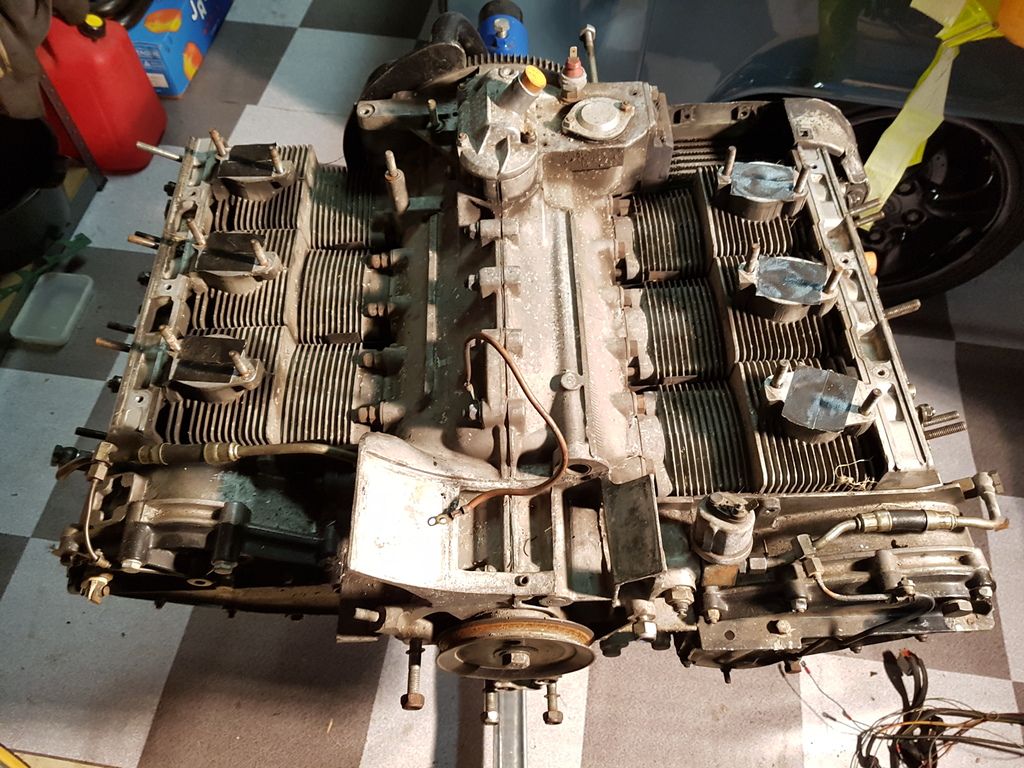
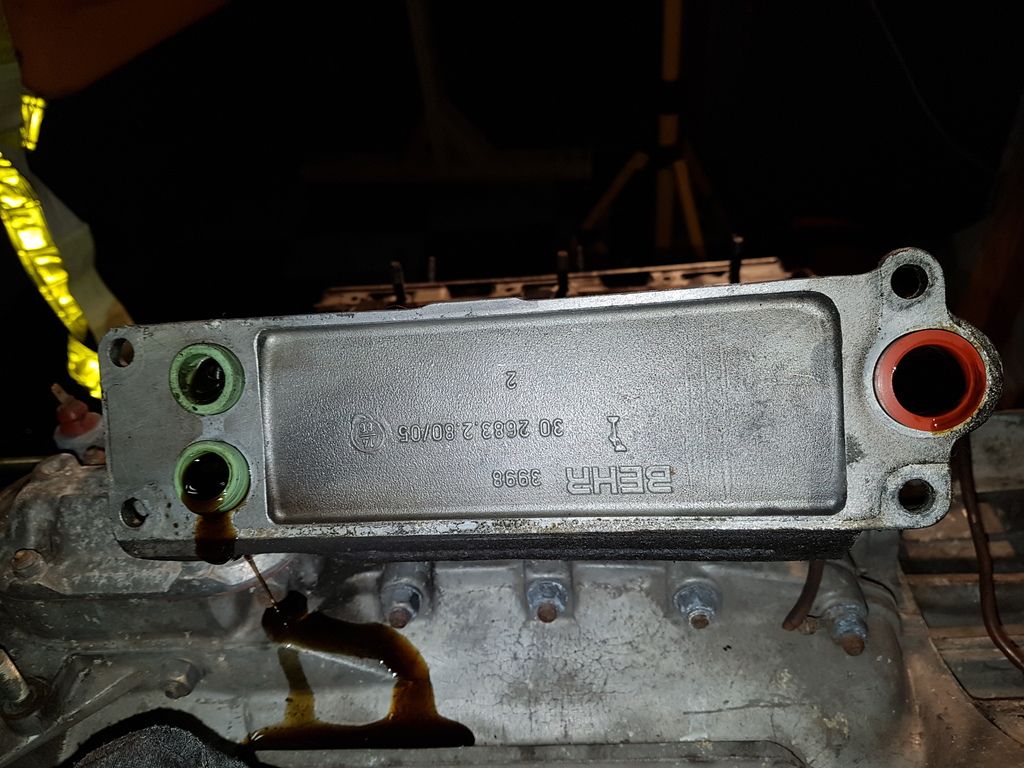
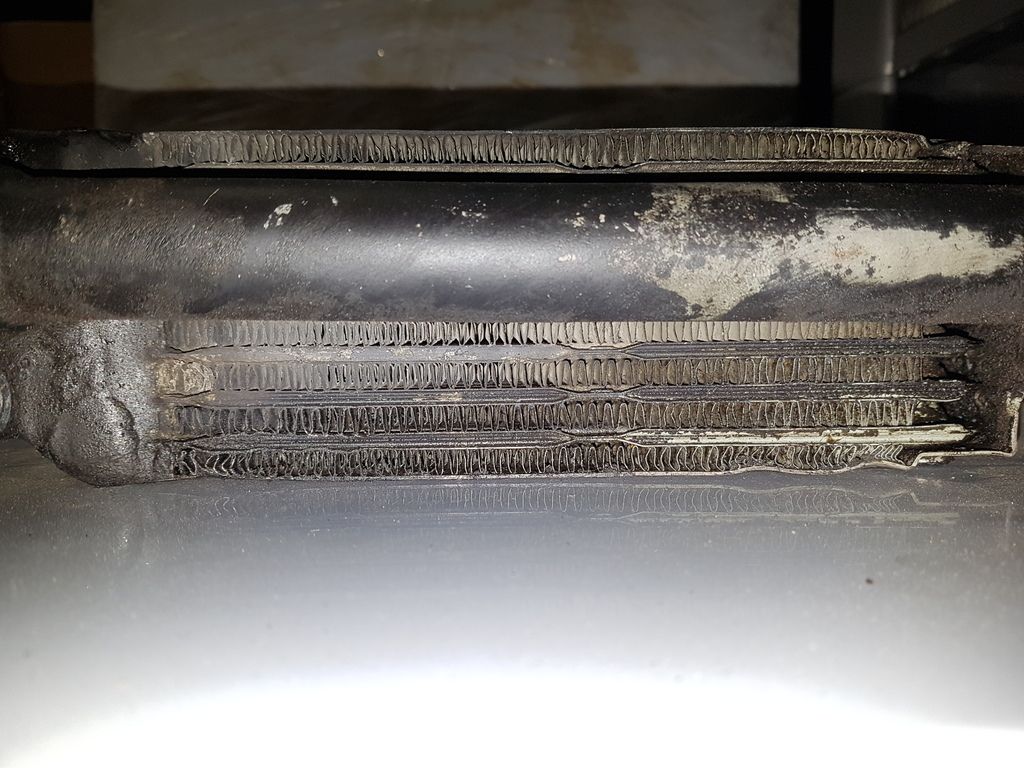
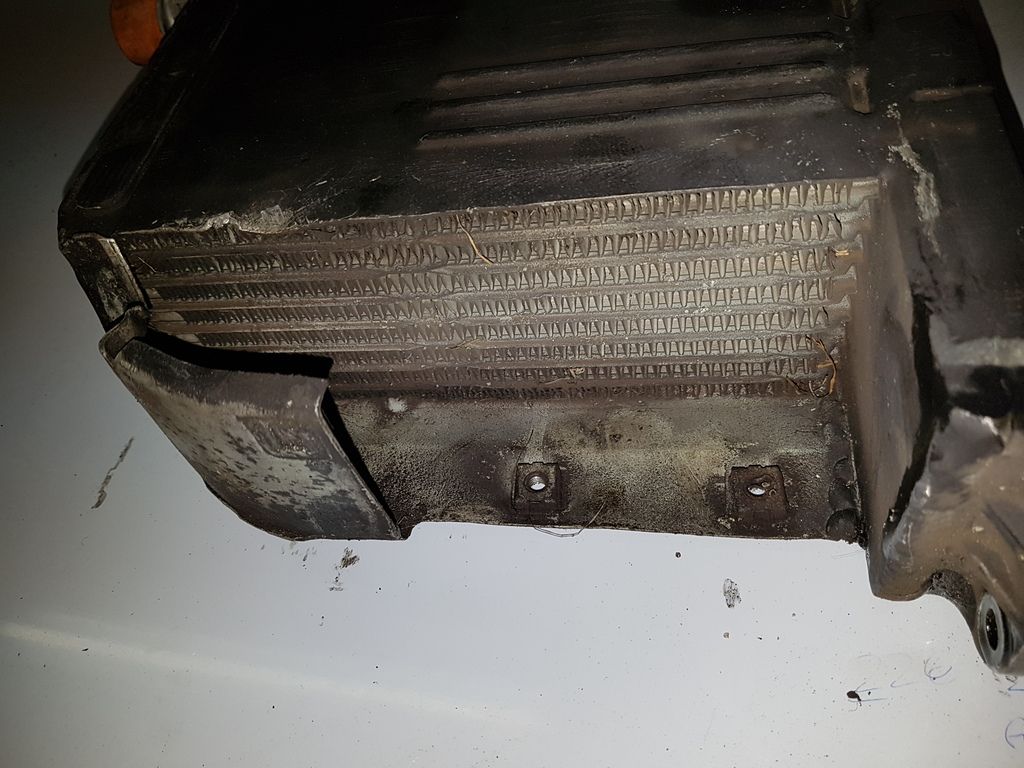
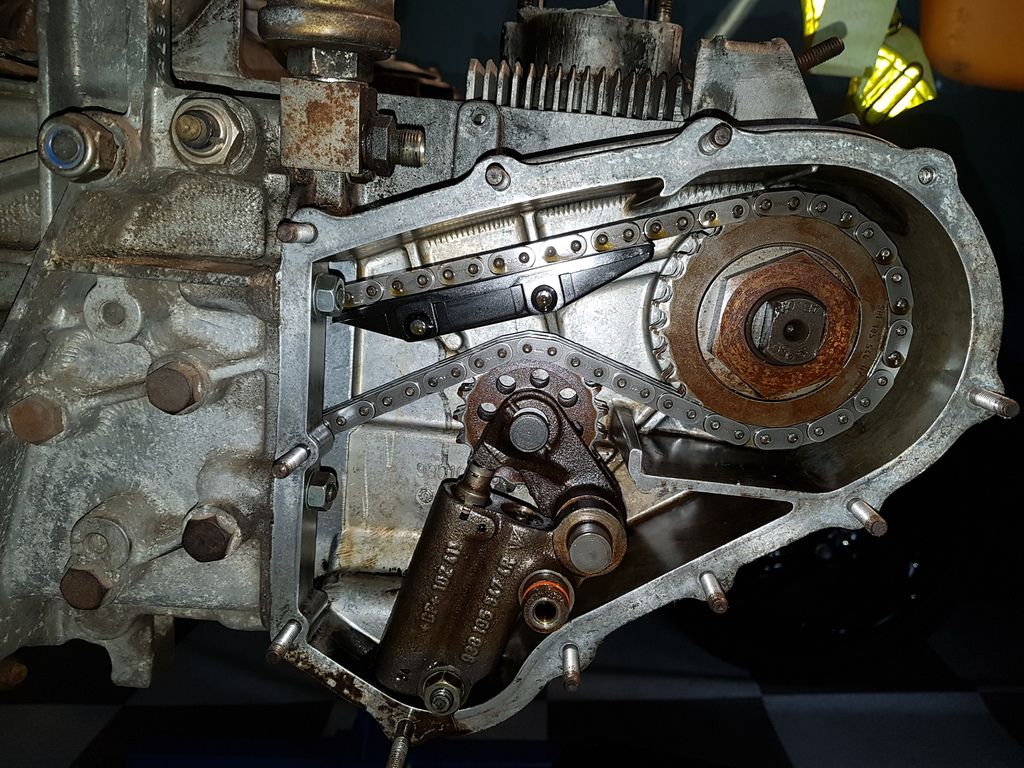
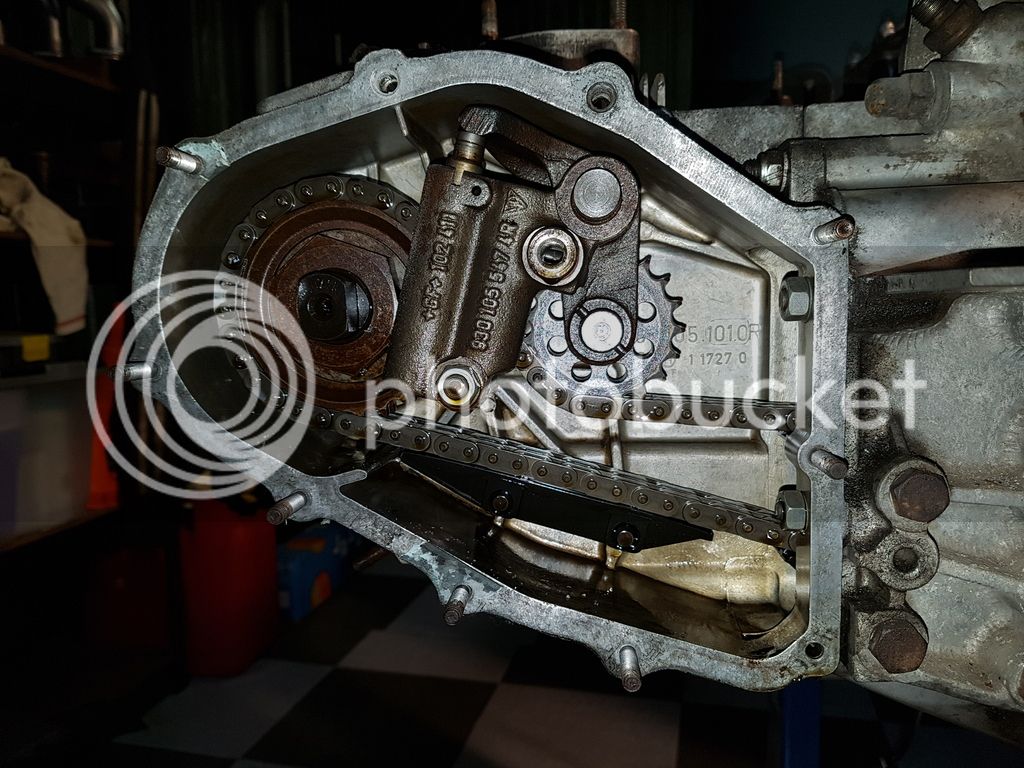
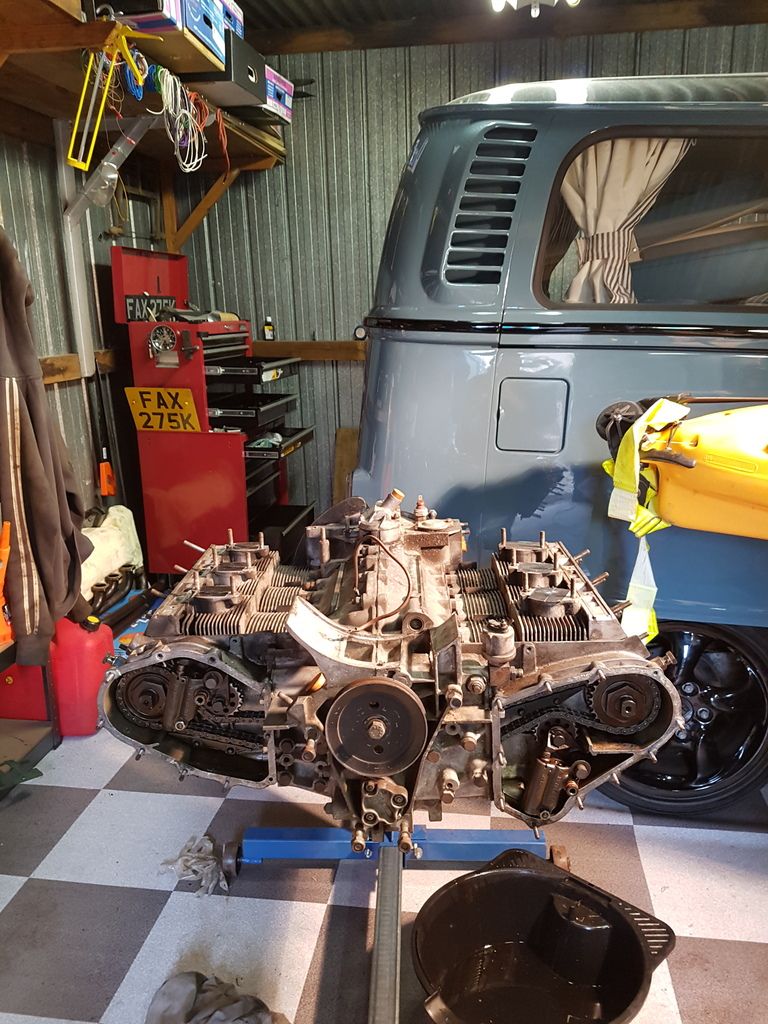
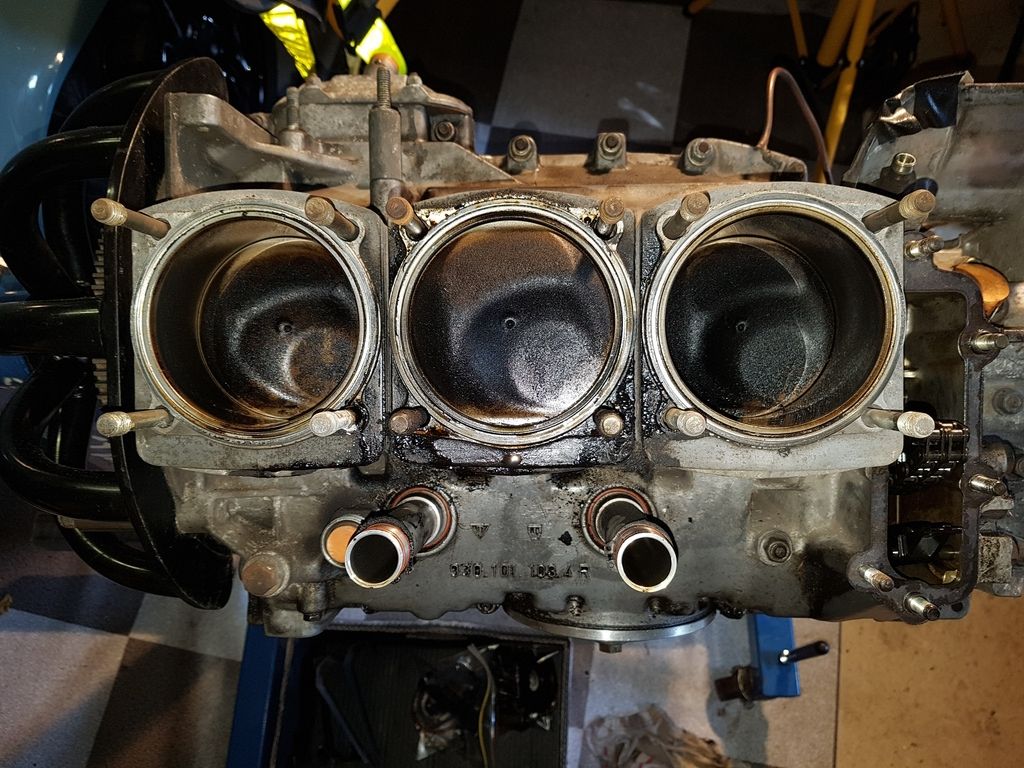
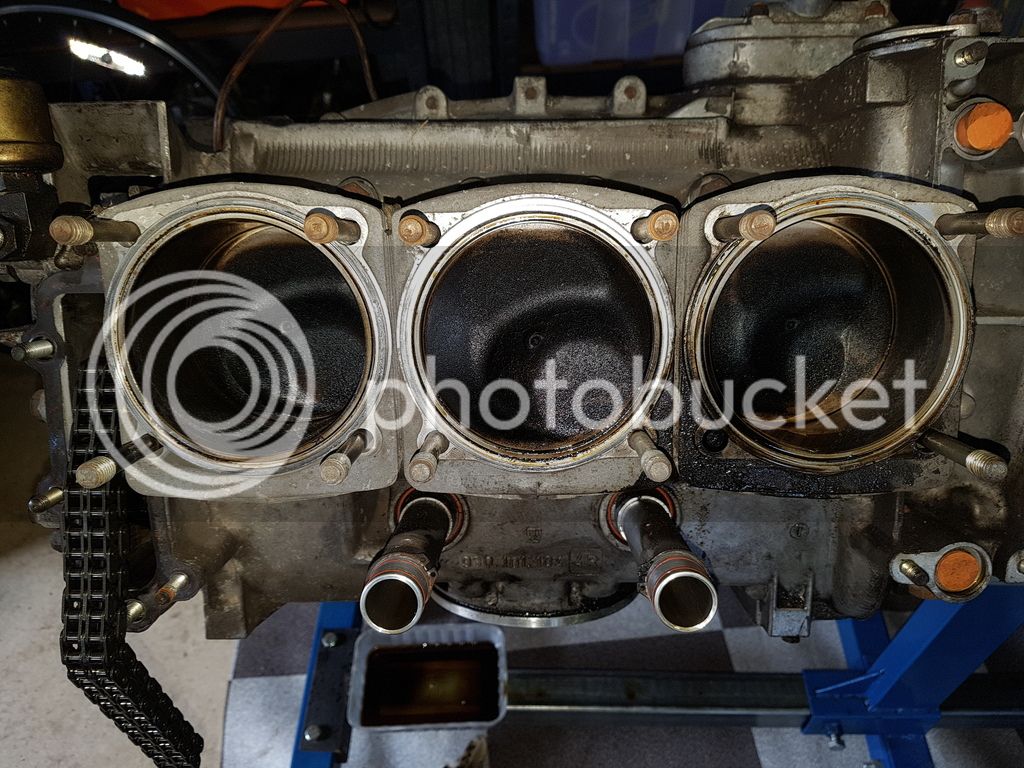
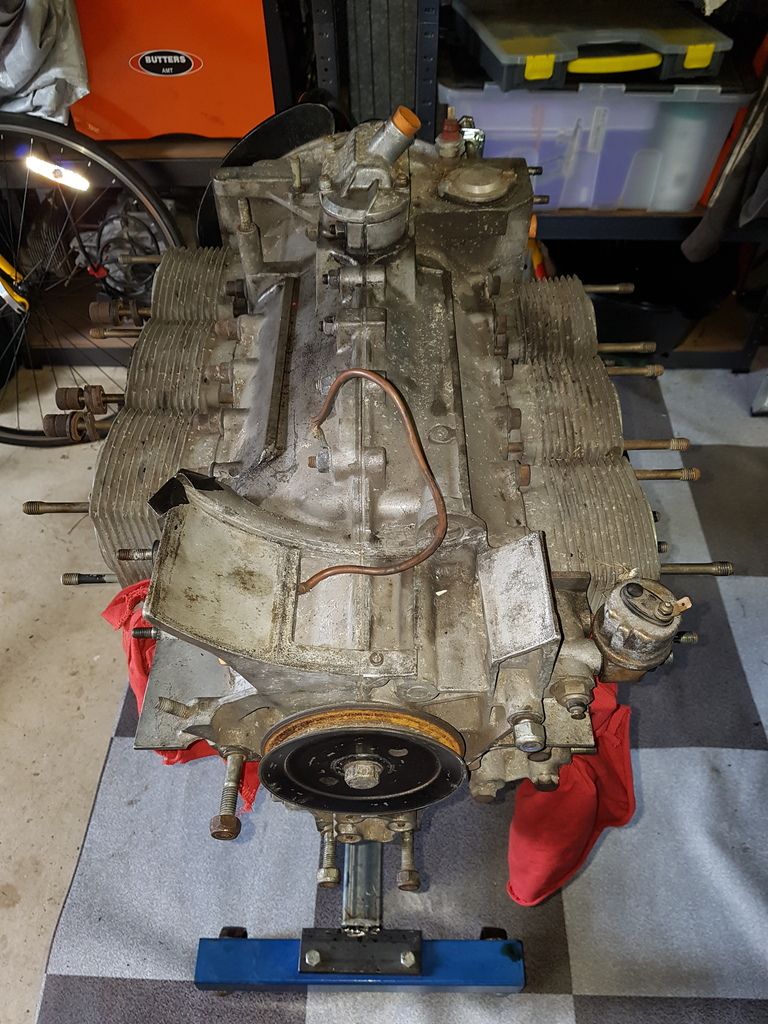
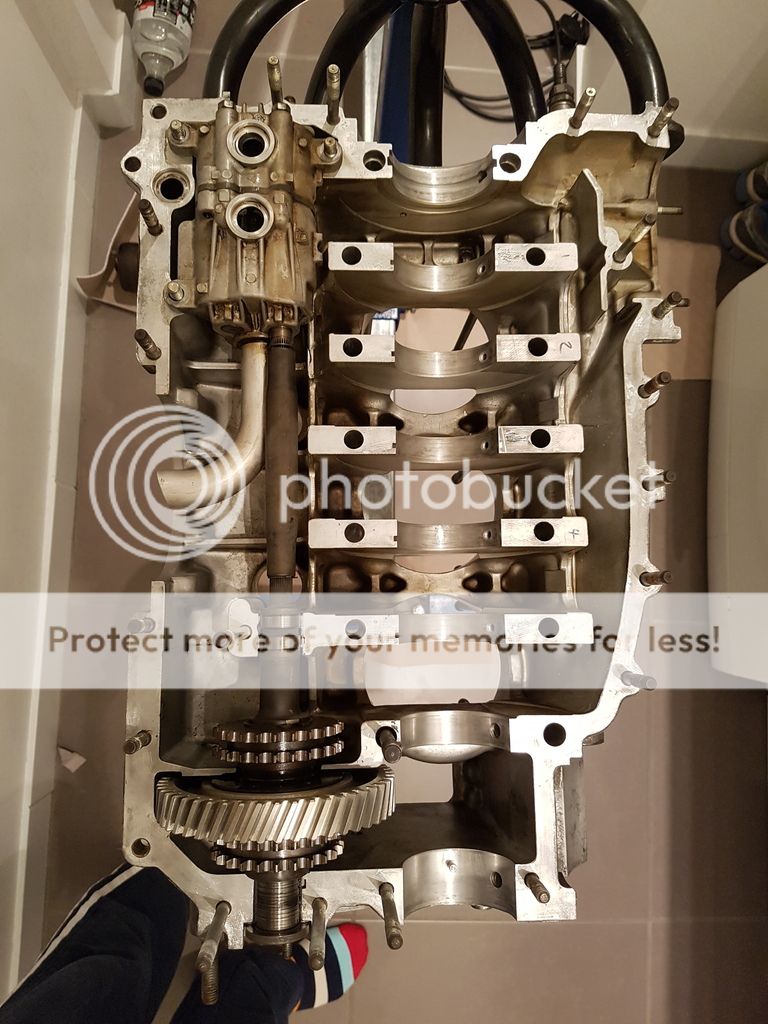
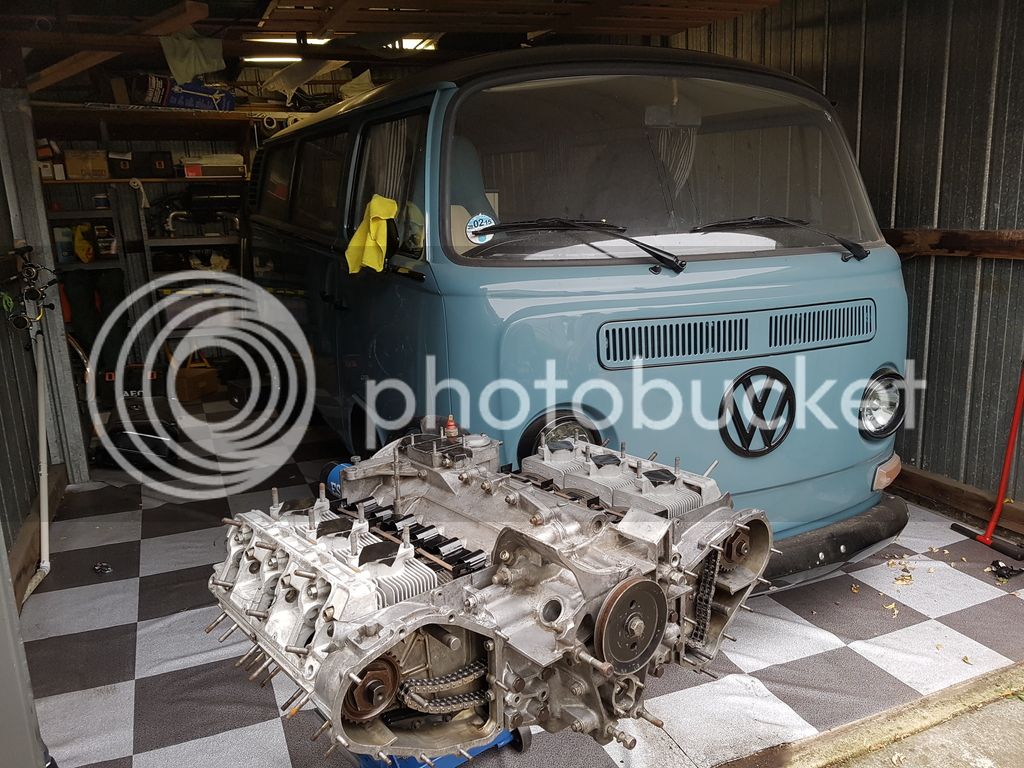
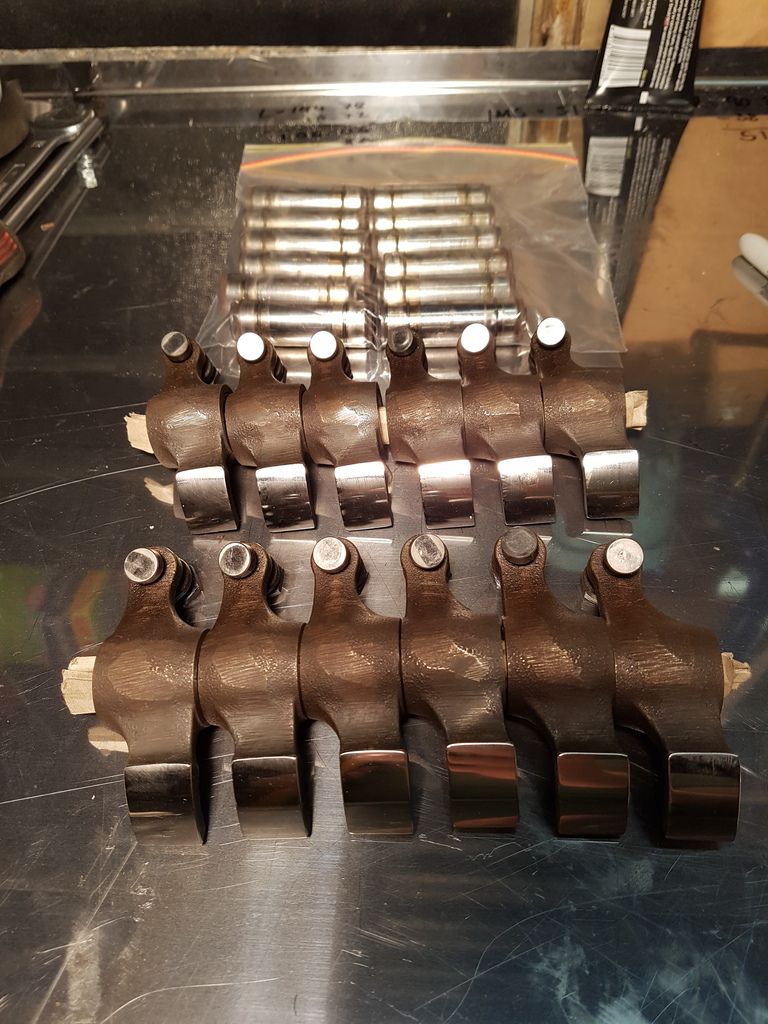
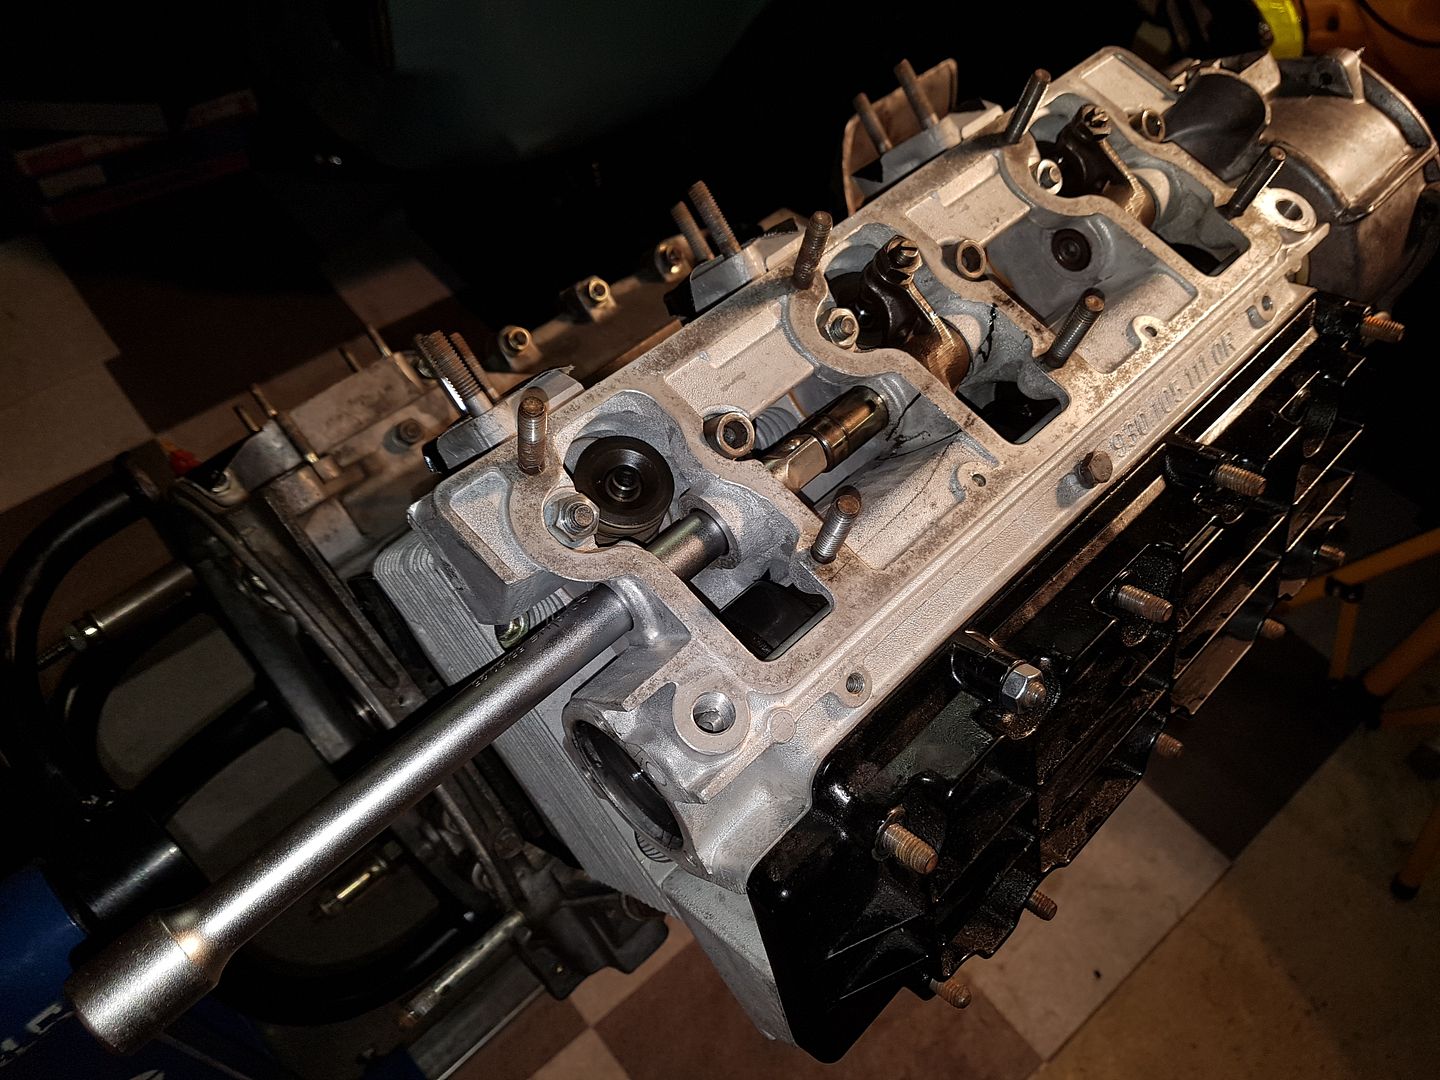
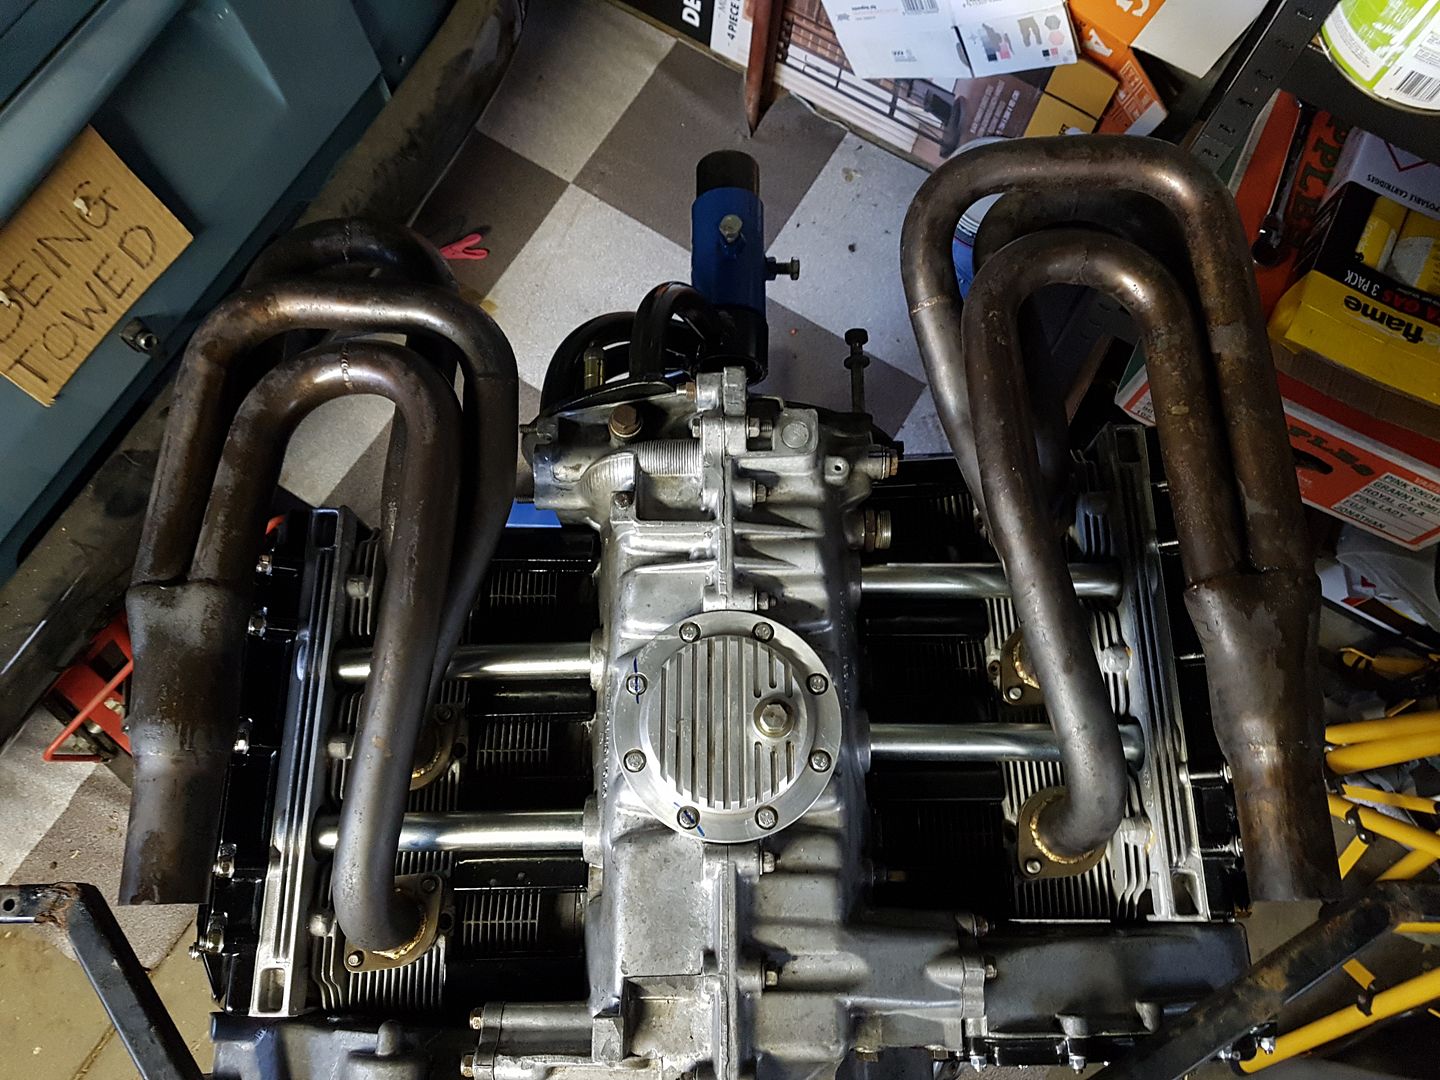
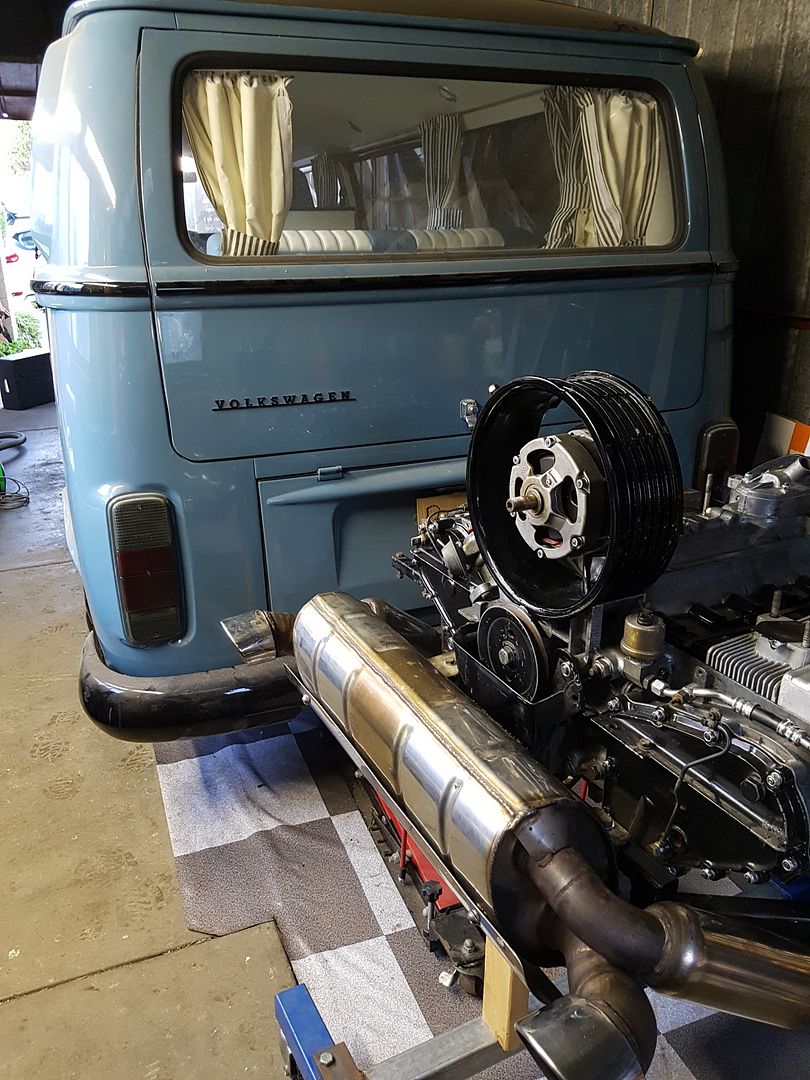
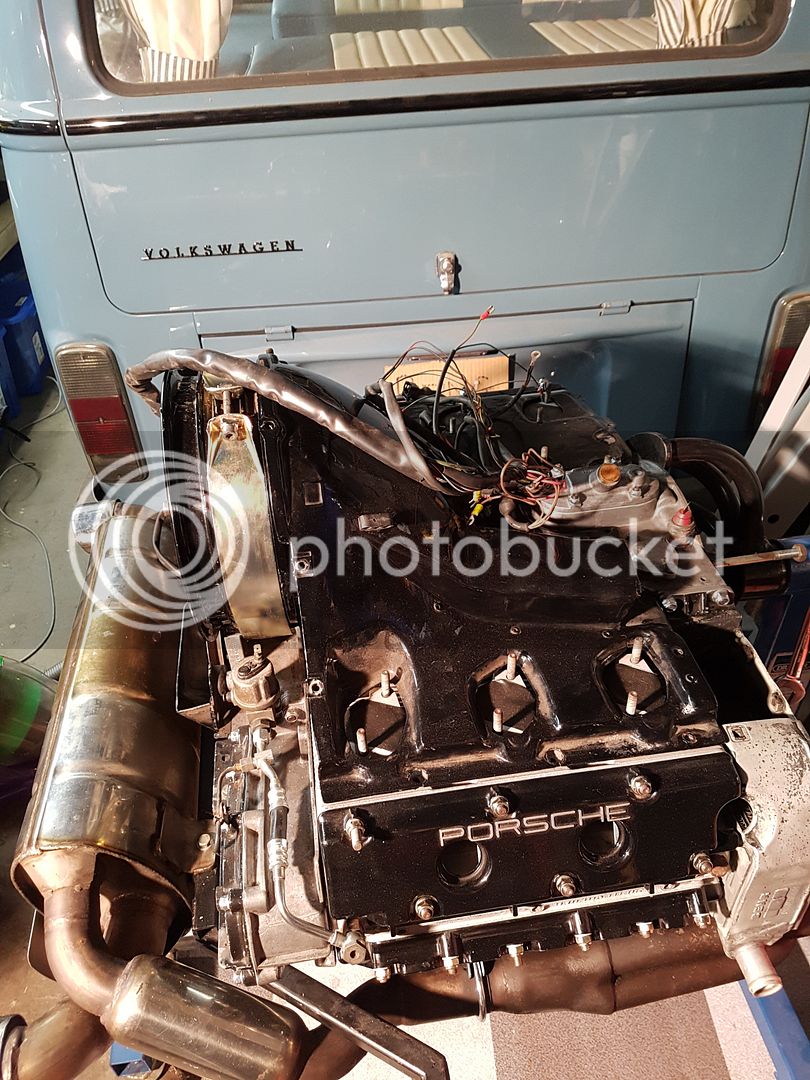
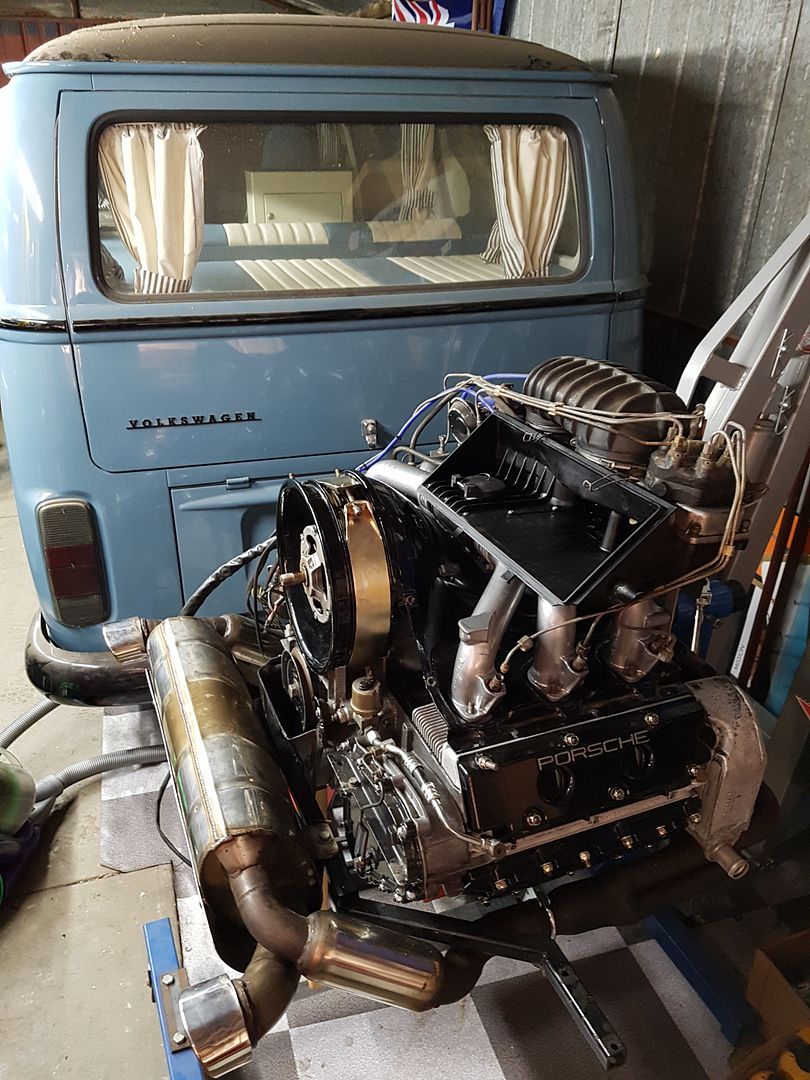
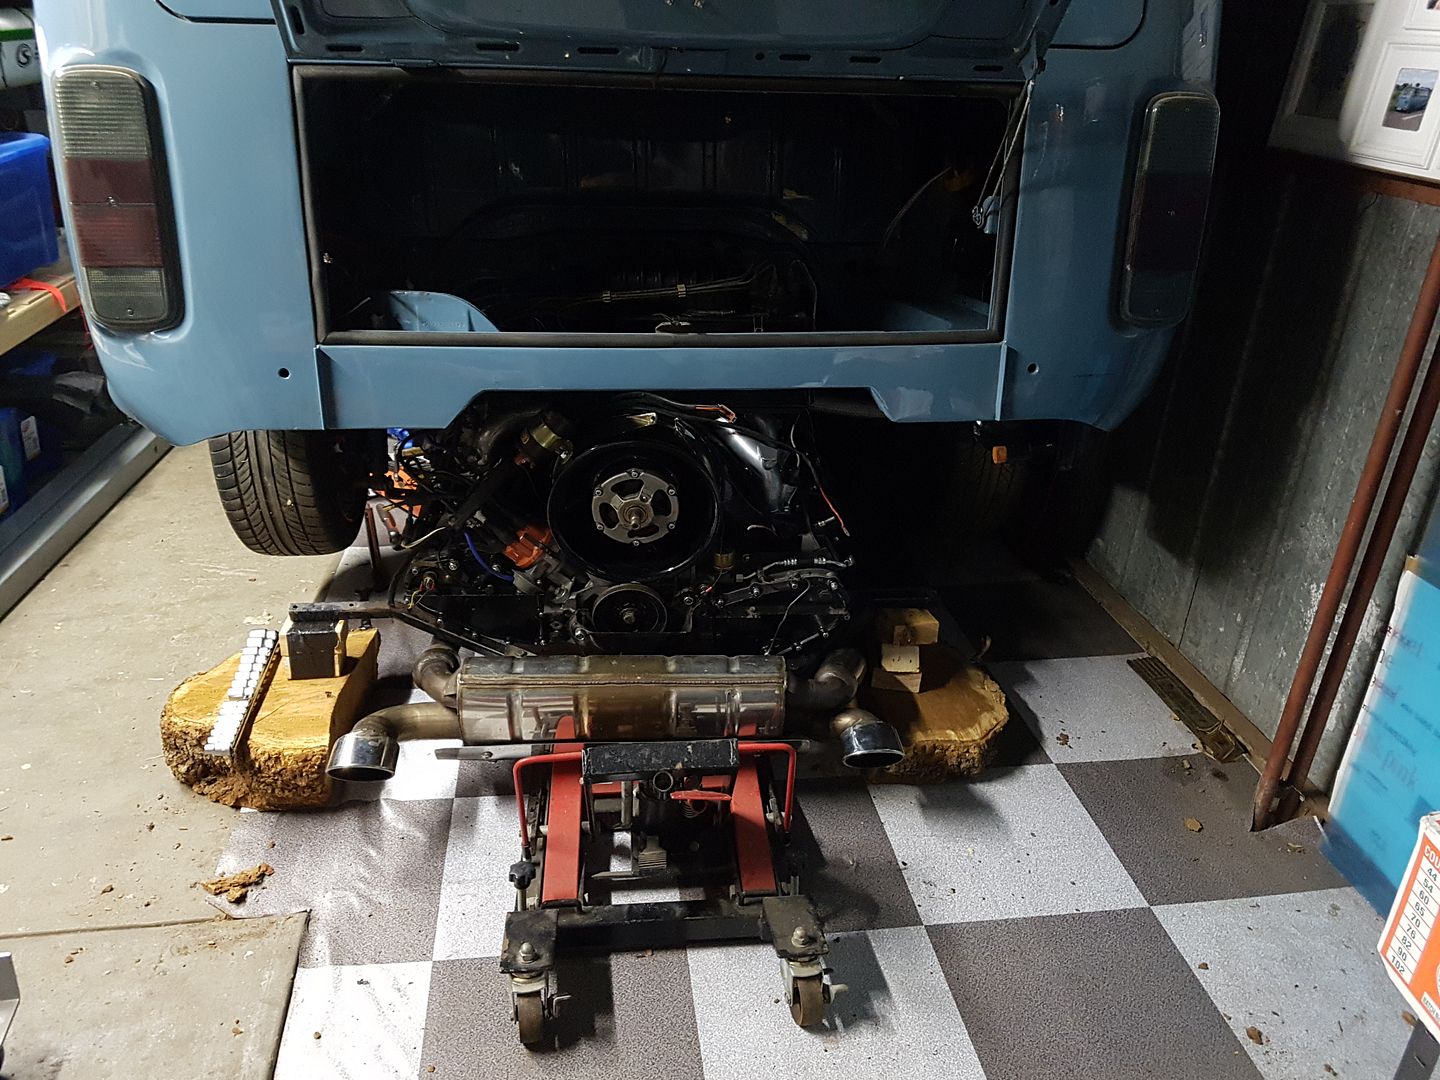
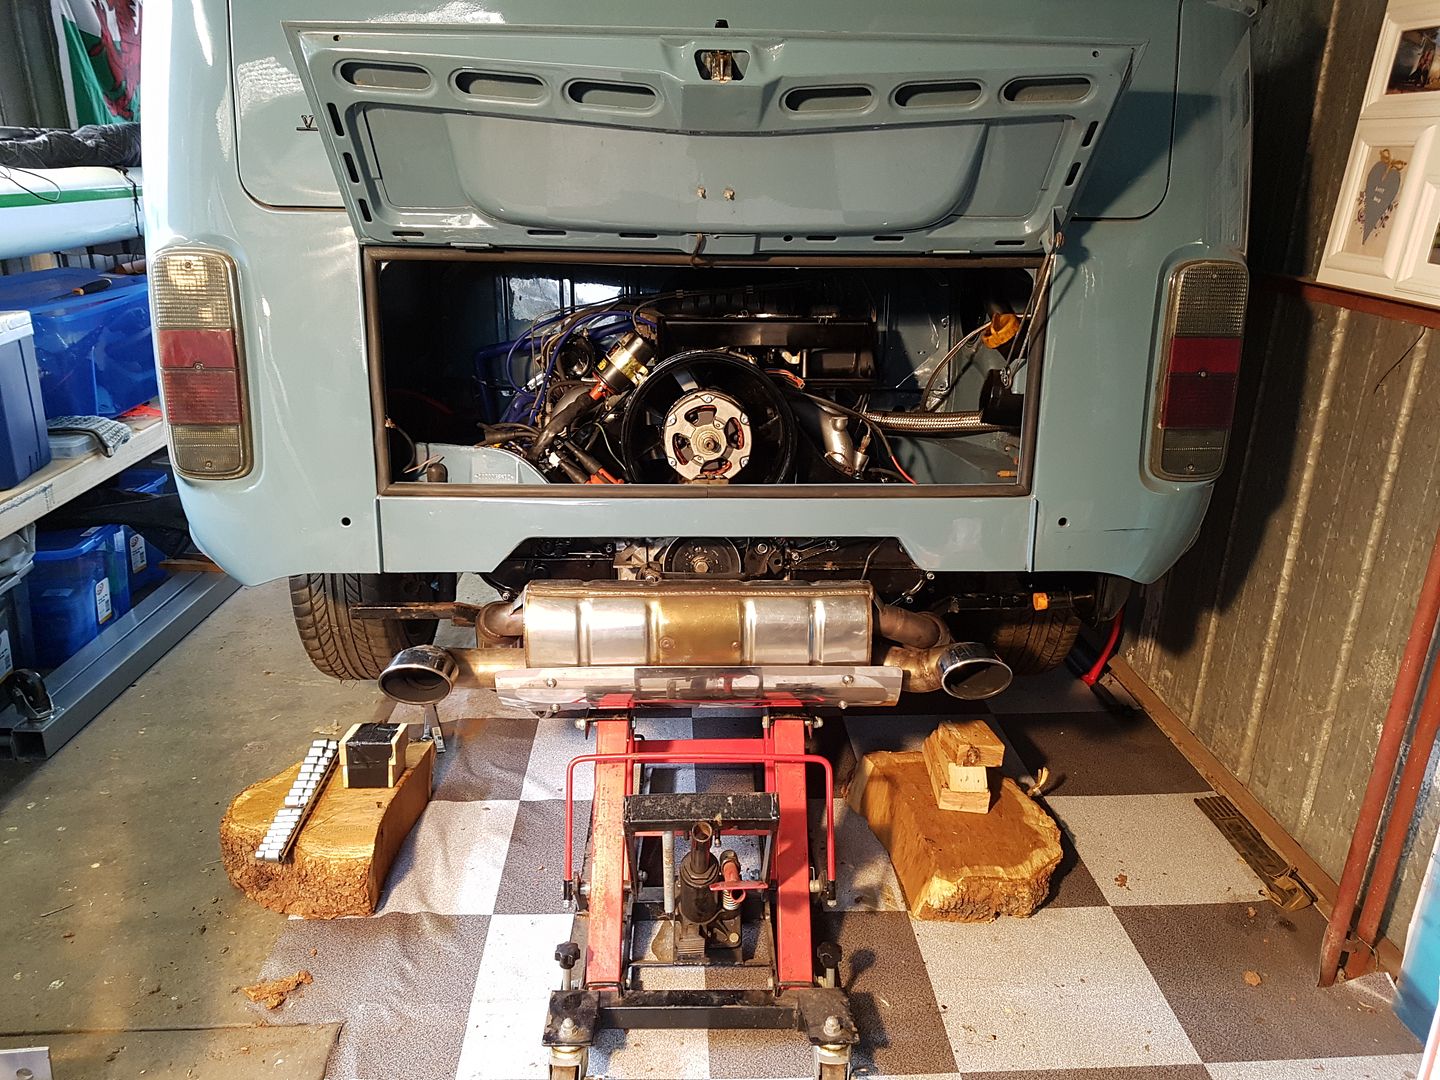
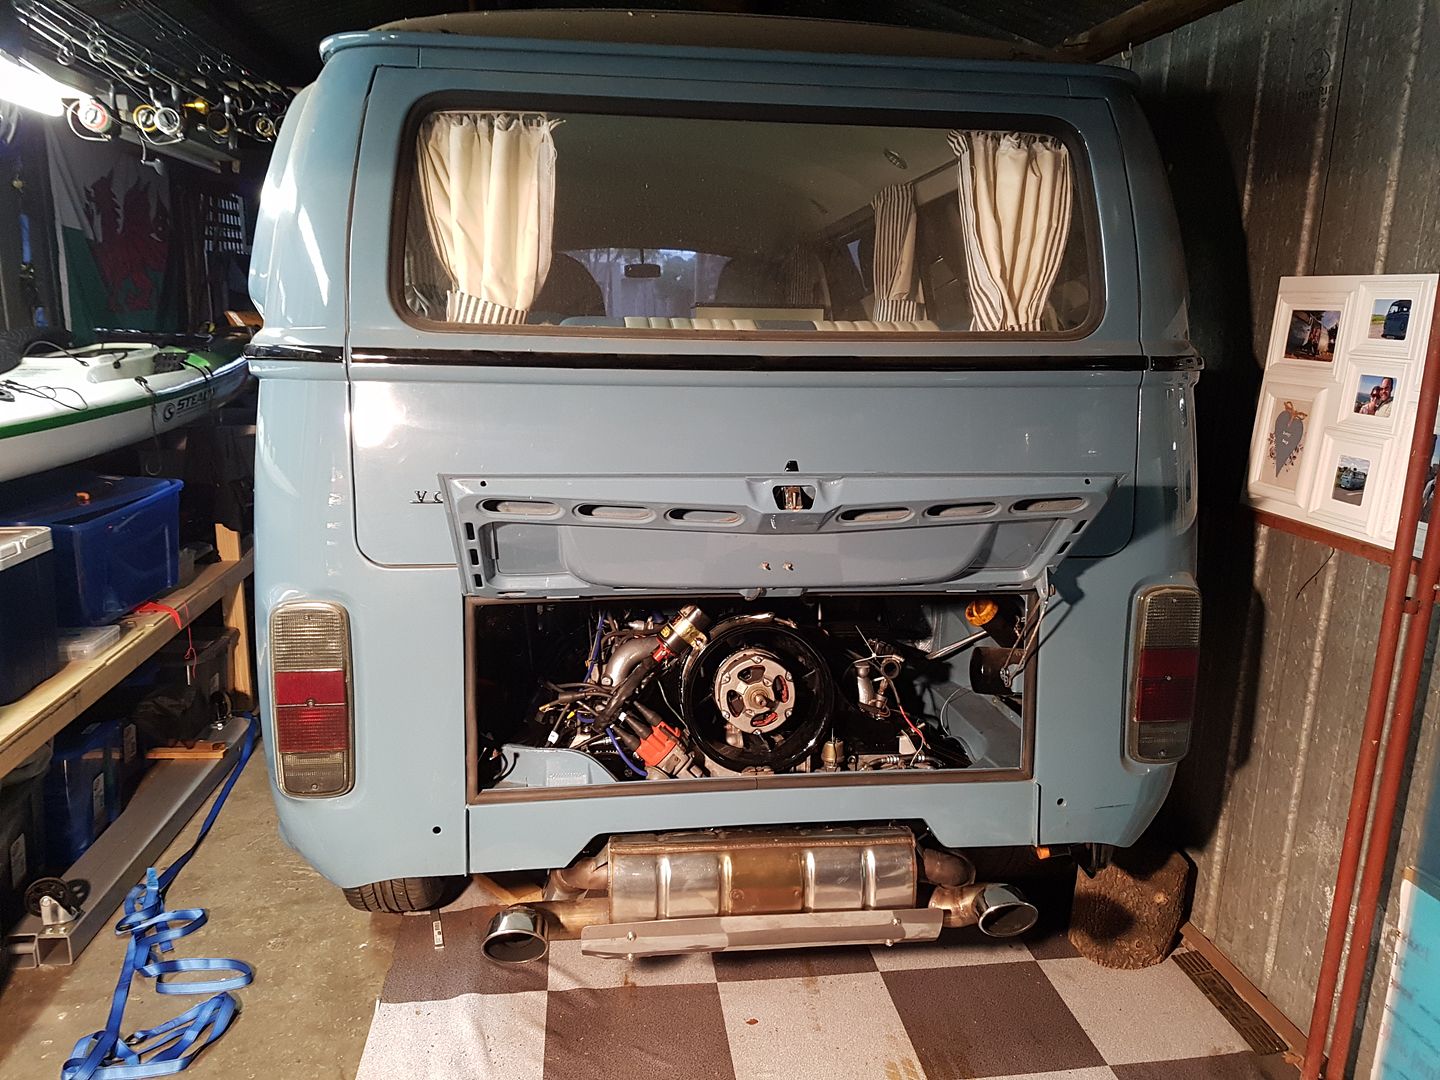
Was hoping to make some good progress over the weekend, but I mis-read Wayne's book and didn't order myself a 46mm crowsfoot wrench for the removal of the cams, so only managed to remove carrera upgrade oil lines and cam covers.
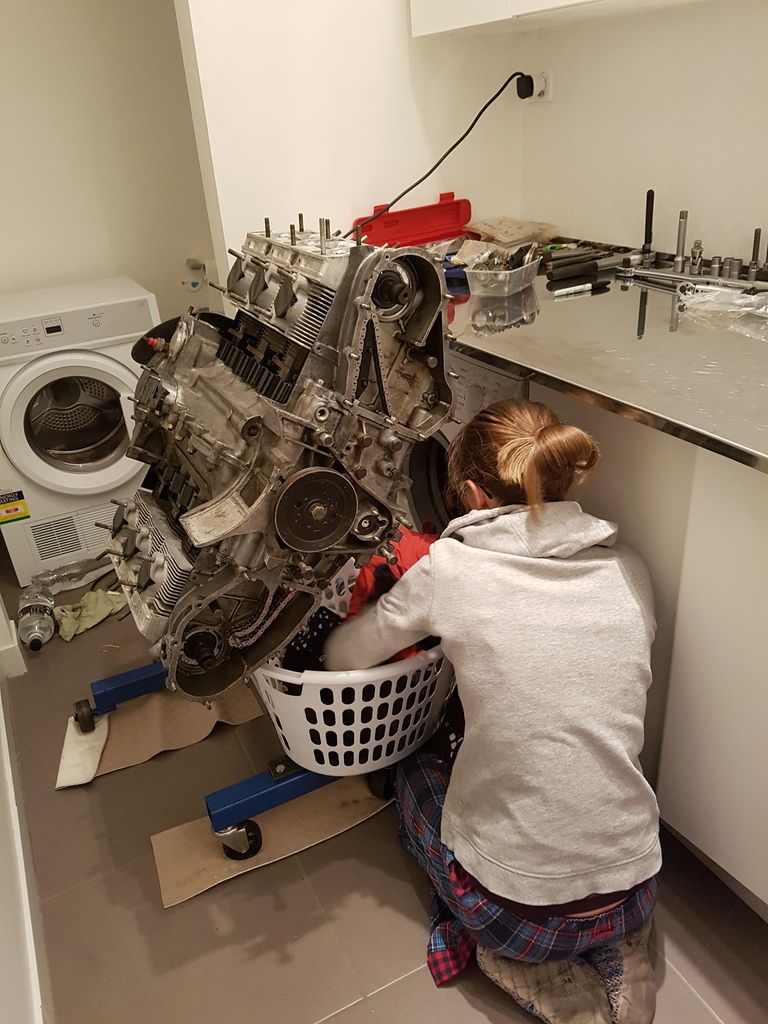
O ye, and a bit more oil that was left in the engine when I rotated it a little ;-)
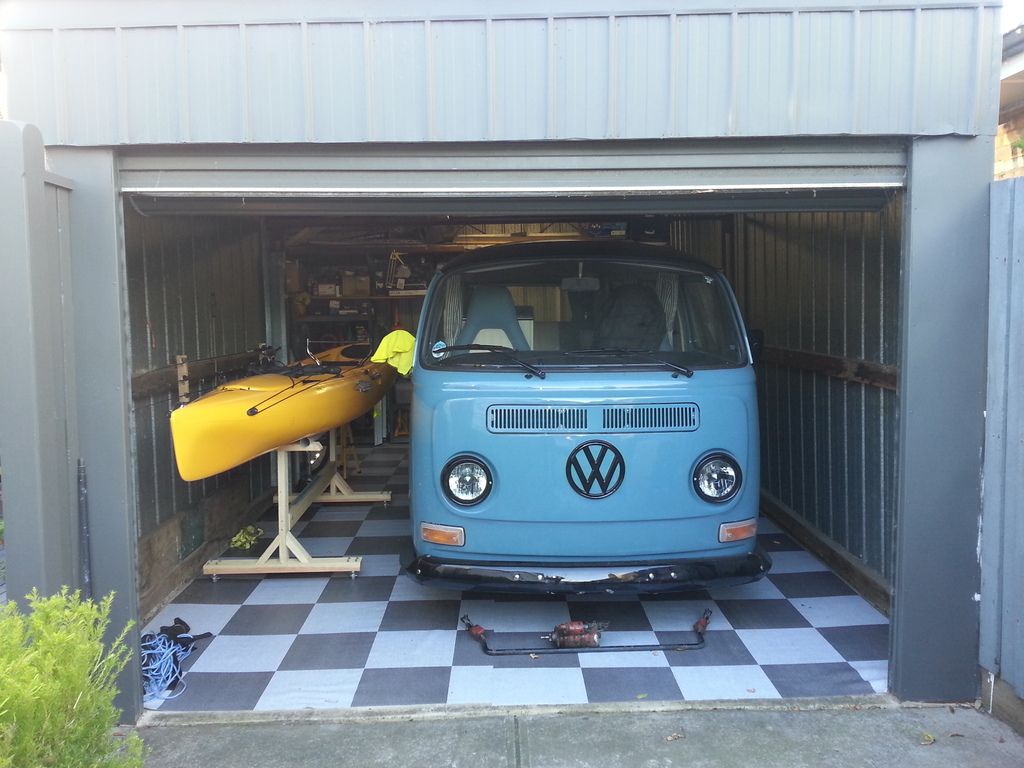
Damn my bloody kayak for spoiling the view!
I've got a crowsfoot on order...along with a few of the other tools I'll be needing along the way
-------------------------------------------------------------
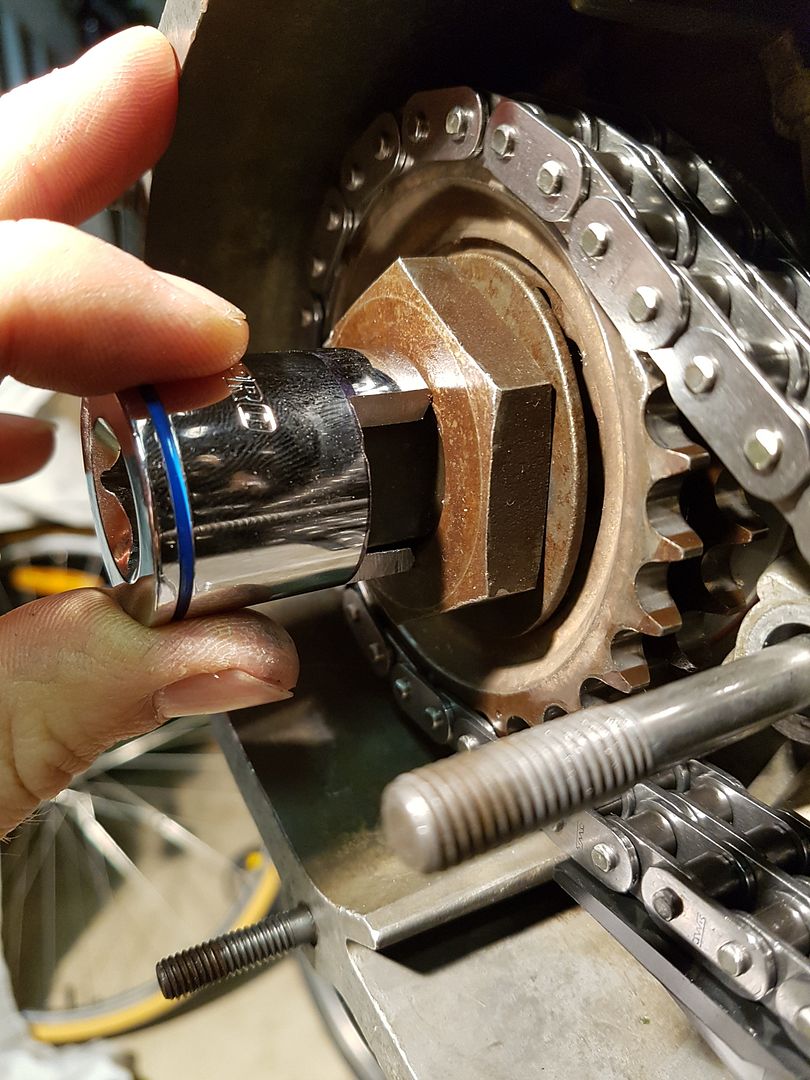
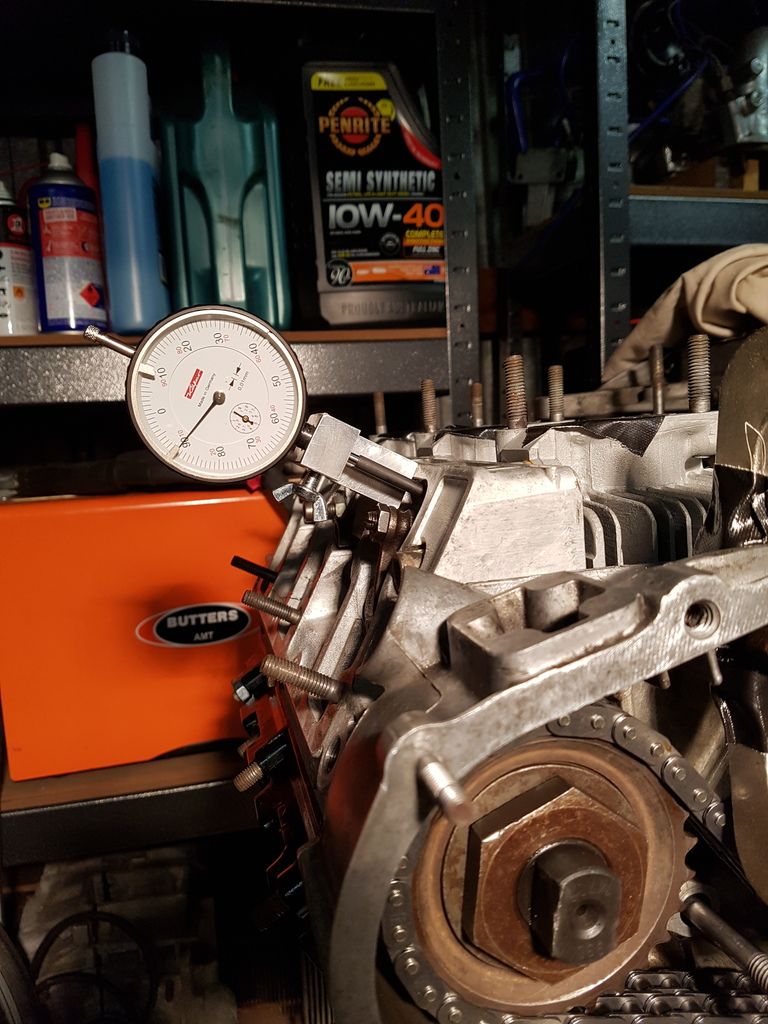
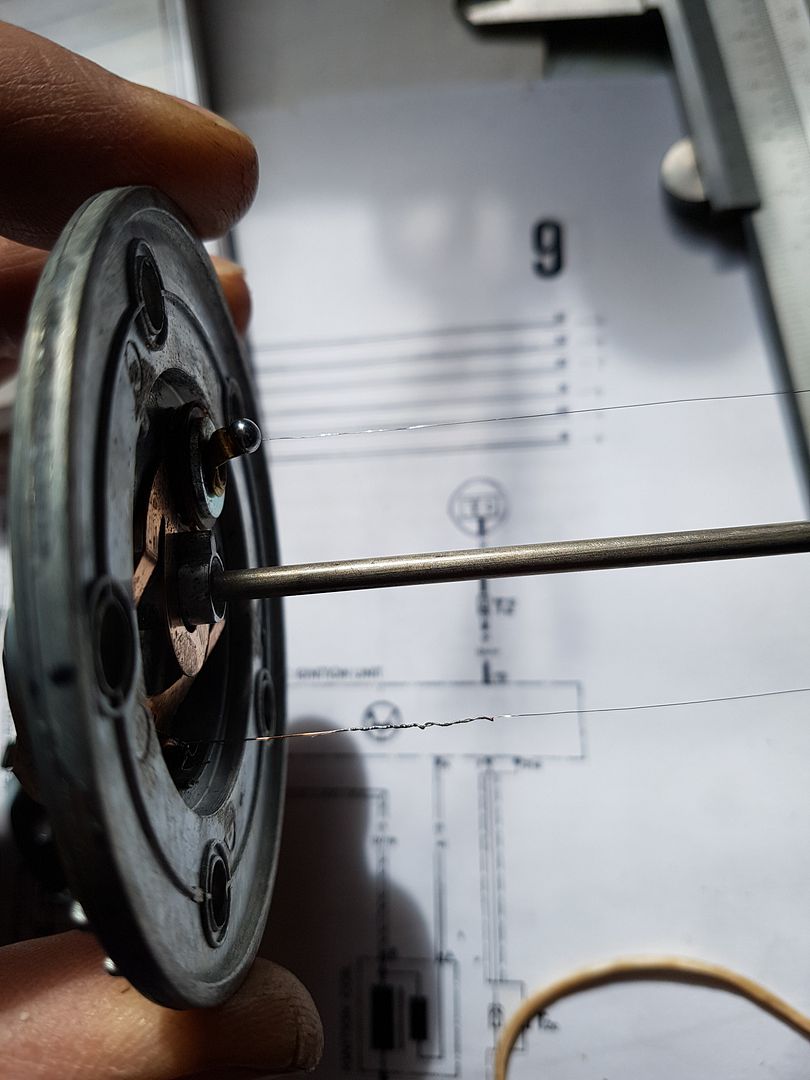
Had a good couple of hours on the engine teardown yesterday. Before I removed the cam towers I fit fitted the bolt into the end of the cam for cam sync using the Clewett Engineering cam sync setup:
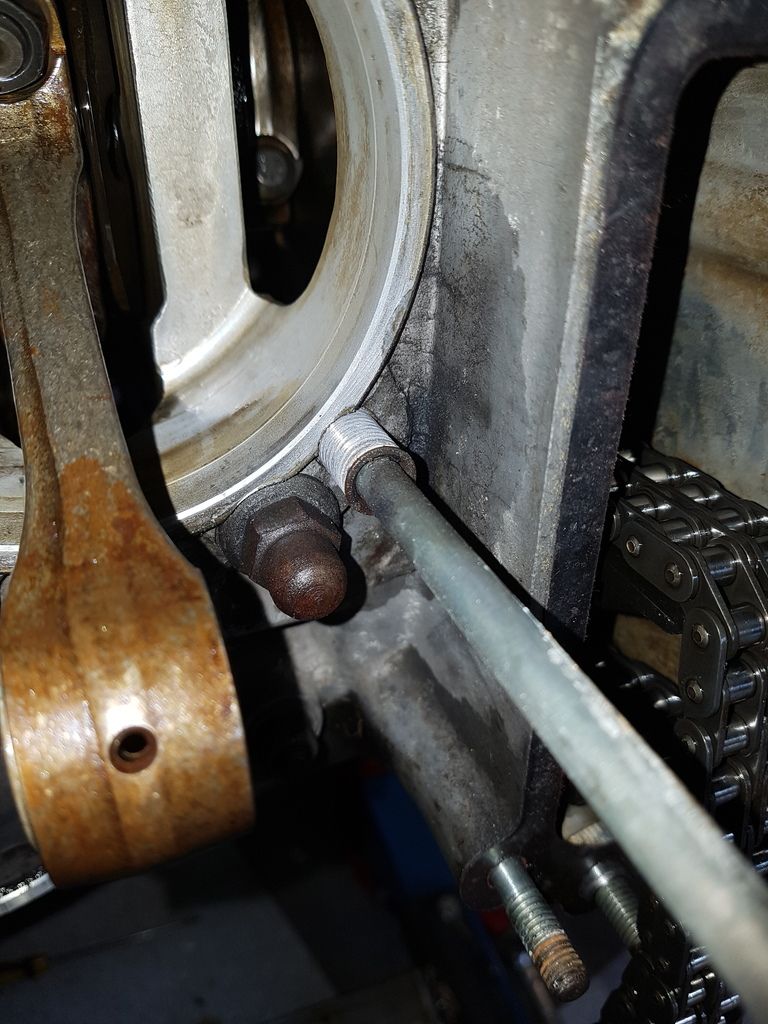
Historically I had low compression on no.2 and found that one of the exhaust headstuds didnt have much torque left on it when i removed it. When I have previously tested compression i had around 85psi on no.2 and all others were around 100-105psi (efore the headstud issue on no.6 that is. clear leakage on no.2
no. 6 with its snapped headstud showing clear leakage on exhaust side also
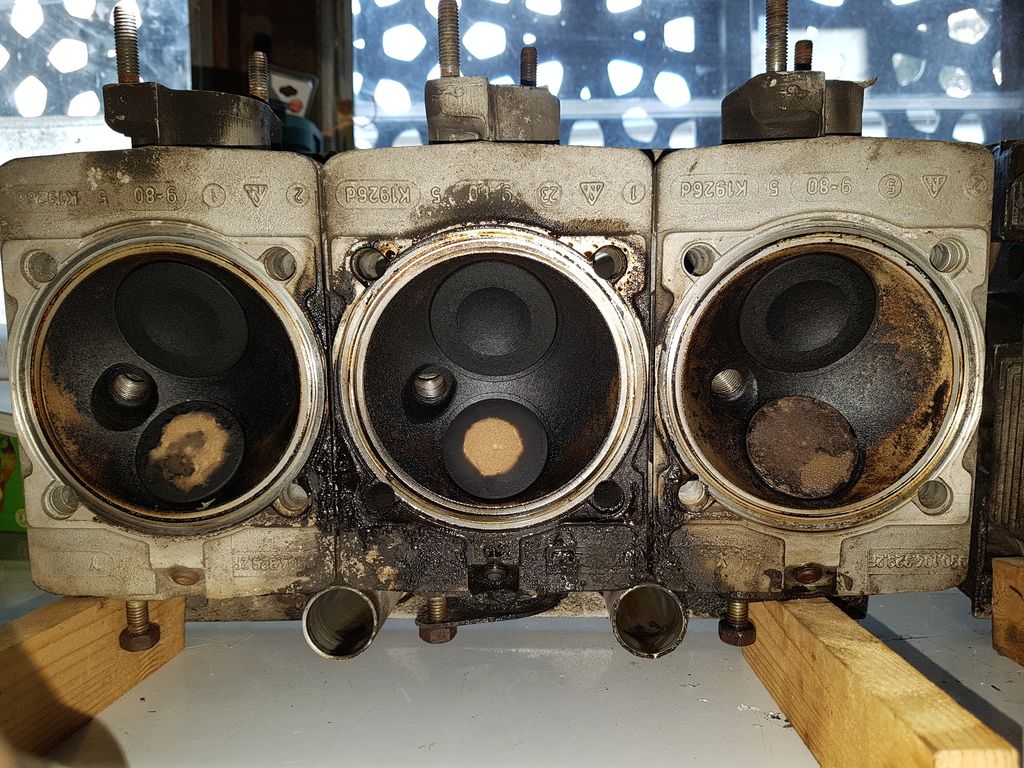
LHS cam assembly (no.1-3)
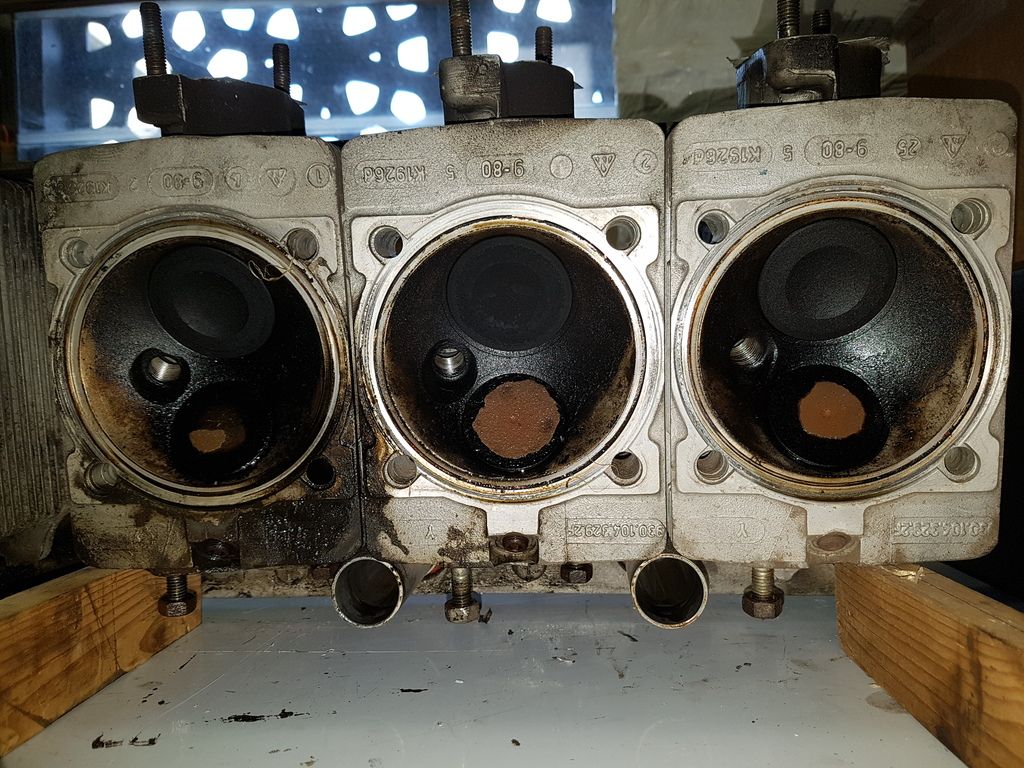
RHS cam assembly (no.4-6)
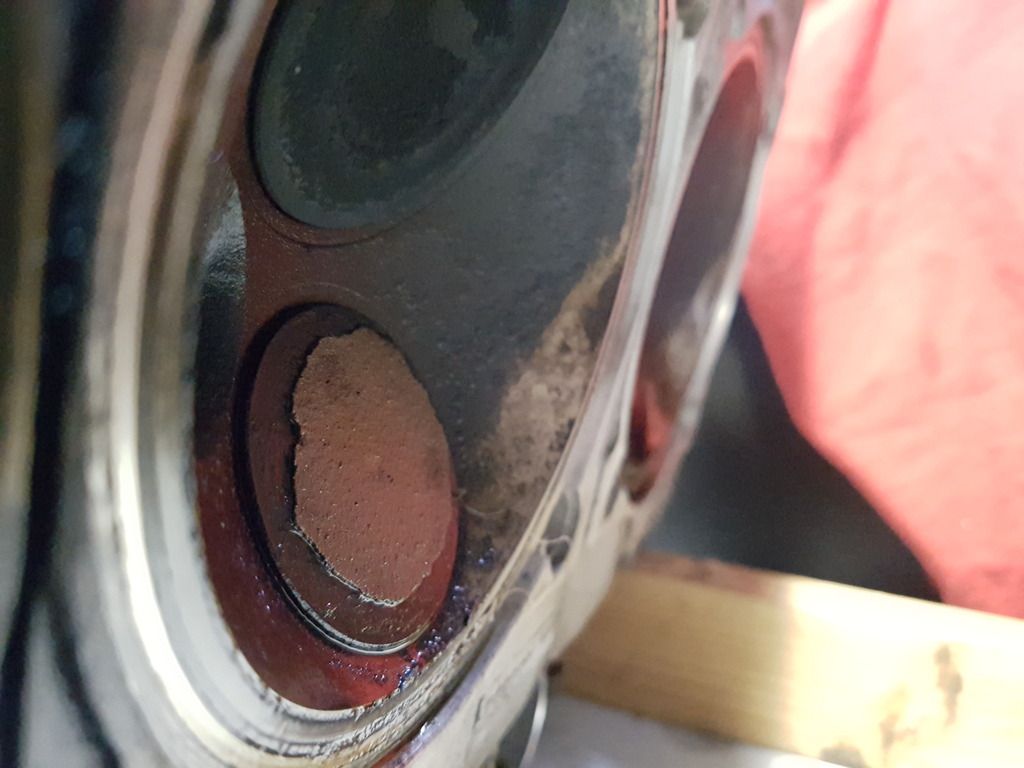
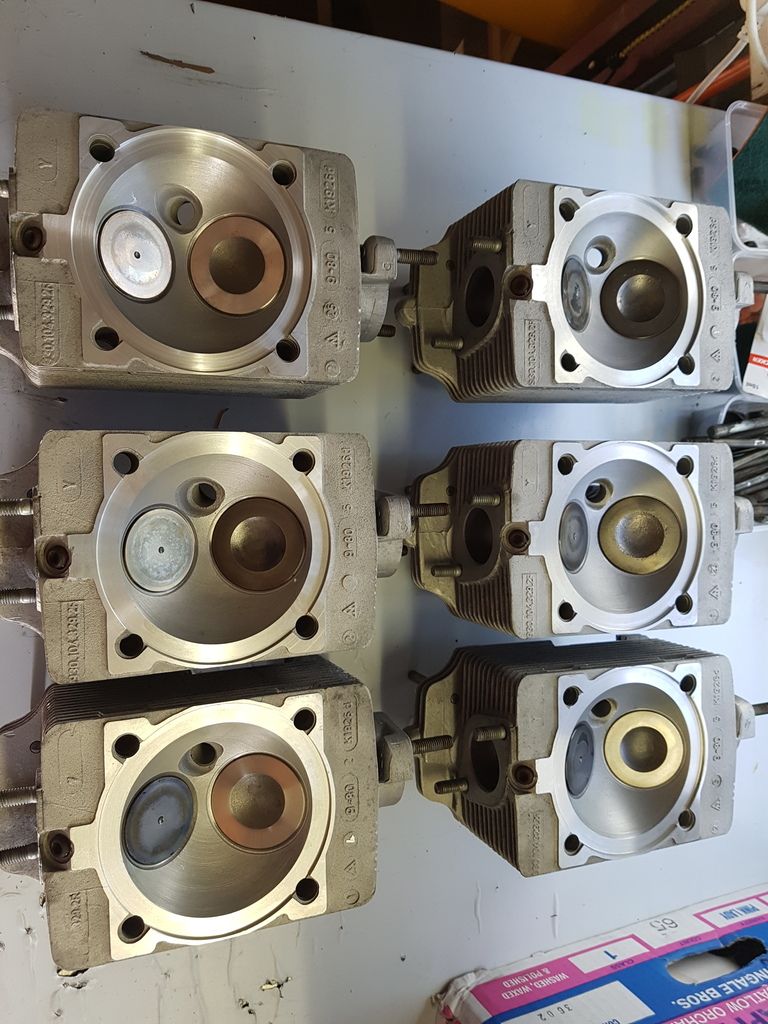
would you say this is excessive carbon buildup on the valves? The engine has had several known periods where is hasnt run for couple of years:
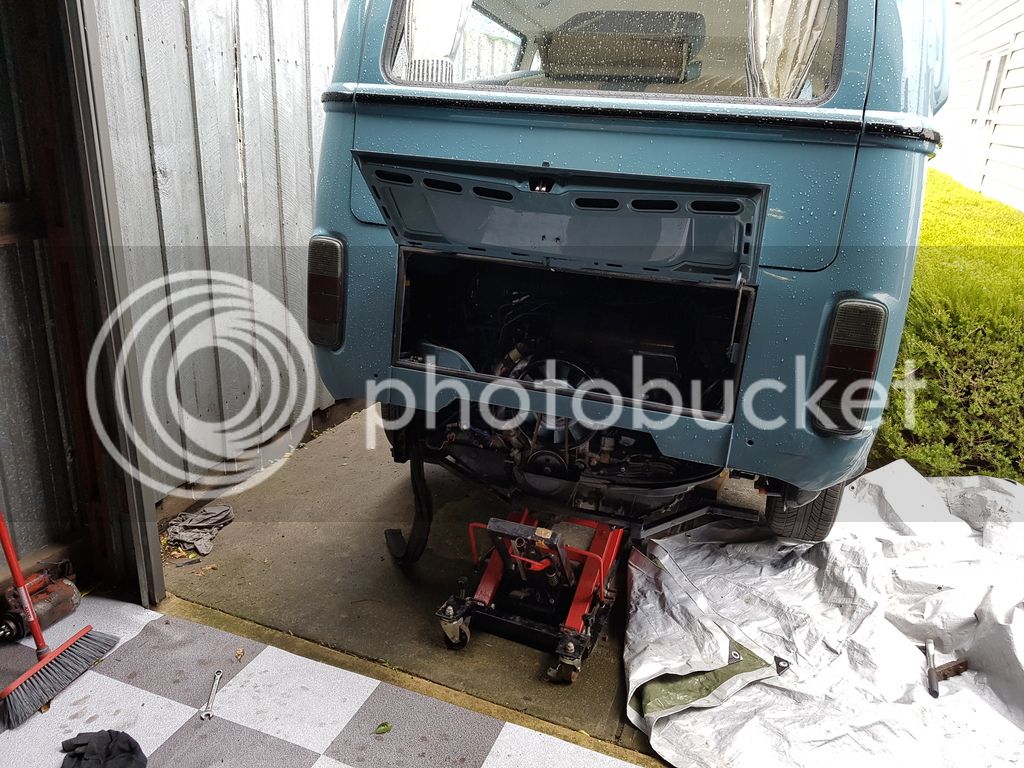
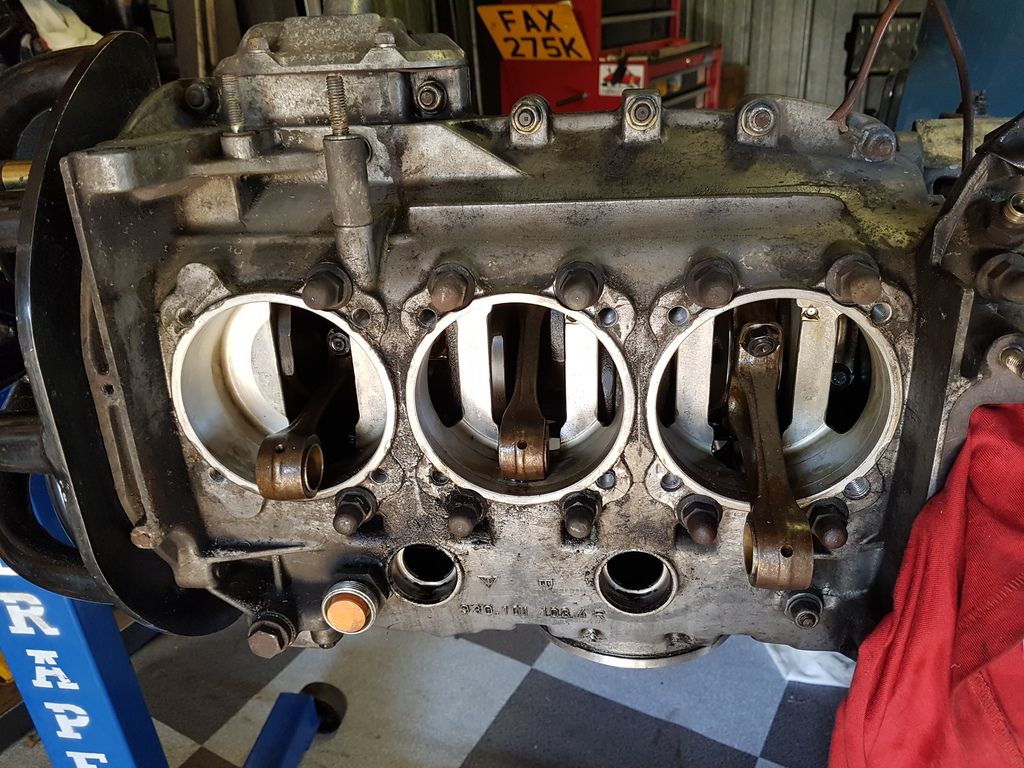
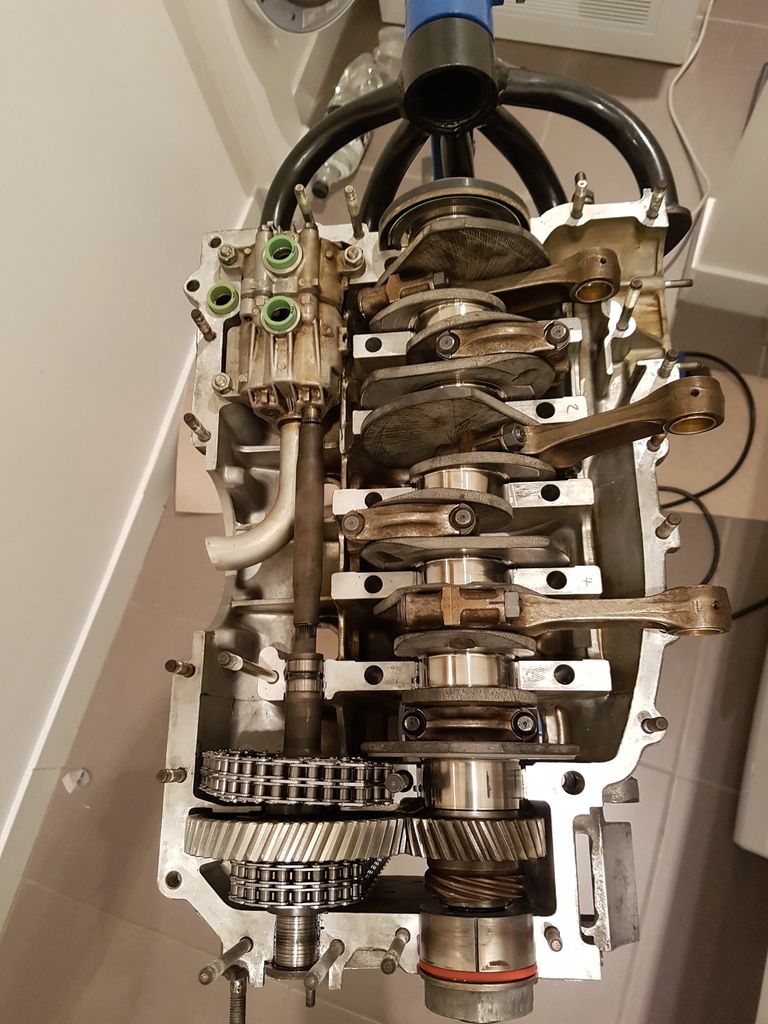
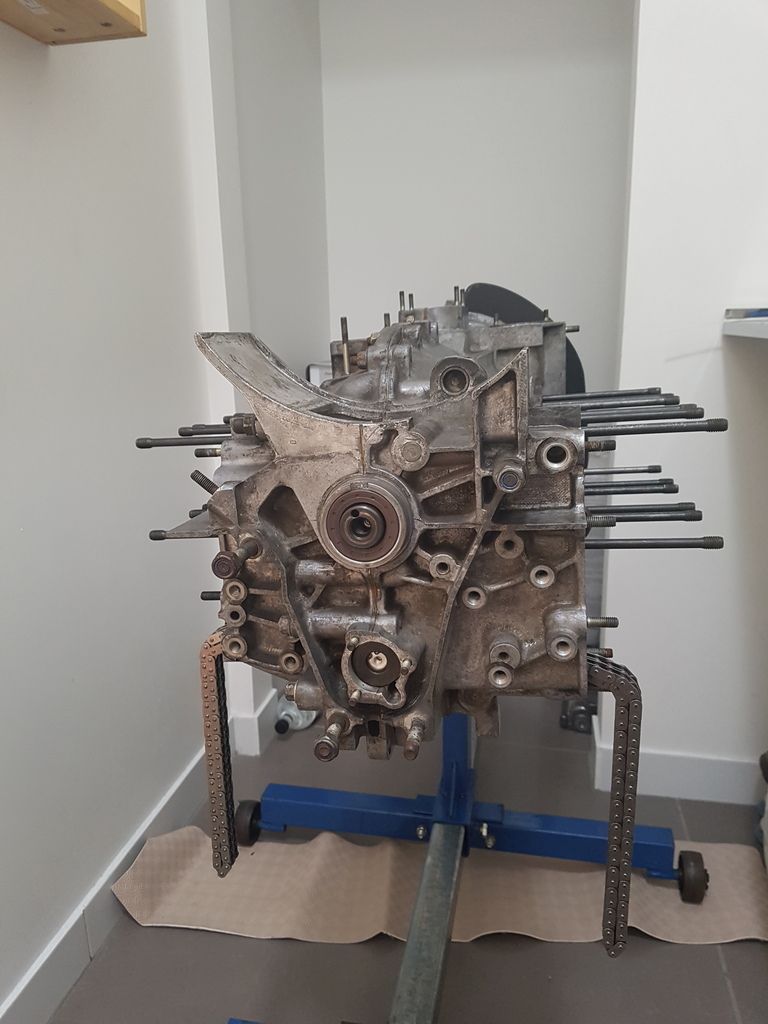
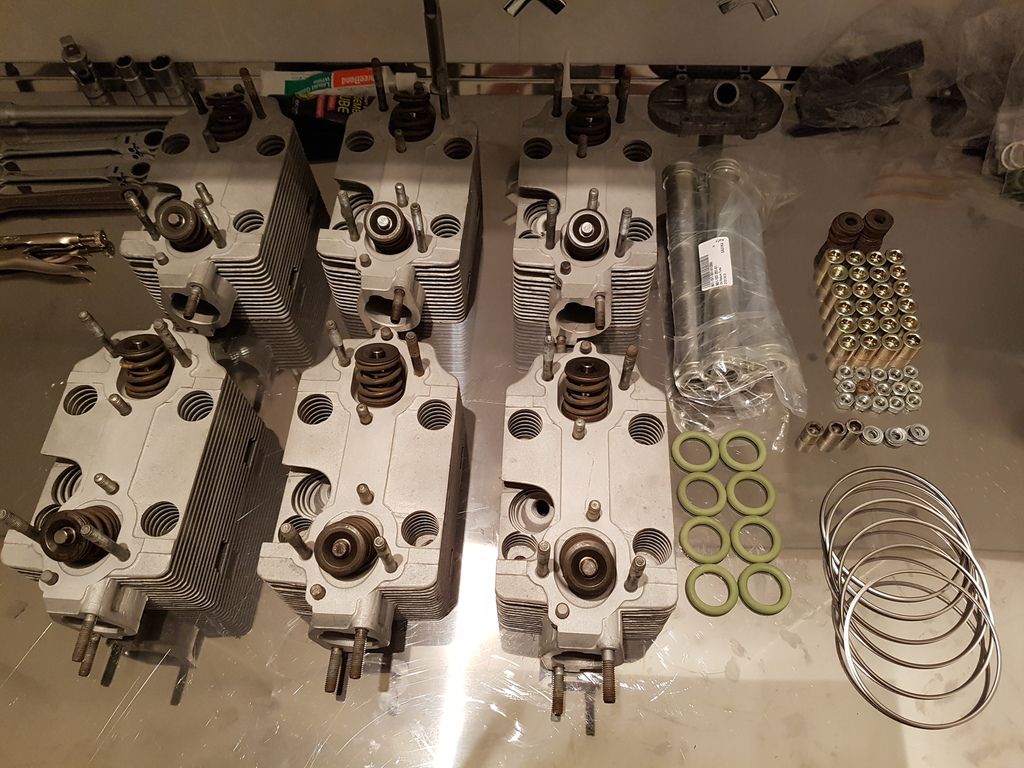
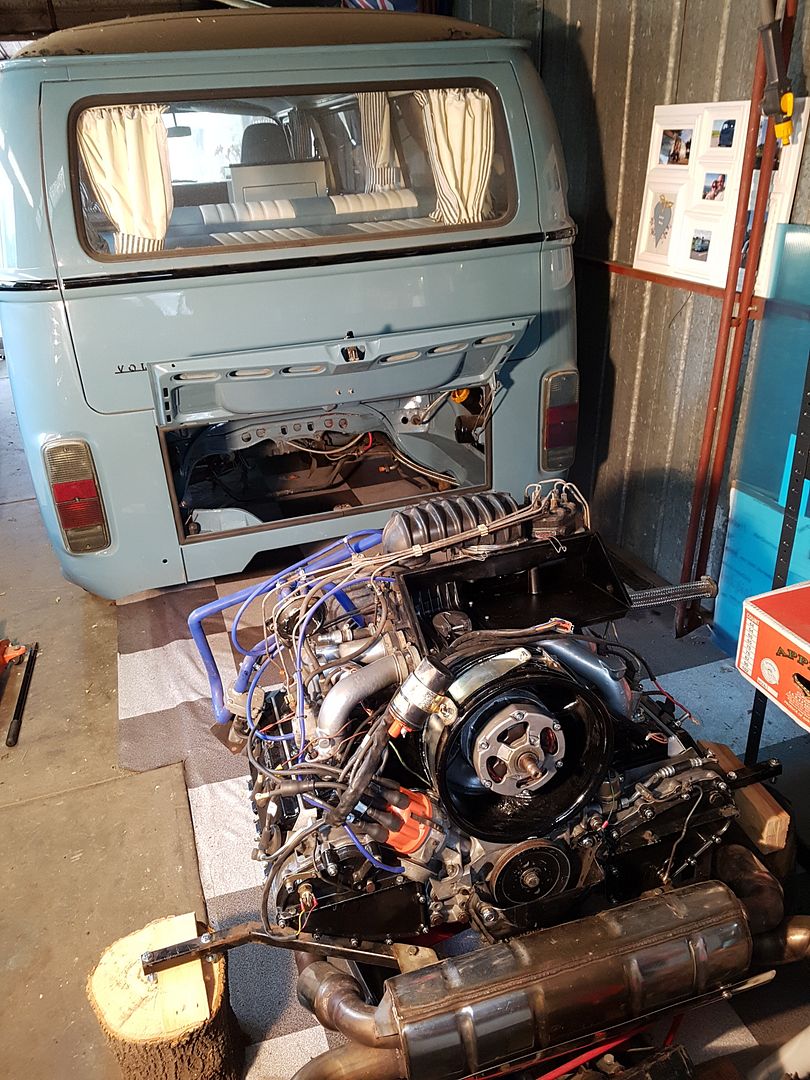
This is what I'm down to as of yesterday:
--------------------------
Well I have managed to get a couple more hours on the engine teardown this arvo. Been too busy this weekend to get any other time in the garage.
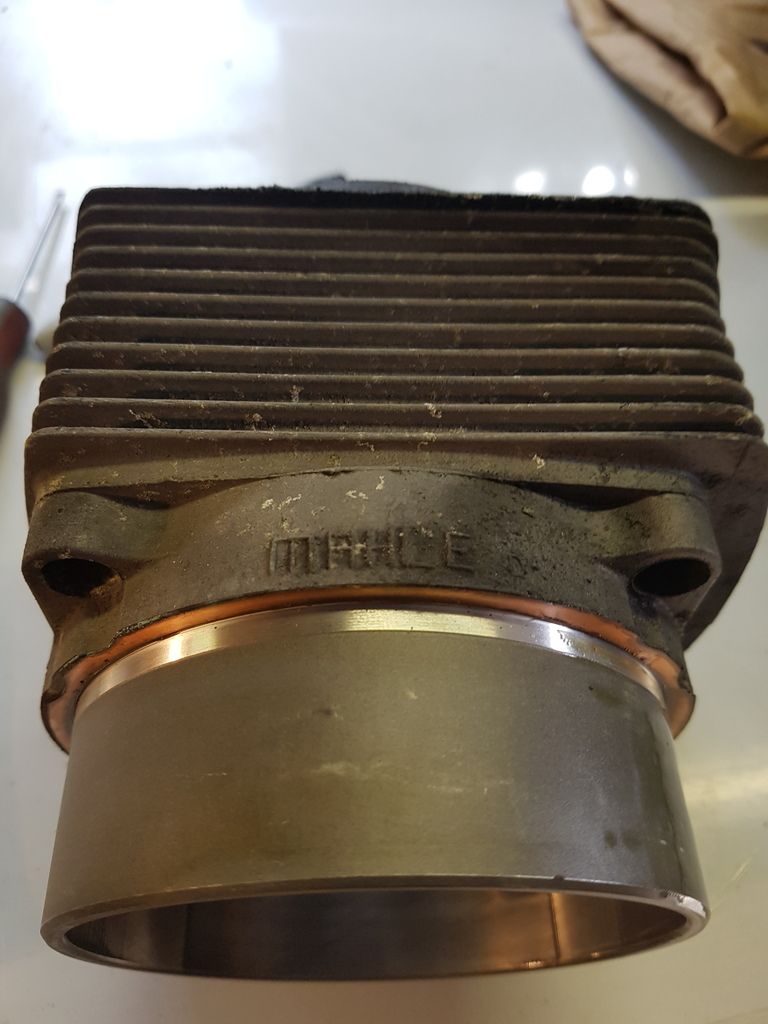
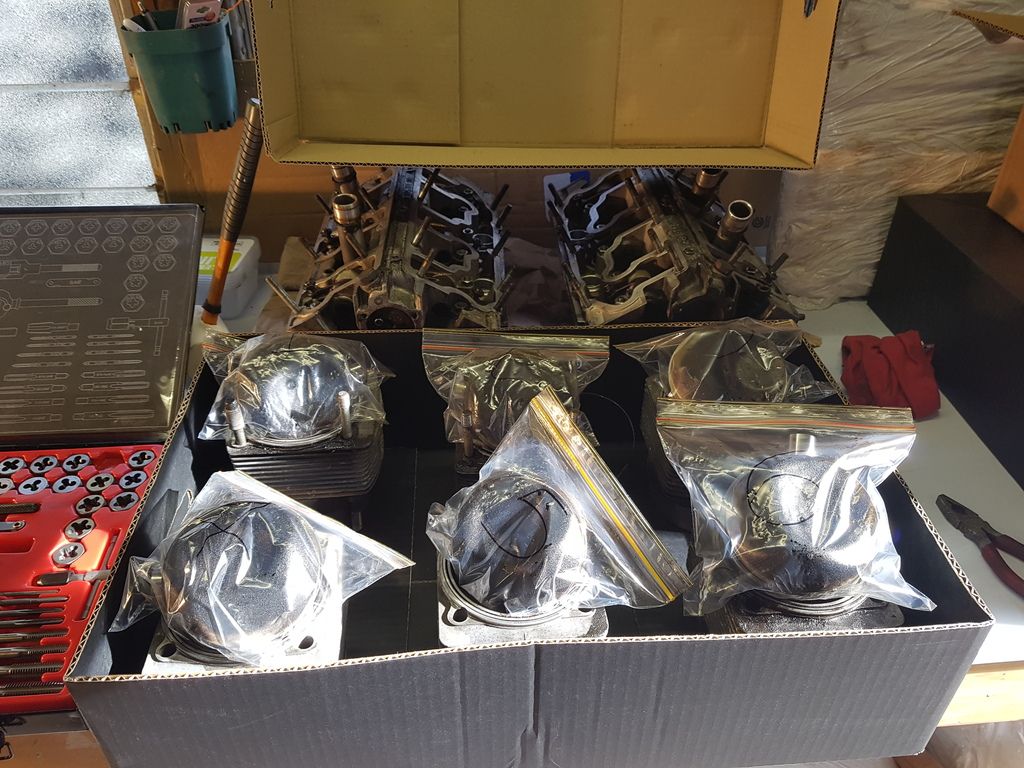
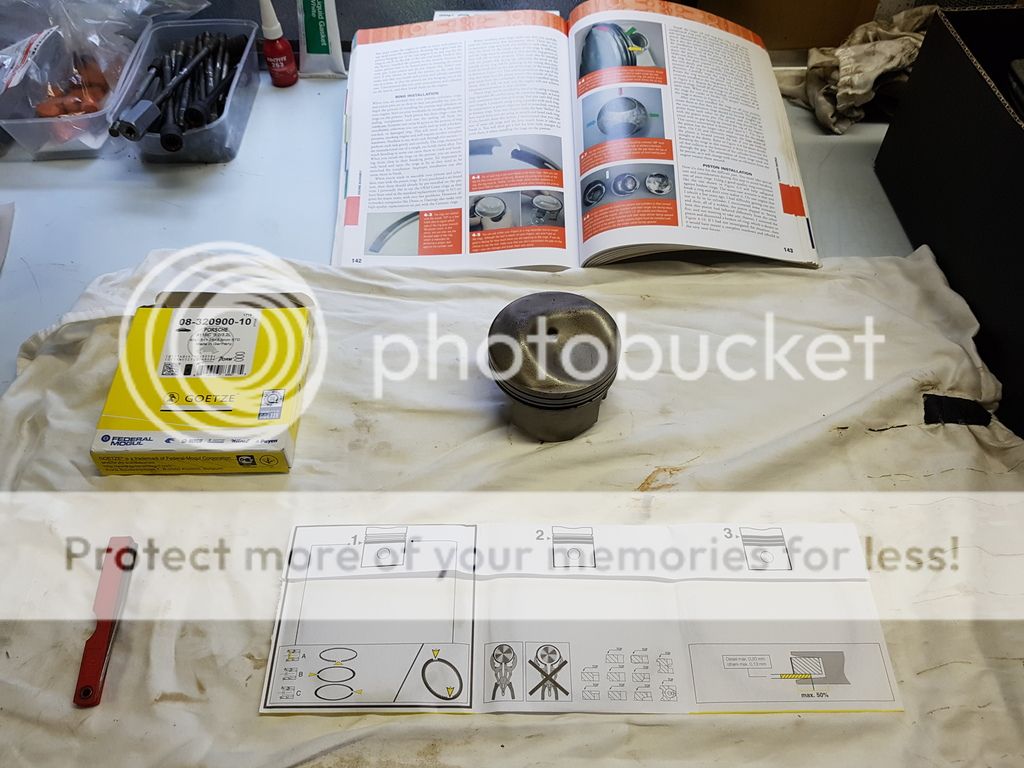
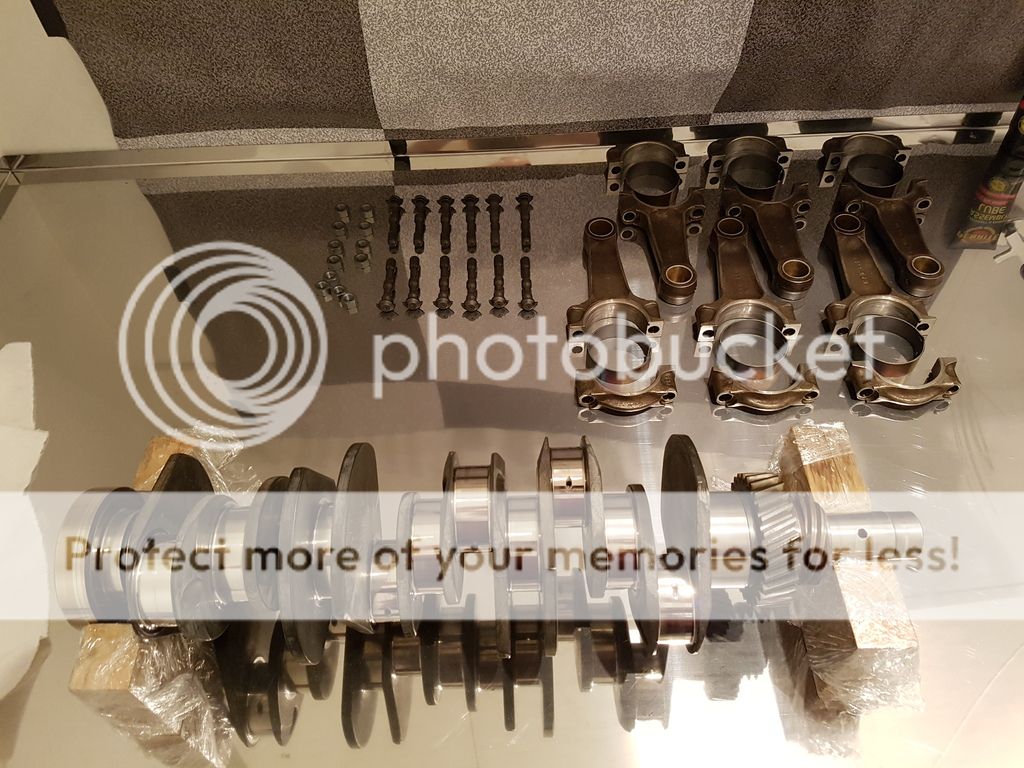
Managed to get all of the cylinders and pistons bagged and tagged. All cylinders and pistons had already been numbered, I had presumed by a PO's rebuild. Cylinders were all numbered correctly in the engine, but bizarrely no.4 and no.6 piston were the wrong way around. Initial inspection of the cylinders appear to look OK and I I have confirmed that I have NIKASIL cylinders. MAHLE!!!!
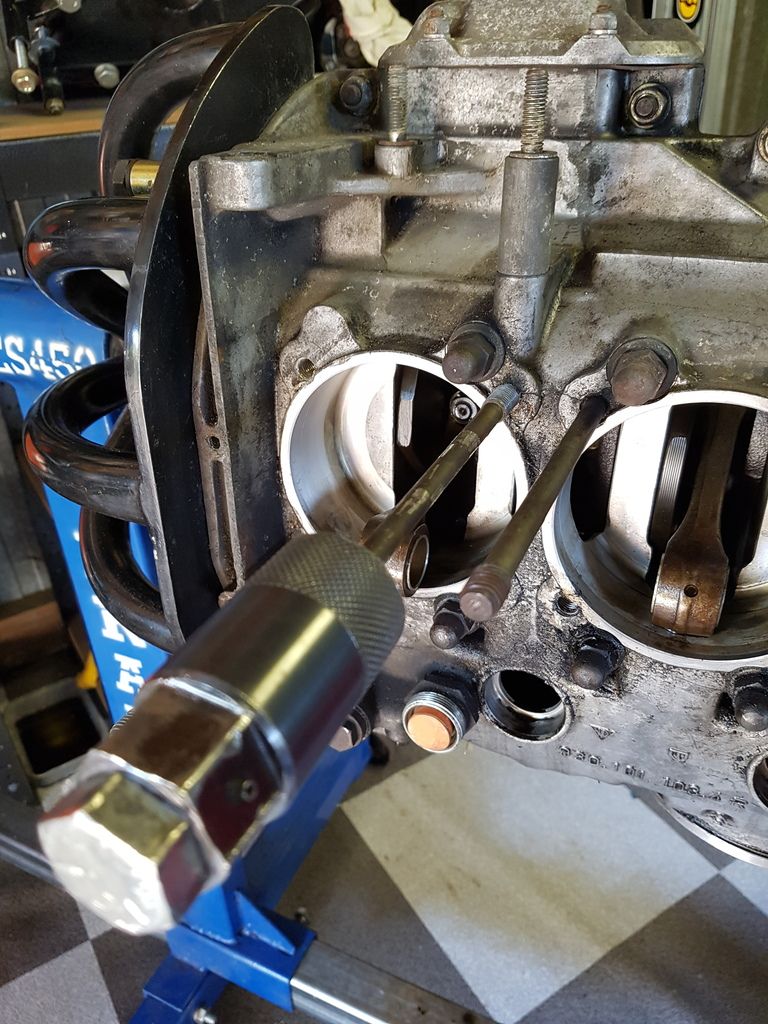
I got enough time to try and remove some of the headstuds, which is a bit of a NERVY process. I managed to remove 3 (exhaust side) so far.
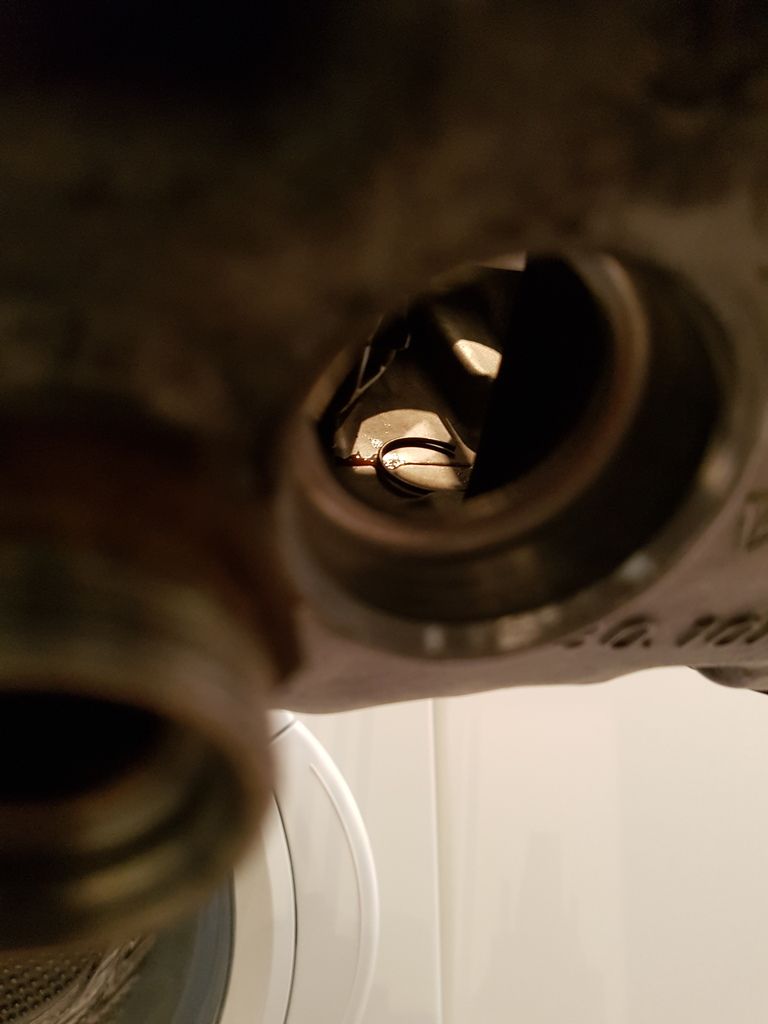
The low torque left on one of the no.2 exhaust studs and this blown seal will explain the evidence and recorded low compression on this cylinder:
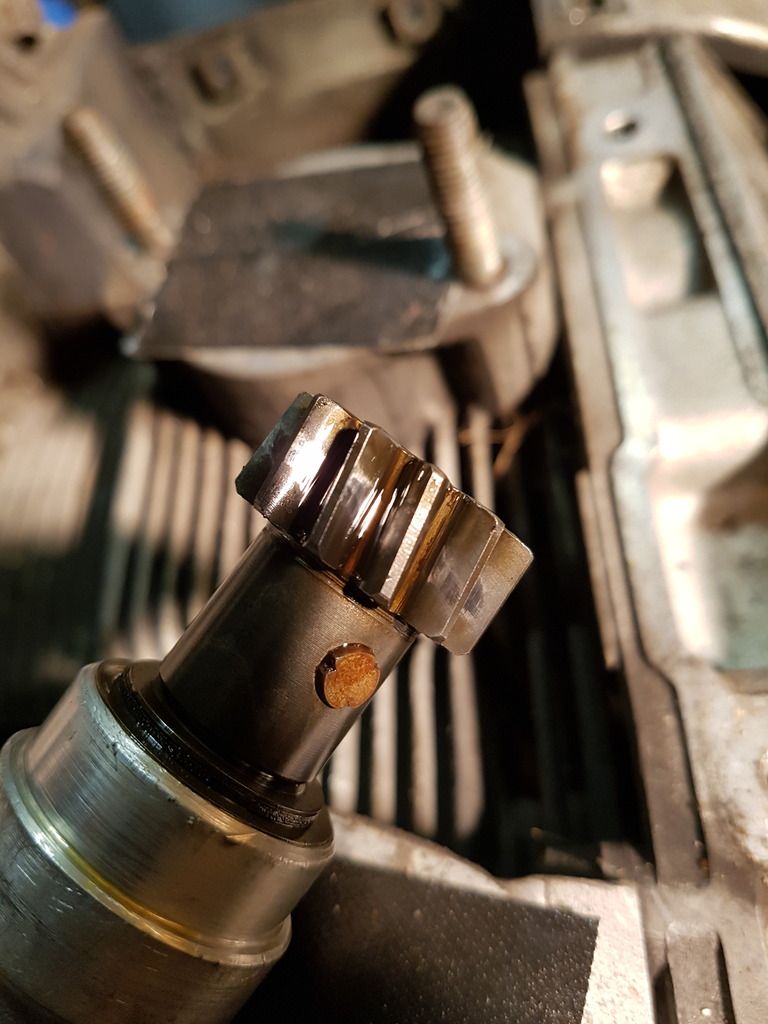
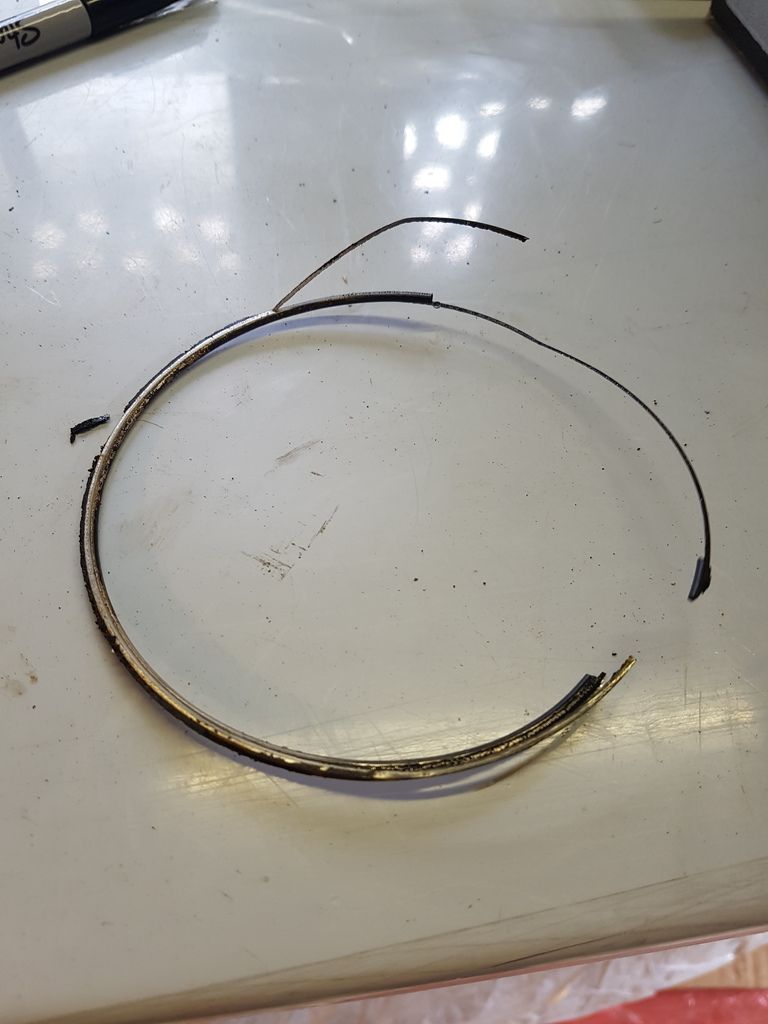
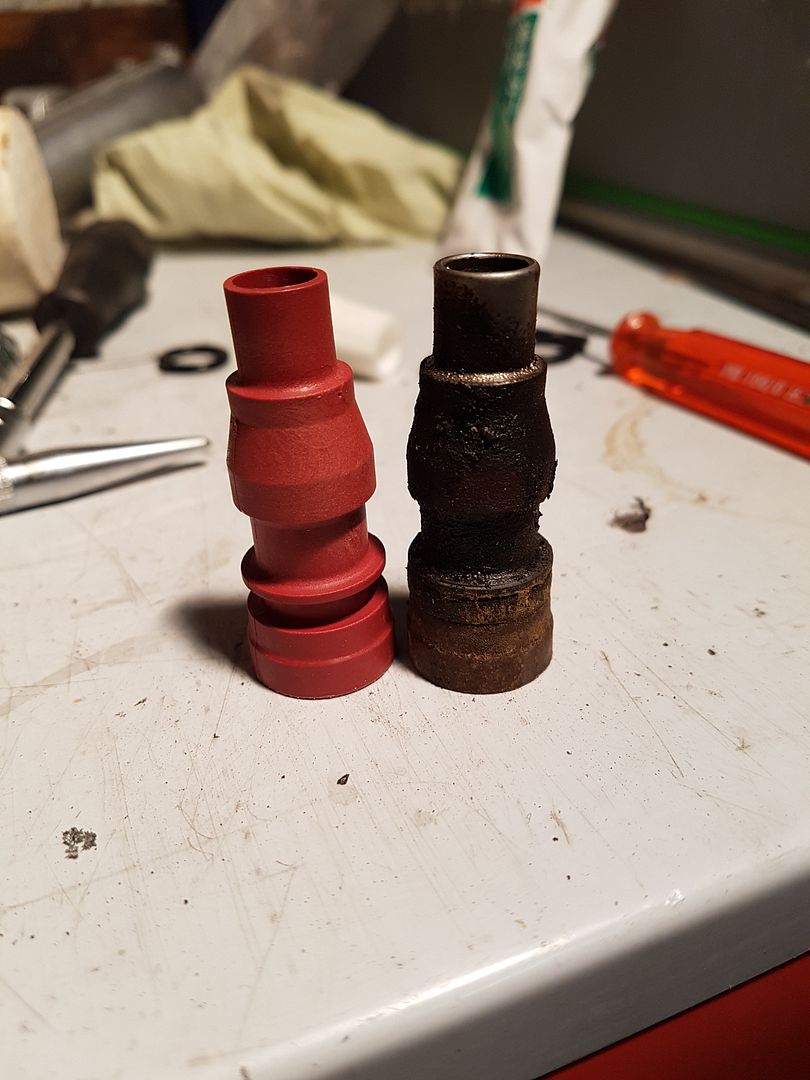
Found this too.... is it a casesaver or timecert. I think a casesaver???? I wasn't planning on splitting the case, but is my hand forced or can another insert be put back in on rebuild?
------------------------
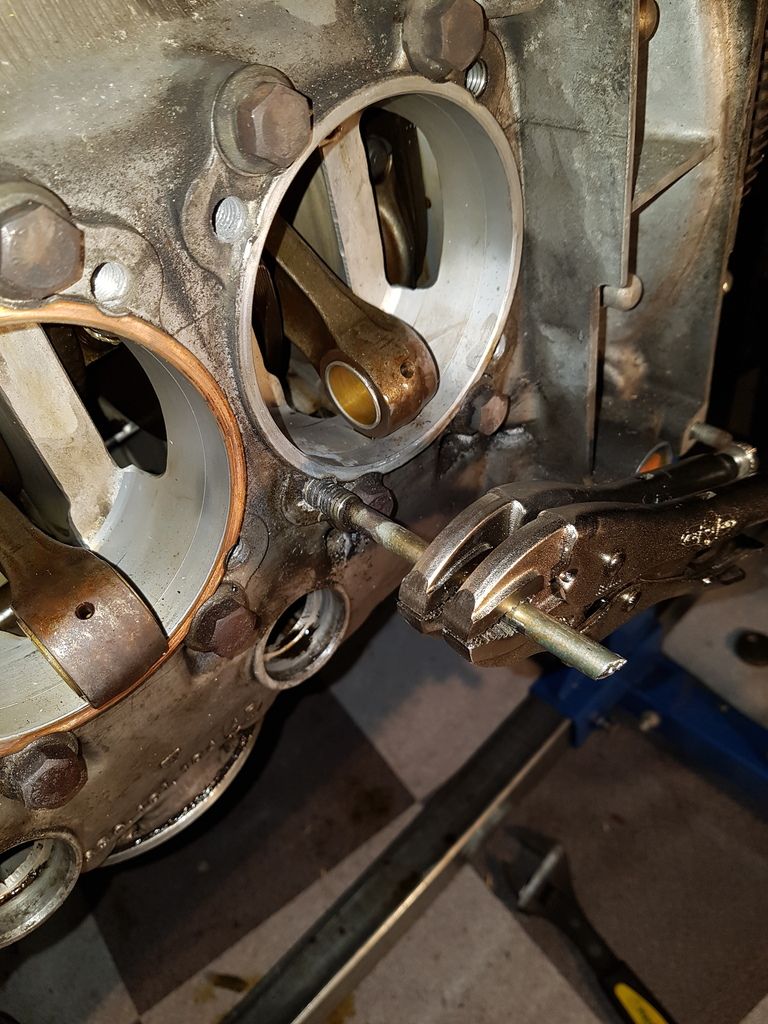
Well after a guy sent me his tool to borrow I really struggled to remove the studs, but managed all but 5 stubborn ones - 4 complete and the 1 snapped stud
I was very worried about buying a torch and then applying the heat for fear of damaging the engine and the inevitable expense as a result. I really do not know what I was worried about. I wish I bought the torch from the off and removed all of them with a bit of heat. So much easier. It wasn't easy still, but it was much easier than without any heat!
I read on a few places like PP about once you heated the case up then melting beeswax into onto the loctite thread helps to melt and I suppose stop the loctite resetting to some extent. Either than or just help to provide a little lubrication in removing.
Well, low and behold, I managed to remove all 5 studs this way. And bizarrely, the snapped stud was the easiest to remove with double vice grips.
TIP: I had some solder at hand as this has a melting point of 180-210deg (brand/composition) which was a good indicator for me to ensure that I didnt under/overheat. If the solder melted when I touched the stud with it then I wouldnt heat any more. As is turned out I didnt have to heat as much as this to remove.
SO RELIEVED that all studs are now out as I was getting a bit worried


