68 clipper

Early Bay Forum

Help Support Early Bay Forum:

This site may earn a commission from merchant affiliate links, including eBay, Amazon, and others.

i am rob

Well-known member
Joined
Jul 5, 2007
Messages
259
Reaction score
0
Location
doncaster
been lurking around this site for a good few years now, my van is almost finished so will be coming out of hibernation for 2013. here's a really poor pic of it before it went into hibernation.
Image002-1.jpg

done a lot of work to it since then, been side tracked and lost motivation to carry on with it many times over the years but the end is in sight now :)
 
it's a twin sliding sunroof 9 seater (indian red) clipper. manufactured on 8/11/68 but a 69 model year (door handles/ wiper motor etc. etc.) i haven't used it since 2007, and i think i'll be making its first journey in a while the trip to ebi this coming summer.
 
oh yes right that's you! don't remember if these are the ones on my car right now or maybe still in my stash.. :mrgreen:

I want to see more pics of your 68!
 
i wonder if you could help me with something? i picked these fog lights up a few years ago. the 'E' number is a 4, which means they were for the dutch market. not being part of mainland europe nobody in the uk seems to know much about them? are they common in europe? do you know who manufactured them? anyhow. pics below :eek:
PICT0252.jpg

PICT0250.jpg

PICT0249.jpg
 
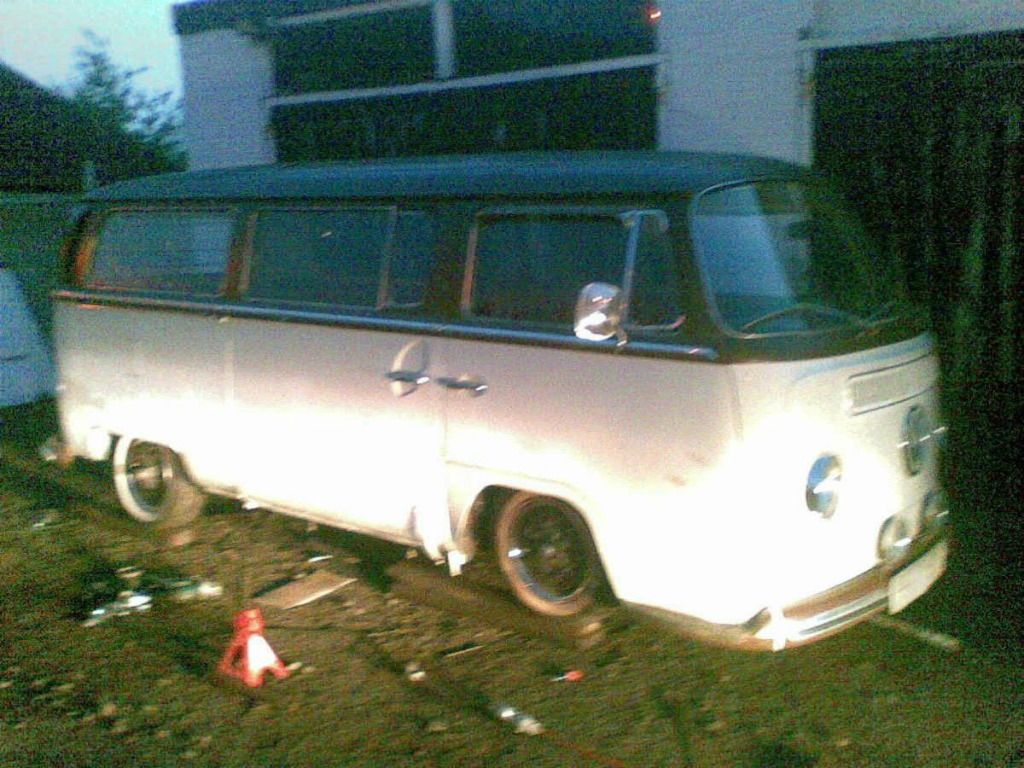
another half arsed update i'm afraid. i will get around to taking some up to date pictures but for no...... here are some i found on an old memory card (4 years ago! :msn4: )

in no particular order;
PICT0272.jpg

PICT0268.jpg

PICT0265.jpg

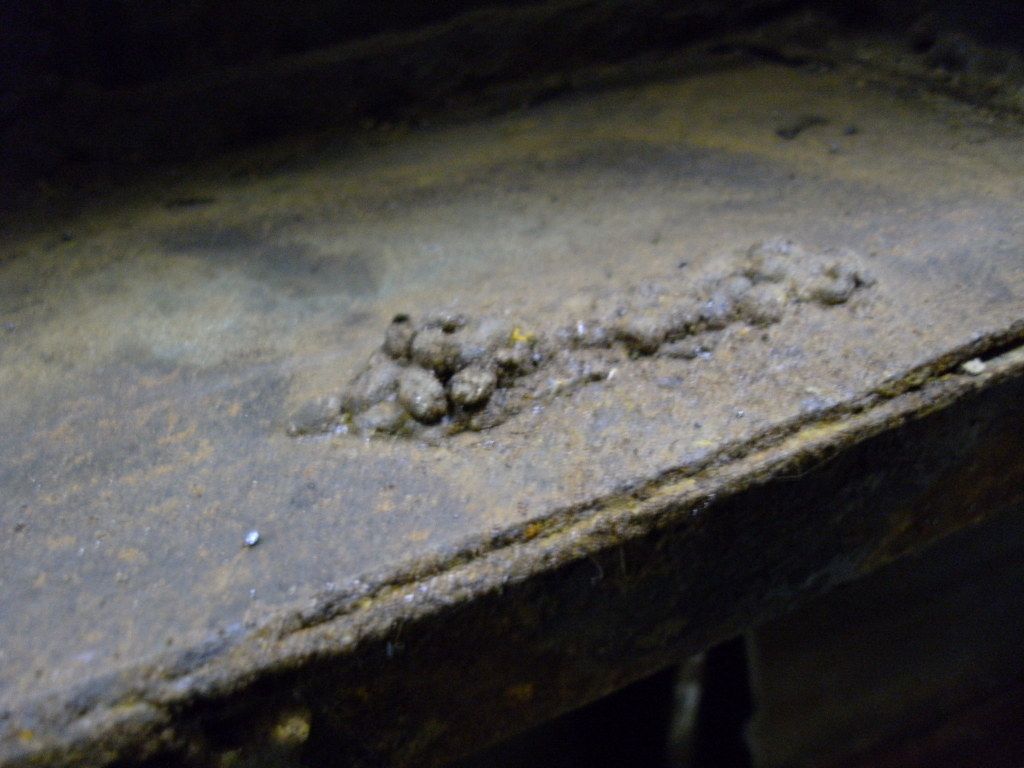
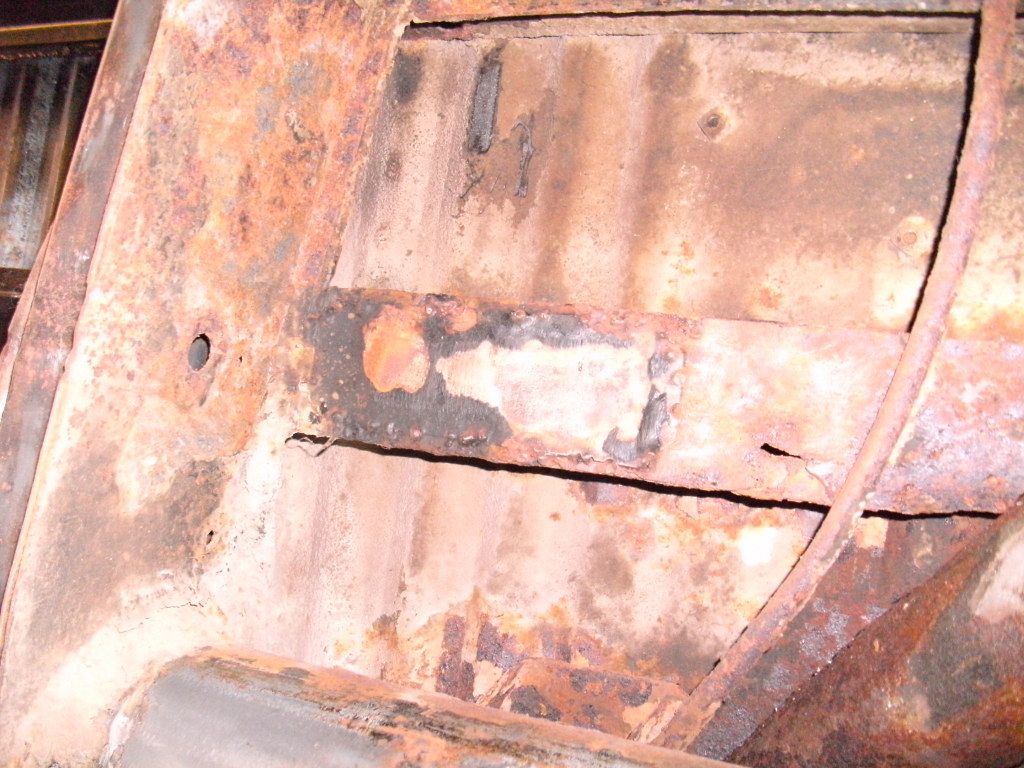
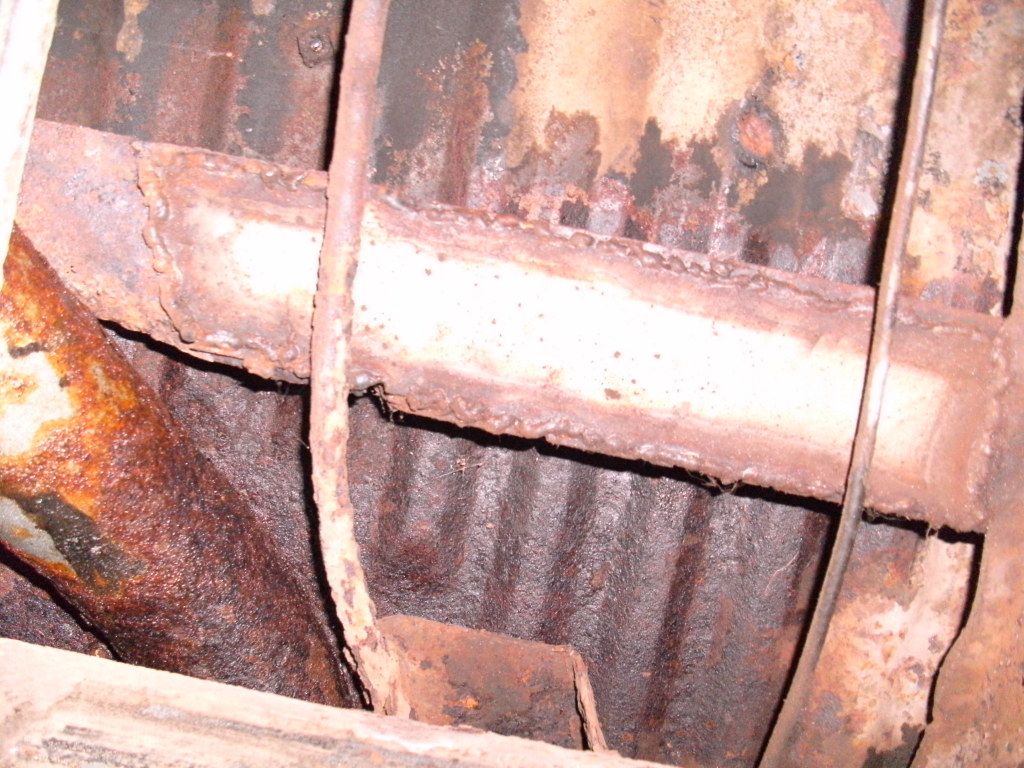
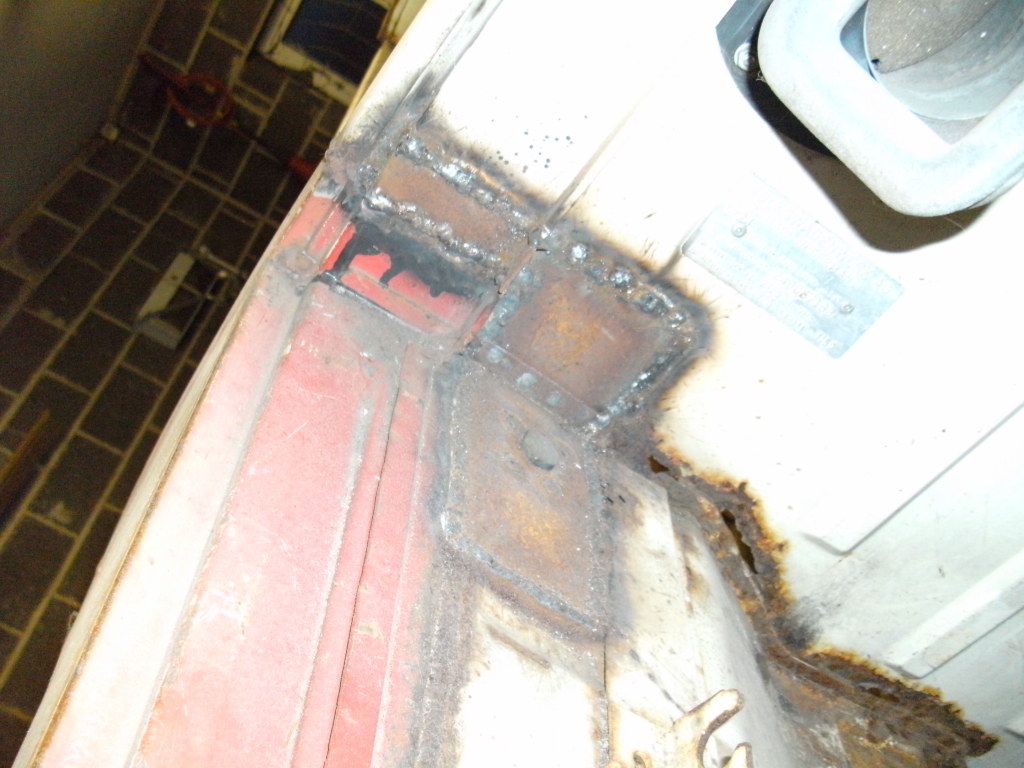
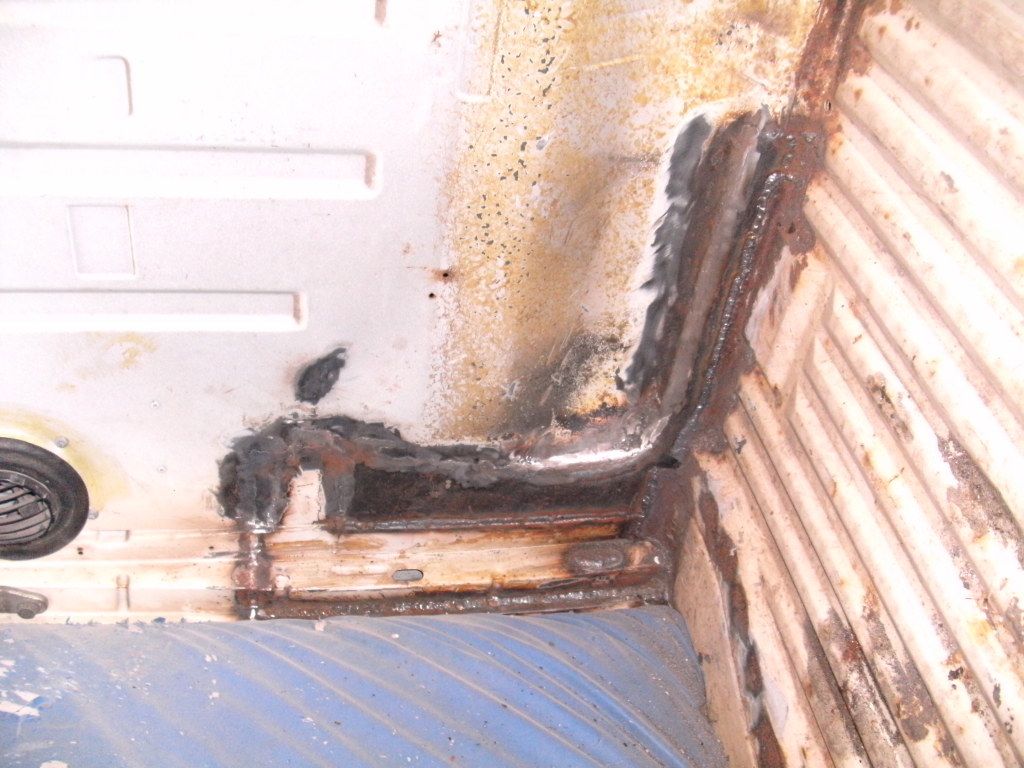
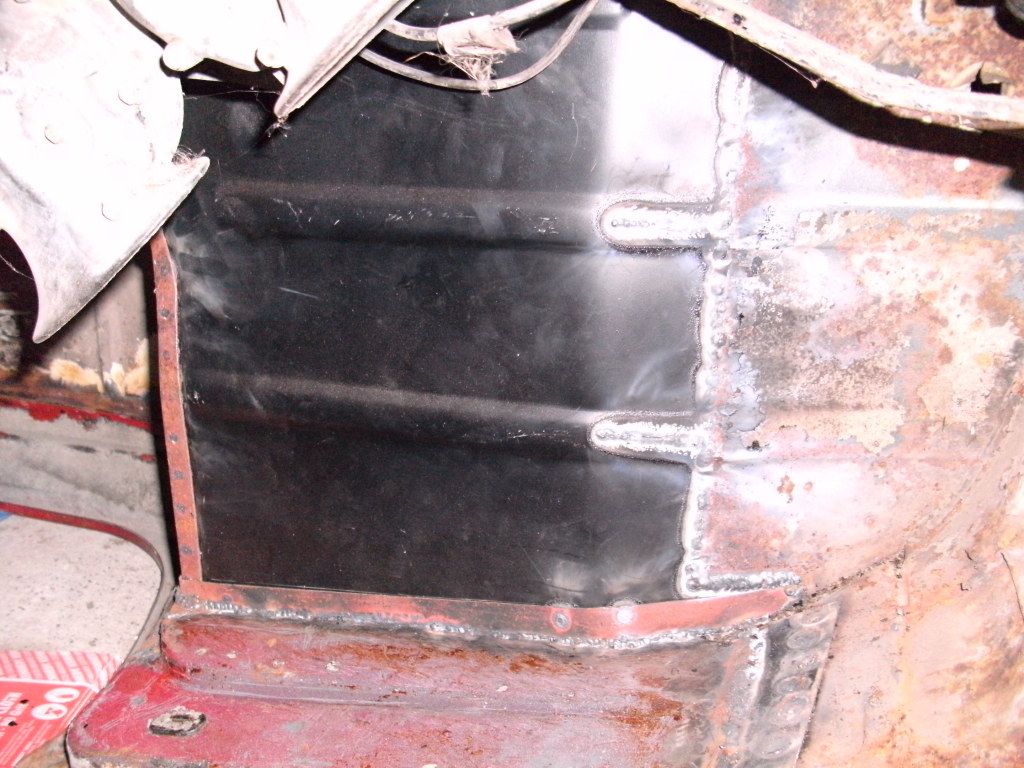
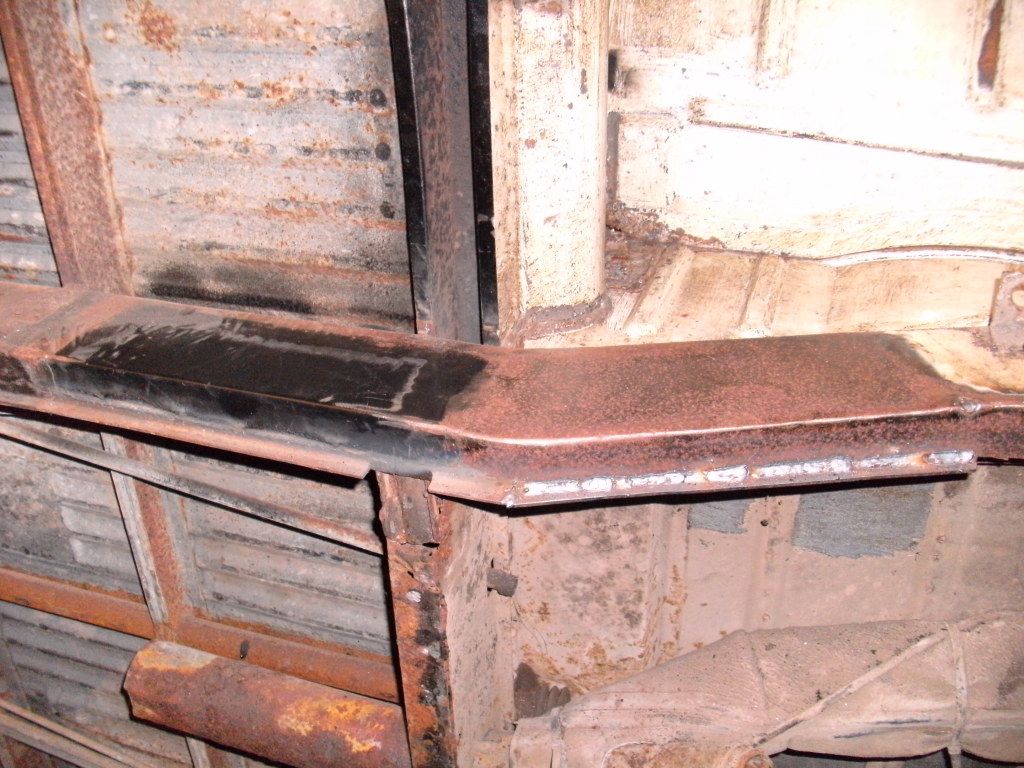
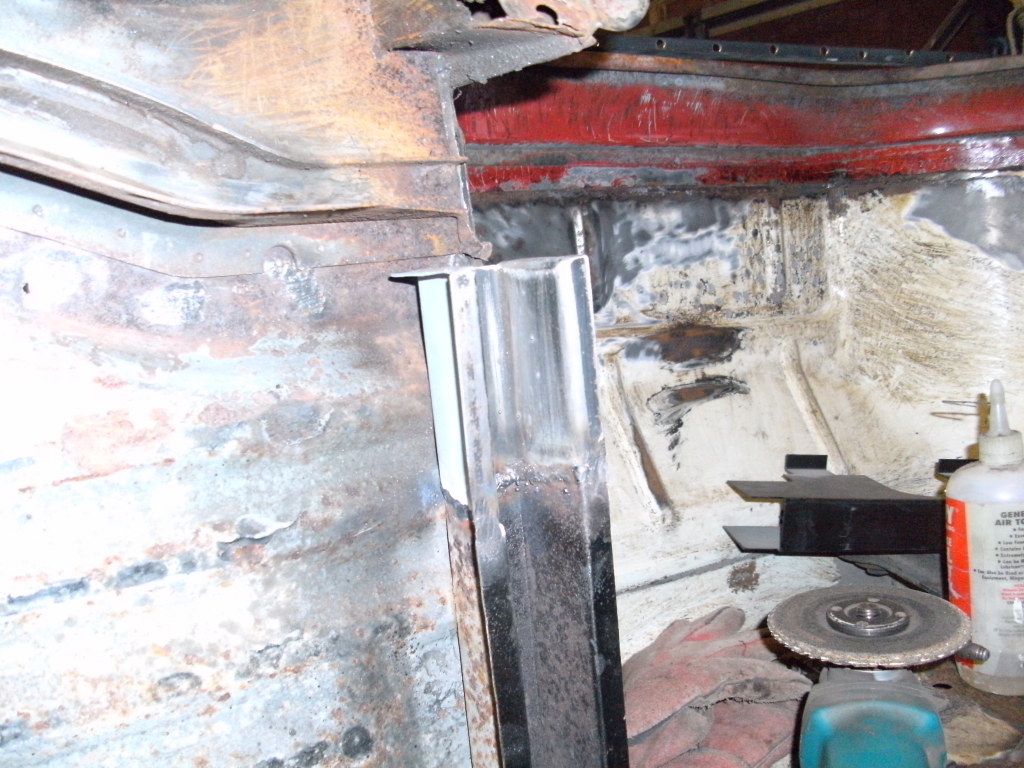
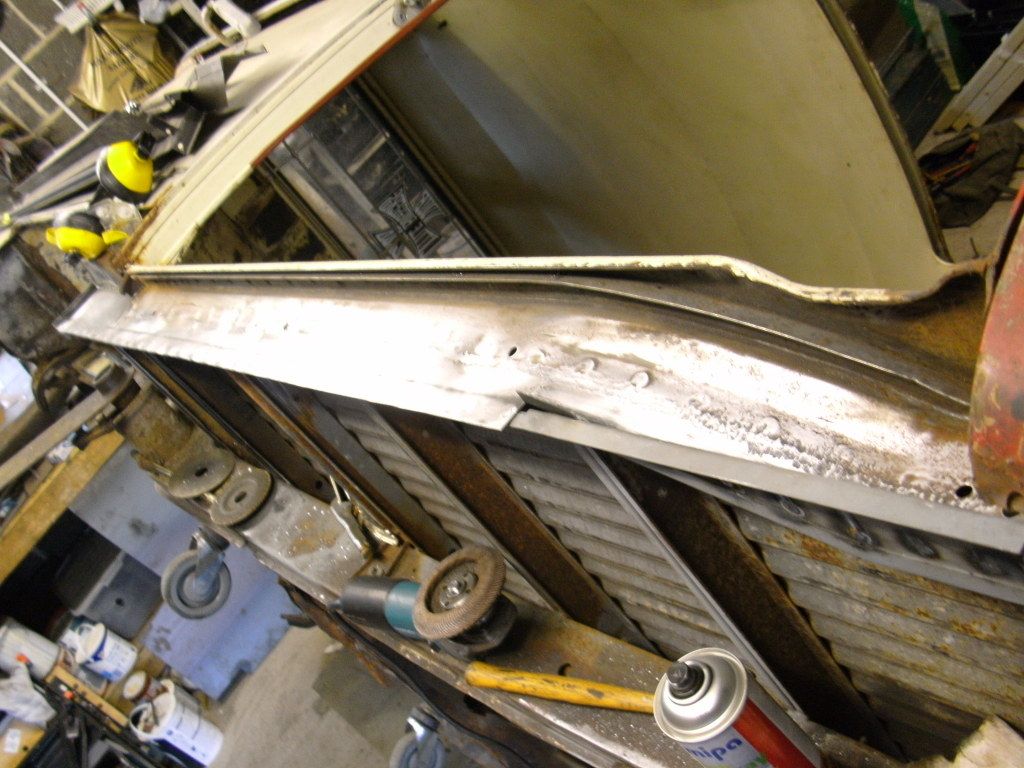
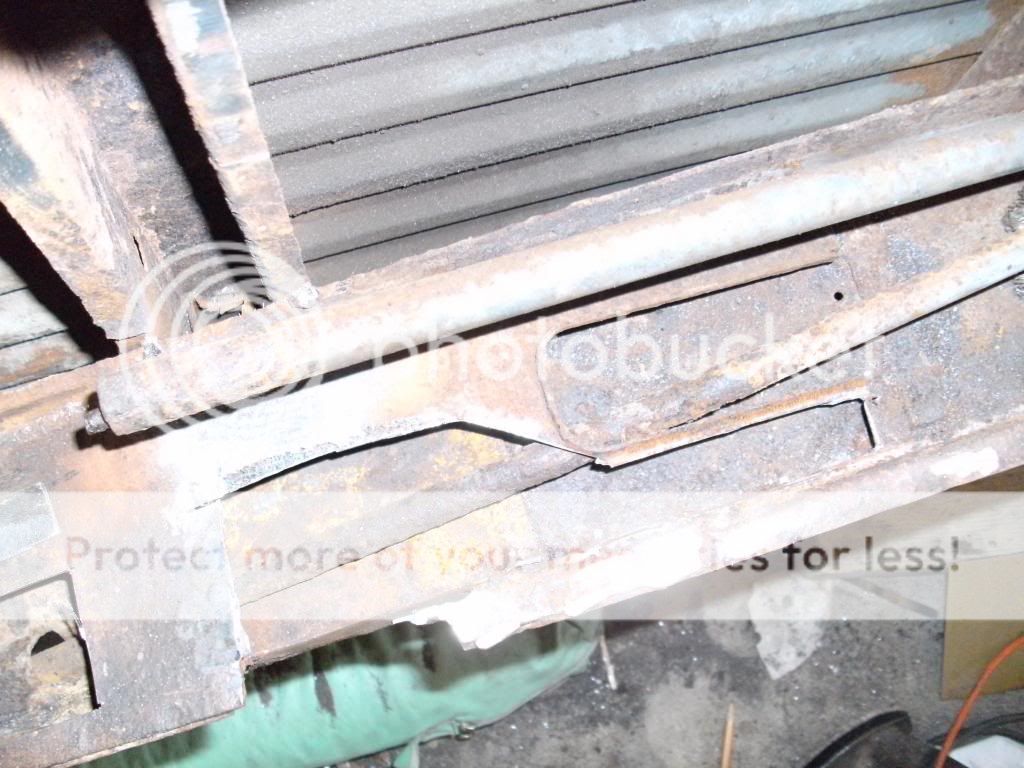
^ those are 'restoration repairs' by the previous owner :( the entire van (and about £500 worth of schofield panels had been welded in in a similar fashion!!!) in quite a few places (inner sills particularly) there was still loads of remnants of the original panels that the new ones had just been squashed over and welded on top of! it left a lump in my throat as i was doing it but i painstakingly removed EVERY single previous repair panel that had been welded into it. this included;
both full front arches
all out riggers
all jacking points
lower front panel
inner and outer sills both sides
lower front and rear/ rear arch repair sections
both rear corners
both battery trays
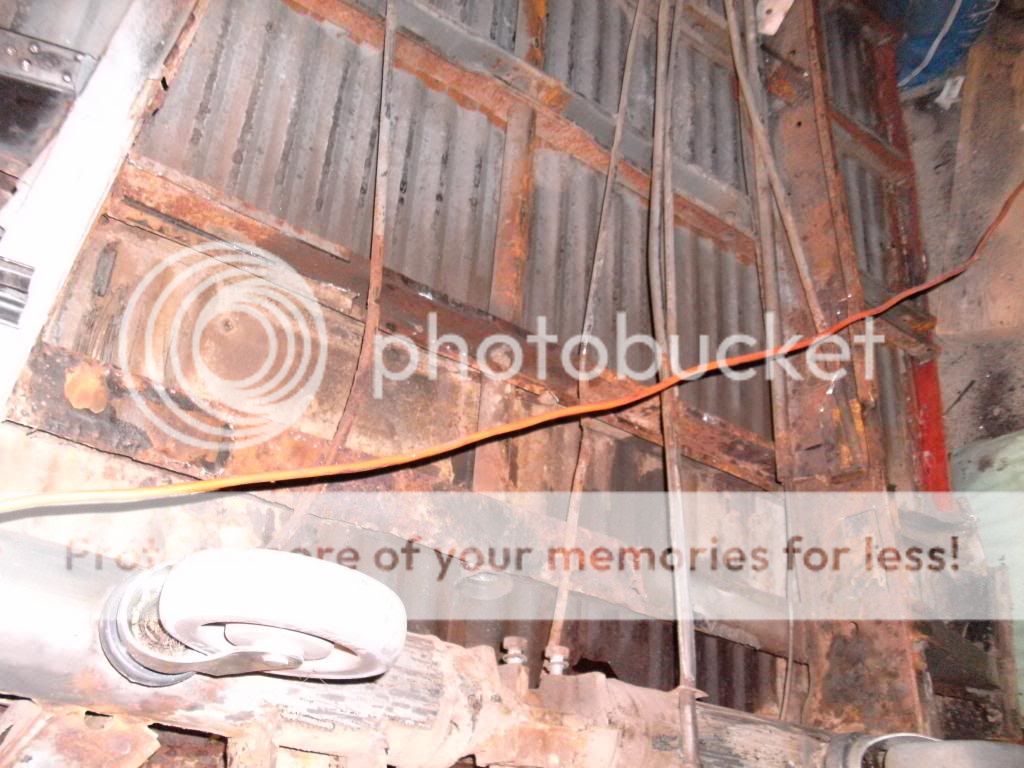
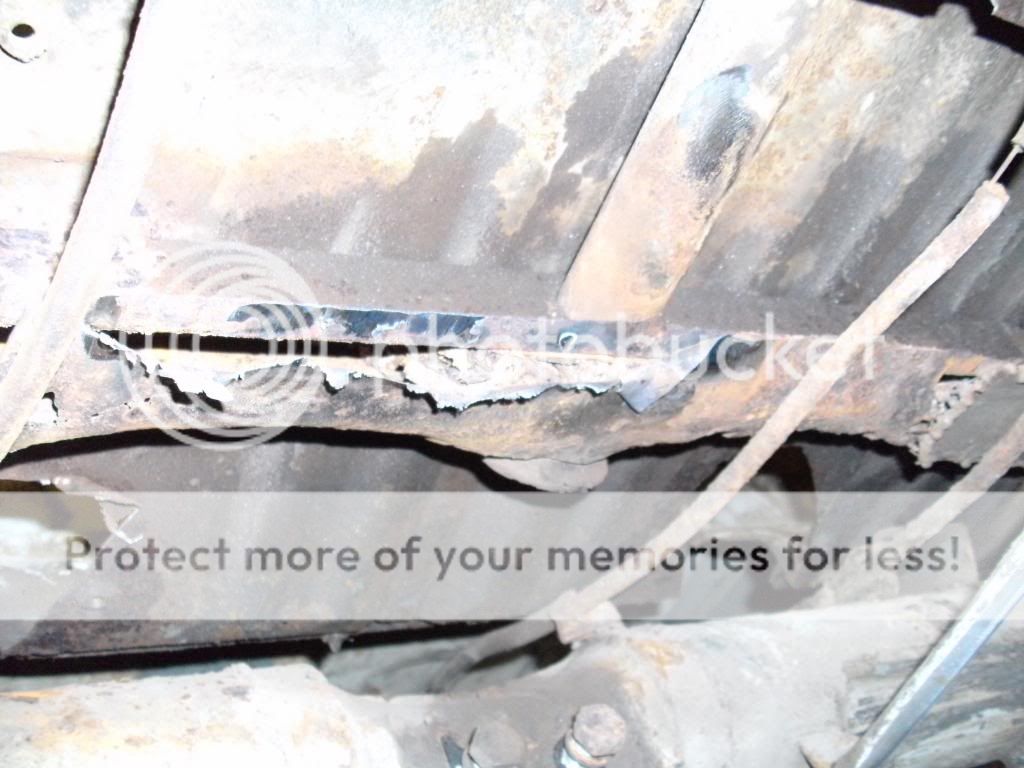
aswell as contending with that lot the van was still riddled with rot too, both cab floor sections had plat plate badly welded over them. the 3 belly pans were rotten and badly plated so i removed them to find most of the chassis missing at the passenger side (!) and a fair amount of rot on the drivers side just behind the beam too. i was in disbelief that sills and outriggers etc had been birdshitted back on but the lack of chassis rails had just been ignored :shock: the van was in a terrible state structurally when i got it, because of the shonky repairs and lack of chassis the only door that shut properly was the tailgate! not good when your van has 4 other doors!!! clearly none of it had been braced or measured gap wise before the cutting and welding started :roll:
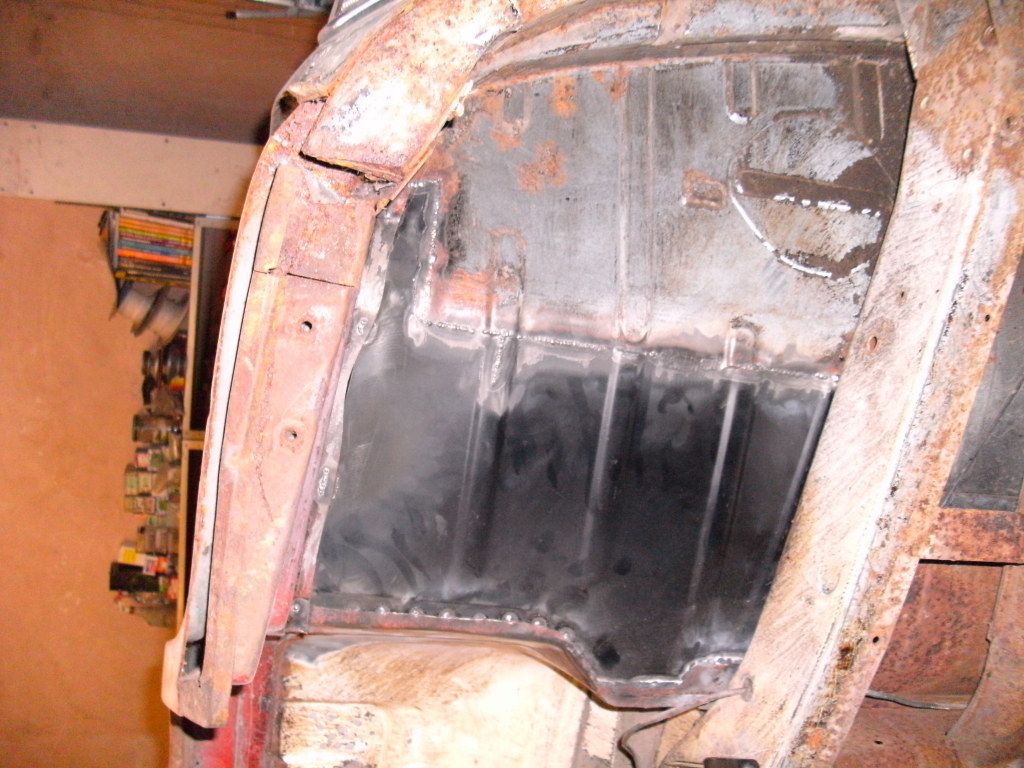
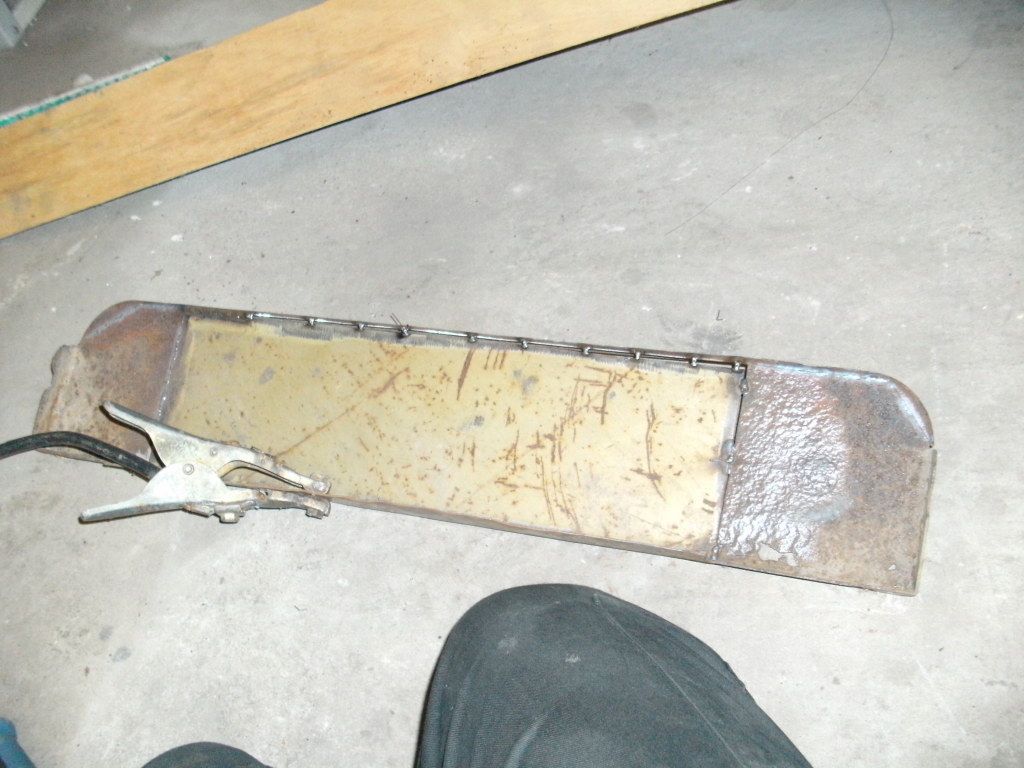
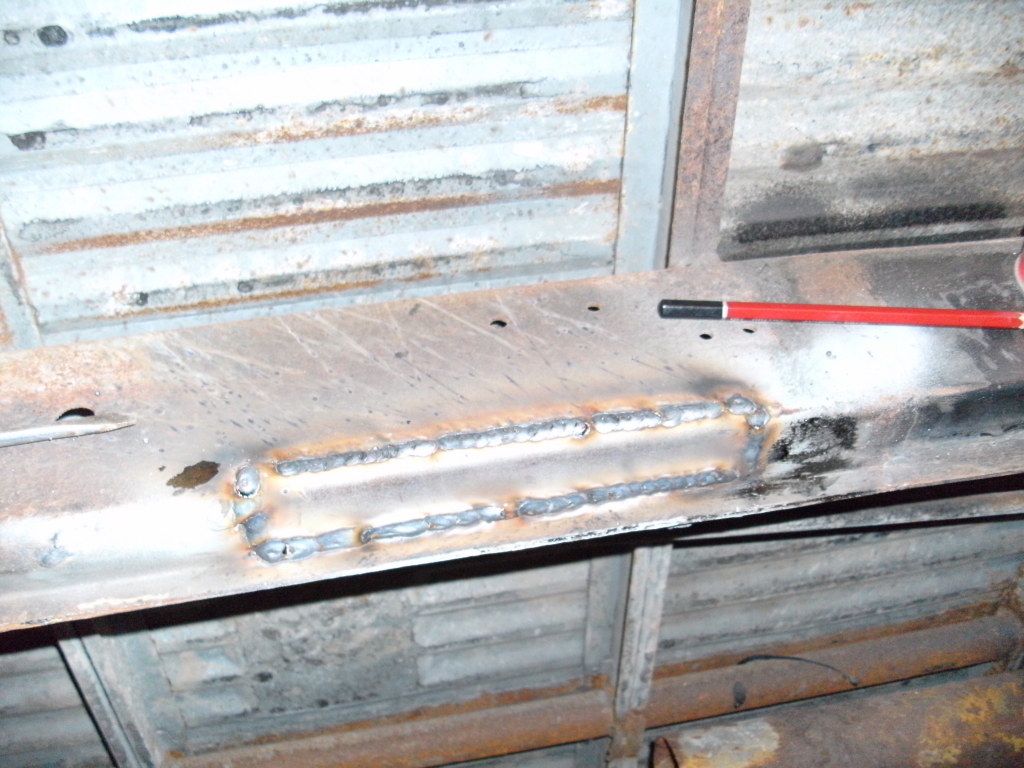
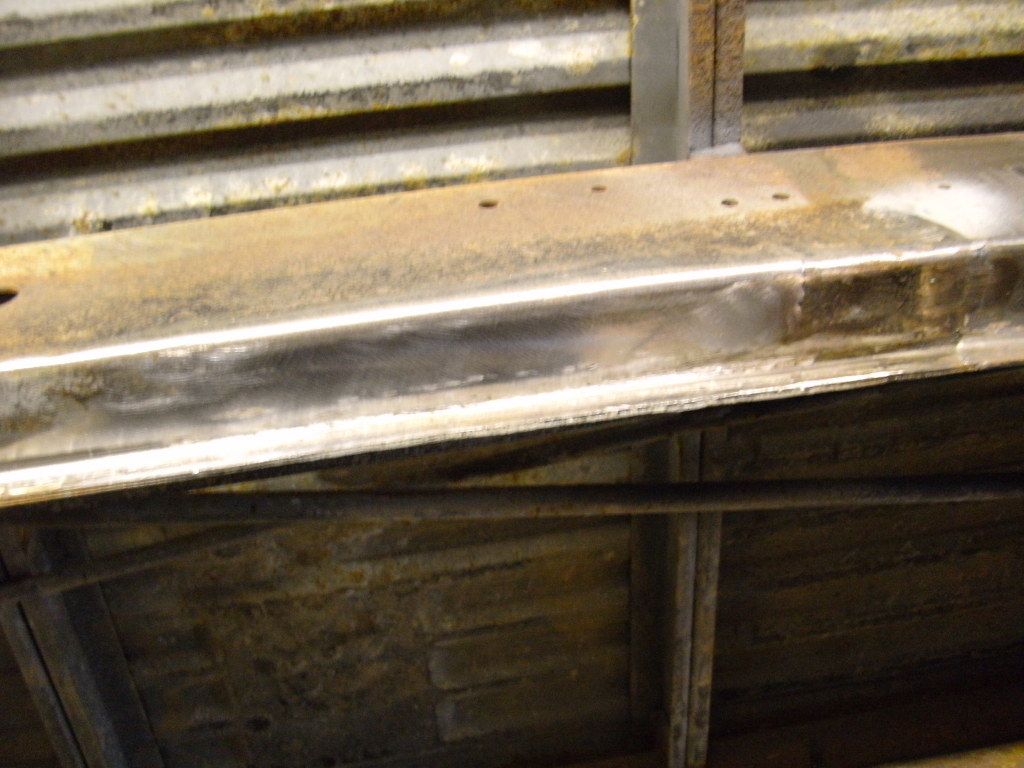
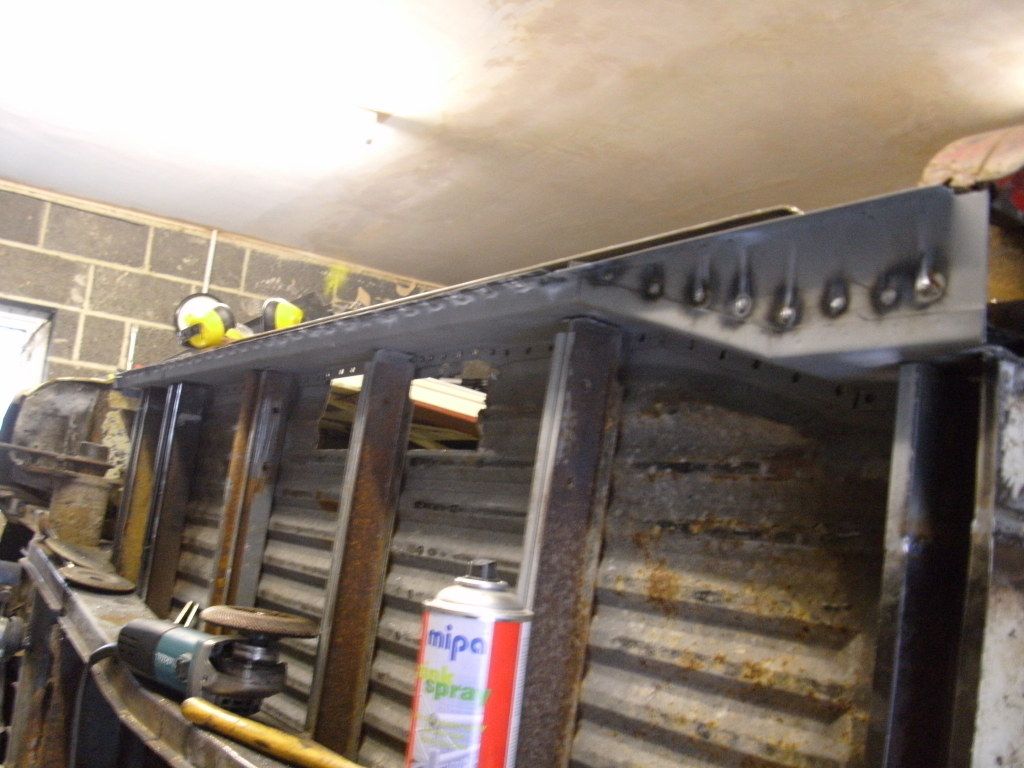
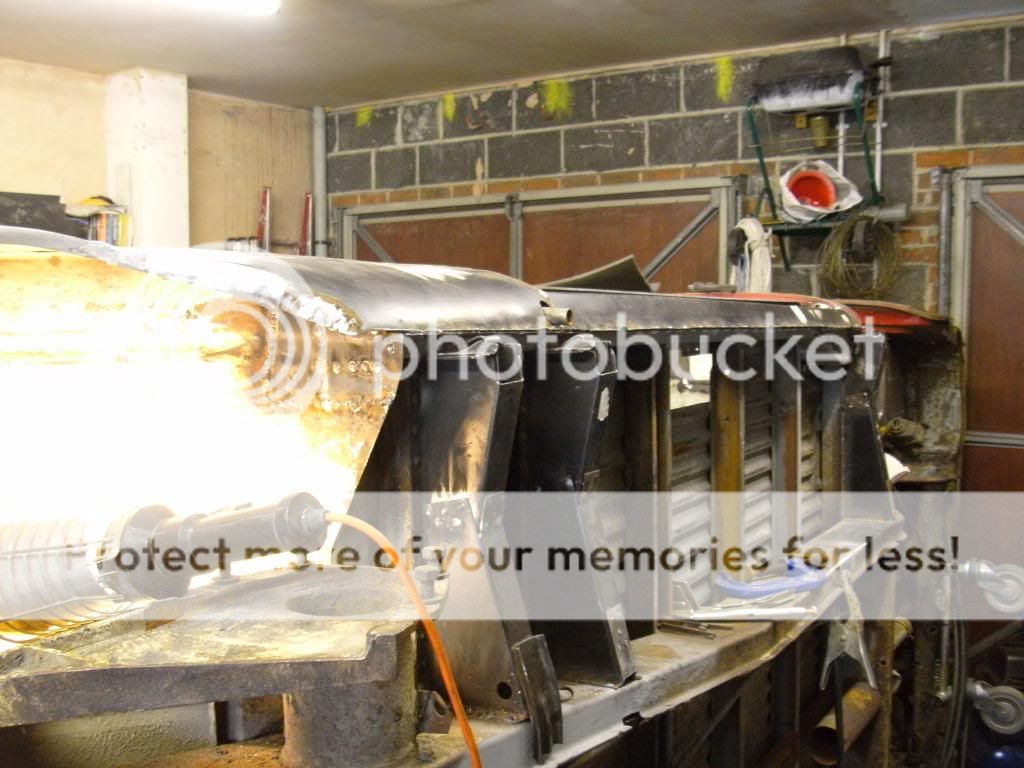
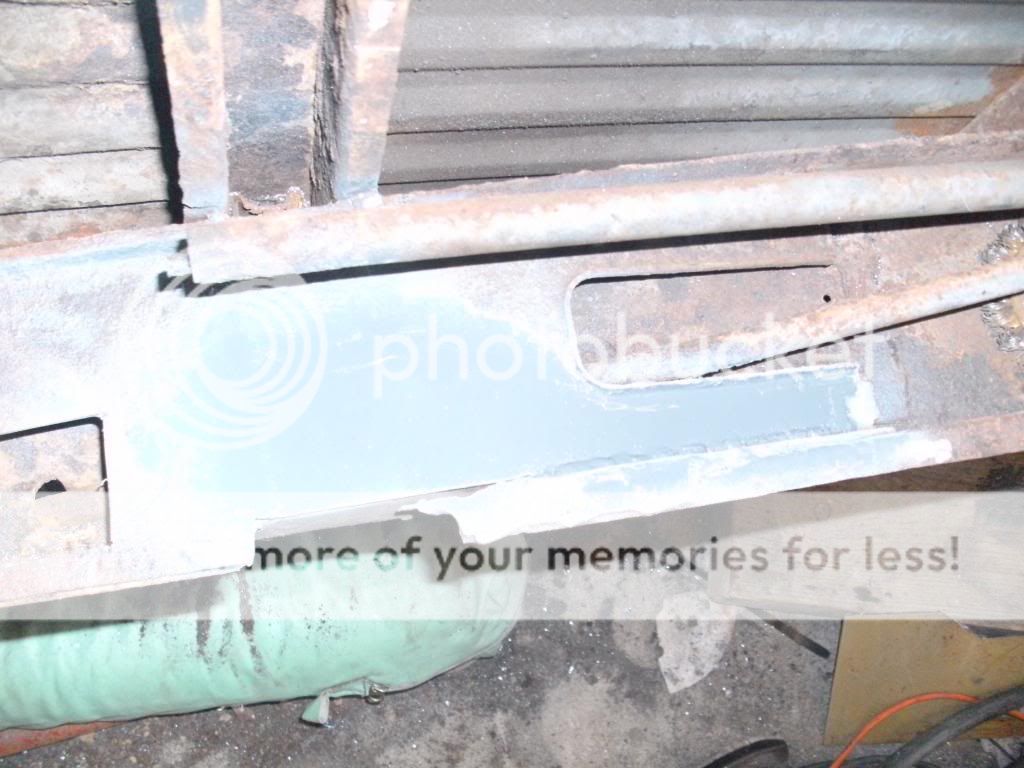
...........anyway, cut a long story short unfortunately i had to mangle/ hack virtually all the replacement panels that had been fitted to remove them. managed to save a couple of jacking points but that was it. bought the same lot from schofields and started again. (with the exception of the front arches, they were original cuts from a cali van).
PICT0263.jpg

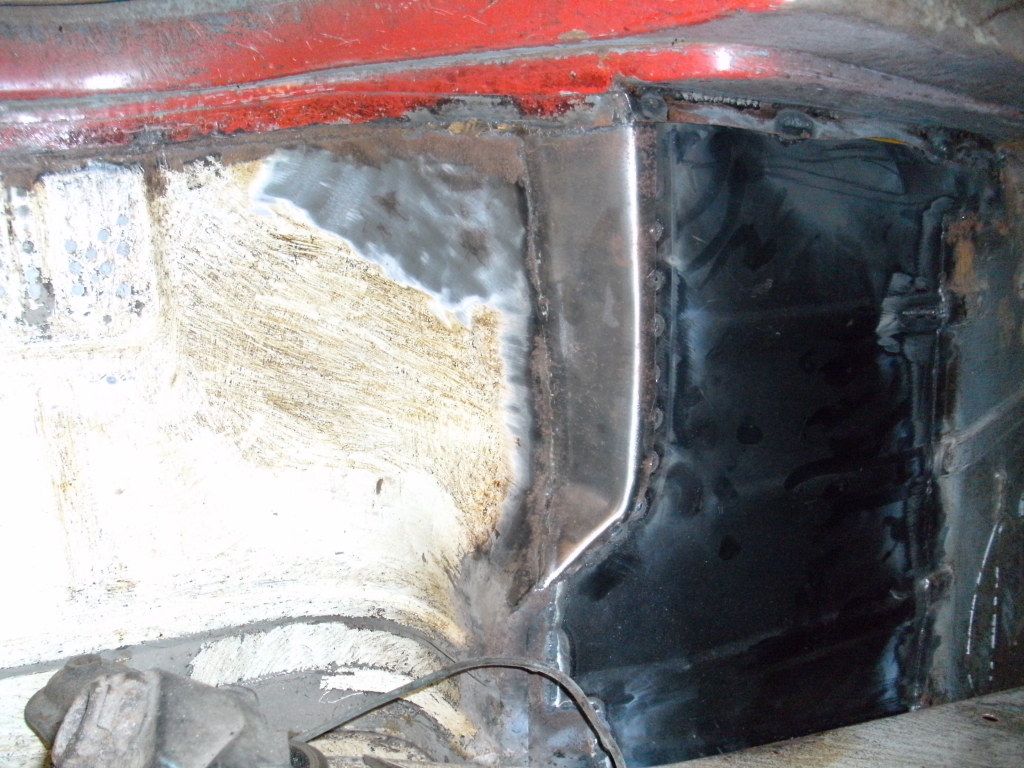
^ that picture is the start of my repairs. i didn't use rusty plate to weld it up, it was actually brand new clean metal when i started.... just took me so damn long between completing the repair and taking a picture that the clean shiny metal turned to surface rust!!! nothing that won't rub off when i'm prepping it for paint later on though.
 
PICT0262.jpg

PICT0261.jpg

PICT0260.jpg

PICT0259.jpg

PICT0258.jpg


^in the pic above, from the black repair panel is where the chassis concealed by the belly pan was completely missing!!!, and the upward sweeping section infront of that until the chassis rail meets the beam had a plate no more than 2mm thick birdshitted and seam sealed over pitted flaky rot! crazy!!!
PICT0257.jpg

in this last pic you can see how one of the the schofield floor repair panels pressings doesn't line up with the original vw one. this is something i'm not happy with and will address at a later date. the pressings in the schofield panels were also slightly too wide, that's why you can see lines of weld down the middle of them from where i cut them down the middle, pulled them together a little to shrink them, then welded them back up.
 
Hey Rob,

Nice to see you back again - and boosting (possibly trebling!) the number of early twin-sliders on here :D

Oh yeah. You sure you don't want to sell that pesky middle seat of yours haha!

Cheers,


Mike
 
sorry amigo, positive i don't :lol: how's life treating you? you think you may have yours out and about this year?
 
PICT0264_zps9bd4f2d6.jpg

got a little side tracked from the van itself and decided to start repairing o/s sliding step. this one's in a really bad way but the one for the other side is perfect.
PICT0275_zps237f0d79.jpg

one of many repairs to the top hat sections. boring piddly little repairs but once they're all done the inner sill can go back on then the bigger panels will start to make it look like a van again!
PICT0276_zpsd20b387b.jpg

yet another o/s chassis repair! was going to leave this area initially but decided it was too pitted and cut it out to put some fresh steel in.
PICT0278_zps2fc1dbf0.jpg

the finished article, ground back and flap wheeled.
 
PICT0286_zps424bd8fc.jpg

inner sill on, felt good to put such an easy to fit large panel in for a change! all holes drilled 6mm and plug welded along where the original spot welds would have been.
PICT0285_zps6fd83e93.jpg

bought the middle part of the sill that the sliding door runners follow from schofields, what a dreadful panel! cost just over £50 each and i can't say i'm impressed with them at all. not that you can really tell from the picture as i didn't take any step by step ones as i was repairing it. i saved as much as the original metal as possible as the original sill had a sweeping curve whereas the schofields one was very angular. i had to drill the spotwelds off both the original sliding door track and the repro one. the original one was knackered (totally) so it couldn't be saved, and the new one was totally the wrong shape!? i'll see if i can find any pics of just how much i had to chop it about and weld it up to fit. absolute ballache :| but i think i managed to get it spot on, did take me an entire day though!!!
 
PICT0298_zps651ce7d2.jpg

2nd jacking point not there by accident! ;)
PICT0299_zpsc40ad62e.jpg

cross member and more rot/ grot and shit previous 'repairs' removed :roll:
PICT0300_zps1781492f.jpg

more flaky rust and crap lurking in here too, so off it comes!
PICT0301_zps16189ea6.jpg

cut it out!
PICT0302_zpsba1c1a29.jpg
weld it up!
 

Latest posts

Top