Hi - i`m had a few vw`s over the years but have never owned a van before - i`ve always been after an early bay panel van and finally got the cash together to purchase one ")
i sold my T4 van to finance this - i had a nightmare with the t4 and had to spend a fortune on repairs - so much for modern reliability! - so i`ve decided to use this as my everyday vehicle and go totally aircooled where i can do any repairs and servicing myself and (hopefully!) i know what i`m doing! i do a 60 mile round trip to work and back in all weathers so its got to be reliable and tip top running wise.
anyway only being able to afford a project really, i ended up buying a 68 panel van from graham at midland early bay. He very kindly delivered it all the way down to the south coast for me on thursday and i thought i`d start a sort of diary of getting it on the road.
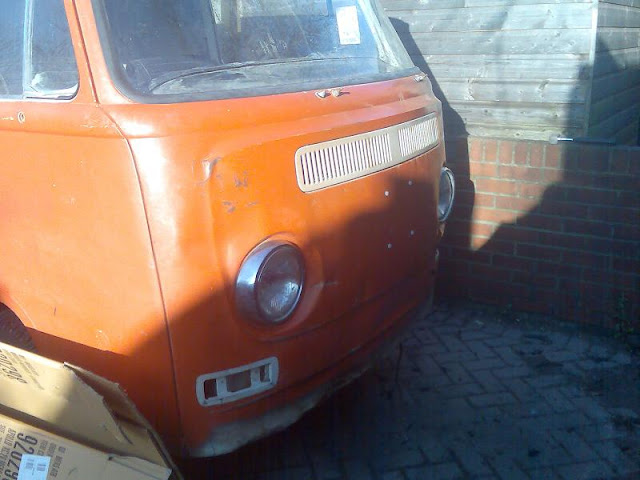
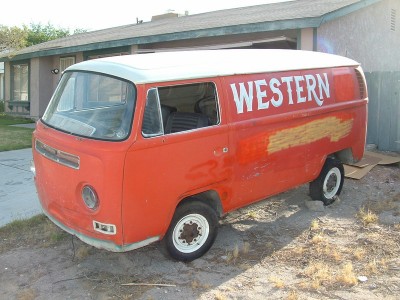
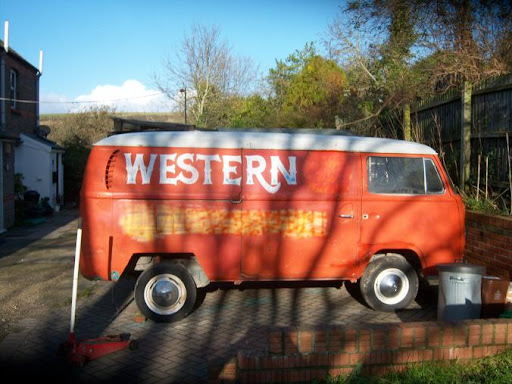
It a 68 model built in november 67 and was used for the last 15 years or so as an advertising hoarding for western vw garage near las vegas, nevada. Its stood on the side of the road all that time and i think everything removable apart from the doors and wheels have been thieved off it! The good thing is though that there isn`t any rot or rust in it anyway - the inside and underneath is pristine Obviously the outside looks a little 'weathered'!
Here`s a couple of pics of it from the US -


Here it is on thursday - i think it was probably the first time it had ever seen rain, so my top priority is to get it watertight and all sealed.
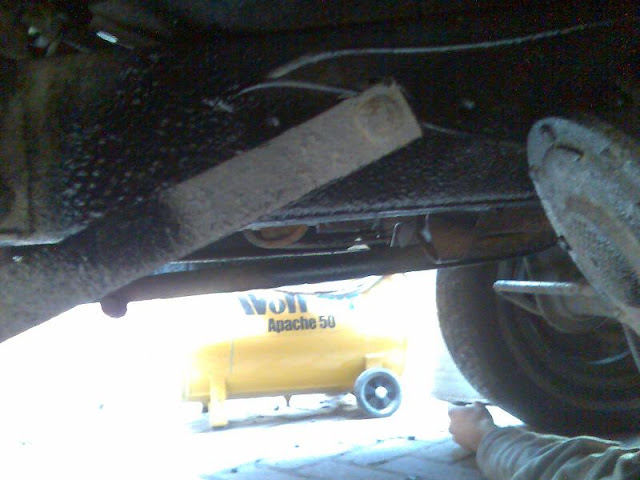
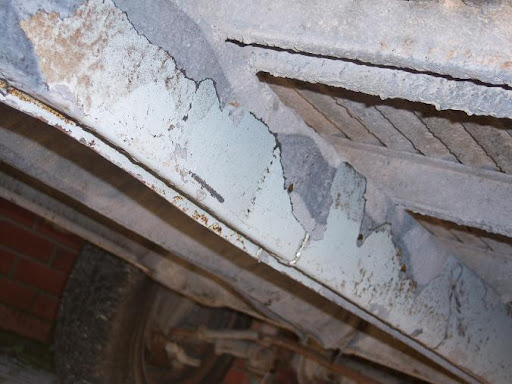
I went underneath cautiously (i had been warned about black widows and i`m not keen on common spiders!) - after scraping off any loose underseal, a large amount of original paint was revealed -

I blasted it with a large amount of schultz underneath and then proceeded to fill all the sill and cross members with cavity wax - it was pouring out of the water drain holes so hopefully i got a good coating inside. I then applied a good coating of ankor wax to whole exterior.
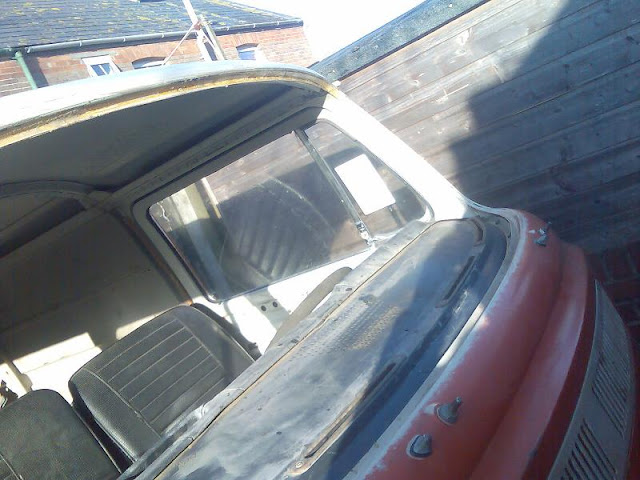
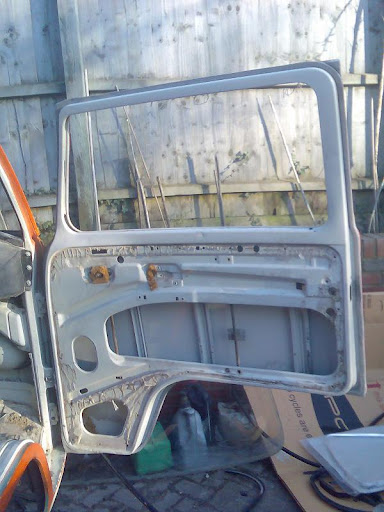
Saturday, i opened the van to find a puddle of water in the cab floor and a small pool under the front screen surround - not good! Checking all the seals, no suprises but they`re all holey and rock hold welded into the grooves - so new seals on the shopping list. I managed to fit the sliding door one and oil, grease the latch mechanism so shuts alot better.
have to get some cab door seals and next weekend will have the front and rear screen seals replaced too.
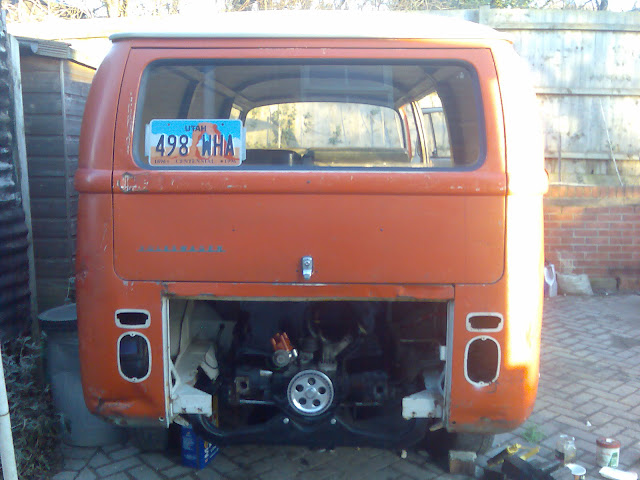
The only welding required on the van is in the off side battery tray as its currently made of wood!

i thought the battery had probably leaked at some point, but whe i removed the wood, it was like some had cut it open in the middle then peeled it back lack a sardine can - bizarre! - i have no explanation for this but it still meant i had to repair it, so i cut it out -

and welded a new one in. my welder was playing up at first (turned out i had the wrong setting for my wire diameter) so the first welds wern`t great but i sorted the welder out and everything was a lot better and sprayed with some zinc primer -
hopefully the welder can go back into storage now!
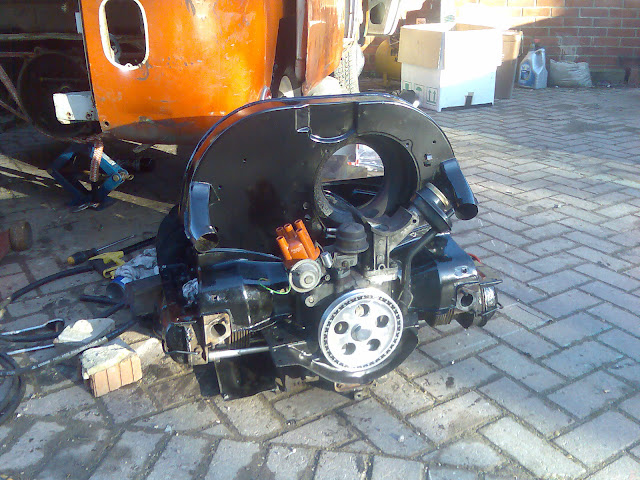
As i said, the van was pretty much stripped so i had to source an engine which i ot a couple fo weeks ago - a 1600 from a 70 van - the van had been sat for a number of years and the engine looked like it had been sat in a garden for a long time! but - it doesn`t have any endfloat, it did actually start up and run and i got it with everything i need to bolt it in for a very reasonable price.
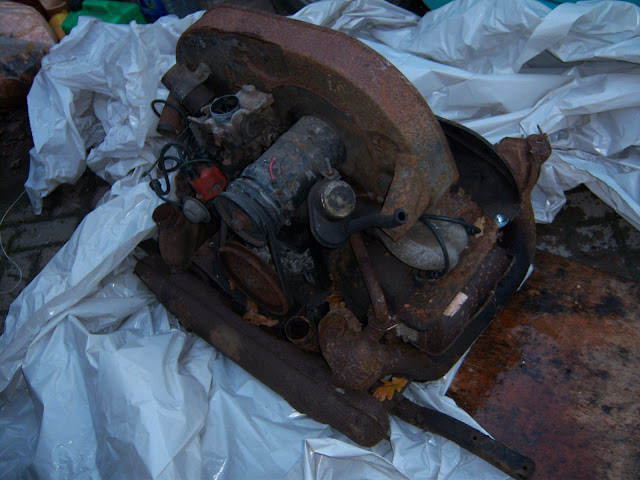

so i `ve started stripping it and renewing all the seals, etc. It had a seized valve so i knocked that back and we`ll see how it goes when i eventually get it into the van!
well, next weekend i imagine i`ll be fitting seals and finish prepping the engine!
cheers, mike
i sold my T4 van to finance this - i had a nightmare with the t4 and had to spend a fortune on repairs - so much for modern reliability! - so i`ve decided to use this as my everyday vehicle and go totally aircooled where i can do any repairs and servicing myself and (hopefully!) i know what i`m doing! i do a 60 mile round trip to work and back in all weathers so its got to be reliable and tip top running wise.
anyway only being able to afford a project really, i ended up buying a 68 panel van from graham at midland early bay. He very kindly delivered it all the way down to the south coast for me on thursday and i thought i`d start a sort of diary of getting it on the road.
It a 68 model built in november 67 and was used for the last 15 years or so as an advertising hoarding for western vw garage near las vegas, nevada. Its stood on the side of the road all that time and i think everything removable apart from the doors and wheels have been thieved off it! The good thing is though that there isn`t any rot or rust in it anyway - the inside and underneath is pristine
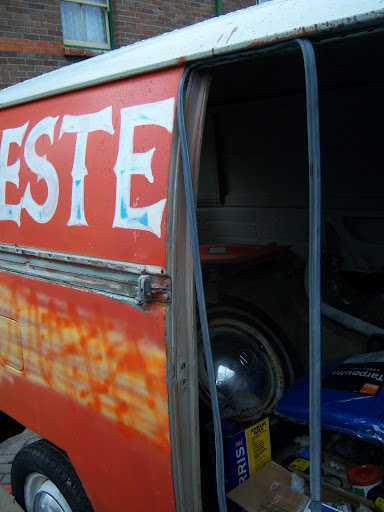
Obviously the outside looks a little 'weathered'!Here`s a couple of pics of it from the US -
Here it is on thursday - i think it was probably the first time it had ever seen rain, so my top priority is to get it watertight and all sealed.
I went underneath cautiously (i had been warned about black widows and i`m not keen on common spiders!) - after scraping off any loose underseal, a large amount of original paint was revealed -
I blasted it with a large amount of schultz underneath and then proceeded to fill all the sill and cross members with cavity wax - it was pouring out of the water drain holes so hopefully i got a good coating inside. I then applied a good coating of ankor wax to whole exterior.
Saturday, i opened the van to find a puddle of water in the cab floor and a small pool under the front screen surround - not good! Checking all the seals, no suprises but they`re all holey and rock hold welded into the grooves - so new seals on the shopping list. I managed to fit the sliding door one and oil, grease the latch mechanism so shuts alot better.
have to get some cab door seals and next weekend will have the front and rear screen seals replaced too.
The only welding required on the van is in the off side battery tray as its currently made of wood!
i thought the battery had probably leaked at some point, but whe i removed the wood, it was like some had cut it open in the middle then peeled it back lack a sardine can - bizarre! - i have no explanation for this but it still meant i had to repair it, so i cut it out -
and welded a new one in. my welder was playing up at first (turned out i had the wrong setting for my wire diameter) so the first welds wern`t great but i sorted the welder out and everything was a lot better and sprayed with some zinc primer -
hopefully the welder can go back into storage now!
As i said, the van was pretty much stripped so i had to source an engine which i ot a couple fo weeks ago - a 1600 from a 70 van - the van had been sat for a number of years and the engine looked like it had been sat in a garden for a long time! but - it doesn`t have any endfloat, it did actually start up and run and i got it with everything i need to bolt it in for a very reasonable price.
so i `ve started stripping it and renewing all the seals, etc. It had a seized valve so i knocked that back and we`ll see how it goes when i eventually get it into the van!
well, next weekend i imagine i`ll be fitting seals and finish prepping the engine!
cheers, mike