You are using an out of date browser. It may not display this or other websites correctly.
You should upgrade or use an alternative browser.
You should upgrade or use an alternative browser.
'69 Deluxe Arizona import…
- Thread starter Busman73
- Start date


Help Support Early Bay Forum:
This site may earn a commission from merchant affiliate
links, including eBay, Amazon, and others.

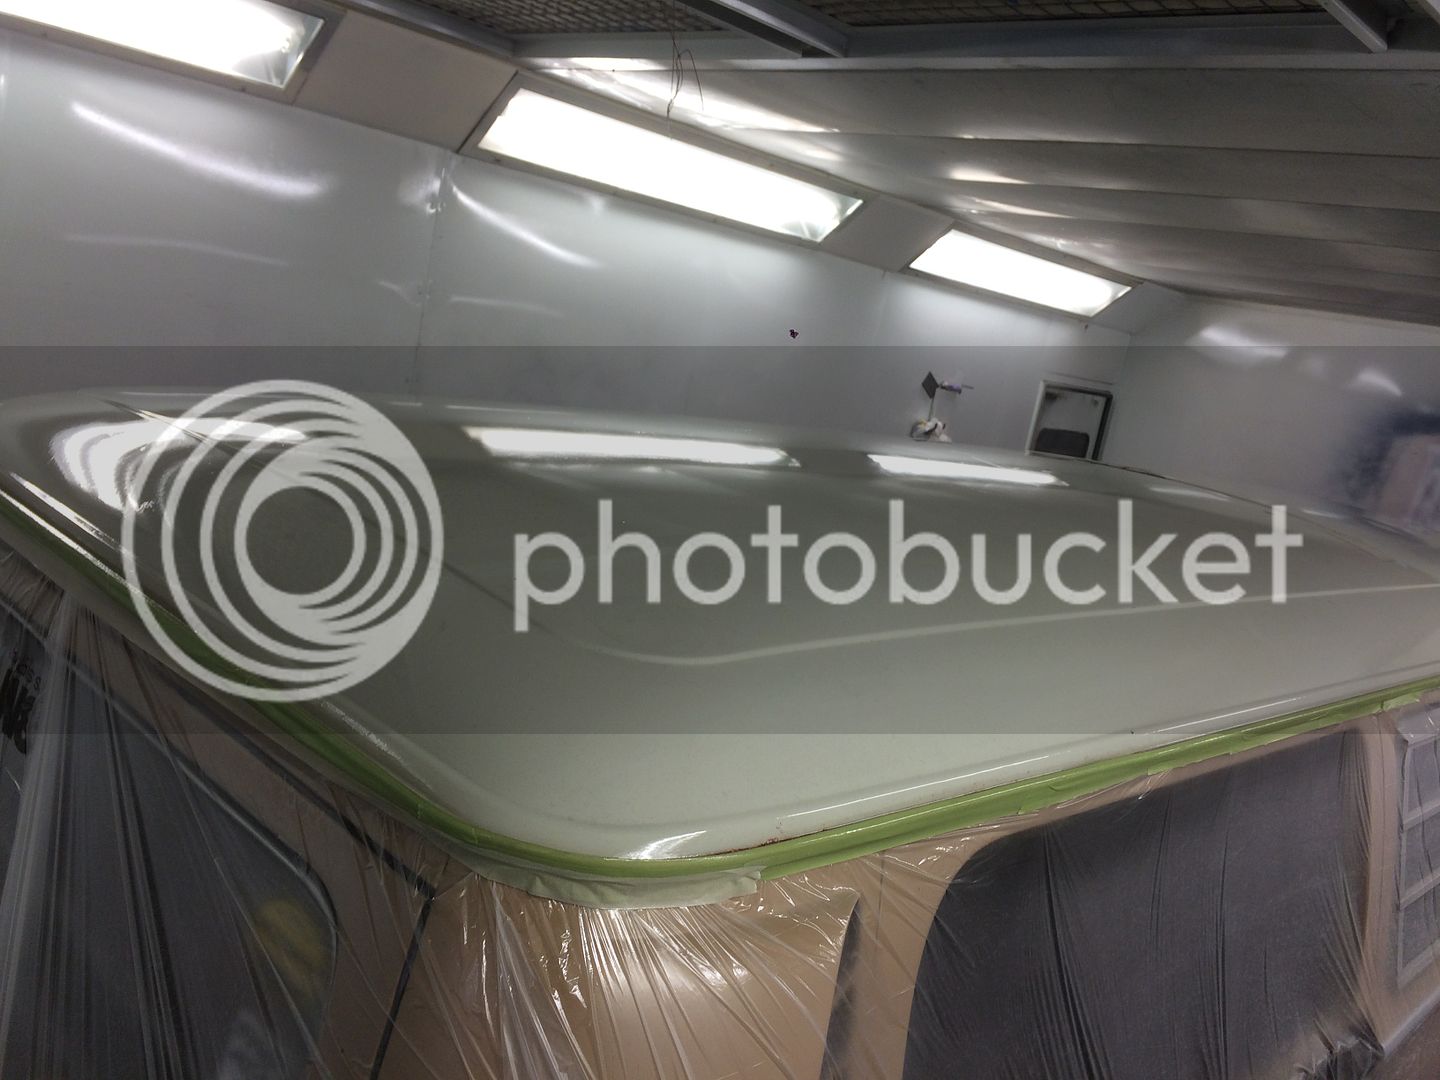
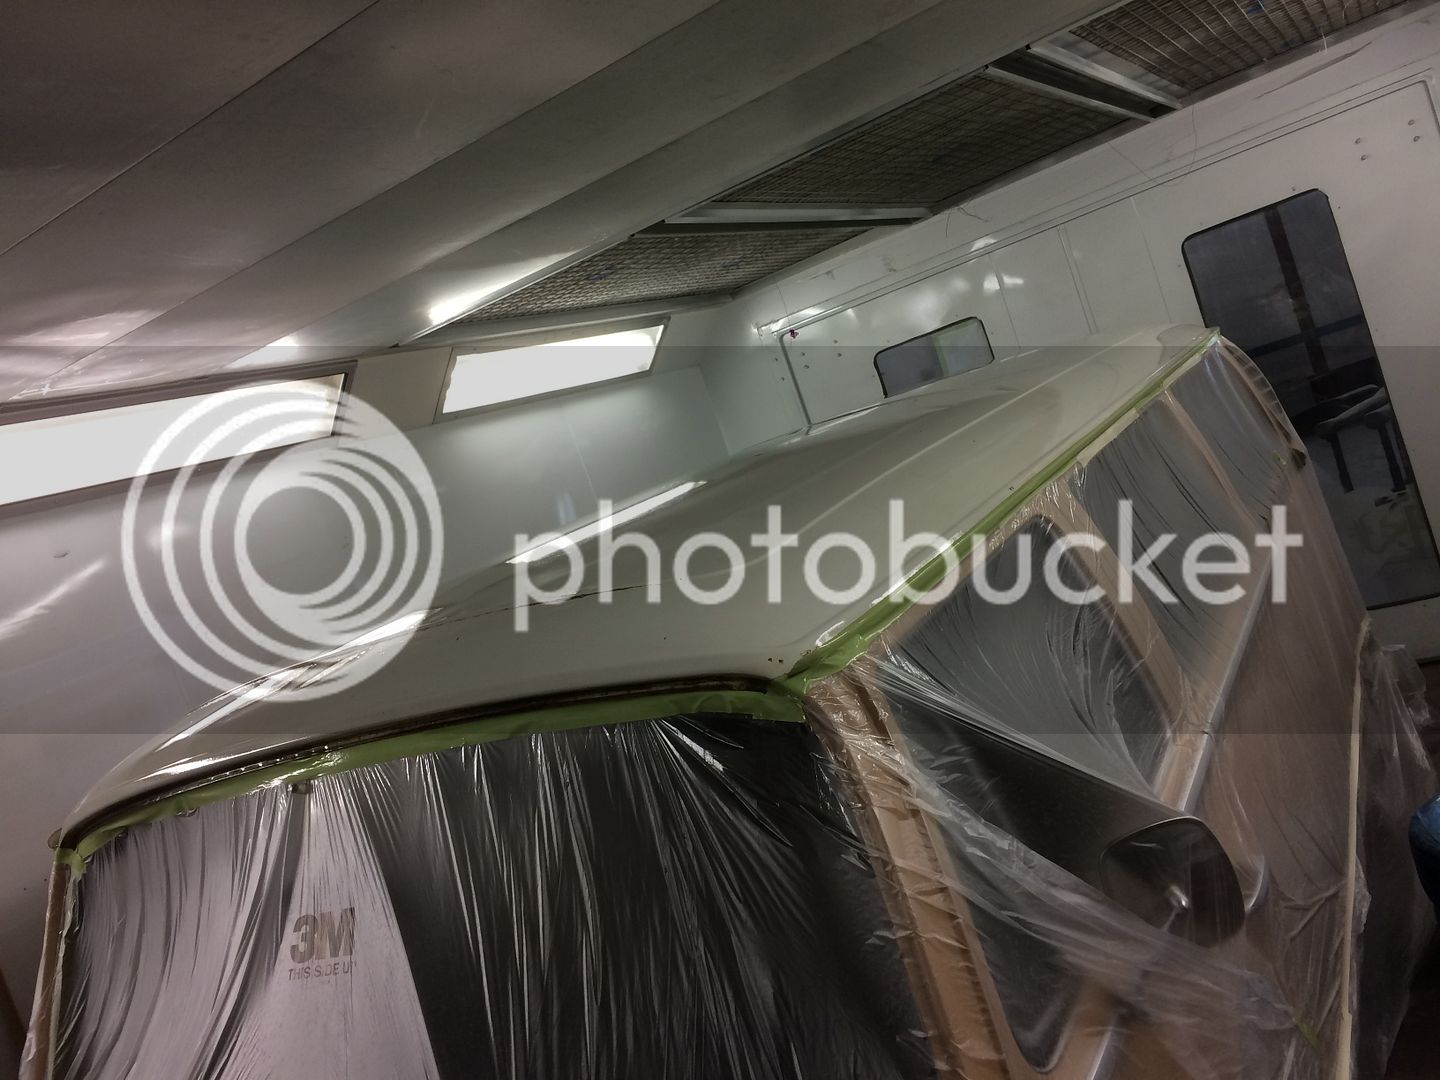
Got sent a couple of pictures of the van earlier in the week…Ummm shinny
A big thank you goes to Matty and Dan at D&M Classic Car Restoration
They do an excellent job and very reasonably priced check them out on Facebook
Can't wait to see it for myself
A big thank you goes to Matty and Dan at D&M Classic Car Restoration
They do an excellent job and very reasonably priced check them out on Facebook


Can't wait to see it for myself


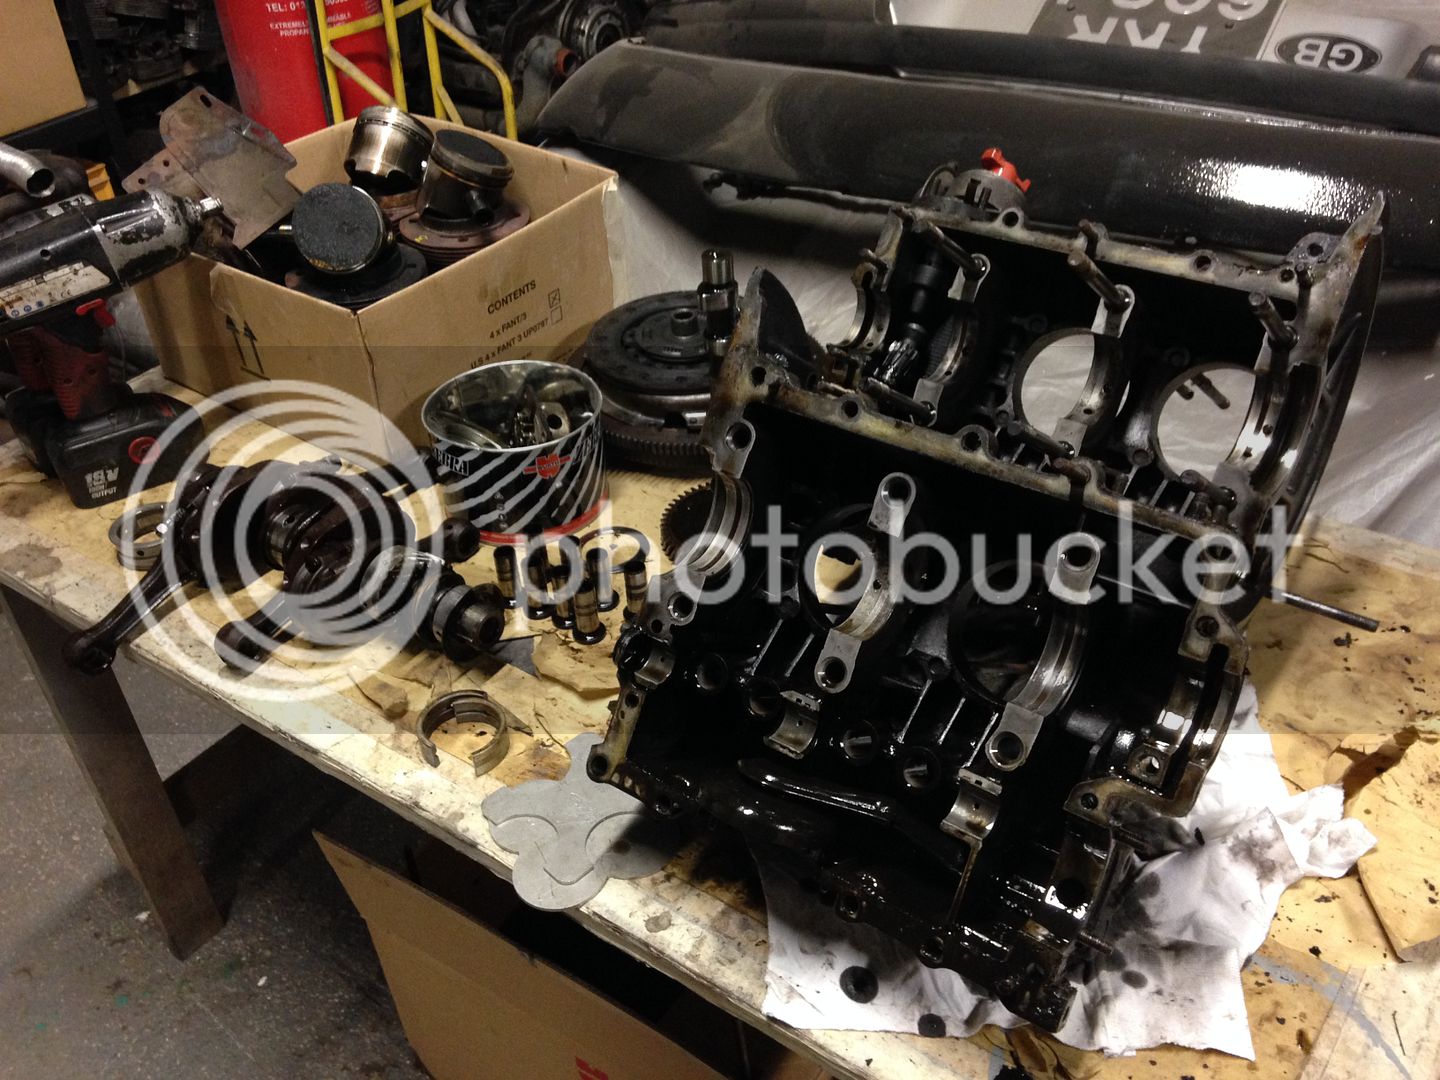
I've brought myself a good 1600 engine to rebuild as a replacement for the slightly tired engine that's in the bus
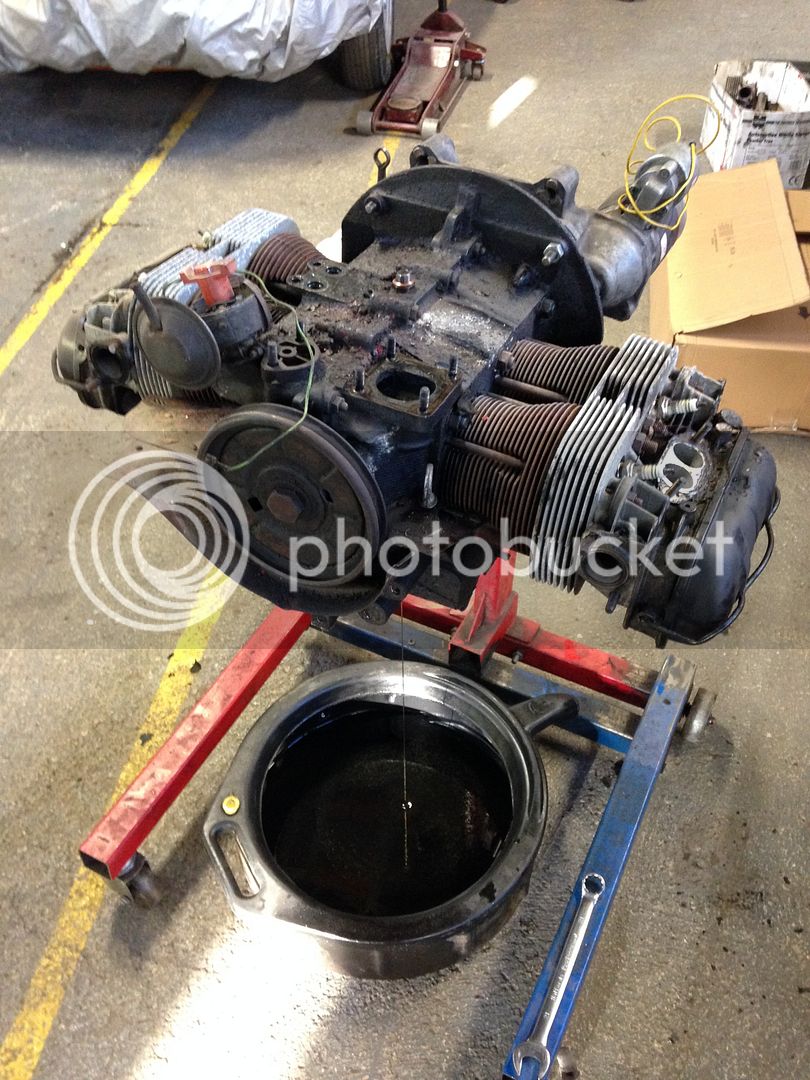
Started to strip and clean it, measured it and it's all completely standard, no align boring or crank grinding needed here - good times! arty0049:
It's going to stay a 1600 but with a bigger oil pump, mild cam and twin 36 IDFs to go with the Vintage Speed exhaust that's all ready fitted
More to follow
Should be getting my van back from the trimmer/paint shop this week as it's been done as and when the guys can get to it

Started to strip and clean it, measured it and it's all completely standard, no align boring or crank grinding needed here - good times!
arty0049: It's going to stay a 1600 but with a bigger oil pump, mild cam and twin 36 IDFs to go with the Vintage Speed exhaust that's all ready fitted

More to follow
Should be getting my van back from the trimmer/paint shop this week as it's been done as and when the guys can get to it
Progress Report
The headliner is finished and looking marvellous…

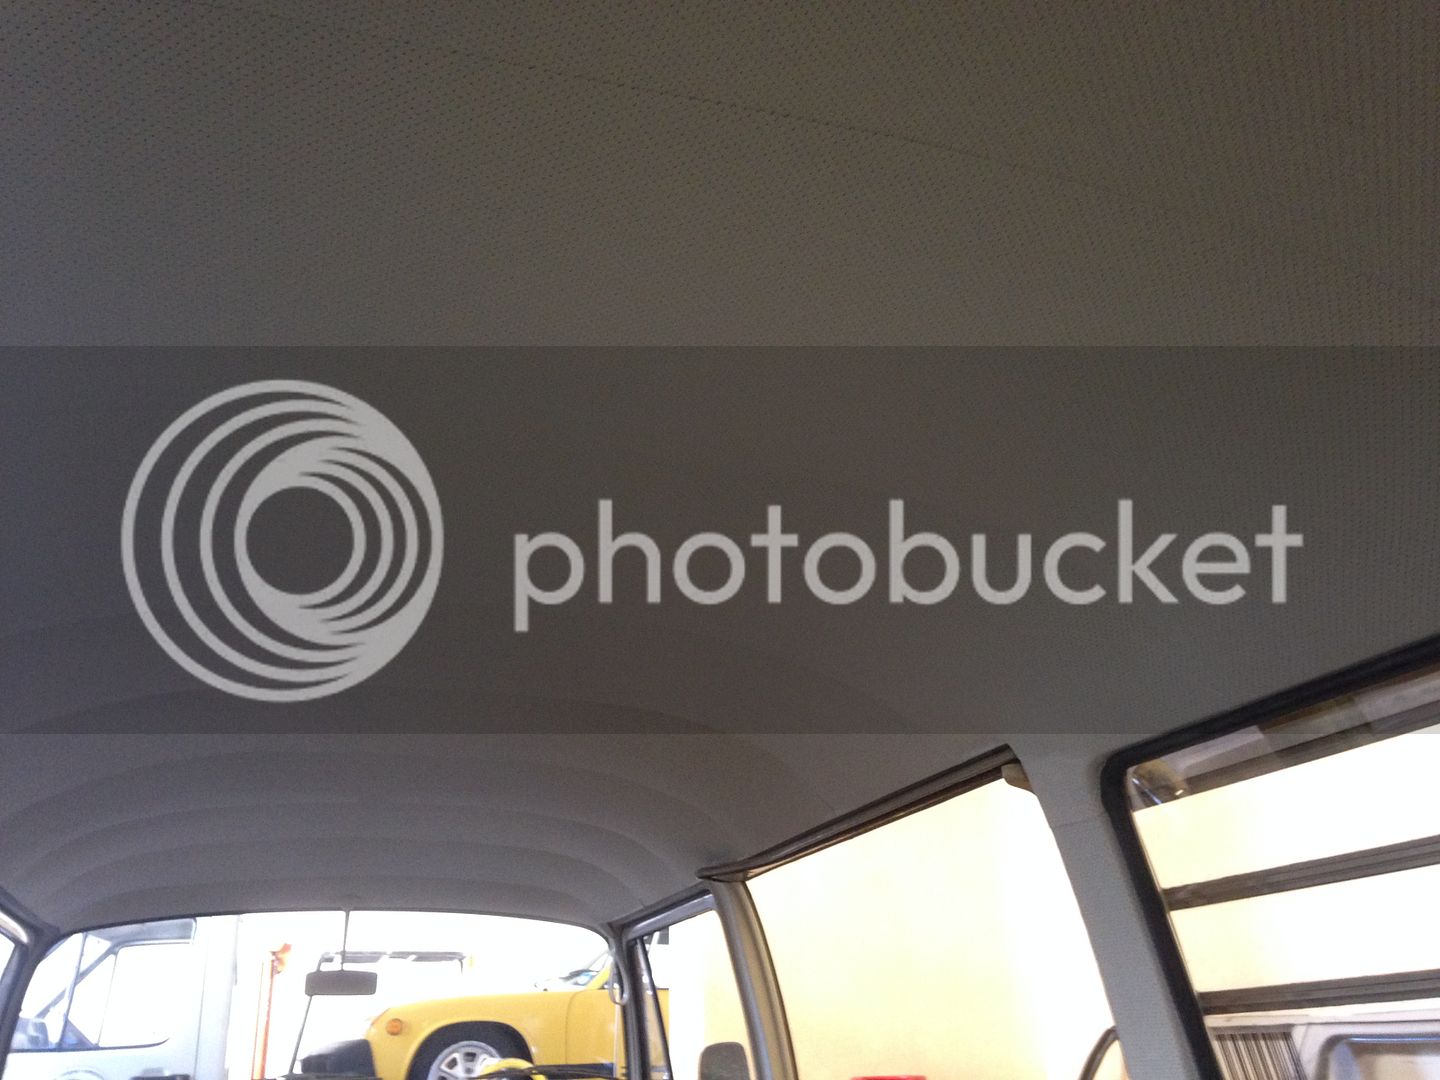
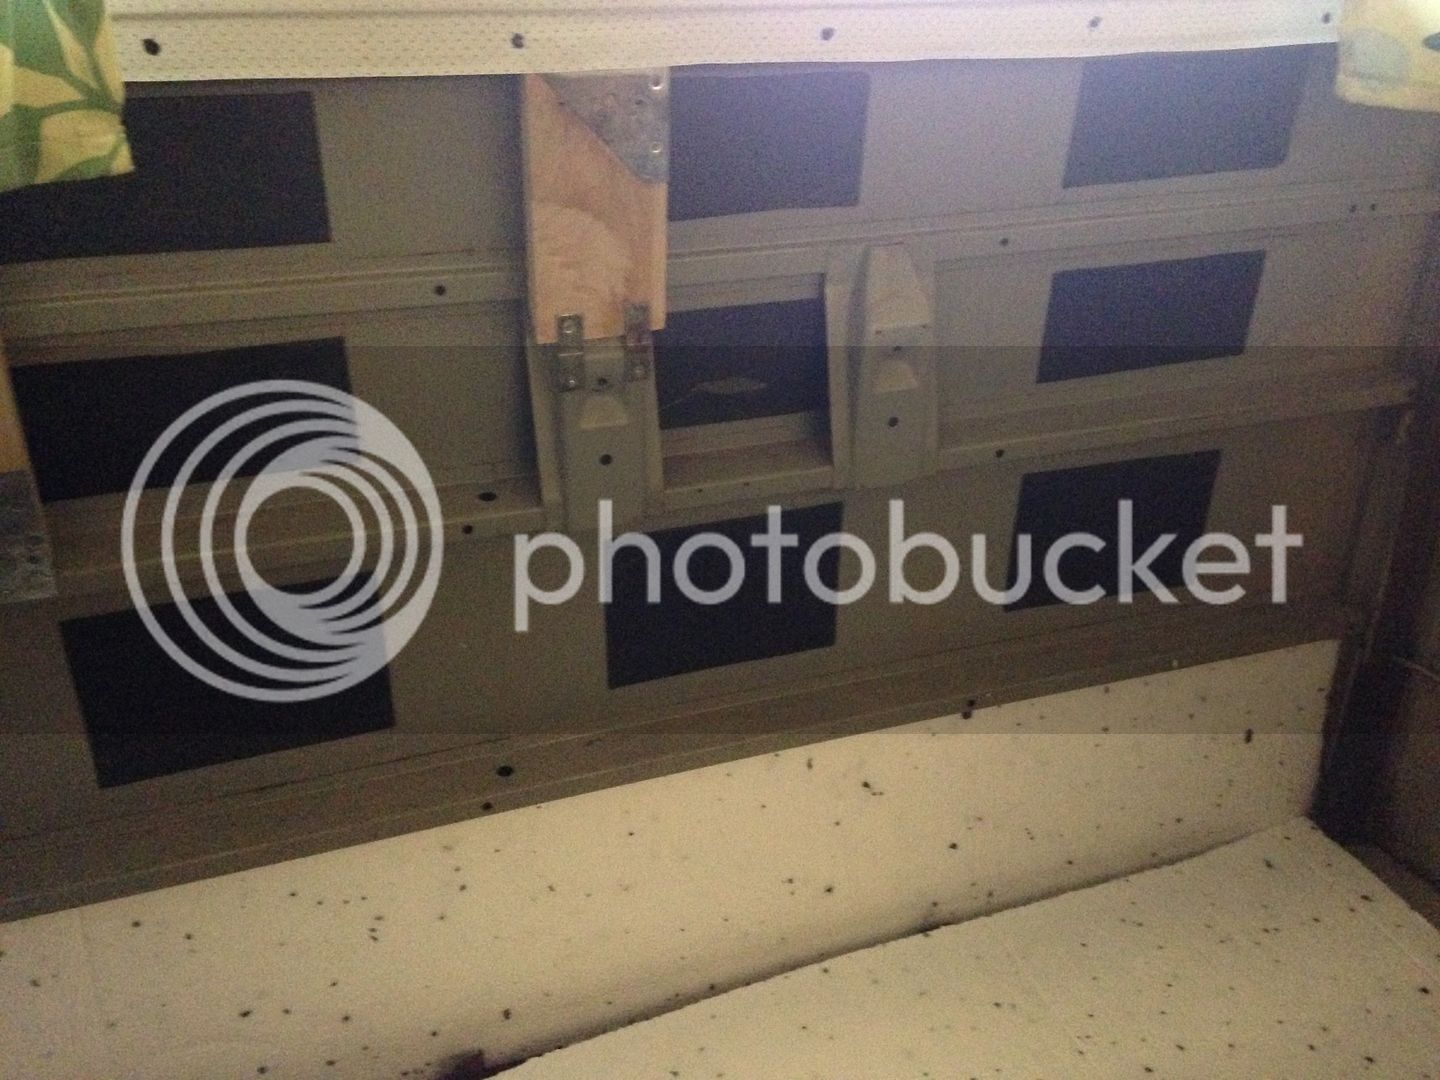
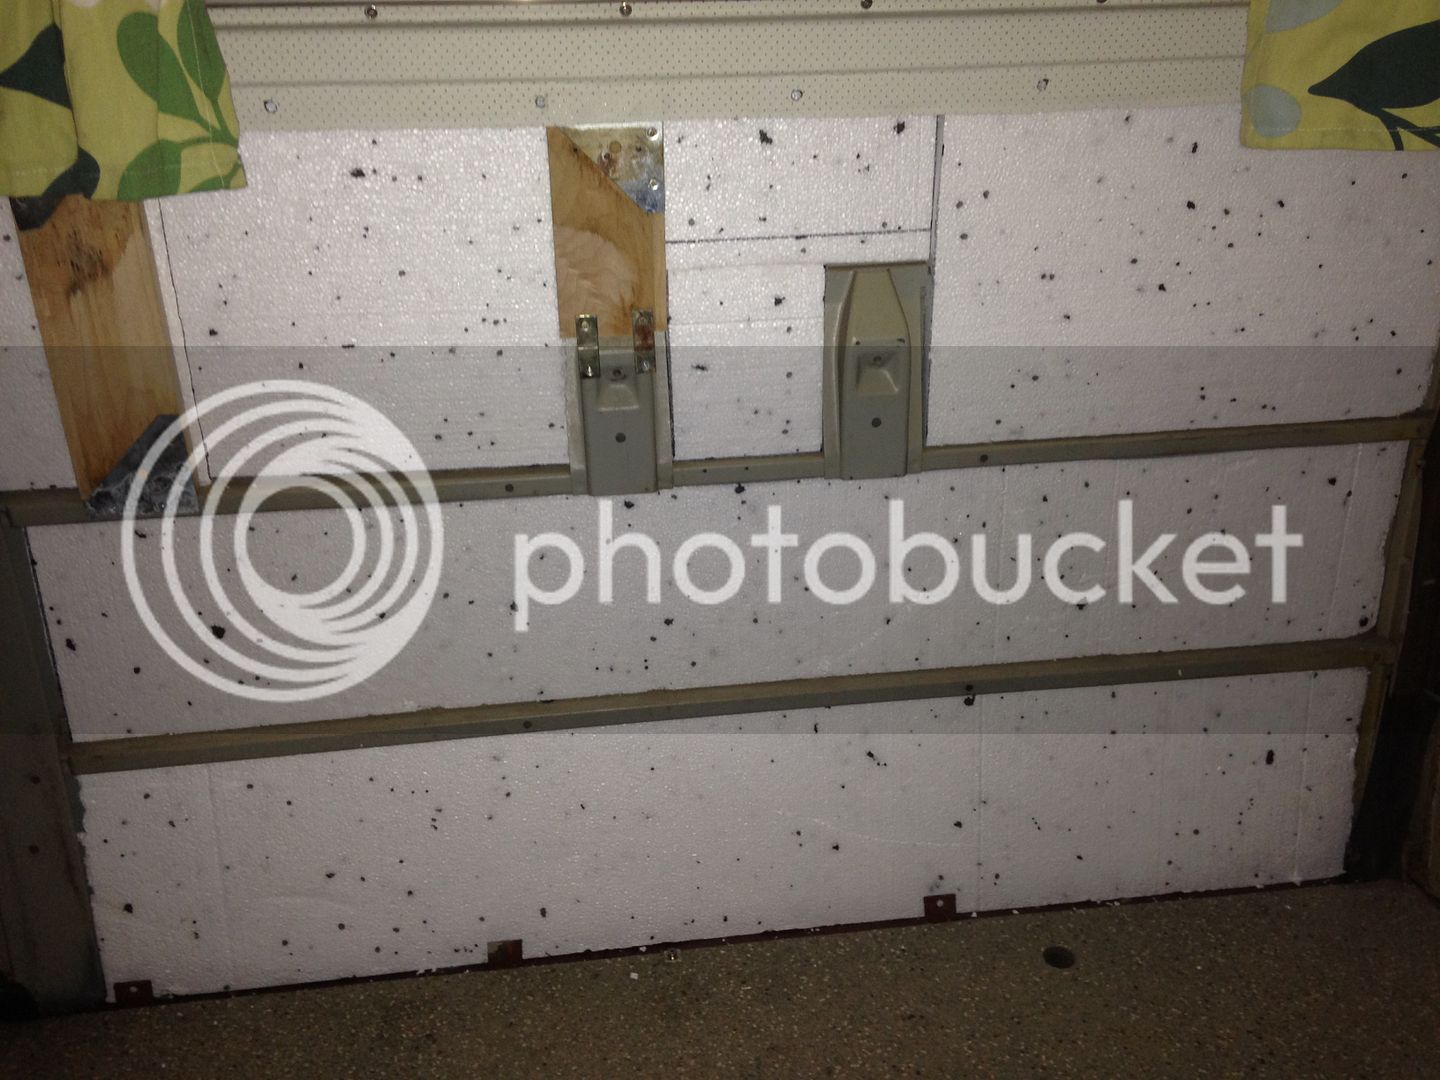
All the windows are back in, I've sound deadened and insulated with a combination of polystyrene and fibre glass insulation behind all the door cards before they were refitted
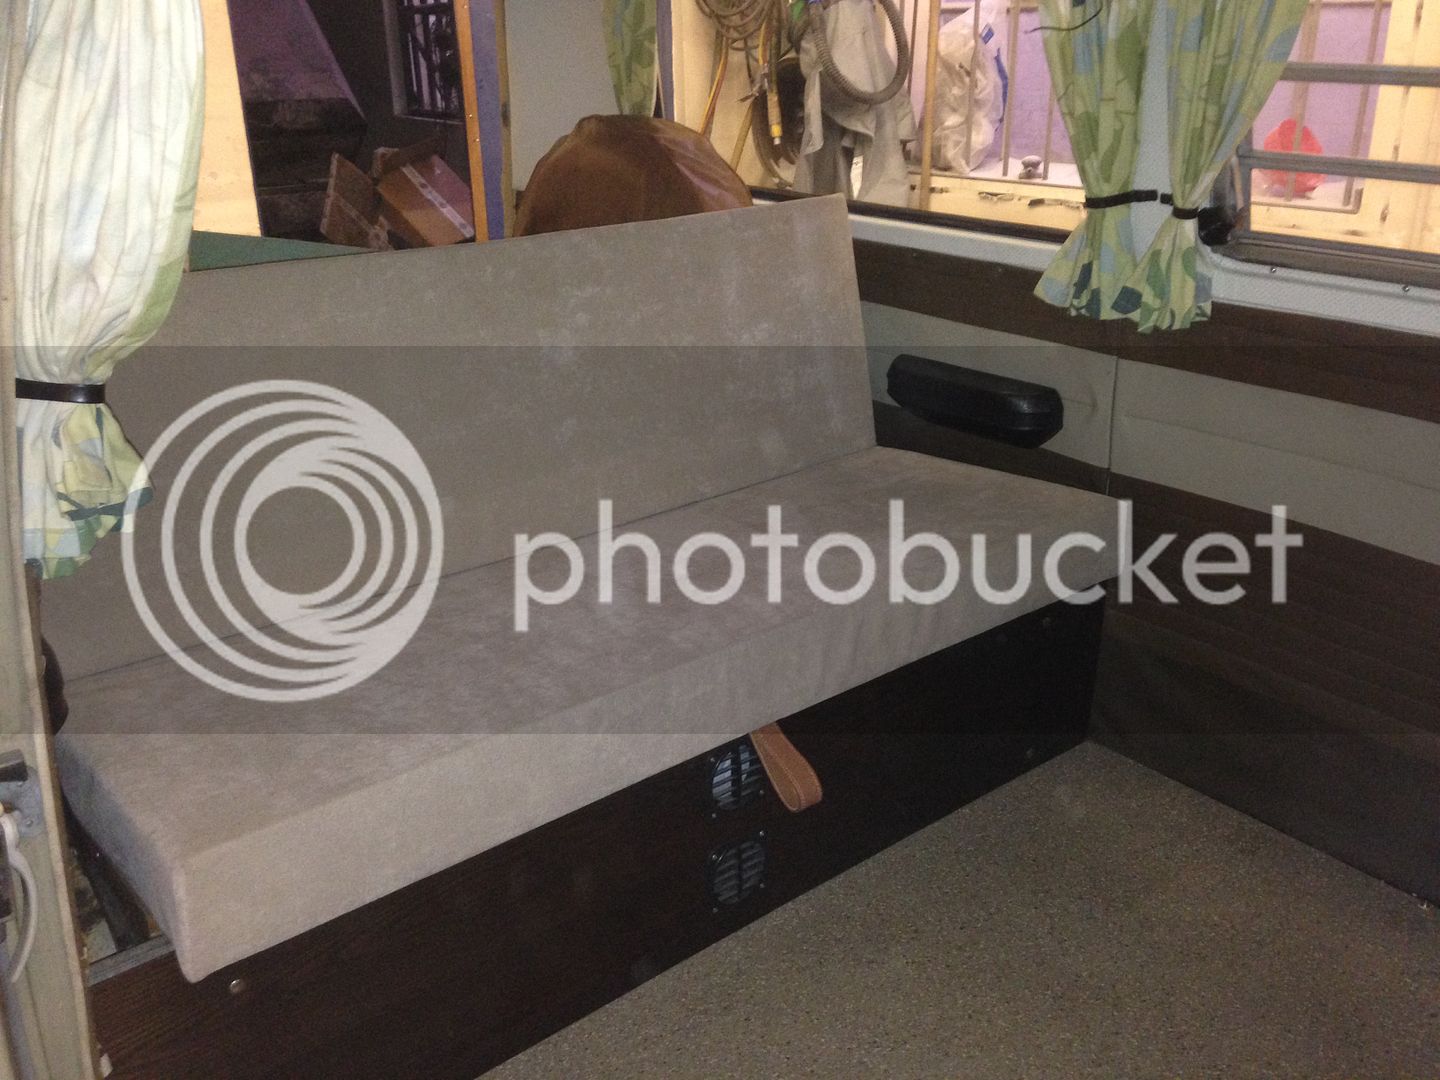
Interiors back in the van
Now let the leisure wiring begin…
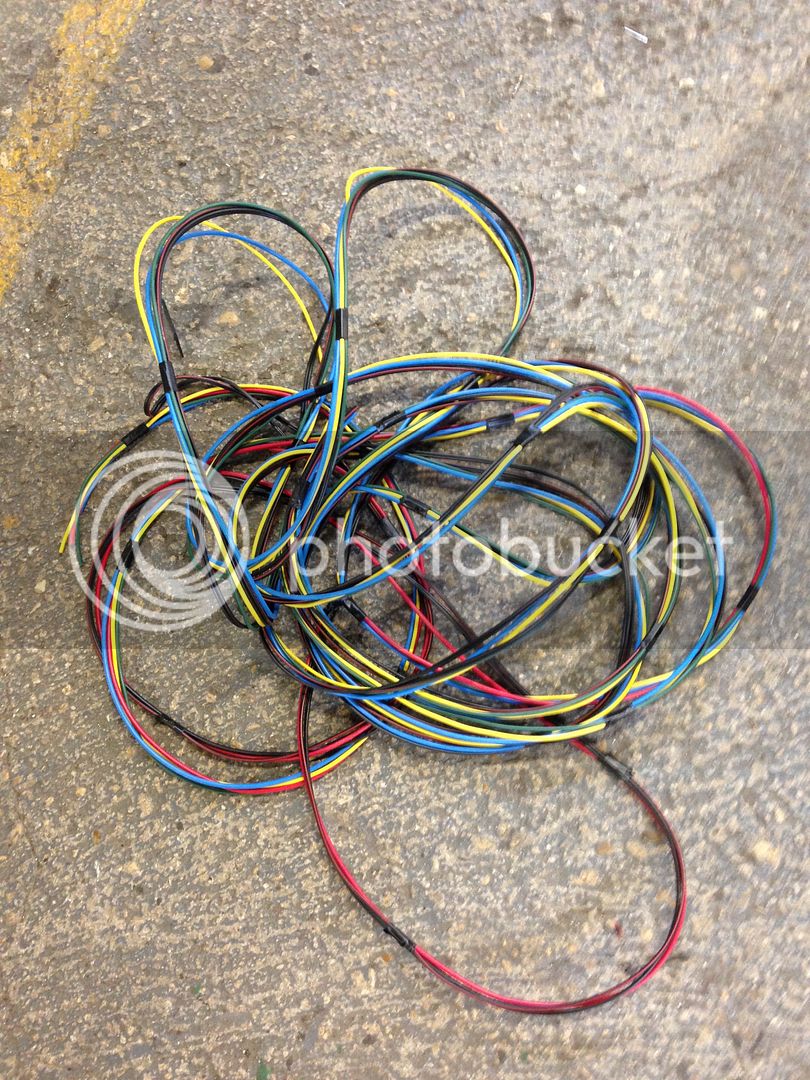
I've finished the loom and it's now installed so I now have a working fridge to keep the beers cold, unfortunately I haven't got any picture of the finished loom before it was fitted
The headliner is finished and looking marvellous…


All the windows are back in, I've sound deadened and insulated with a combination of polystyrene and fibre glass insulation behind all the door cards before they were refitted


Interiors back in the van

Now let the leisure wiring begin…

I've finished the loom and it's now installed so I now have a working fridge to keep the beers cold, unfortunately I haven't got any picture of the finished loom before it was fitted

$18.83
$19.83
Empi 11-4521-B VW Bug, Beetle, Window Cranks, 68 & Later, Pair
✅ Dune Buggy Warehouse


$58.00
$69.99
Revell 07674 VW T1 Camper 1:24 Scale Unbuilt/Unpainted Plastic Model Kit
ChoiceToysUS


$7.75
Window Crank Cover, for Beetle, Bus & Ghia 68-79, Black, Ea, Compatible with Dune Buggy
Appletree Automotive


$9.94
$10.95
Empi 00-4428-B VW Bug, Beetle, Sun Visor Clips, Type 1, 68-79, Black, Pair
MOORE PARTS SOURCE


$25.08
Airfix Quickbuild Volkswagen Camper Van Red Brick Building Plastic Model Kit J6017, Multicolour
Amazon Global Store UK


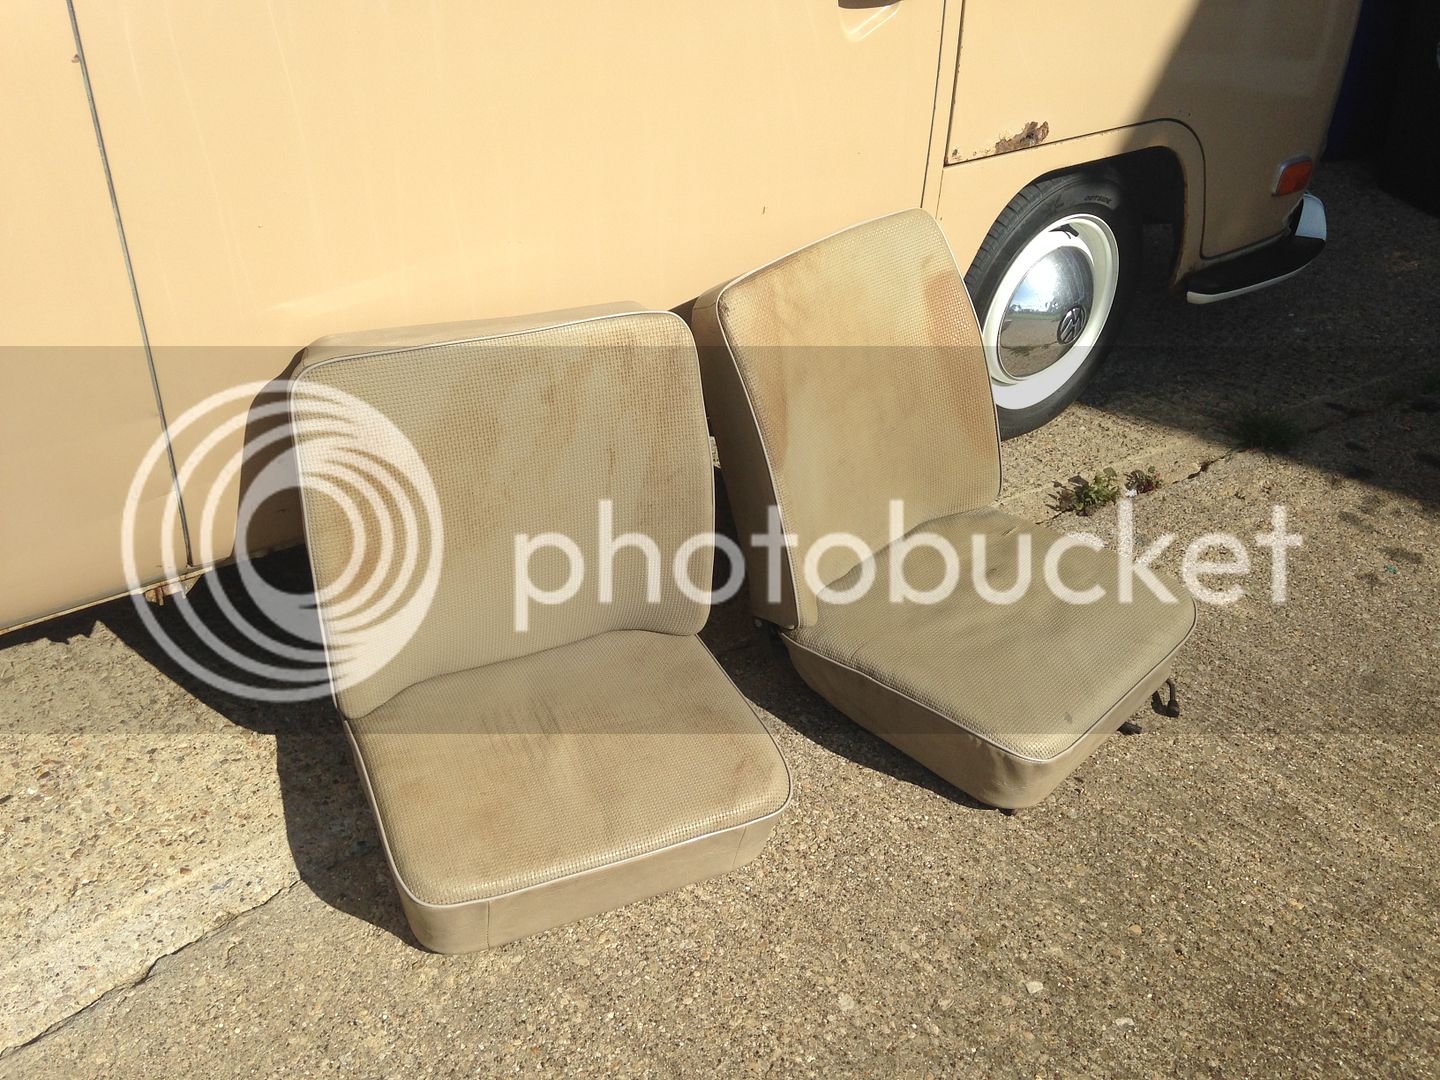
Managed to find a pair of replacement seats for the bus as the ones that are in it have gotten ripped and have a broken spring that's poking me in the arse
The new ones are in much better nick, with a bit of a clean up they'll be ready to fit
Hopefully they will be more comfortable than the others
The new ones are in much better nick, with a bit of a clean up they'll be ready to fit
Hopefully they will be more comfortable than the others

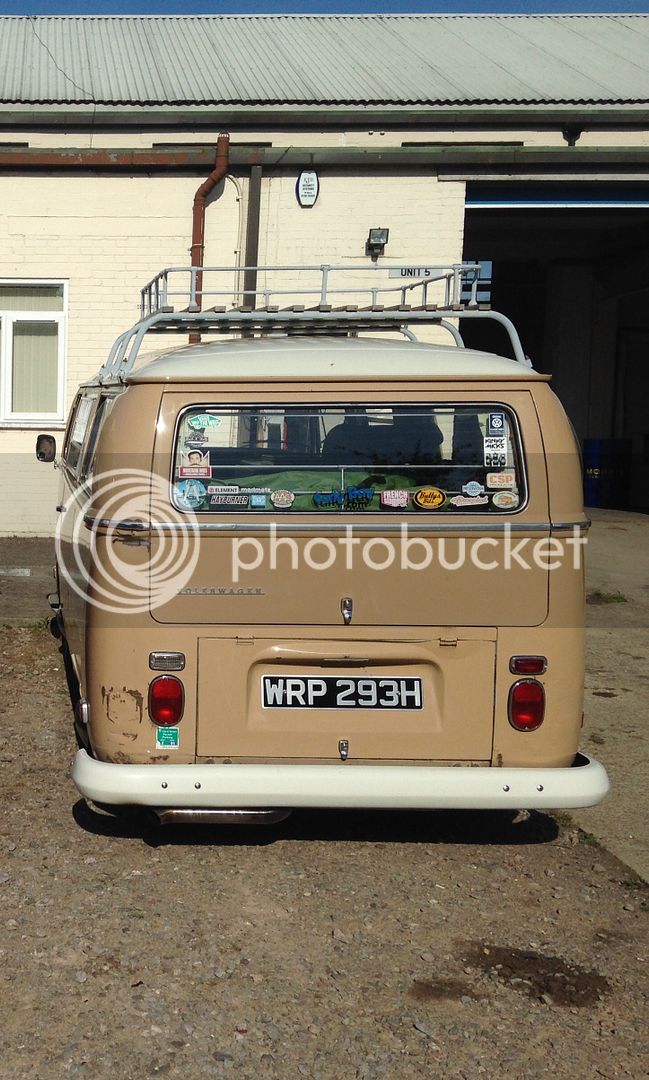
A couple of random pictures of my bus from the other day when I took it to work with me…
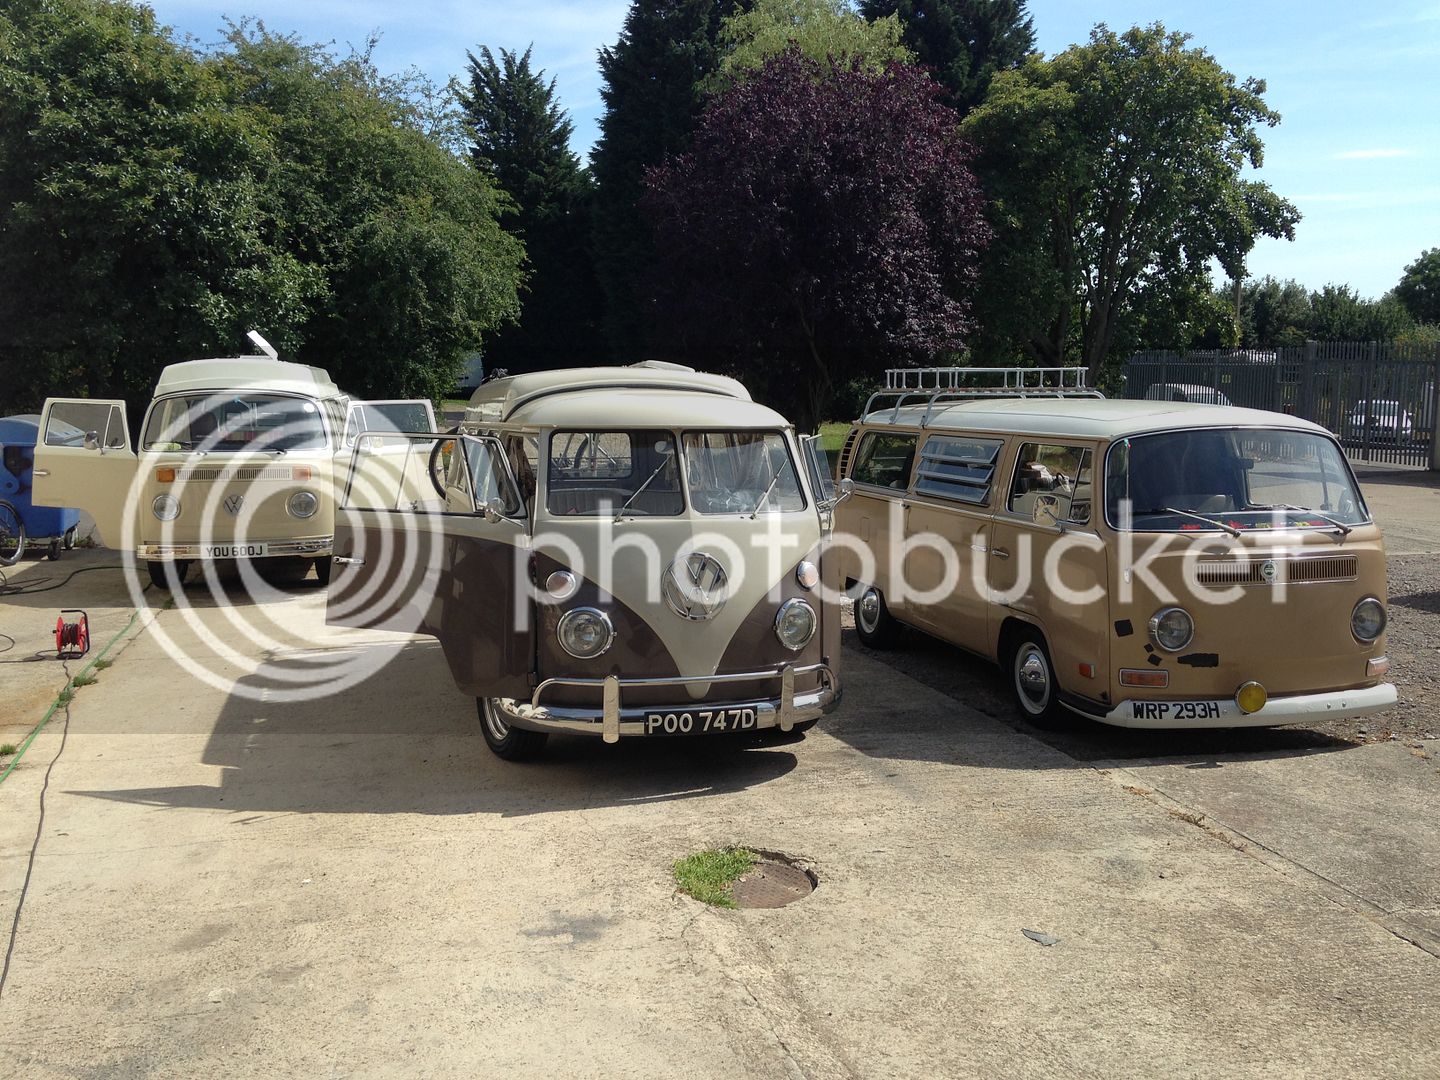
…and what happens two more come along, we had a beige bus bonanza, the Boss' Late Bay and his brothers Split #ThreeGenerations

…and what happens two more come along, we had a beige bus bonanza, the Boss' Late Bay and his brothers Split #ThreeGenerations

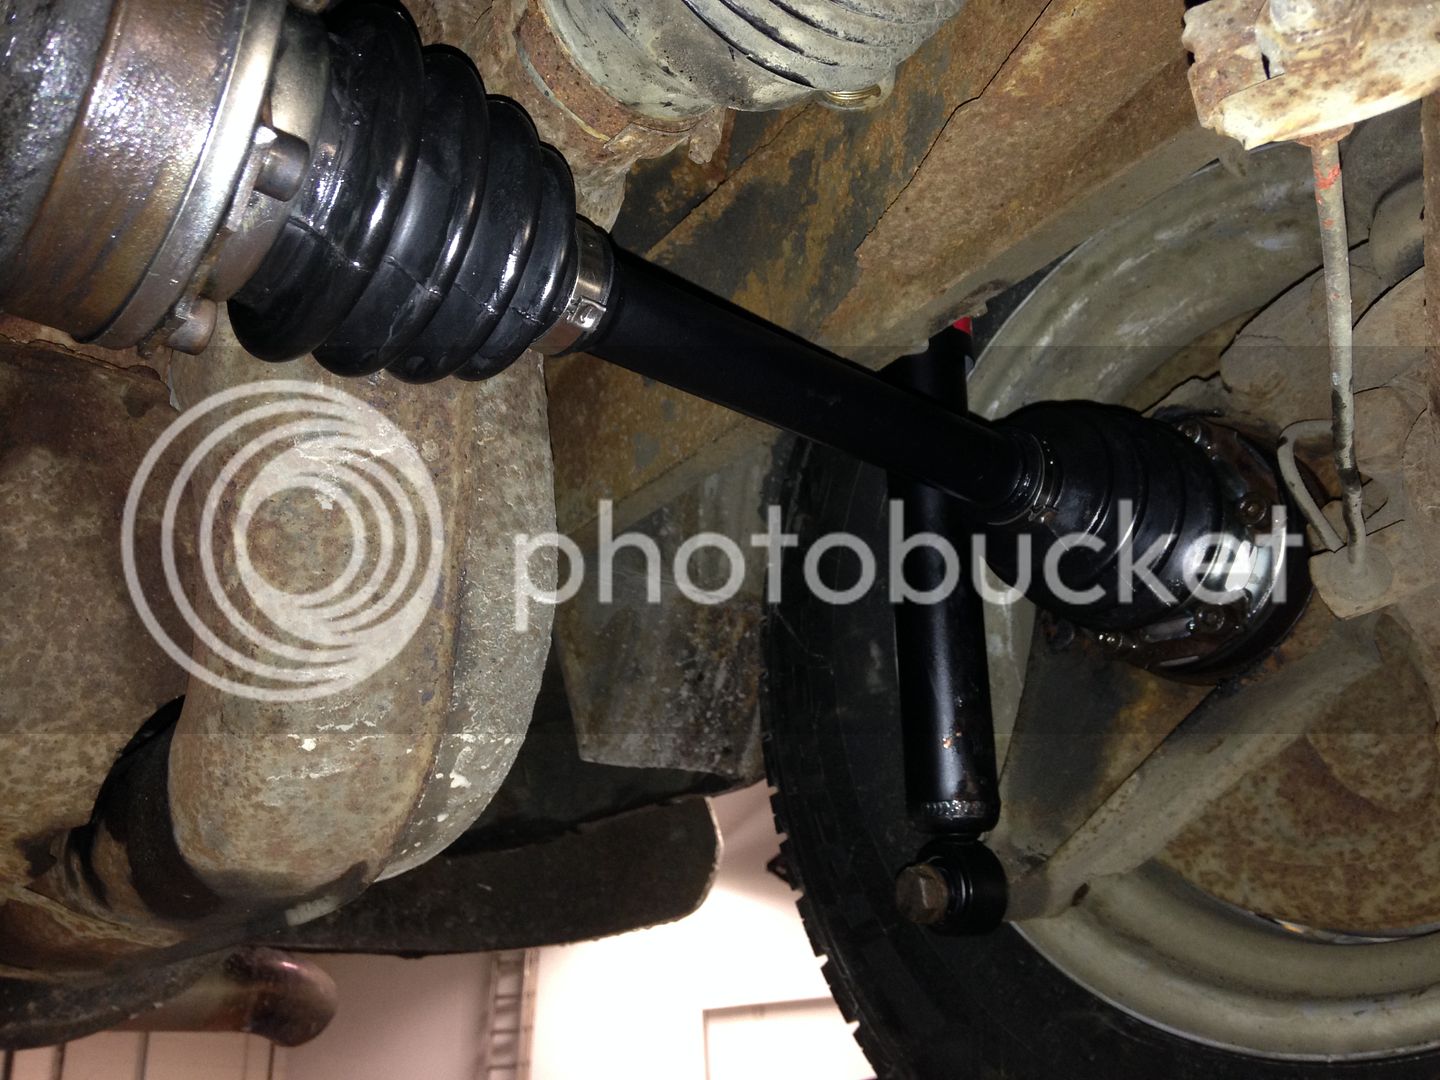
It's that time of year again…
MoT time!
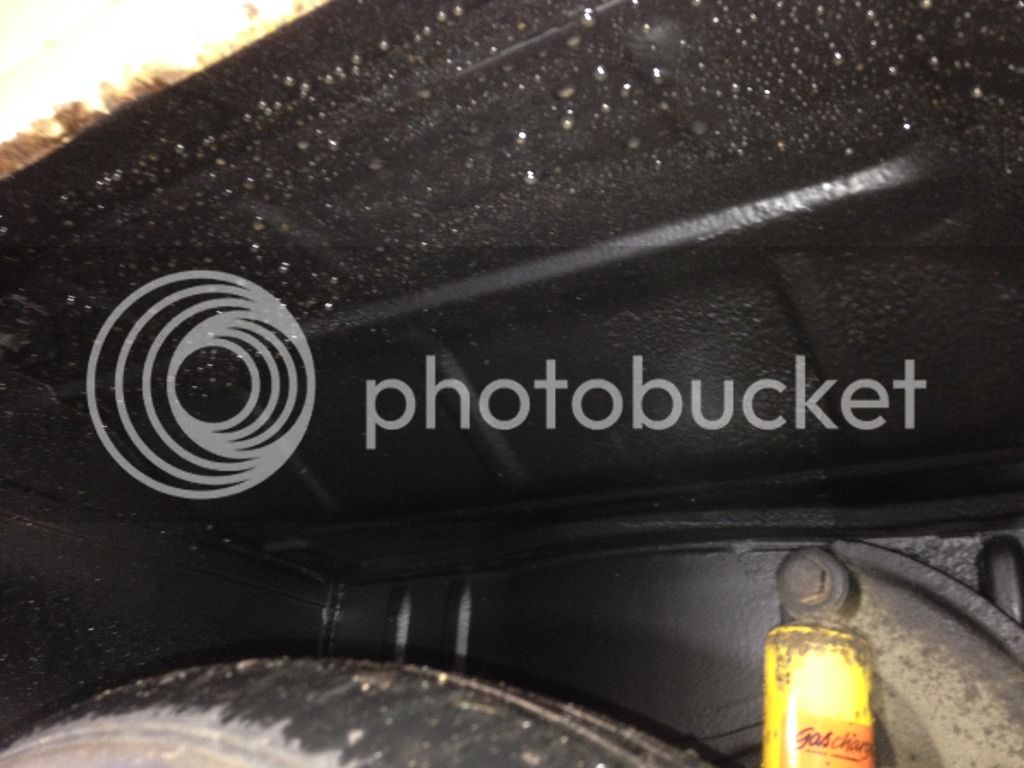
So on the list this year are new rear shocks and four CV boots
I even had time to paint the drive shafts
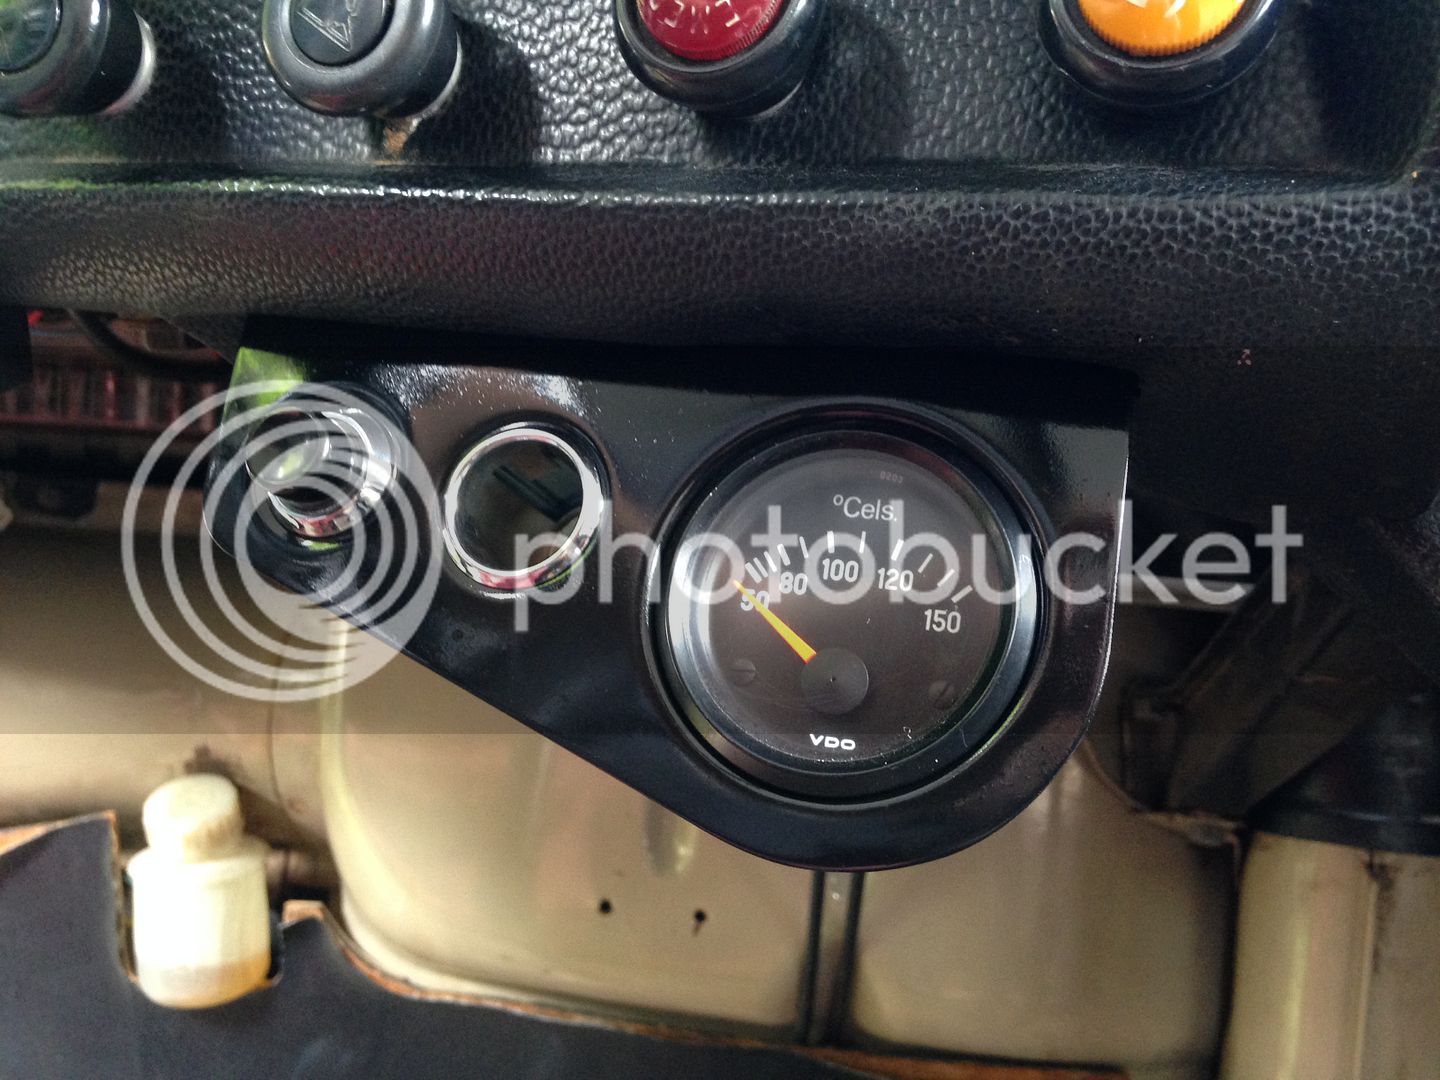
I've also made myself a new bracket to house the oil temperature gauge, 12 volt socket and the windscreen washer switch, which is much better than having three separate brackets
MoT time!
So on the list this year are new rear shocks and four CV boots
I even had time to paint the drive shafts

I've also made myself a new bracket to house the oil temperature gauge, 12 volt socket and the windscreen washer switch, which is much better than having three separate brackets

Update time as I've not posted for an absolute age…
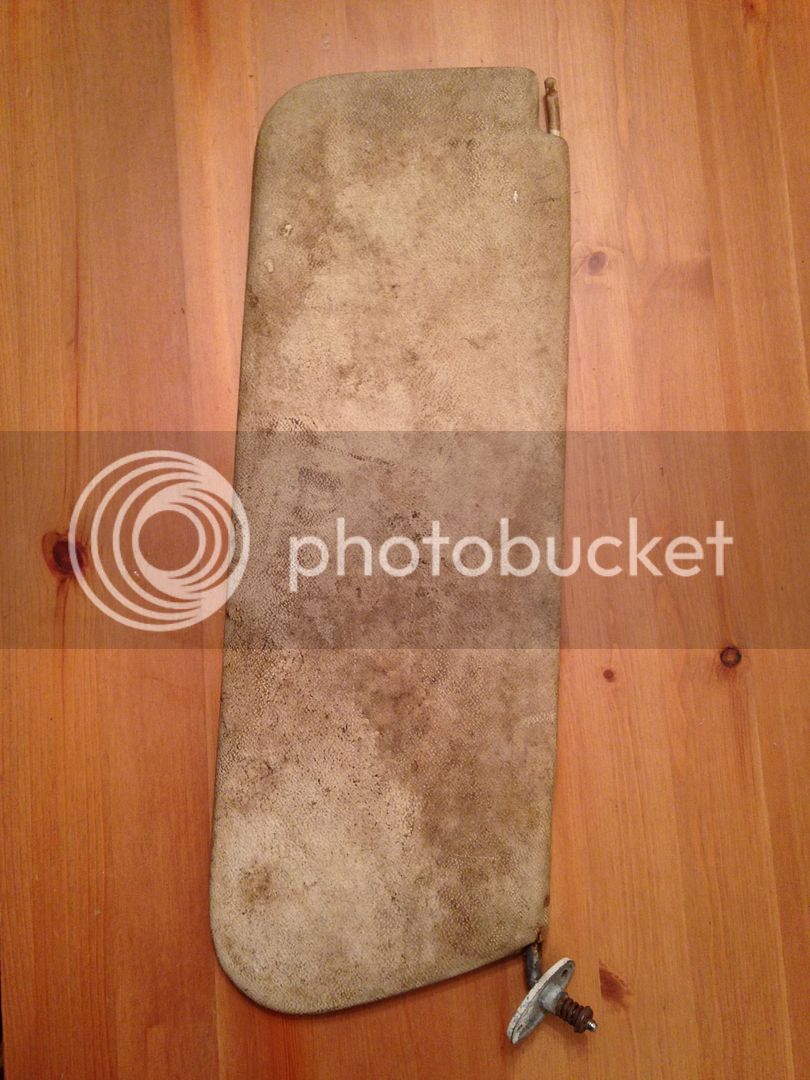
Finally managed to find a matching sunvisor at Busfest to replace the incorrect one that was fitted when the bus was bought
Before…
After…
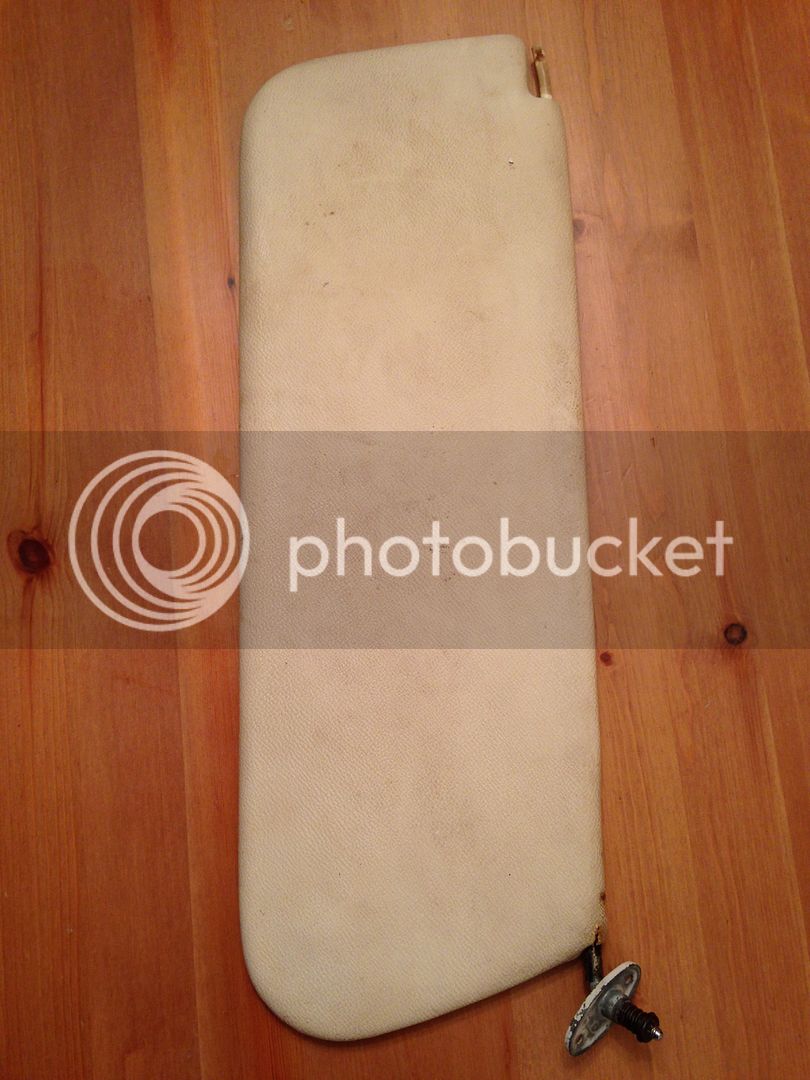
Responded quite well to a clean
Finally managed to find a matching sunvisor at Busfest to replace the incorrect one that was fitted when the bus was bought
Before…

After…

Responded quite well to a clean


I've been a busy boy recently…
The badge is now fitted to the front panel but I haven't got a photo, it seemed a bit strange at first as I have been running without a badge for 5 years
The old girl has had a full brake and bearing overhaul at the front, she's had new shoes, cylinders, flexi hoses, wheel bearings and I've cleaned up and painted the backing plates and drums
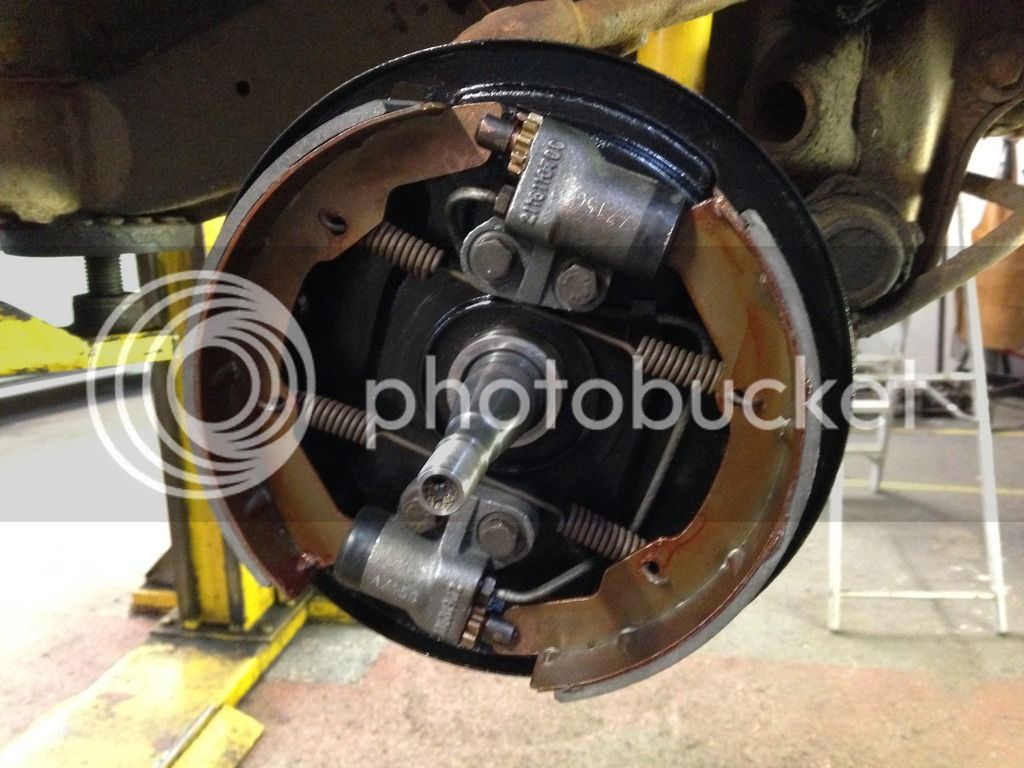
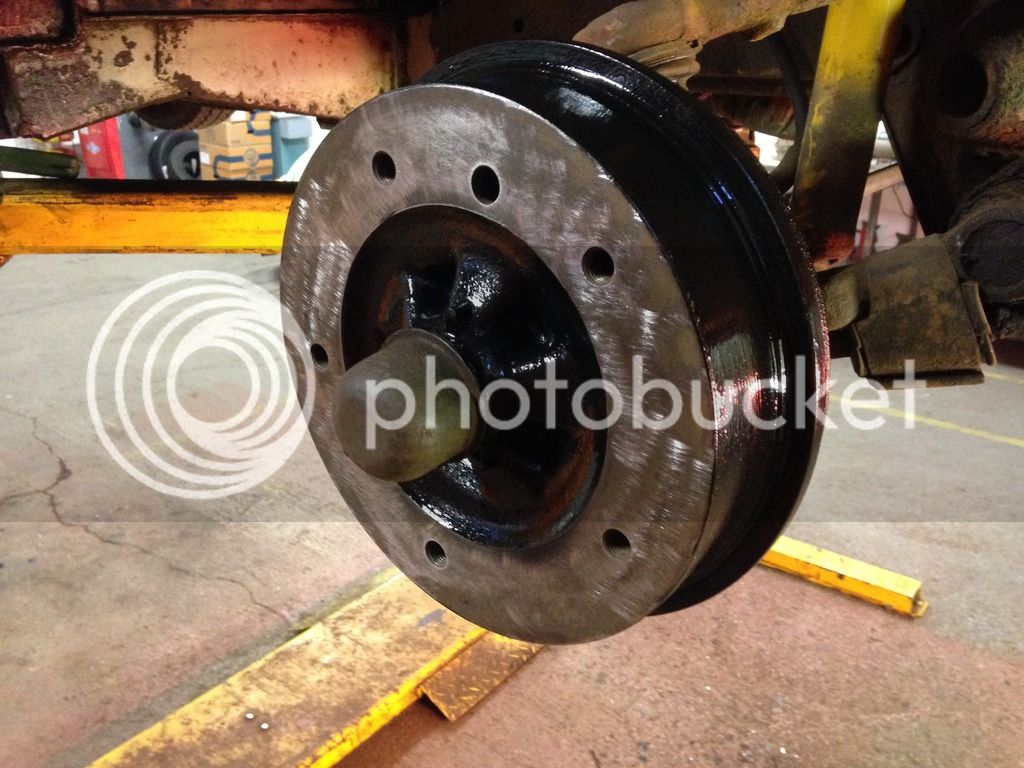
I've now got to do the same at the rear
Whilst I had my head in the wheel tub doing the brakes there was a bit of corrosion that need taking care of…
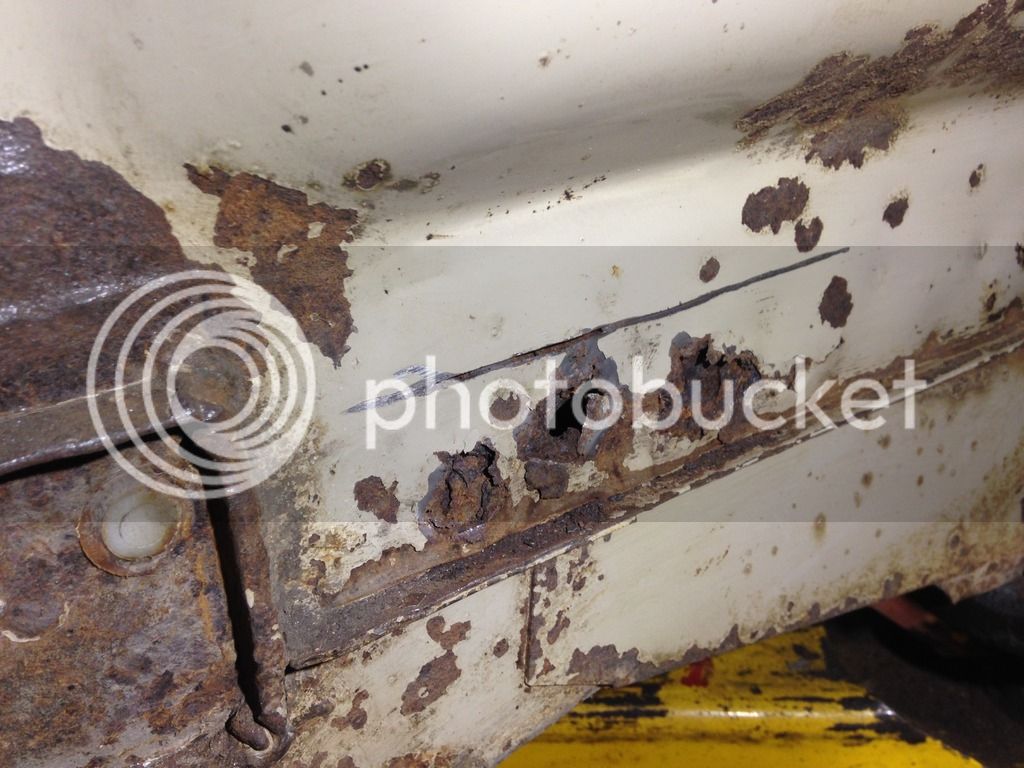
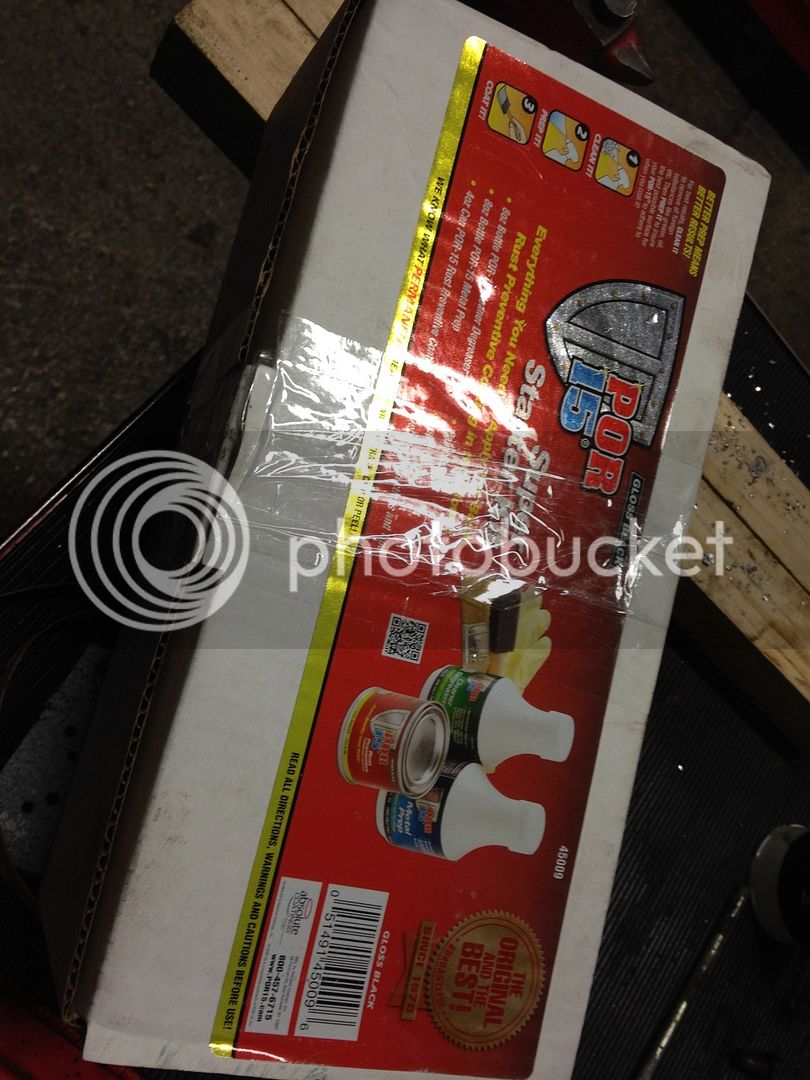
I'd already bought some POR 15 products so made good use of them…
Rust cut out in the wheel tub…
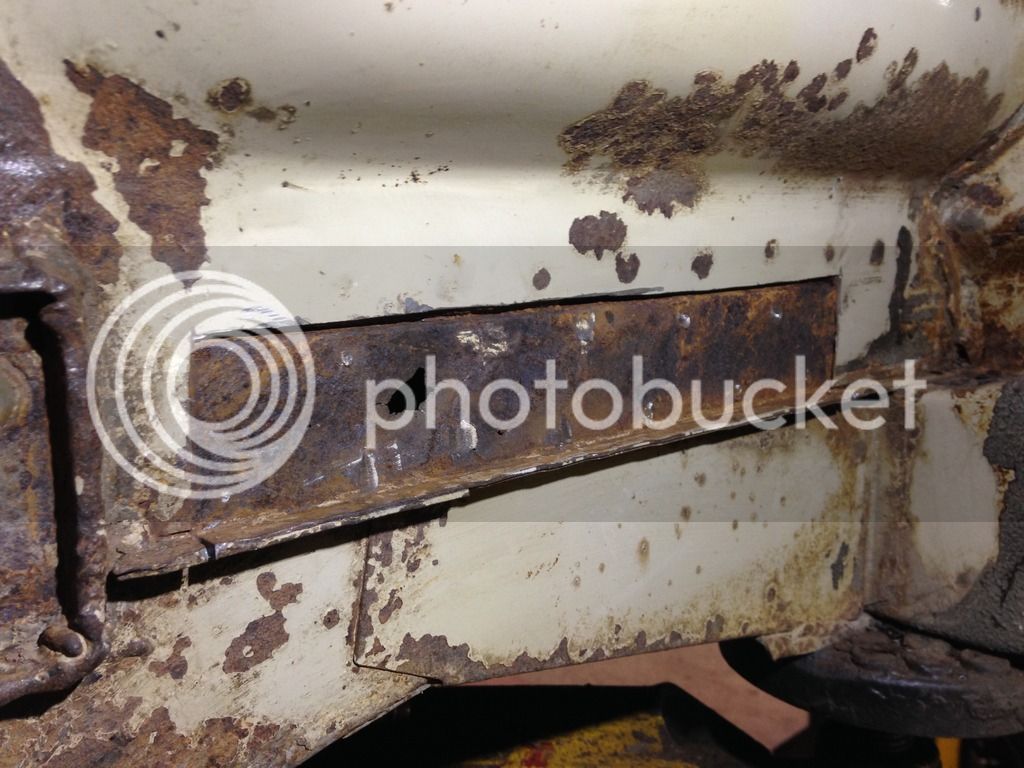
Cleaned up, ground down and rust converter painted on the area I'm repairing and anywhere else that needed it. I also repaired the hole in the top hat section behind but didn't get a snap of that…
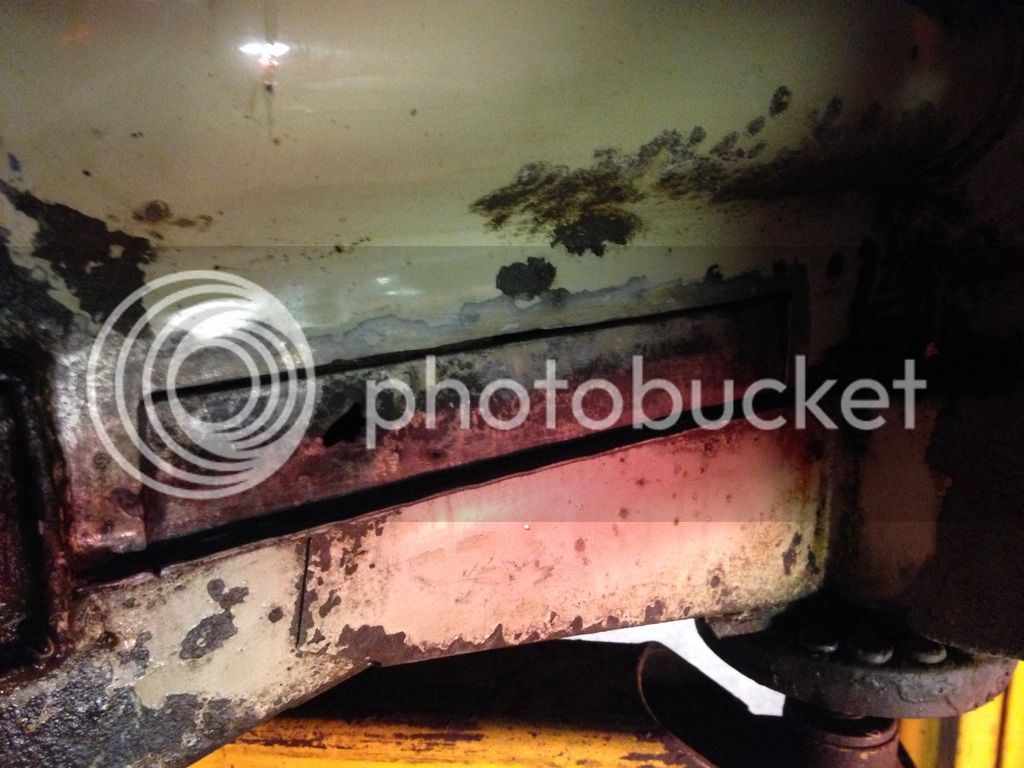
Weld through rust preventable primer sprayed on the top hat and on the other side of the repair piece I made, then welded in, ground back, I painted some more rust preventative paint on the outside, but again I didn't get a snap…
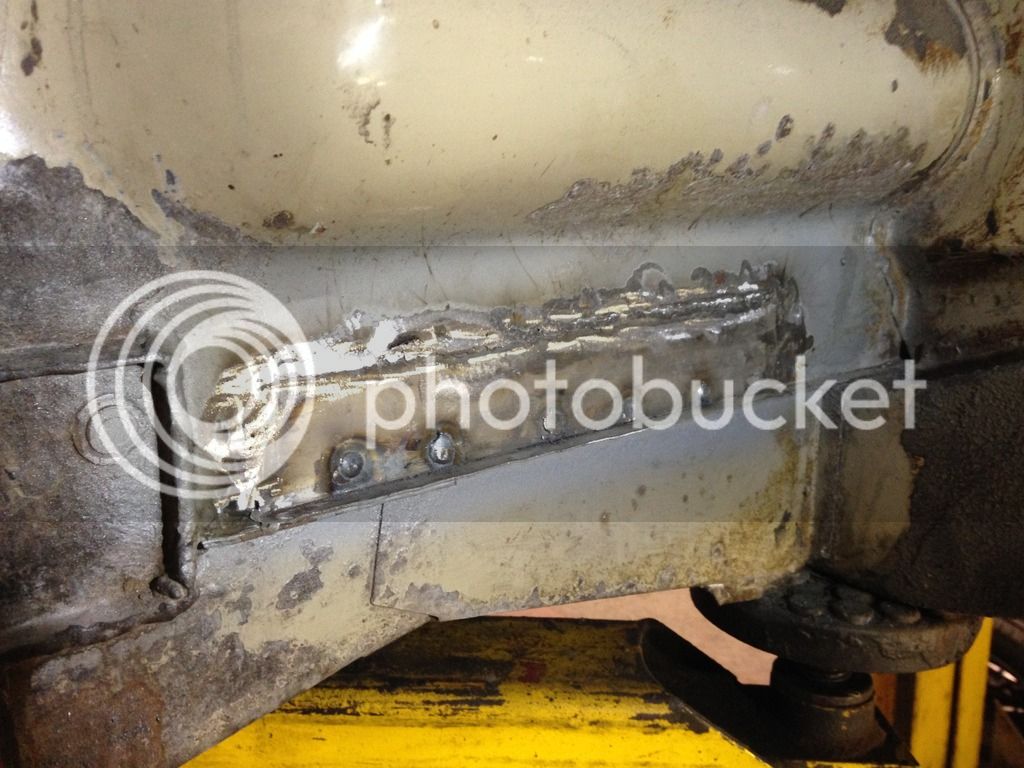
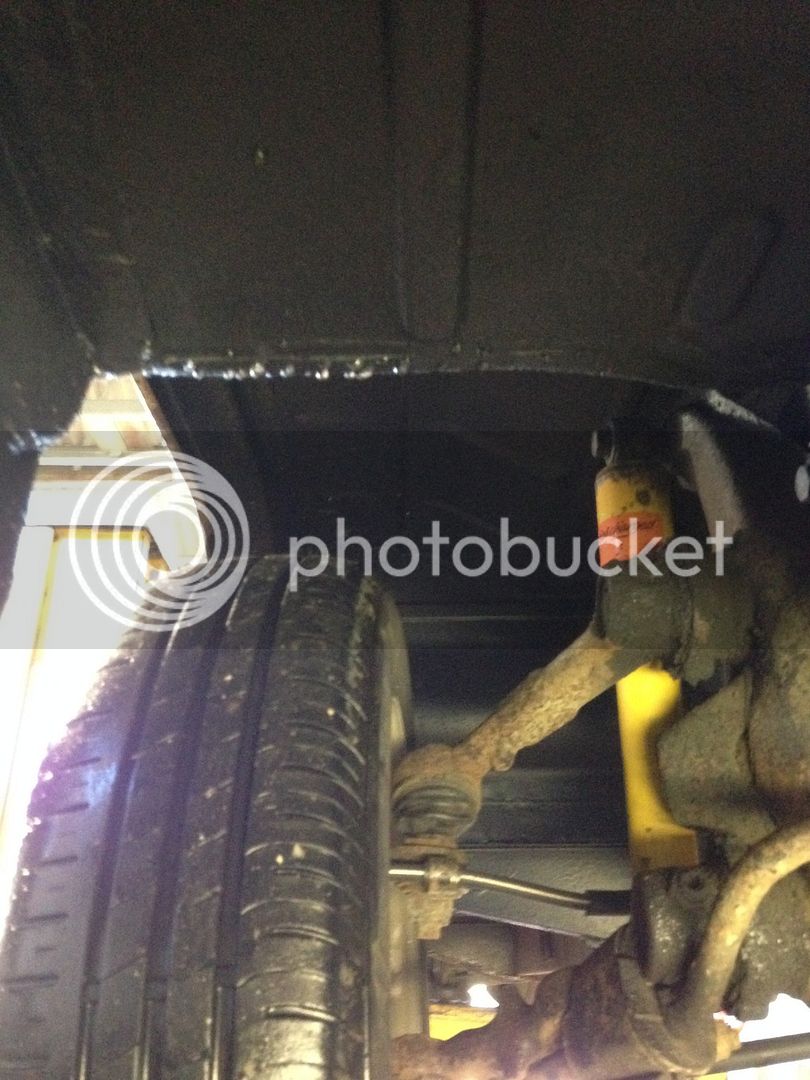
Both wheel arches then got a good coat of black wax for even more protection, they're not great pictures but you get the idea…
The badge is now fitted to the front panel but I haven't got a photo, it seemed a bit strange at first as I have been running without a badge for 5 years
The old girl has had a full brake and bearing overhaul at the front, she's had new shoes, cylinders, flexi hoses, wheel bearings and I've cleaned up and painted the backing plates and drums


I've now got to do the same at the rear
Whilst I had my head in the wheel tub doing the brakes there was a bit of corrosion that need taking care of…

I'd already bought some POR 15 products so made good use of them…

Rust cut out in the wheel tub…

Cleaned up, ground down and rust converter painted on the area I'm repairing and anywhere else that needed it. I also repaired the hole in the top hat section behind but didn't get a snap of that…

Weld through rust preventable primer sprayed on the top hat and on the other side of the repair piece I made, then welded in, ground back, I painted some more rust preventative paint on the outside, but again I didn't get a snap…

Both wheel arches then got a good coat of black wax for even more protection, they're not great pictures but you get the idea…


Myvanway
Well-known member
Great work. 8)


I replaced to fibre glass heat lagging on my vintage speed exhaust with some new titanium heat wrap as the fibre glass stuff had disintegrated

Engine all built up and on the stand ready to do a cam burn, once that's done it's in the bus with it

And there it is, fitted and all plumbed up, whilst it was apart it would of been rude not to replace the dynamo with an alternator aswell

I took the opportunity to fit some LED lights to the engine bay as even in the day time it can be quite dark in the engine bay
I've bought a Kardon twin carb set up for the bus so I guess the engine will be coming back out at some point to fit and set them up now that the engine has run in
Can't wait for my engine bay to look like this


The most recent job I've done is replace the upper brake fluid reservoir pot, all the seals and pipe that connects the upper pot with the master cylinder reservoir
All the parts came from VW Heritage who have started selling the connecting pipe which is made by JP Group or Dansk and is a good quality part, my only criticism is that it could do with being a tad shorter
Sent from my iPhone using Tapatalk
Can't wait for my engine bay to look like this
The most recent job I've done is replace the upper brake fluid reservoir pot, all the seals and pipe that connects the upper pot with the master cylinder reservoir
All the parts came from VW Heritage who have started selling the connecting pipe which is made by JP Group or Dansk and is a good quality part, my only criticism is that it could do with being a tad shorter
Sent from my iPhone using Tapatalk

Similar threads
Vehicle For Sale
VW EARLYBAY 69 TIN TOP DELUXE SOLD OFF TO BELGIUM
- Replies
- 0
- Views
- 933
Vehicle For Sale
Early Bay Deluxe 1971
- Replies
- 5
- Views
- 2K