71 Early Bay, formerly know as 'SuperDry'

Early Bay Forum

Help Support Early Bay Forum:

This site may earn a commission from merchant affiliate links, including eBay, Amazon, and others.
It's been a long time coming.
I was really unwell just after Christmas and then have been really busy with life in general.
Anyways, I'm back on it.

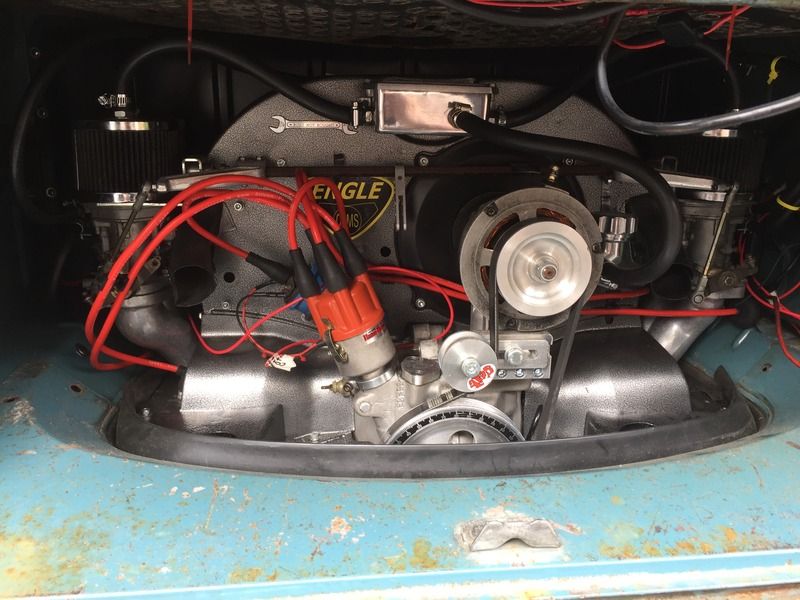
I fitted the breather pipes last night, and routed the fuel pipe with sticky mounts and cable ties along the top of the rear of the fanshroud.

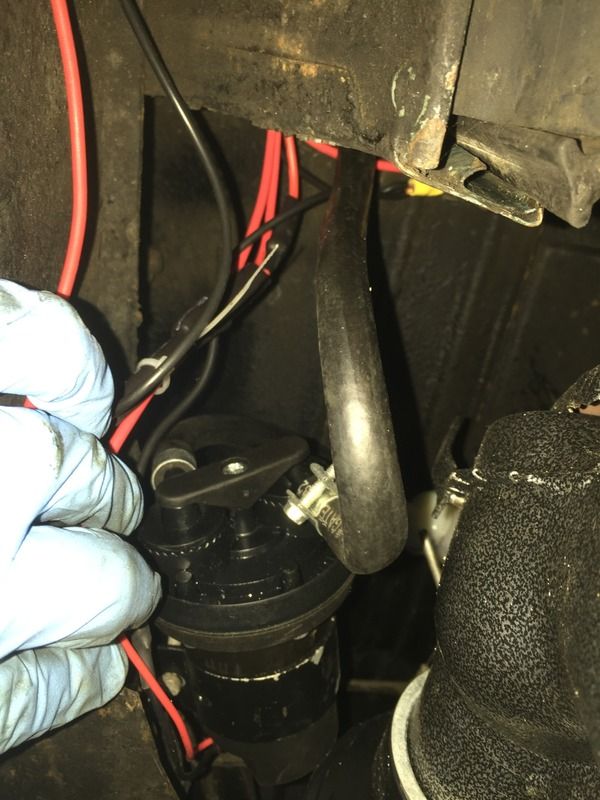
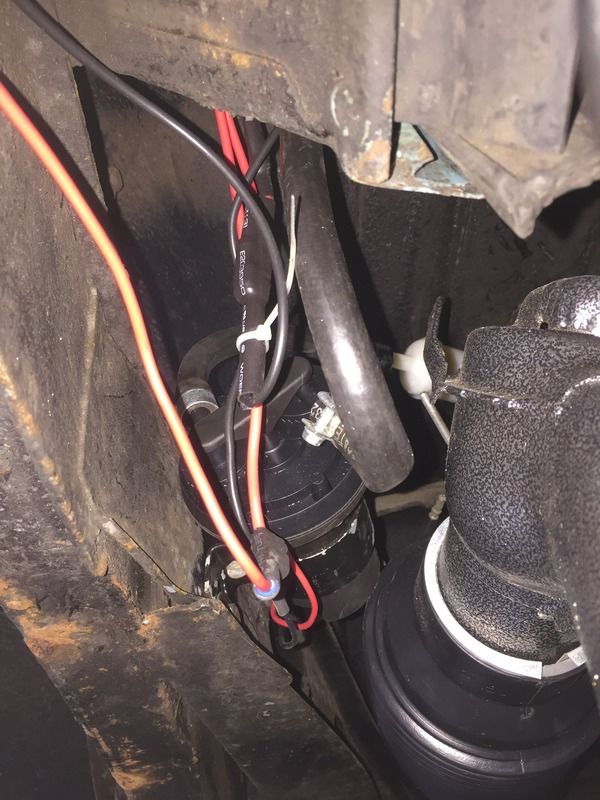
I need to rotate or move the electric fuel pump as I'm not comfortable with the fuel line running so close to the heat exchanger, although I do have some heat proof sheathing [snigger] and also a heat shroud to cut up to help.

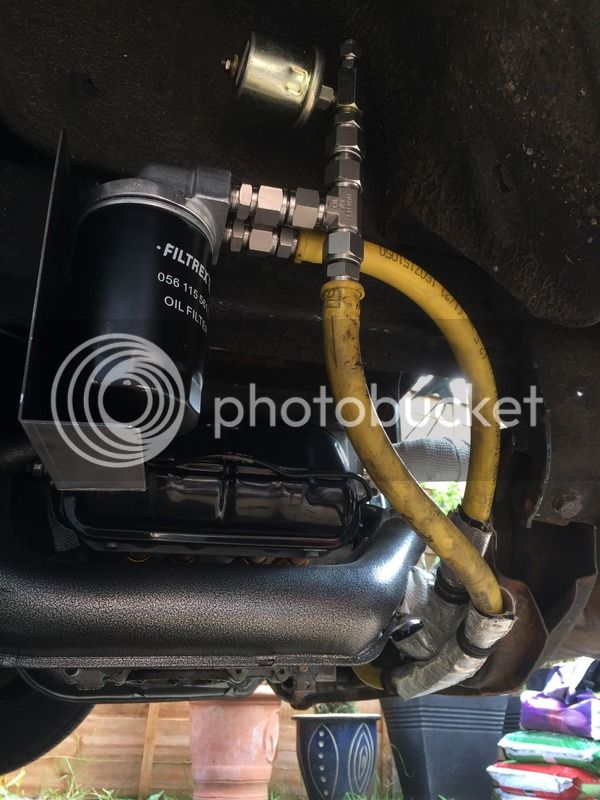
Started planning the route of the oil pipes, I'm going to do a trial fit with cable ties and some hose pipe before cutting my oil hose and drilling any holes for the P-clips!
 
Looks great and everyone knows 71's are the best :D

Early looks with proper brakes :)
 
Got some time on the old girl again today.
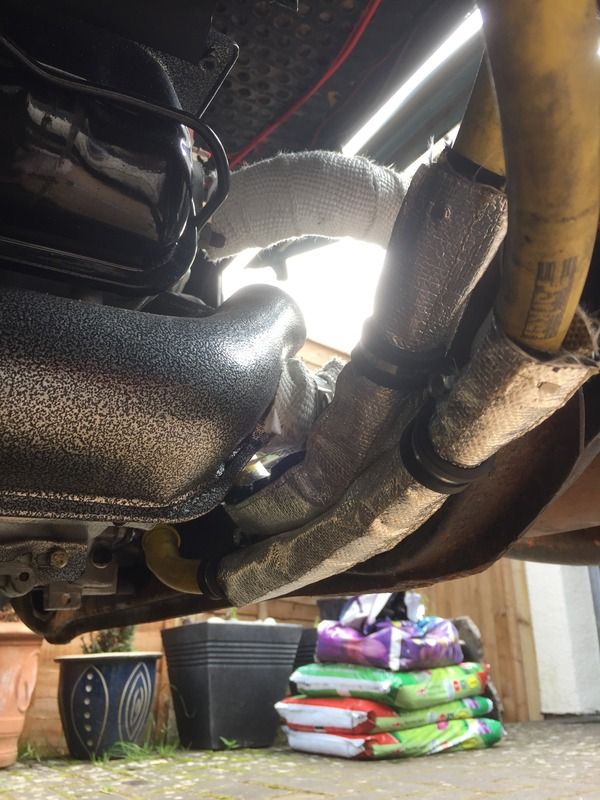
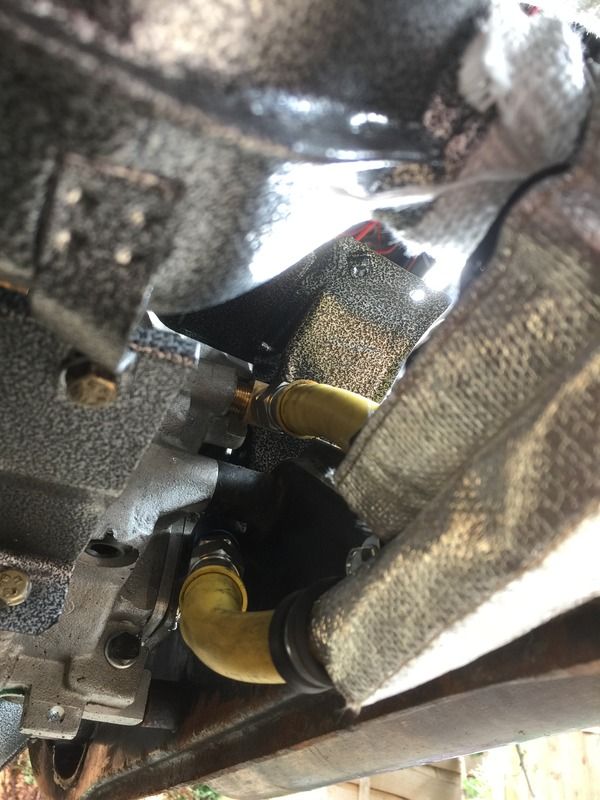
Routed the new oil lines after I'd cut them to length.
All P-clipped in place now and tight.


Heat sheath added to the oil lines and exhaust wrap on the exhaust.


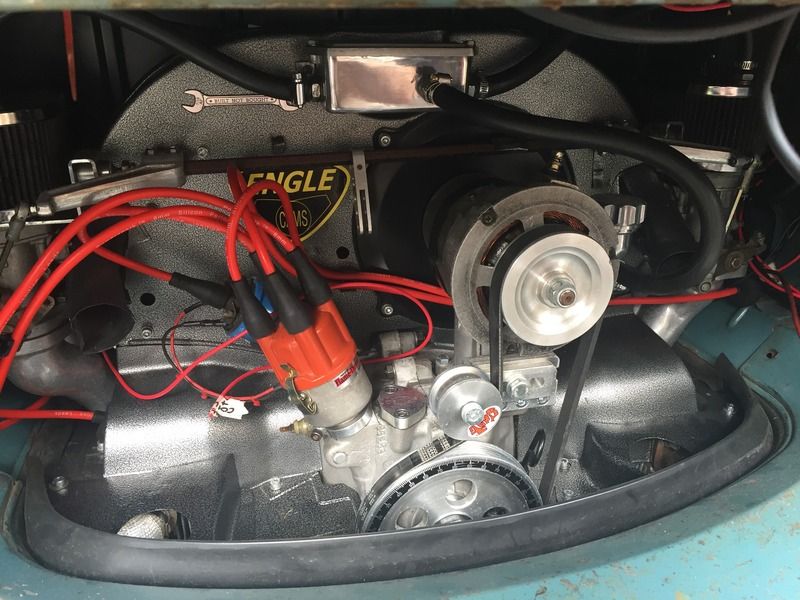
Rear tinware fitted. I need a new seal......


Almost there. Checking and tidying electrics next.


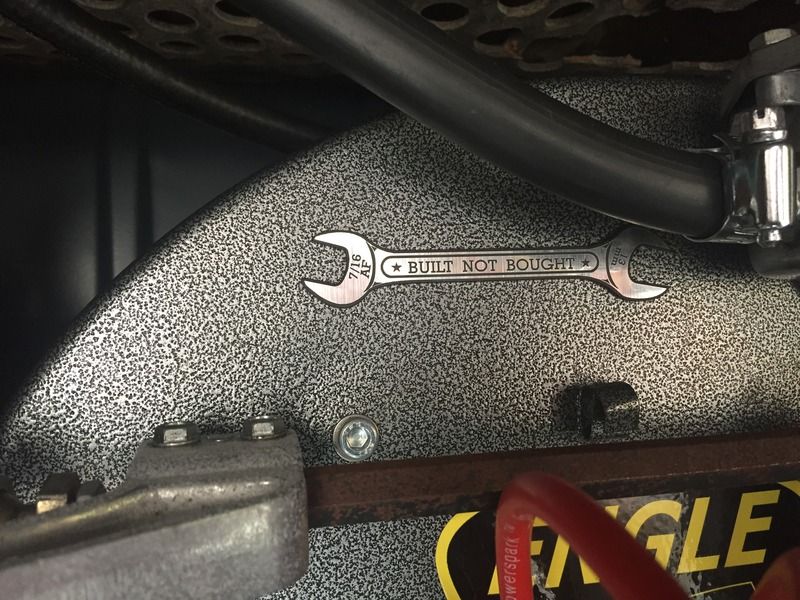
Linkage needs a coat of paint, but I'm proud to show off the spanner.........
 
Had a bit of a dabble on the elastic-trickery this afternoon, which led me on to looking at the fuel pump.
I'm a little bit concerned about how close the fuel hose is to the exchanger.
What do you think?
I do have some catalyst heat shield, but I'm not sure how to hold it in place.


Looking again.
The pipe that is close to the exchanger, the inlet/outlet it is connected to on the pump appears that it can be rotated.
Hmmm. 180mm turn would take the full hose away.

How hot does the plastic piping get that goes on the end of the exchanger? I have got some exhaust wrap still.
 
Plastic pipe should be lagged internally so shouldn't get to hot on the outside.
 
I am so close to putting the 71 back down on it's wheels. Pushing it in the garage. Tarping it over and walking away.
Another evening of work yet so little progress.
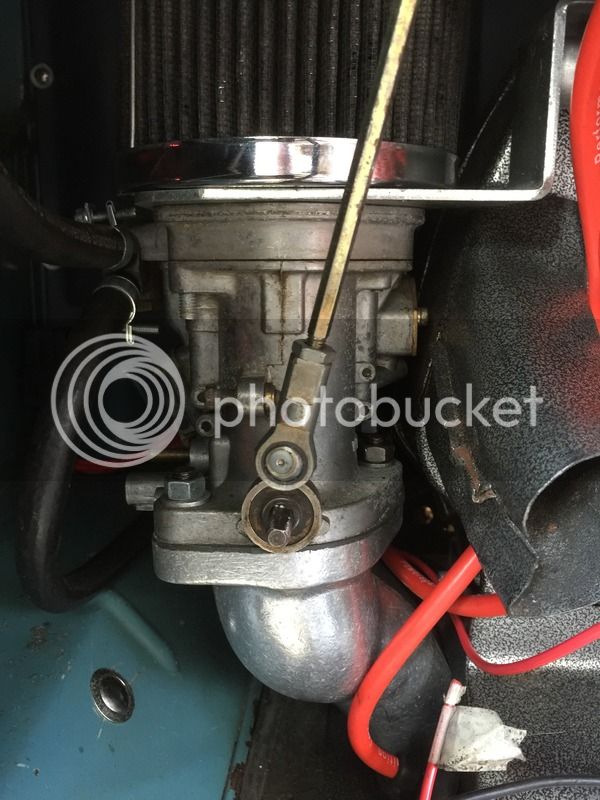
Had to drop a bloody carb off just to get the 'nipple' on to spark plug so the lead would fit.
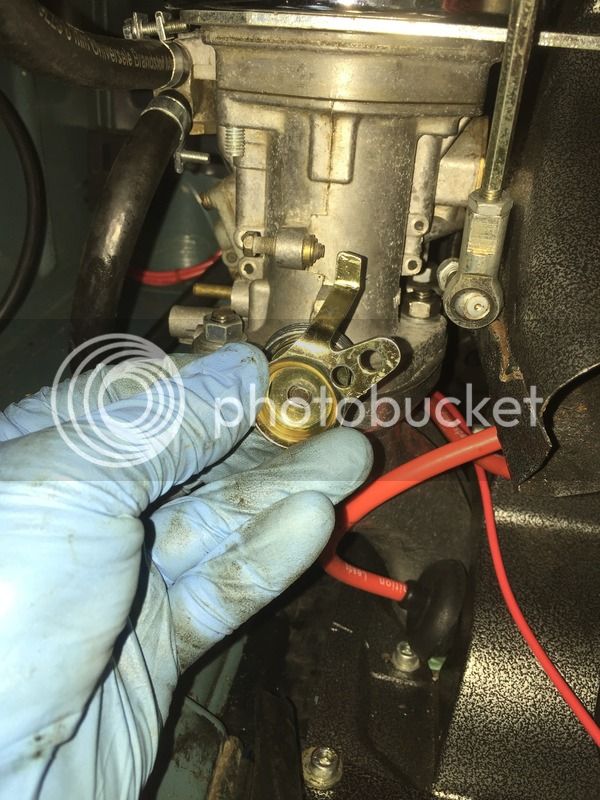
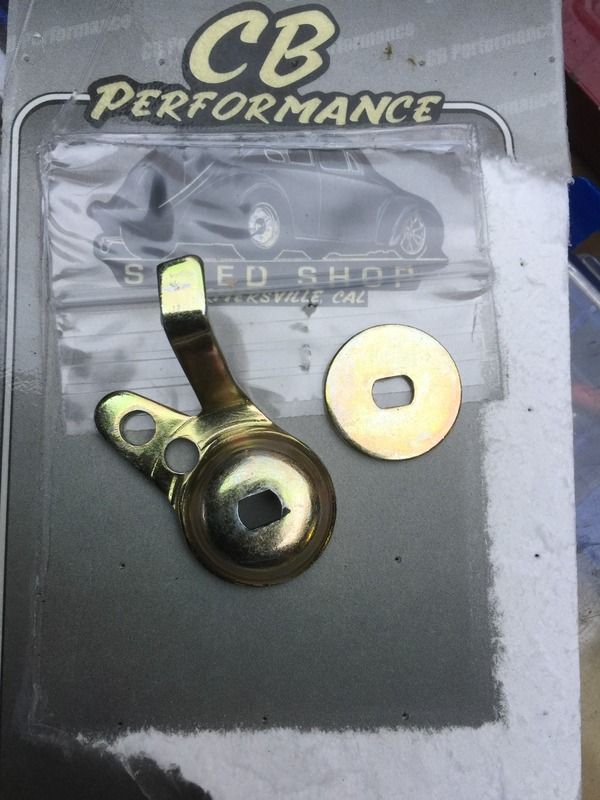
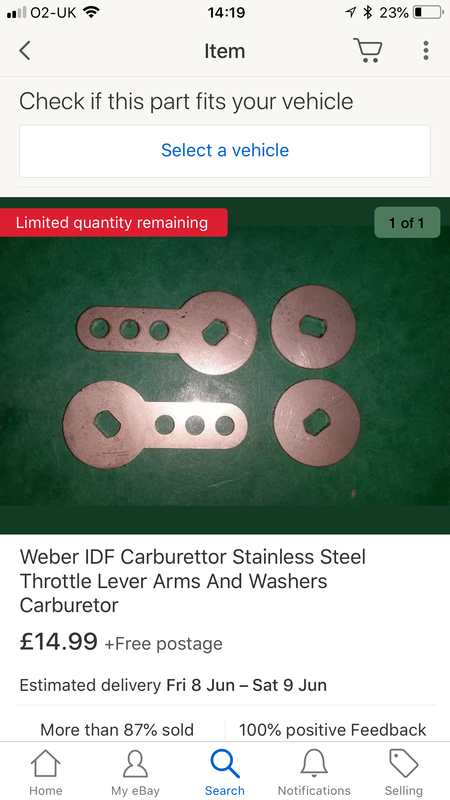
Then off came the throttle arm to put on the left hand conversion kit from CB performance, only to find whilst the washers fit the actual throttle arm didn't.


I'll be on the phone to Eurocarb tomorrow to get a replacement. £36 and it's a load of pony!

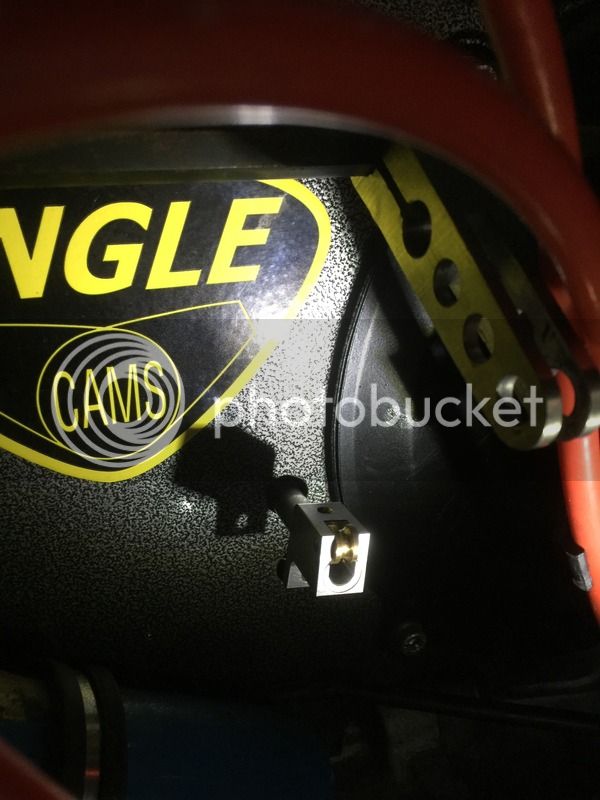
To cheer myself up I thought I'd put in my swanky little throttle cable guide.
Only to find that it won't go all the way through the flaming tinware. I'm going to see if having a mate assist is worth trying, if I lie under the van and get someone to feed it through I'm hoping I can sort.


If anyone is able to tell me the length, inner dia and outer dia of a stock cable guide it would be much appreciated. I can't find my old one........ I'm looking to see if I can get a mate to pop it on a lathe and turn it down a mm or so.......see if it helps.
 
I've had another look (albeit briefly) at the throttle guide and I think it clashing with the front tinware.
I plan to have a look underneath and get someone to give it a wiggle and feed it through.
Updates to follow.
 
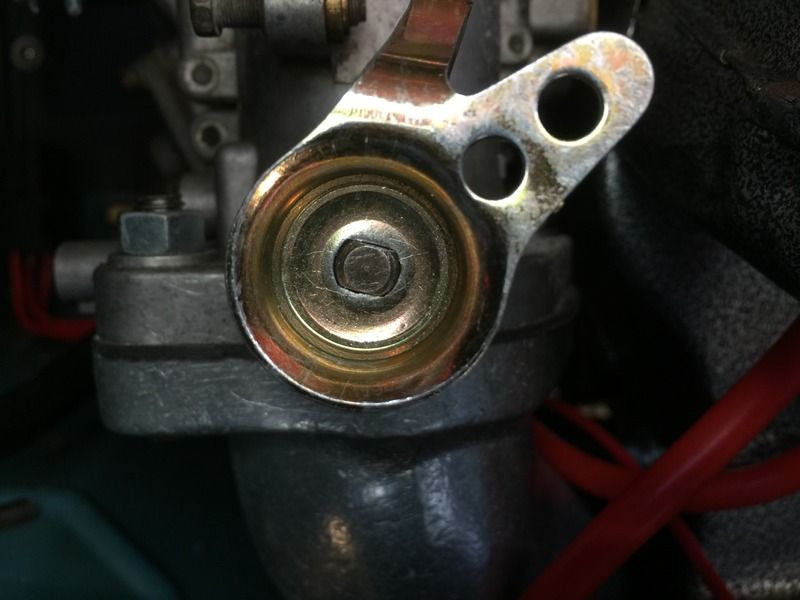
After a lot of filing and fettling I managed to get the CB Performance left hand conversion kit on to my carb.


Got it on there and realised something was amiss. They were opening at different rates. Turns out that I am still running the Alfa linkage. So one opens much faster and further than the other. So, it's off with the arms, and on the hunt, urgently for a pair of IDF throttle arms.
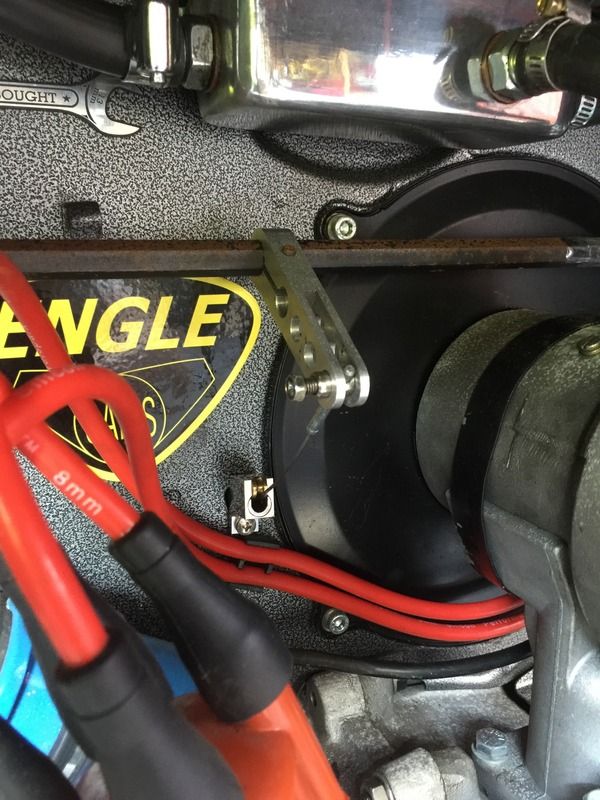
Hoping this kit sorts out the problem.


Here's what we have at the moment.


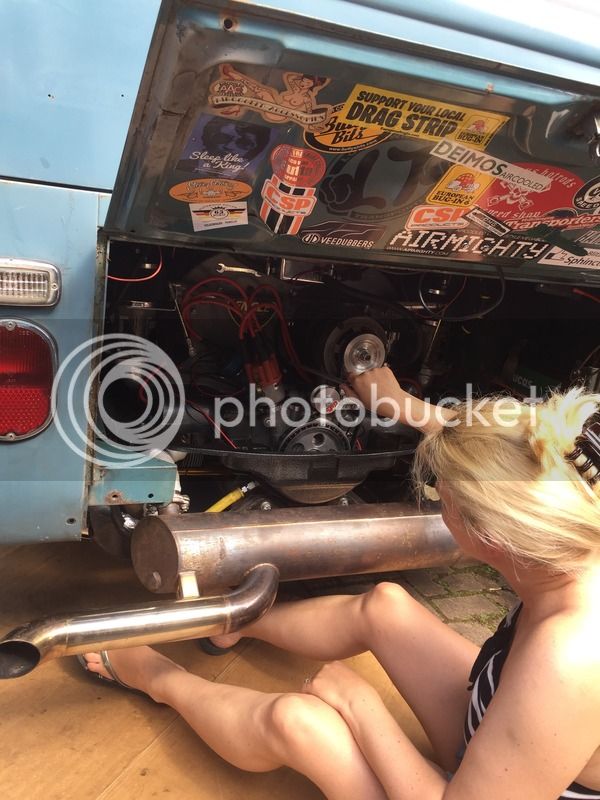
Mrs Scoops was called in to help with the installation of the throttle cable guide.


And we nailed it!


Just need to find the fasteners to refit the rear valance. Need to tidy the wiring up and get it running now!
 
Cheers Dude
Hope they do.
Struggling to find the captive nuts and bolts/screws for the rear valance though.
 
No new pics as there isn't much to see visually.
But.......the rear valance is in place again, held in with four screws, need to buy some more.
The offside heat exchanger cable is connected up too. The new throttle arms are fitted.

What's left? Connect the near side heat exchanger cable up, connect the worry gauges loom to the senders, connect the alternator and coil and tidy up the wiring.
Get it down off the axle stands. Spin it for oil pressure then fire her up!

All being well I'll be driving to Bristol Volksfest in it on Friday afternoon!
 
So she runs, kind of!
I got the other exchanger control cable connected up, got her down off the stands and she's stood on all four wheels again.

After working out the position of Number 1 (180 degrees out as the blooming timing gear turned as I dropped it in to the case, lesson learned there is to install the timing gear BEFORE the case is bolted up!).

Anyway, it starts on the button, BUT, doesn't like to rev up, it is bogging down and I think it getting hot, possible running lean.

I'll be on to Eurocarb early doors to get advise and to order a set of jets for the 36 IDF's. Not sure if I need new rose joints or completely replace the linkage. I ran out of time to take the jets out this evening.
It's a 1641, with an Engle 100, stock heads, twin 36 IDFs, Pertronix electronic ignition/dizzy, Bosch blue coil and a VS exhaust. Any advice on jetting is greatfully received.

The clutch needs adjusting as it's all new and the wiring needs tidying now I know it all works etc.

I'm hoping I can get it drivable by Thursday night, but I don't think it's likely........
 
At least you and the van are going in the right direction with the work you are doing :)
 

Latest posts

Top