'71 Moonraker "The Rustmaker"

Early Bay Forum

Help Support Early Bay Forum:

This site may earn a commission from merchant affiliate links, including eBay, Amazon, and others.
Great work! I’m on a similar restoration myself - on the driveway, weather here in the north rules out most days I can work on the van. YouTube idea sounds good if you can put it all together.

Ah same here. I have a tent garage so I can do prep work in there ok but can’t really weld in there which isn’t ideal!

I do have an episode almost ready to go but unfortunately haven’t really filmed much since. With the weather being a bit up and down (and the early darkness) I just haven’t found the time to get the camera gear out! I’ll try and get back on it when the weather improves, maybe I’ll just do it more updates rather then how to do things? I’ll see how the first one does when I post it :)
 
So here we are, a long awaited, much anticipated update on my beloved bus…

If you’ve read my previous posts you’ll know I’m very far behind on updates, I still am but thought I’d finally get round to posting another as I’m very bored in a premier inn (away with work)

This is the first update where I have taken over the project from Karl. He still comes over now and again to give me advice and see how I’m doing but it’s (mostly) me from here on out.

the following repairs were the first I tackled all on my own. I admit some mistakes have been made, looking back even now, I’d do things maybe a little differently but I promise the quality of my welding and finishing does improve 😂

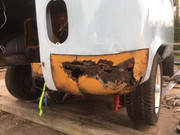
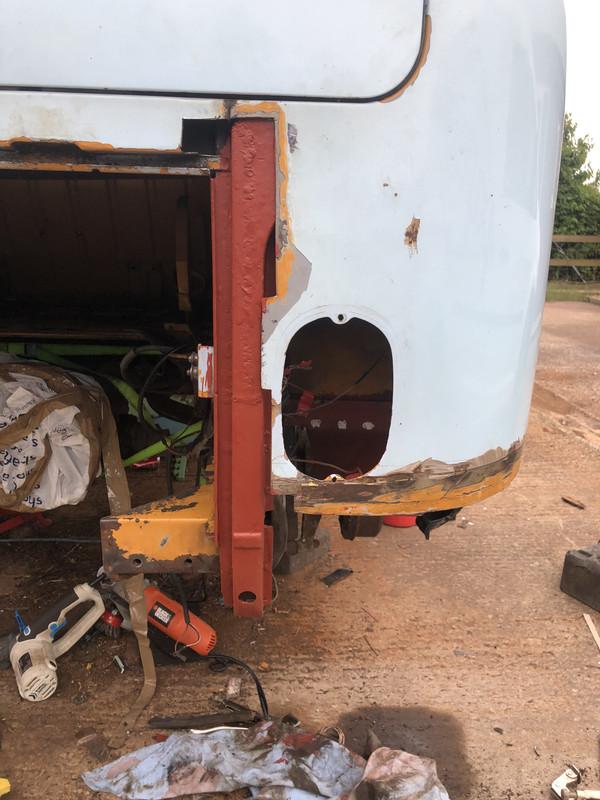
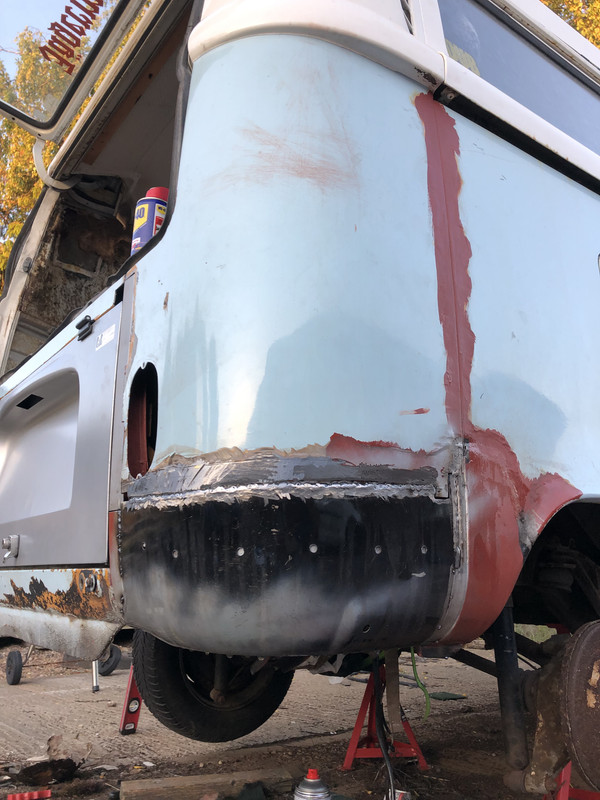
first things first, here is what was left of the rear corner after a previous “repair”. I discovered that it was a panel, brazed on top of a panel and filled over. I mean come on?!

35-AD8-E7-C-EC27-434-C-9-C70-9031-AC21-A38-B.jpg


So it all had to go

1367-A663-CFCF-4265-AC12-B5363427-AA2-A.jpg


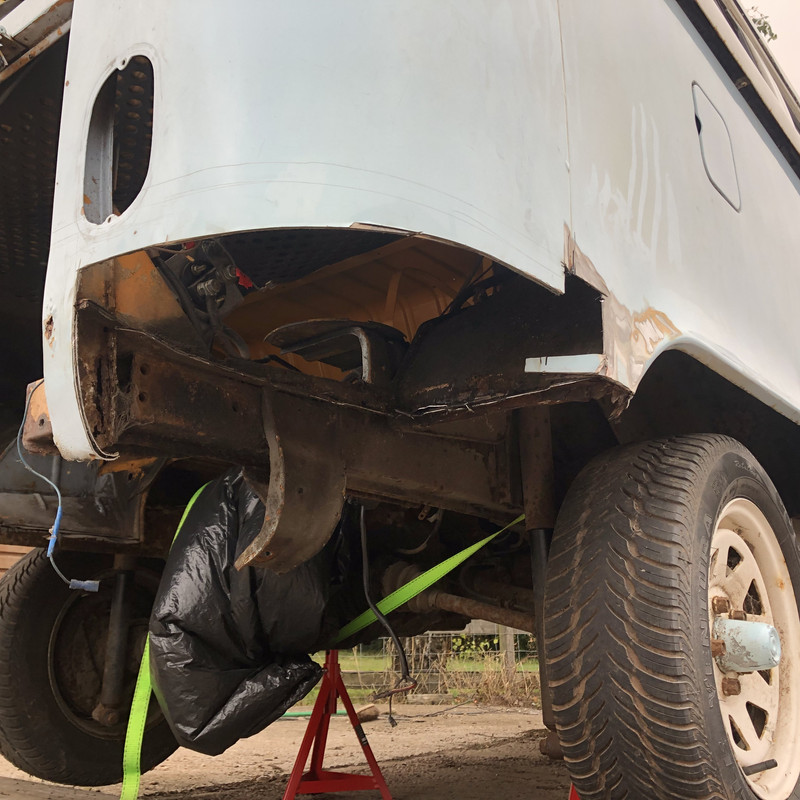
First bits I tackled were the rear arch closing panel and the back side of the rear arch, I’m not 100% sure I won’t need to change the whole rear arch as I have since discovered a few bits that need attention on the bottom part of the roll, however being a 71 with the one year only arches, I’ll cross that bridge later on in the project. I think I’ll be able to come up with something. In terms of the rear arch panel, it does look a bit cooky in the photo but it is better in real life, I just need to trim the return a tad…

47-F57-EEB-3693-4837-B4-DD-F3-EBFC14-DDF8.jpg

B2-E07-A5-C-6-D07-4593-A752-74-D45-AEF5-F95.jpg


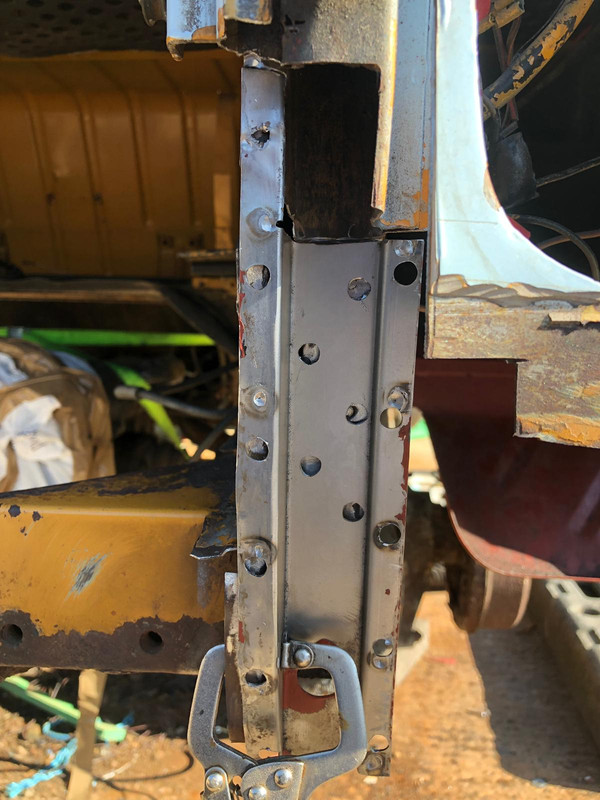
First step on the D pillar was clop it in half so I could properly weld it to the back part, then weld the front bit back on. Only technical terms here haha!

PHOTO-2020-04-25-16-32-59.jpg

9-AF16-C22-5-EF3-41-E8-8-F4-C-BDADB0115115.jpg


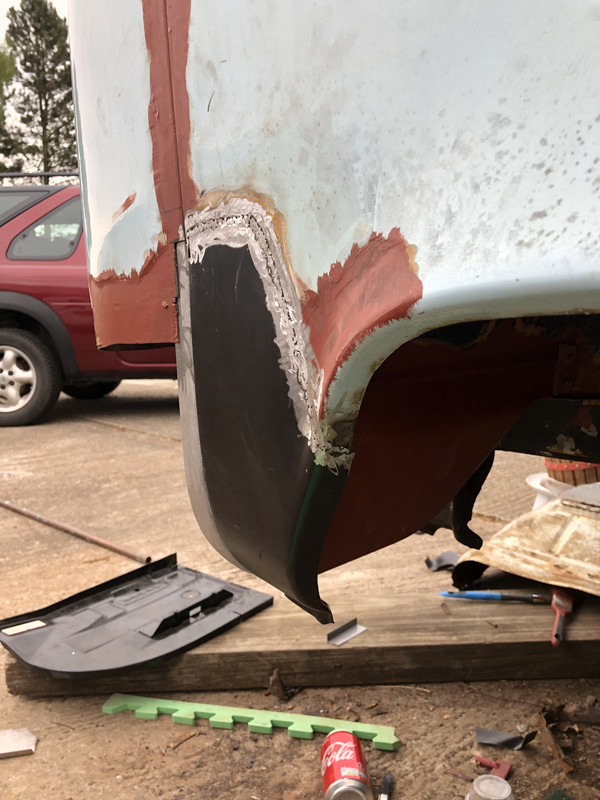
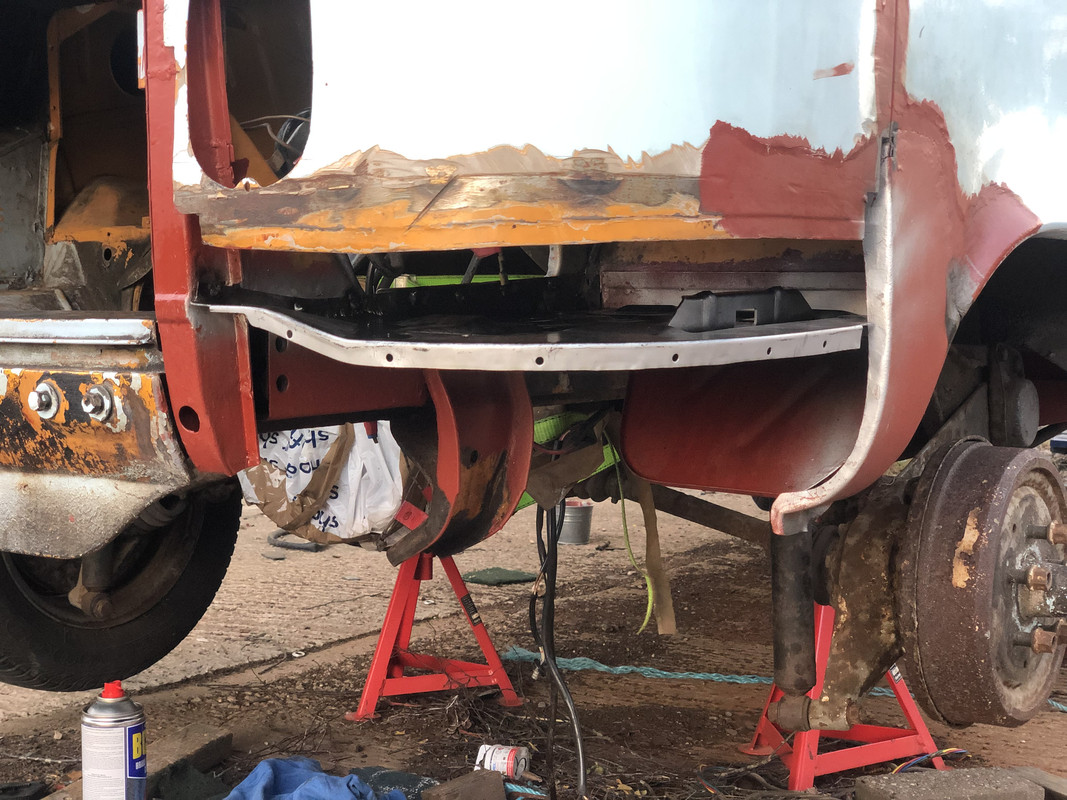
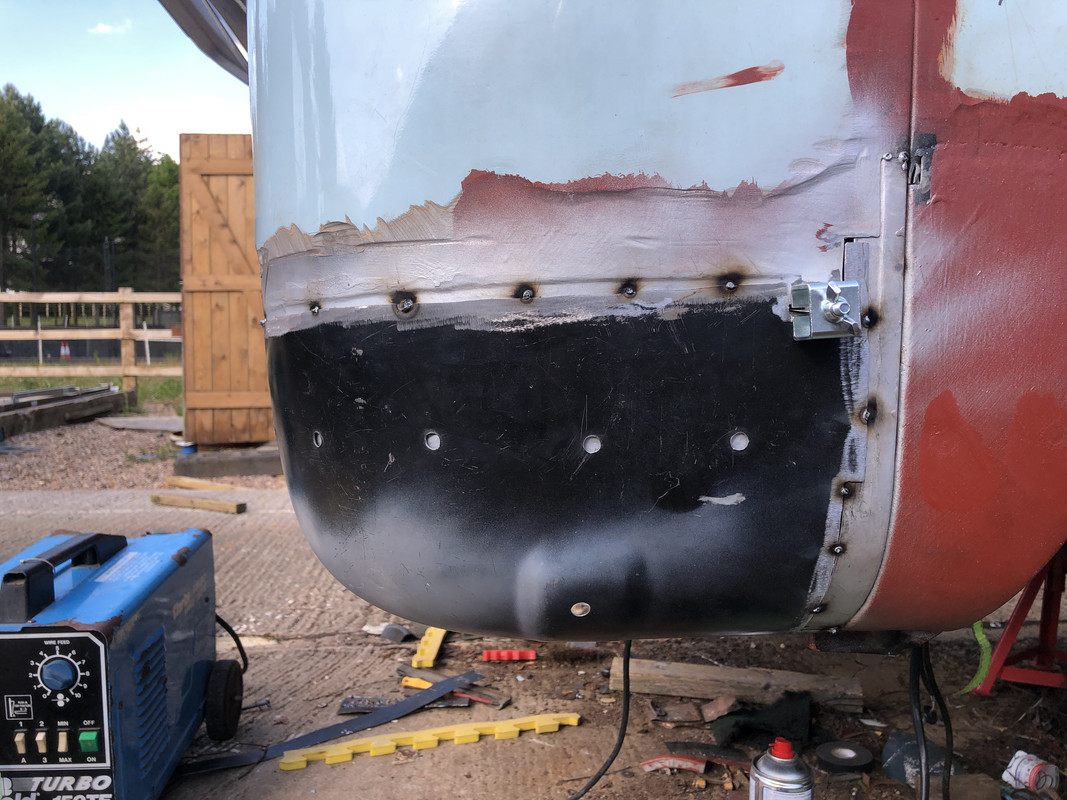
Finally time to get the battery tray and rear corner in! This bit was a bit fiddly as you’ll see in the photos. I’ll just describe what’s going on here rather than little bits of text between each photo. So we have the corner without the return, the just Kampers return for the bit against the rear arch, a section I made myself that extends up (and is a strange shape, I still have a lot to learn) And finally a section of early wheel arch I accidentally bought but that perfectly matches the curve of the rear corner. Enjoy 😂

06B7C8CF-4072-41BF-9C6F-E91579105DFF.jpg


CFE8E99D-4636-41BC-ABF5-88A9EE537AA7.jpg

AE6092B8-1663-4515-8233-5374F6009400.jpg
BBA9BDEF-3A00-4AEB-81FB-F3E02F4C7F3E.jpg

0-CC680-B1-47-A0-431-E-8779-FA6-B29-EB8-EA4.jpg


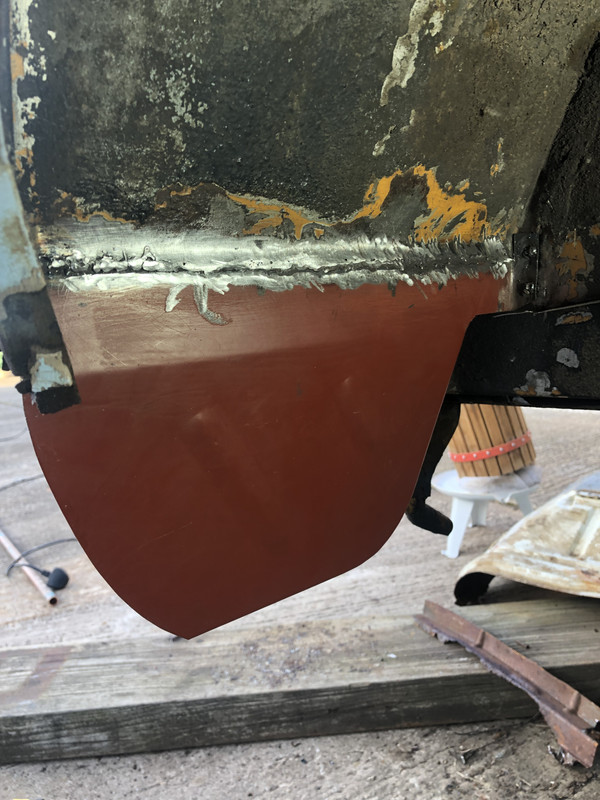
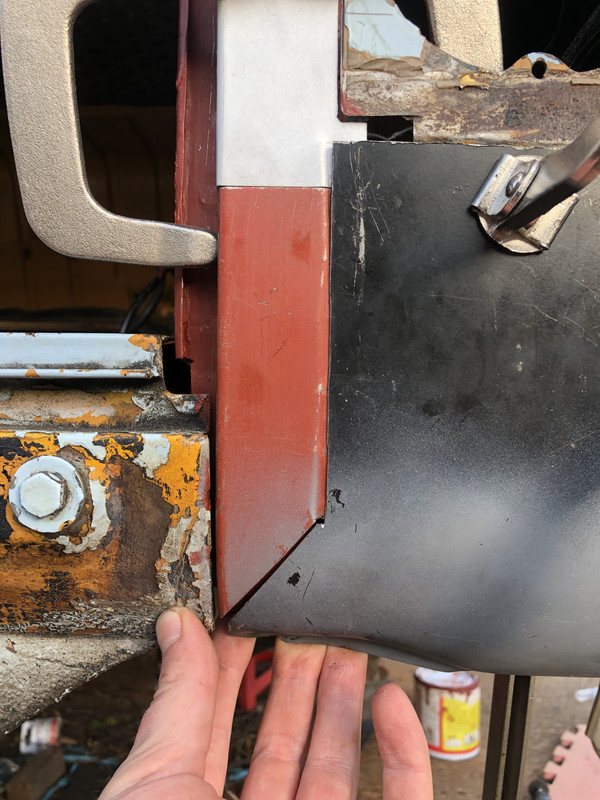
I did finish this repair, but for some reason I didn’t get any decent photos of it complete so I’m afraid this dodgy one will have to do..

13561-B06-E0-C6-4201-97-D8-956041178661.jpg


I’ll grab a better photo tomorrow when I’m back from work to show the final article up close.

Considering this was the first real chunk I took on myself, I’d give myself a mediocre 6-7/10 for this one. I think I could have simplified a few bits, and also removed the transport primer before I put it all in (I’m dealing with this as an ongoing pain in the arse job) but overall with a little filler it’s a lot better than it was!

I have a few more updates ready to go so I’ll try and do those maybe next week so I can start posting up to date bits and bobs..
As promised, here is a better photo of the final repair on the rear corner.. better late than never!

DABB5084-0062-471E-92B2-BF150B9987C7.jpeg
 
With the YouTube idea firmly put to bed for now (too much edit work for my actual job, plus filming inside the tent garage is hell!) I thought I’d just pop an update here anyway as I have plenty to catch up on.

For this journey, we’re diving into the wonderful world of rear window panels and their delightful rust collection abilities.

Just look at the absolute state of that!

E6EFB02C-2046-4872-886F-7E661F423A69.jpeg

Only one thing for it, chop it out!

4F06ADCB-990A-4AD6-B3C9-8D4C5D0DAEA9.jpeg

With that out the way, it was time to prepare the new panel (don’t worry, I did chop more out than this I just didn’t take enough photos!

Some people may say I overcomplicated the shape of this panel, but I figured if I can keep at least some of the original part in place it will help keep the inner and the outer in the right place (plus less spots to drill haha)

7079436C-9695-4A7E-8130-00F6F1BCA96D.jpeg

524817B9-0067-4CC8-BCEA-7FBDD1819307.jpeg1195CFF6-E5E5-417B-8505-DF9FB6D3B624.jpeg

With the seatbelt mount firmly back in place, the only thing left was to button it up all nice!

C53FEE6F-08A3-4ED5-8F20-C6146986F74E.jpeg69BCF482-5216-4146-B560-A8D3C82A54D2.jpeg

I’m not going to bother cleaning up the welds too much under there as it will be covered anyway and anyone poking around under there can just admire the funny shaped panel haha

With that all done, I welded on the two little tabs and trial fit the cover, should do the job! The clip may be a touch low but I can live with that! Much better than being too high!

There’s also a little bit of heat distortion (oil canning) underneath now, I’m sure I can get that sorted with the help of an expert, one step at a time!

CA7C0FBE-1B12-43B8-95F9-CD7293F1CD96.jpeg
 

Attachments

  • 8BE0BC1D-3CED-4A64-9D0F-B2265BCABFEF.jpeg
    8BE0BC1D-3CED-4A64-9D0F-B2265BCABFEF.jpeg
    342 KB · Views: 0
Top