Htotheunit
Well-known member
Hello everyone!
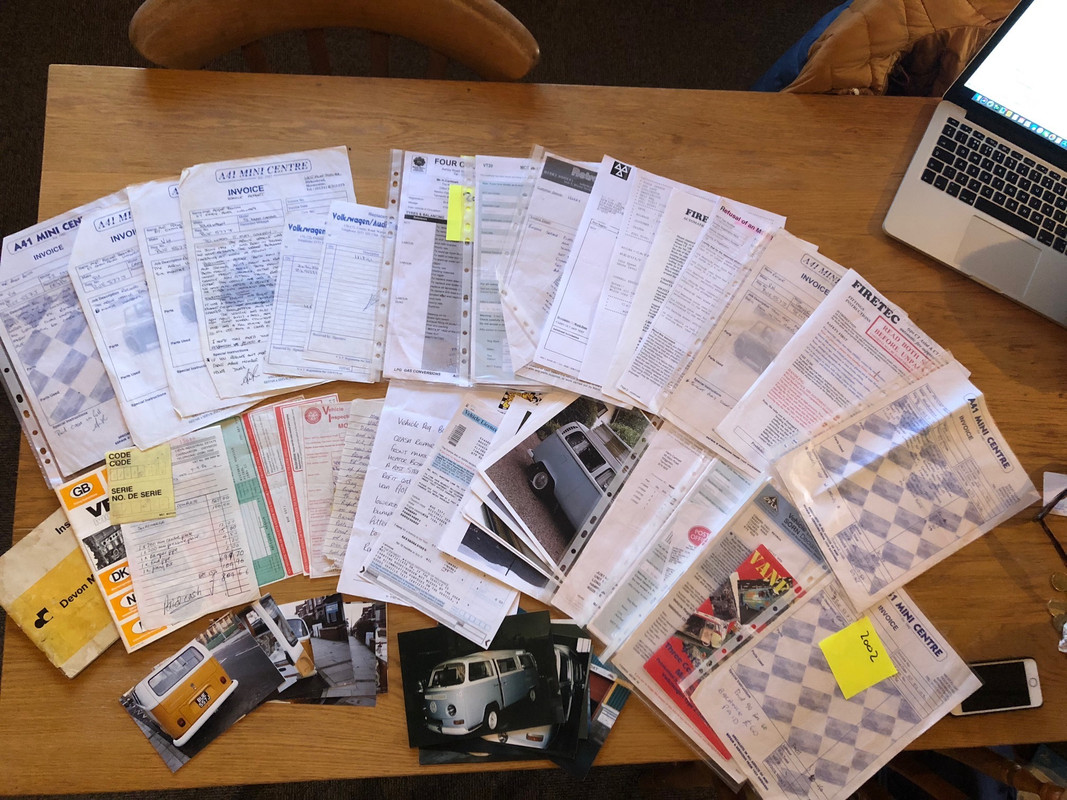
I’ll start off with a brief history of my van up until now. As you can see, I have a LOT of documentation from a receipts for chewing gum to full blown restoration details and pretty much anything in-between.
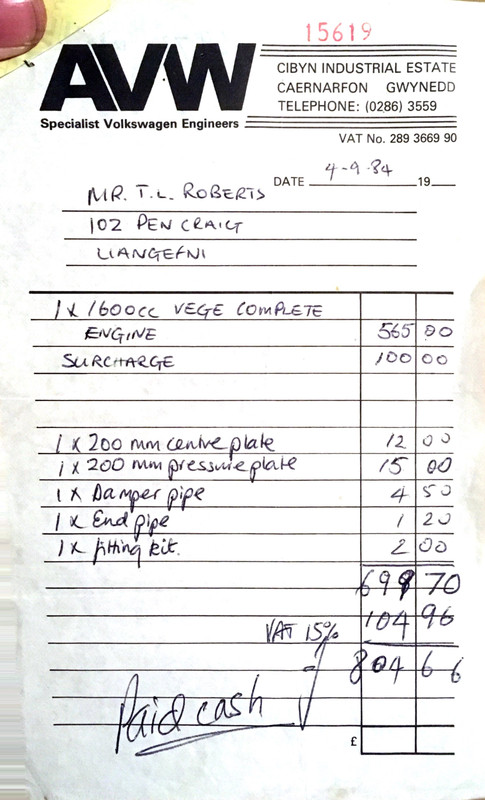
Born on Monday 12th October 1970 as a Sierra Yellow Microbus she was brought by a Mr Roberts from Llangefni, Wales. I don’t have much in the way of history from 1971 to 1984. However I do have a receipt for a new engine dated 1984 which went into storage with her.
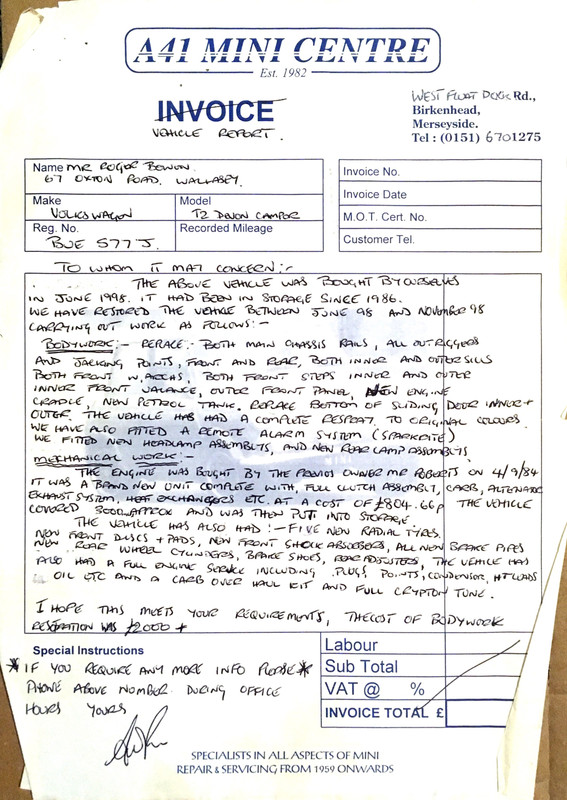
In 1986 she was stored somewhere (presumably) in Wales until 1998 when she was wheeled out from her nap and restored by the A41 Mini Centre in Birkinhead. According to a vehicle report written by the restorer, the bus had only covered 3,000 miles before it was stored, I presume that when the new motor was put in there in 1984 the clock was would back.. or maybe not who knows!
1998 Restoration work included:
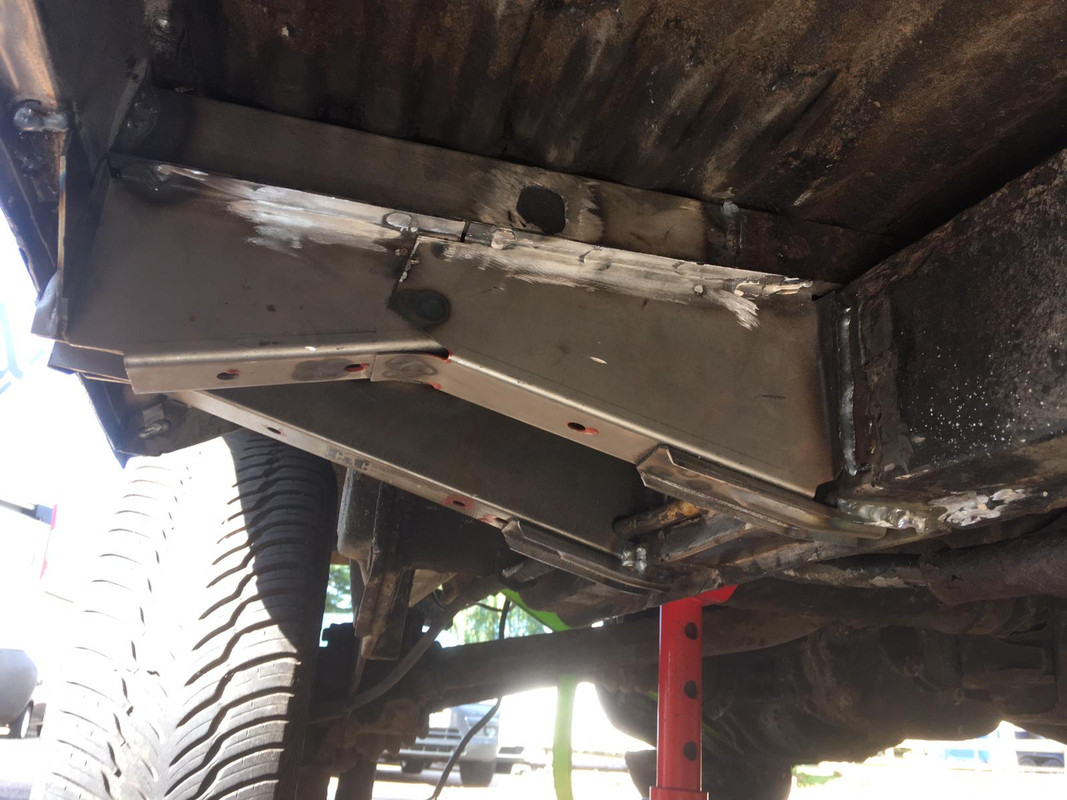
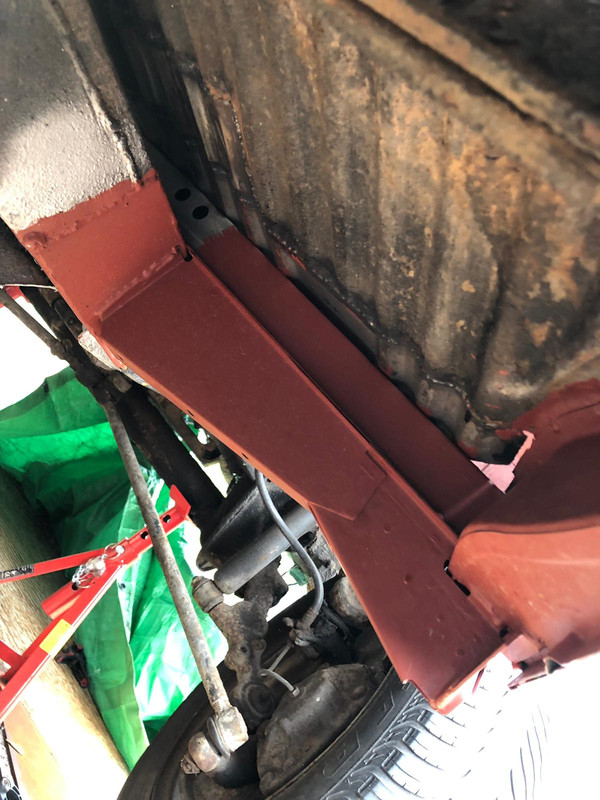
Replace both main chassis rails
All outriggers and jacking points
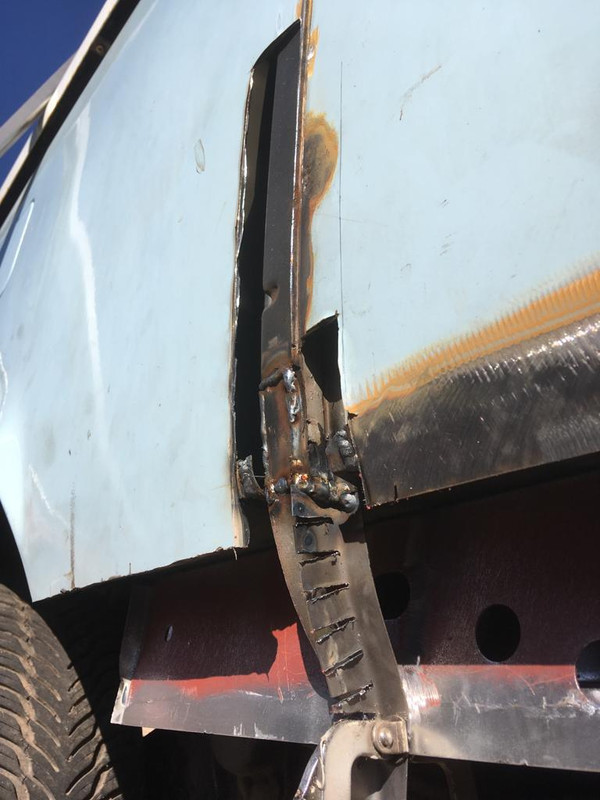
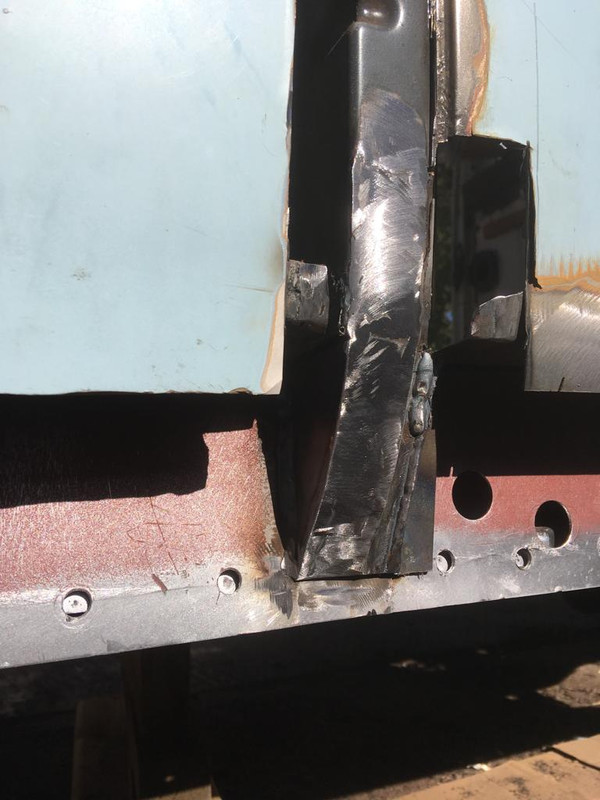
Both Inner and outer sills
Both Wheel Arches
Inner and outer front valance
Outer front panel
New engine brace
New Petrol Tank
Sliding door inner and outer (bottom)
Resprayed in original colours
Mechanical bits (the usual)
Anyway, more on some of these ‘repairs’ later :roll:
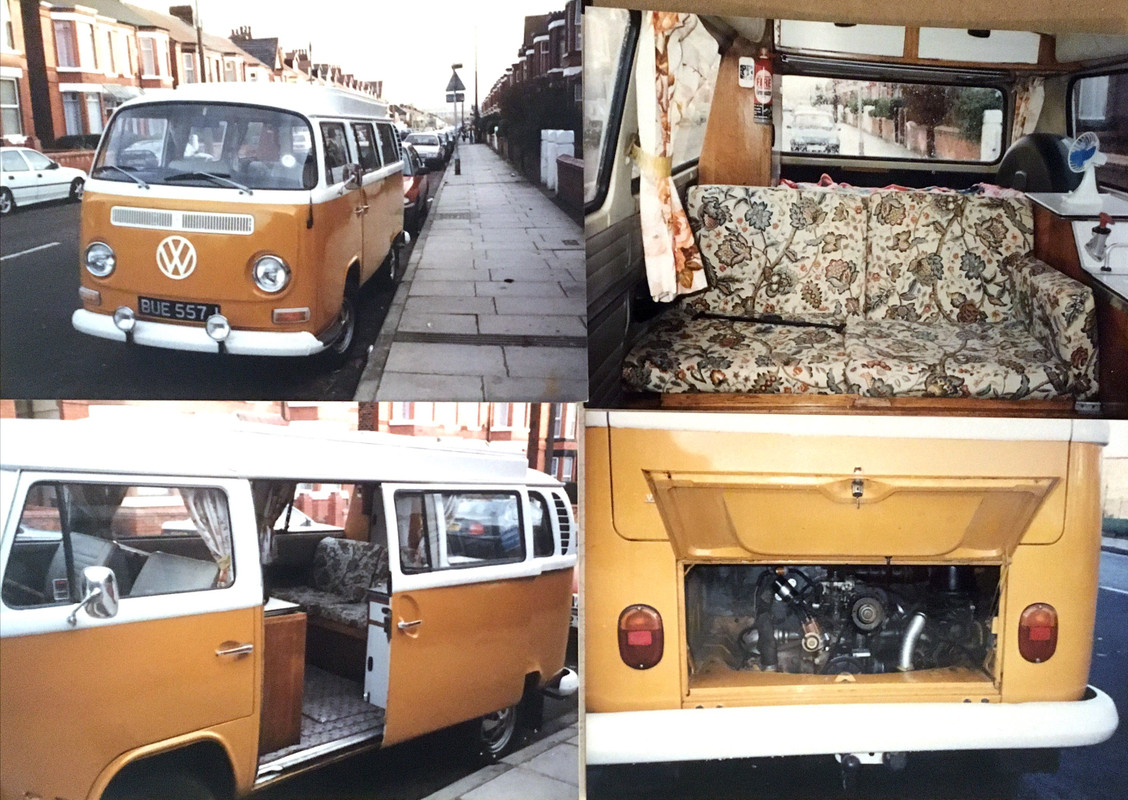
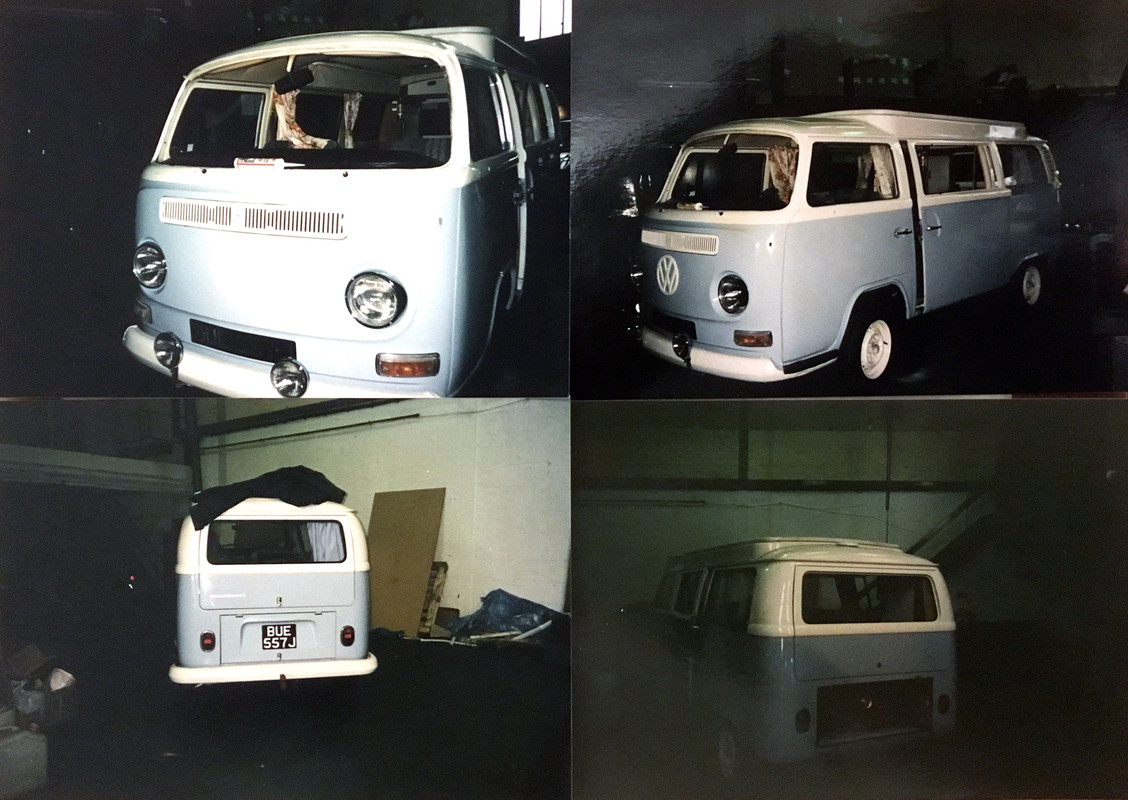
Here are some pics from 1998 post restoration (notice the no longer flat arches :x )
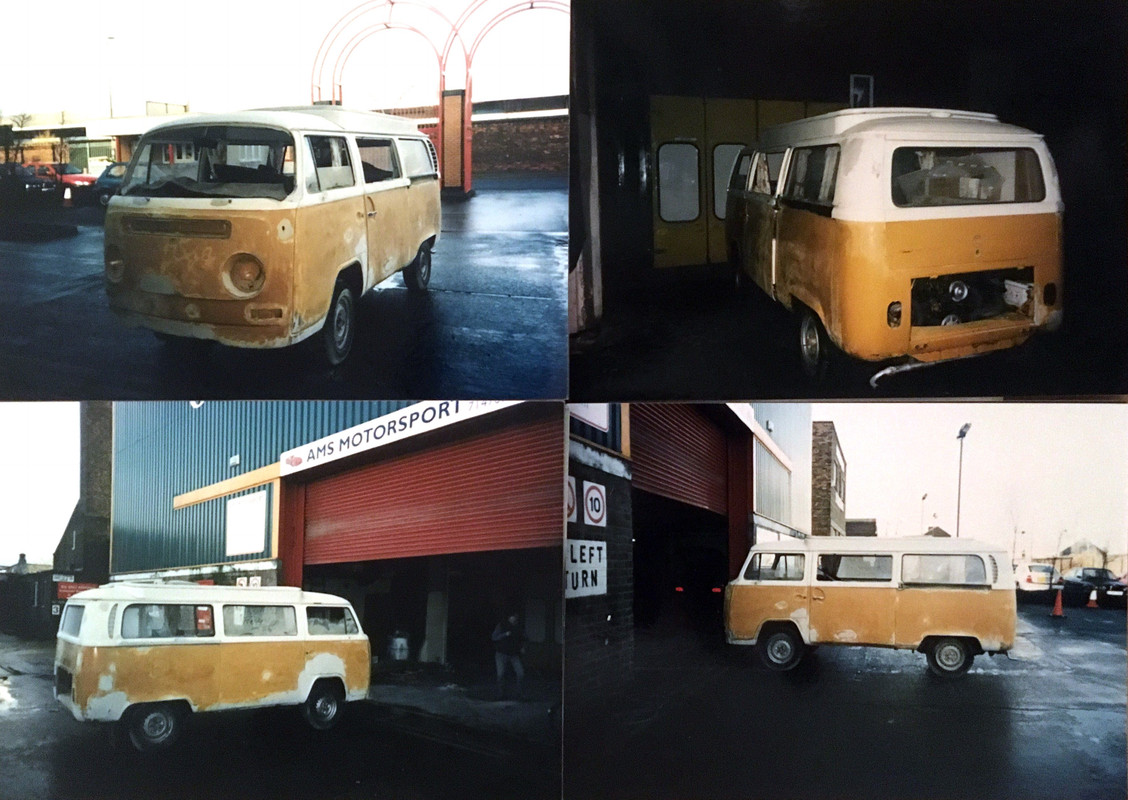
After restoration the bus was sold to a a bloke called Mr Brown of Wallasey on 17/12/98. He kept every invoice for every piece of work carried out between 98 and 2001 from services to rear corner repairs. She was resprayed in 2001 by a place called AMS Motorsport in North Wales before he sold it to a Mr Mayman, Tamworth with around 100,000 miles on the clock some time around 2002/2003.
Here are pictures of the respray (you can see some of the previous repairs/filler)
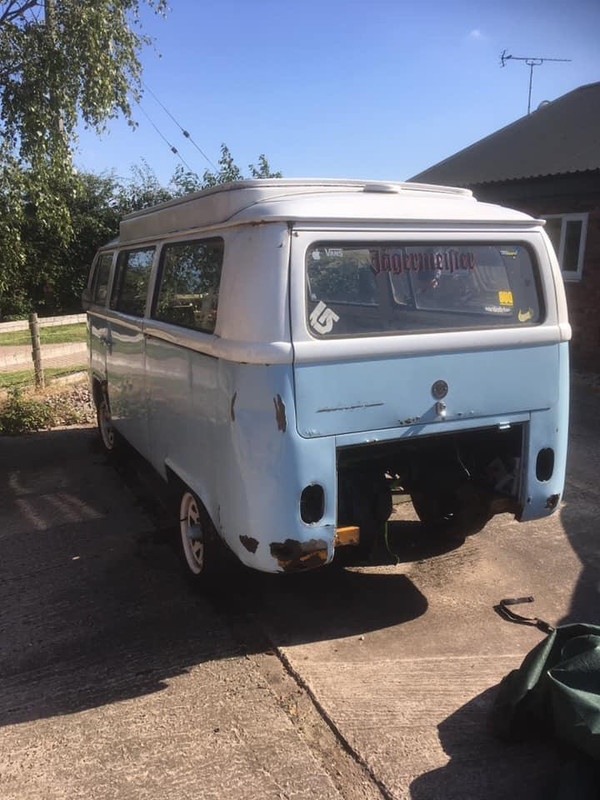
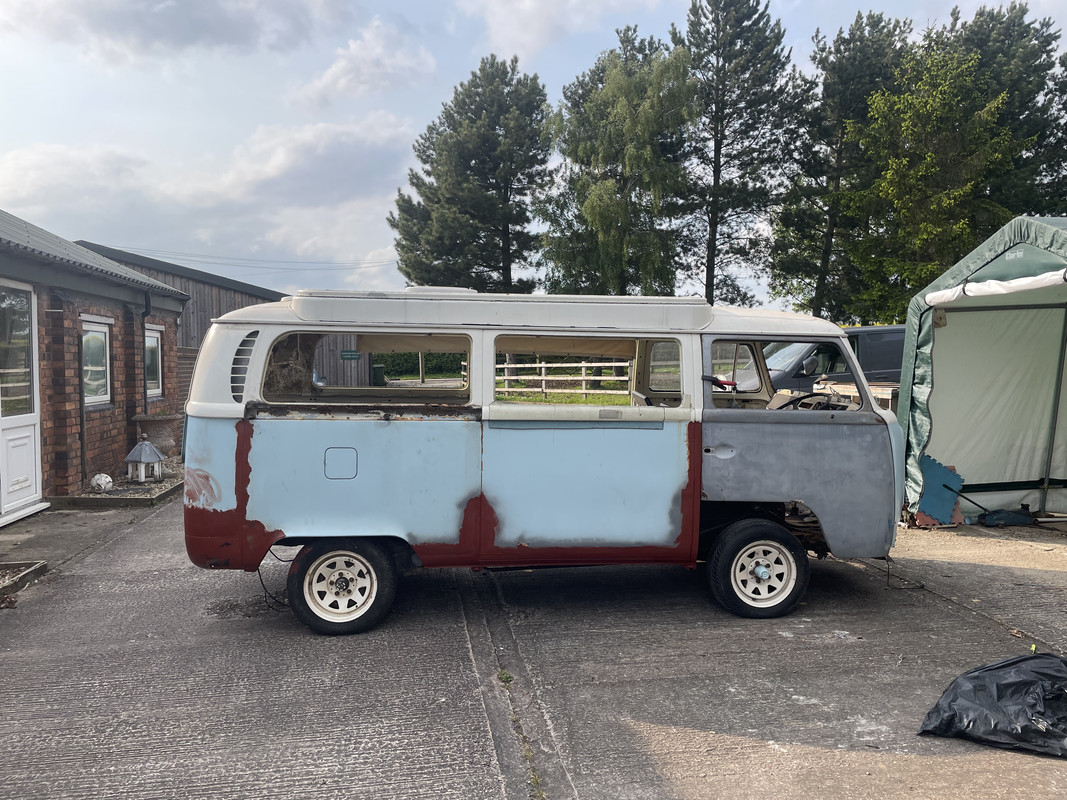
Fast forward to 2006 when I brought the van and used her as a daily driver until 2011. Since then she has been in and out of use, had a crash (sorry!) which required another front panel but since 2014 she has sat patiently waiting to go on another adventure.
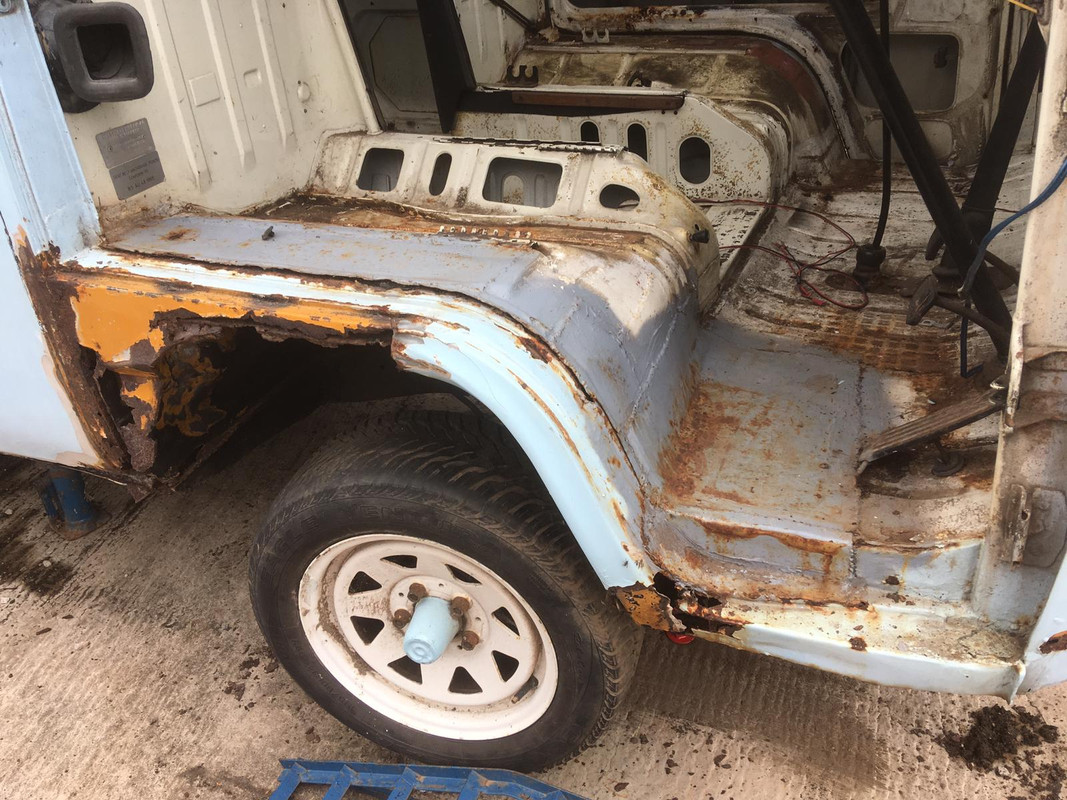
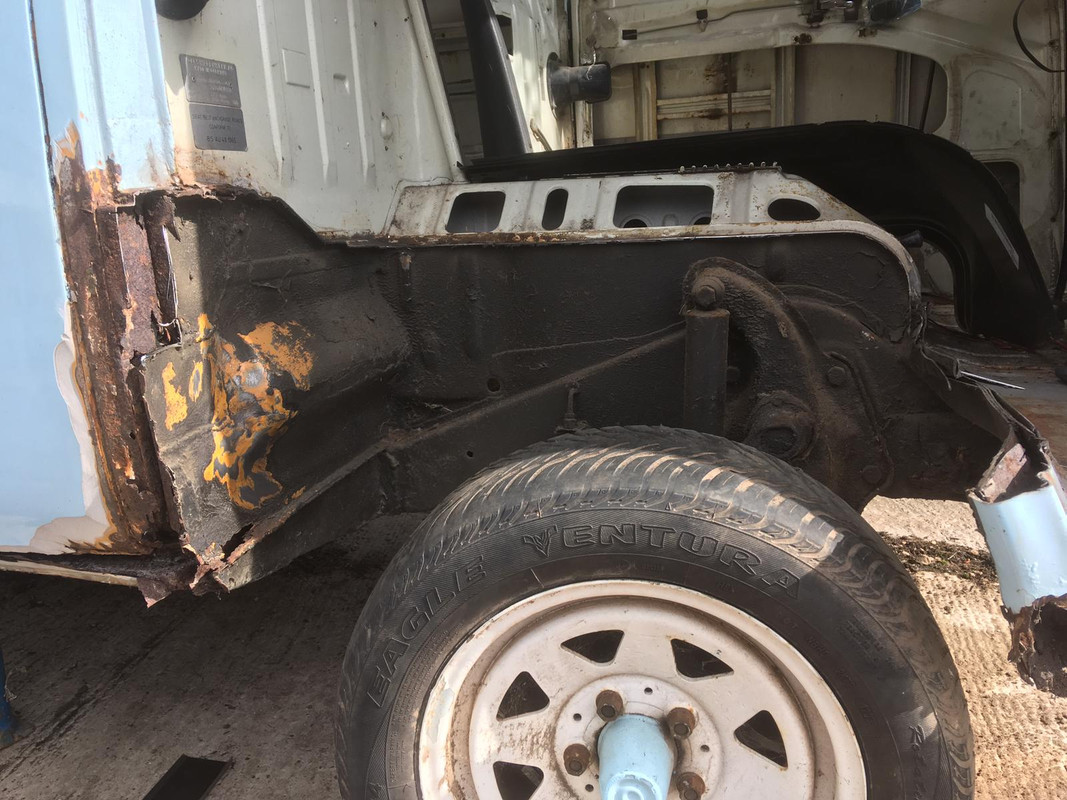
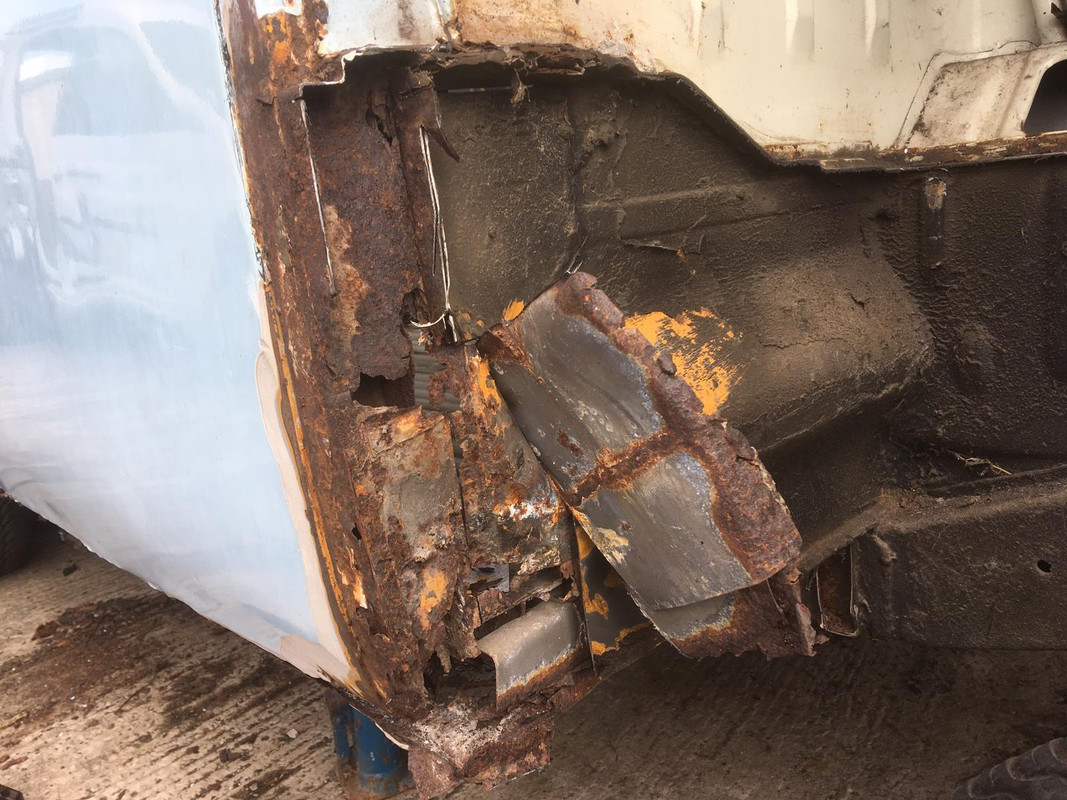
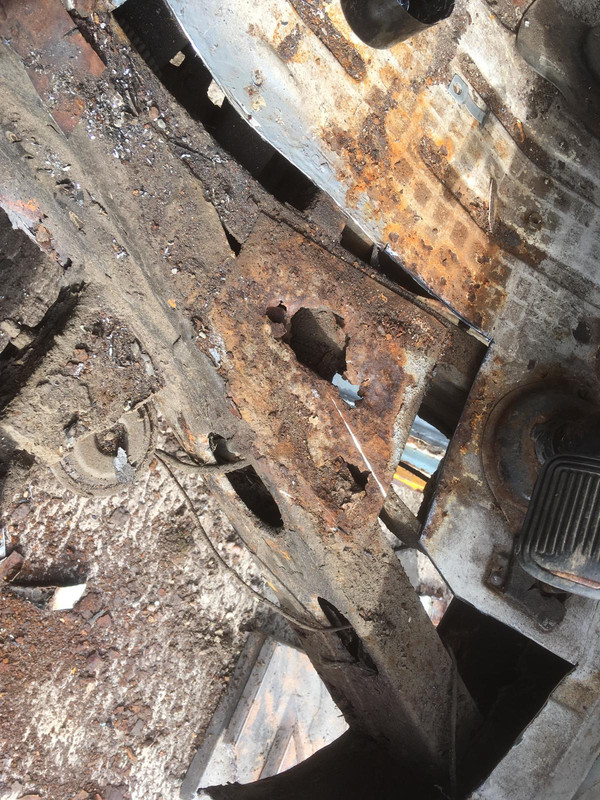
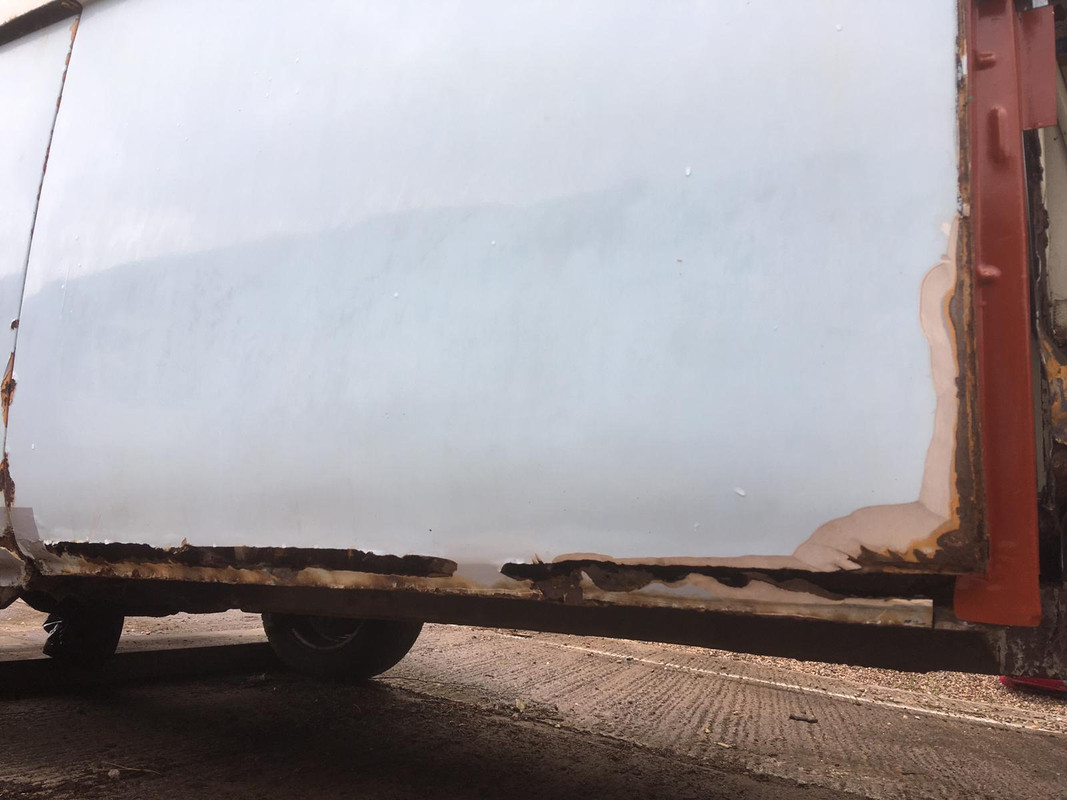
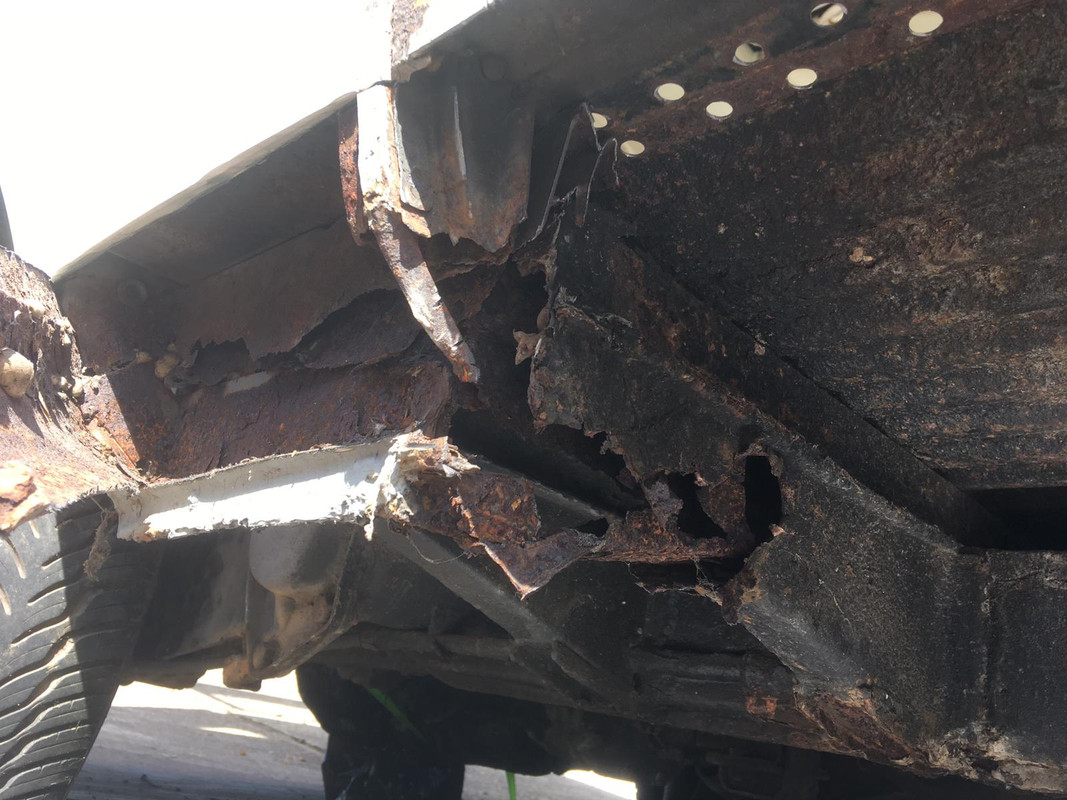
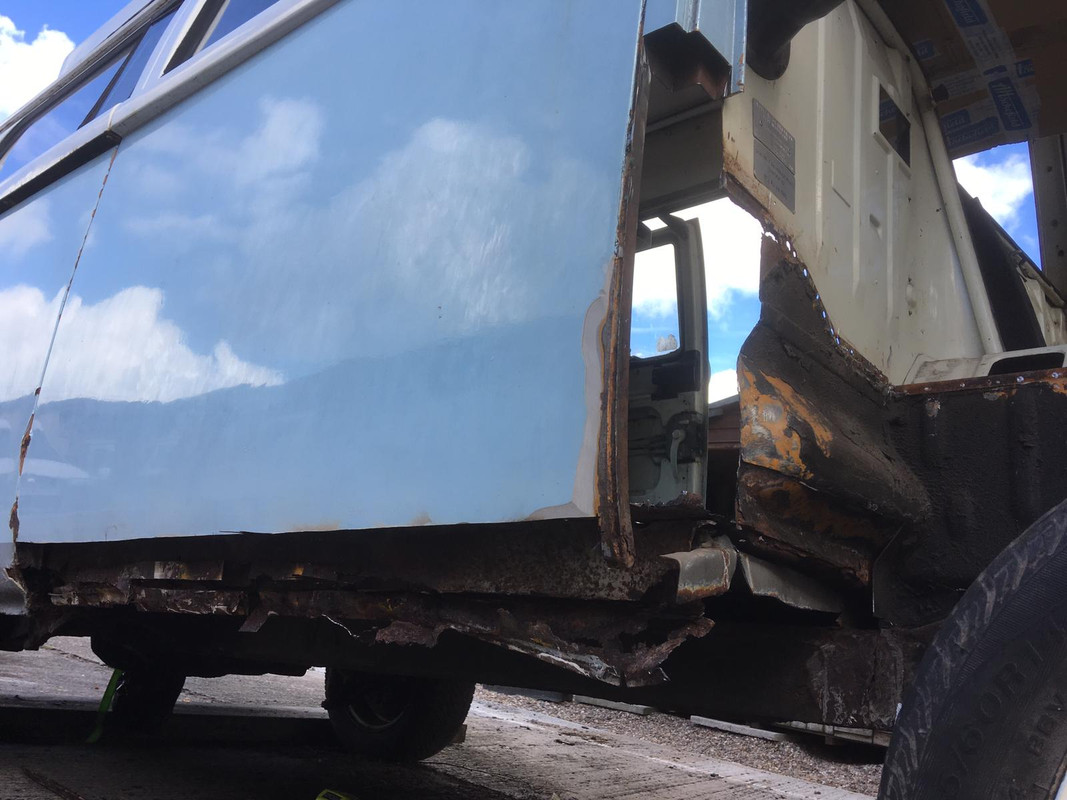
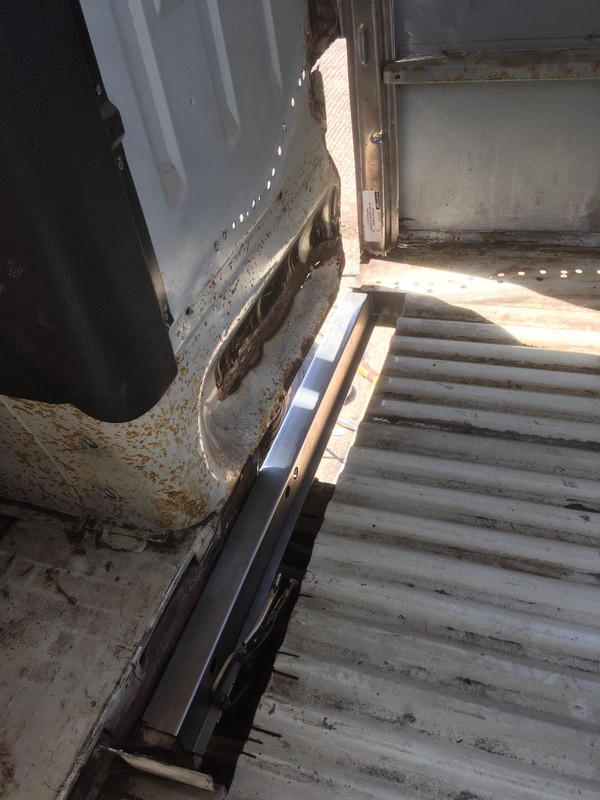
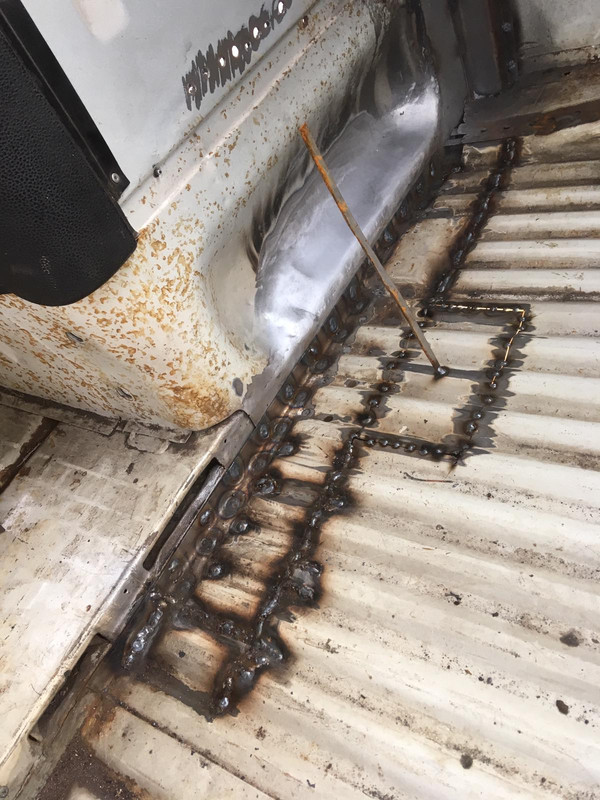
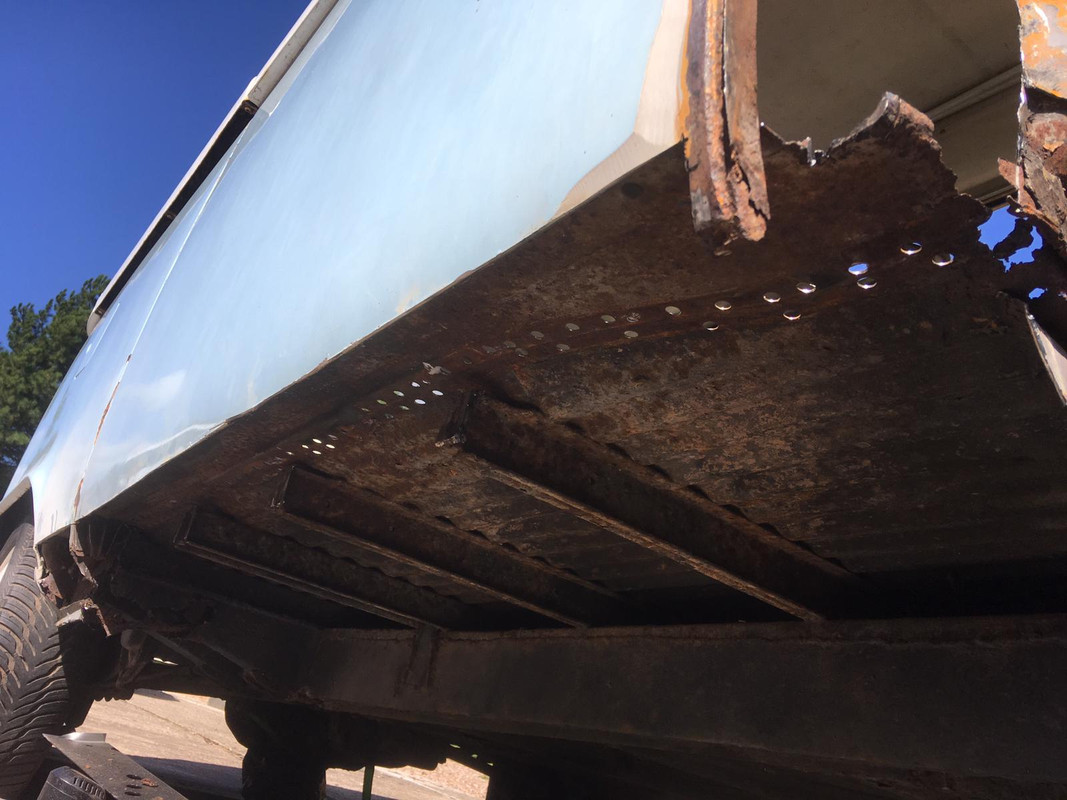
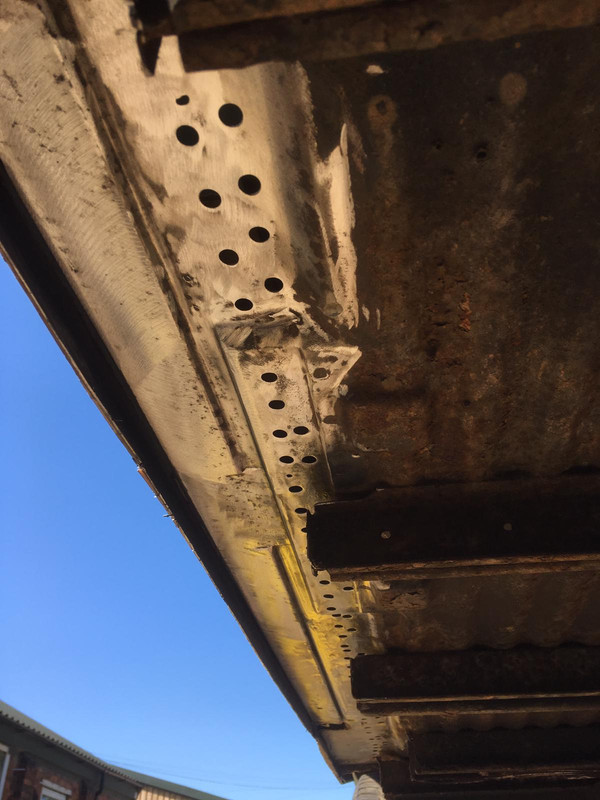
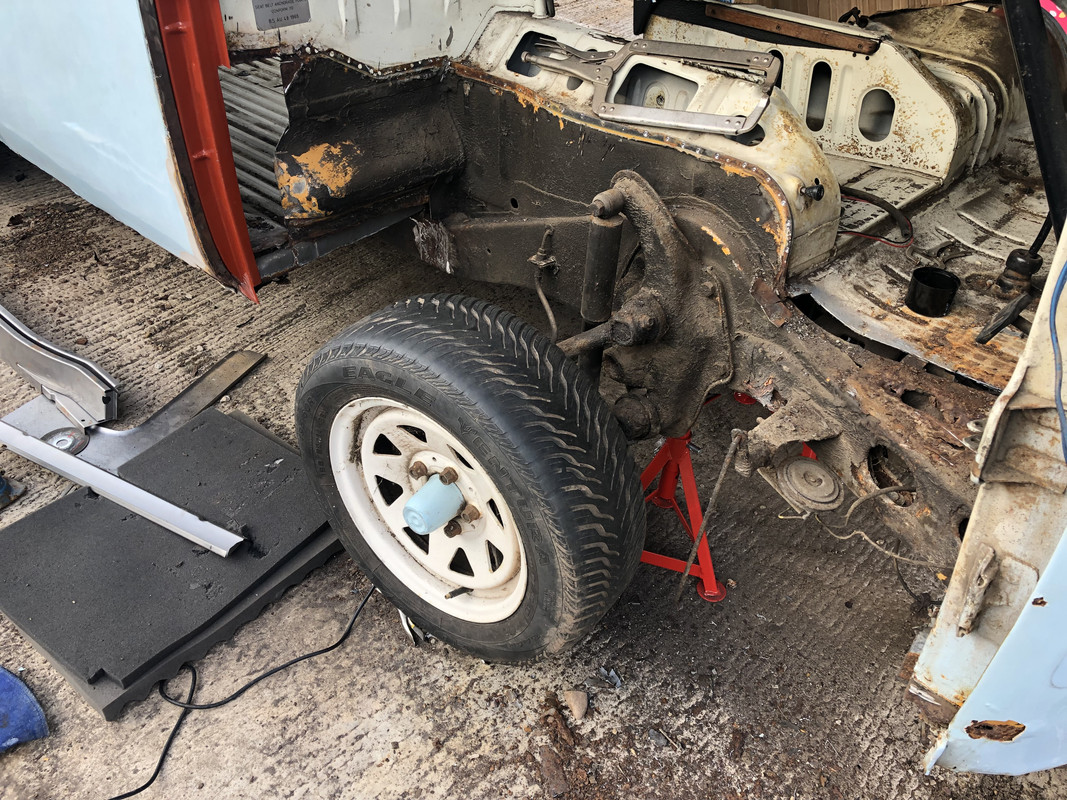
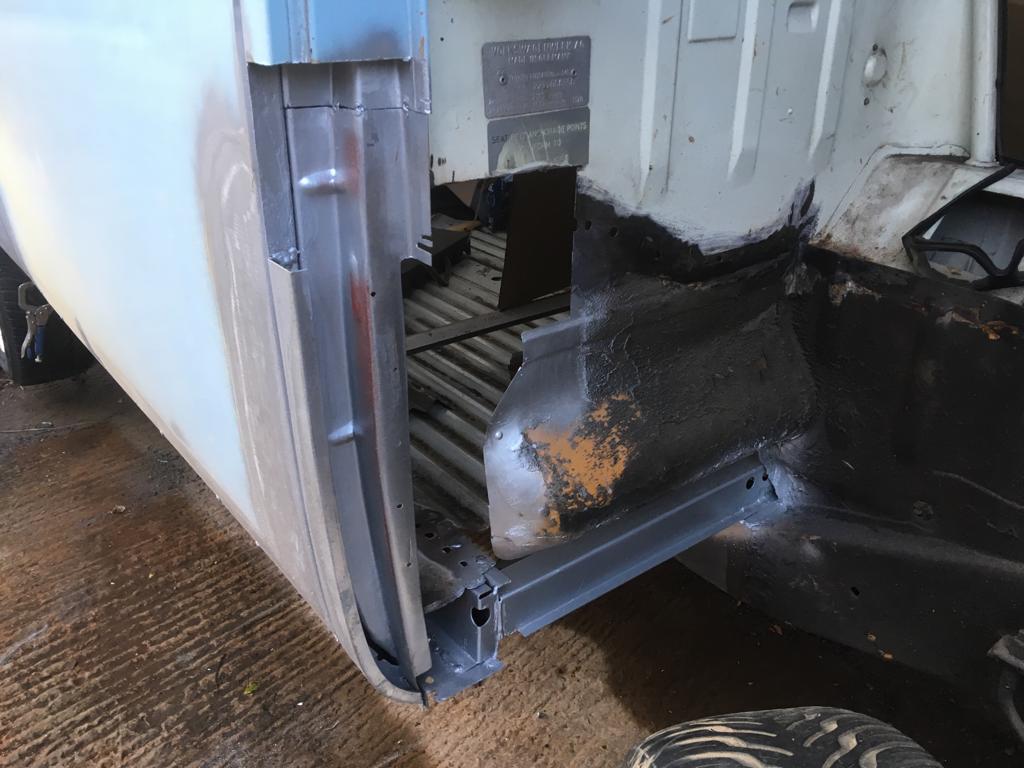
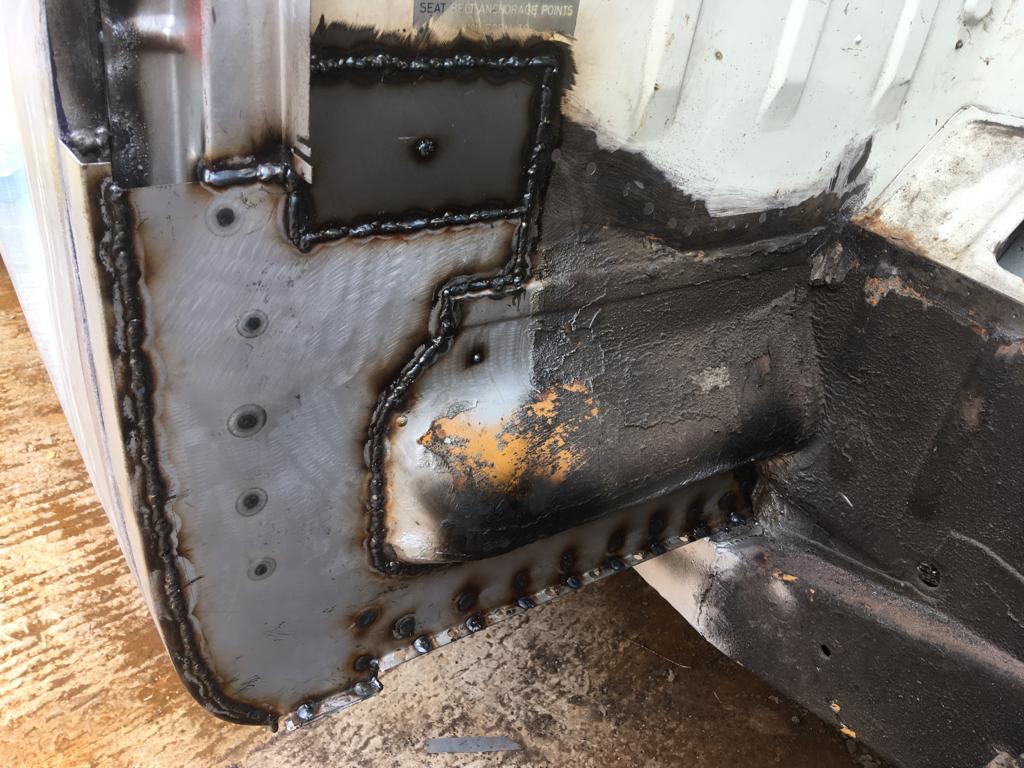
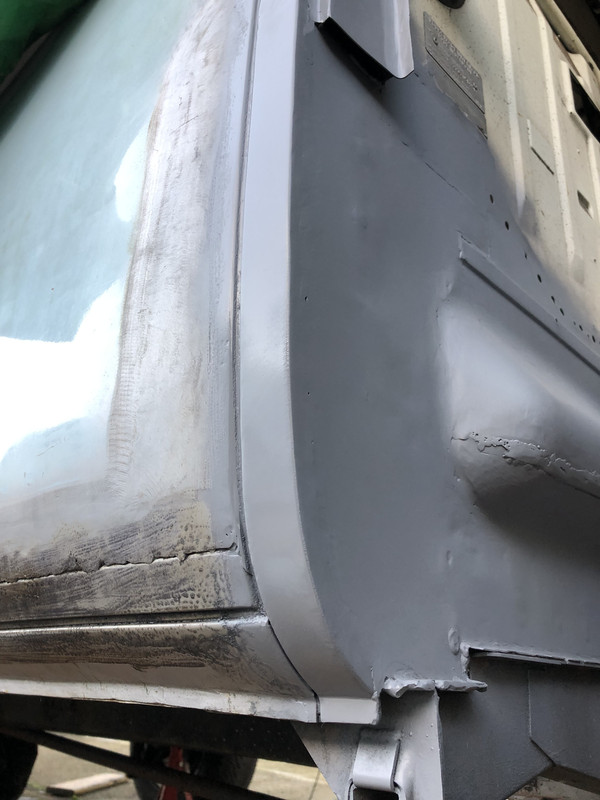
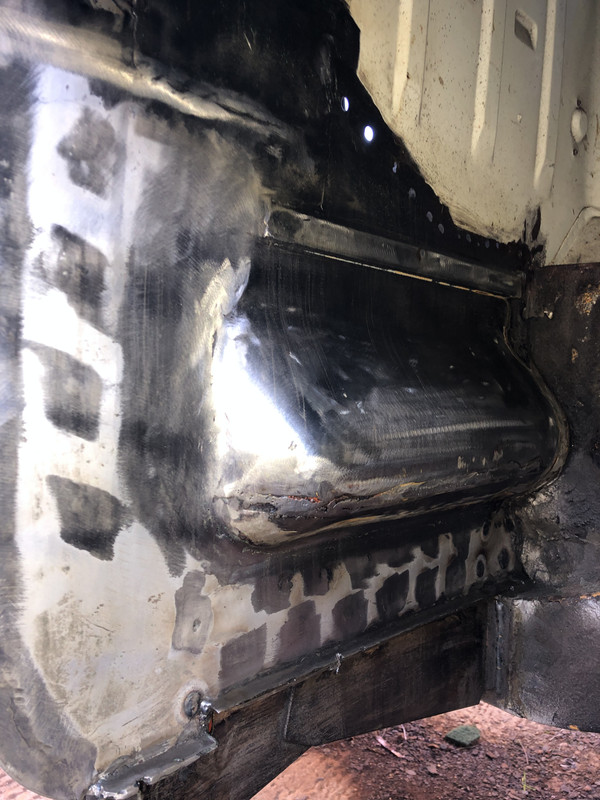
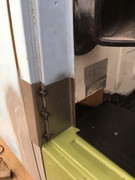
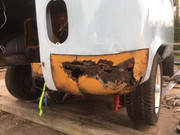
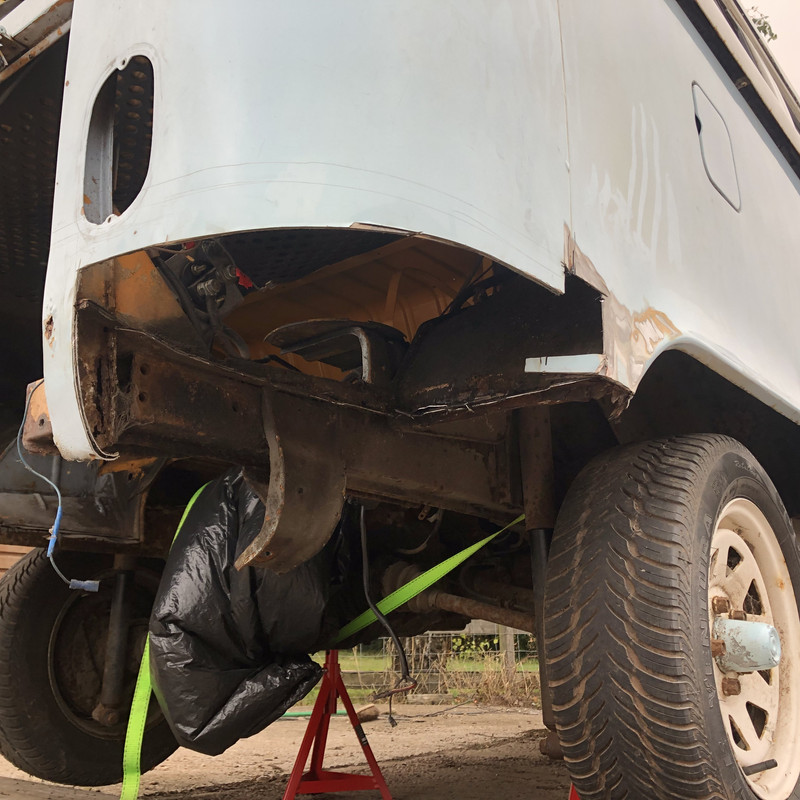
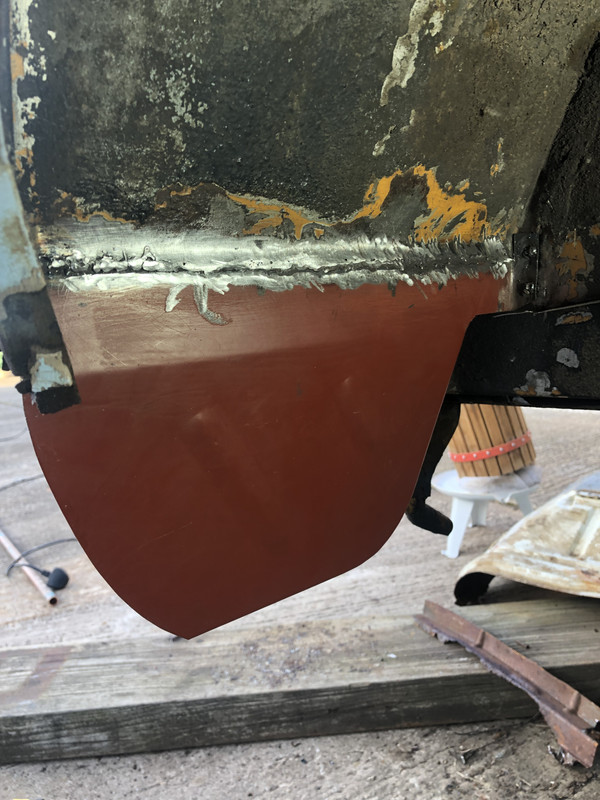
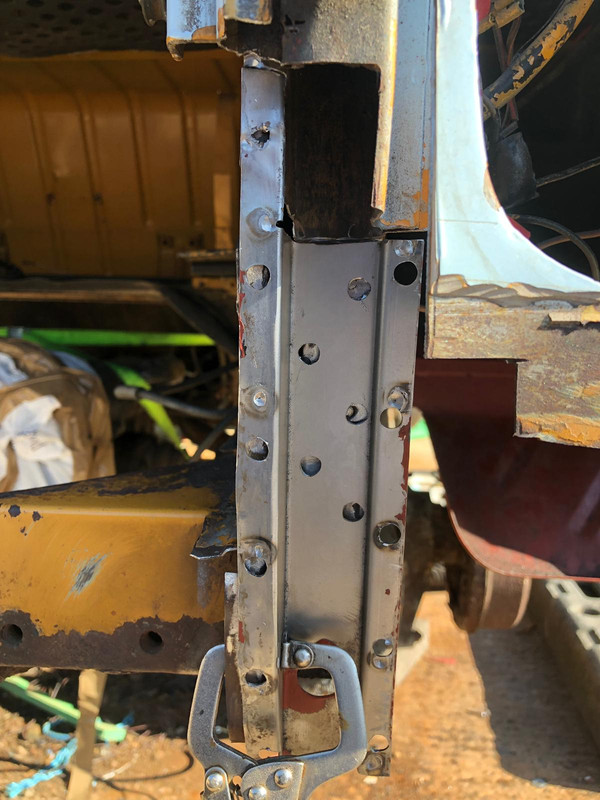
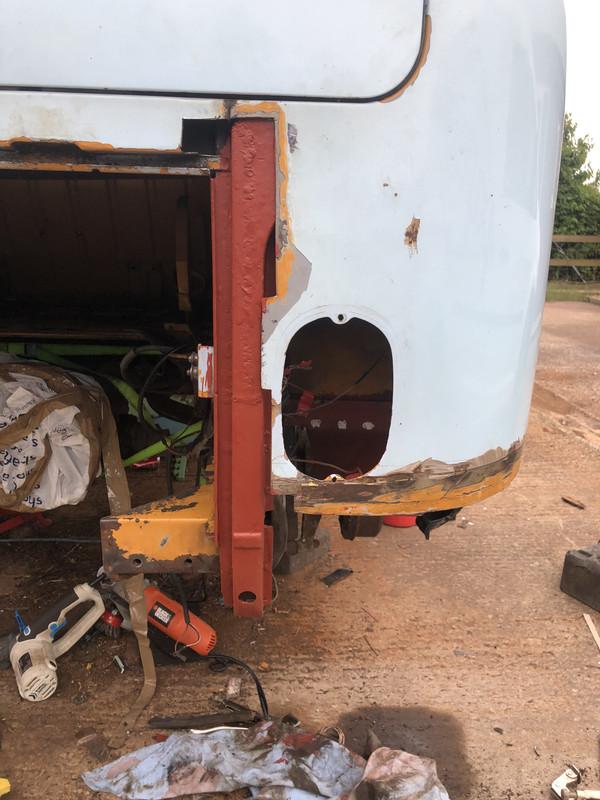
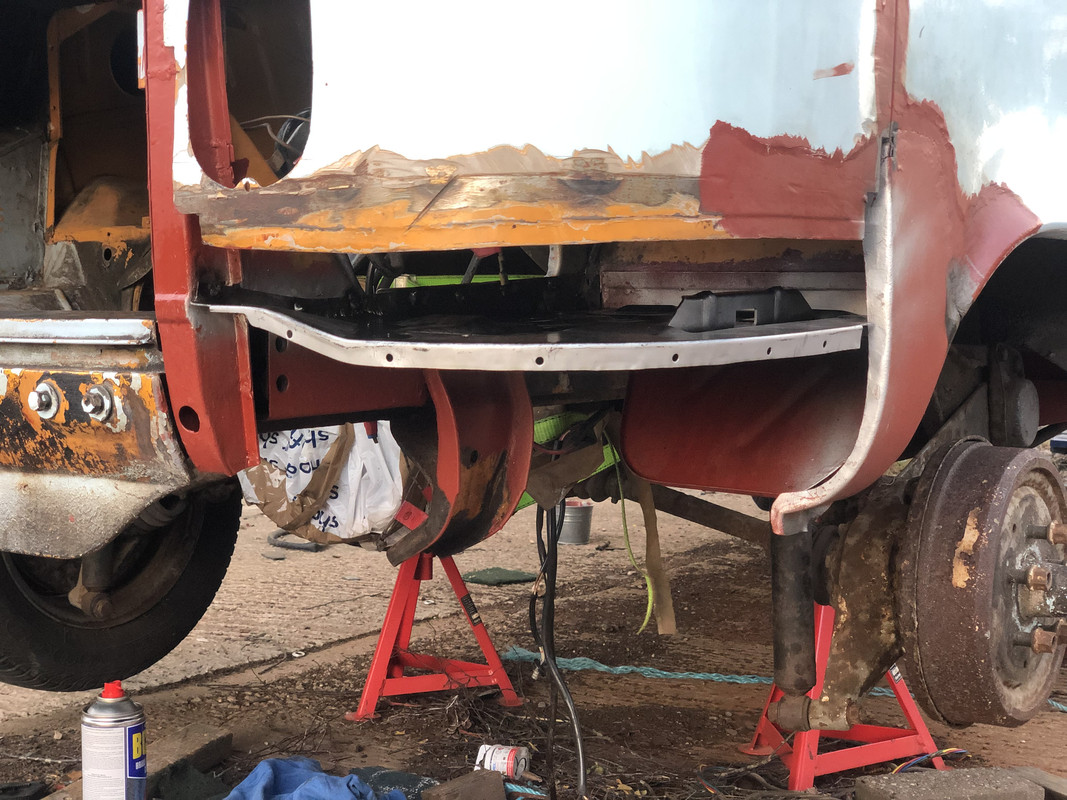
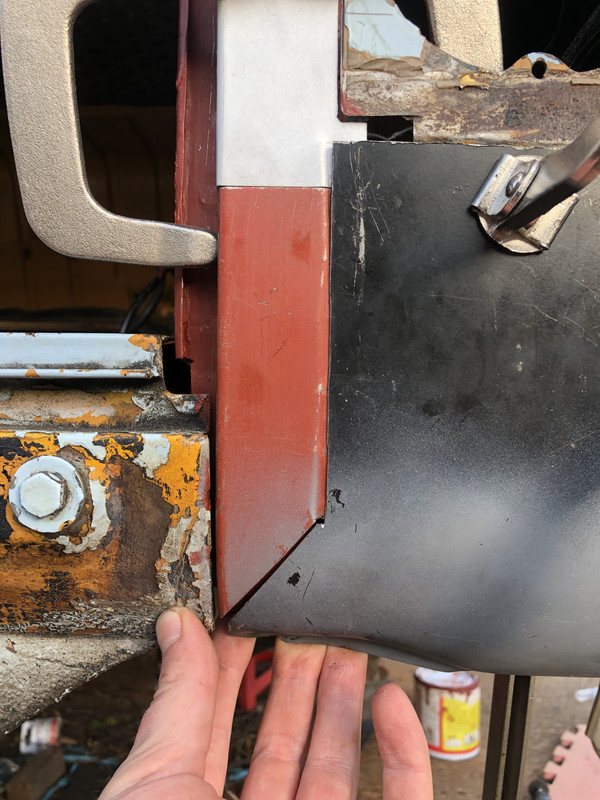
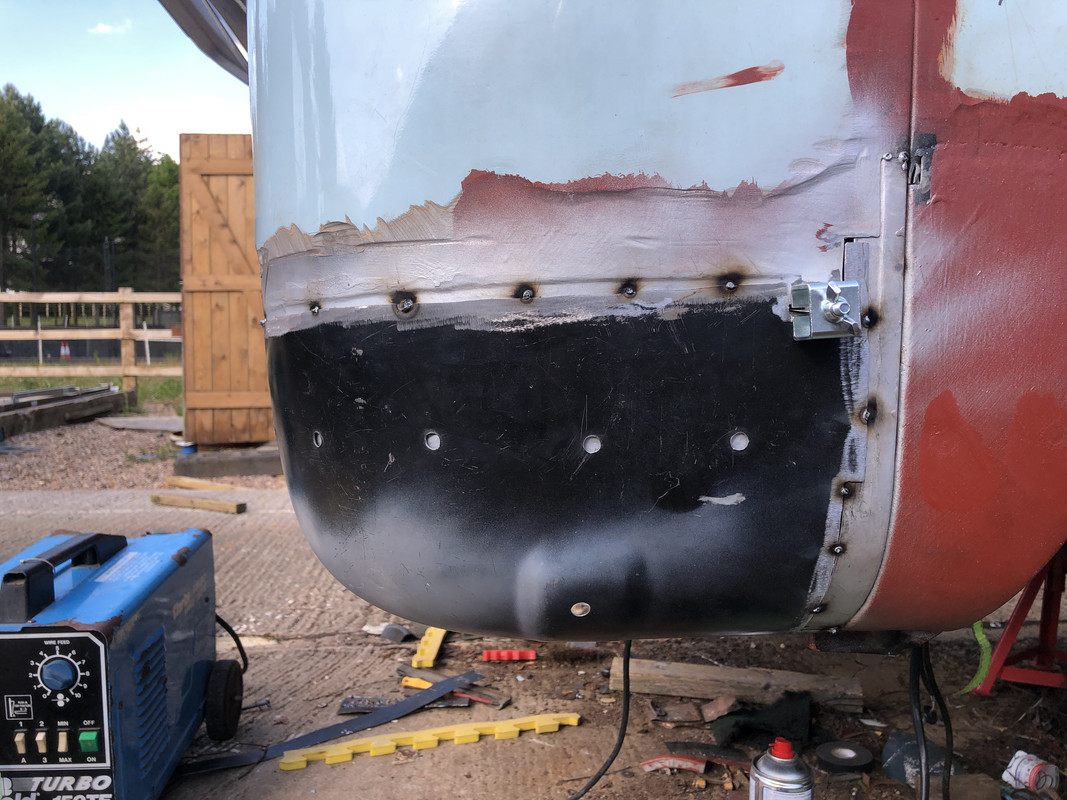
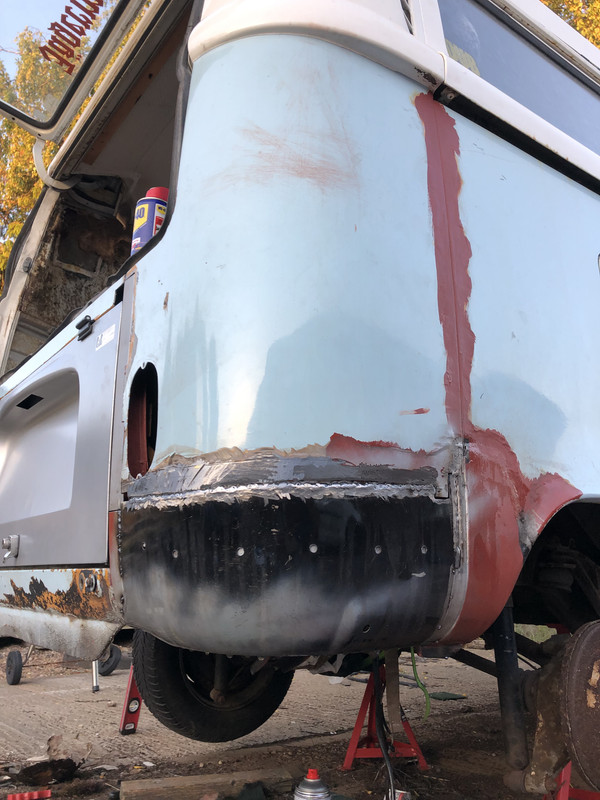
Shes currently under a van cover looking a little under the weather. Some of her old ‘repairs’ (panels on top of panels as I’ve found out) have crumbled to dust. It’s time to get her back on the road, and this time with no bodge jobs!
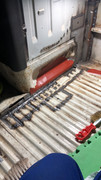
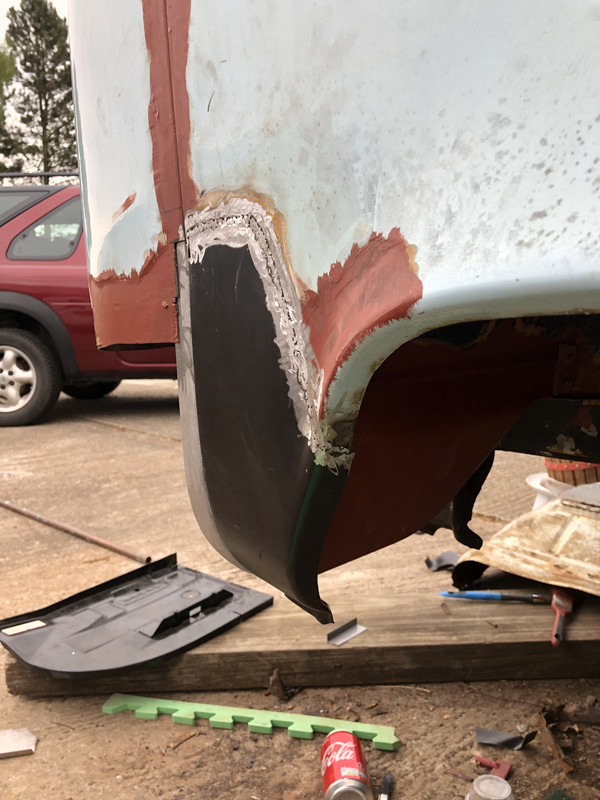
I’ll try and photograph everything that I do as it comes along rather than bombard you all with photographs of sections before I start but I think I have a fairly good idea of what needs doing (There will be surprises I dare say) and I have a loft full of panels I’ve slowly accumulated over the past couple of years. Hopefully the Fletcher Gillett Restoration Manual will guide me through my first restoration attempt.
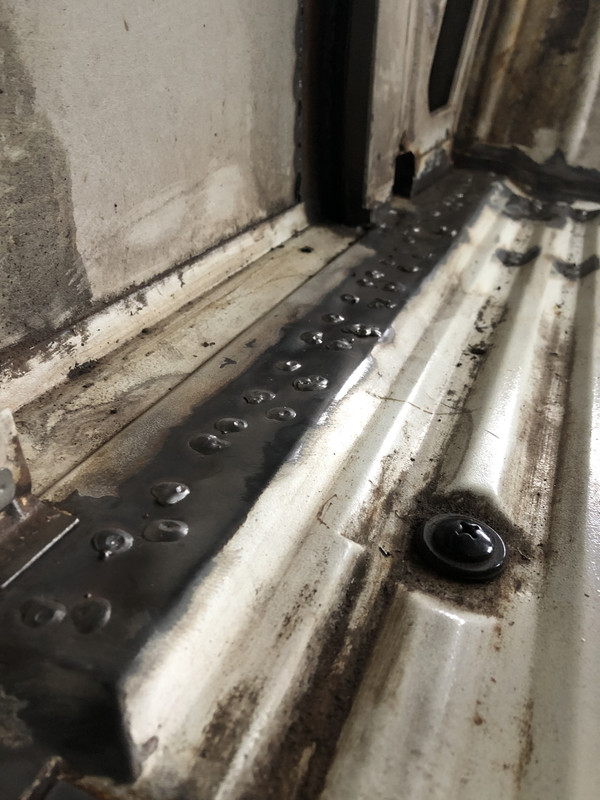
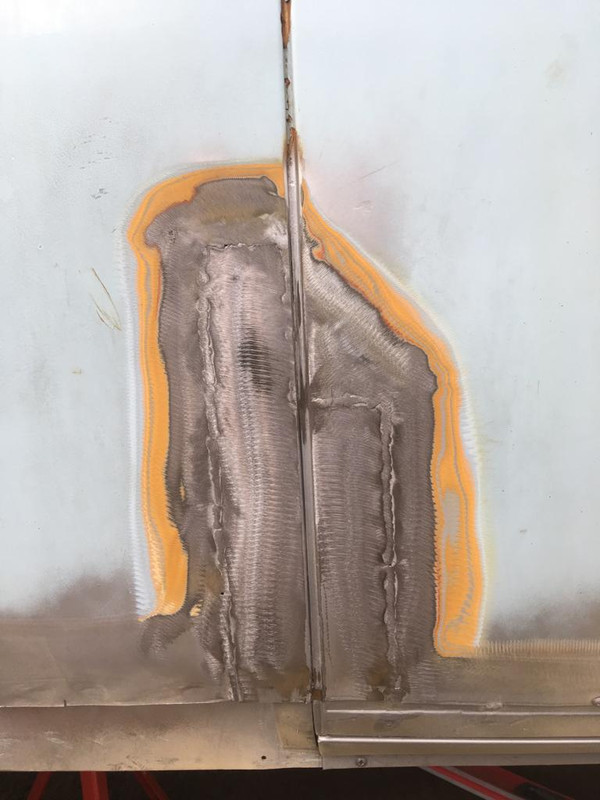
First thing is first though, better practice some welding!
Wish me luck!
I’ll start off with a brief history of my van up until now. As you can see, I have a LOT of documentation from a receipts for chewing gum to full blown restoration details and pretty much anything in-between.
Born on Monday 12th October 1970 as a Sierra Yellow Microbus she was brought by a Mr Roberts from Llangefni, Wales. I don’t have much in the way of history from 1971 to 1984. However I do have a receipt for a new engine dated 1984 which went into storage with her.
In 1986 she was stored somewhere (presumably) in Wales until 1998 when she was wheeled out from her nap and restored by the A41 Mini Centre in Birkinhead. According to a vehicle report written by the restorer, the bus had only covered 3,000 miles before it was stored, I presume that when the new motor was put in there in 1984 the clock was would back.. or maybe not who knows!
1998 Restoration work included:
Replace both main chassis rails
All outriggers and jacking points
Both Inner and outer sills
Both Wheel Arches
Inner and outer front valance
Outer front panel
New engine brace
New Petrol Tank
Sliding door inner and outer (bottom)
Resprayed in original colours
Mechanical bits (the usual)
Anyway, more on some of these ‘repairs’ later :roll:
Here are some pics from 1998 post restoration (notice the no longer flat arches :x )
After restoration the bus was sold to a a bloke called Mr Brown of Wallasey on 17/12/98. He kept every invoice for every piece of work carried out between 98 and 2001 from services to rear corner repairs. She was resprayed in 2001 by a place called AMS Motorsport in North Wales before he sold it to a Mr Mayman, Tamworth with around 100,000 miles on the clock some time around 2002/2003.
Here are pictures of the respray (you can see some of the previous repairs/filler)
Fast forward to 2006 when I brought the van and used her as a daily driver until 2011. Since then she has been in and out of use, had a crash (sorry!) which required another front panel but since 2014 she has sat patiently waiting to go on another adventure.
Shes currently under a van cover looking a little under the weather. Some of her old ‘repairs’ (panels on top of panels as I’ve found out) have crumbled to dust. It’s time to get her back on the road, and this time with no bodge jobs!
I’ll try and photograph everything that I do as it comes along rather than bombard you all with photographs of sections before I start but I think I have a fairly good idea of what needs doing (There will be surprises I dare say) and I have a loft full of panels I’ve slowly accumulated over the past couple of years. Hopefully the Fletcher Gillett Restoration Manual will guide me through my first restoration attempt.
First thing is first though, better practice some welding!
Wish me luck!
")