


seff
Well-known member
Hey Chaps & Chapesses,
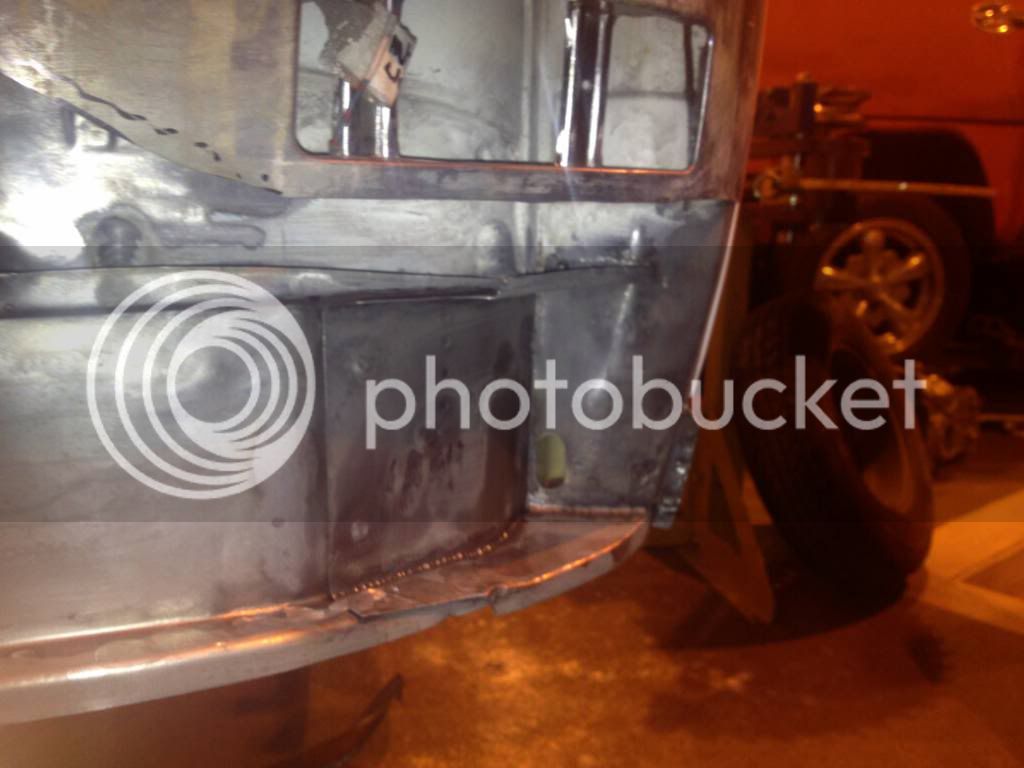
Here are the pictures from the front panel repair on my 71 Westy Cali Import.
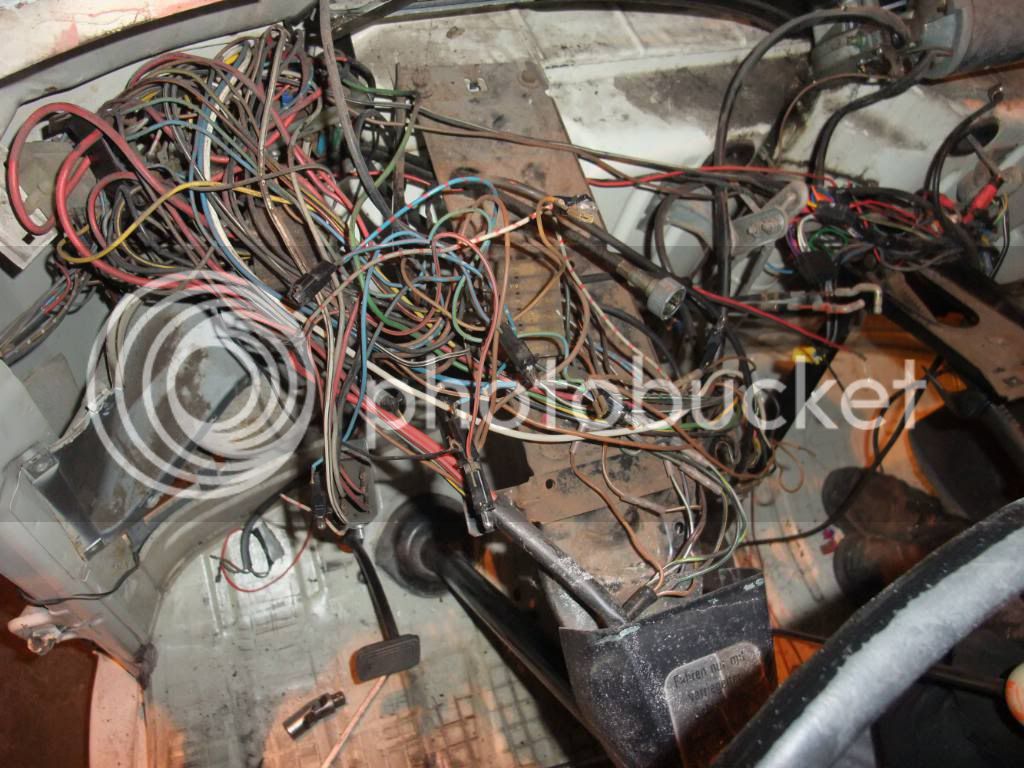
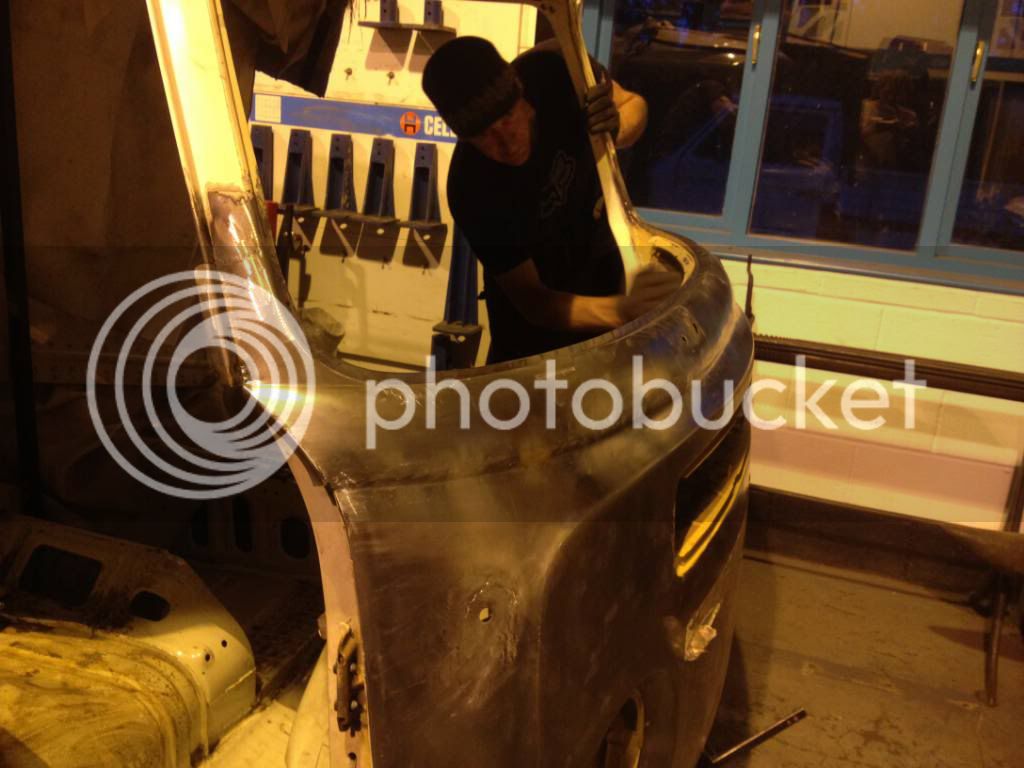
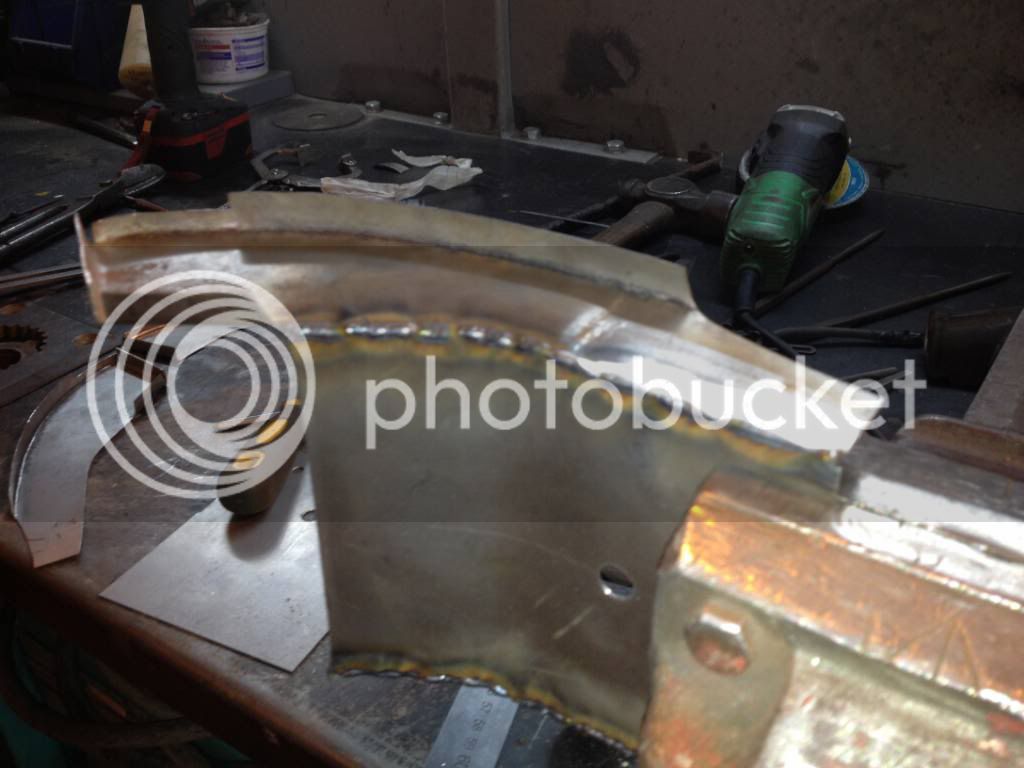
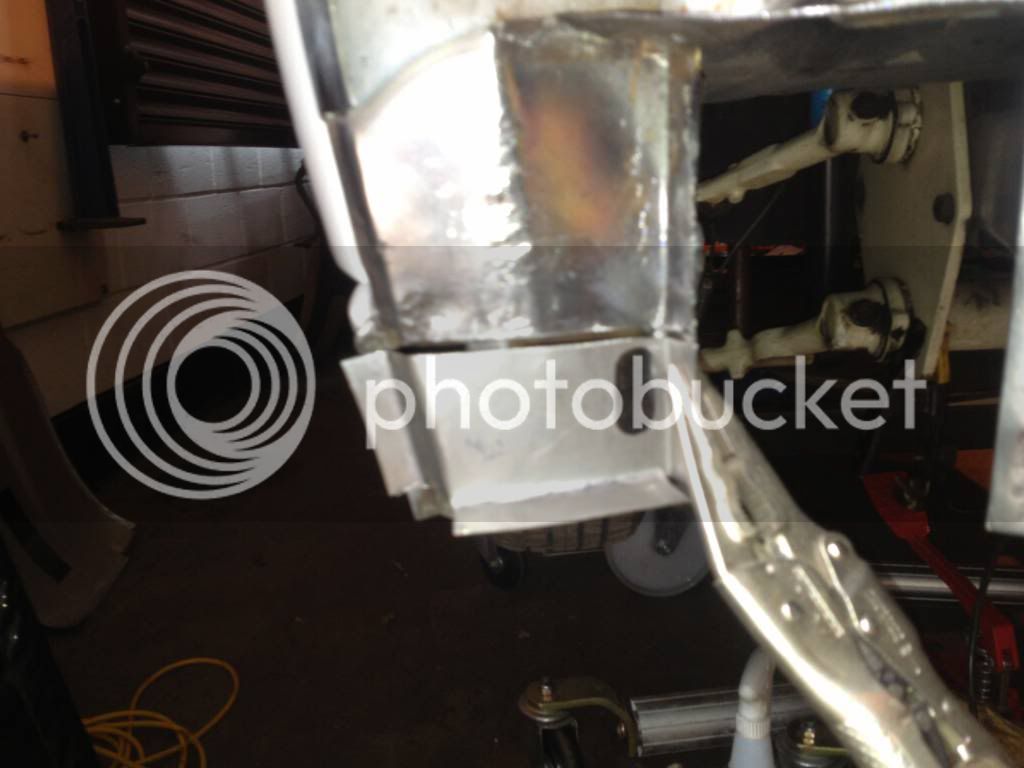
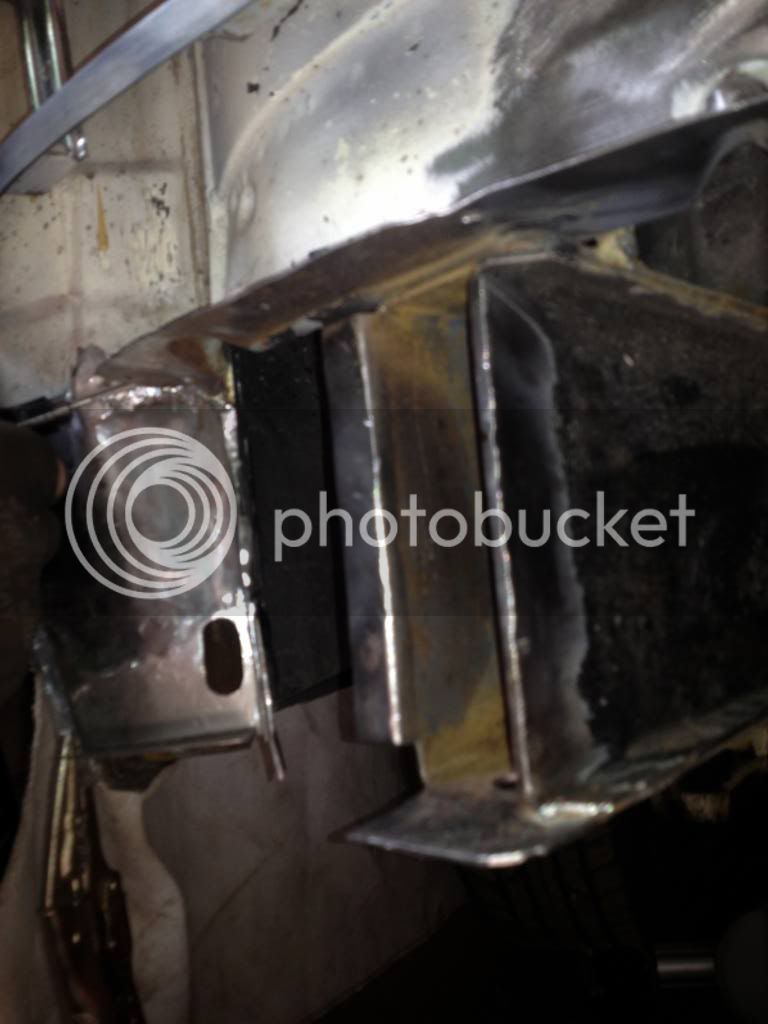
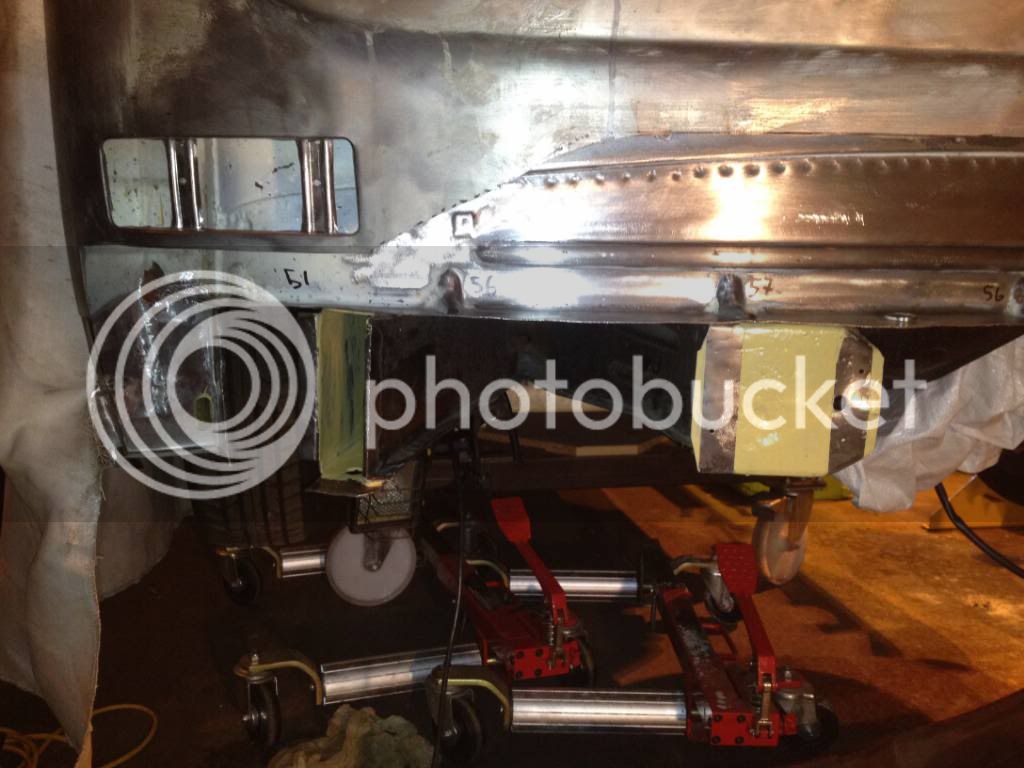
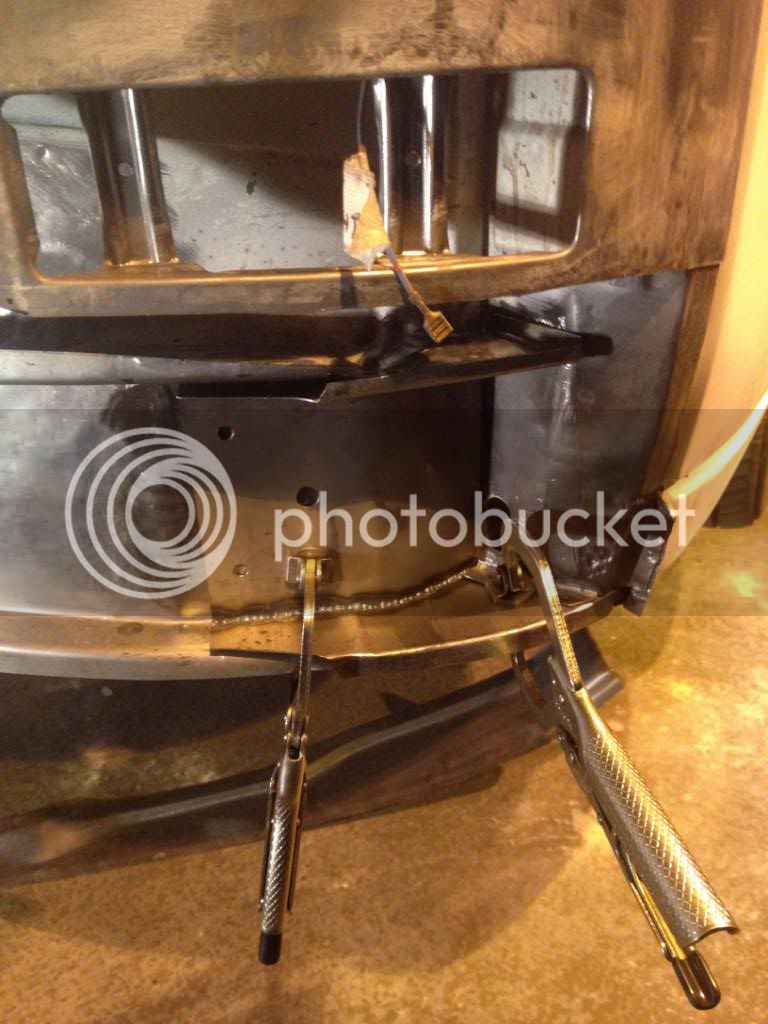
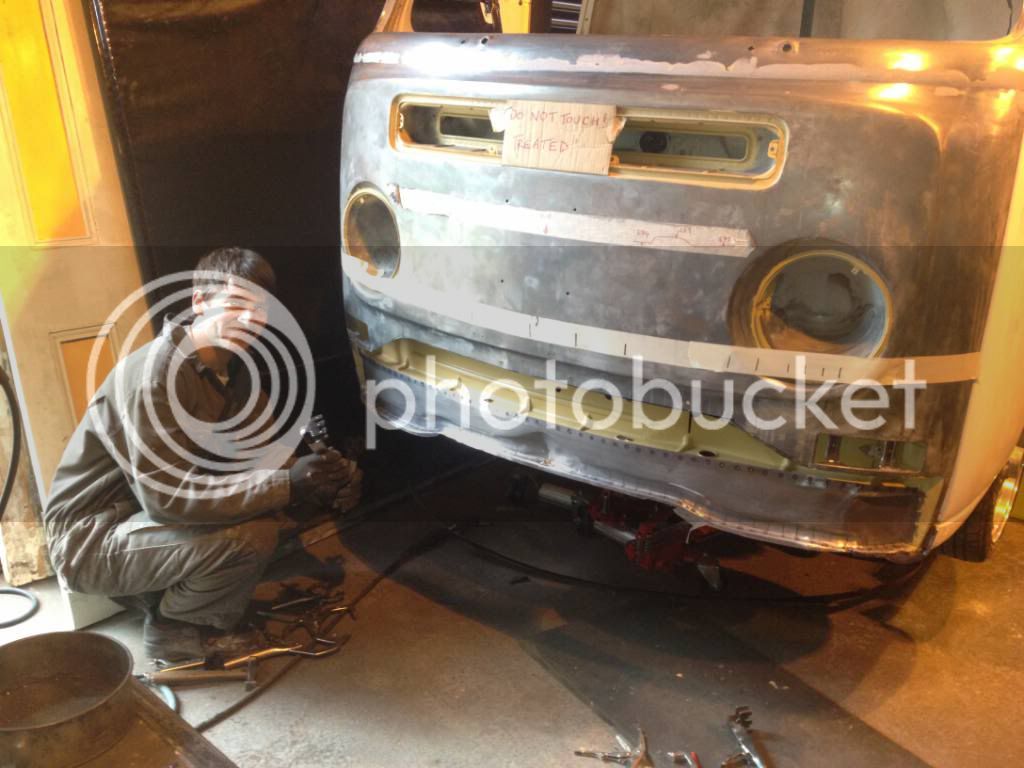
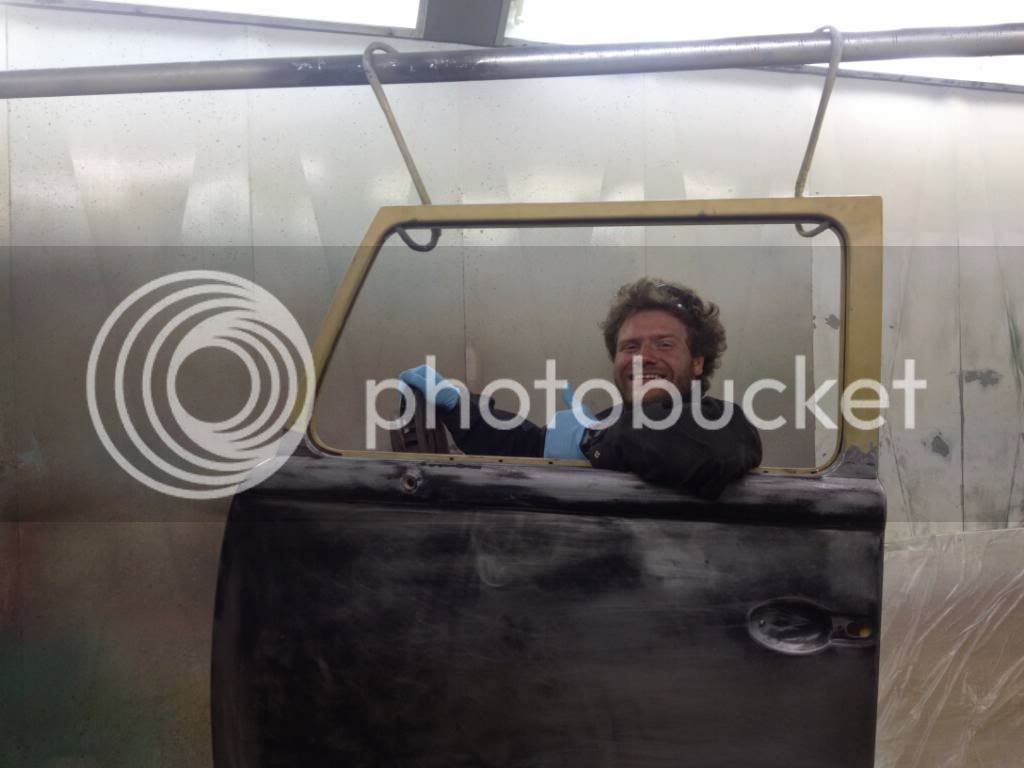
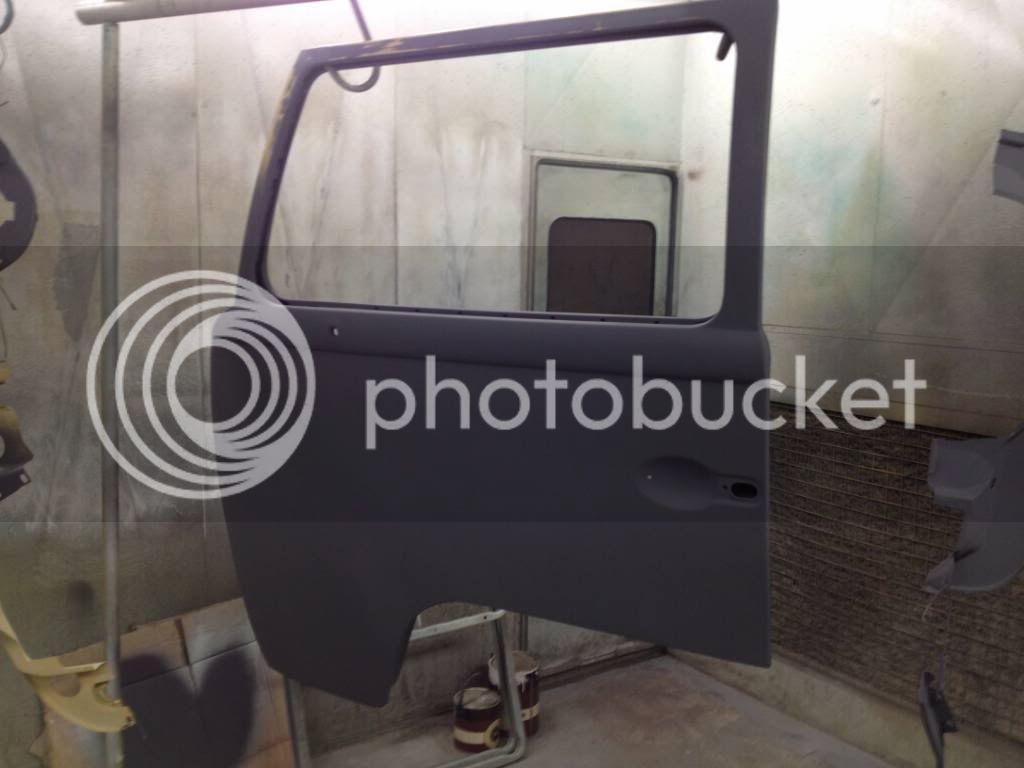
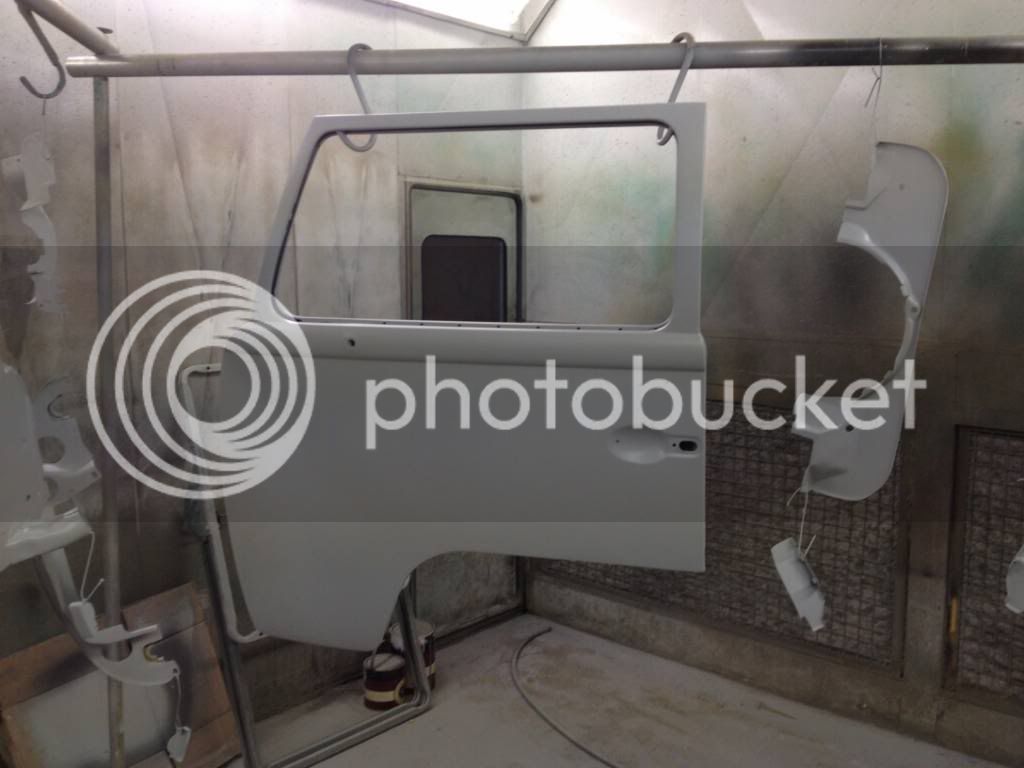
All work carried out at NAPSTOK customs...
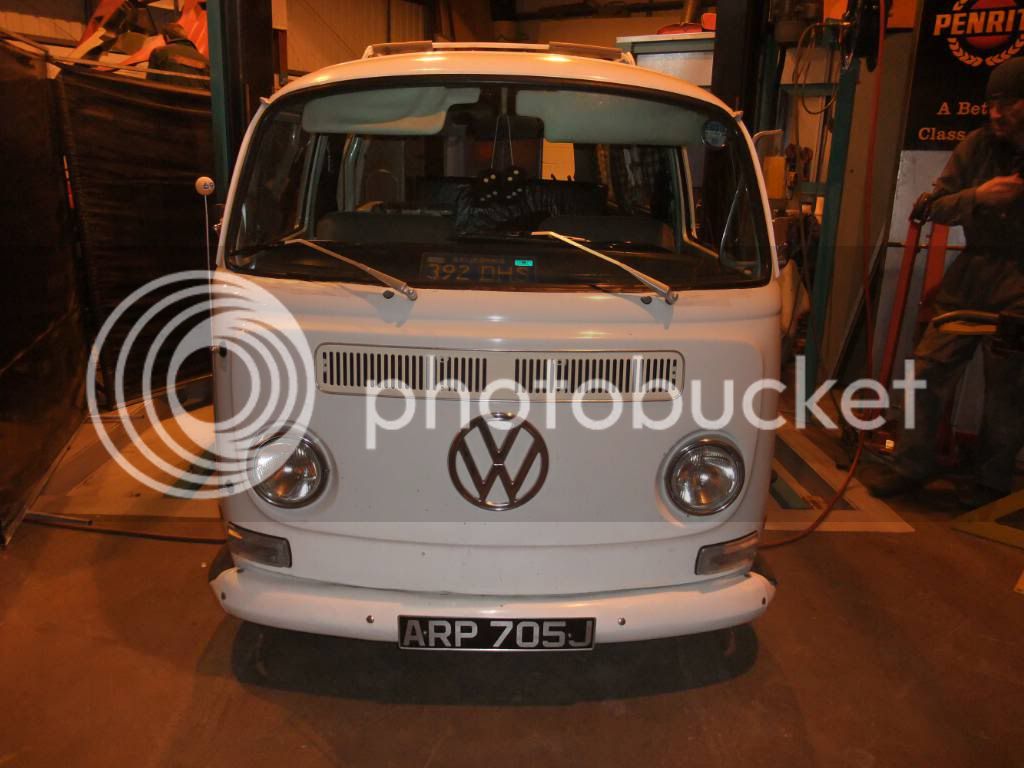
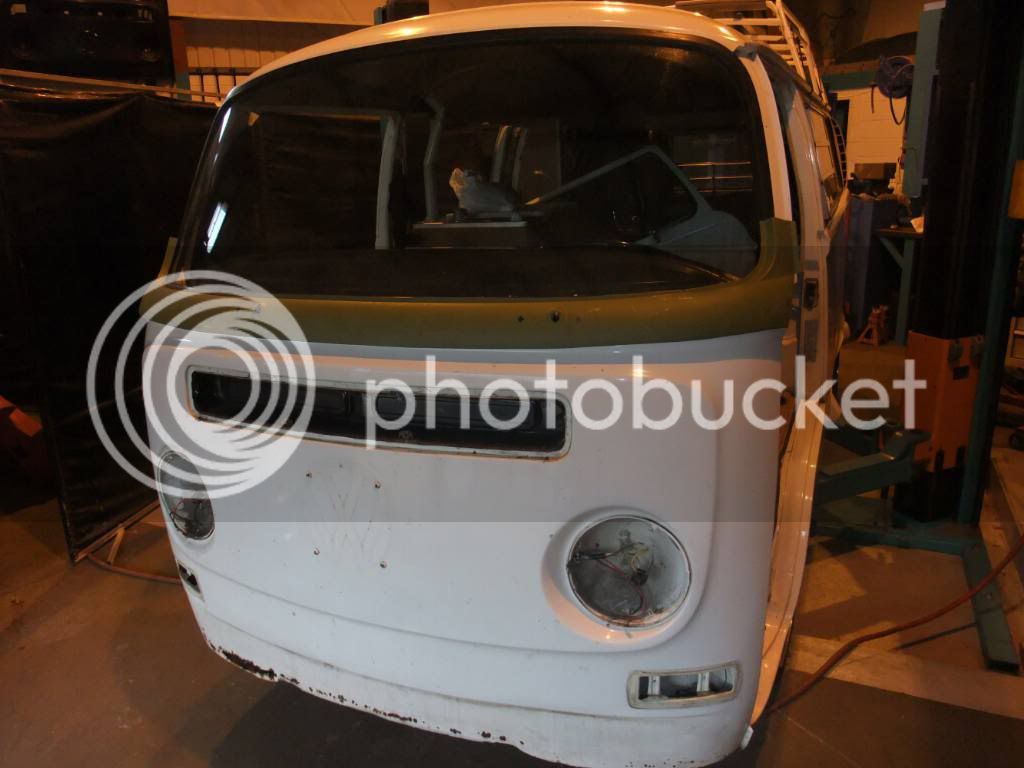
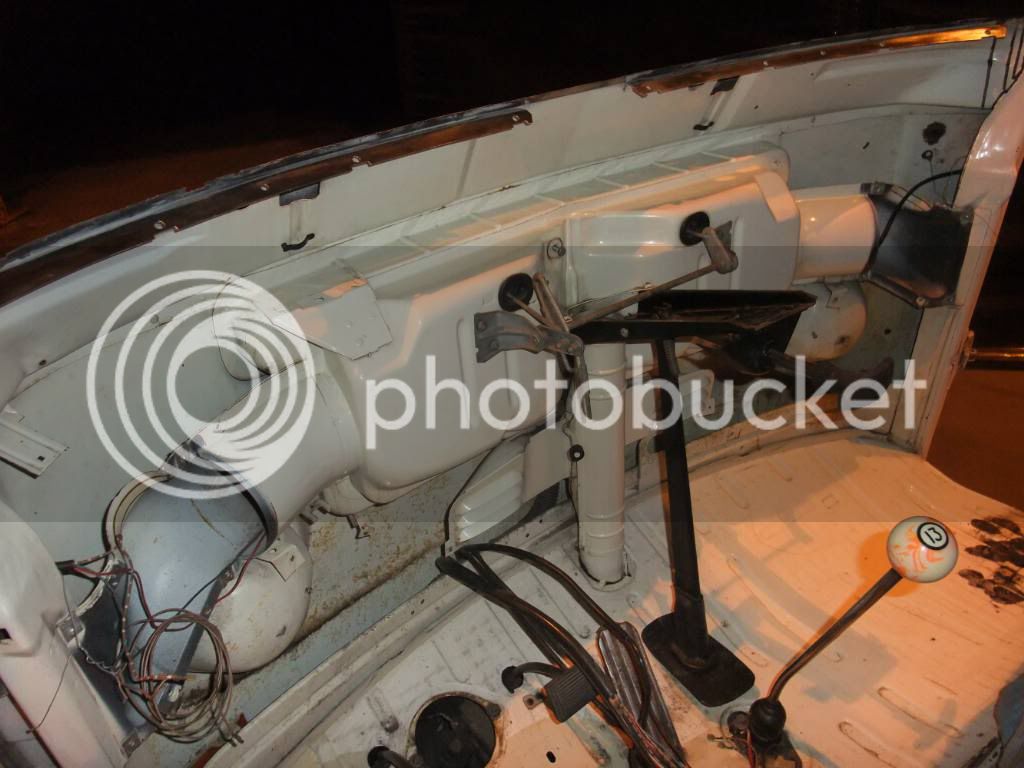
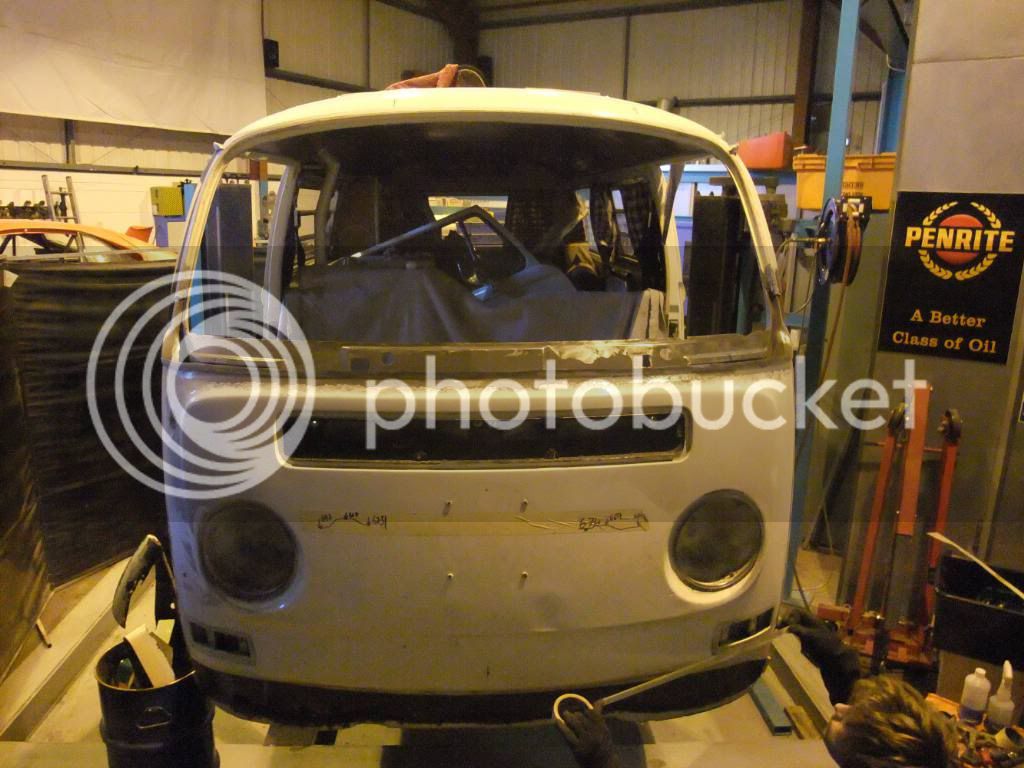
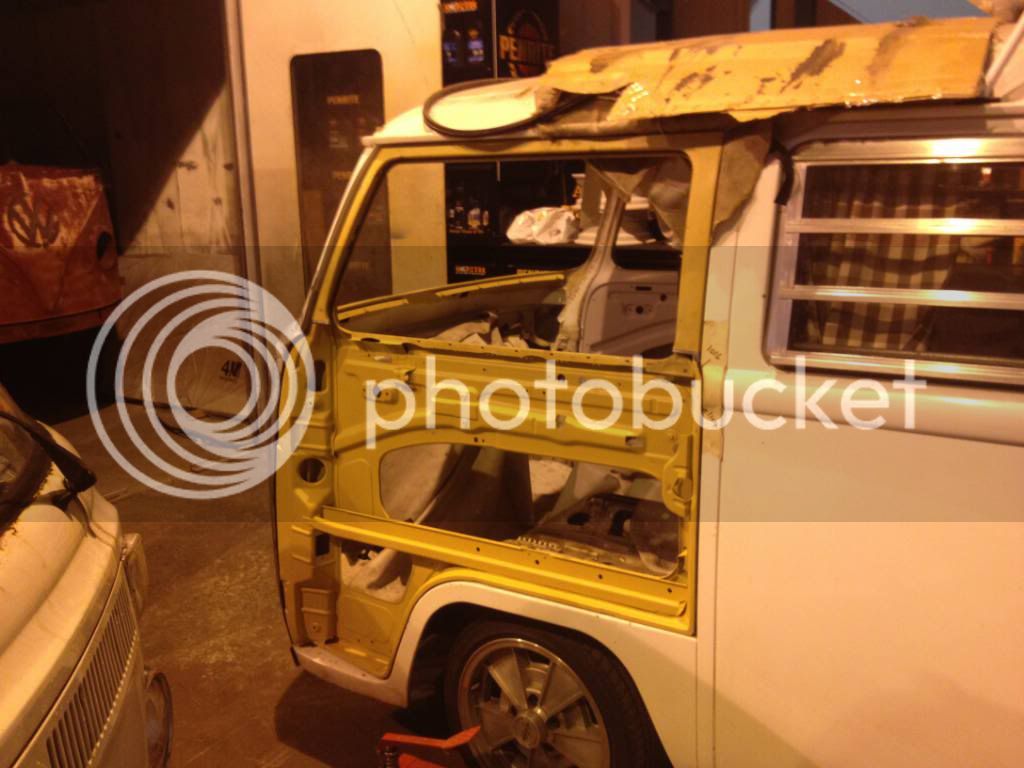
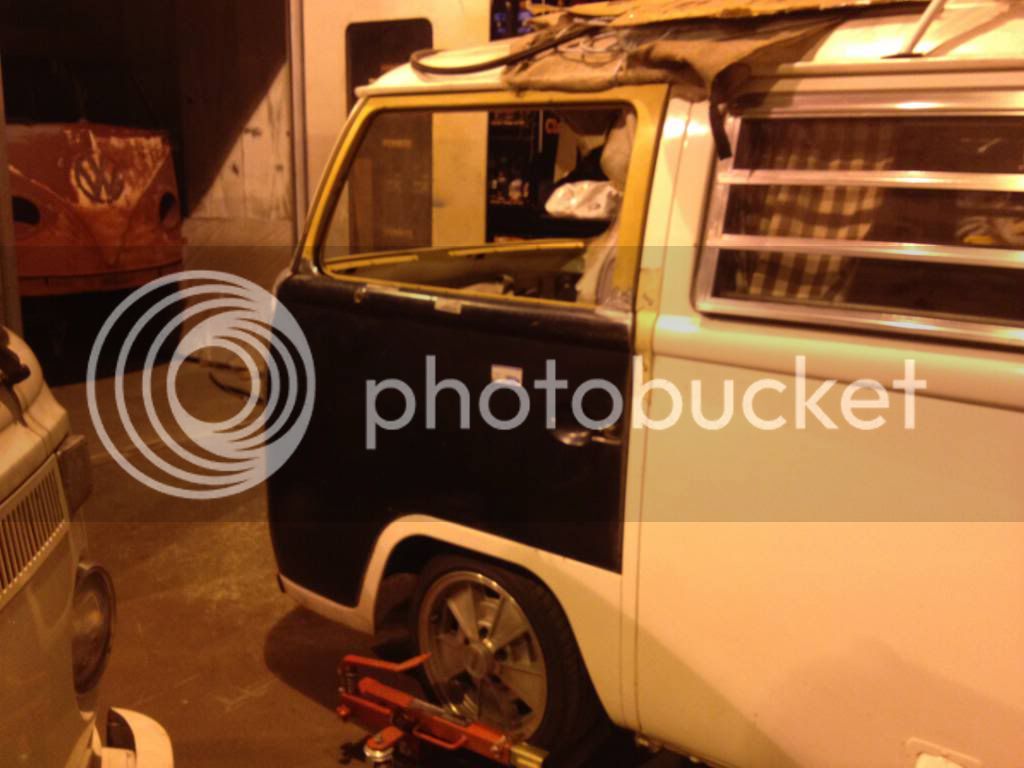
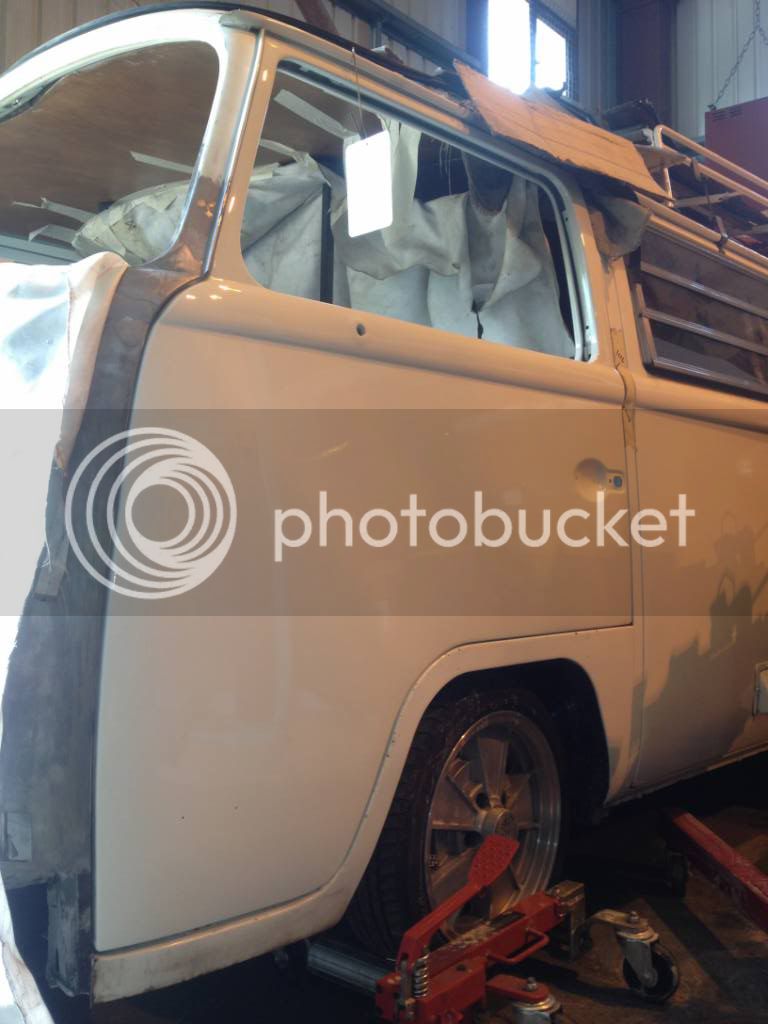
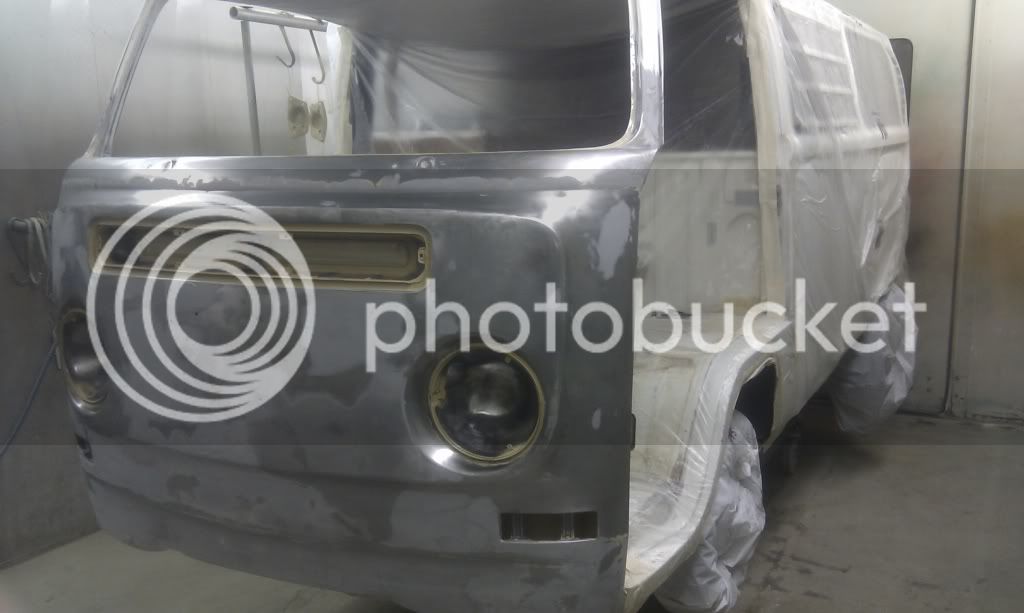
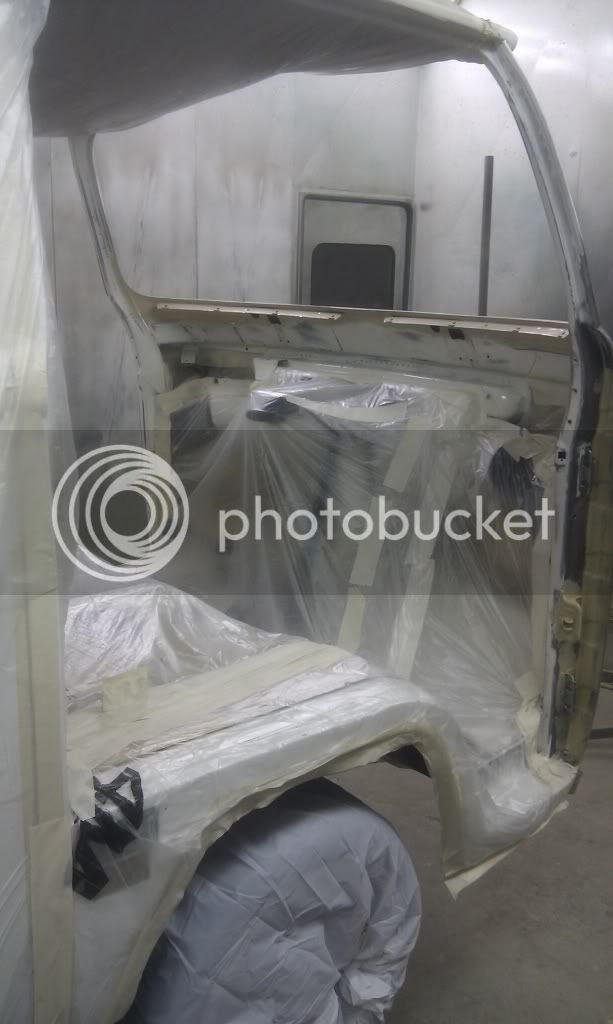
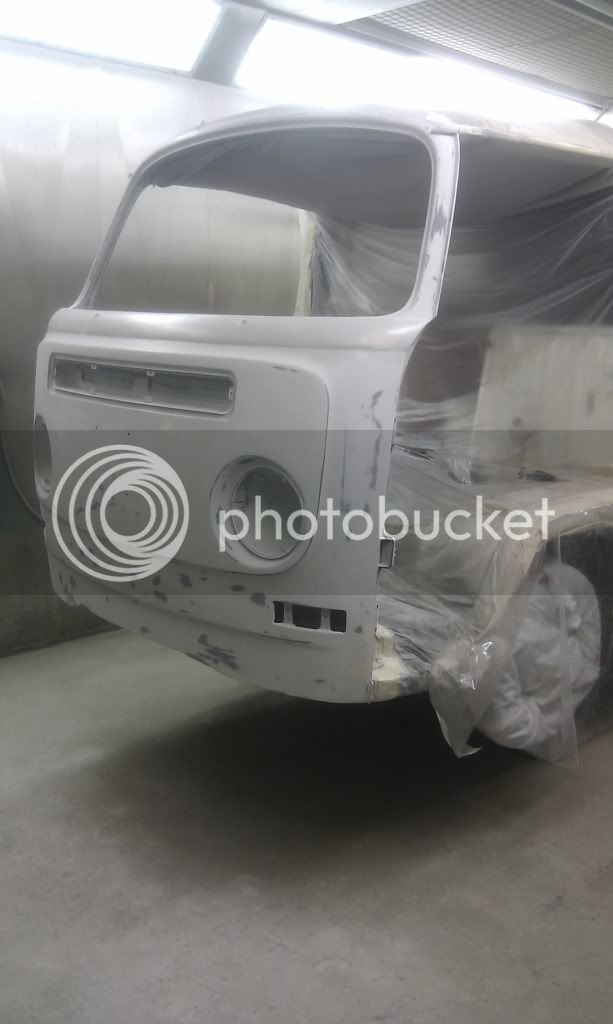
The bus..
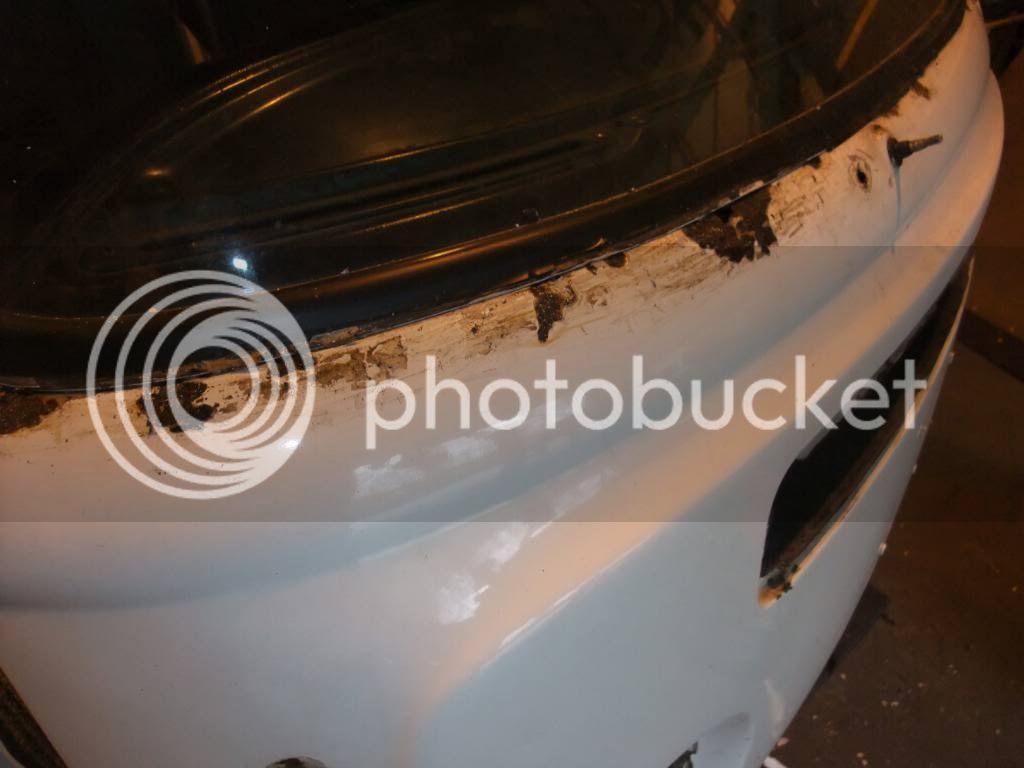
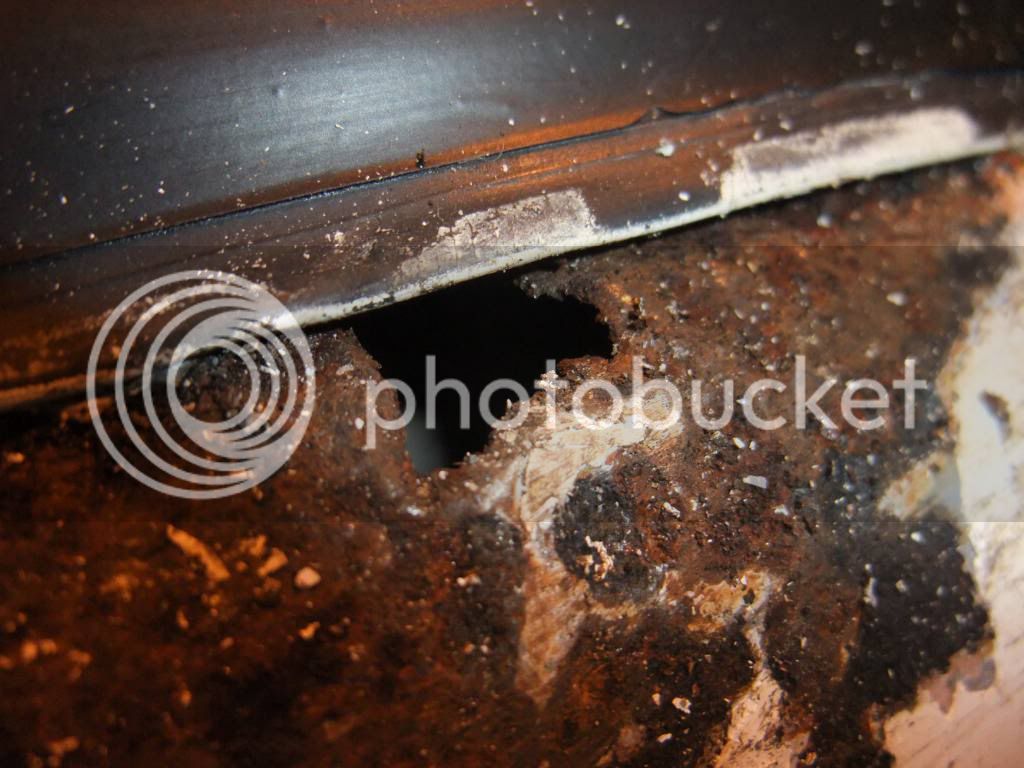
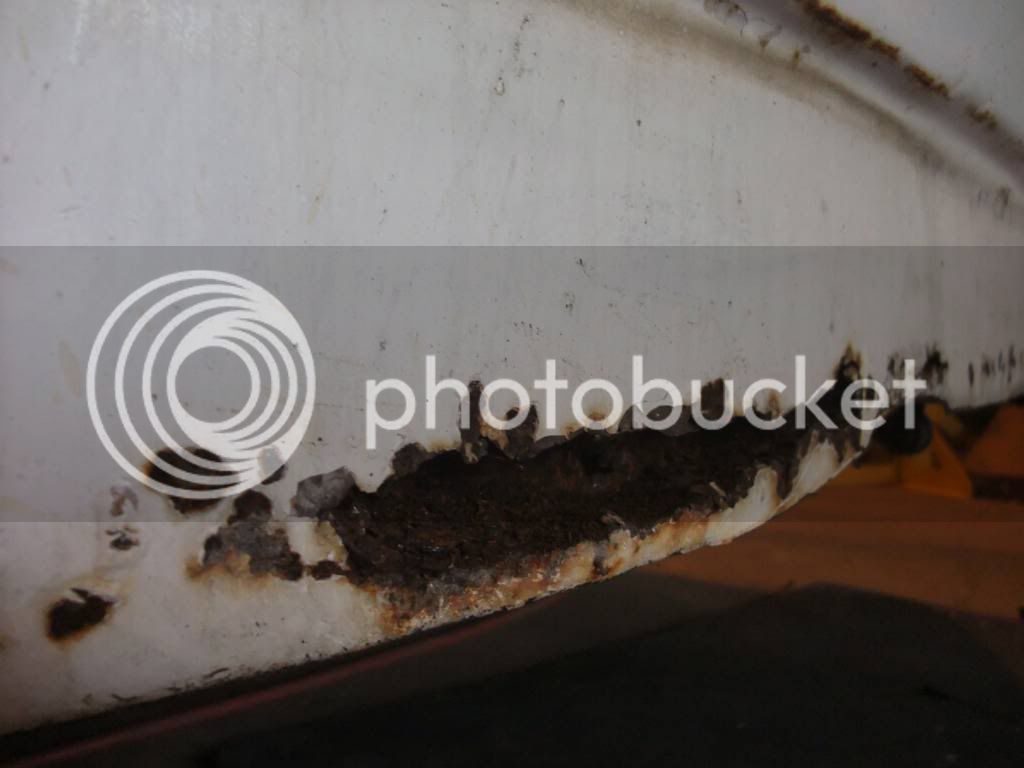
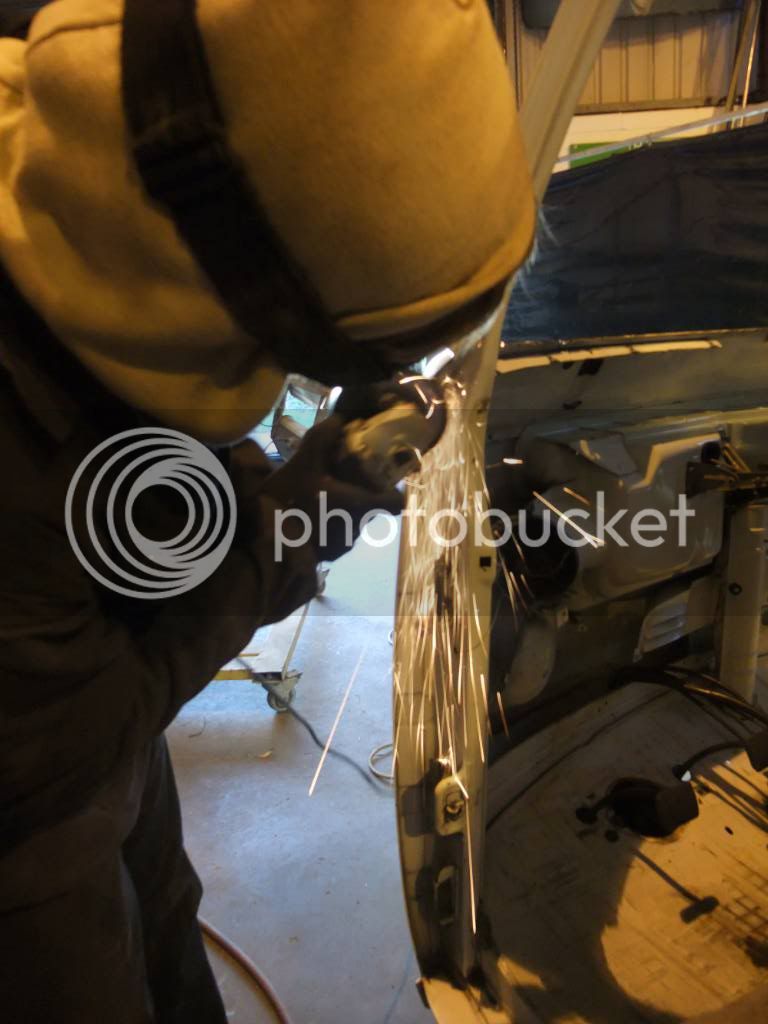
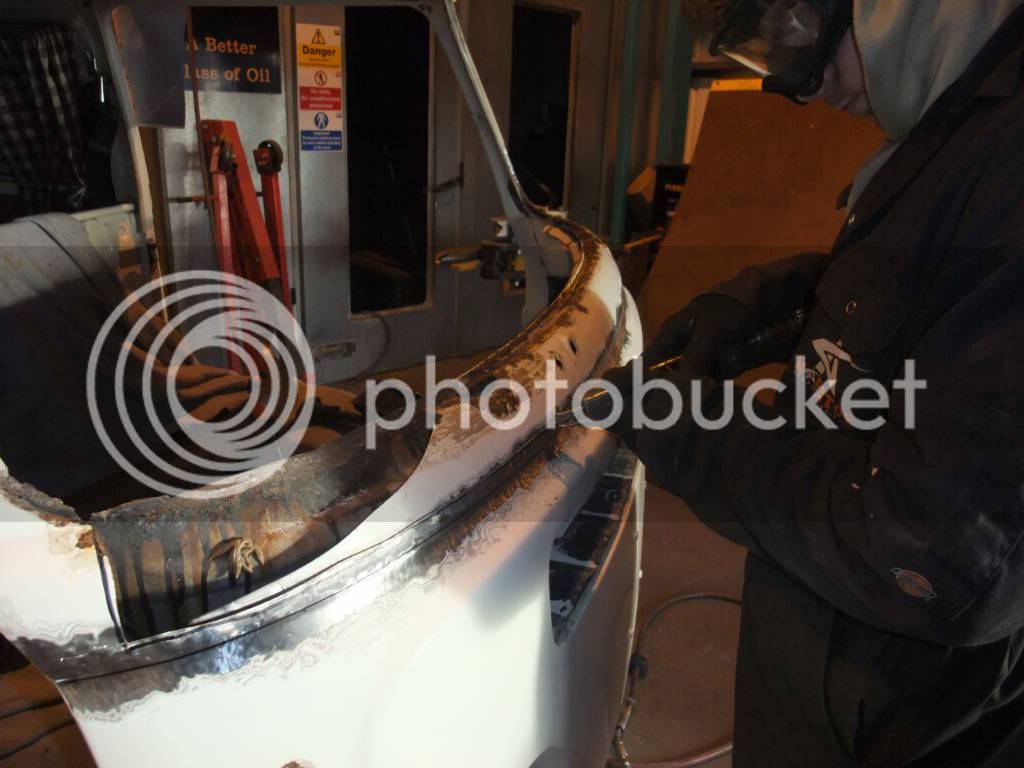
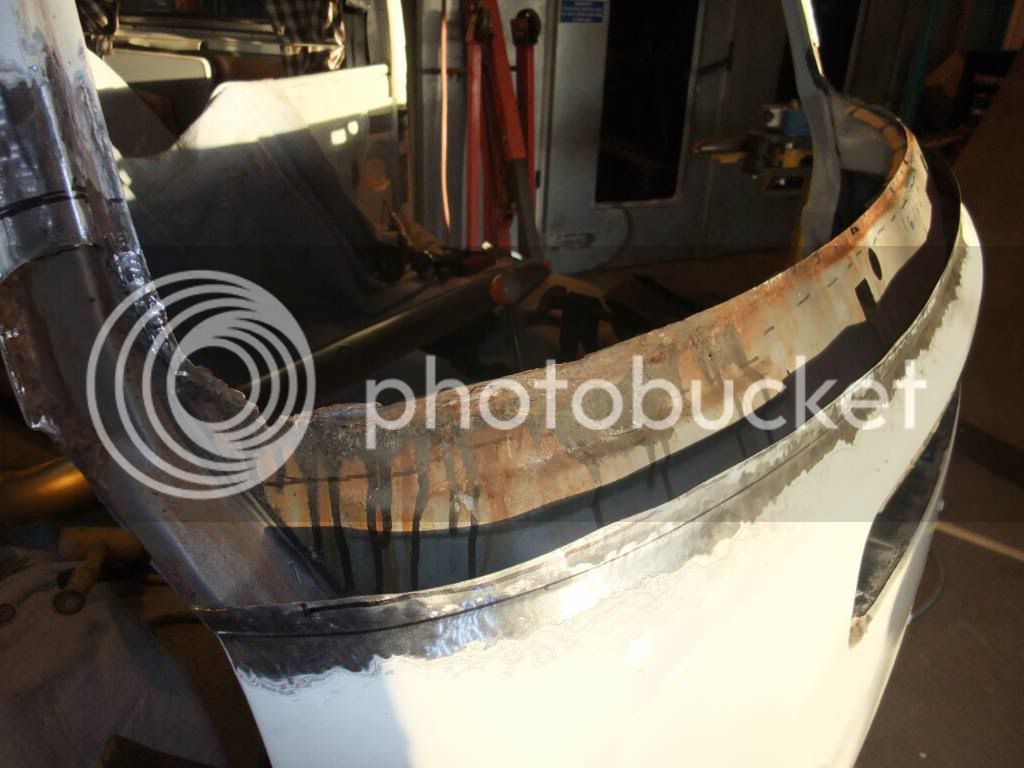
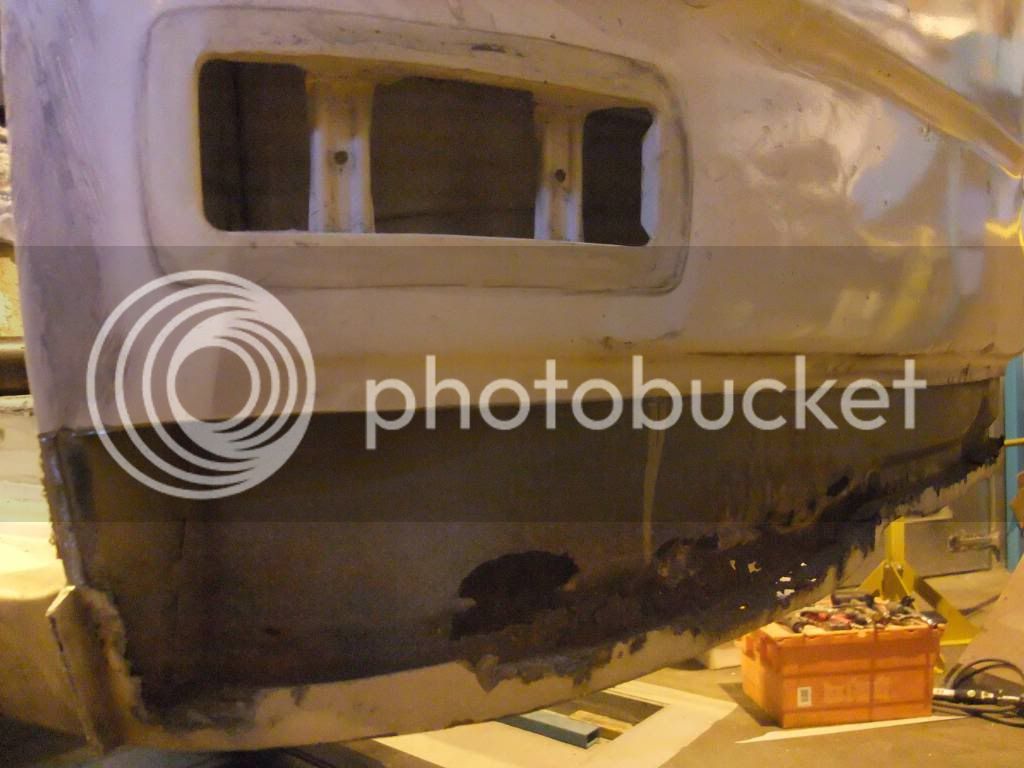
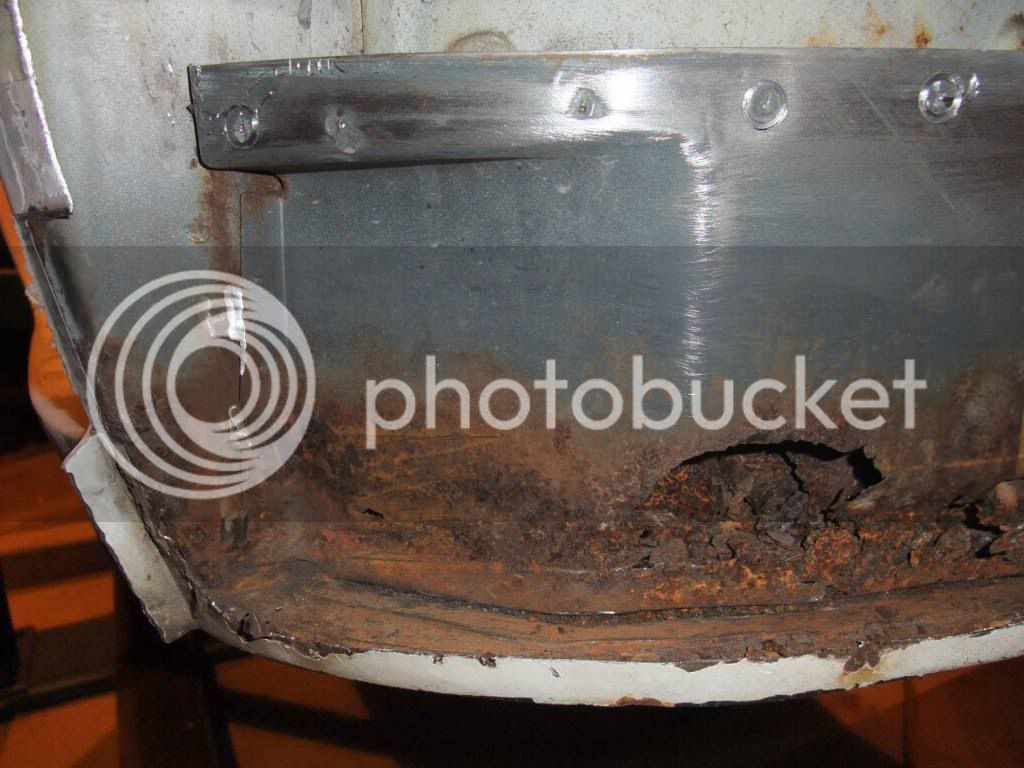
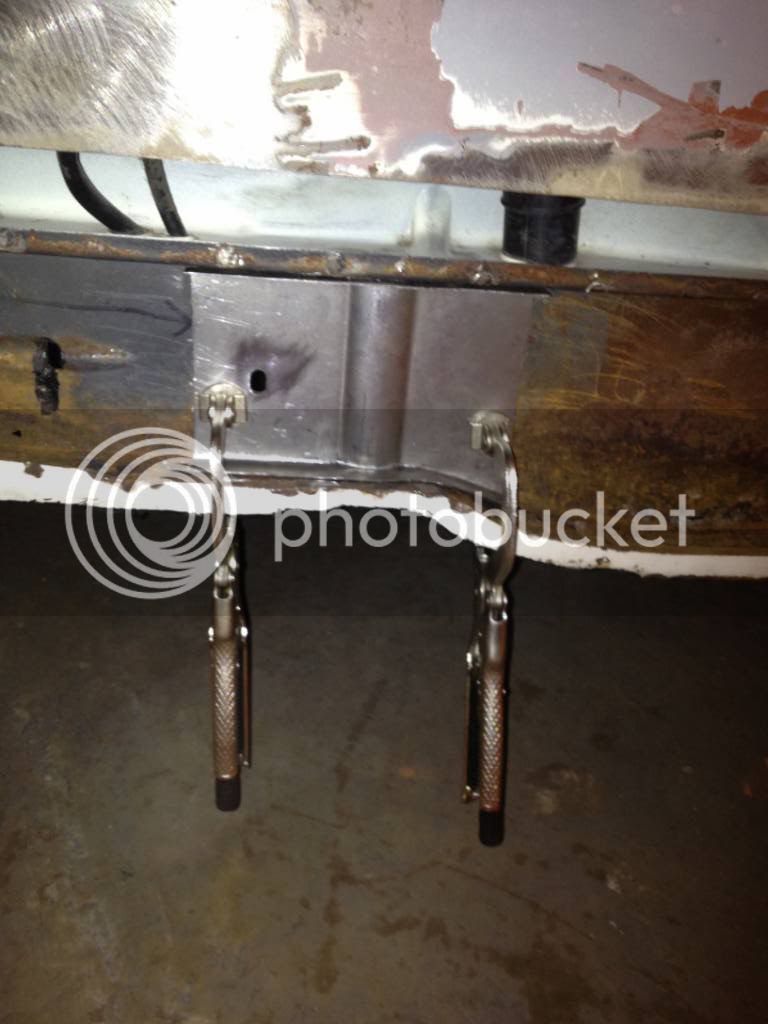
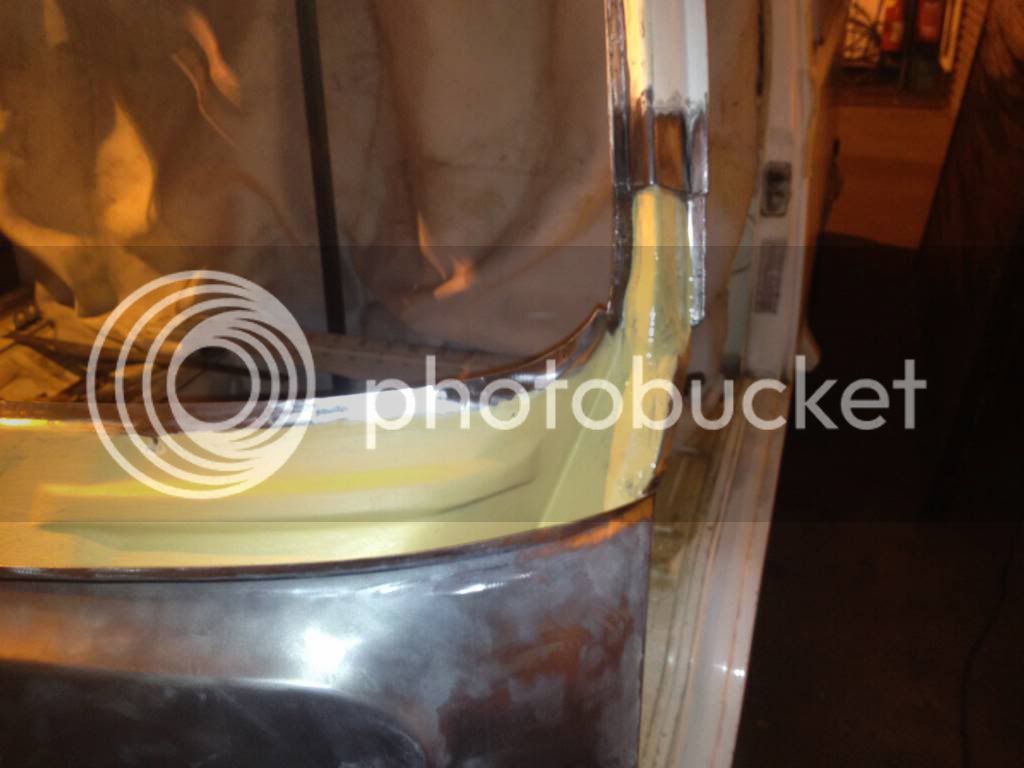
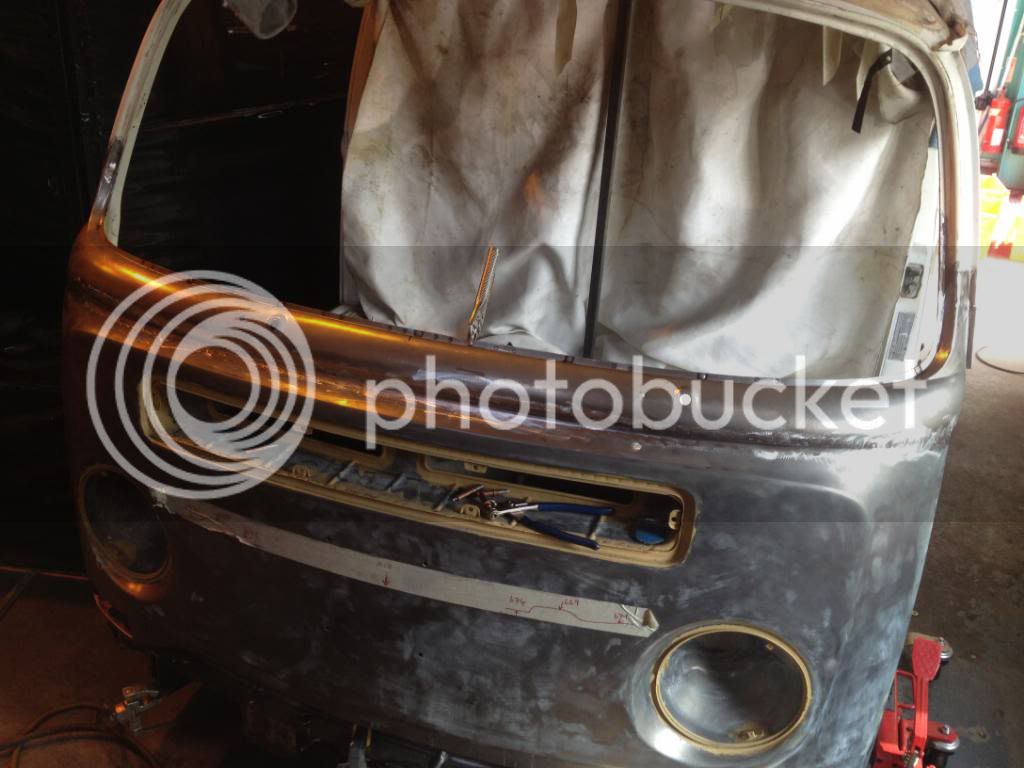
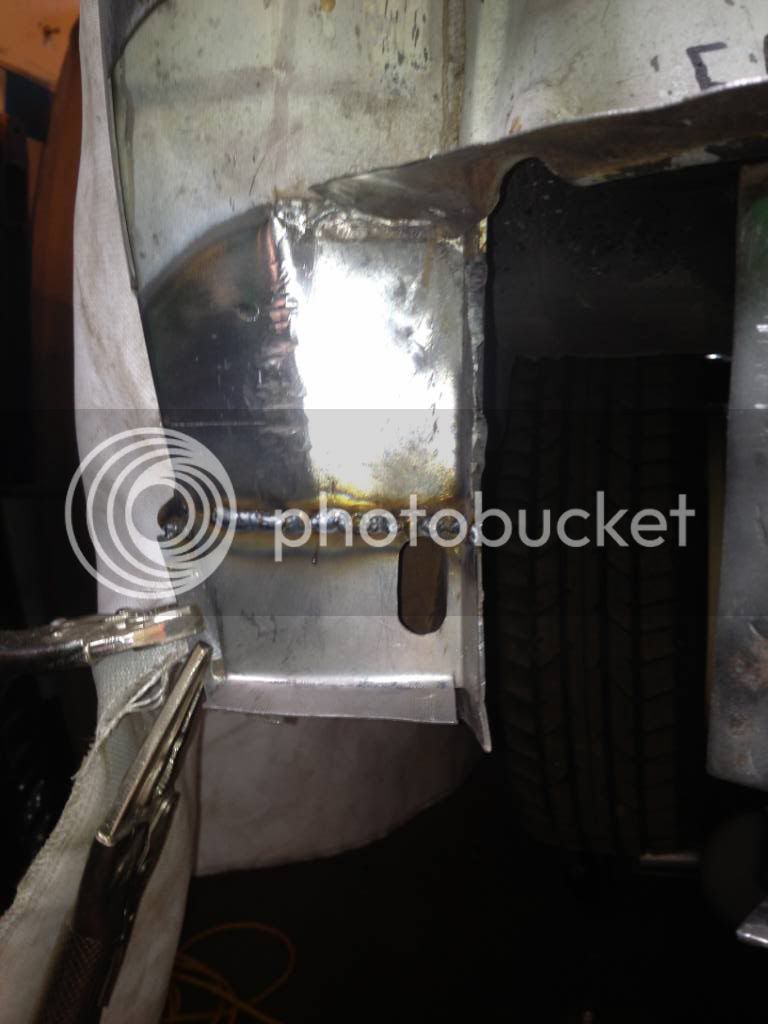
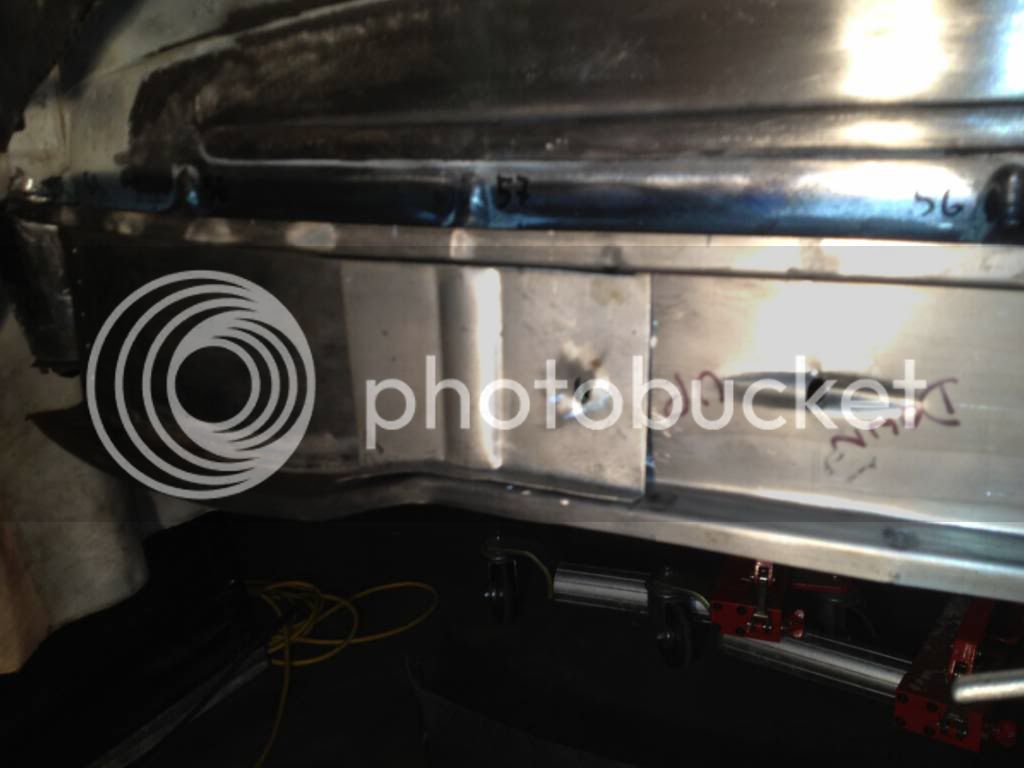
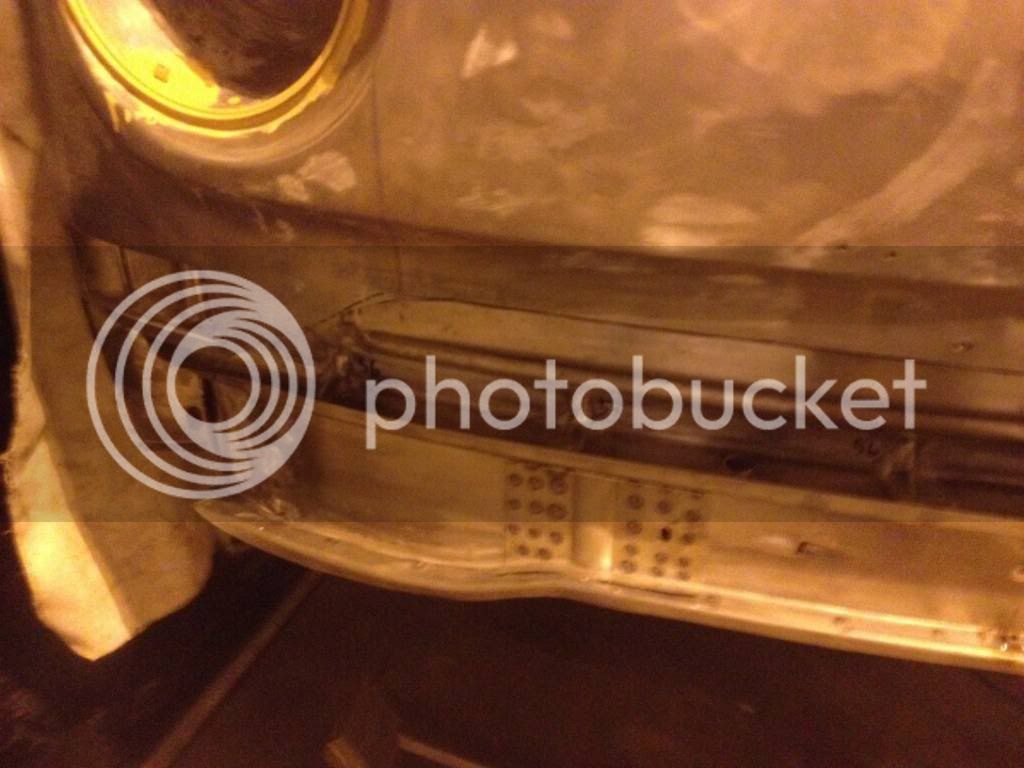
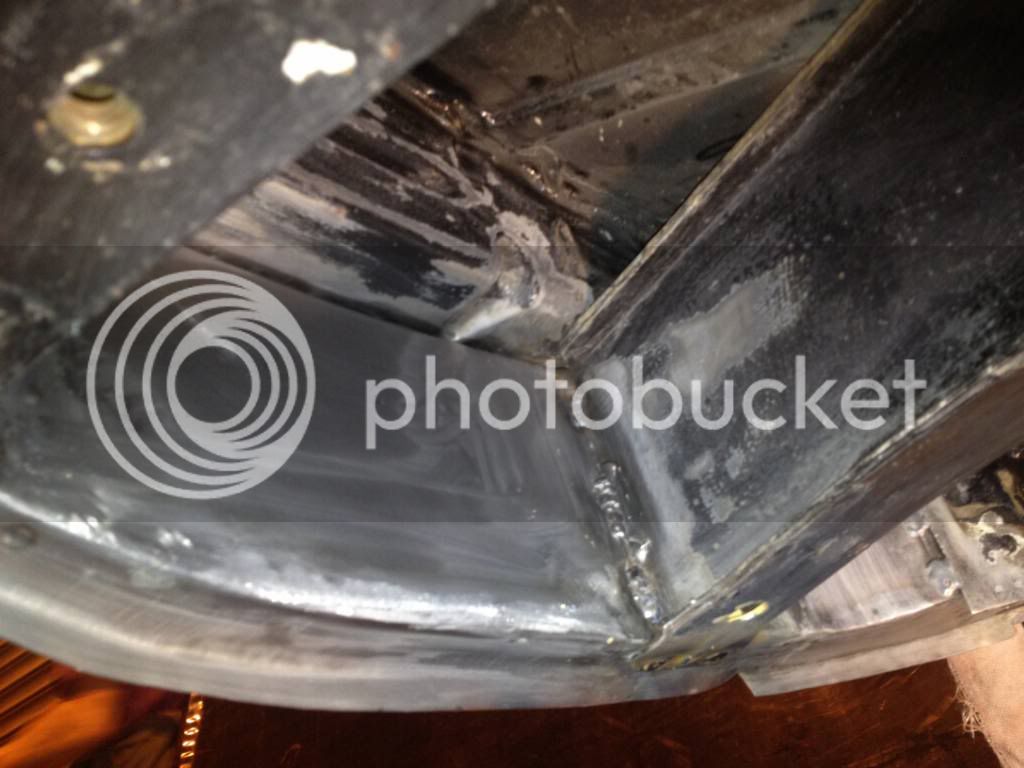
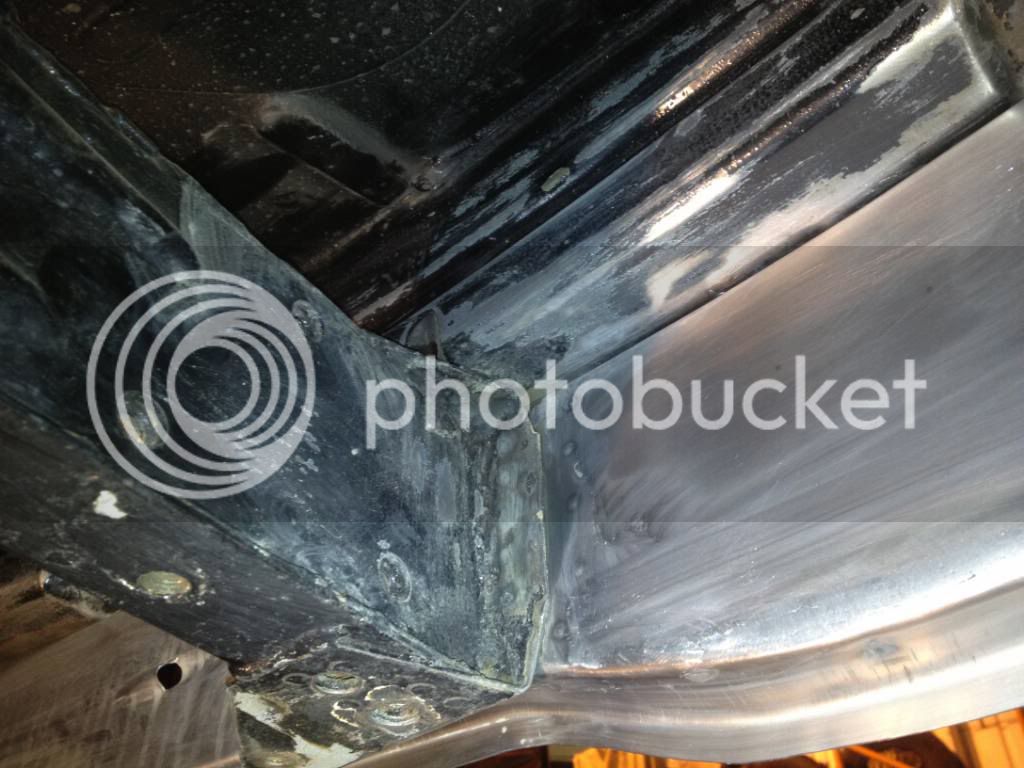
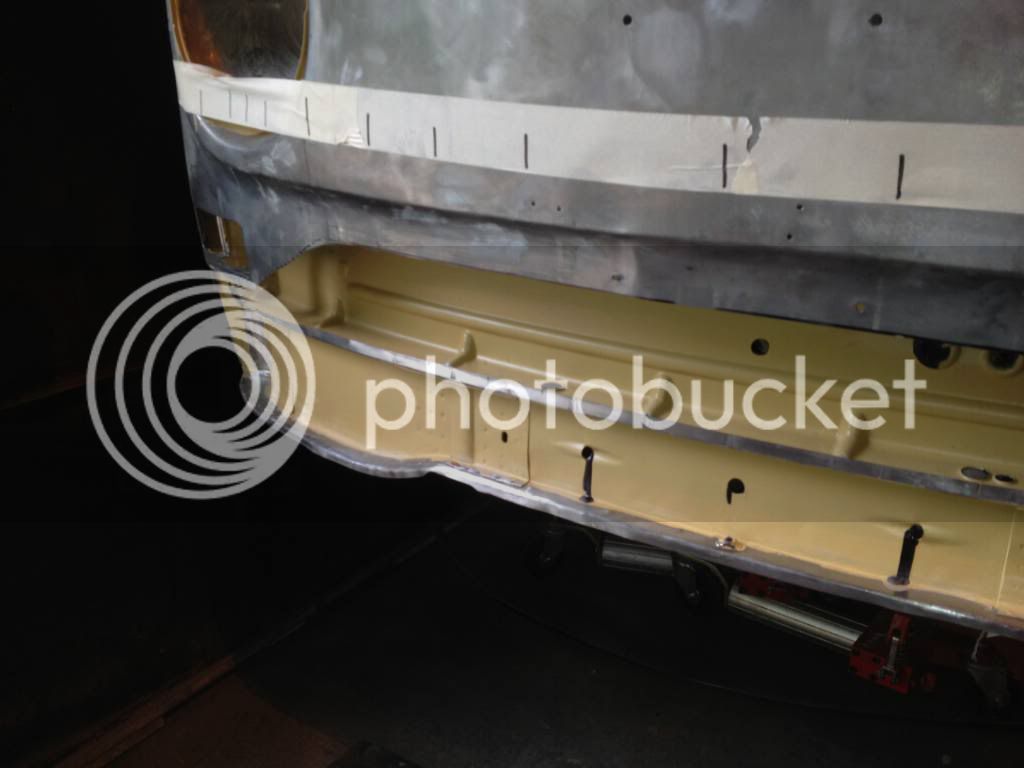
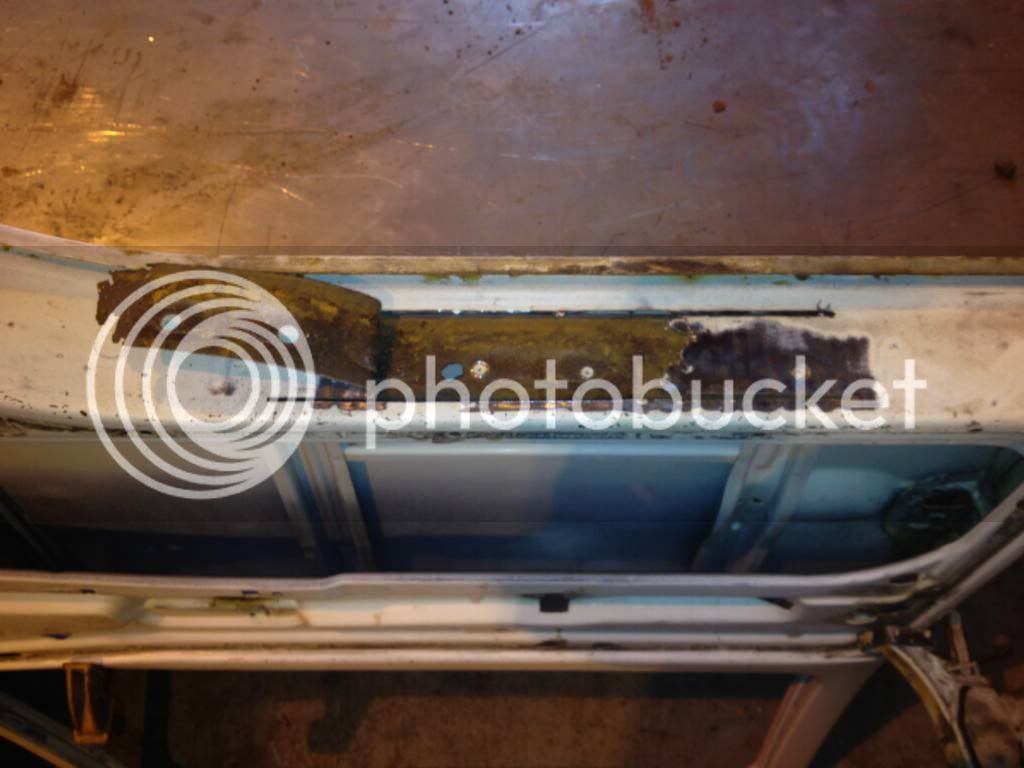
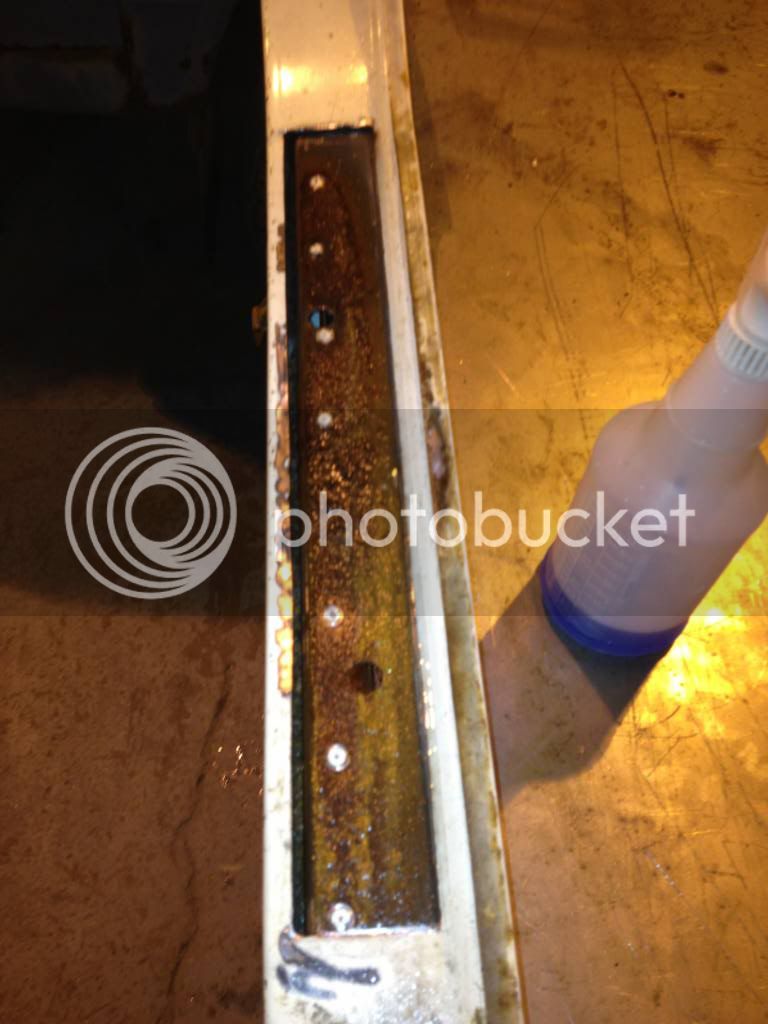
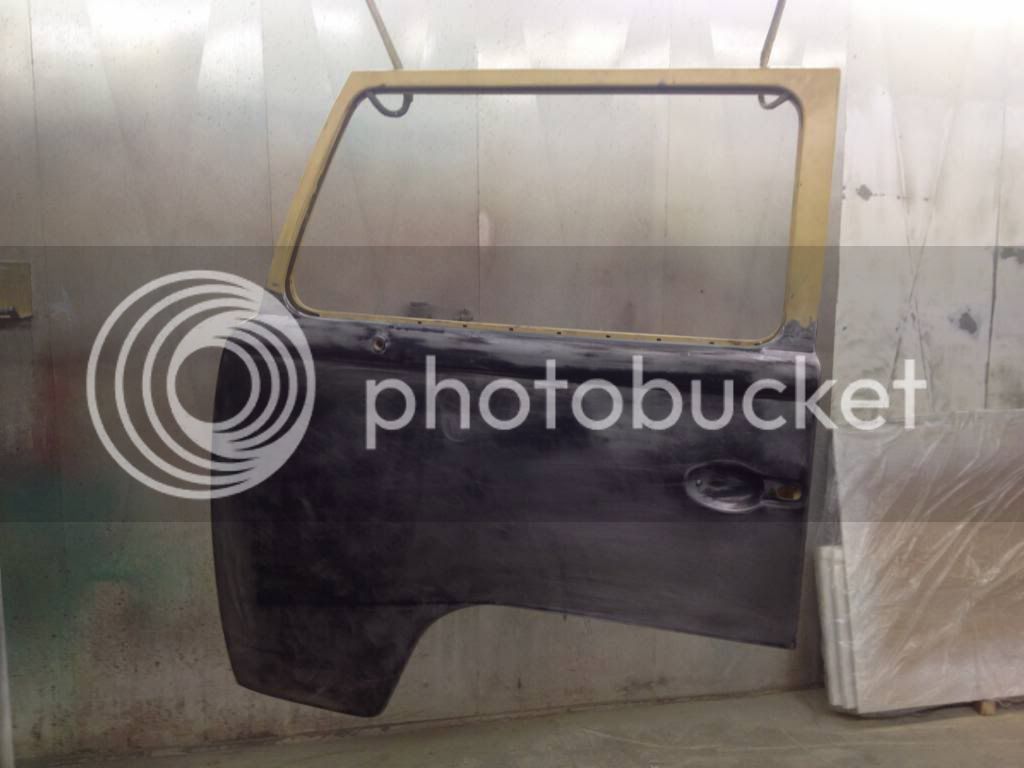
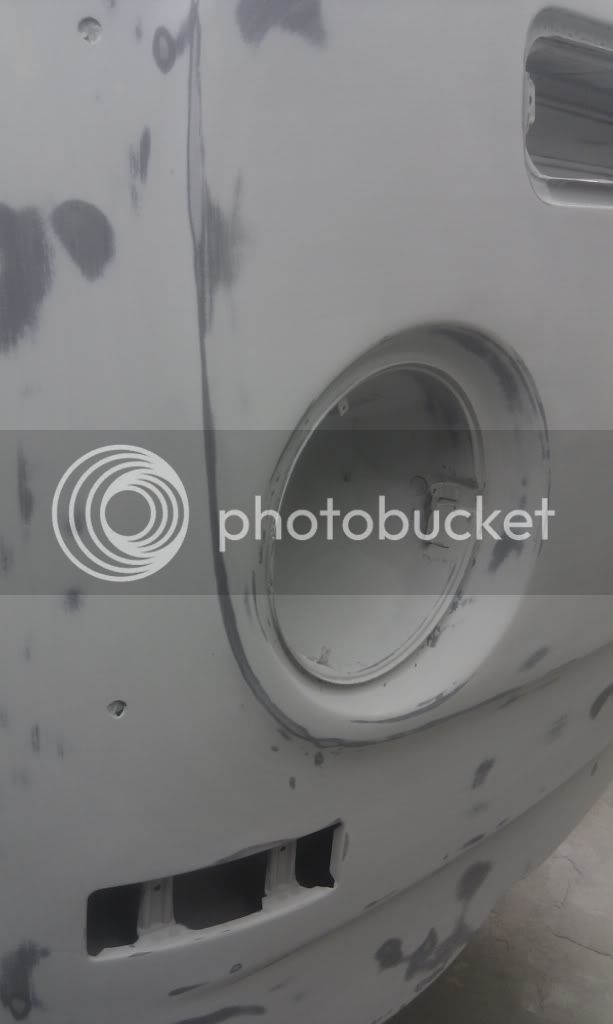
The rust..

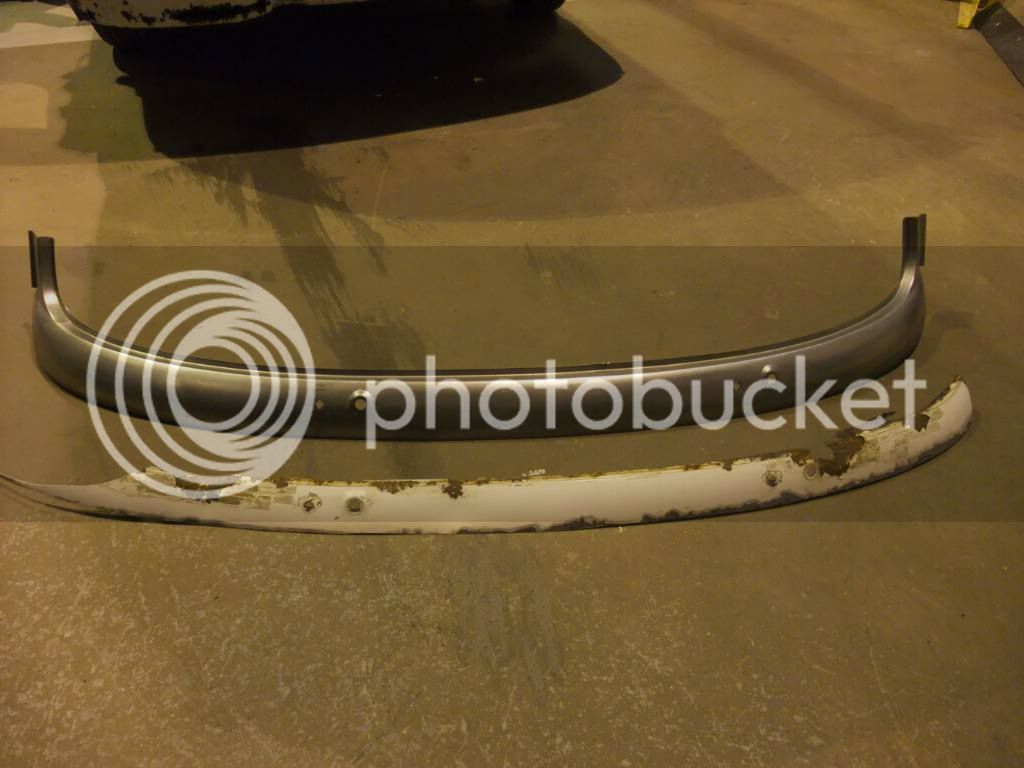
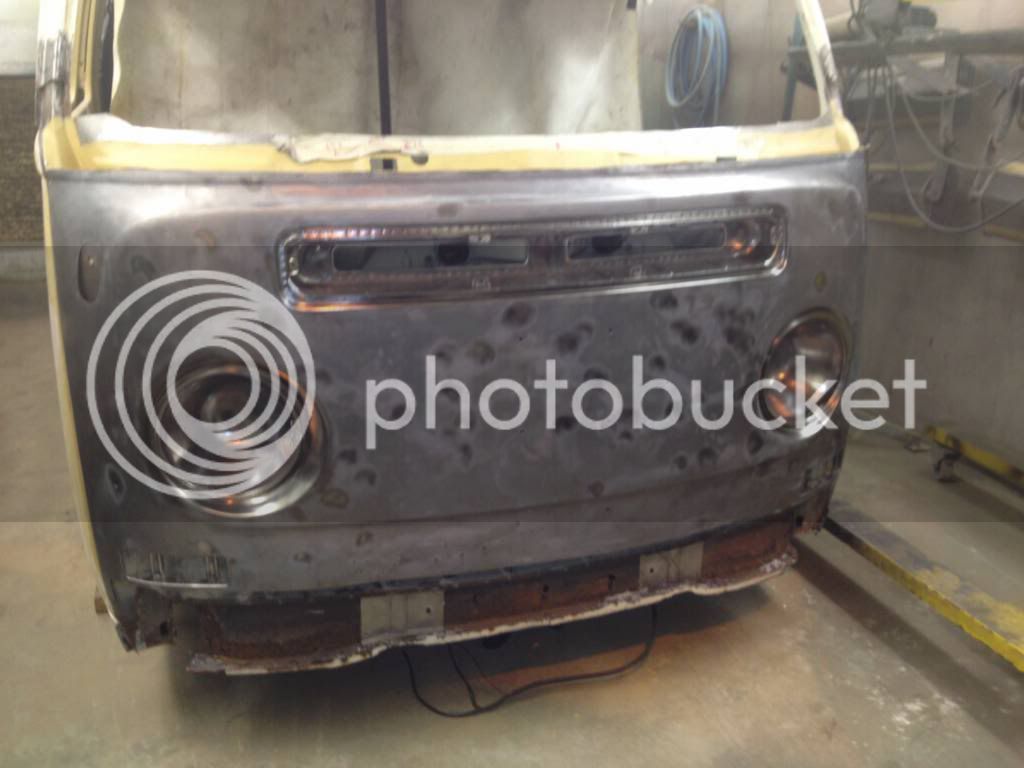
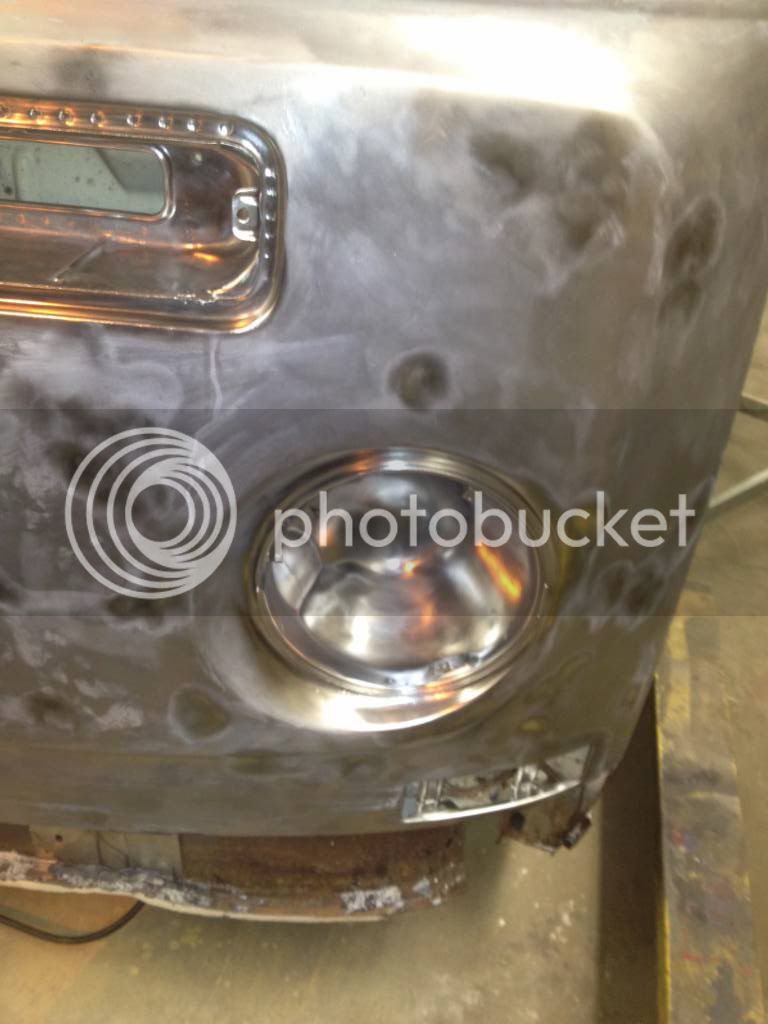
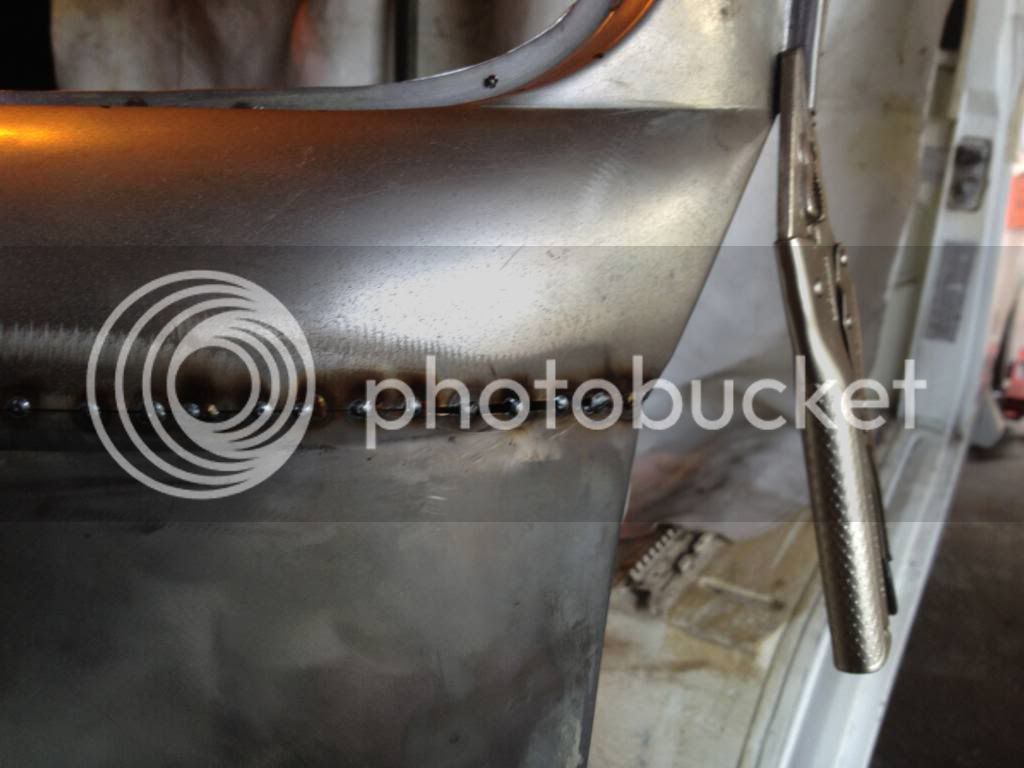
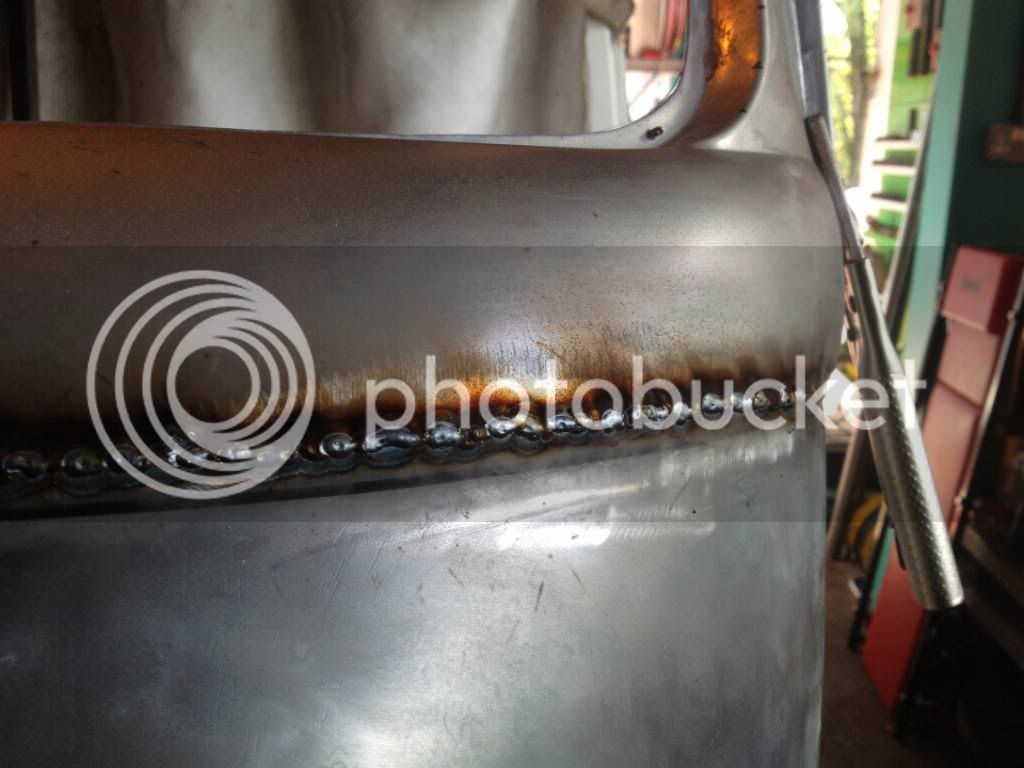
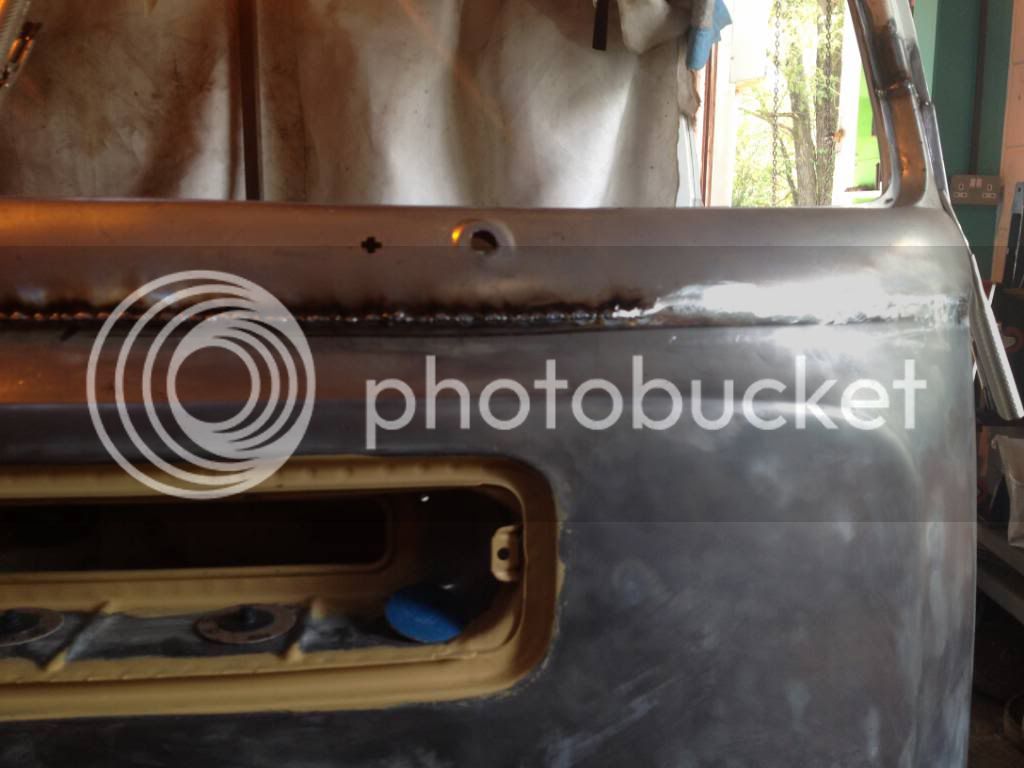
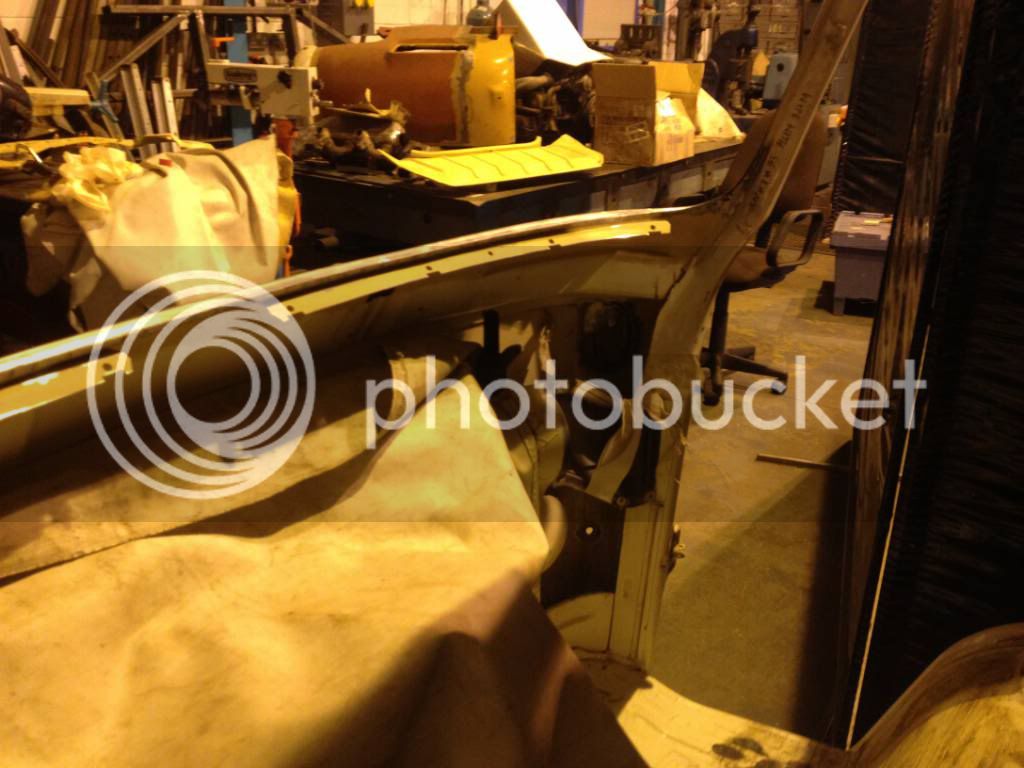
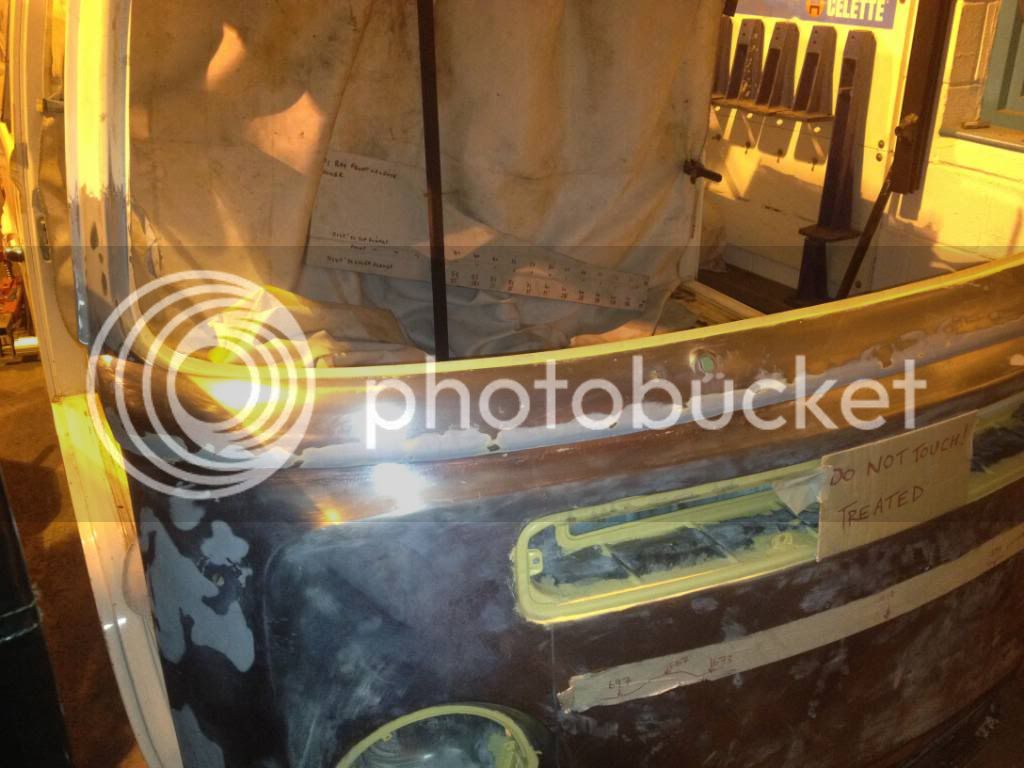
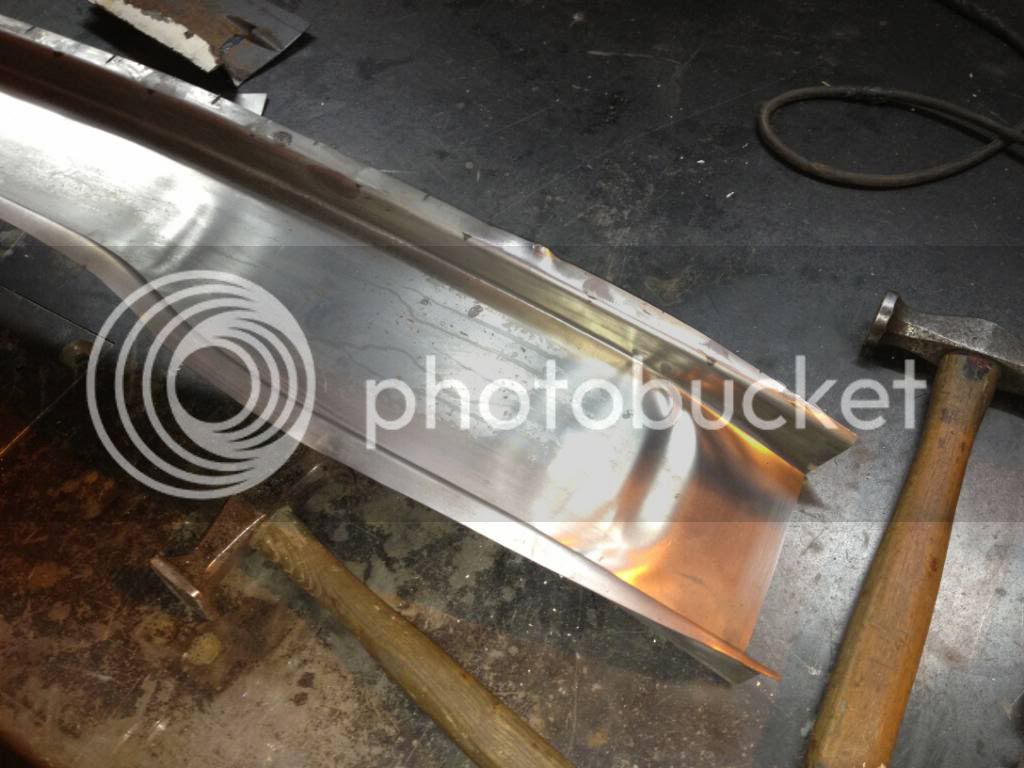
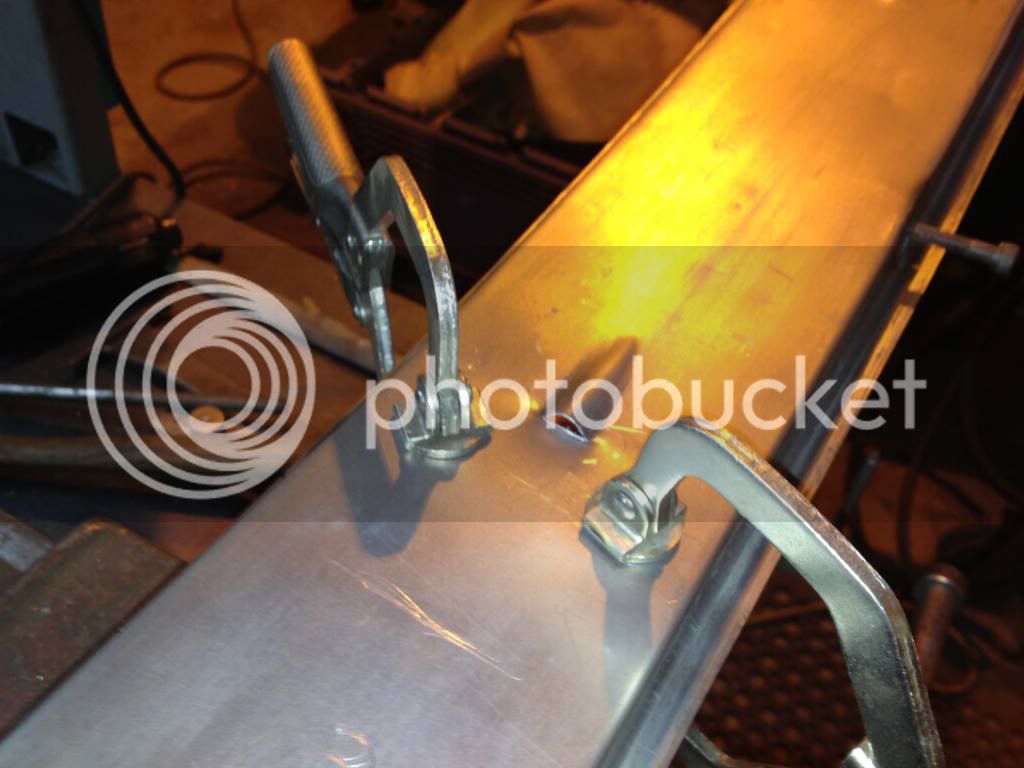
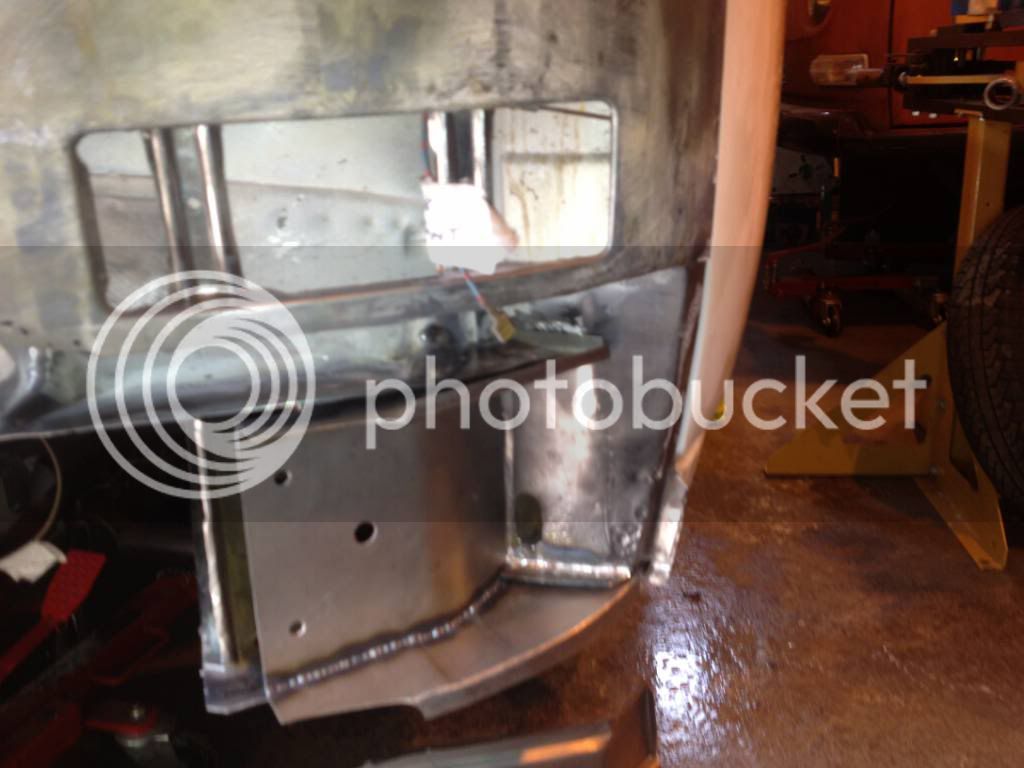
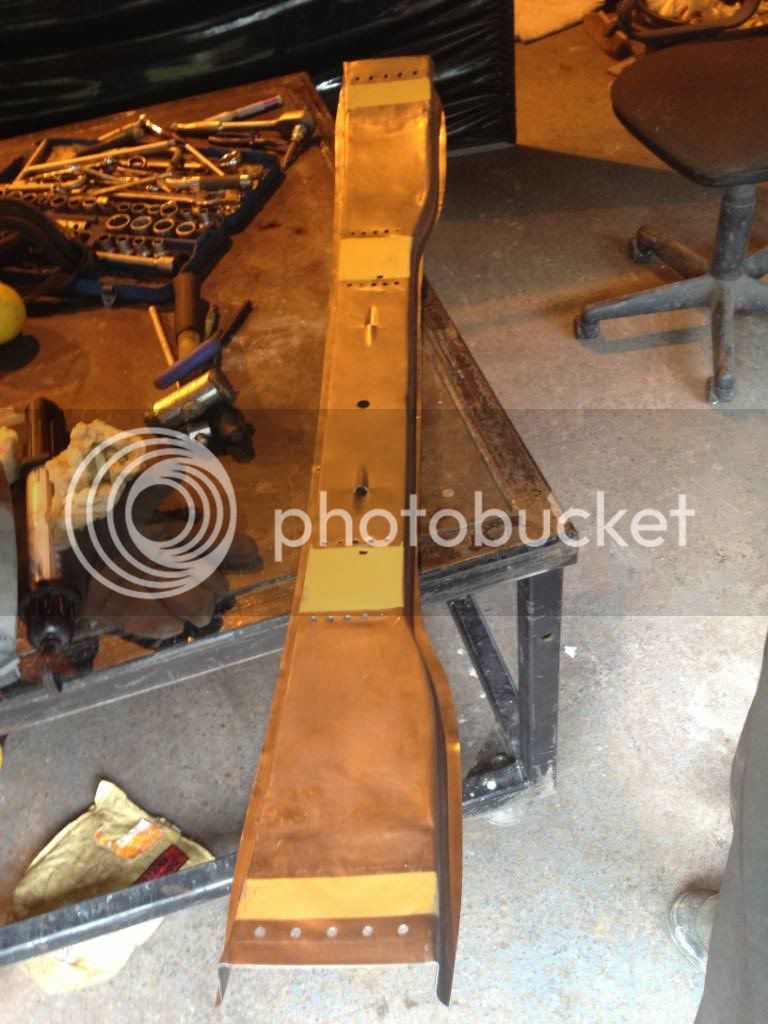
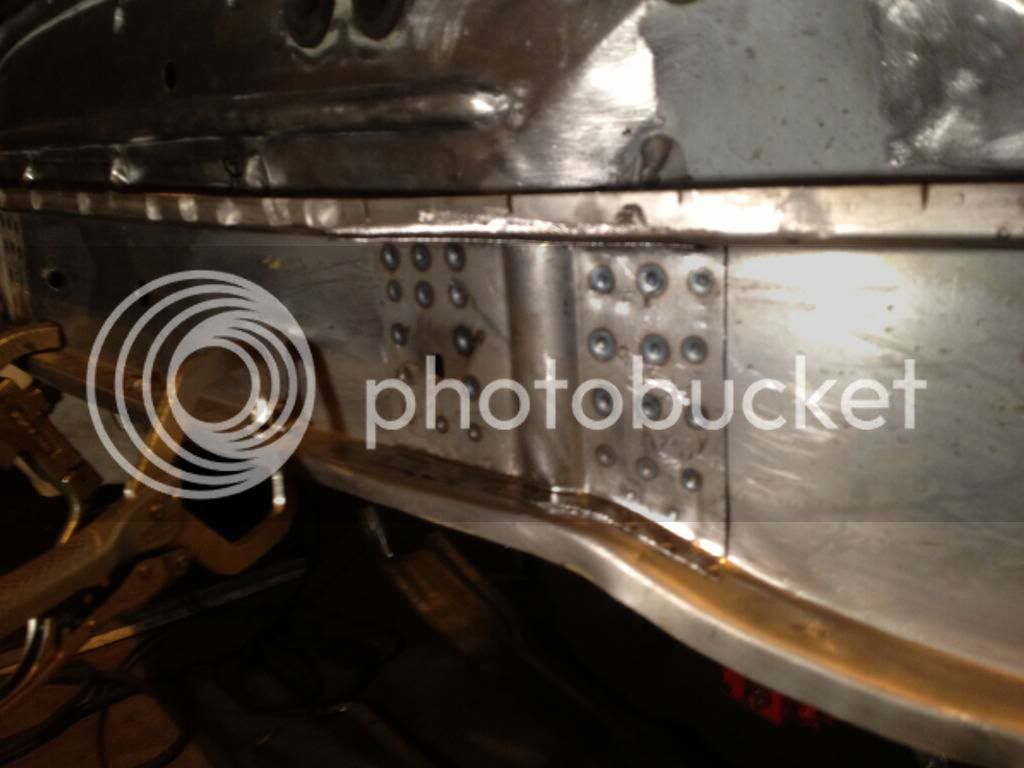
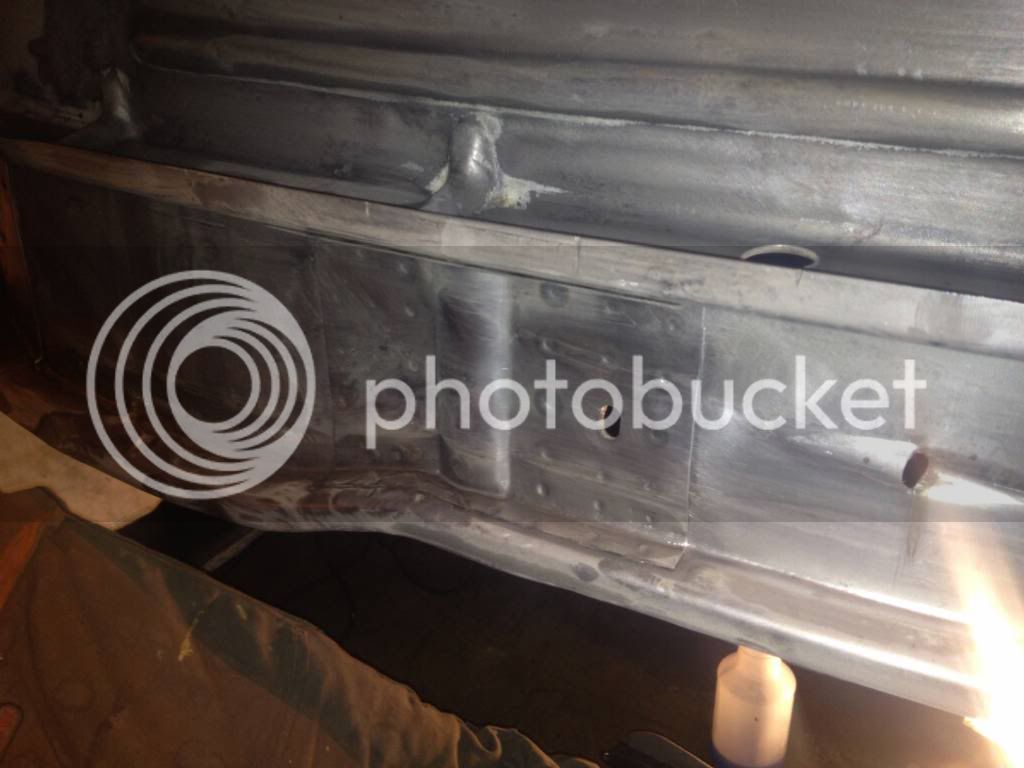
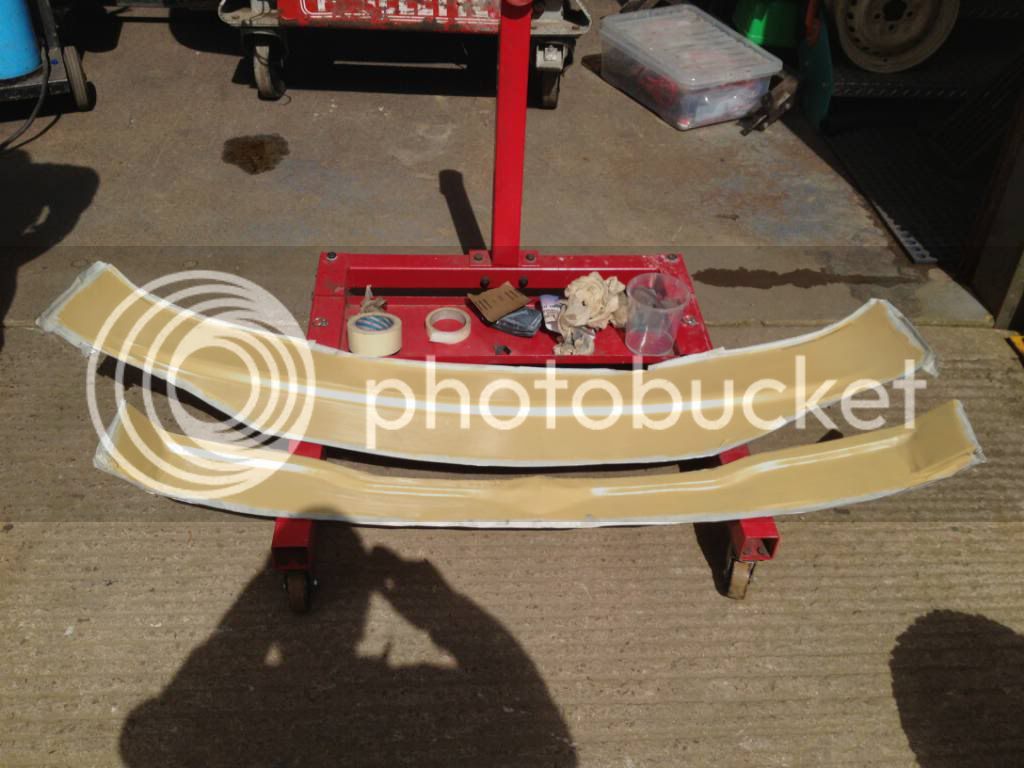
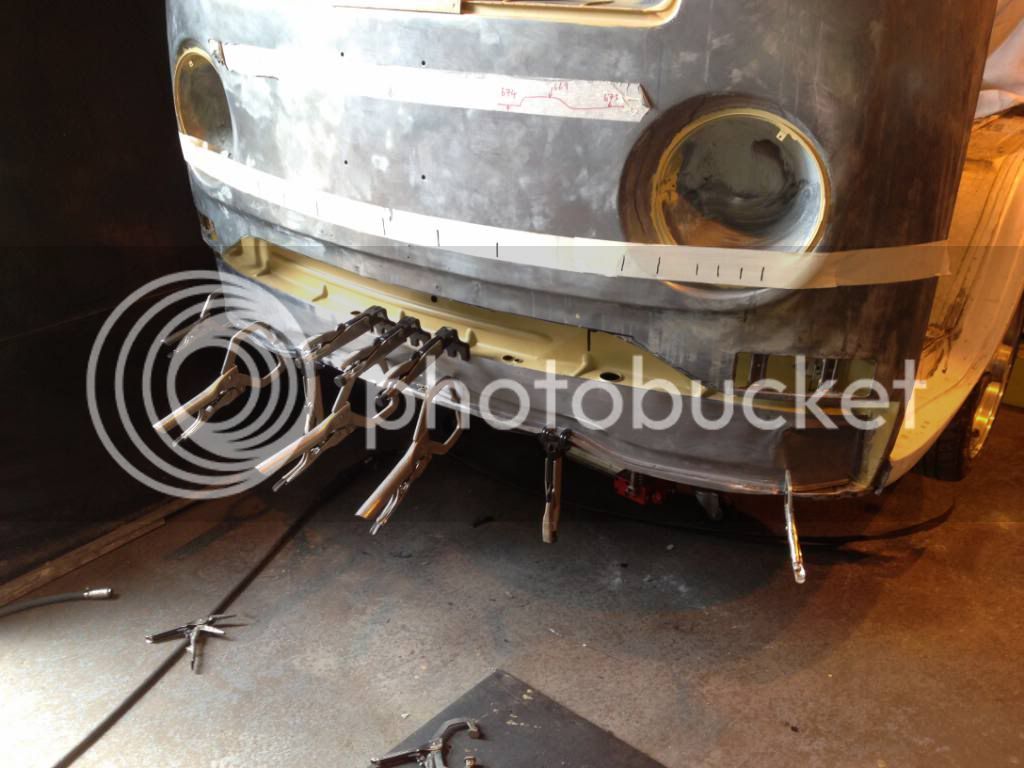
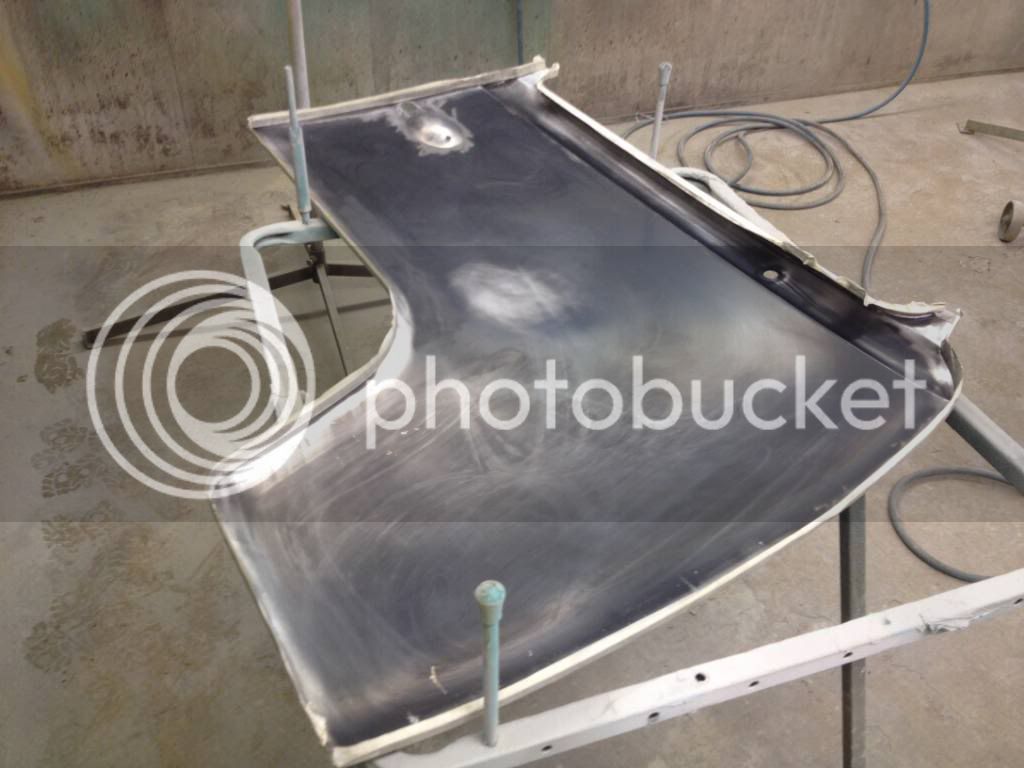
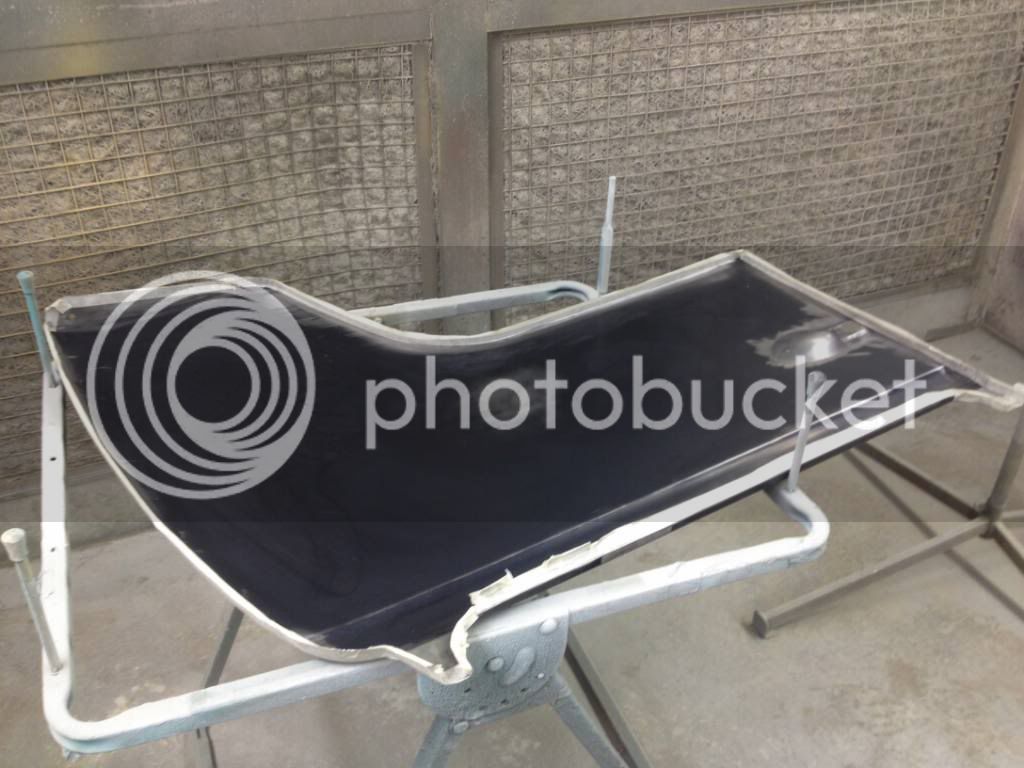
Repair section from Klassic Fab available through Musclebus, trial fit looks good..
Here are the pictures from the front panel repair on my 71 Westy Cali Import.
All work carried out at NAPSTOK customs...
The bus..
The rust..
Repair section from Klassic Fab available through Musclebus, trial fit looks good..


")