Cunning Bus Project

Early Bay Forum

Help Support Early Bay Forum:

This site may earn a commission from merchant affiliate links, including eBay, Amazon, and others.
A little bit more:


DSC00012.jpg

Wire wheeling the main floor.. Arr :| :x found some more holes and marked them in yellow.

DSC00009.jpg


DSC00011.jpg


DSC00006.jpg


DSC00005.jpg


After bathing it all in Metal Ready the POR15 goes on..

DSC00014.jpg


DSC00015.jpg
 
Why the obsession with POR-15? Its pretty neat stuff but ot really that good when used on partially stripped metal. Especially when using Metal Ready, it destabilises and damages the paint remains. And before using paint you'll have to use Etch primer on the POR-15...

All I'm saying is that you should consider using normal 2K primer for those surfaces.
Save the POR for chassis parts and such. Makes more sense in my humble opinion.
You should refrain from using it on the body, especially if you're gonna use filler.

Don't mean to be a pain, but that's what my experience tells me.

Great bus, lad and nice to see you making a lot of progress!!

Cheers!
 
T2-Nate said:
Why the obsession with POR-15? Its pretty neat stuff but ot really that good when used on partially stripped metal. Especially when using Metal Ready, it destabilises and damages the paint remains. And before using paint you'll have to use Etch primer on the POR-15...

All I'm saying is that you should consider using normal 2K primer for those surfaces.
Save the POR for chassis parts and such. Makes more sense in my humble opinion.
You should refrain from using it on the body, especially if you're gonna use filler.

Don't mean to be a pain, but that's what my experience tells me.

Great bus, lad and nice to see you making a lot of progress!!

Cheers!

Im guessing you already know abit about POR15... In sections that arent visable but you still need to protect I would rather put down POR15 than 2k, it is amazing stuff and really does do what it says on the tin. It is also alot easier to apply than 2k.. The partially removed paint doesnt really affect it as it has all been keyed as such with the wirewheel, anything that was loose obviosuly came off and any holes that were there were uncovered, it is that thick it seems to bond with any previous paint creating an air tight solid seal..

Im sure if you made a mould and poured POR15 into it, you could make a tool it is THAT strong. Considering the PO didnt put any kind of protection down before installing their interior over the top, I am supprised there are not more holes!

Im not going to put any on the body, Ive just done the gutters because they fragile and will never look perfect, but now with a good coat of the 15 they will be solid, a blow over with chosen paint and they should look fine..

The chassie im using POR15 and Hardnose paint over the top, UBER protection.. I dont really want to do all this work twice but I want to get good use out of the bus, so anything that is considered done (e.g - solid) and that isnt in immediate view gets PORed 8)

All comments are welcome dude. :mrgreen:
 
cunning plan said:
I found some shots of it here on EB from a guy called 'streetwagens'. I dont think he posts here anymore..

Here it is with a white door I found..

P1020343.jpg

Yep, thats Dai...he is more often found on SSVC talking Barndoor.....a real cool guy
 
Bought a rear bench seat at Dubfreeze that is actually in great condition, minus any brackets - although easially added.

ReconditioningBenchSeat2.jpg

Tidied up the base frame by wirewheeling any rust then putting a nice protective coat of the POR15 (yes I should be sponsored by POR15 I am using that much :lol: )

ReconditioningBenchSeat.jpg


TrialFitBenchSeat.jpg

Trial fitted it. Really comfordable and looks awesome for its age - I was told by the previous owner that it was from a Splitty, I figure it has been recovered at some point.

On to the rear load area.

RearLoadArea3.jpg


RearLoadArea.jpg

Scabby! After wirewheeling there were a few holes near the tailgate.

RearLoadArea4.jpg


RearLoadArea2.jpg

Covered with a good coat of - ALL TOGETHER NOW - POR16........... I mean 15.. :cooter:
 
Welding and respray date booked for June 1 with the awesome Andy-van in South Wales! So now its a big push to get it all cleaned and prepped ready for Andy to work his art.

Its annoying when you want to work on your bus but your daily driver breaks.
MondeoCoilSpringReplacement.jpg

OSF Coil Spring snapped - common issue with the MkII Ford Mondeo apparently..

Anyway, so far left before it goes to Andy Towers..
  • * Cut lower clip - wire-wheel area behind ready for Andyvan to make solid
    * More work on the engine bay with grinder - still not happy with it
    * Make tidy rectangle in engine bay for AV to weld new plate in (where dodgy plate was before)
    * Continue working on chassis - lots of grinding still needed here :shock: - again get it clean enough for AV to weld in the new chassis components = solid bus!
    * Wiring loom strip out and fabricate a new copy

WiringMess.jpg

Wiring is a mess - would not rely on this at all.. So im making a new loom :?

New roof section ready to go on or have parts picked from it.. Funny as its almost the same colour as Im going for too..
ReplacementRoofSection130.jpg


ReplacementRoofSection131.jpg


ReplacementRoofSection132.jpg


ReplacementRoofSection133-1.jpg
 
Nice project! 8) I like the solid windows in the middle.

I'd like to see some shots when they cut and replace the rear panel. I've never seen that kind of repair.
If it did not workout the panel could double as a coffee table or maybe a bench!

Cheers!
 
Tanks CKer5, when Andyvan starts on the major welding ill make sure he takes some pictures so you can see.. But otherwise you're right, it makes an awesome table (kind of using it as a shelf right now :oops: )

Ive booked a farmer to do some shot blasting.. More on this later!!!!!!! :mrgreen:

Bit more done..
FrontClip0903.jpg


FrontClip0901.jpg


IMG_0904.jpg

Real nice sunny day, so opened up both doors to let a bit of sun on it and to show the neighbours what all the noise was about :oops: . Started taking the gearbox and wireing loom out ready for shot blasting..
 
Hey pal, I can't believe this is your project bus! I nearly bought this from Dai (Streetwagens) myself but spent the money on a Westy I had instead - What a small world!

Give me a shout when it goes down to Andy's as I'm only about 15 mins away :D

Spence :)
 
van fan said:
Any new pictures......Makes good reading, as i am looking to do this, probably during next winter.
Just need to find a garage, parents not as understanding as yours....

No sorry, havent been 100% myself the last few weeks so nothing done on the bus. Hopefully the next process will be the shot-blasting on the chassis with the local farmer - should be interesting..

Spence said:
Hey pal, I can't believe this is your project bus! I nearly bought this from Dai (Streetwagens) myself but spent the money on a Westy I had instead - What a small world!

Give me a shout when it goes down to Andy's as I'm only about 15 mins away :D

Spence :)

I cant believe it too sometimes :shock: :lol: From what I can tell, Dai sold it to the guy from Bedford who I bought it from, so I didnt directly purchase from Dai..

Ill let you know when we are on the way accross then, be great to let Andy work his skill0rz on it..
 
More - Needed to get the box out and the wheels back on ready for trailering to the farmer for shot blasting.. the only thing left on that I dont want to get blasted is the wiring loom but then Im buying a new one anyway..

Once the wheels were on and as it was a really nice day, I took the opportunity to clean the garage floor where the bus was sitting..

BusUpdate.jpg

BusUpdateII.jpg

BusUpdateIII.jpg
 
Organisational update:

Trailer booked.

Farmer shot-blasting booked for week - May 30 to June 5 (he is fitting it in around other jobs so needs it for a week).

Andyvan ready to receive bus June 6 to commence work the following week after he has finished the splitty he is currently working on.

Cant wait for Andyvan to make a start 8) :rocknroll:

Updates coming soon :party0051:
 
Going to the Shotblasting farmer:

Getting out of the garrage..
IMG_1098.jpg


IMG_1102.jpg


Me checking the lashings..
IMG_1103.jpg


The trailer really did look bigger before the bus got on..... :shock: :mrgreen: (poor Mondeo)
IMG_1105.jpg


Unloaded at the farm.. This is the area where the bus will be rolled on its side to spray the chassis.
IMG_1112.jpg


IMG_1111.jpg


Series II Landy behind my bus also being worked on..
IMG_1114.jpg


Real interested to see the end result of the blasting. The farmer said he will include blasting the complete engine bay, the whole chassis, the lower sills and some of the lower panel areas - :mrgreen: Great! Might help Andyvan out a bit with the prepping :party0021:
 
Back from Wales!

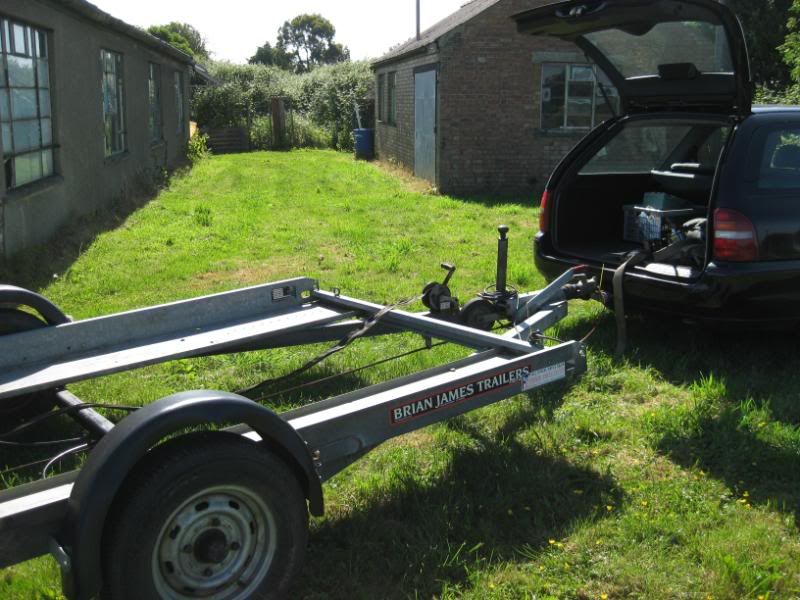
Not much to see apart from trailer shots really...

TrailertoAndyvans-SouthWales07-0-11.jpg

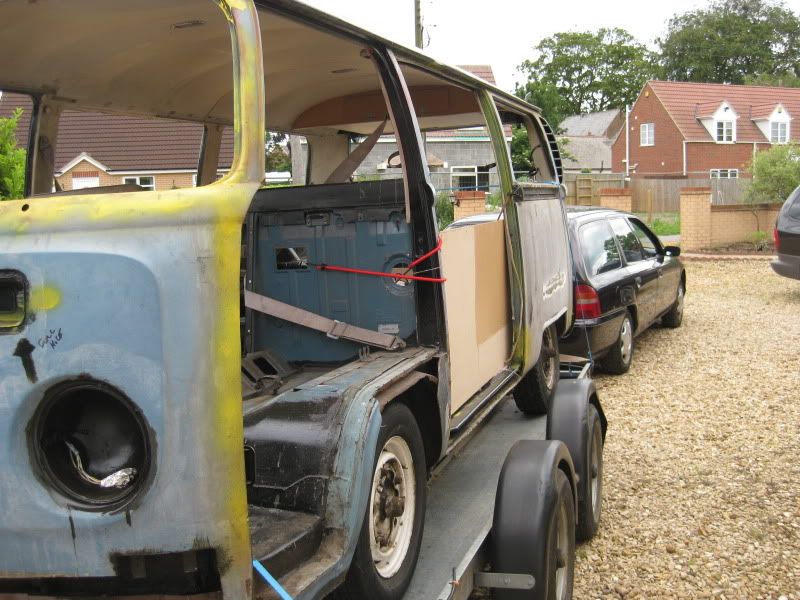
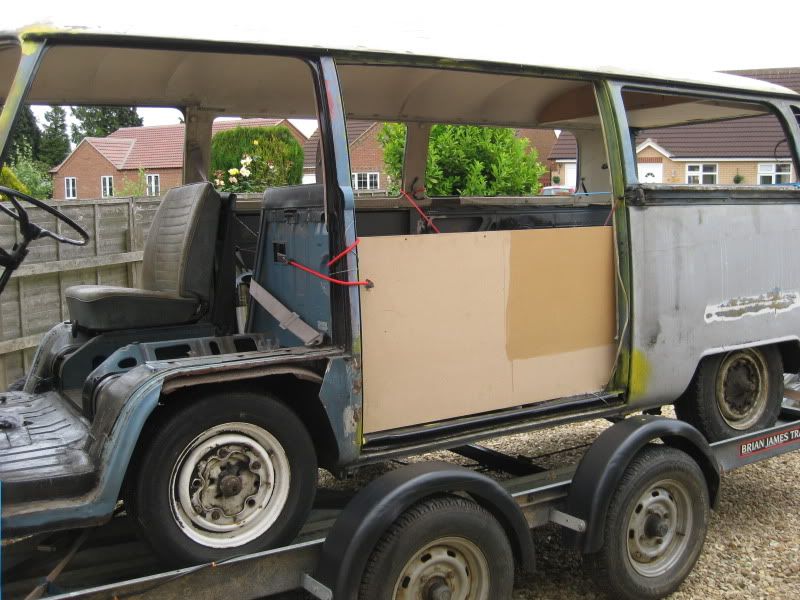
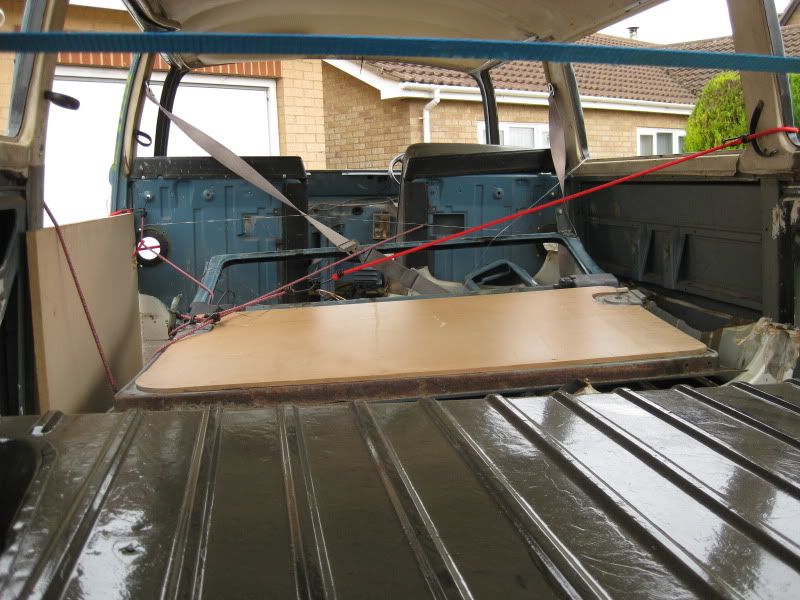
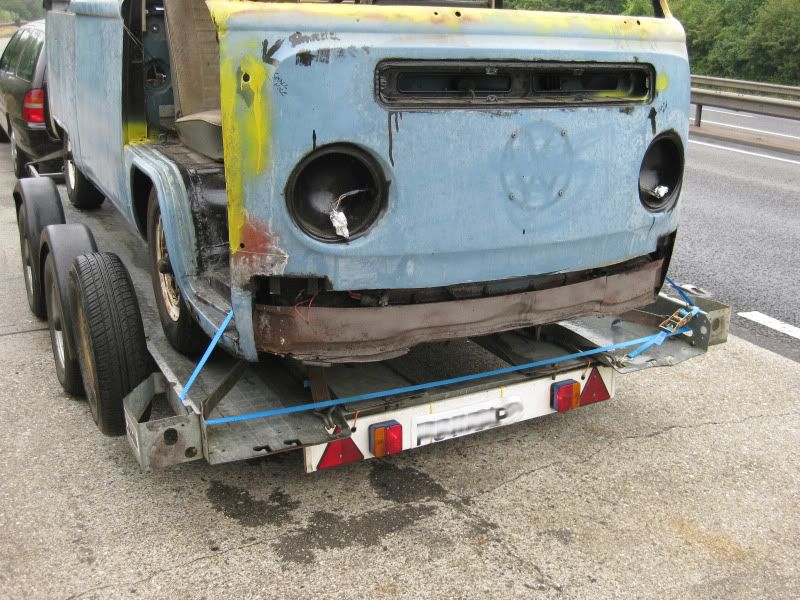
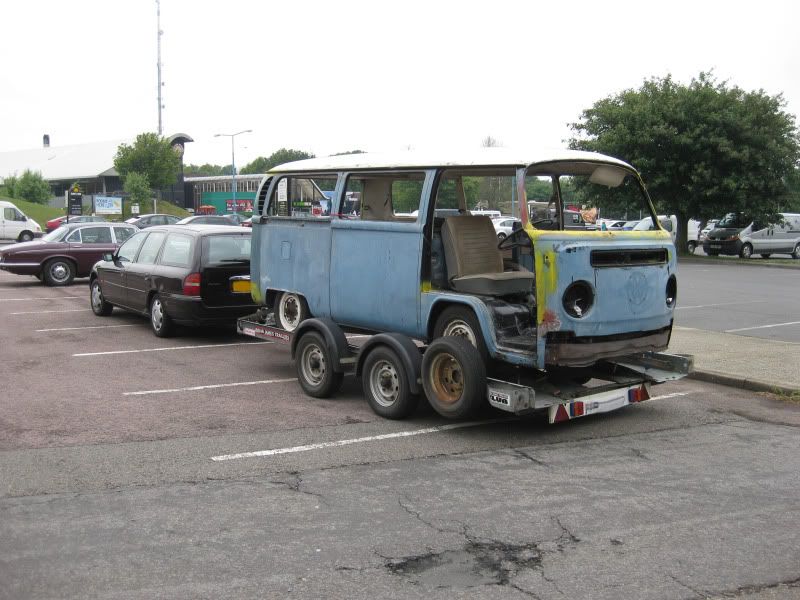
Loading up, strapping down the lashings..

TrailertoAndyvans-SouthWales07-0-10.jpg

TrailertoAndyvans-SouthWales07-0-9.jpg

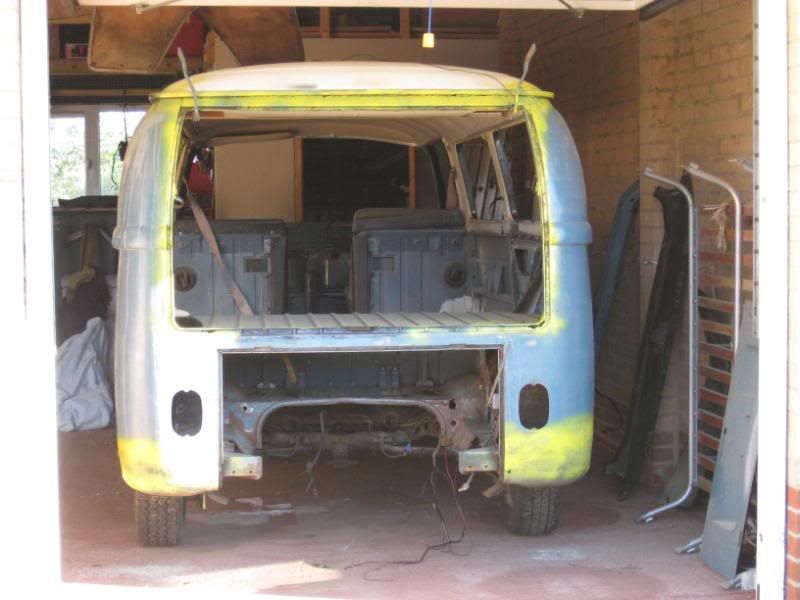
Homemade redneck sliding door to stop the doors and panels stored in the rear sliding out.

TrailertoAndyvans-SouthWales07-0-8.jpg

TrailertoAndyvans-SouthWales07-0-7.jpg

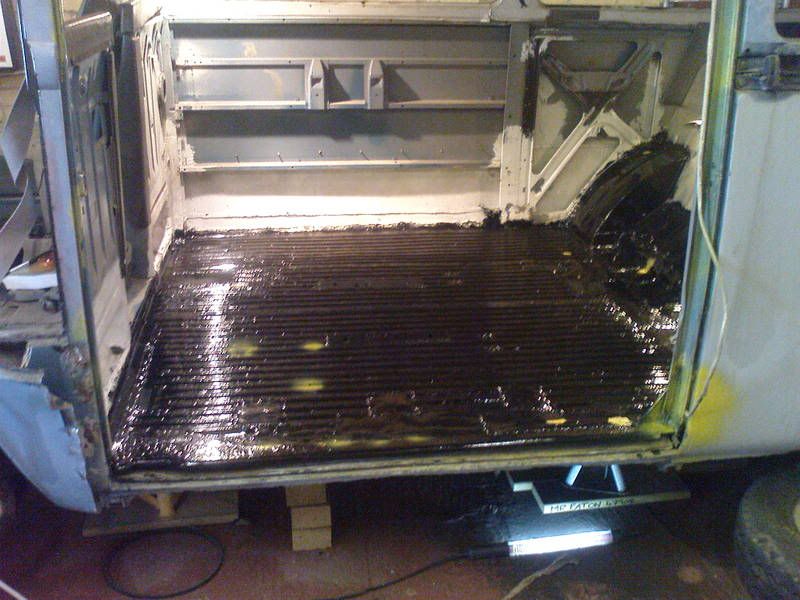
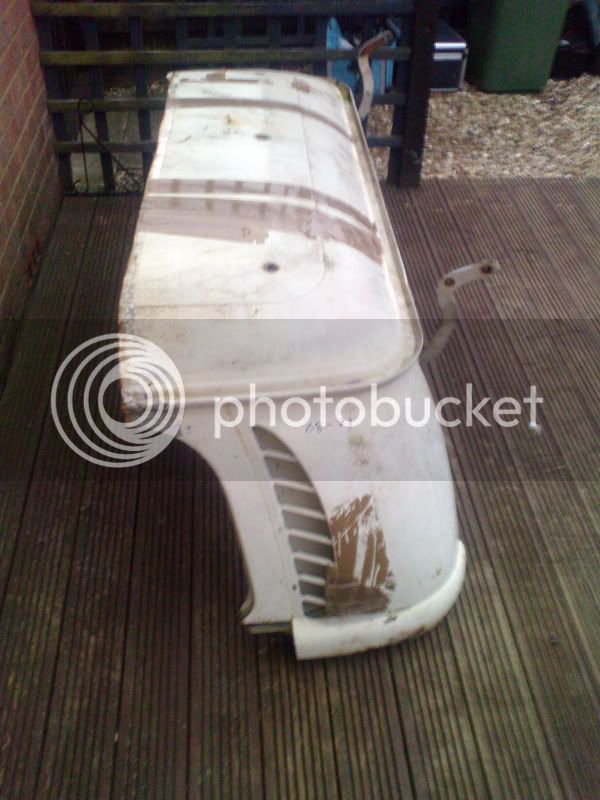
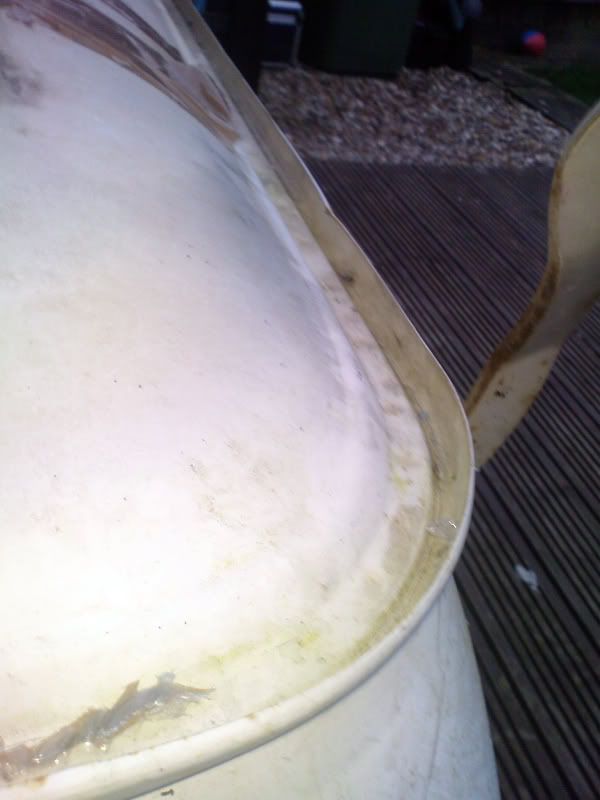
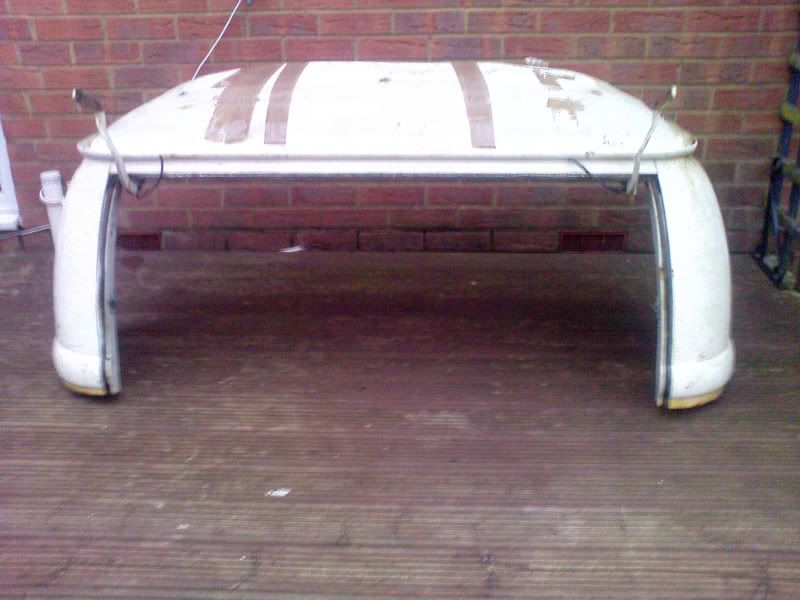
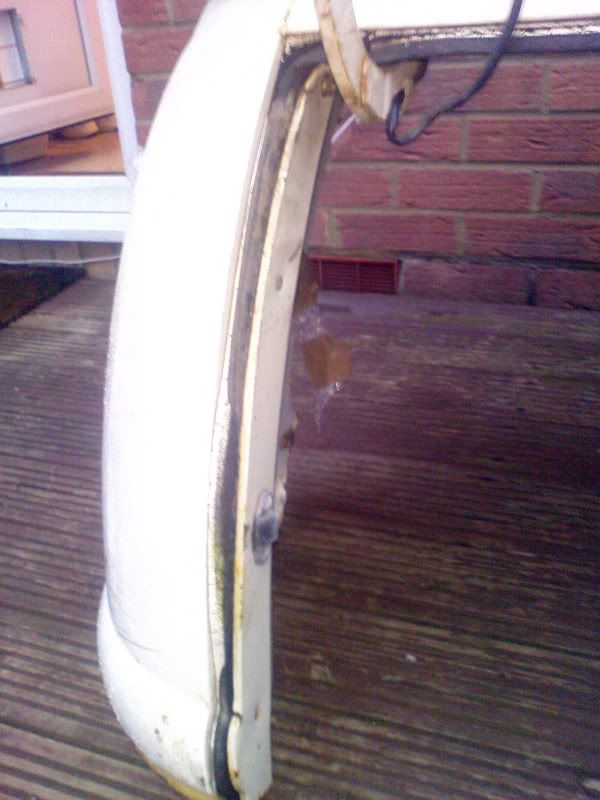
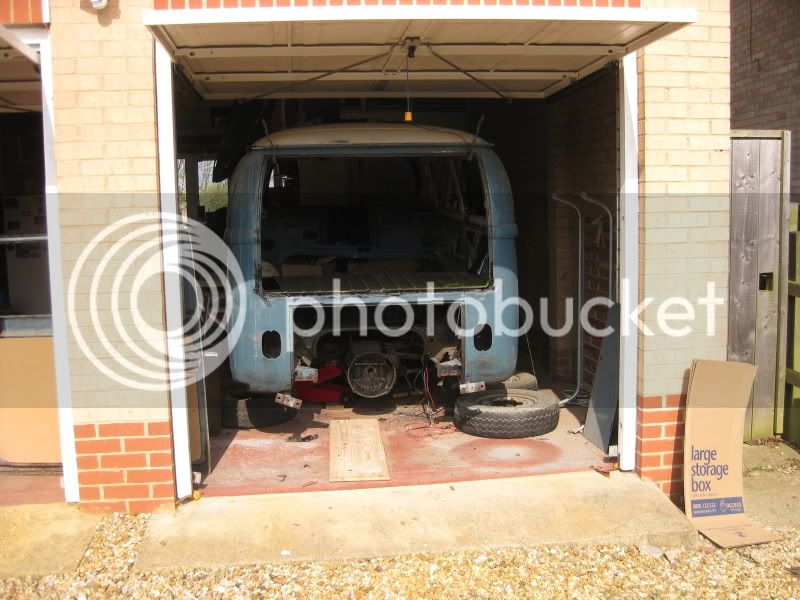
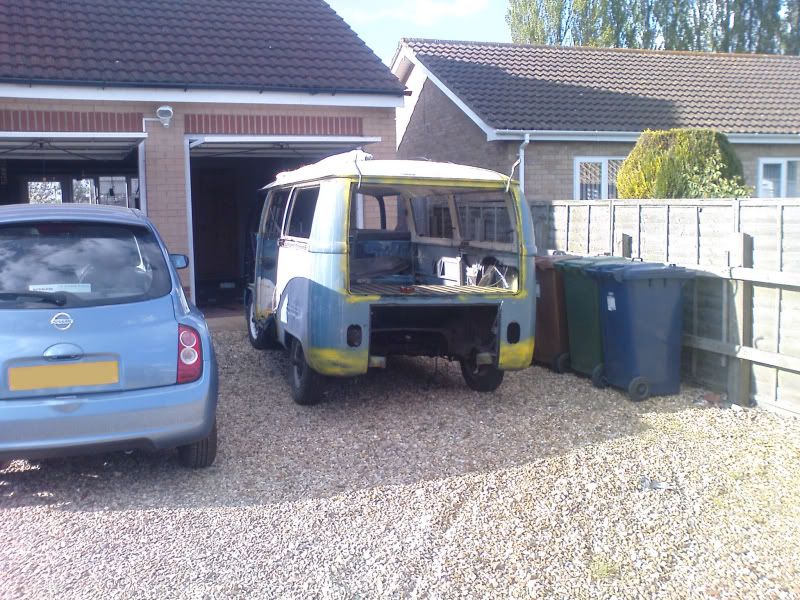
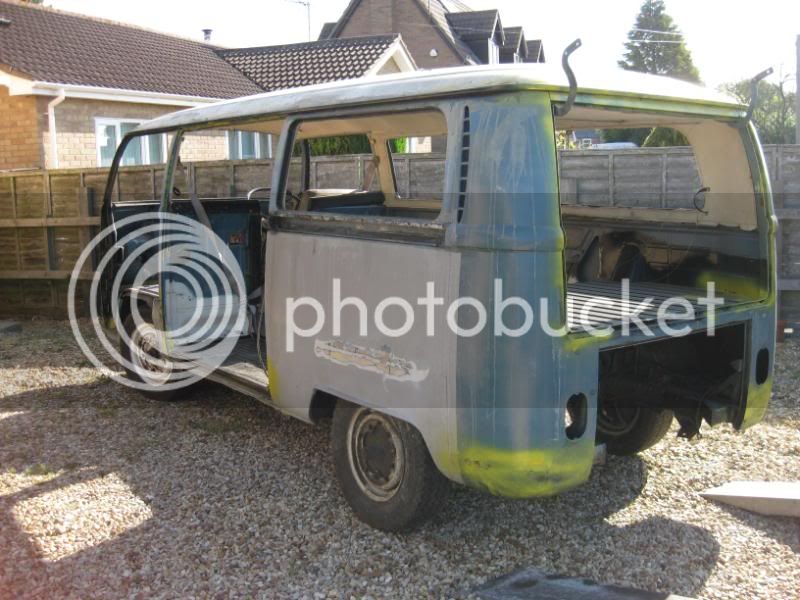
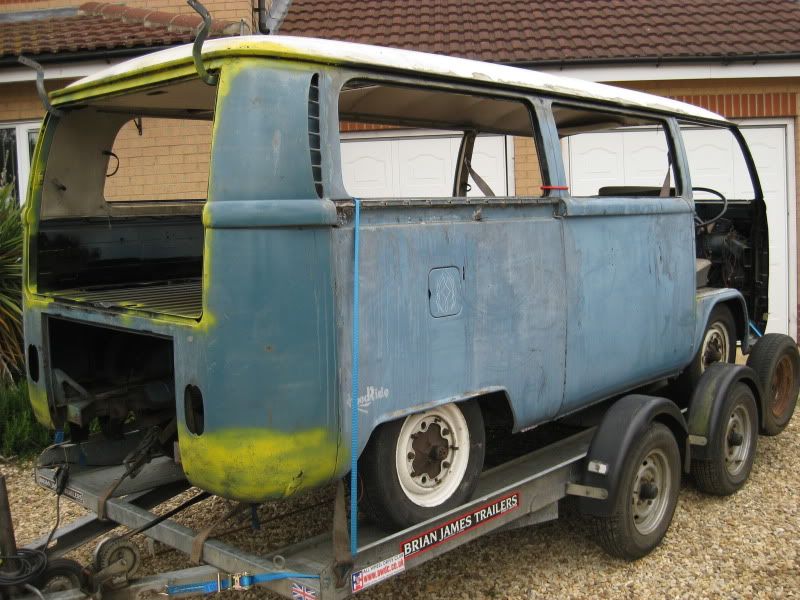
All the doors, deck lid, rear hatch, roof section, wings etc stored in the back..

TrailertoAndyvans-SouthWales07-0-6.jpg

TrailertoAndyvans-SouthWales07-0-5.jpg

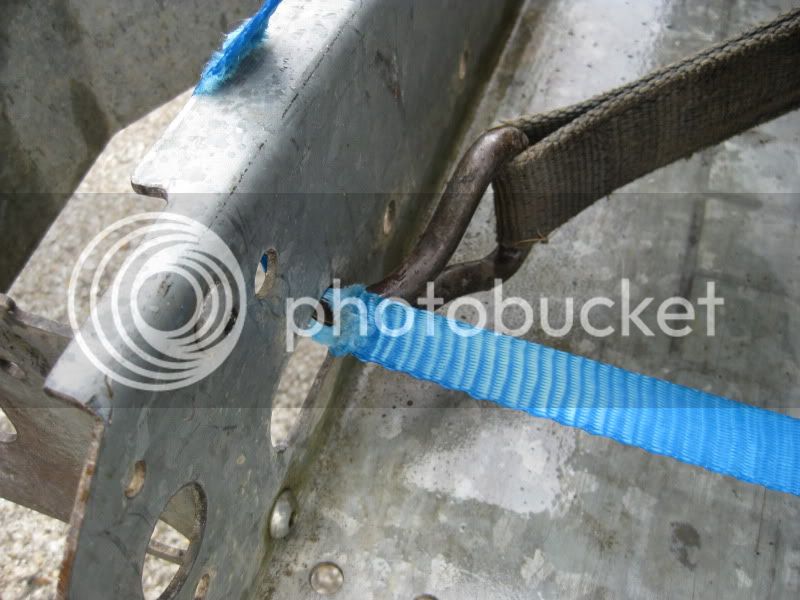
In a lay-by somewhere on the A34 after we lost a lashing - cheap sh1t from egay. It was only the small blue ones I was using to try and stop the bus bouncing around - so not a load baring strap..

TrailertoAndyvans-SouthWales07-0-4.jpg

Rubbish!!

TrailertoAndyvans-SouthWales07-0-3.jpg

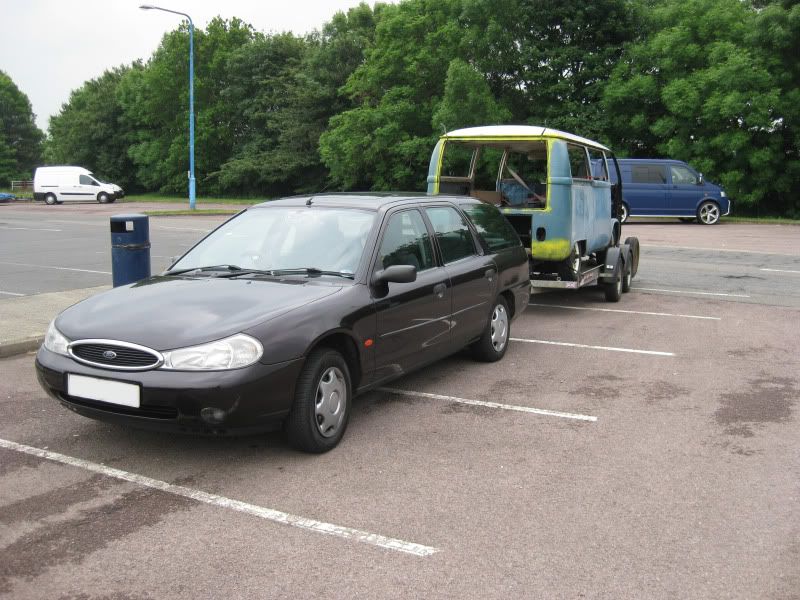
M4 Services to let the Mondeo cool down and take a whizz. Nice T5 behind with a monster of a car trailer (just out of shot).

TrailertoAndyvans-SouthWales07-0-2.jpg

TrailertoAndyvans-SouthWales07-0-1.jpg

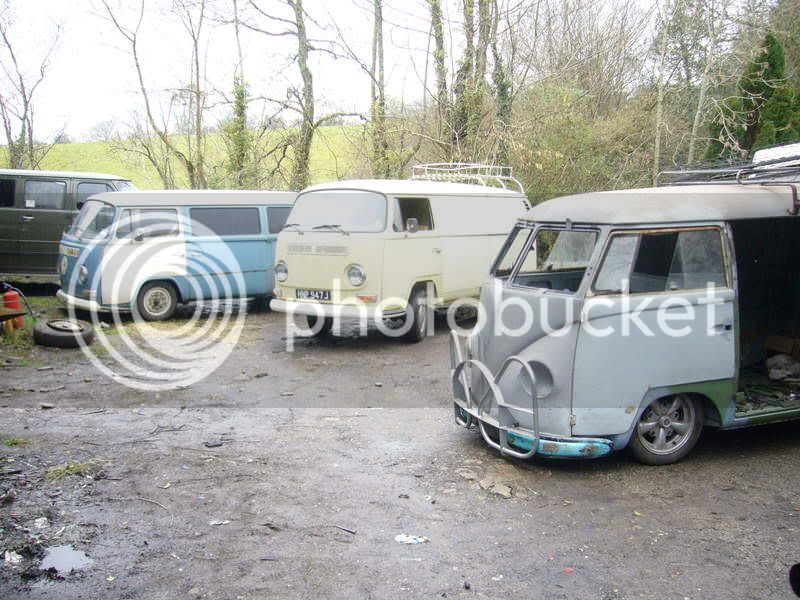
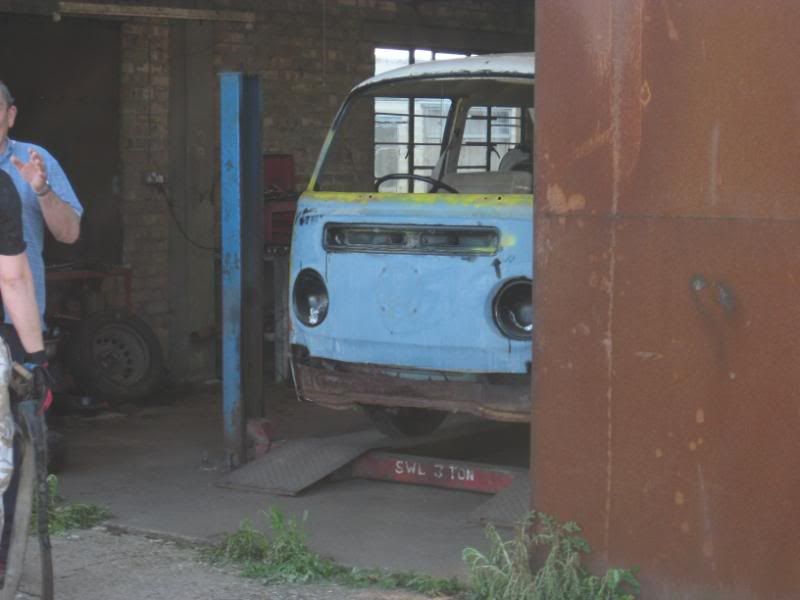
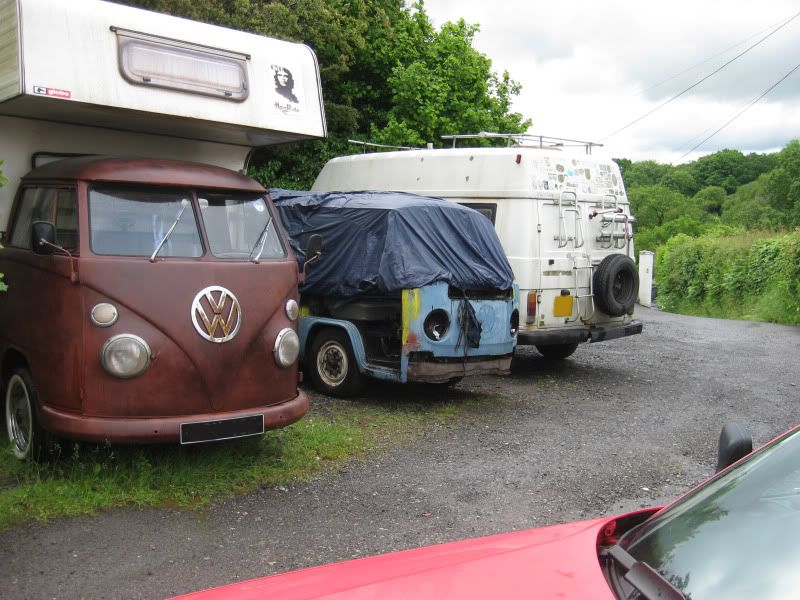
Andytowers is in a valley. I was right down the bottom with the trailer still full and after a 7 hour drive the Mondeo clutch just didnt want to know when I asked it to get back to the top of the hill where the road leading to Andy's resto-barn is. Gave it one more try in the pouring rain and it just made it to the top, be that very smoky from the burning clutch!! Got it unloaded and freewheeled it near the resto-barn where an immaculate split that Andy is just finishing for another customer was sitting, so mine had to go outside for now with Andy's single-cab splitty. After much welcomed beers, bit of rock, some catching up and some fish and chips that night, I took these in the morning..

TrailertoAndyvans-SouthWales07-06-0.jpg

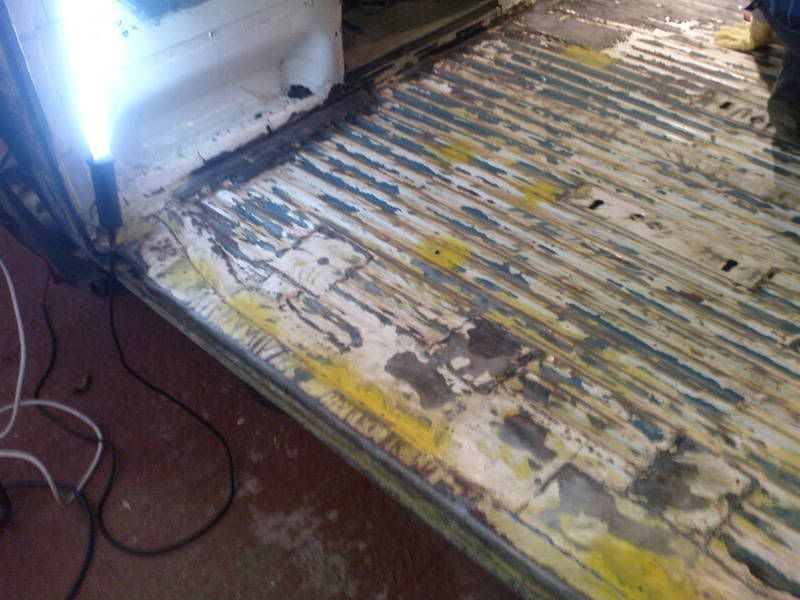
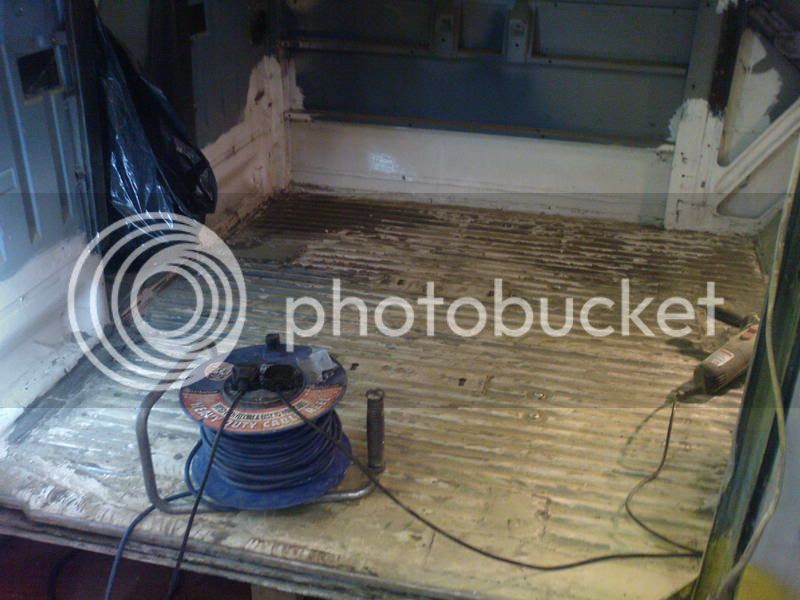
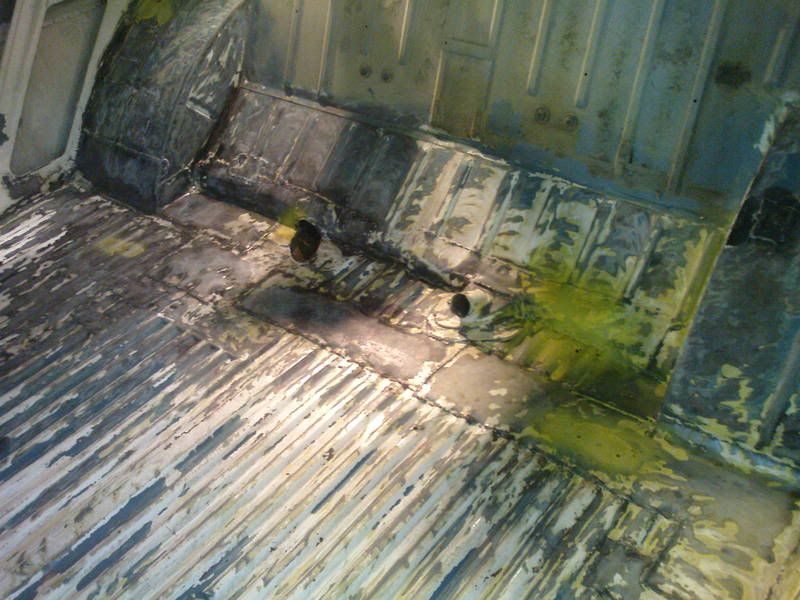
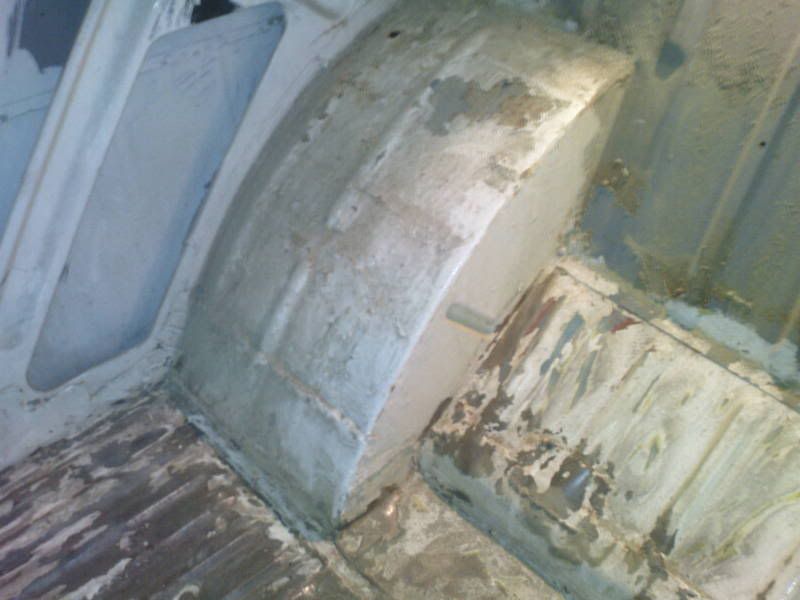
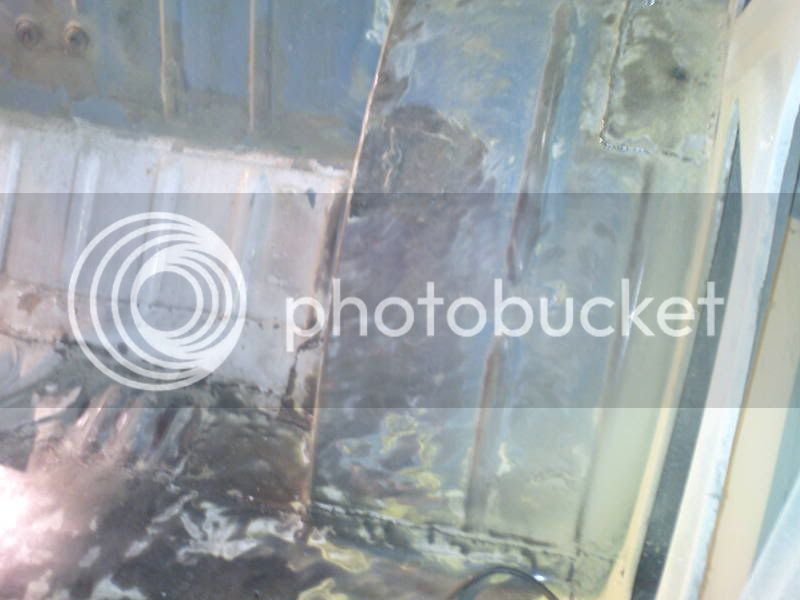
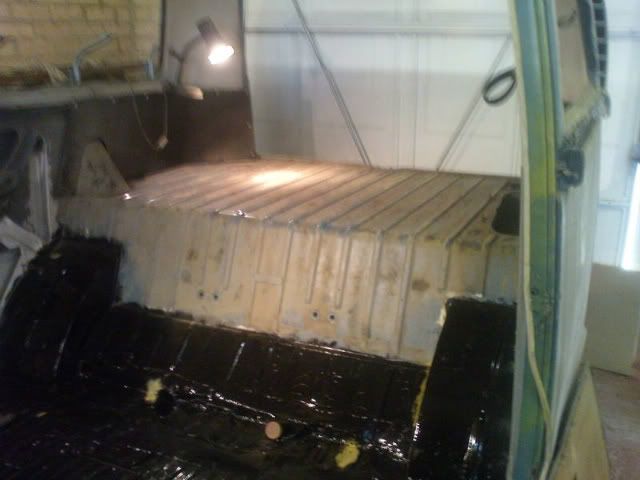
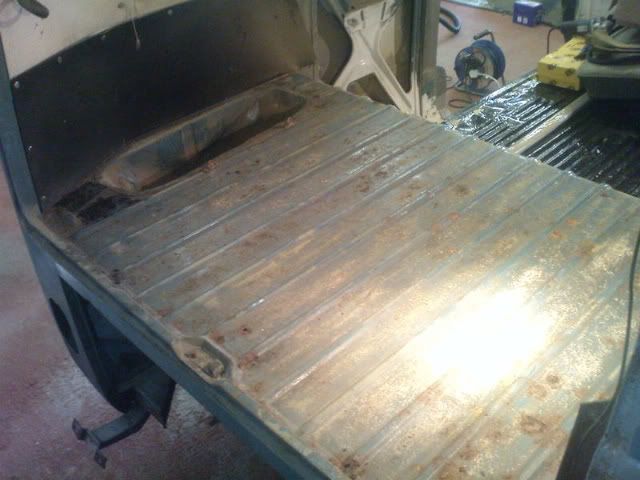
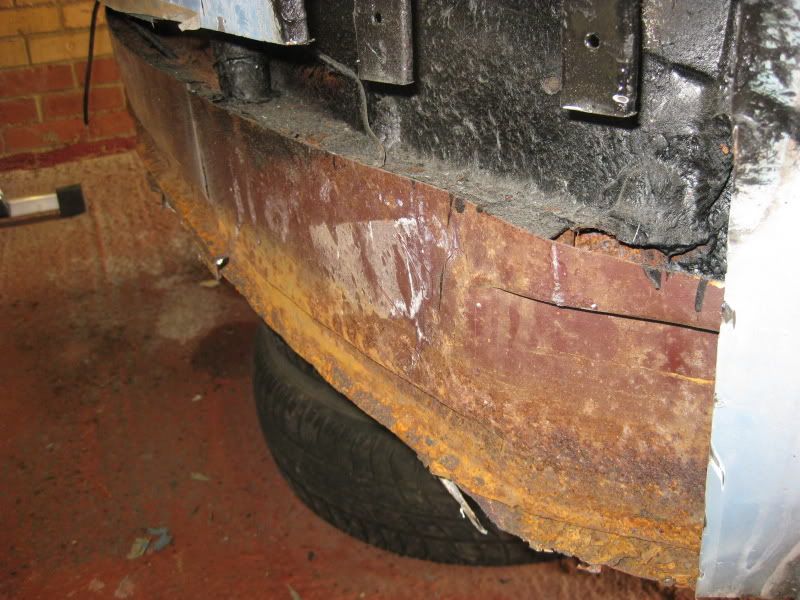
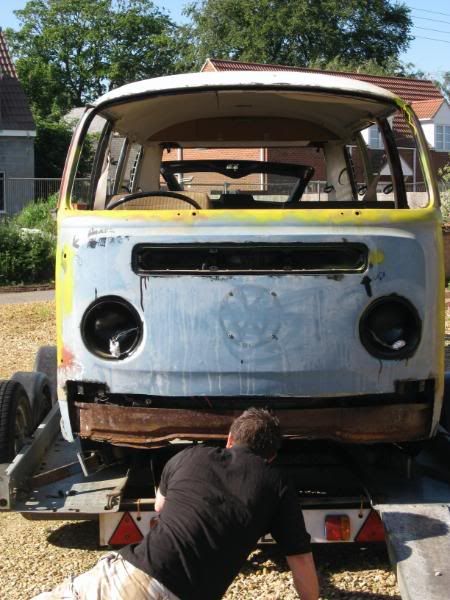
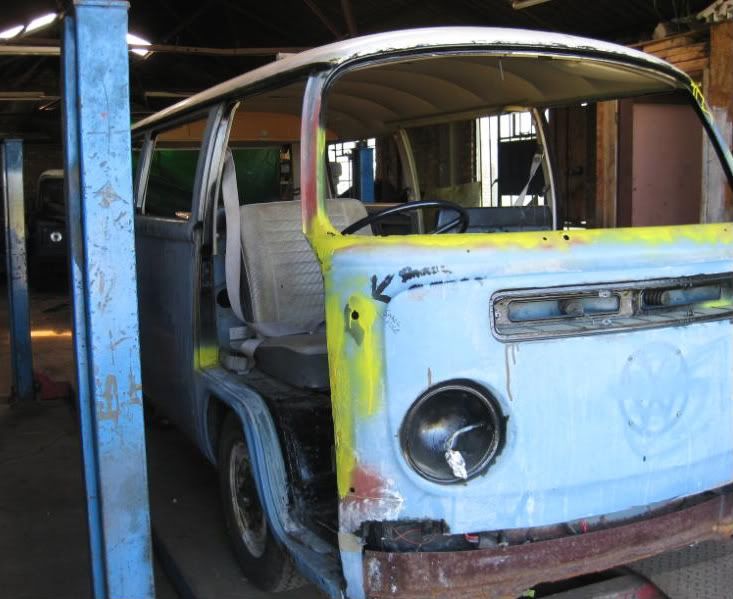
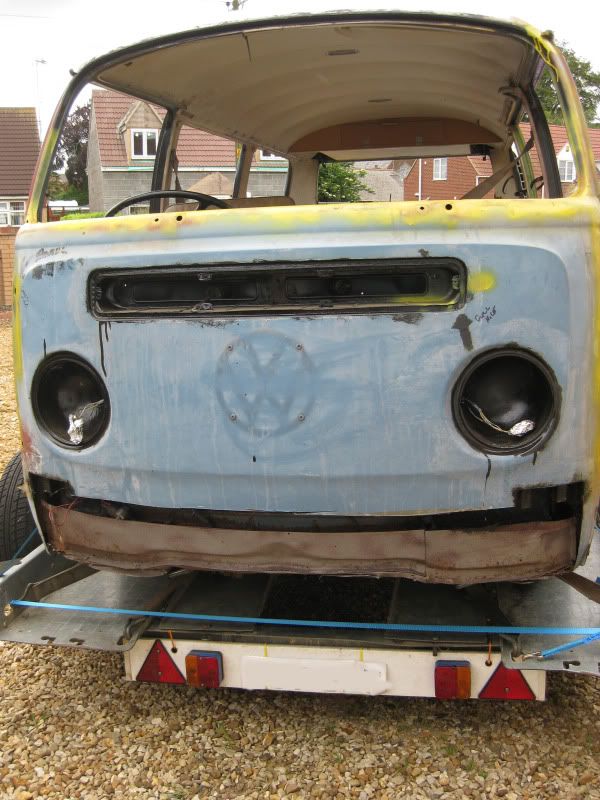
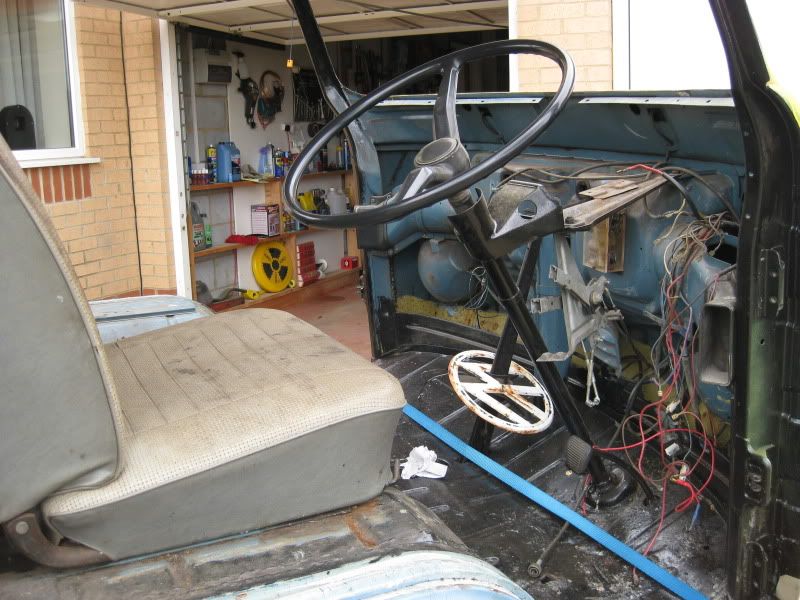
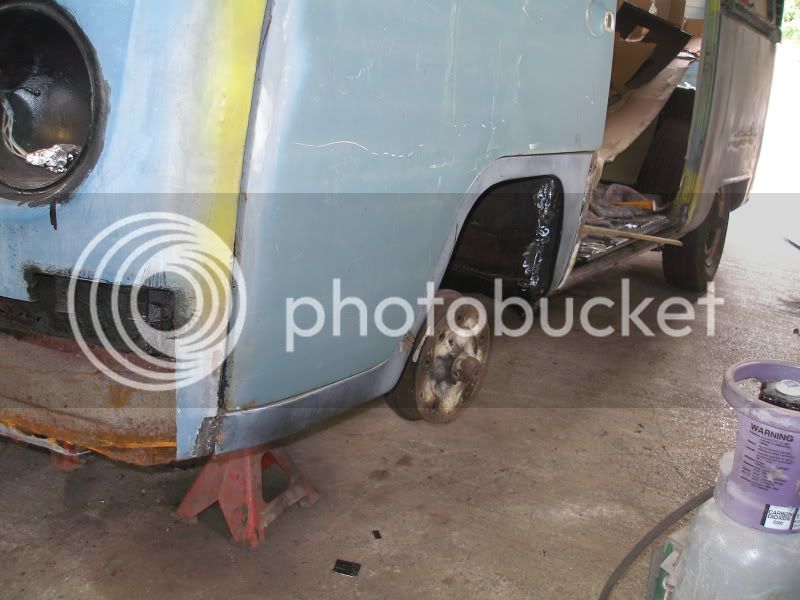
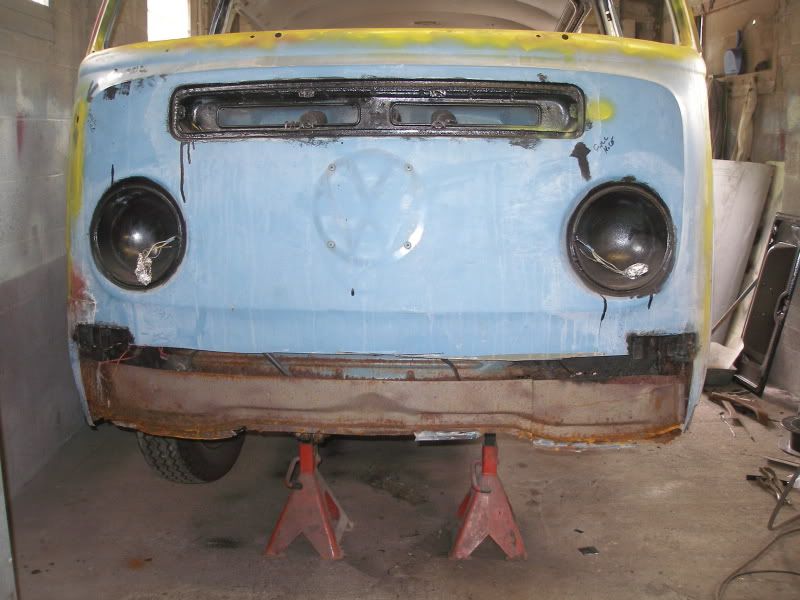
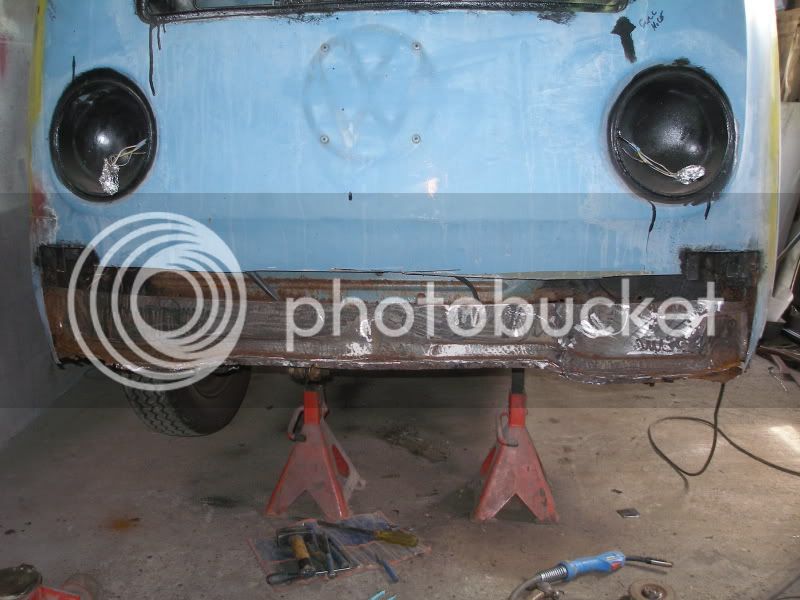
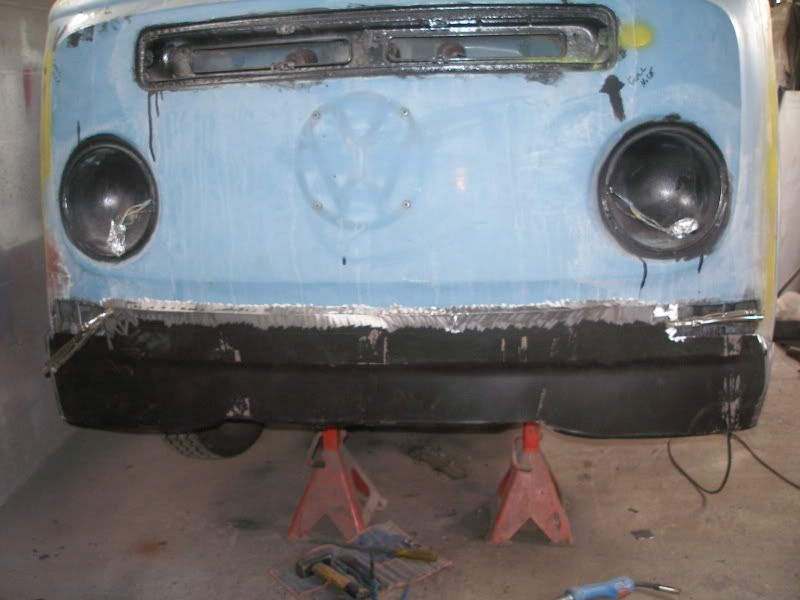
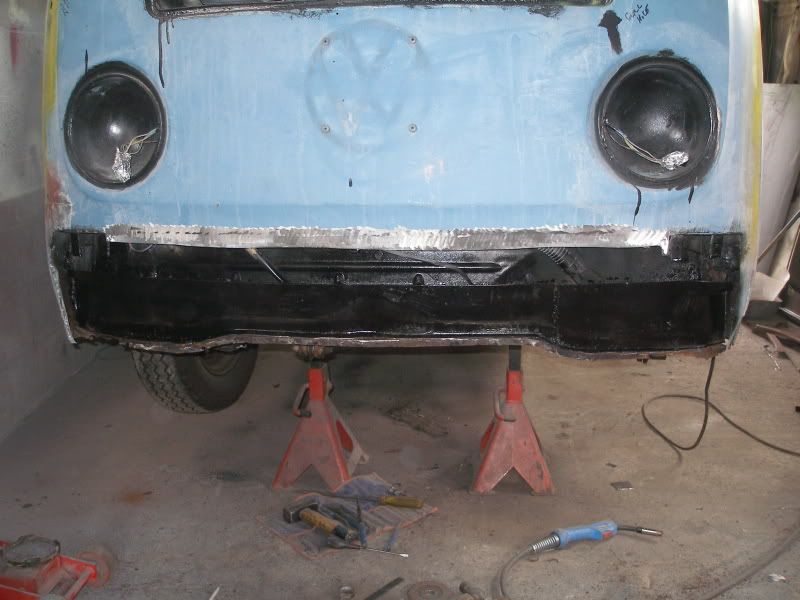
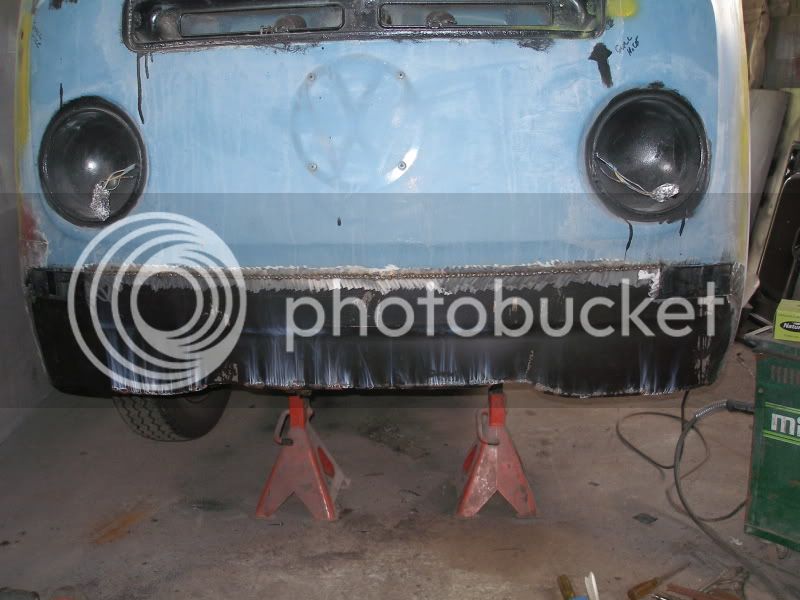
Look how clean the front clip is after the shot blasting 8) I didnt get any pictures of the chassis, I think it was because I had soooo much to remember I just forgot.. But you can actually see what you are working with now instead of all that old hammerite, underseal and dirt. Andy said it should make things alot easier. Although, I think I need a new front beam or get my one welded up, the shot blasting made some holes :poke:

The stuff you do for your bus eh? Still, I got some good pictures of the Gower coast area :party0021:
 
I saw your bus today when I popped down to see Chap with my newly aquired T25 Devon...........

Good news for you though, it's now in the workshop and ready to be worked on :D
 
Spence said:
I saw your bus today when I popped down to see Chap with my newly aquired T25 Devon...........

Good news for you though, it's now in the workshop and ready to be worked on :D

Wedge Devons are good! Wouldnt mind a 1.6td to waft around in..

Yah, Andy text me the other day to say the Split has gone back to the other customer and he is ready to work on mine :mrgreen:

:msn4:
 
Andy has done loads of work - no pictures at the moment though.
He is just onto finial grinding / flatting etc before paint :shock: :mrgreen:

Fast worker!

Here are my new front seats from a Saab 9000 anniversary edition!

anniversaryseats001.jpg

anniversaryseats002.jpg
 

Latest posts

Top