Cunning Bus Project

Early Bay Forum

Help Support Early Bay Forum:

This site may earn a commission from merchant affiliate links, including eBay, Amazon, and others.
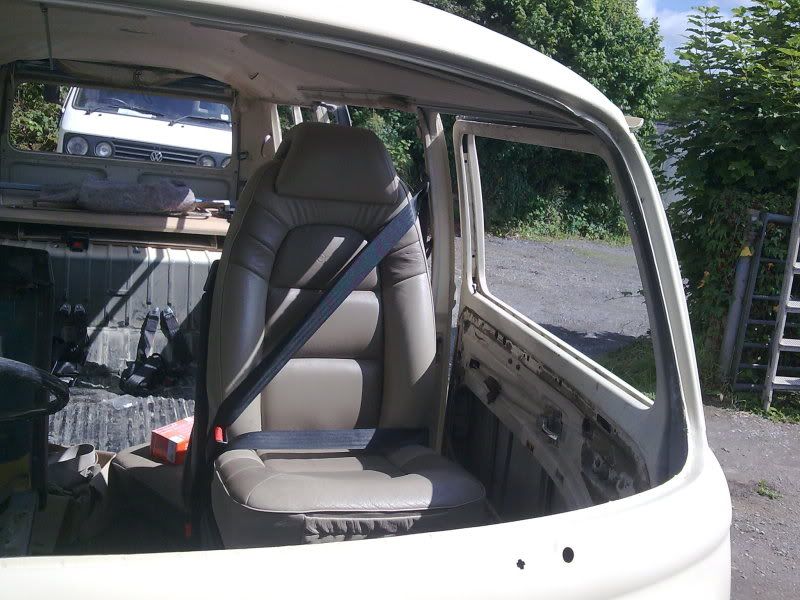
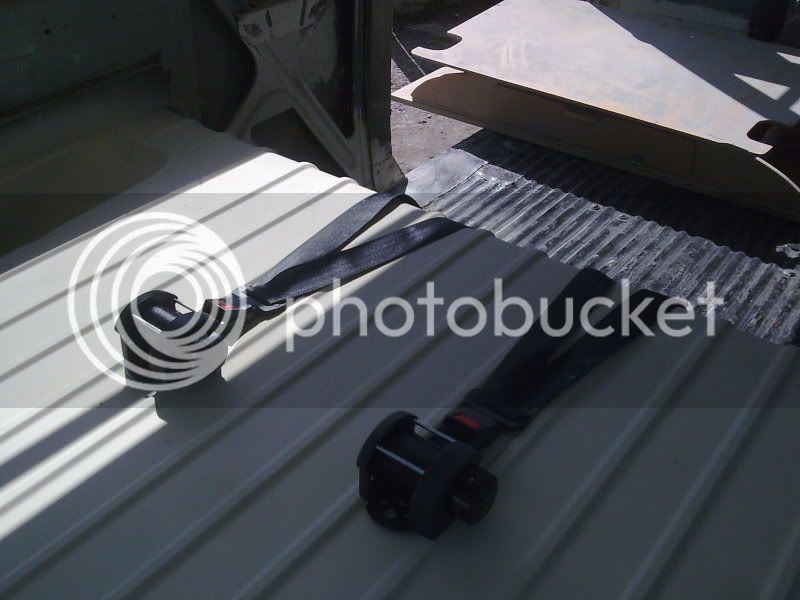
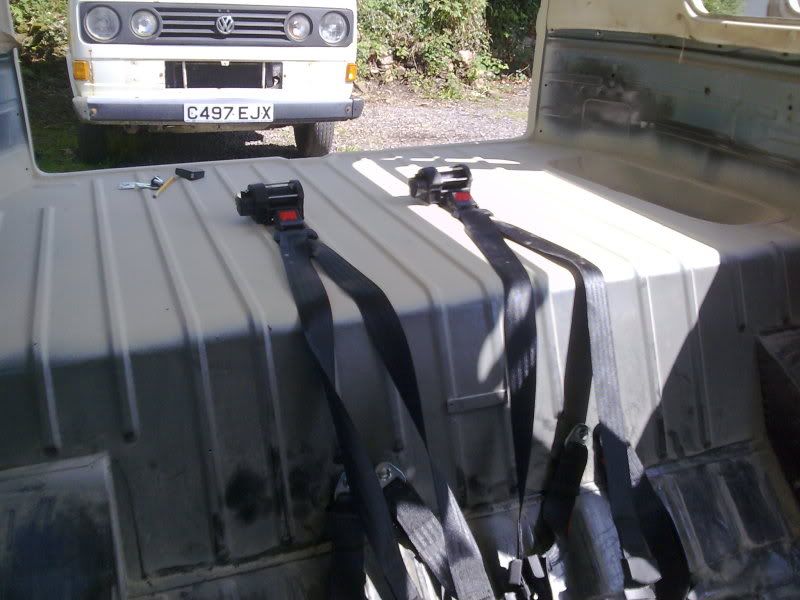
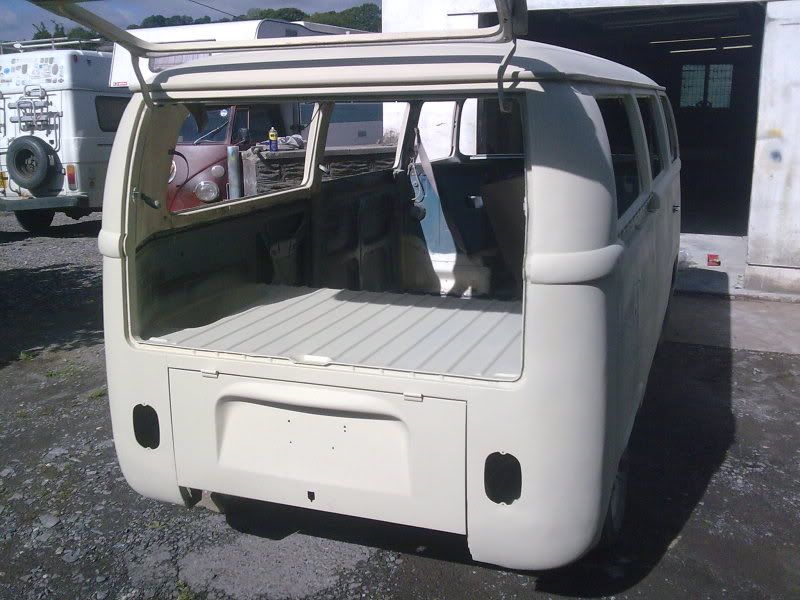
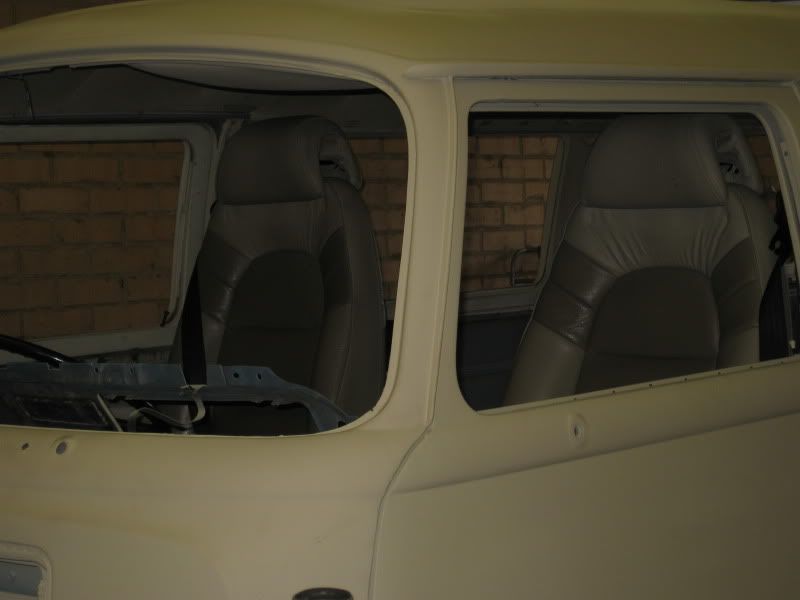
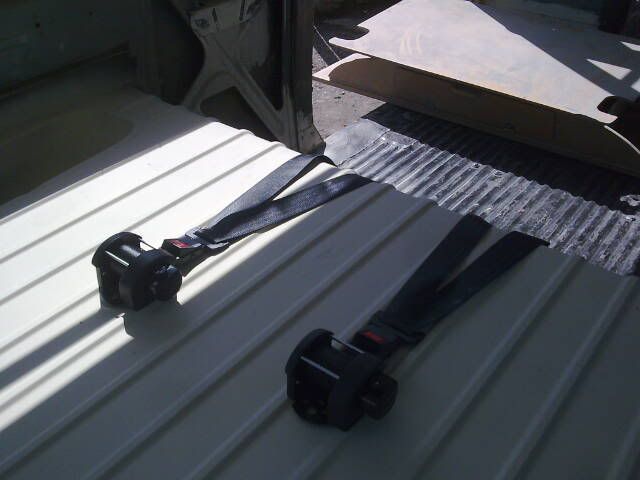
£250 worth of new seatbelts for the bus on their way to Andyvan to mount while he has the bus..
SecuronSeatbelts.jpg


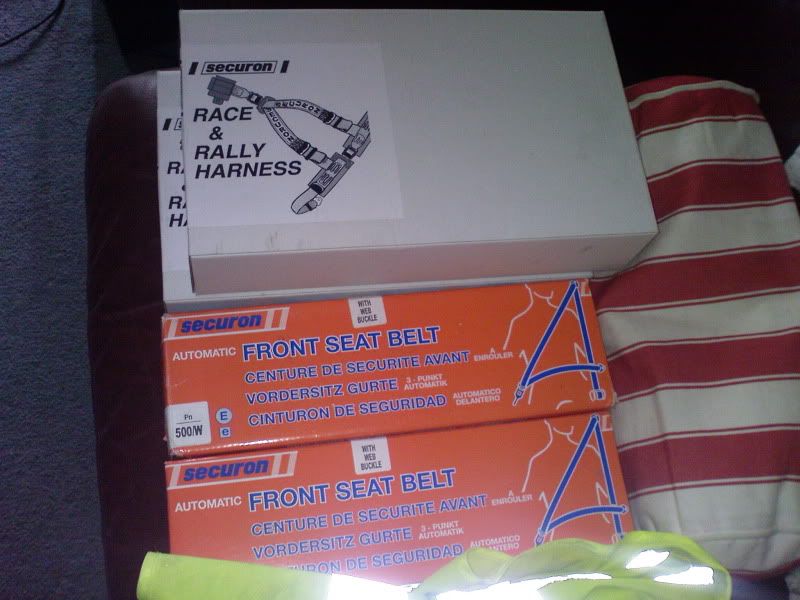
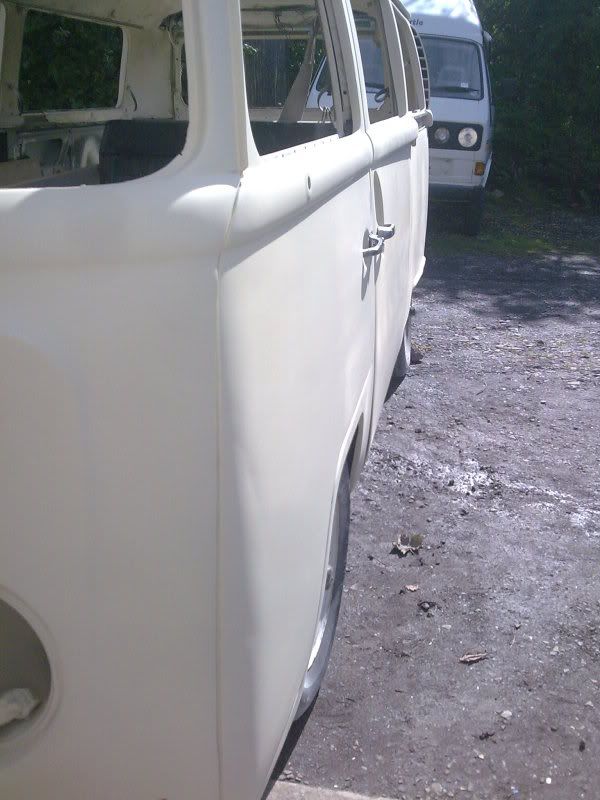
Everyone has issues with mounting 3-point belts in the back because of the position of the C pillar, but Ive got a cunning plan for this...

SecuronSeatbelts-Rear.jpg


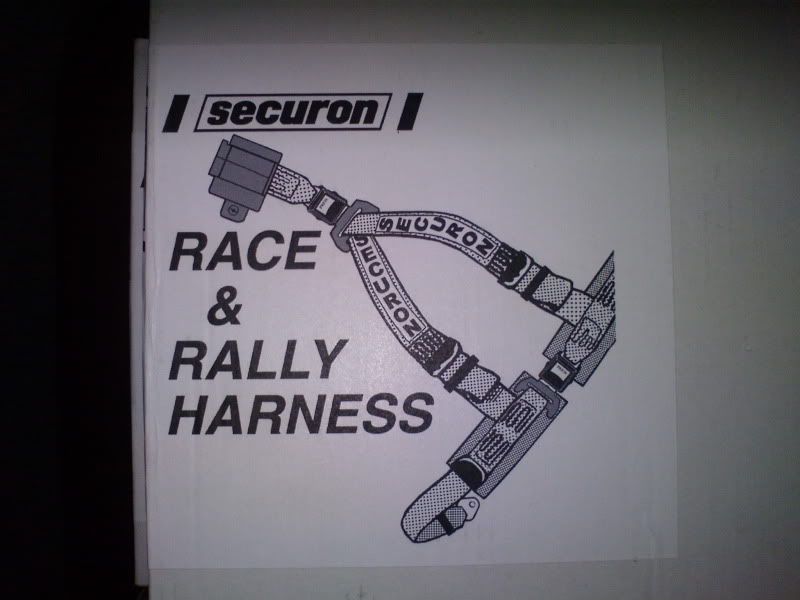
Inertia too! So you can move about unlike a normal harness :mrgreen:
 
We are missing alot of in-progress pictures of the repairs but its not easy for Andy to get them sent over to me right now but I couldnt resist showing you some more recent ones :mrgreen:

AndyvanRestoration077.jpg

New rear Valance

First layer of colour going down over the repaired areas..
AndyvanRestoration10.jpg

AndyvanRestoration104.jpg

AndyvanRestoration105.jpg


I think the colour is UBER.. Cant wait to see it all painted 8)
 
windsurfer said:
Looking good Dude, look forward to seeing it completed :mrgreen:

Tanks bud :beerchug:


Image0133.jpg

Beautifully welded dash, sprayed the same colour as the shell, ready for some custom gauges 8)

Image0144.jpg

Rear harness inertia belts being bolted in.

Image0143.jpg

The Saab seats with new front inertia belts :mrgreen:
 
Spence said:
I saw your bus in the flesh the other day - It's looking well 'ard!

:mrgreen: Picking it up this friday and my buddy is taking the single cab splitty :lol: :msn4: Should be an interesting pootle back to MK!

AxlFoley said:
who is this andy? and where is he??

Van looks spot on :)

Mark

Andy is the uber fabricator of all things classic VW. He is real close to you in Cwgilili? Spelling? End of the M4 anyway.. Not sure how booked up he is if you wanted some work done but let me know if you wanted his details..
 
BackRoofHatchRepair1.jpg

Bits of the rust-free replacement roof section being picked apart to repair the back roof and hatch section! A long and complex job here!

BackRoofHatchRepair10.jpg

BackRoofHatchRepair11.jpg

BackRoofHatchRepair12.jpg

BackRoofHatchRepair13.jpg

BackRoofHatchRepair14.jpg

BackRoofHatchRepair16.jpg

BackRoofHatchRepair17.jpg

A nice rust-free valance that had to be molded back to shape..

BackRoofHatchRepair2.jpg

BackRoofHatchRepair3.jpg

BackRoofHatchRepair4.jpg

BackRoofHatchRepair5.jpg

BackRoofHatchRepair6.jpg

BackRoofHatchRepair8.jpg

BackRoofHatchRepair9.jpg

BackRoofHatchRepair15.jpg


ChassisRepairs1.jpg

The chassis also needed alot of work, especially the nearside.

ChassisRepairs10.jpg

ChassisRepairs11.jpg

ChassisRepairs12.jpg

ChassisRepairs13.jpg

ChassisRepairs14.jpg

ChassisRepairs19.jpg

ChassisRepairs2.jpg

ChassisRepairs3.jpg

ChassisRepairs4.jpg

ChassisRepairs5.jpg

ChassisRepairs6.jpg

ChassisRepairs7.jpg

ChassisRepairs8.jpg

ChassisRepairs9.jpg

ChassisRepairs20.jpg

ChassisRepairs15.jpg

ChassisRepairs16.jpg

ChassisRepairs17.jpg

ChassisRepairs18.jpg

All solid now though!

Going for the custom / classic gauge look..
CustomWeldedDash1.jpg

CustomWeldedDash2.jpg

CustomWeldedDash3.jpg

CustomWeldedDash4.jpg

CustomWeldedDash5.jpg


Engine Bay
EngineBayRepairs1.jpg

EngineBayRepairs1EngineBayRepairs5.jpg

EngineBayRepairs2.jpg

EngineBayRepairs3.jpg

EngineBayRepairs4.jpg

EngineBayRepairs6.jpg

EngineBayRepairs7.jpg

EngineBayRepairs8.jpg

Both battery trays needed re-doing as they were on the p1ss.

Repairs to the load-area floor pan:
FloorPanRepairs1.jpg

FloorPanRepairs2.jpg

FloorPanRepairs3.jpg

FloorPanRepairs4.jpg

FloorPanRepairs5.jpg

FloorPanRepairs6.jpg


The wrong arches corrected for proper '68 ones:
FrontArchRepairs1.jpg

FrontArchRepairs2.jpg

FrontArchRepairs3.jpg

FrontArchRepairs4.jpg

FrontArchRepairs5.jpg

FrontArchRepairs6.jpg

FrontArchRepairs7.jpg


FrontClip1.jpg

FrontClip2.jpg

FrontClip3.jpg

FrontClip4.jpg

FrontClip5.jpg

FrontClip6.jpg

FrontClip7.jpg


NearsideLowerQuarter1.jpg

NearsideLowerQuarter2.jpg

NearsideLowerQuarter3.jpg

NearsideLowerQuarter4.jpg

OffsideQuarter1.jpg

OffsideQuarter2.jpg


The sliding door needed some new metal welding in:
SlidingDoor1.jpg

SlidingDoor2.jpg

SlidingDoor3.jpg

SlidingDoor4.jpg

SlidingDoor5.jpg


Windscreen repaired - along with all window surrounds - although I am missing the 'in-progress' pictures.
WindscreenSurroundRepair.jpg


Weeks of prep work!
Prep-Work1.jpg

Prep-Work10.jpg

Prep-Work11.jpg

Prep-Work12.jpg

Prep-Work13.jpg

Prep-Work15.jpg

Prep-Work2.jpg

Prep-Work3.jpg

Prep-Work4.jpg

Prep-Work5.jpg

Prep-Work6.jpg

Prep-Work7.jpg

Prep-Work8.jpg

Prep-Work9.jpg

Prep-Work14.jpg


FinishedPaint1.jpg

Choosing the colour!

FinishedPaint10.jpg

FinishedPaint11.jpg

FinishedPaint12.jpg

FinishedPaint13.jpg

FinishedPaint14.jpg

FinishedPaint15.jpg

FinishedPaint16.jpg

FinishedPaint2.jpg

FinishedPaint3.jpg

FinishedPaint4.jpg

FinishedPaint5.jpg

FinishedPaint6.jpg

FinishedPaint7.jpg

FinishedPaint8.jpg

FinishedPaint9.jpg

IMG_1315.jpg


:mrgreen: I was real happy with it! Andy had worked hard to get this bus back to a solid, tidy, straight and use-able state. I can now put it all back together :shock: but if I ever wanted to gloss the paint I can knowing it wouldn't take alot of work as its at a such good standard already.

Getting it back from South Wales:

For the journey from MK to South Wales and back my mate lent me his diesel Passat which is a good towing engine..
IMG_2114.jpg

IMG_2114.jpg

IMG_2095.jpg


Arrived at Andy's and after a few beers and a good bed for the night we were ready to travel back to Norfolk.
IMG_2135.jpg

Loaded up good to go..

My buddy came down with me, he bought this:
IMG_2136.jpg

And pootled back in it followed by me with the trailer..

IMG_2140.jpg


DSC00003.jpg

Had to stop a few times, the Splitty hadn't properly moved for years!

Got to MK and swapped the Passat for my Mondeo for the next leg of the journey..
IMG_1306.jpg


IMG_1307.jpg

Top-gear'd styled 'camera already infront of you' shot..

IMG_1314.jpg

Back in the garage :mrgreen:

IMG_1309.jpg

IMG_1312.jpg

IMG_1311.jpg
 
What an improvement! 8)

But why did you take it all the way to Wales to get sorted? :?
 
Great work. Cant wait to see the finished product. Off topic here- How can you two a bus with a mid size car in the UK? Can you feel the weight of the bus and trailer? I have a 10,000 pound truck I use for moving buses around because of the weight.
 
Slammed said:
What an improvement! 8)

But why did you take it all the way to Wales to get sorted? :?

:mrgreen:
Wales because I have known Andyvan for a good few years now and I knew he was just the best for the job. His work is excellent and he goes way beyond what is asked of him. I could have got it done locally but I very much doubt it would have been the same quality - or if it was, probably at 5 times the cost :shock: :mrgreen: So it was worth the trailer rental / fuel etc to go see Andy again and get it done properly!

canterburyfour said:
Great work. Cant wait to see the finished product. Off topic here- How can you two a bus with a mid size car in the UK? Can you feel the weight of the bus and trailer? I have a 10,000 pound truck I use for moving buses around because of the weight.
8)
Yep, you can feel the extra weight on the back and yes TBH it doesn't seem as safe as it could be in a bigger car / truck / 4x4. The Mondeo really struggles up hills because of the lack of torque, but still did just fine. The diesel Passat was much better though.. You just take it easy and pootle along.. Although I did get a bit of trailer snaking for the first time which I think was down to the wind...

Id love a Silverado or something to tow with though 8)
 
Good "Going home" pics - I'm glad to see the single cab has gone to a new home, I don't know why your mate wanted to change the colour from Andy's patented "Chesterfalia" scheme to whatever that colour is............ Each to his own though hey!

Good luck with the re-build :D
 
canterburyfour said:
Here is my towing rig. 500 horsepower and 700 foot pounds of torque, 6 liter diesel.

Now thats a proper truck!! If i could afford the uk rip-off fuel prices i would have something like that!!


Spence said:
Good "Going home" pics - I'm glad to see the single cab has gone to a new home, I don't know why your mate wanted to change the colour from Andy's patented "Chesterfalia" scheme to whatever that colour is............ Each to his own though hey!

Good luck with the re-build :D

Ha tanks bud.. The chesterfalia is great but i think he just wanted something plain.. He was going to go for matt-grey which i think would of looked uber.. I dont mind the olive-type colour he has tbh, will look better lowered and a nice canvas on the back!
 
Looking good 8) is it Matt paint? 8)
 
Is it just primer? if so you will have to be careful as primer can suck the water in and cause it to rust before your eyes ;) :shock:
 
easy said:
Is it just primer? if so you will have to be careful as primer can suck the water in and cause it to rust before your eyes ;) :shock:

Well its 2pk primer.... soooooo I hope not :? :|

Airtime said:
Looking ace dude! 8)

Cheers chap :mrgreen:
 

Latest posts

Top