Cunning Bus Project

Early Bay Forum

Help Support Early Bay Forum:

This site may earn a commission from merchant affiliate links, including eBay, Amazon, and others.
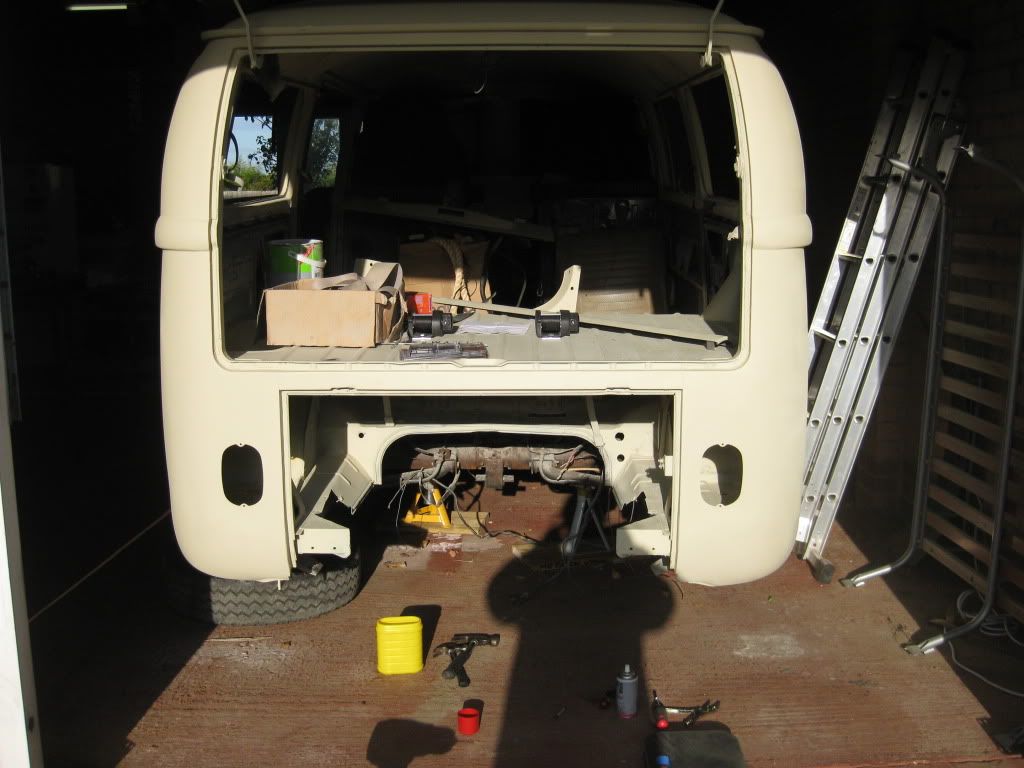
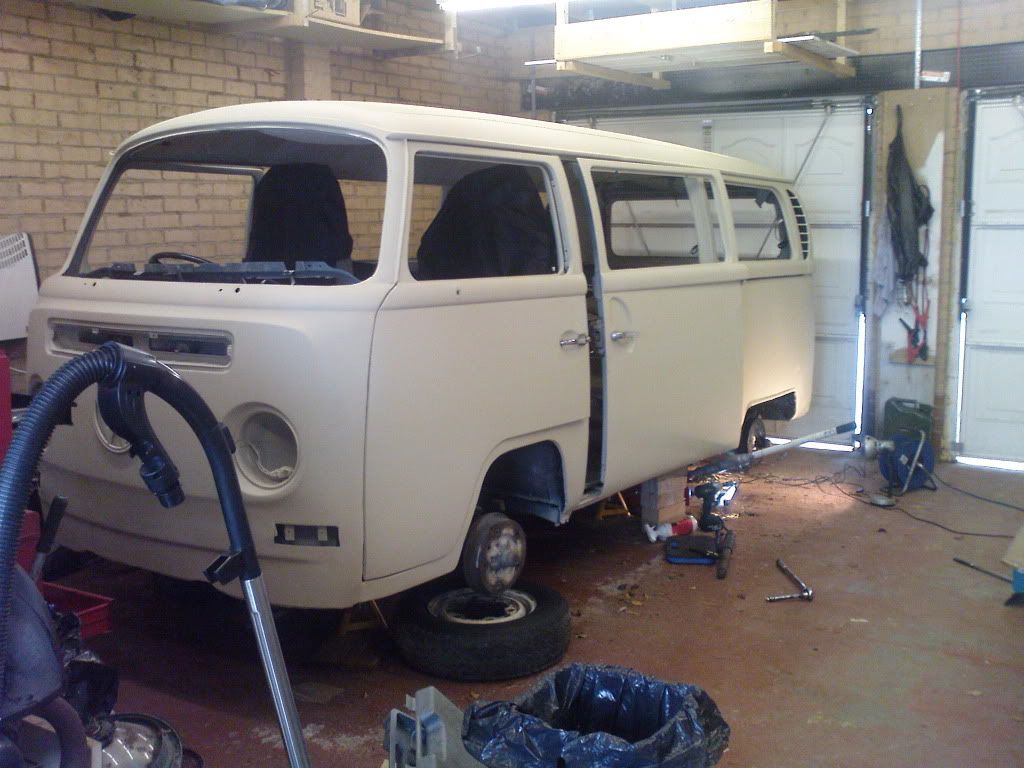
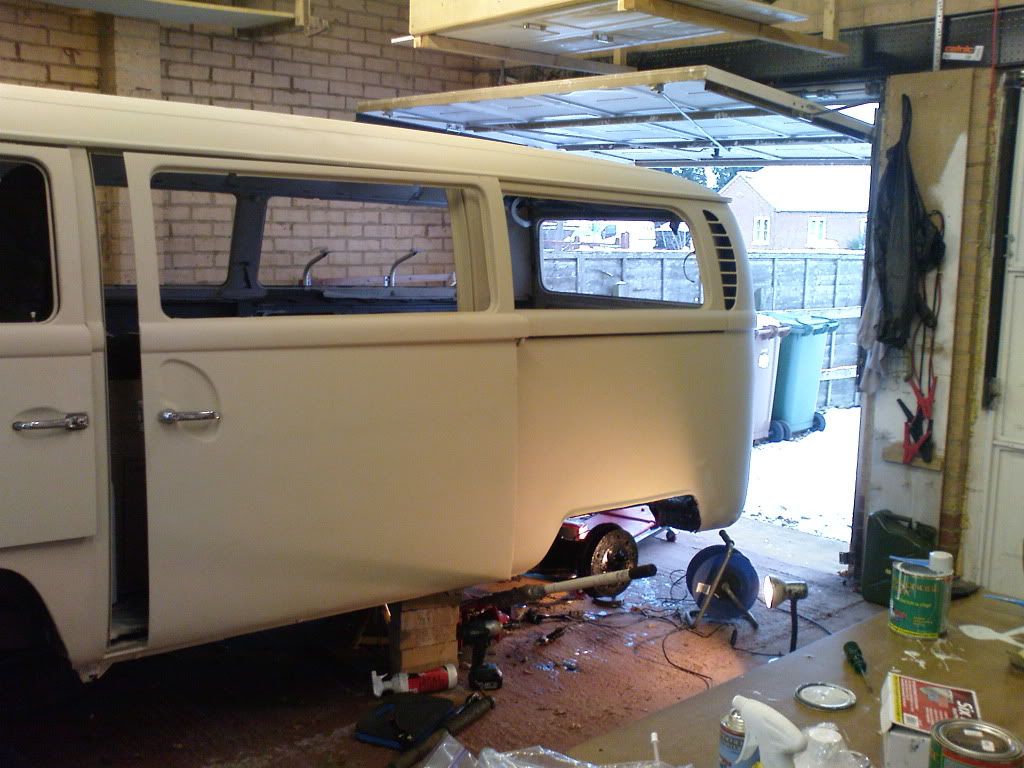
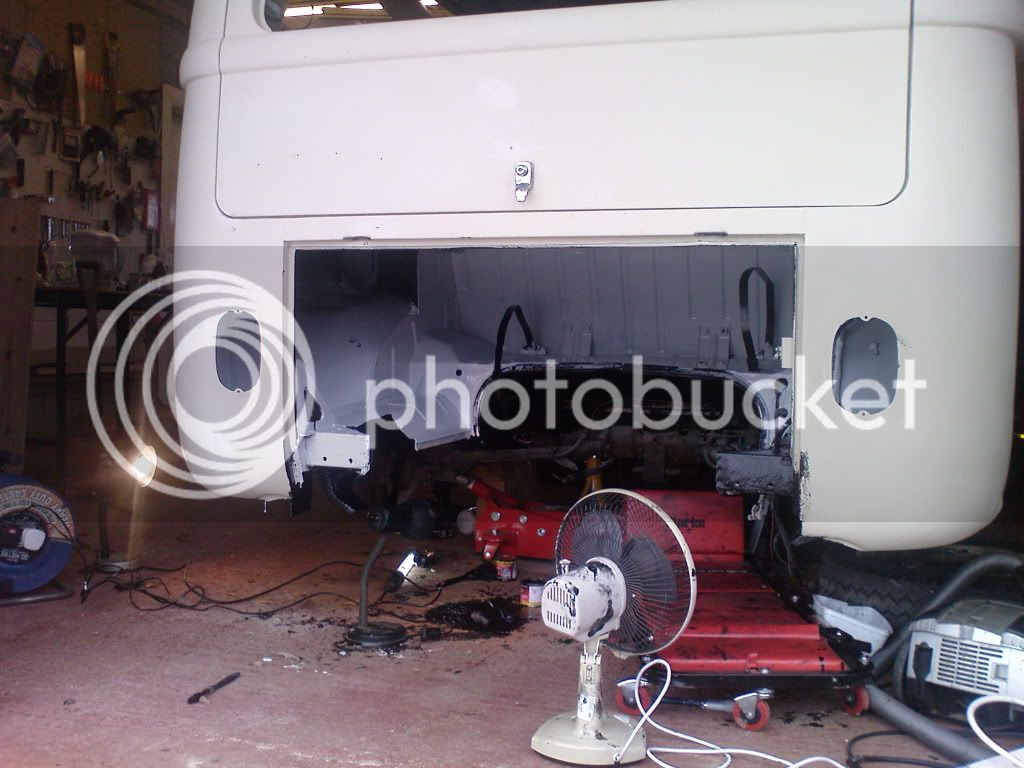
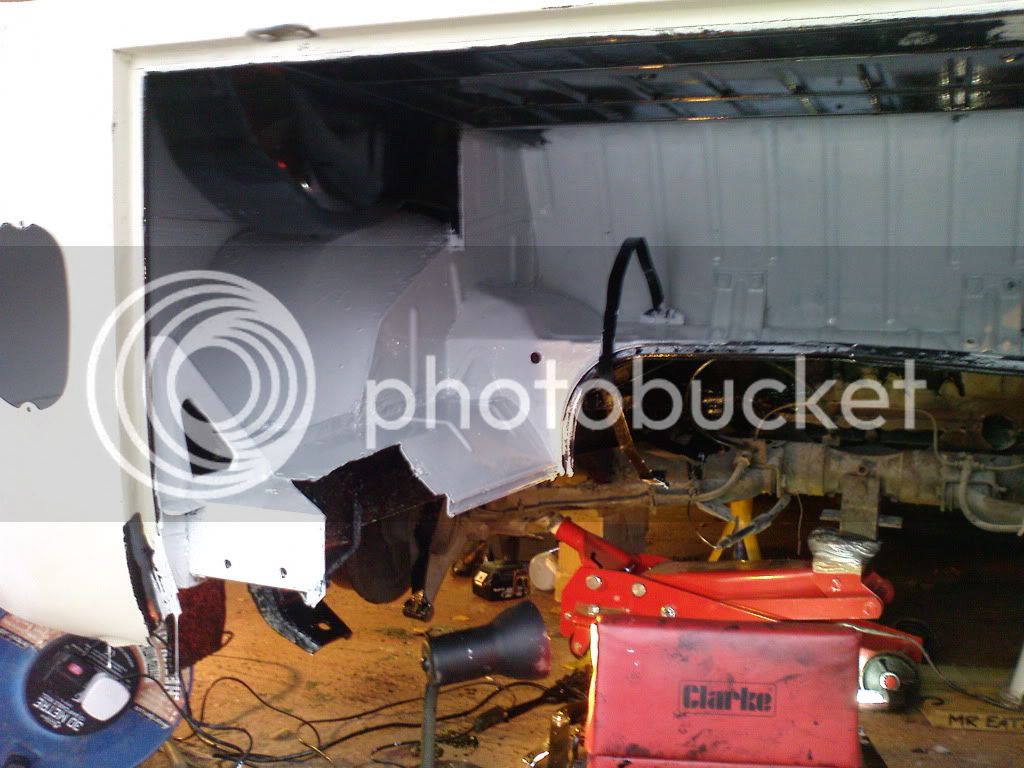
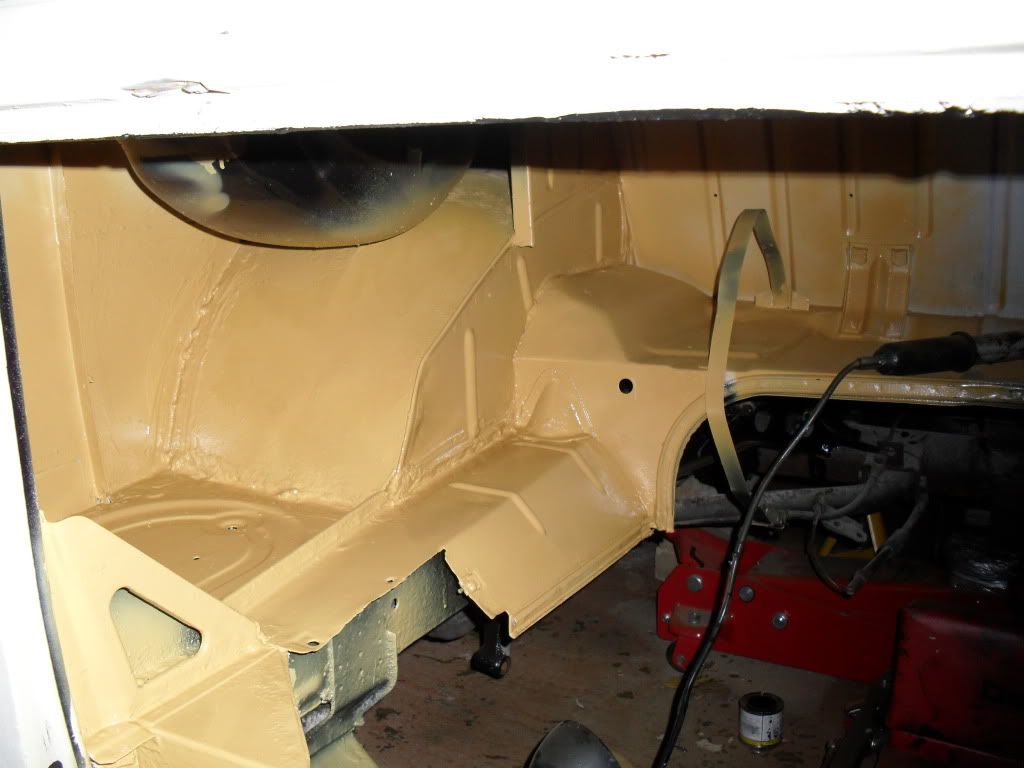
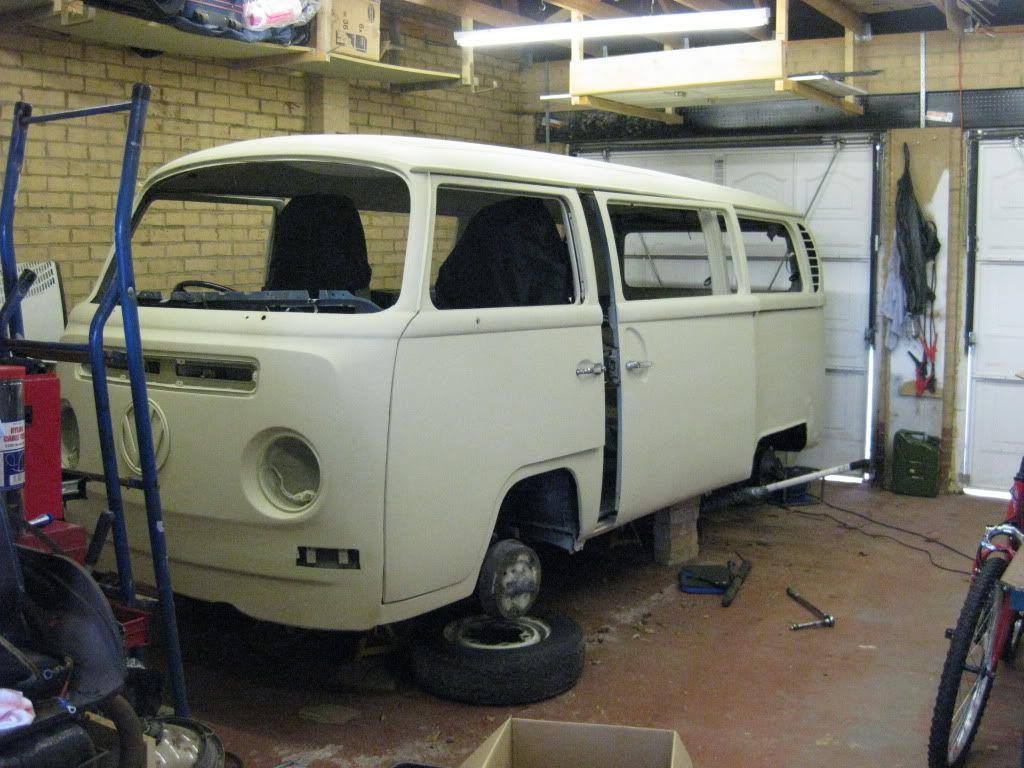
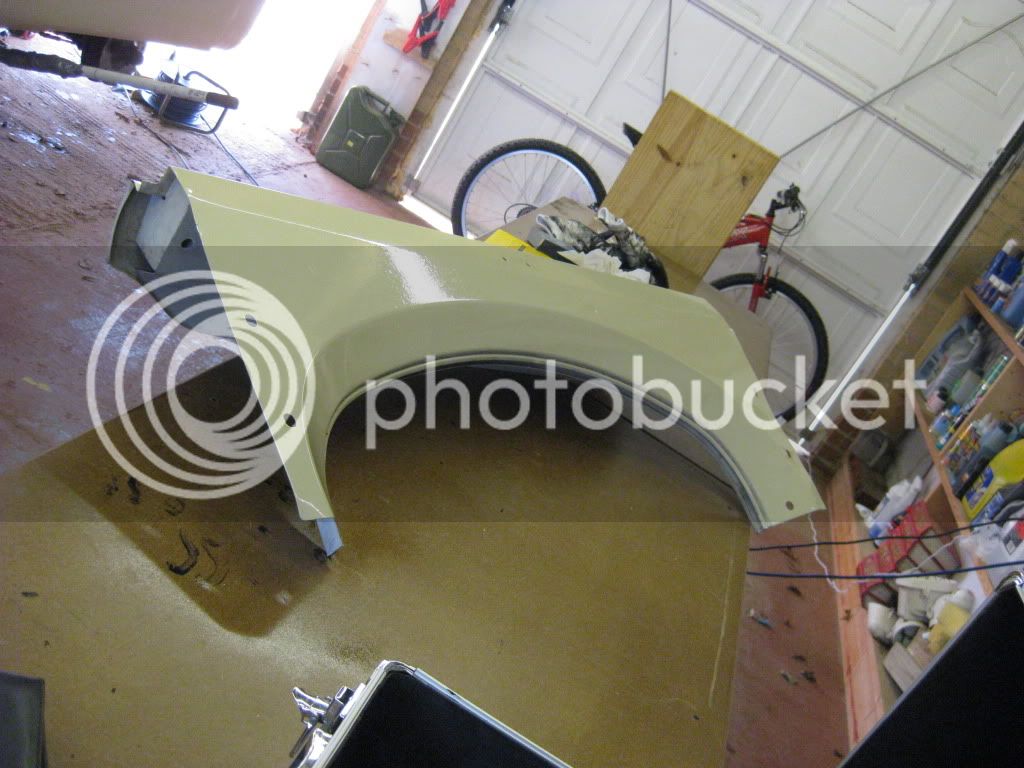
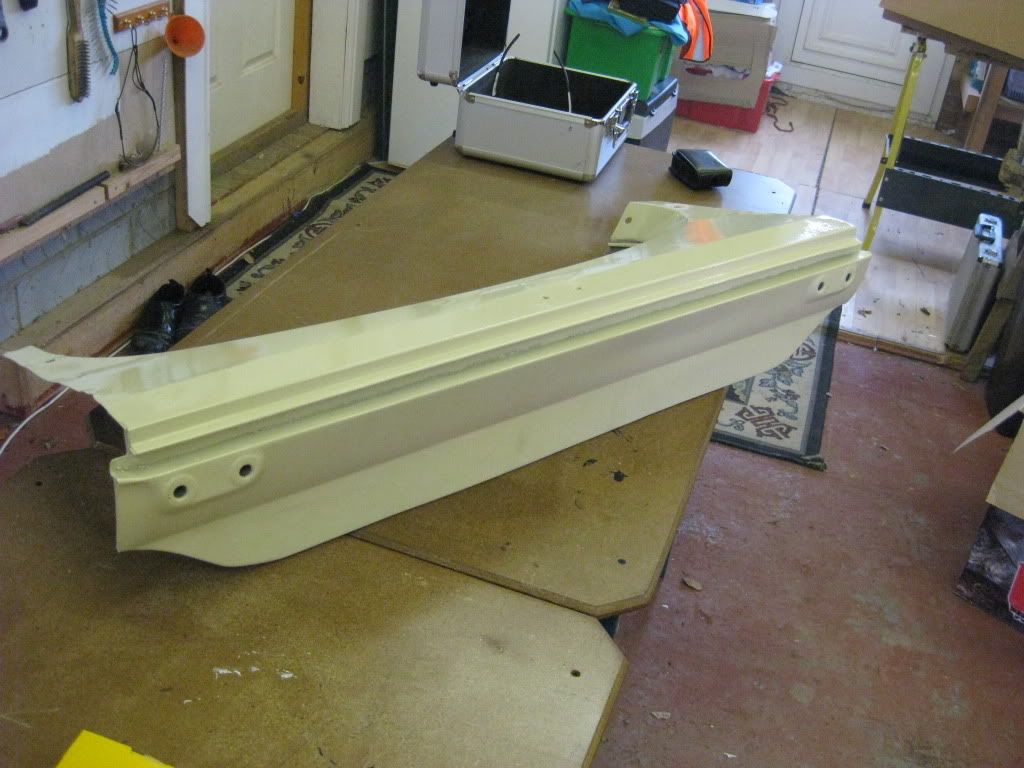
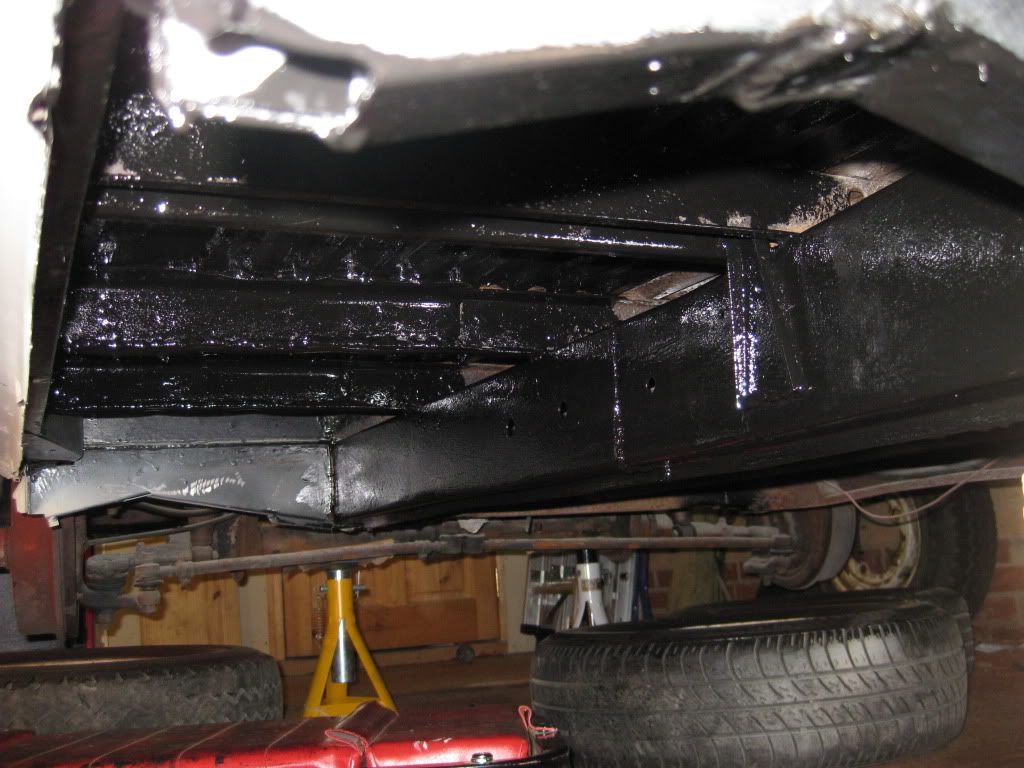
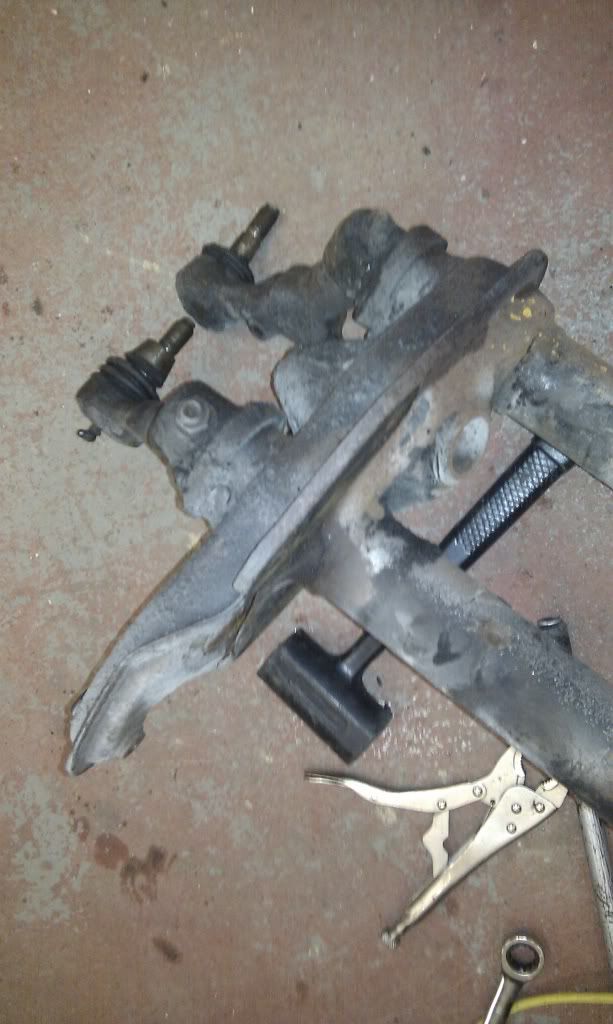
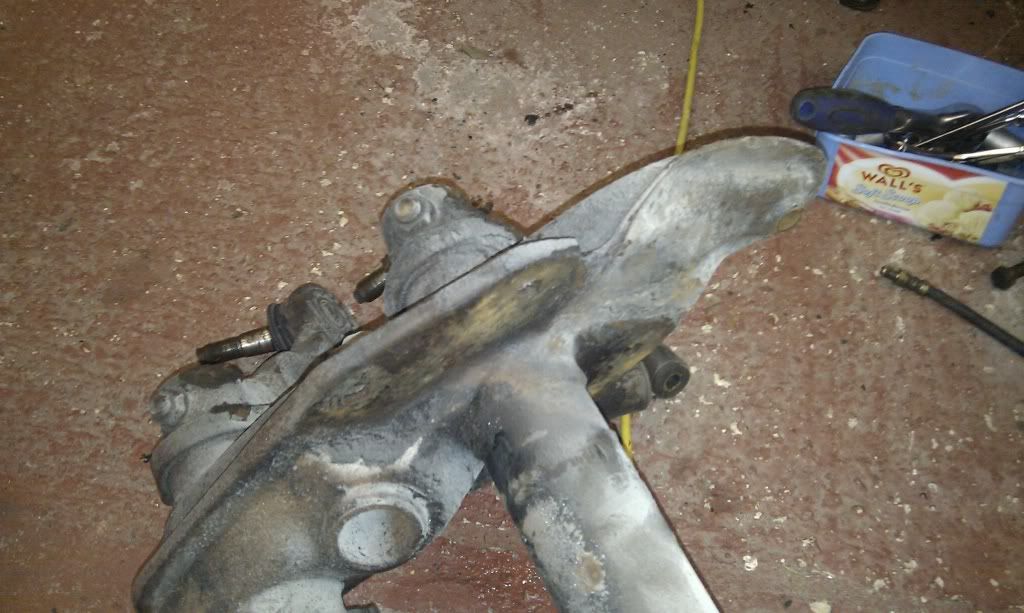
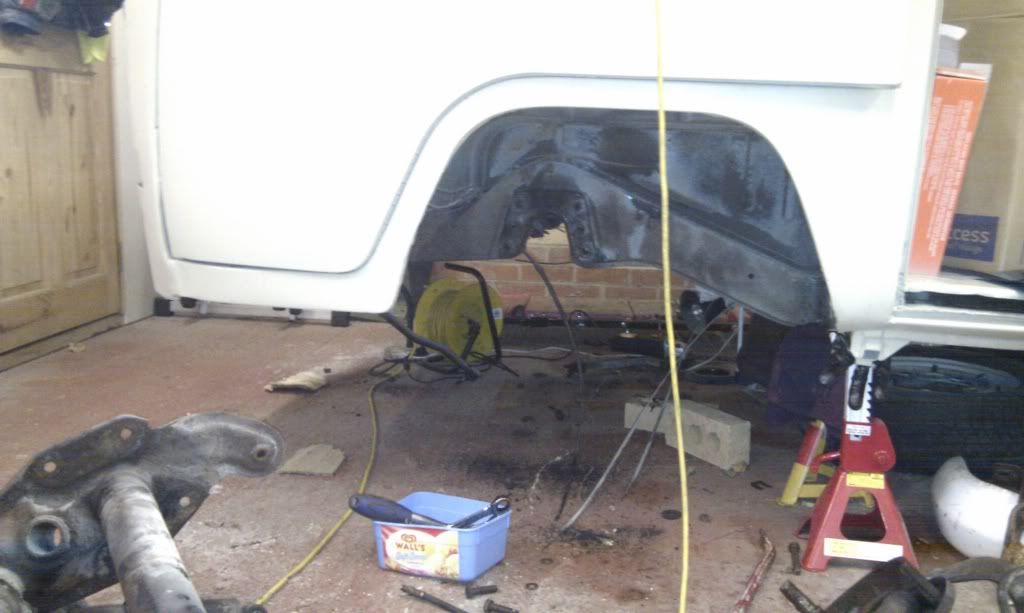
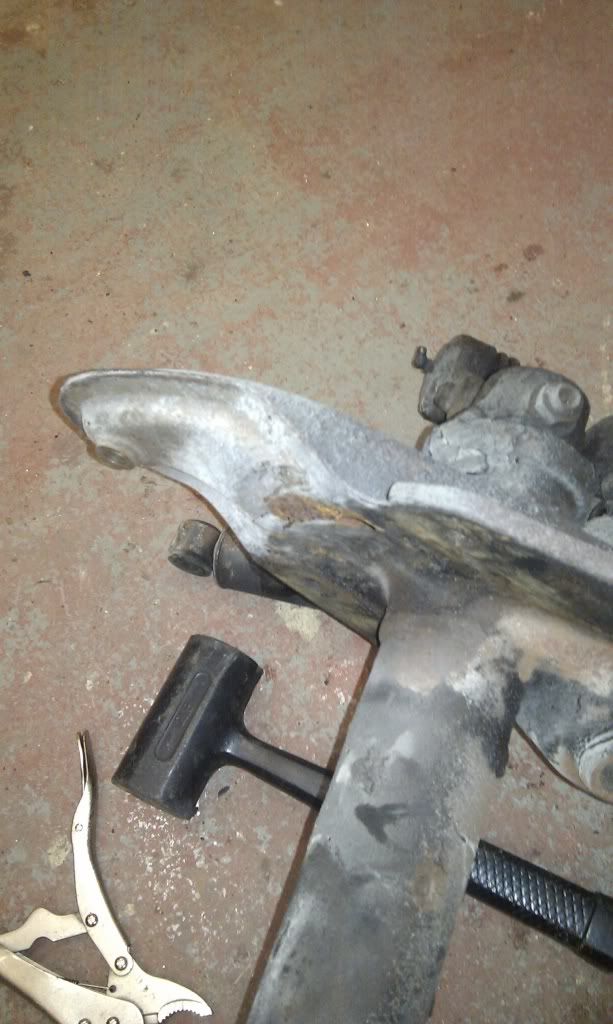
Not much action right now as cash is rare! So I decided to do some stuff that doesn't need buying parts..

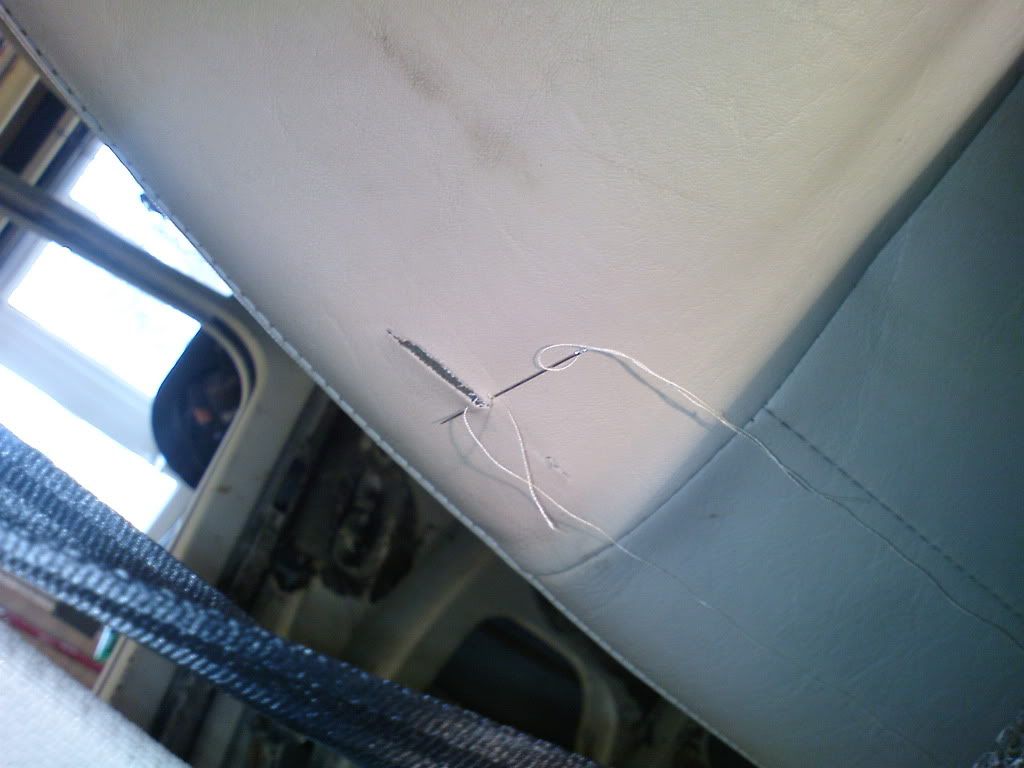
The seats arrived on a pallet and the passenger seat had a slight tare on the back of it. So I repaired it.
SewingSeat.jpg

2SewingSeat.jpg

3SewingSeat.jpg

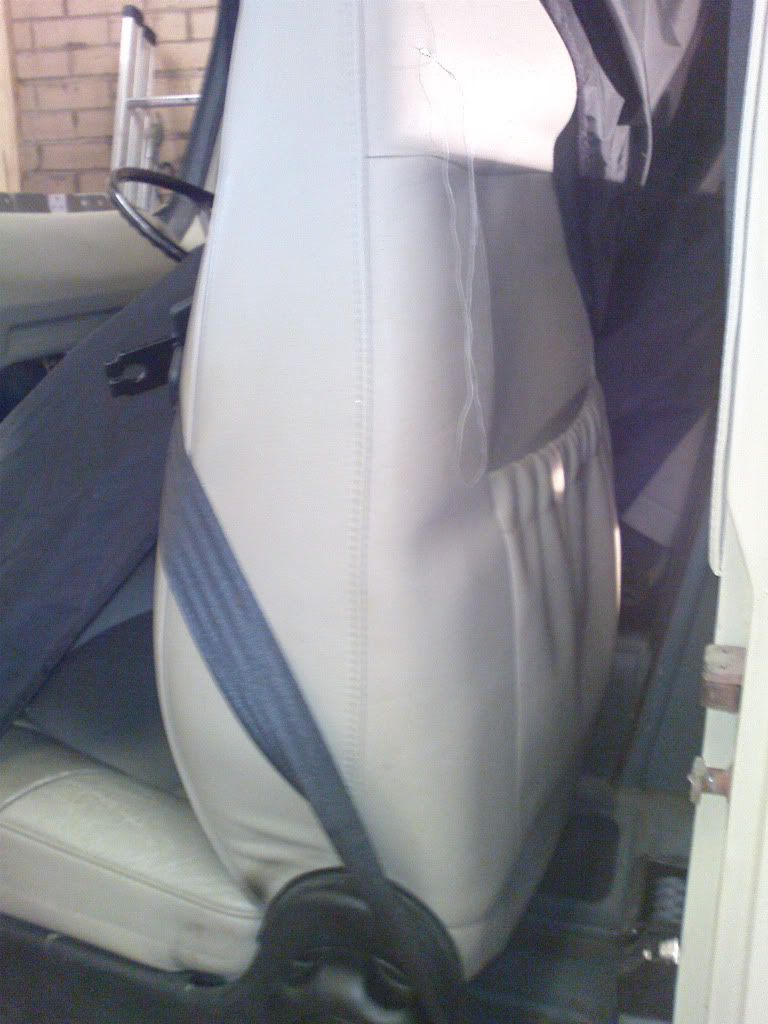
While I was doing this, I noticed that the seats have a pocked at the back - useful for maps etc I figured..

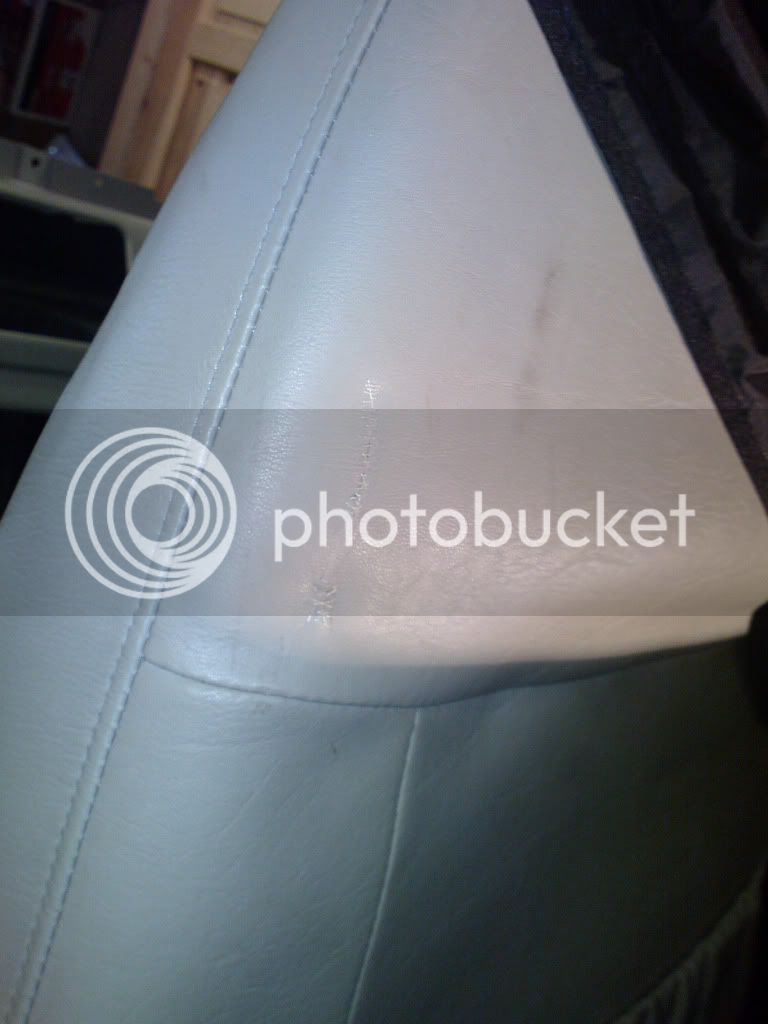
Also when the seats arrived, the passenger seat-back winder was missing along with the plastic plugs for the lower trim - which has now been tidied as much as it can to get the scratches out. The local scrapy had a Saab 9000 in, so I pulled another one off..
FittedMissingWinder1.jpg

FittedMissingWinder2.jpg


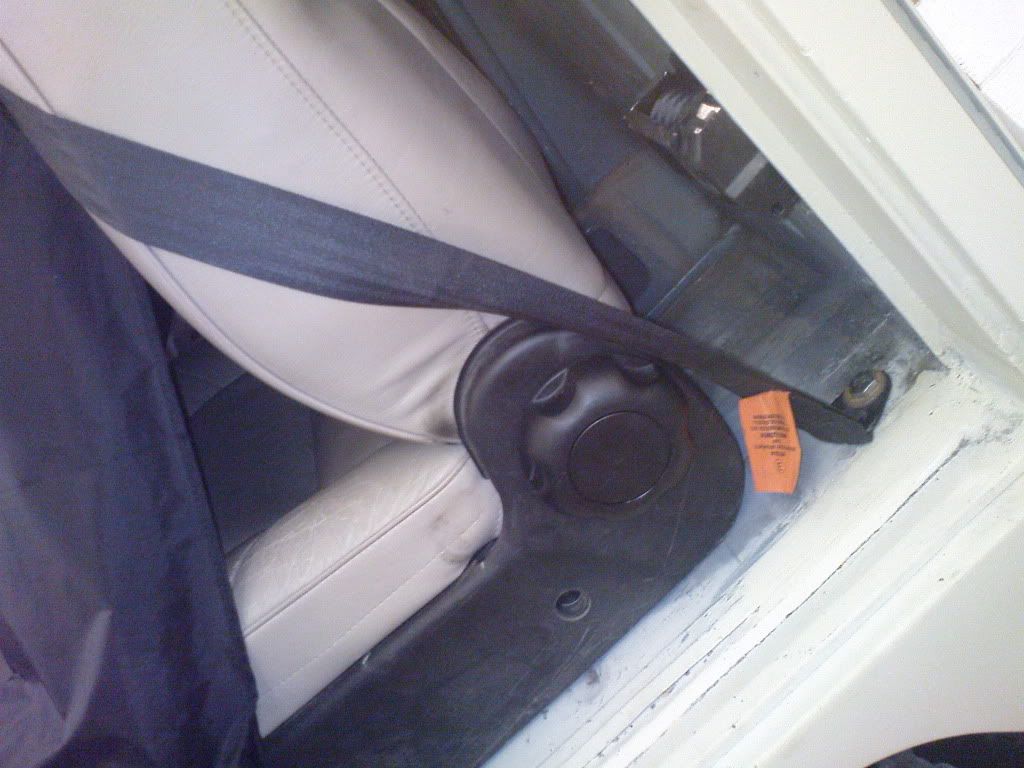
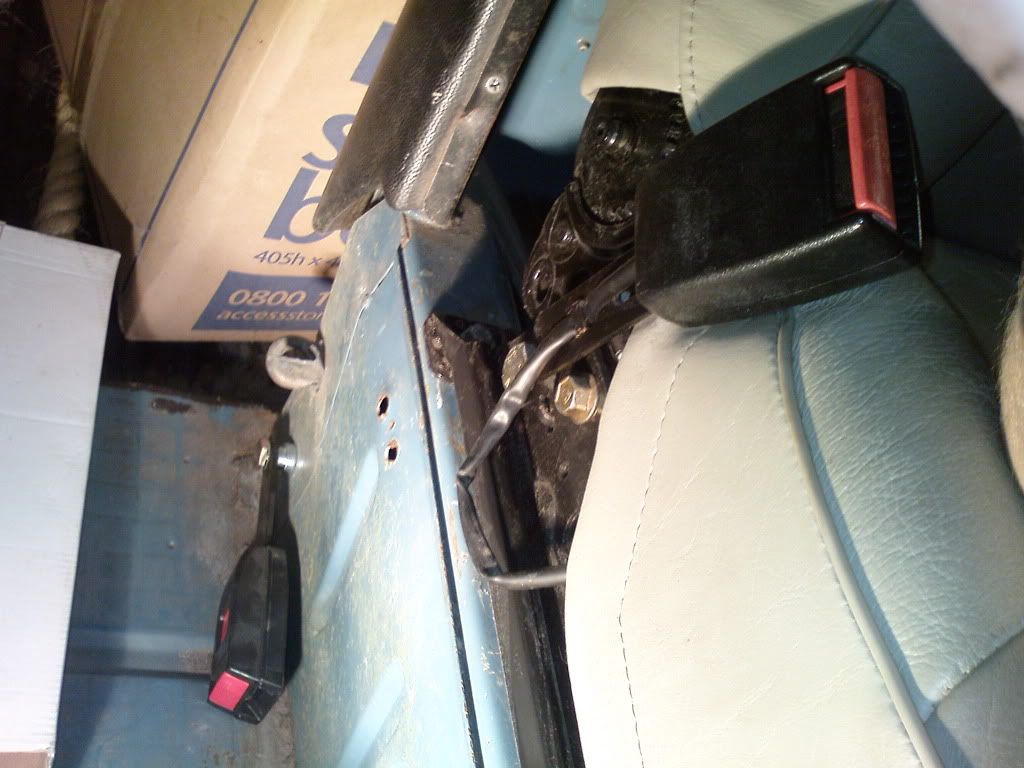
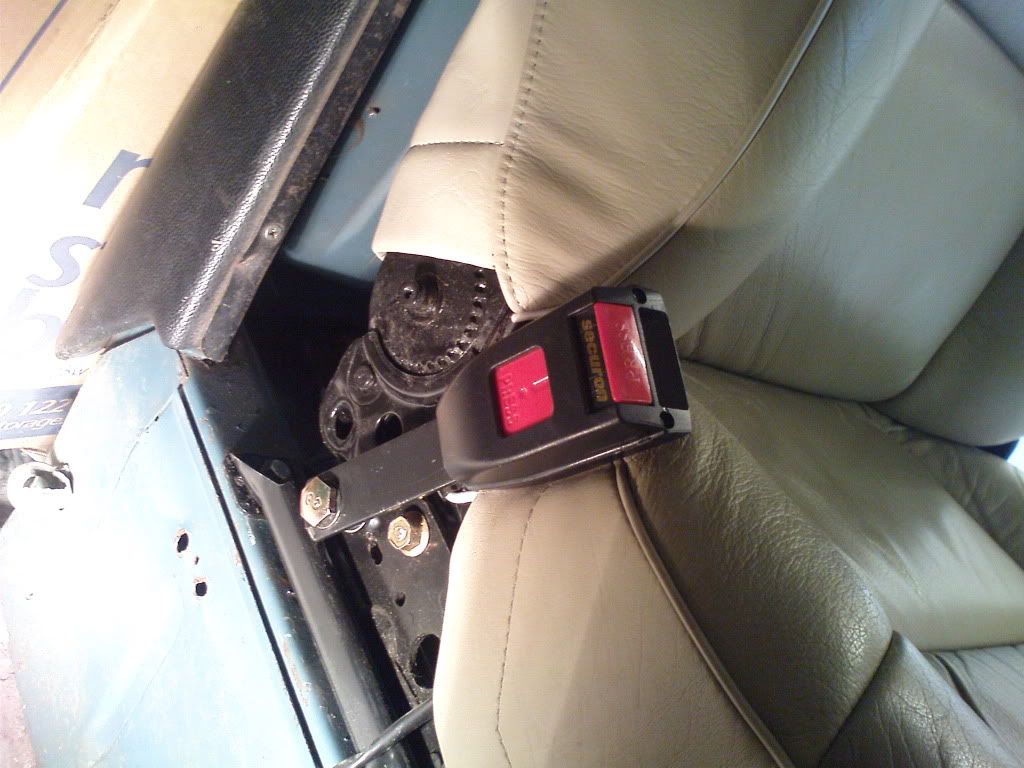
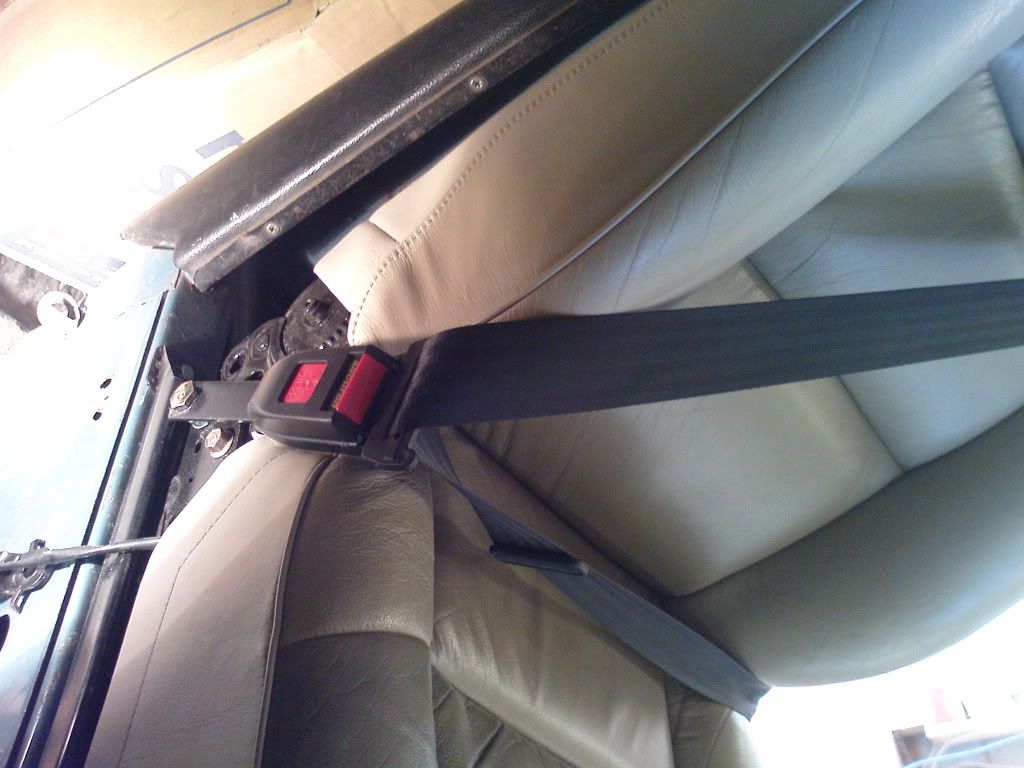
Next - the seatbelt clips - I took the original Saab ones off the mounting on the side of the seat and replaced with the correct Secron ones. The clips were originally placed where the old lower mounting point was, but the inertia belt will not reach that far..
FittingSeatBeltClip1.jpg

FittingSeatBeltClip2.jpg

FittingSeatBeltClip3.jpg
 
Small steps, but slowly moving forward..

IMG_1573.jpg

Figured I would start putting the deck lid back together..

IMG_1574.jpg

One of the threads that held the hinges on was bent, so I had to bend it back into shape to get the bracket that has the thread in over the hole - anyone who has done this will know what I mean.. :msn4:

IMG_1575.jpg

The other thread had a broken screw in it.. So I had to drill it out

IMG_1576.jpg


IMG_1577.jpg

Just need to get some fresh screws as the current ones have rounded-heads.. All fit nicely now though..
 
majorhangover said:
Lovley clean bay you got there now! great pics too! keep those updates coming this is a great thread :D

Tanks bud :party0021:

Back at my parent's house for xmas, so trying to get a bit done to the bus too. All little steps, but moving forward...

Uber cold out there!

IMG_1573.jpg

DSC00109.jpg

DSC00108.jpg

DSC00091.jpg


Put down a protective coating of POR15. Then played with a coat of 'light-grey' Hard-nose paint which came out white. Not that happy with it so currently key-sanding it again and spraying it a savannah-beige colour..

DSC00092.jpg

DSC00099.jpg

DSC00093.jpg

DSC00097.jpg

DSC00098.jpg

DSC00110.jpg

DSC00106.jpg
 
Started putting some colour down..

SAM_1693.jpg


Need to put a few more coats down and laquireererererer... :party0021:
 
Right some pictures of progress taken with a proper camera not my mobile..

IMG_1580.jpg


Just wasn't sure about this colour - you can see it against the shell colour and its too dark.. So a lighter 'beige' layer will be put down..
SAM_1694.jpg


So keyed it back again..
IMG_1583.jpg

IMG_1584.jpg


Whilst waiting for different bits to dry, I decided to laqure the rear valance to make it 'wipe-clean' when spilling oil etc. I have only laqured the top section that is actually in the engine bay, the lower section I have left matt to keep the same as the rest of the shell.. The rest of the engine bay will also be laqured for the same reason.

RearValance3.jpg

RearValance.jpg

RearValance2.jpg


I ran out of paint for the engine bay so decided to continue down the chassis with the protective paint..
IMG_1591.jpg


Slowly edging forward..
 
Applying sealant around the edges of the engine bay. Once this is dry, it is good for another coat of filler primer, a sand, then maby top coat and lacquer..

IMAG0059.jpg

IMAG0060.jpg

IMAG0061.jpg
 
Cheers guys.. sooo much work and it isn't how I want it...

Looking at the project last night, I noted some welding and tidying that needs doing (still) :?

Made a model of it to keep track of it a bit easier.

3D-Bus-Project.jpg

3D-Bus-3.jpg

3D-Bus-4.jpg

3D-Bus-1.jpg

3D-Bus-2.jpg
 
Finished the top-dash restoration.

DSC00064.jpg

DSC00065.jpg

DSC00067.jpg

IMG_1572.jpg


Complete with a white-faced monster top-mounted tach waiting to be mounted.

IMAG0176.jpg


Also finished the engine bay minus the section in the middle which was dented and annoyed me, so I decided to hammer out the dent messing the fresh paint. When I roll the chassis I will finish off straightening it out and give it another blow over.

IMAG0175.jpg

IMAG0174.jpg
 
Monster tach mounted.

IMAG0177.jpg


Completely pointless as there is no engine, box, suspension, interior etc, but I've been sanding, painting and hammering so much, I just wanted to see something cool and clean :lol:
 
Began taking the front beam apart..

83687110.jpg


da9c840e.jpg


I then realised that you don't need to take the drum apart to take it off :lol:

Once the beam is off, welded up if needed, then powder coated, then back on with the Red 9 EZ kit, then the wheels so the bus can be rolled on a chassis roller.
 
Thanks Jonny!

Update:

Beam is off!

You can see on the towers someone has been welding. But it looks like the welds are coming apart. The beam is pretty solid really, it is easially repaireable but.... I think I want a new beam.

04e8d132.jpg

bff4846c.jpg

c39e3a8c.jpg

bab1fe8a.jpg

926ebaf9.jpg

a5b4ddb4.jpg


:roll:

THINK I may go for the Red9 beam as it is a stock size (not that keen on narrowed stuff) plus rather than messing around with another second-hand beam, restoring it and getting it powder coated - it may just be quicker and work out a hundred quid difference or so when you factor in devliery etc. Also new bushes I think will be a good plan.

Bus%20Beam.jpg


This should be the best option when coupled with the Red9 coil-over kit I already have:

adf1f397.jpg


Arrr so much money :sign0001:
 
Cracking work done so far mate 8)

Like the idea of mating the Red9 beam and coilover kit - will look the mutz.... :mrgreen:
 
Volksbolts delivery!!

f5e9b724.jpg


Excellent service and communication from Alan at Volksbolts - recommend :party0021:

Now I have some clean and shiney fixings to start putting stuff back together :mrgreen:
 
Not very interesting, but another upgrade all the same..

Deck-lid stainless-steel hinge pins. Gave the hinges a quick rubdown and blow over while they were out.

e229e8d7.jpg


All working really nice and smooth now and the decklid sits straight for a change :lol: , brilliant!

A quick(ish) inexpensive upgrade that has been well organised..

Thanks to BJ1 on here that you can buy a set from for a few quid!

http://forum.earlybay.com/viewtopic.php?f=27&t=23719" onclick="window.open(this.href);return false;

:mrgreen: :mrgreen:
 
cunning plan said:
Not very interesting, but another upgrade all the same..

Deck-lid stainless-steel hinge pins. Gave the hinges a quick rubdown and blow over while they were out.

All working really nice and smooth now and the decklid sits straight for a change :lol: , brilliant!

A quick(ish) inexpensive upgrade that has been well organised..

Thanks to BJ1 on here that you can buy a set from for a few quid!


:mrgreen: :mrgreen:


Its the little things that can make the biggest difference sometime :mrgreen:
Good result fella ;)
 

Latest posts

Top