

Haven't got a chance to add these pics to the website yet, so posting them here first!
For the previous stuff see http://www.mystuffonline.co.uk
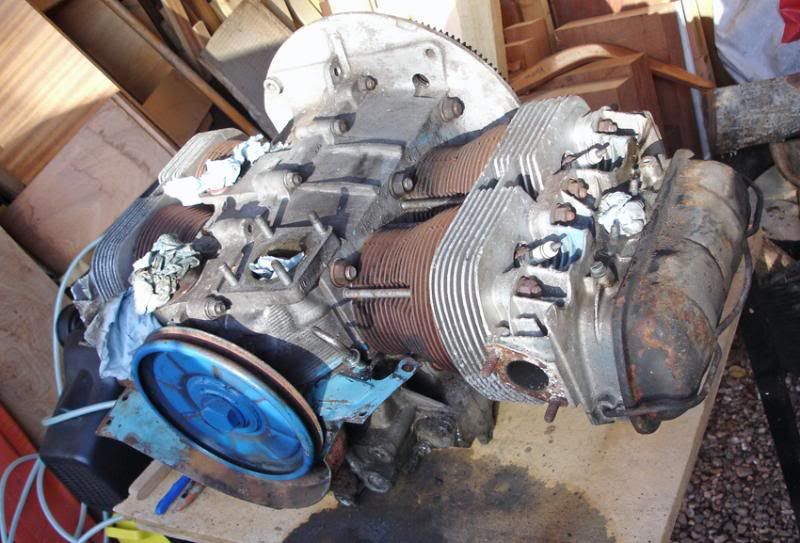
Took 2 days off to go home and get going on the engine. I had taken it out of the van a year ago, and taken it apart to clean/check etc.
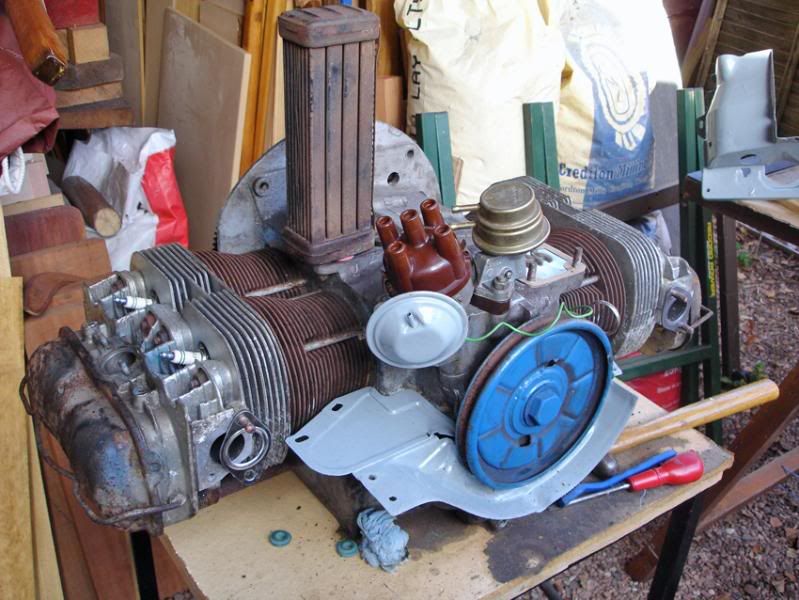
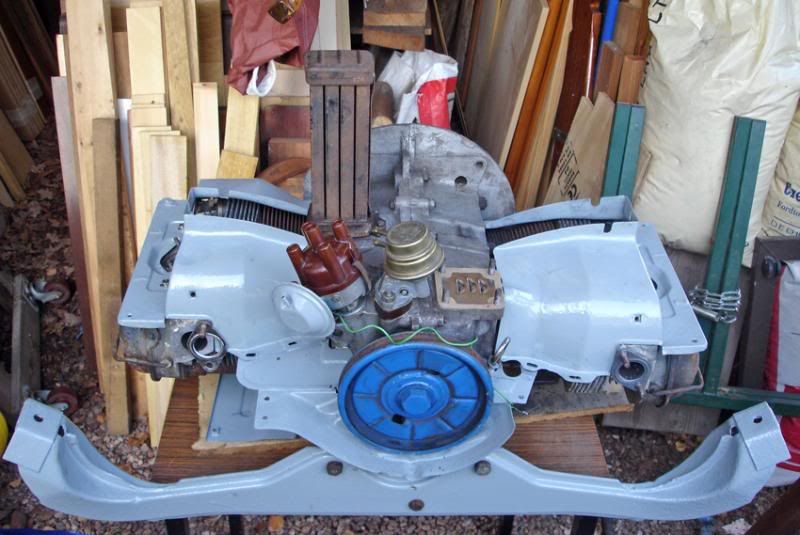
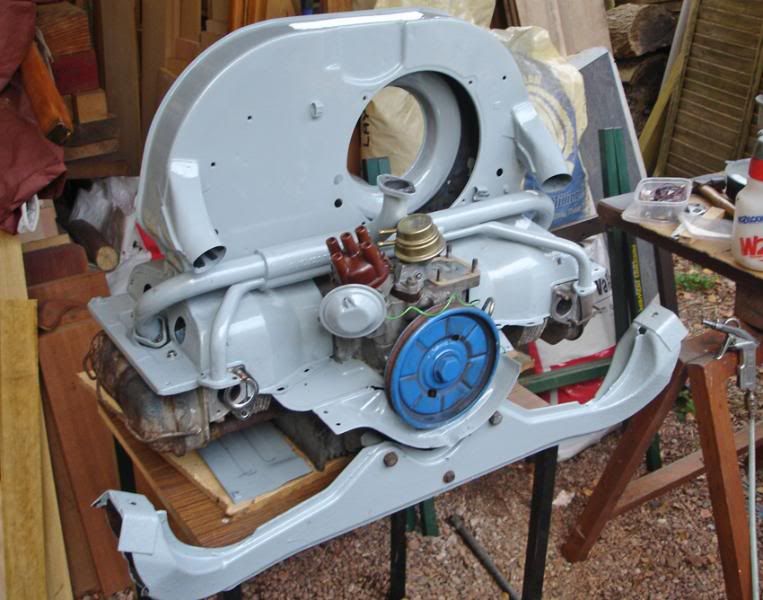
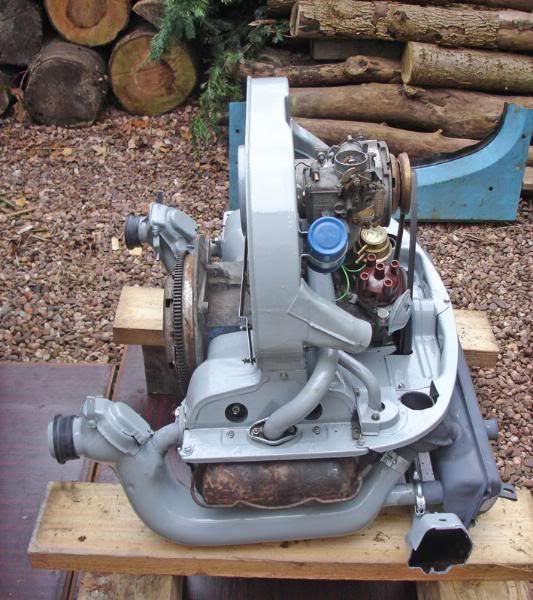
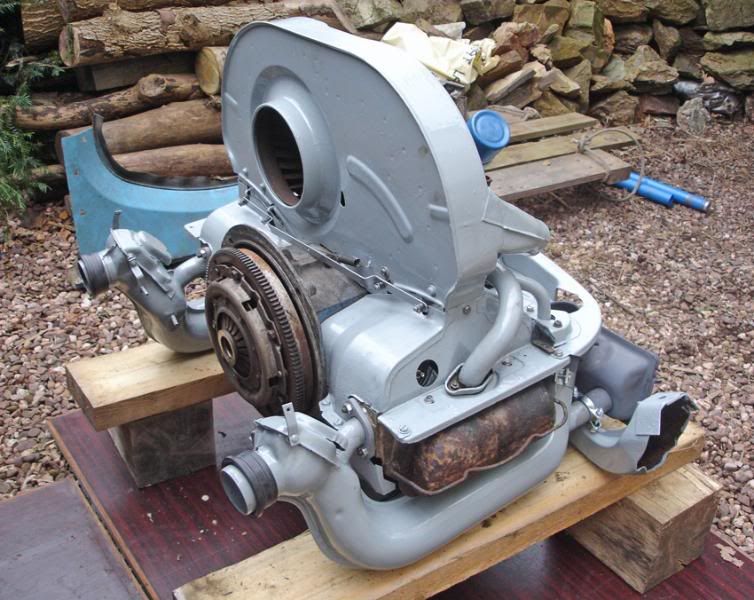
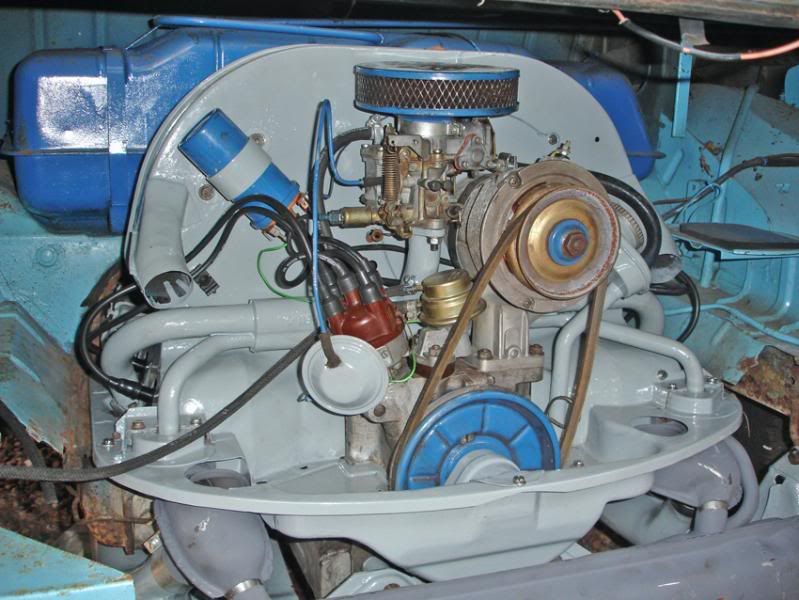
I have taken the opportunity to re-paint everything - it was blue, but as I want to take the van itself back to its original colour (neptune blue I think....) I wanted get rid of the lighter blue colours, and back to something more traditional.
However, the main reason for the painting is protection (rust etc) and a light colour makes it easier to work in the engine bay. For that reason I have used generic grey Smoothrite - gives a tough, thick finish, not worried about concors or anything, and previous coats have lasted well, including the heat exchangers...
Haven't done this for a while, but the joy is how simple it all is!
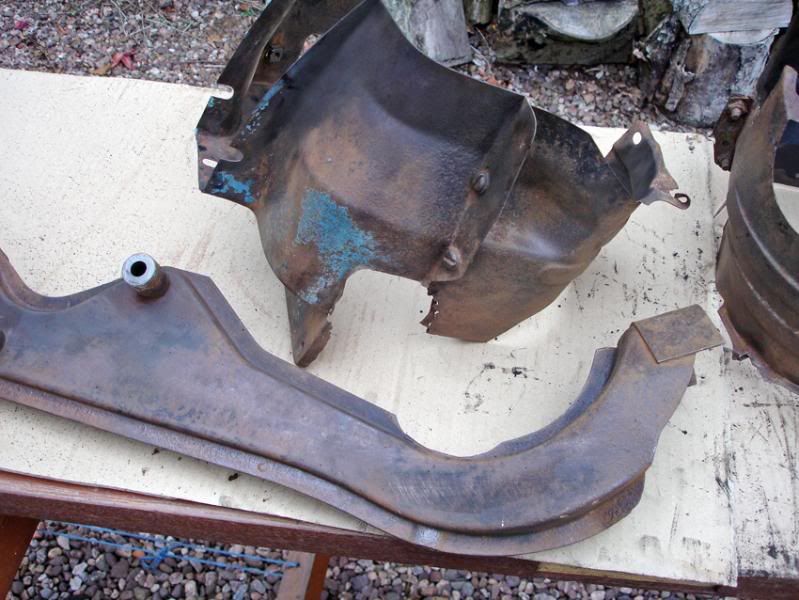
Having seen the quality of new replacement bits, I have tried to use my original tinware where I can - cleaned up it was actually ok - just got to make up a few tabs and patches...
Couldn't find a picture anywhere to show which way round the metal gasket under the oil filler/alternator pedestal goes - I've seen it somewhere...had to guess!
Main thing was remembering the order of assembly! Like not fixing the fan housing down, with the pedestal in position, and then bringing the alternator and fan assembly down - you can't reach the lower fixing screws!

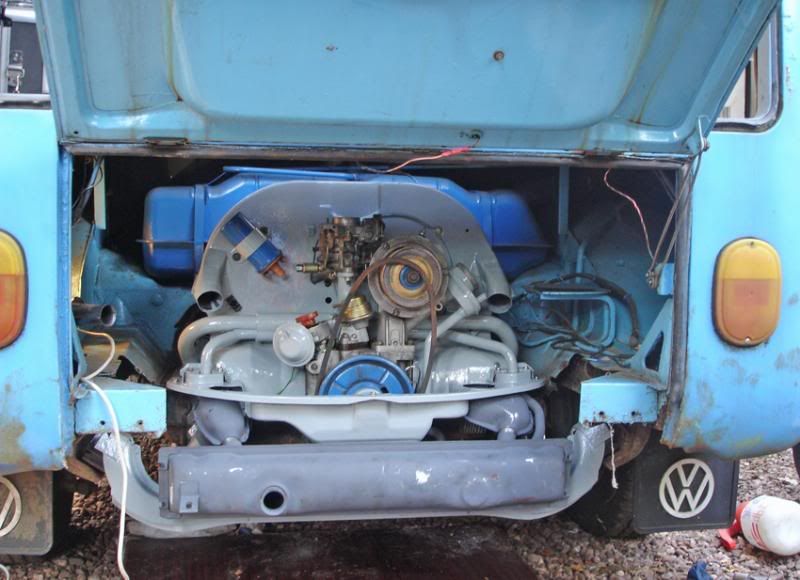
Standard exhaust will do for now - main reason for putting this back in is that I need to move the van - it will be a lot easier if I can motor onto a trailer! There are some things I shall come back to later on - for a start, I need some nice new clean rocker covers!
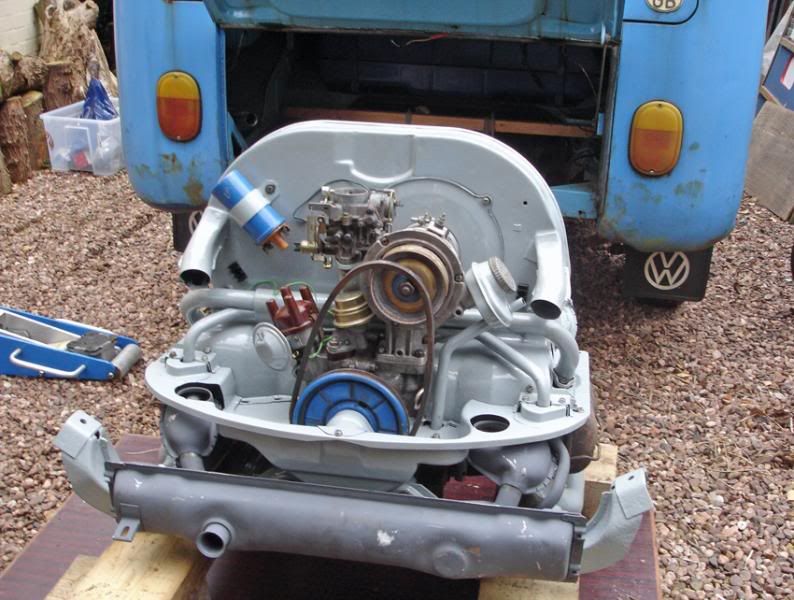
So this morning it was time for the engine to go back in the van - trolley jack and blocks at the ready - went in reasonably ok - new engine mount rubbers were a pain as I thought they went in after the engine was in position - it would have been easier to loosely fix them to the engine beam first, but we got there in the end. I only had until about 3pm today.
Lined up the clutch by eye, but it seemed to go onto the splines ok - in the end!
I desperately wanted to try and start her up (first time in 5-6 years!) but time ran out - I connected all the wires and leads up, took the battery out of the ZTT and she did turn over - result!! No firing though, but I had no time to try anything - thats the next job. Still, it was a result to get it in, bearing in mind that I started Monday lunchtime with a pile of rusty bits!
")
For the previous stuff see http://www.mystuffonline.co.uk
Took 2 days off to go home and get going on the engine. I had taken it out of the van a year ago, and taken it apart to clean/check etc.
I have taken the opportunity to re-paint everything - it was blue, but as I want to take the van itself back to its original colour (neptune blue I think....) I wanted get rid of the lighter blue colours, and back to something more traditional.
However, the main reason for the painting is protection (rust etc) and a light colour makes it easier to work in the engine bay. For that reason I have used generic grey Smoothrite - gives a tough, thick finish, not worried about concors or anything, and previous coats have lasted well, including the heat exchangers...
Haven't done this for a while, but the joy is how simple it all is!
Having seen the quality of new replacement bits, I have tried to use my original tinware where I can - cleaned up it was actually ok - just got to make up a few tabs and patches...
Couldn't find a picture anywhere to show which way round the metal gasket under the oil filler/alternator pedestal goes - I've seen it somewhere...had to guess!
Main thing was remembering the order of assembly! Like not fixing the fan housing down, with the pedestal in position, and then bringing the alternator and fan assembly down - you can't reach the lower fixing screws!
Standard exhaust will do for now - main reason for putting this back in is that I need to move the van - it will be a lot easier if I can motor onto a trailer! There are some things I shall come back to later on - for a start, I need some nice new clean rocker covers!
So this morning it was time for the engine to go back in the van - trolley jack and blocks at the ready - went in reasonably ok - new engine mount rubbers were a pain as I thought they went in after the engine was in position - it would have been easier to loosely fix them to the engine beam first, but we got there in the end. I only had until about 3pm today.
Lined up the clutch by eye, but it seemed to go onto the splines ok - in the end!
I desperately wanted to try and start her up (first time in 5-6 years!) but time ran out - I connected all the wires and leads up, took the battery out of the ZTT and she did turn over - result!! No firing though, but I had no time to try anything - thats the next job. Still, it was a result to get it in, bearing in mind that I started Monday lunchtime with a pile of rusty bits!