Heating.

Early Bay Forum

Help Support Early Bay Forum:

This site may earn a commission from merchant affiliate links, including eBay, Amazon, and others.
I'm afraid I don't know. :oops:

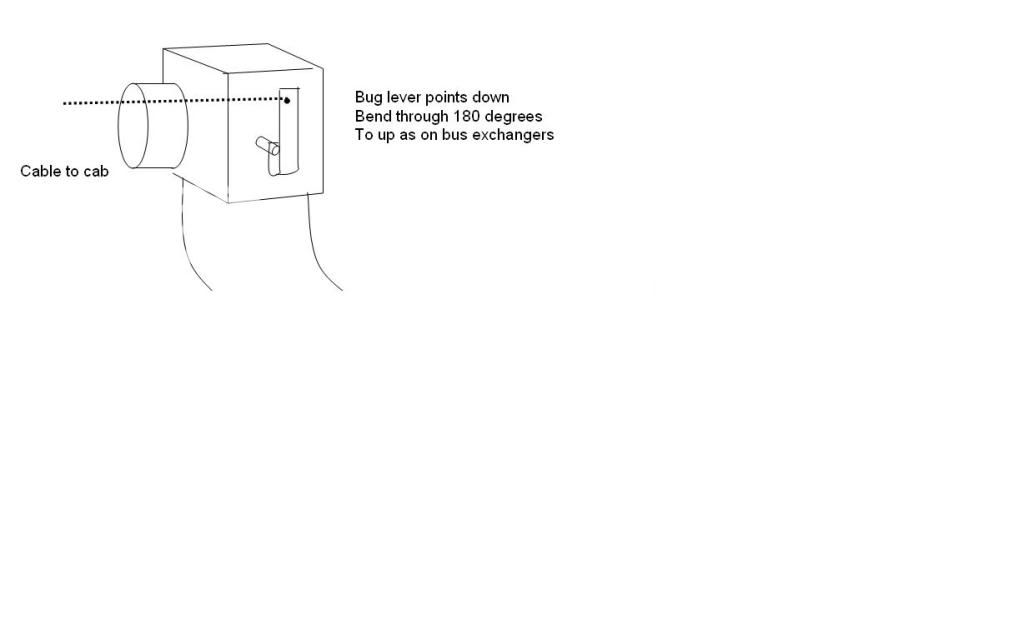
I did see on the JK forum, someone modified them by extending them by (from memory) 32mm upwards past the pivot point on the lever, and welding an O ring/washer to the top for the cable connection.

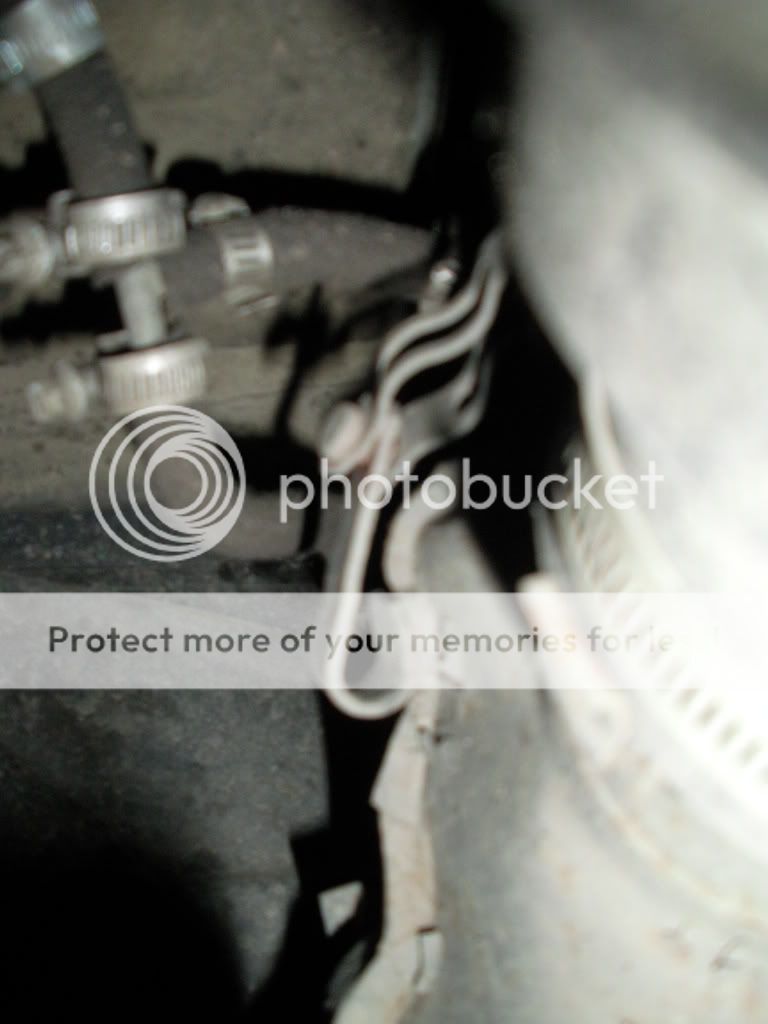
The best thing to do is find someone with a bus heat exchanger, and copy their lever arm ;)

If ya do find out, I'd appreciate the exact measurements :lol:

I don't find mine that hot at the minute - driving at temperatures near 0 and my cab door seals need replacing :D

Jim.
 
Is it as straight forward as extending the lever? The repro ones I have, have the beetle lever on one side and the bus lever on the other (if that makes sense?) But I suppose its only a slight pursuation of the cable to move it off line towards the other side of the exchanger?
 
Benyon said:
Is it as straight forward as extending the lever? The repro ones I have, have the beetle lever on one side and the bus lever on the other (if that makes sense?) But I suppose its only a slight pursuation of the cable to move it off line towards the other side of the exchanger?

As far as I could make out from the thread at the time, the repro exchangers lever for the bus is not long enough, and needs to be extended further. When I tried attaching my repro heat exchanger to the heat controls, the cable always came off each time, suggesting the lever was wrong (on mine at least). Perhaps I was doing it wrong.

Do the ones on your repros work 'from the box' then? :)
 
I don't have them on the van so don't know how well they fit/operate yet but the levers operate the valve freely by hand...
 
Well, I have to give a big 'Thank you!' to everyone who has offered advice on this subject.
I now have ally foil tubes from fan housing to heat exchangers (yes it can be done! :oops: )
and have just fitted a crappy pattern hose from heat ex to the body, genuine one already on other side. They are genuine beetle heat ex's, so for now are locked fully open. The outlets at the back are blanked off as are those to the walkthrough area.
WOW! How much air pressure? Driving along and all of a sudden, half a ton of fluff, straw and I hate to think what else showered me via the screen outlet! And it kept coming!
This was accompanied by warm air, which after about 2 miles was getting quite hot. Had to open the quarterlight to get a bit of cool air in.
So, a bit of tinkering to get the cables connected and it's all systems go, no more hats and gloves required!
 
Nice one fella :D

After replacing my front panel (inner + outer sections etc, the whole lot really) the first time I went to open my front fresh air vents was when I was doing 60 on the M5 heading on holiday to cornwall.

Sweets and so on all over the dash to keep me full of energy... and I turned on the cold air. Everything got showered in a thin layer of grinding dust and grit!

I still ate all the sweets, just meant every single one had to be brushed off before eating :D
 
Hi All

I noted that there are several post about having to wire heat bug exchanges open.

The mod is very simple to make them work with the cab controls. The leaver arm that is attached directly to the flap spindle (small lever), just bend this through 180 degrees so it form a U )longer on side that attaches to cable) and points up and not down. will post image on new topic as this one is full, tried to post image but no joy getting a jpeg on to forum.
 
noddy said:
Hi All

I noted that there are several post about having to wire heat bug exchanges open.

The mod is very simple to make them work with the cab controls. The leaver arm that is attached directly to the flap spindle (small lever), just bend this through 180 degrees so it form a U )longer on side that attaches to cable) and points up and not down. will post image on new topic as this one is full, tried to post image but no joy getting a jpeg on to forum.

That'll be handy! Great!! :D :D :D

Alistair
 
That would be great to see ! I had no end of hassle getting pics on here, (due to me being completely incompetent with a computer)
I believe the only way is to put your pics on a host site (photobucket seems to be well used) and then 'cut and paste' them onto your message. Hope you understand how to do this. When people were trying to help me, the instructions may as well have been in Greek due to my lack of 'pooter skills!
Good luck, would like to see the photos!
 
Noddy, if you would like to email me the pics I can upload them onto my photobucket.

;)
 
Right seem forum has reached max capacity for pics, so please use this link to pic and diagram of bug to bus heat exchanger mod.

Any questions please get in touch, sorry about the quality of the pic it is taken looking towards the rear of the bus.

http://s422.photobucket.com/albums/pp303/iarmstr1/heat%20exchanger/" onclick="window.open(this.href);return false;

Ian
 
SANY0155.jpg


heatexchanger.jpg


Cool - hadn't realised it could be done that way :)

Nice work!
 
The only other thing to note is on an original bus heat exchanger the arm is on the out board side the bug exchangers the leaver is in board, the cables will still connect and work. (see link for an original bus exchanger not lever position, there were no other levers needed for bus exchangers only the bugs use the additional arm assembly).

http://shop.volkswarenhaus.de/product_info.php/info/p3518_Heat-Exchanger-orig--VW-left-08-67-07-79.html" onclick="window.open(this.href);return false;

happy winter driving all, and cool summer driving.
 

Latest posts

Top